Making Baneblade armor plates
4 Minute Read
Nov 19 2007


Advertisement
 One of the options that comes with the new baneblades is the ability to drop the sponsons and raise the side armor to 14. Unfortunately, the model does not come with a 3rd set of armor plates to fill this gap. never fear, brave tank commander, BoLS has come to your rescue with step by step instructions to make your own baneblade armor plates.
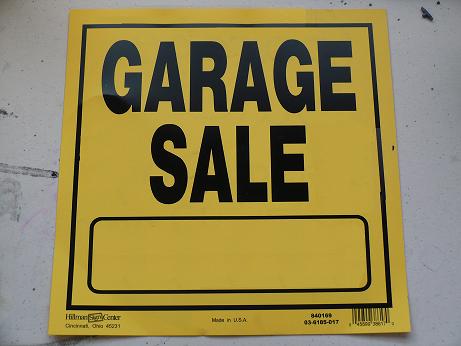
 Cut a 1.5″ inch strip off the top of the sheet.
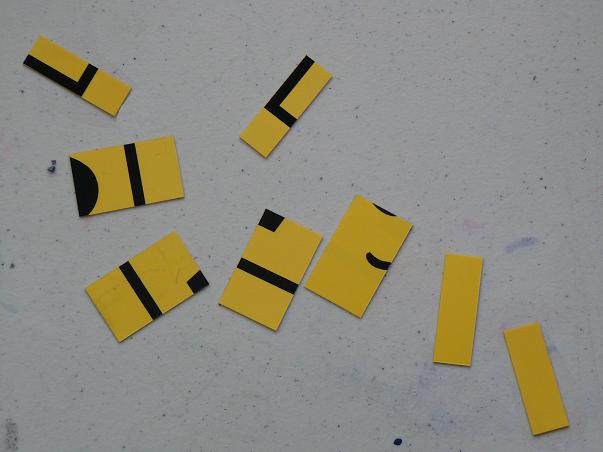 Then cut 4 1/2″ sections and 4 15/16th inch section. Don’t ask my why they didn’t make it that extra 16th of an inch taller. I don’t know. These should match up to the sizes if the existing armor plates.
 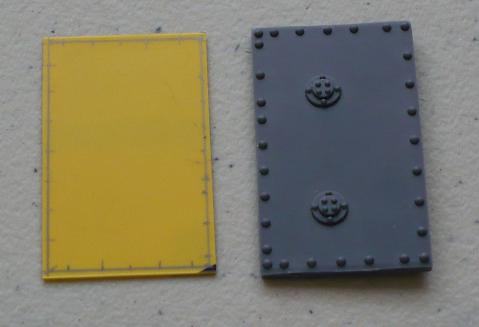 The next step is to mark where the rivets need to be. Take 2 of the smaller and 2 of the bigger pieces and draw a thin line around the edges with a straight edge. Then line it up with an existing armor plate and mark where the rivets should be.
 I’m sure you are asking yourself, “Why did we cut out 4 armor plates when we only need 2?” That’s a very good question. The riveting process only works on thin sheets. If we had gone with a thicker sheet, the rivets would not appear correctly. So we make the rivets on one sheet, then glue it to another to get the desired thickness. To make the rivets, I used the ice-pick method described here.
 After you have your rivets, you need to make the small piece that supports the top armor plate. For a guide, I took a marker and colored over the “bump” on the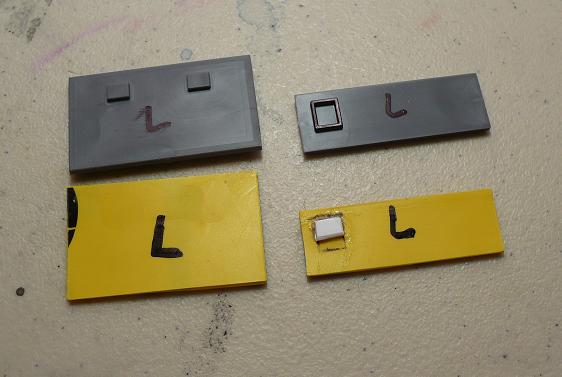 back of one of the existing armor plates, then pressed it against one of mine while the ink was still wet. This will give us a placement guide. Remember, that the armor from one side cannot be interchanged with the other. The left side is slightly different than the right. So make a separate placement guide for each one. Once you have your guide marks, cut a small square out of thicker plasticard (or several out of thinner sheets) and glue it in place. Test fit this piece to make sure you got it right. You may need to file it down, or break it off and start over. You will not need to make the “bumps” on the side plates, only the top ones.
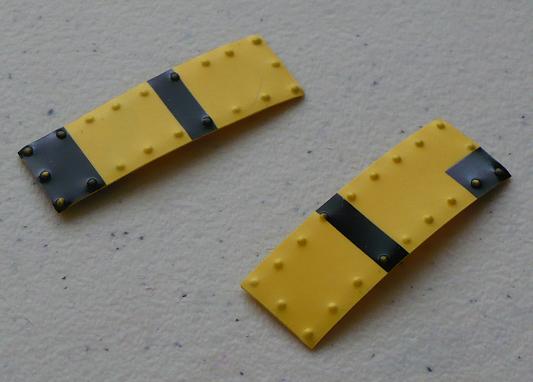
back of one of the existing armor plates, then pressed it against one of mine while the ink was still wet. This will give us a placement guide. Remember, that the armor from one side cannot be interchanged with the other. The left side is slightly different than the right. So make a separate placement guide for each one. Once you have your guide marks, cut a small square out of thicker plasticard (or several out of thinner sheets) and glue it in place. Test fit this piece to make sure you got it right. You may need to file it down, or break it off and start over. You will not need to make the “bumps” on the side plates, only the top ones.Next, take your riveted pieces and glue them to the non riveted ones to get the desired thickness. Once the glue has dried, test fit the top and side plates again. If everything looks good, you can glue them together at a right angle.
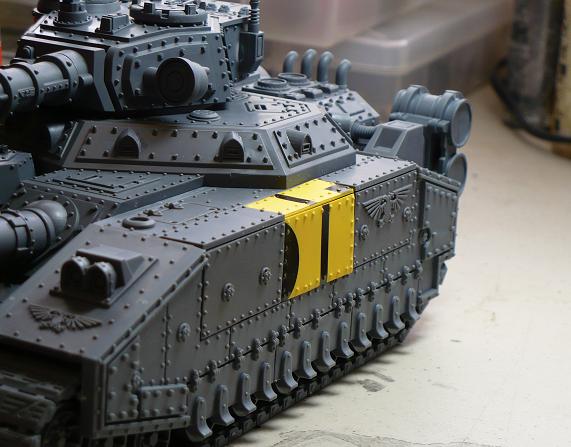 Congratulations. You now have a 3rd set or armor plates for your baneblade. The “bump” on the top plate should be enough to keep the plate in place during normal play, but it is possible to place magnets on them as well. All you have to do now is switch out the sponsons for the armor plates when needed.
Author: Guest Columnist
Advertisement
