Arbites Conversion Part 1: The Arbitrator
2 Minute Read
Nov 11 2008

Advertisement
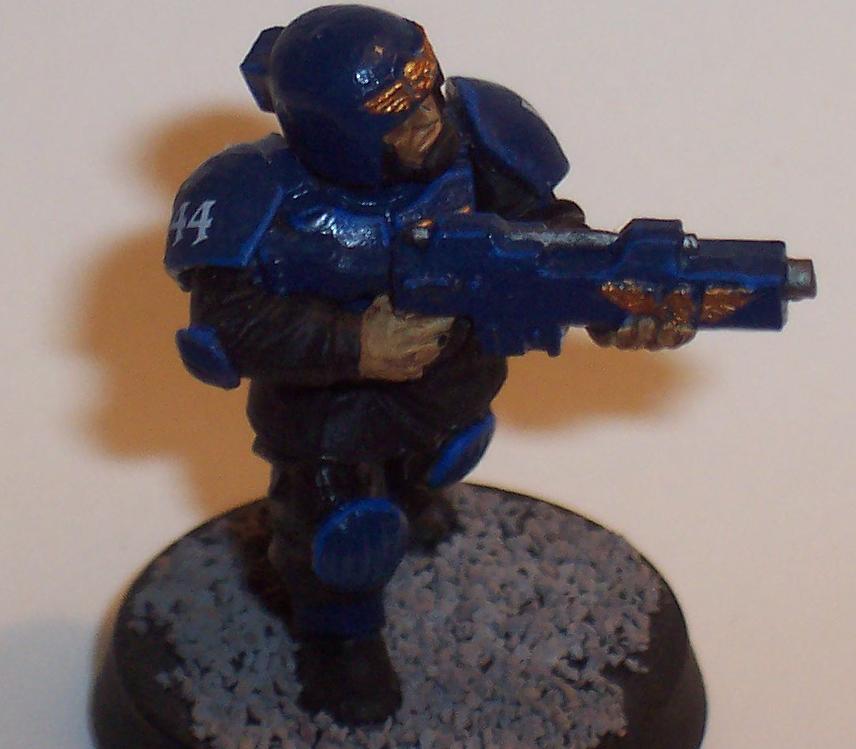
The Arbitrator; bread and butter of the Adeptus Arbites list. Without him, you have nothing. The model starts as a basic Cadian with 3 main conversions, the pads, the gun and the head.
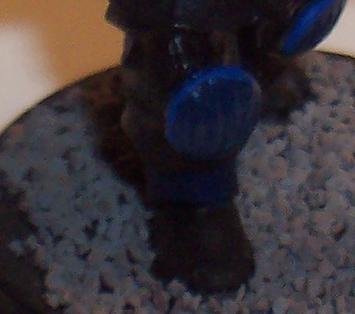 The Cadian model needs a bit of bulking up to look like a proper Arbitrator. To do this, greenstuff knee and elbow pads were added. I rolled up a small ball of greenstuff and then pressed it against the knee so that it was flat like a pancake. I then took my hobby knife and pressed 4 or 5 vertical lines into the greenstuff to give it texture. The same was done for the elbow.
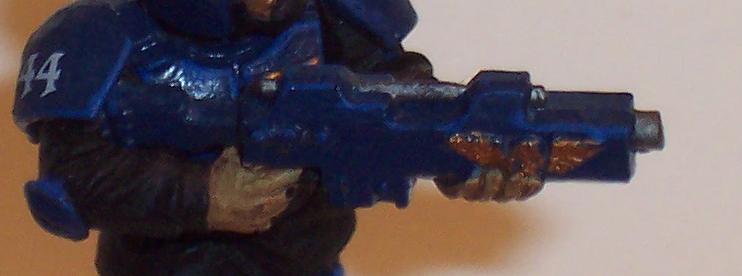 The shotgun conversion took a few trials to get right. The ammo clip was removed from the bottm of the lasgun. The end of the barrel was cut off about .5mm from the bulk of the gun and the bayonette was removed as well. Don’t throw these bits away, you will need them later!
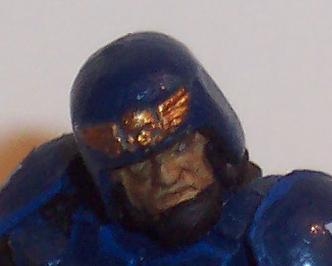 For the head, the squares on either side of the helmet were shaved off and filed smooth. Unlike the other two parts of the conversion, I didn’t do this to beef up the armor or change the gun type. It was mostly done to keep it from looking too much like a Cadian. To go closer to the true arbites style, you can use a small roll of greenstuff and apply it across the nose of the model. Flatten it down and file it once it has dried. I did this for the shock team models, but it is a lot of delicate work for the 50+ standard Arbites.
The Cadian model needs a bit of bulking up to look like a proper Arbitrator. To do this, greenstuff knee and elbow pads were added. I rolled up a small ball of greenstuff and then pressed it against the knee so that it was flat like a pancake. I then took my hobby knife and pressed 4 or 5 vertical lines into the greenstuff to give it texture. The same was done for the elbow.
The shotgun conversion took a few trials to get right. The ammo clip was removed from the bottm of the lasgun. The end of the barrel was cut off about .5mm from the bulk of the gun and the bayonette was removed as well. Don’t throw these bits away, you will need them later! For the head, the squares on either side of the helmet were shaved off and filed smooth. Unlike the other two parts of the conversion, I didn’t do this to beef up the armor or change the gun type. It was mostly done to keep it from looking too much like a Cadian. To go closer to the true arbites style, you can use a small roll of greenstuff and apply it across the nose of the model. Flatten it down and file it once it has dried. I did this for the shock team models, but it is a lot of delicate work for the 50+ standard Arbites.Obviously, GW’s necromunda enforcer models are much better than these. But for a weekend’s worth of work on some old cadians, you can have an Adeptus Arbite force assembled pretty quick.
This is the first in a series of conversions intended to help you build an Adeptus Arbites force.
Author: Guest Columnist
Advertisement
