40K HOBBY: To Superdetail a Stompa: Pt. 1

A guestpiece by John Crowdis, taking us through the assenbly painting and weathering of an Ork Stompa using Forgeworld’s IA Masterclass book.
Early in 2010, I picked up a copy of Forgeworld’s Imperial Armour Model Masterclass Volume 1. Initially I hadn’t really been all that interested in it, because it featured primarily Imperial Guard models or variations on a theme. I’m an Ork player, and have been for a decade, so why would I want to pick up something that doesn’t have anything to do with Orks?
Then I happened to see a copy at my local store, and started flipping through it. What I saw there has since helped me push my painting of vehicles up to a new level, and has really re-ignited my passion for the hobby. The techniques outlined in the book have opened doors to using materials and techniques that up until this point I had been quite skeptical in using.
IAMM v1 is a book that brings a number of military modelling techniques into the fantasy/science fiction realm. One of the authors, Phil Stutcinskas has won major awards at Euro-Militare for his historical work. Here, he and Mark Bedford bring a number of those techniques into the Warhammer 40,000 universe.
While I was trying a few of these techniques out on a few of my yet-to-be-painted Imperial Guard vehicles, I began wondering how these techniques might translate into painting my new Ork Stompa. It would be my next project. I had already been in process of building and customizing my own Stompa, but was waiting until the timing was right before actually starting in on the painting. It had some unique challenges, given that my Stompa would be using a Goff colour scheme, which would be an intrinsically dark scheme. I would have to improvise on the themes in the Imperial Armour book, rather than simply following the recipes provided.
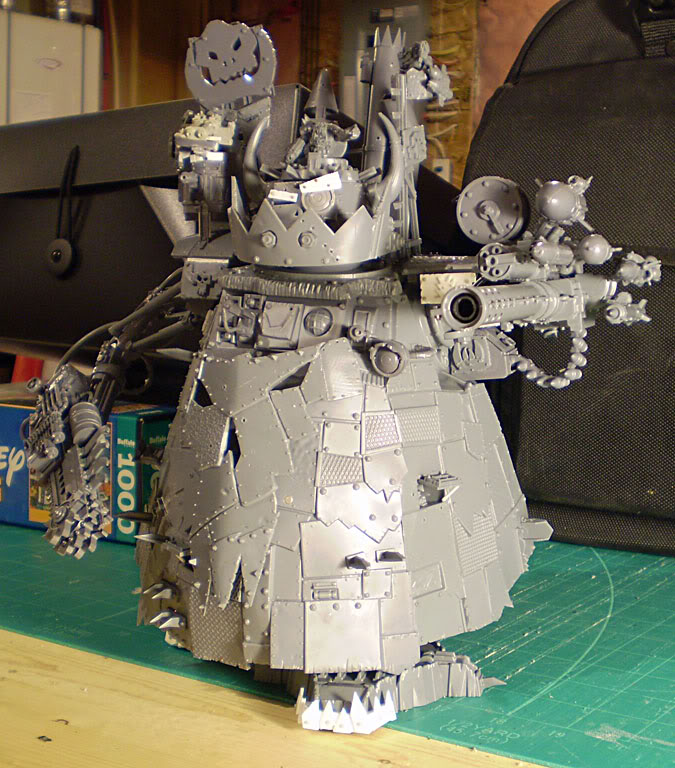
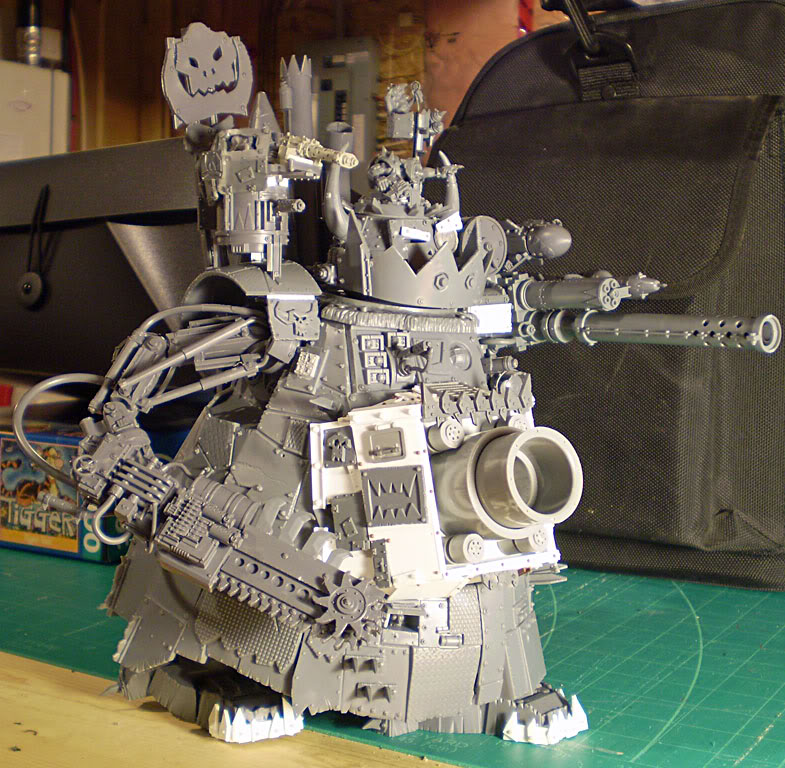
My own build of the Stompa was actually fairly straightforward. I chose to magnetize the arms and head using rare earth magnets so that it could be poseable, as well as allow for better storage and ease of painting. I also magnetized the front belly plate so that it could be removed easily for access of paint, and could also be swapped for a custom-made belly-gun and mount if I wanted to play a game with that option.
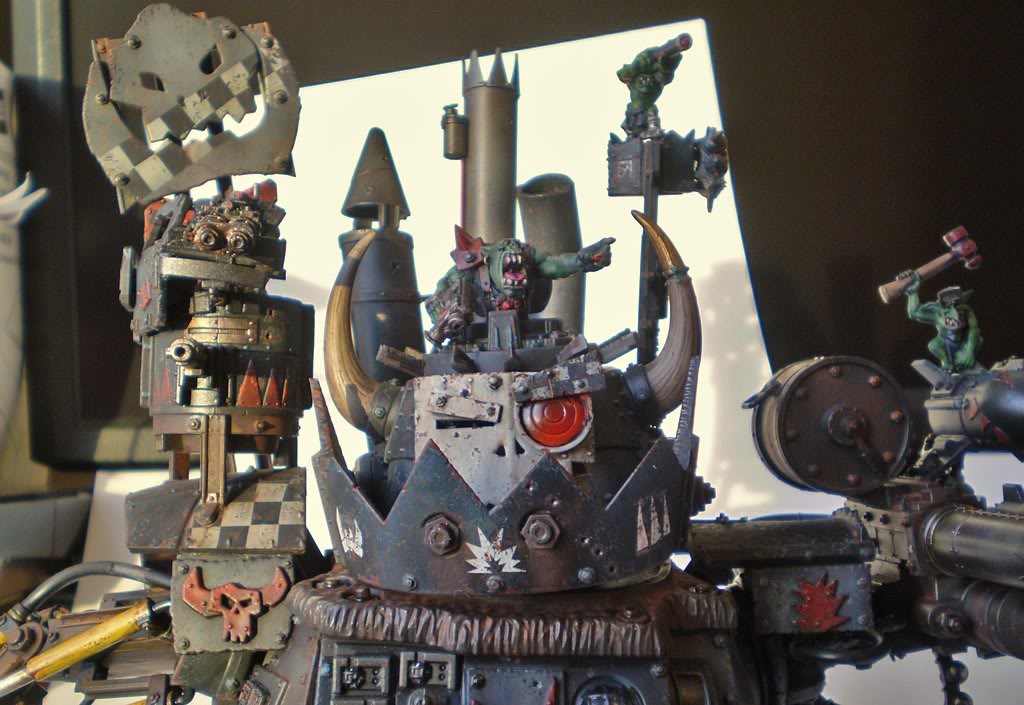
Additional conversions were fairly minor. Adding of eyebrows and a spotlight for an eye. Some plasticard work to add spikes to the toes, and an additional weapon mount on the shoulder turret. The pre-modelled battle damage gave me enough to work with as far as the paint job was concerned. I was tempted to do a larger shell strike, but I found that it was perhaps better to follow the idiom that “less is more.”
Once things were done, I primed all the different sub-assemblies of the model Chaos Black, and ready to move on with the next stage.
~Stay tuned for the next installment coming soon!

