Hobby: Customizing Your Warjacks. Part 1

Gentleben here, and today I want to walk you through some quick conversions I’ve done to personalize some of my new plastic Menoth warjacks. Lets get to it!
I’ve been continuing to expand my Protectorate army and with some of the tier benefits allowing for discounted heavies, I’ve really been expanding their numbers. With Crusaders costing a mere 6 points, I knew two wasn’t going to be enough. After taking Warjack points into account there are now multiple lists where you can take 4 Crusaders and still have 20+ points left over in a 35 pt. game. To begin with I already had my old standby from the MkI days.

And I’d made another one with one of the new plastic kits.
So I figured if I was going to add another two to my Protectorate forces I should do something special. There’s already a well established canon for character warjacks in the Iron Kingdoms. As many of you probably already know they can represent technological innovations or veteran ‘jacks developing personality traits over their potential decades of service. With this in mind I decided to convert two new Crusaders that not only stood out on the battlefield, but had a place in the larger Warmachine story arc.
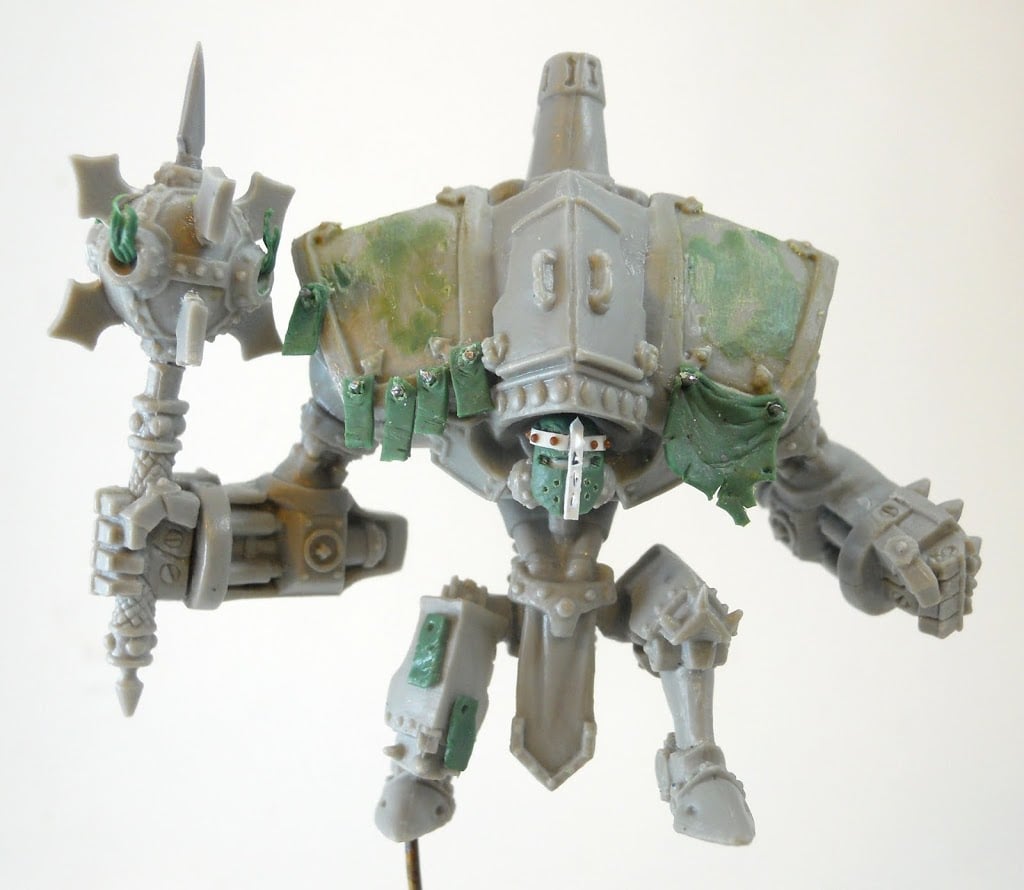
Requiem of Absolution. The general idea for the first one is a Crusader that has distinguished itself as a Cryx fighter in the recent battles against them in the North. In an attempt to protect it from their sorcery, its Menofixes have been removed to make room for long prayers of warding (we’ll add those when it gets painted). Additional prayers have been nailed to its hull. Never hurts to have a little extra. Upon witnessing its fervor in the heat of battle, many faithful warriors became convinced it was driven by the spirit of an ancient holy warrior. They have named it Requiem of Absolution. And so by the decree of the Harbinger herself, its head and mace have been remade to resemble those of the earliest warriors of Menoth who fought against the Morgul with the first iron weapons. Of course I’m not really sure what those ancient guys may have looked like but it adds to the story.
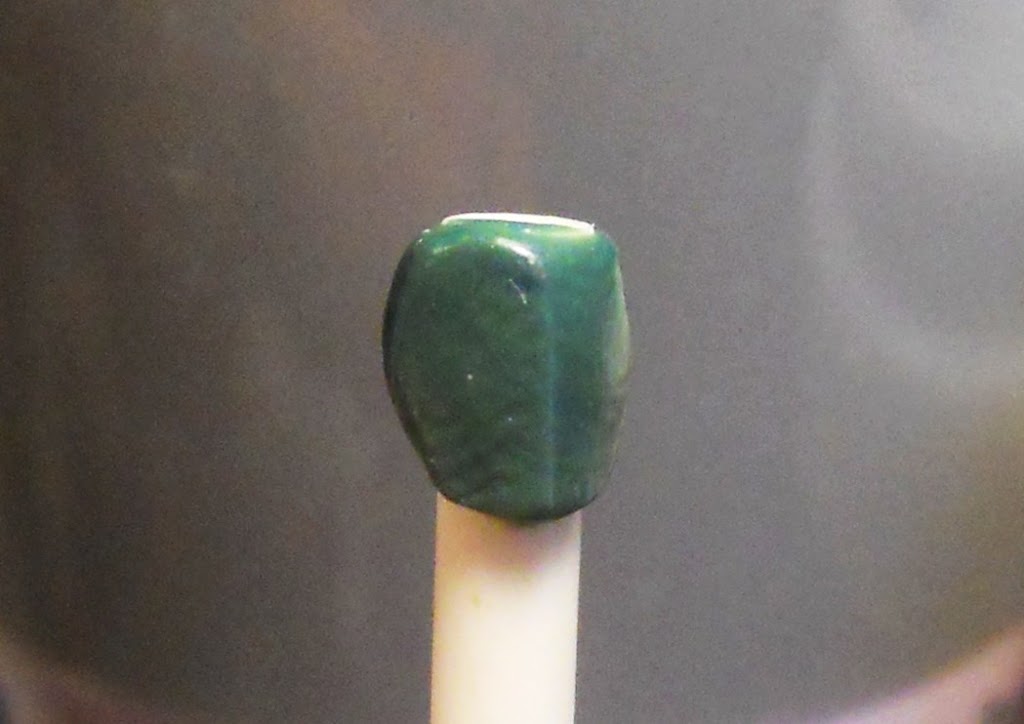 Whether or not you want to make up a story about it, a headswap is one of the quickest ways to make something familiar take on a new feel. Since heads are one of the defining characteristics of warjacks, it wasn’t like I could just stick on another one. I would have to make my own. Warjack heads are clearly inspired by knight’s helmets, so I figured that to give this guy a unique look I would draw inspiration from something a little older. I started by pinching out a rough shape around a plasticard tube, and setting it aside to dry.
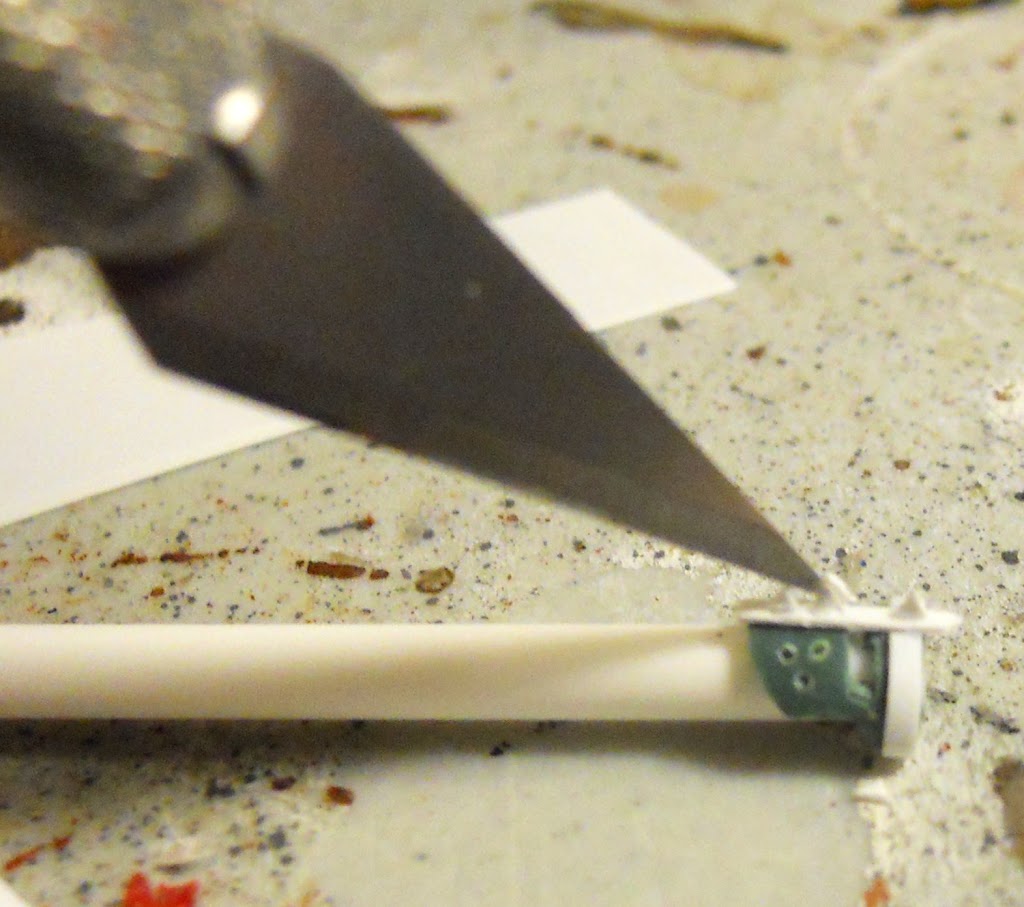
Once it was dry I very carefully cut the slit out of the visor with a hobby knife. Then the front arch on the face is trimmed down to give a flat surface to glue the strip to. The holes are made using a I then cut out strips of plasticard for the facial details. I used my knife to apply the blades to the front of the helmet. If you press the tip of your knife into what you want to hold very carefully the plastic will grip a little and hold on. Then you can move it around and even dip an end into super glue to carefully place it where you want. I cut away from the face a little more to give it a more well defined jaw.
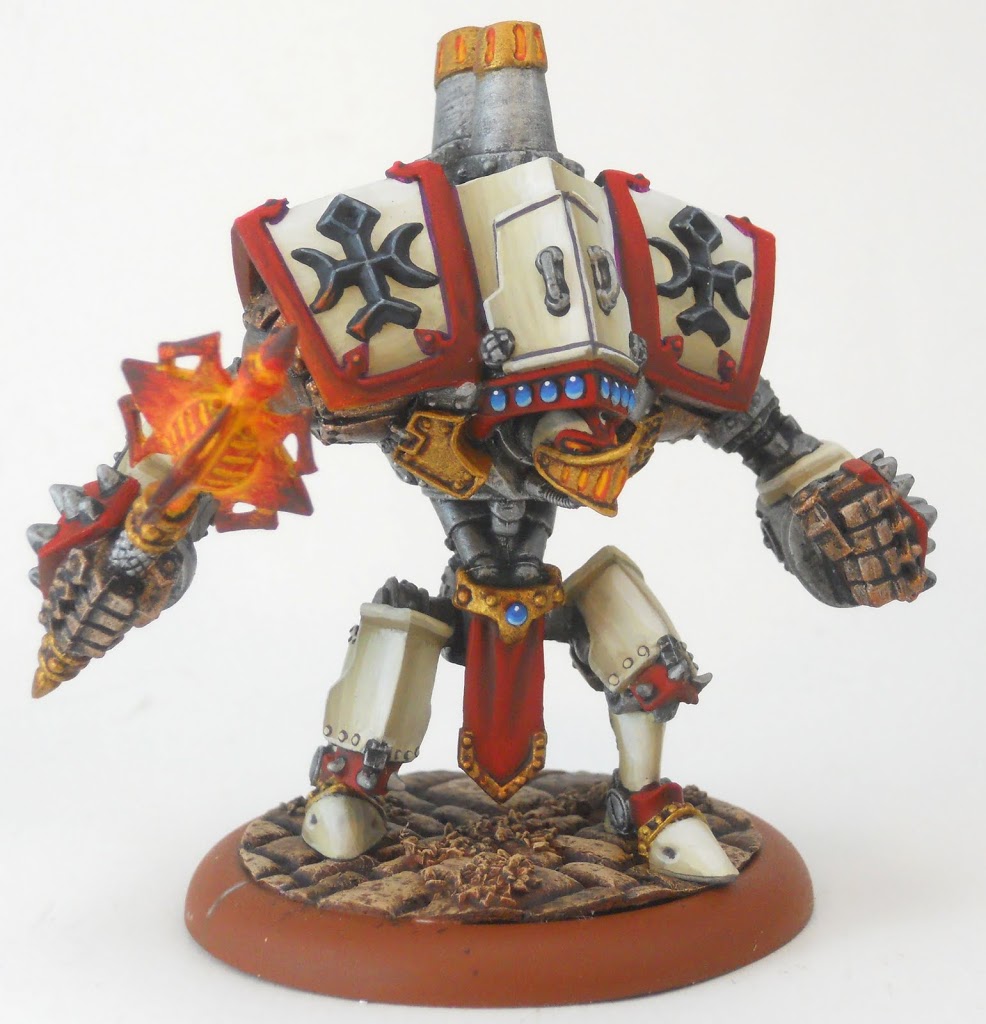
 I carefully wrap a very thin strip of plasticard around his forehead and give it some rivets from a Tichy Train Group 0.25″ rivet set. He also gets the neck bolts from the Templar head that is of course included in the kit. In the end I think I achieved an interesting fusion of Warmachine aesthetics with a much older style knight’s helmet.
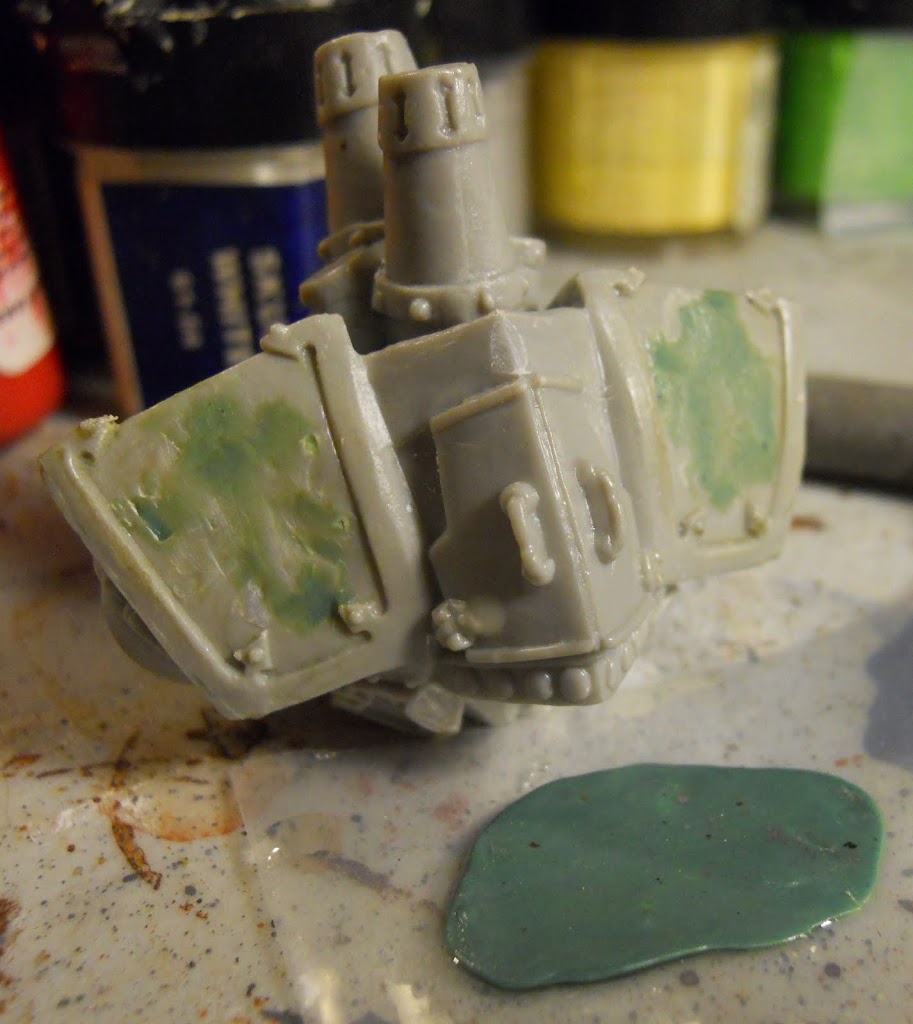
The various prayer ribbons had to be scratch built as well. Making flat pieces with green stuff is easy enough. Just roll it out on a piece of plastic and let it set for maybe an hour and a half or so. Then it should be cured enough to handle and cut, but still pliable enough to sculpt.
Taking off the Menofixes without destroying the hull frame can be a little tricky. Try to get off as much of them as you can with clippers first, then cut away the rest very carefully with a hobby knife. In my case I managed to ding up the surface pretty badly, and had some holes that had to be filled with green stuff. Then I filed the area flat.
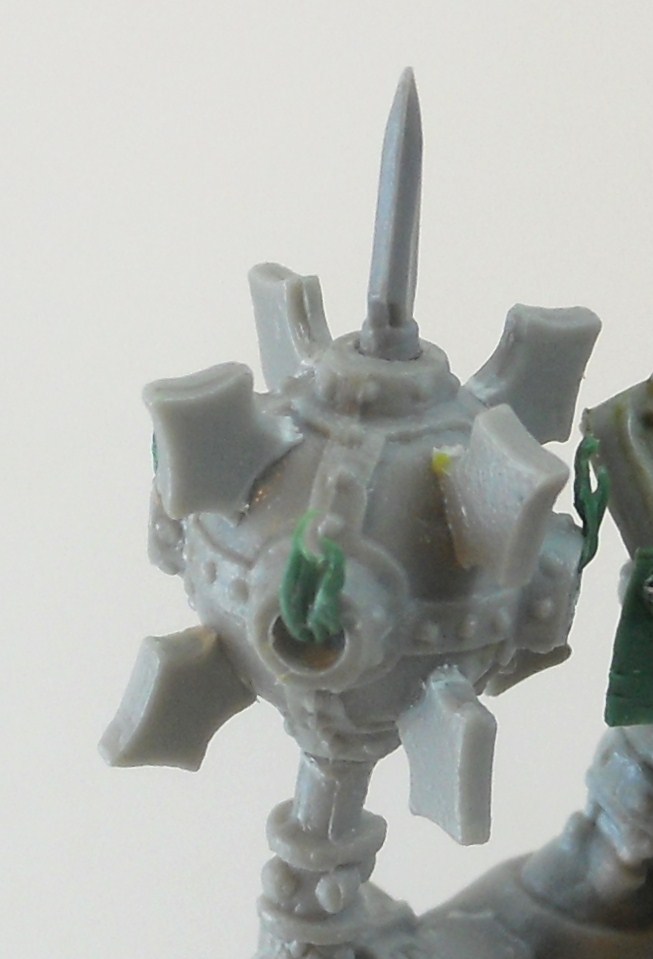
The new Inferno Mace is based on the Vanquisher Blazing Star. The spikes are removed and holes are drilled into that vacant area as a window into the Mace’s burning core. The Green Stuff flames help push the point home. The blades are from two different spare Templar flails that were cut off and trimmed to fit the surface. Finally the spike that crowns the mace is from an old skink Javelin I had lying around from ages ago.
Next up is Ardent Deliverance. For the second ‘jack my first idea was to replace the Menofixes with a different symbol from the Protectorate book. The first one that struck my eye was from Feora’s Umber Guard. Since Feora is known for her ego and ambition, I got the idea that with Hierarch Severius hundreds of miles away with the Northern Crusade, she had basically refitted this particular Crusader as a monument to herself and her Flameguard. While this has infuriated some of the senior priesthood Feora insists that this ‘jack is a valuable tool as an inspiration to her men. No one has yet dared to test the Hierarch’s ire by informing him of this potential travesty when he’s so busy with other tasks.
So in addition to replacing the menofixes with plasticard Umber Guard symbols, its head has been remade to resemble a Temple Flameguard officer, and its inferno mace now resembles a torch more than a mace further the whole fire idea. The other changes such as the extended plasticard shoulder pads, the new knees (made from Chaos Marauder shoulder pads), and the addition of rivets, were more cosmetic than thematic, and just serve to mix up the look a bit.

This head was made in essentially the same way as the first with a much more complicated Menofix shape being cut out rather than a simple visor slit. The helmet is… thats right you guessed it, a Crusader “jaw” cut off very carefully and attached at the top.
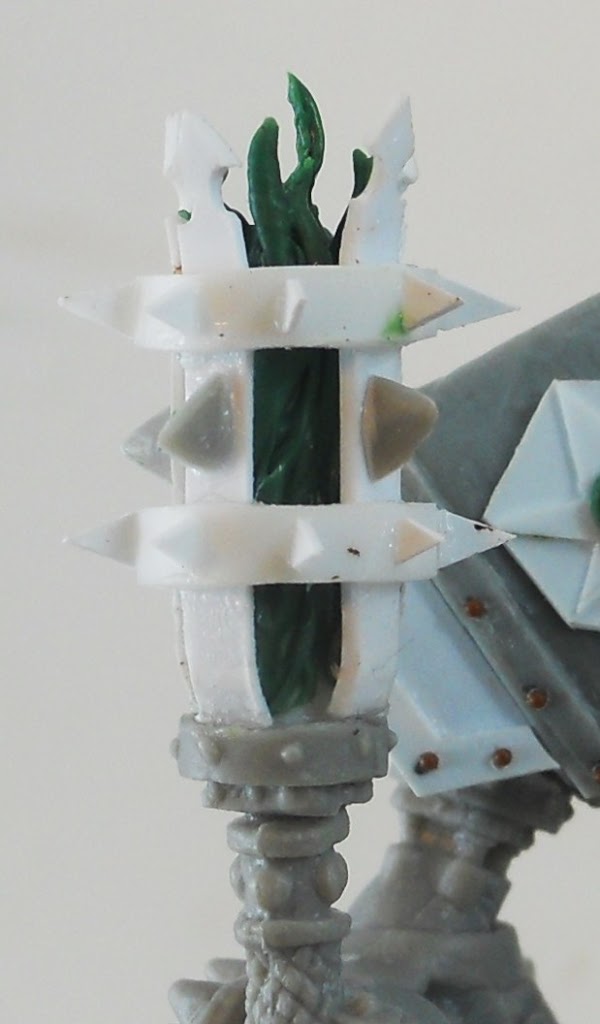
The torch/mace was made with some rings cut from plasticard tubes, four carefully cut strips of plasticard, and a bunch of plasticard triangles for the spikes. The base is from the vanquisher’s cannon. To make sure everything fit right I put a smaller tube in the middle during assembly to keep the strips at an equal distance and try to keep the rings parallel.
~ So you’ve probably already guessed that part 2 will be painting. Check back in a few and hopefully I will have some pointers on freehanding and source lighting. Until then comments, questions, and criticism appreciated.

