HOBBY: Painting Fur & Circle Orboros Armor
4 Minute Read
Jun 25 2010

Advertisement
 This is another guest article by Austin’s very own Nick. You may remember him from the Skylight Primer Highlighting Article from a few months back, and you can look forward to seeing more of his Circle minis in the Circle of Orboros faction article coming soon.
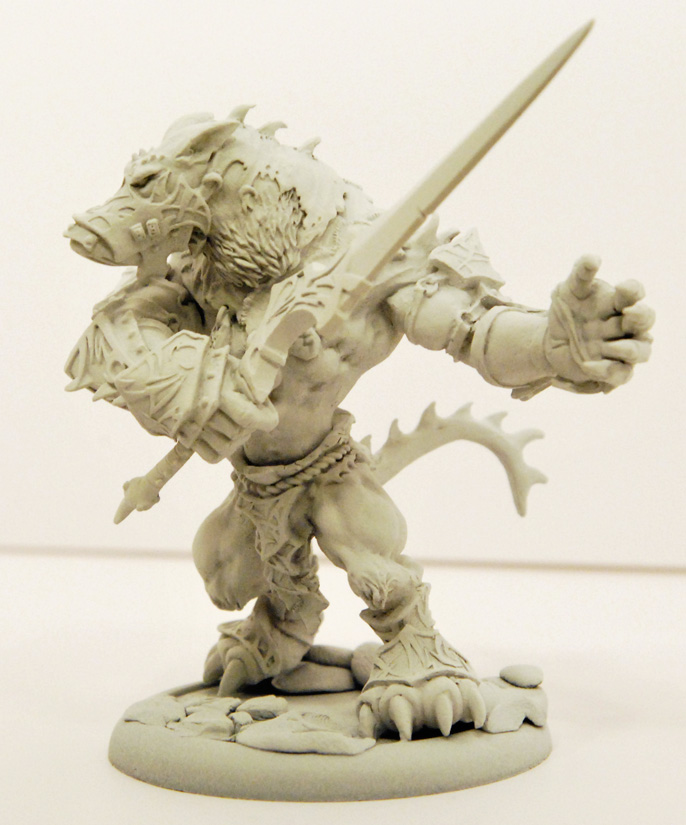
Let’s take a look at painting the newest Circle Orboros warbeast, the Warpwolf Stalker. This model has a few sculpted furry spots that will look fine after some drybrushing, but most of its extremities are smooth. I’ll go over a technique for simulating fur in these areas; it doesn’t take as long as you might think.

Here’s the color palate for our fur. The Stalker is meant to be stealthy so I’m going pretty dark. I’ve selected a set of neutral grays. The exception is Bastion Grey, it has some green in it which will add interest and avoid that desaturated Betty Boop look.
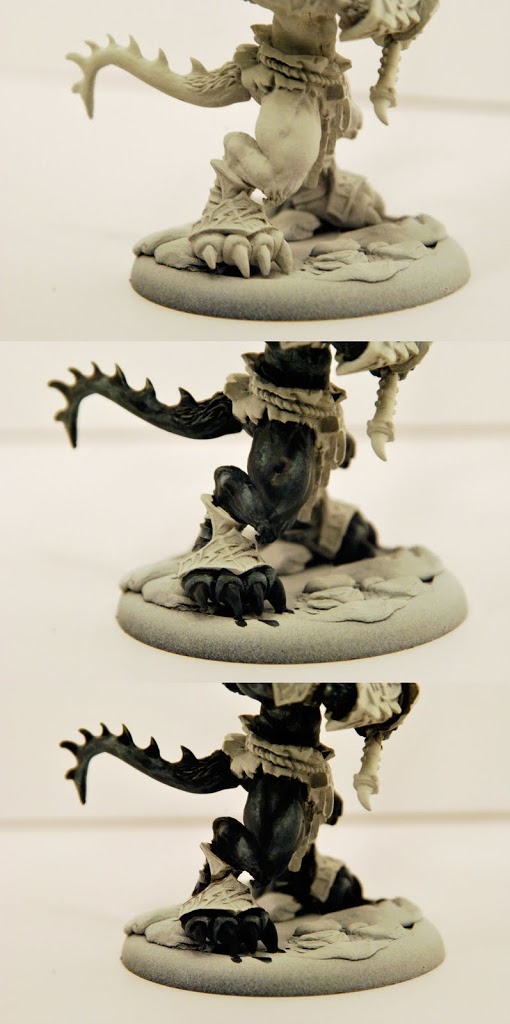
Start by priming your mini in white, this will come in handy later. Then slightly water down some Greatcoat Grey and apply to the furry areas. Try to avoid a thick coat and let the paint find the recesses. Once dry, apply a wash of Badab Black, focusing again on the crevasses. Now you’re ready to start painting fur.
The first step will be Bastion Grey hatch marks. You can go quickly with this coat, sometimes sloppiness helps. Just be mindful of what direction the hairs should be moving in, the next coats will follow them. Let some of your strokes start in the darkened recessed areas, enhancing the illusion of depth.
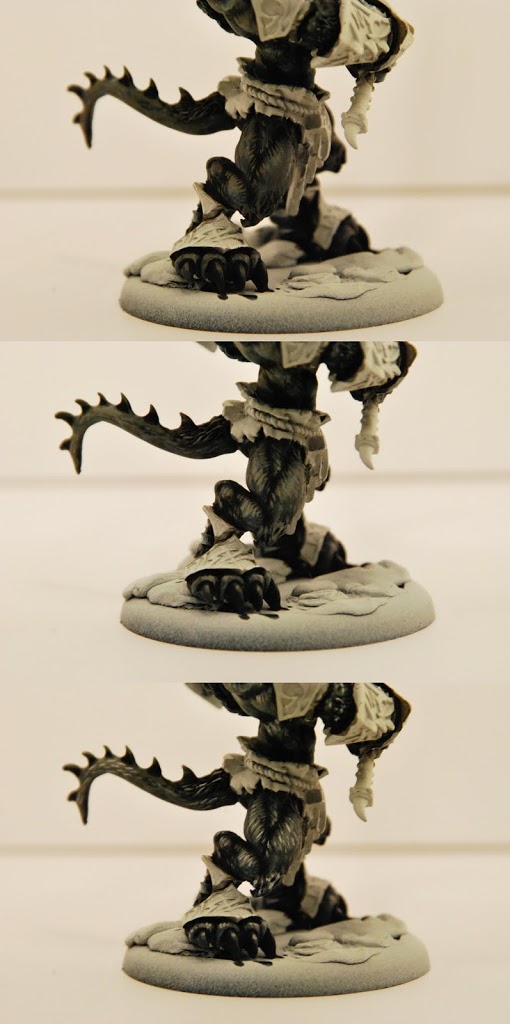
The second step is Fortress Gray; it can also be applied quickly. Try to stick to raised areas for these hairs and go for a little less coverage than before.
Lastly, pepper the furry surfaces with thin Skull White tick marks. This is the step to take your time with. Paint hairs on only the most raised areas but let a few random ones fall elsewhere. I’m sticking to hatch lines but if you want a more stylized look you can paint “X” or “#” marks to make your mini look dirty like PigPen.
Don’t worry if you have to backtrack in steps, the more layering the better.
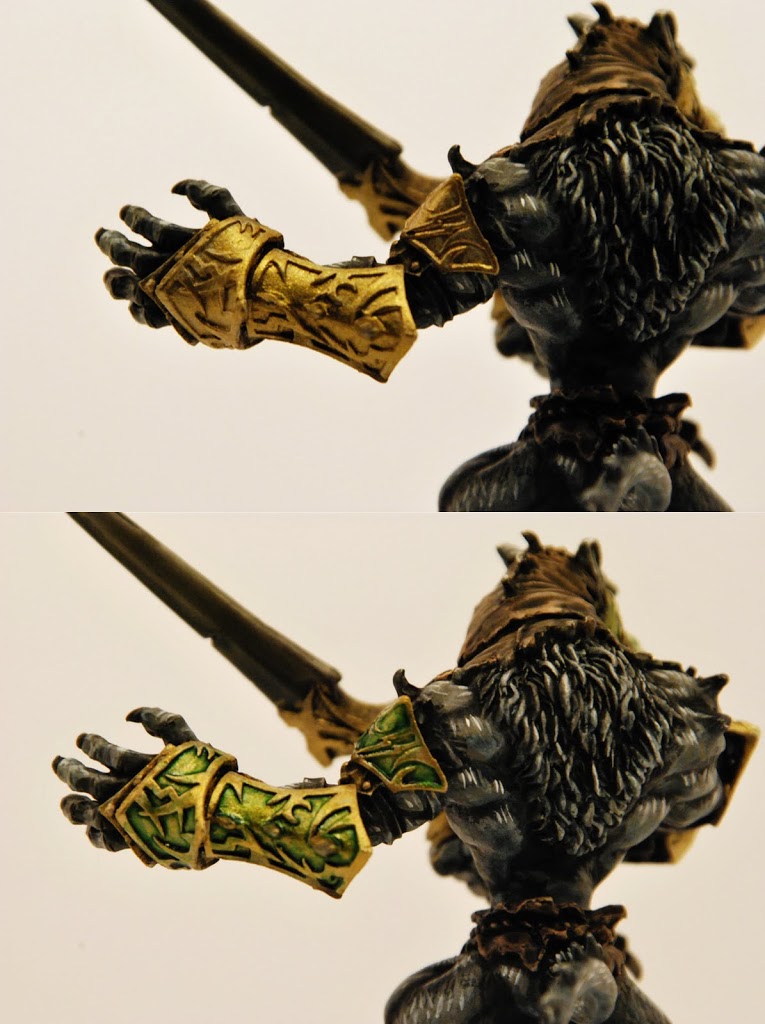
Circle Orboros armor plates are the major reason this model was primed white. The gold basecoat (P3 Brass Balls) will only take one application and you avoid the gloopy mess I create when losing patience. After that dries, apply Thraka Green Wash to the recessed areas. Less is more in this instance; we are trying to dye the negative space. If you use too much you’ll have to come back and repaint the tribal positives.
This is the fastest and most rewarding technique I’ve found for painting Circle Orboros armor (after experimenting with many others.)
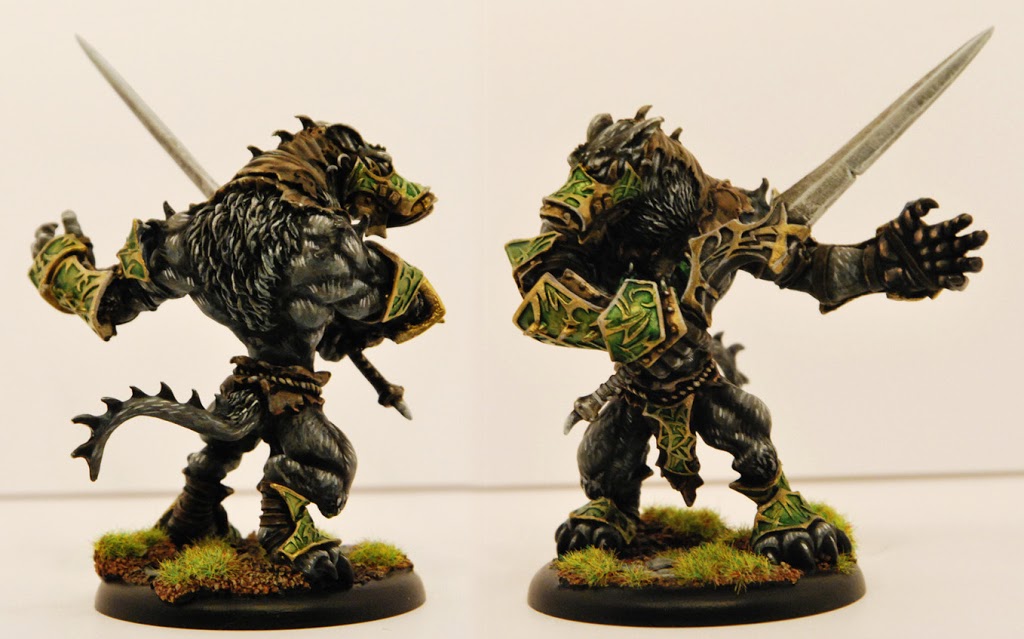
This Warpwolf just needed its sword and leathers painted and it was complete. Most of the table time was spent doing fur, but the result is definitely worth it. A little freehand draws the eye and adds interest to otherwise dull (and difficult to paint) areas.
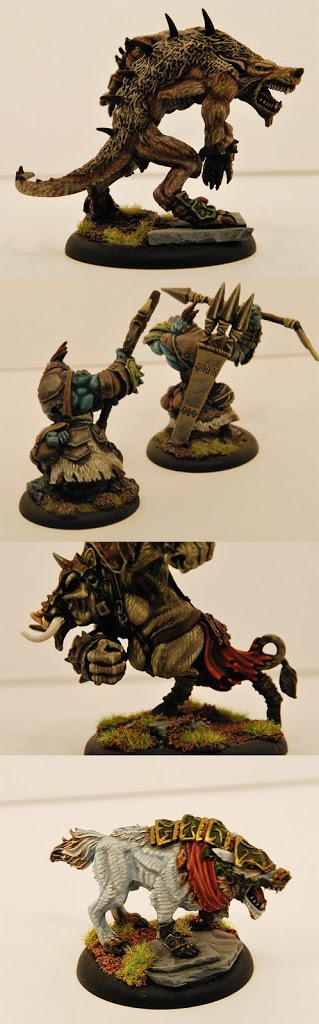
Below are some other minis painted with this technique. The most fun I’ve ever had painting was the cow hide skirt on the Troll Axer.
Go ahead and give painting fur a try. Here’s what to take away from this article: be efficient with the first few coats and take your time on the highlight.
Author: Ben Williams
Advertisement
