WFB: Hobby – Painting Fur and Feathers pt. 1

This is a 2 part tutorial on how to paint fur and feathers, the first part covers lighter fur.
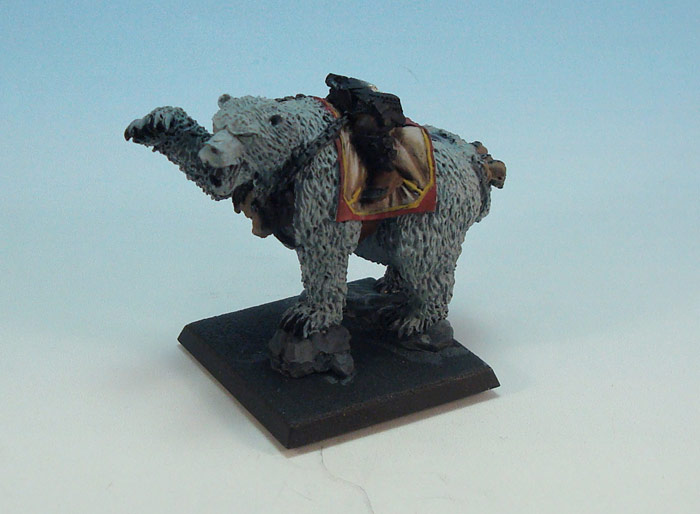
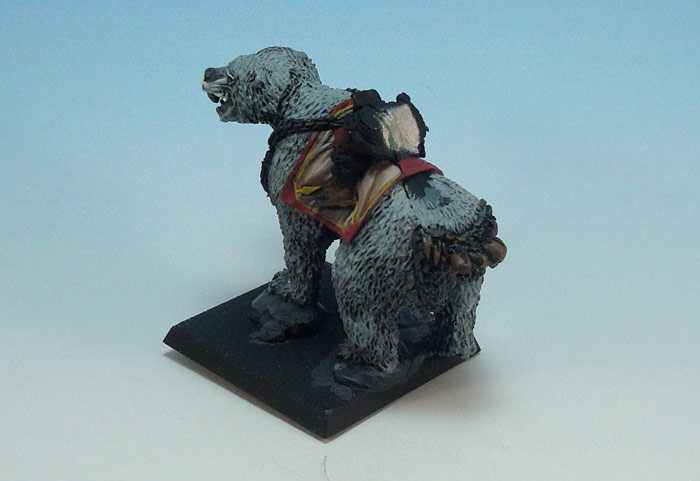
Step 1 – basecoat
The bear was primed with black after which it was given a basecoat of Astronomican Grey (GW foundation paint) in several thin layers. I cover the whole bear because I feel it helps with making anything feel “natural” if there is a base layer of color over all the parts. I then create differences in texture and color using different mixing colors for shading, highlight or glazes. I didn’t care that much about covering the claws as I knew I would pick them out in black later on anyway,
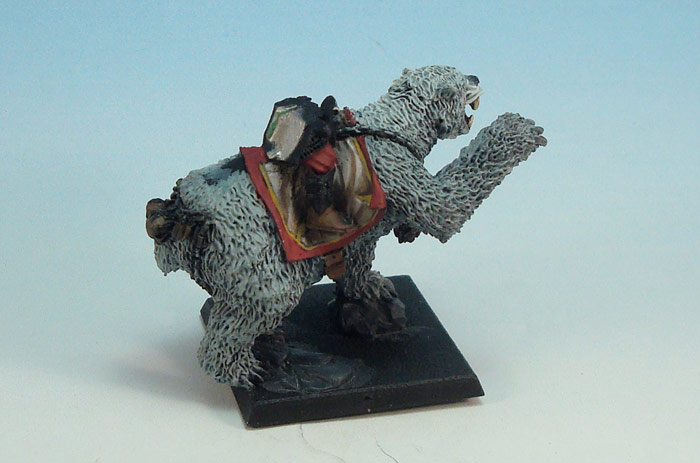
Step 2 – shading
When I do fur I want a pretty heavy shade as most of it will just be there to give texture and shape to the fur and very little is left visible in the end. I mix paints with washes to create a mixture that flows great and seeks itself into crevices – which in this case is perfect. I mixed 2 parts Astronomican Grey with 1 part armor wash (p3) and 1-2 parts water. The water helps counter the thickness of the paint just a little bit. The mixtures was applied heavily wherever a shadow would fall – under the tummy, on the lower parts of the legs and neck, and close to the saddle. Due to the wash the mixture flows into the crevices and I create the effect I am looking for without having to blend it in.
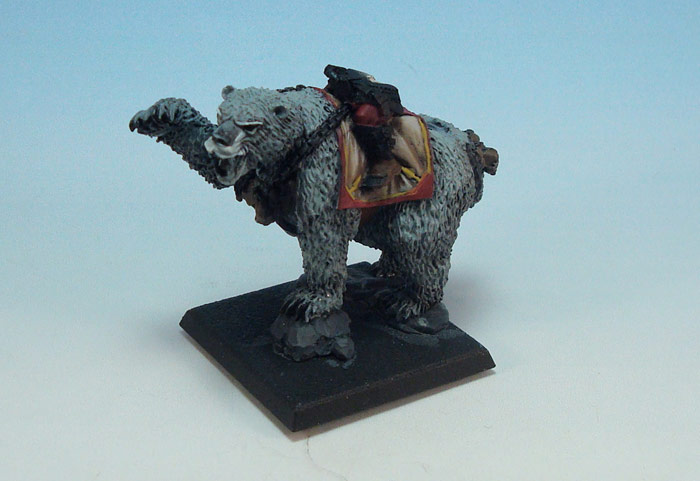
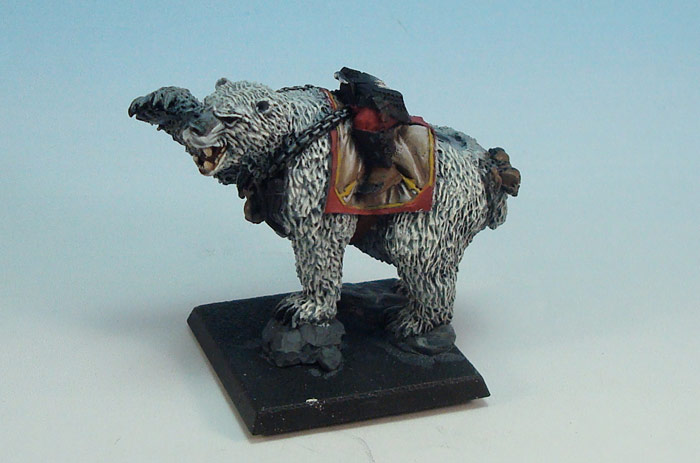
Step 3 – drybrushing
The shadows are now really harsh so first I want to smooth them out, so I run over most of the shadow with a drybrush of the basecoat, leaving the shade alone only in the deepest crevices and under the tummy.
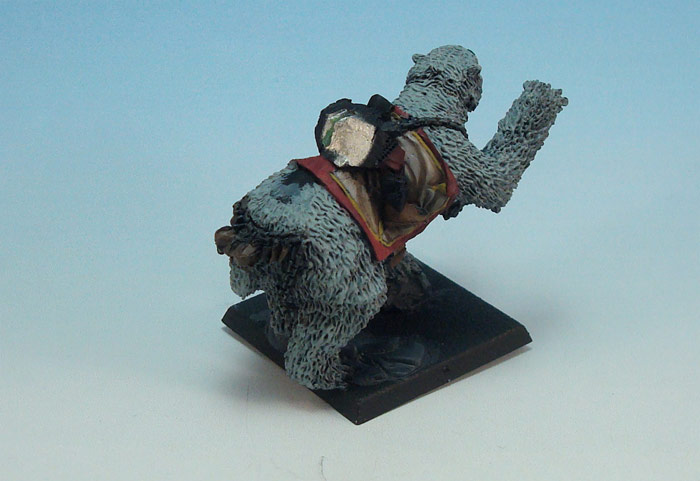
Now that I have smoothed the shadows out I want to create shape so the second drybrush is a mix of Astronomican gray and Menoth White Highlight (P3) – I choose this color because it will give some warmth to the fur. When looking at pictures of Polar bears they never really have pure white fur all over but instead it has an undertone of yellow/brown. Menoth White Highlight is an excellent color for this (as is Bleached Bone from GW mixed with some white.) After this I drybrushed the parts I envisioned my light would fall on with pure Menoth White Highlight.
Step 4 – cleaning up (optional)
The next step can be made in several different ways, you could either just drybrush the highlights using Menoth White Highlight mixed with white, and follow that with a pure white in progressively smaller and smaller areas to finish the fur. I prefer to go over the fur and pick out individual strands with normal brush strokes and “clean up” the drybrushing. Normally I just do it on the parts where the strands of hair are lost and/or the areas that are the most visible. By highlighting the fur this way I also have more control exactly how the light falls – something that is harder with a drybrush (I have seen it done by drybrush “masters” though – I am just too sloppy with that technique :-),)
In this step I also picked out all the claws in pure black.
Step 5 – glazes
The fur as is now is fine for rank and file models that you don’t want to spend too much time on, but to give the fur “life” I like to give it a few glazes. A glaze is a really thin paint mix (think wash consistency) applied carefully with very little paint in the brush. I add glazes to represent dirt, light reflections and other things that you would see in nature – where colors are seldom just opaque fills. I mix these glaze with the basecoat color because it makes the glaze more consistent and easier to blend into the base surface – sometimes just a hint of a color does more than the color itself. I recommend playing around with glazes on every type of surface and try colors you might not necessarily feel would be the most obvious – if you make a mistake hopefully your paint application was so thin that it is easily fixed.
I wanted to have one warm glaze and one cold to represent dirt and light reflections respectively. So I gave the model a few glazes of Astronomican Grey mixed with progressively more Gun Corps Brown (P3) and Astronomican Grey mixed with Sanguine Base (P3 – I love this color for glazes since it sits right between warm and cold.) When applying glazes always start your brush movement in the lightest area and “push” the paint (move the tip of your brush towards) the shadows. If the color is light enough it leaves more paint in the shaded area than it does in the lighter – creating the effect we are after here.

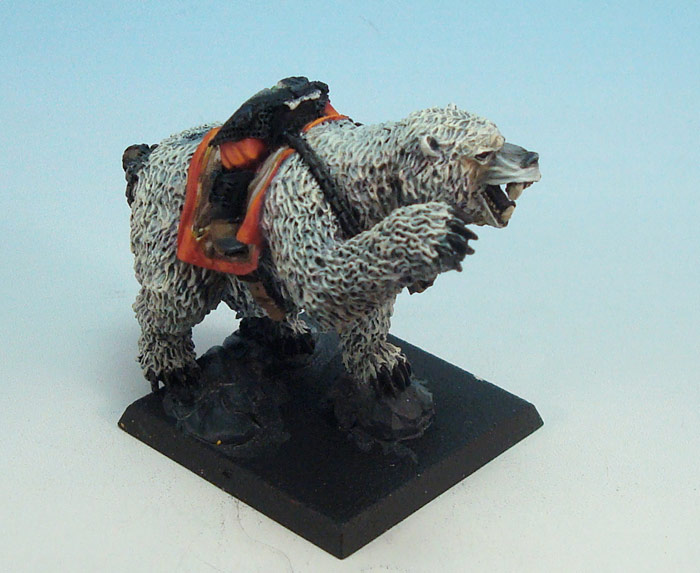
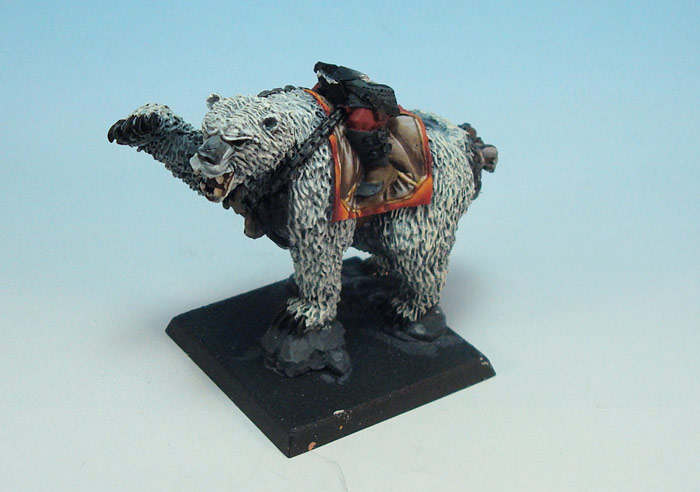
Step 6 – final
I cleaned up any mistakes I had made in the steps before (too much purple for instance), it is important to notice that I did about 10-15 “mistakes” myself while painting this and then I tried to “hide” it by cleaning things up.
Whenever painters in my area asks for tips I always say: “Play around with it – you can always fix it..” because I feel like taking creative risks are good for evolving your overall skill as a painter.
The nails were finished in this step by layering black mixed with progressively more Hammerfall Khaki (P3) on smaller areas around the top edges of the nails.
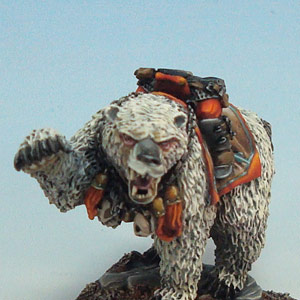
Detailed look – the face
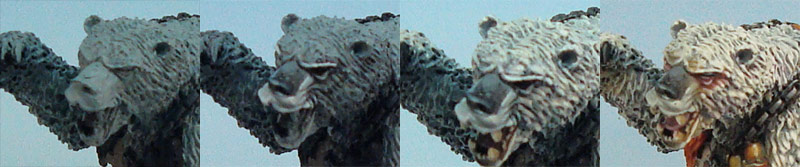
I wanted to show the progression of the face of the bear in more detail. I am still using the same colors for highlight and shade as for the rest of the model, but by adding glazes and color I give structure to the face and make the details I want “pop” (in this case adding purple/red around the eyes + the tongue and pure black to the nose).
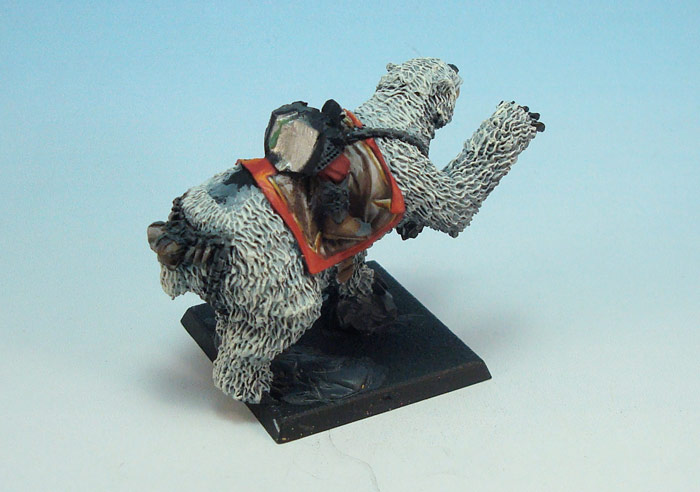
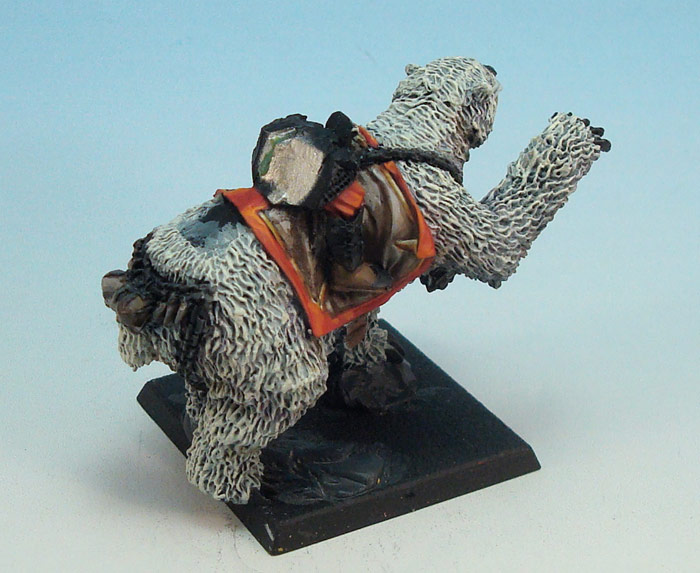
The finished bear is now eagerly awaiting it’s rider -which will be part 2 of this tutorial.
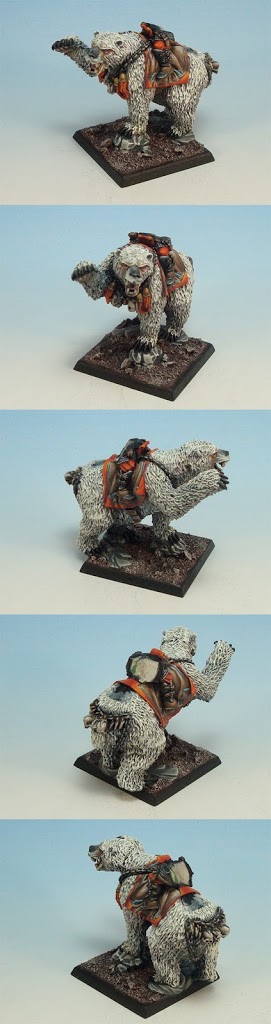
(Please note that I changed the detail color of the arrow pattern on the pelt to blue halfway into this tutorial because I felt it made for a better spot color – the rider will show if I was wrong or right :-).)
I hope you enjoyed this tutorial and that it helped you or gave you some inspiration inspiration. If you have any questions about any other part of the miniature don’t hesitate to ask and I will try and answer as quickly as I can. I have a blog http://mananarepublic.blogspot.com or you can contact me through the BoLS lounge or drop a line below.
