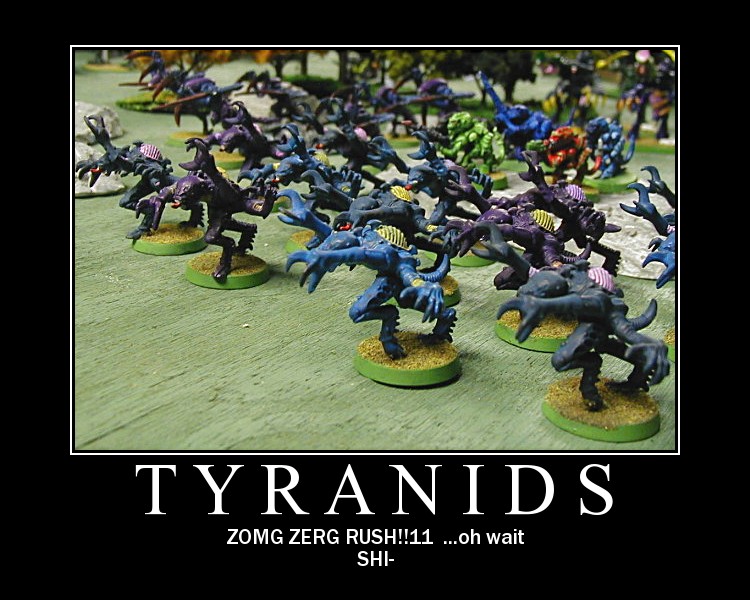
40K Tactics: Tyranids – Part 2 – All Reserve

Guest post by Ghoulio of Legio Minimus.
Any Tyranid players out there sick and tired of just setting their army up on their side of the board, marching across the field for 3-4 turns, getting shot to pieces and having a small amount of their force to try and catch up in the final turns of the game?
Yeah, me too, and that is what led me to playing it this way. In my personal opinion this is by far the most competitive way to play Tyranids with the 5th ed Codex and it’s also one of the most fun. It is so much fun to finally be dictating the games on YOUR terms. So, without further adieu let’s get to it!
The first thing I want to get into is what you will need in order to play this type of army. Certain units, even ones you would normally think are crap, fit very well into this play style. Anything that can come in via deep strike, outflank or unique deployment are perfect. Here is a quick list of units that are ideal for this army:
HQ
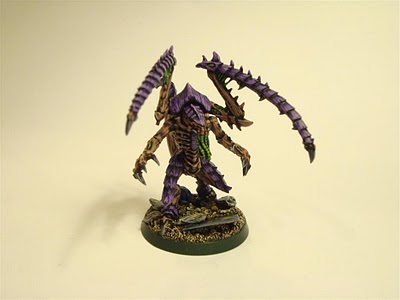
– Flying Hive Tyrant (this is the only one that is a MUST). Note: he MUST have Hive Commander.
Elites
– Ymgarl Stealers (this is the other that I would have to say is virtually an “auto include”)
– Zoanthropes in a pod
– Lictors/Deathleaper
– Hive Guard
– Doom of Malantai in a pod
Troops
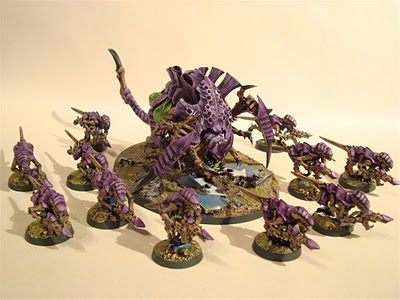
– Tervigon (only as troops so you can outflank with Hive Commander)
– Termagants (regular)
– Termagants w/ Devourers in a pod
– Hormagaunts (only if outflanked due to Hive Commander, if not use gargoyles instead)
– Genestealers
Fast Attack
– Raveners
– Gargoyles
– Shrikes
Heavy Support
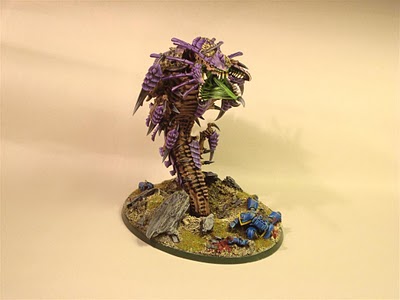
-Trygon
– Mawloc
– Carnifex in a pod (specifically a dakka fex or a screamer killer)
Now, there are a bunch of units on that list that seem fairly “suspect” and I would typically avoid like the plague (specifically the lictors), but they actually work well in this list. Now that I have listed them I am going to do a quick rundown on how they should be used.
Hive Tyrant: The main thing this guy is used for is Hive Commander (the +1 to reserve rolls) and Paroxysm. What I normally do is land him beside those pesky long fang/dev squads and paroxysm the crap out of them, greatly crippling their ability to return fire (i.e. they are only hitting on 6’s). If he actually lives past getting your army on the board then that is a bonus. Due to the nature of this army I typically only arm him with dual scything talons, wings and his two psychic powers. He comes in at 255pts (so super cheap for a flying tyrant). You could also make him a Dakka Tyrant which would be equally good.
Ymgarls: I am rapidly finding out that this is one of the best units in the book, hands down. The reason this unit is so important to this type of army is their ability to act normally the turn they come in (i.e. get into assault). Because of that they really are the ultimate boogeyman in an army of boogeymen. The best targets for these guys are similar to the Hive Tyrants: Devastator/Long Fang Squads, or anything that is not in a transport (IG blob squads are amazing targets). Charging the squad you paroxysm is by far the dirtiest way to use these guys. A friend of mine paroxysm’d a squad of 30 ork boyz, then charged them with 10 Ymgarls and chose “+1 Toughness” for the first turn. That means the orks hit him on a “5+” then wounded him on a “6+”, so it didn’t even matter if he was charging into cover. Needless to say by the time it came back around to his turn, the boyz were gone.
Lictors/Deathleaper: This is one isn’t one of the strongest choices you can take, but does actually have its benefits. Since your entire army is coming into the game via reserves you actually get around the single largest weakness for Lictors, and that’s getting shot to crap the turn they show up since they can’t do anything for a turn. Their ability to be placed anywhere they like is quite good. I would place them near stuff where the enemy has to deal with them (ALWAYS in cover btw). What this does is draw attention from the stuff in your army that actually matters. I personally would always just take a Deathleaper instead of Lictors because he is just better in every way and has some extra use against psykers, but you will use him in the exact same way.
Hive Guard: Ah, so you noticed I put in hive guard. They are just one of those units where there really isn’t any reason why you WOULDN’T take it. They still fit into the overall scheme of this army – that is “come from all sides.” This can include your own table edge. Another great thing is you can actually USE your Trygon tunnel every once in a while. The Hive Guard is the single best unit to use through that as you pop up behind enemy lines and throw tonnes of Str 8 shots into their rear armor. If that doesn’t work out you have a 30” range the turn you come in, which should put you in range most of the time. Another option since you don’t need LOS is to just start them on the board and hose transports turn one.
Mycetic Spore Pod: As I mentioned in previous articles, it’s a complete waste of points putting guns on these guys. Just land it as close to units/transports as possible and let its “ripper tentacles” do their thing. The point of these isn’t to do damage but get units you want “stuck in”…er…”stuck in”.
Tervigon: Basically same goes for this as the Hive Guard. They are just so stupidly good why WOULDN’T you take it? Two ways to use him would to be either set him up out of Line of Sight (if you can) or outflank him with hive commander if you have nowhere to hide him. In this type of army I ONLY give him Catalyst as you typically won’t have enough Termagants to make Toxin Sacs worthwhile.
Termagants (Basic): These set up in your own deployment zone to camp an objective, hopefully out of LOS, but not a big deal. Other than screening your Tervigon/other creatures there isn’t much other use for them. In this type of list I only take them in units of 10 and the only reason to have them is to make my Tervigon scoring.
Termagants (Devourers): A unit of 20 of them in a pod costs 240pts and it is worth every penny. The turn they land they put out 60 (yes 60) str 4 shots at 18” range. They just bring serious hurt. Due to my play style I reserve them for larger games.
Hormagaunts: As I said in the unit list: if you aren’t outflanking them with Hive Commander don’t bother taking them.
Genestealers: This unit is made for this army. You can either infiltrate if there are obvious places to put them out of LOS or just outflank these suckers. As far as setting up these units I normally take them in blocks of 8-9 (8 stealers with a broodlord for example) and they all have toxin sacs. It comes in around 200pts and is just amazing.
Raveners: Believe it or not I try to include these guys in all my reserve lists. It is the only time I will actually deep strike them as nobody shoots at them… ever. In my experience everyone is just so focused on your Tyrant and Trygons to bother with the mini Trygons (aka raveners) hiding in the corner. The nice thing with these guys is they are so damn fast you don’t need to deep strike them anywhere near the enemy, which also helps people not shoot at them. You and I know that they have a min charge range of 19” and a max of 24”, so they are one of the nastier things in your arsenal.
Gargoyles: Mainly used as a Hive Tyrant Screen. I always deep strike them in between my Hive Tyrant and the rest of my opponent’s army. They are also just a great, cheap unit with great speed once they can start acting like normal.
Shrikes: Shrikes work very well in this list, and like most things that is 100% due to target saturation overload. Just throw boneswords, lashwhips, toxin sacs, scything talons (or devourers, 100% personal preference as they are both free) and you are good.
Trygon: Made for this army. Gets safe deep strike for free and has a built in shooting attack that can harm the rear armor the turn he comes in. With these guys you just get super aggressive and watch everyone try to shoot him while everything else in your army remains untouched (which is fine). There really isn’t much more I can say other than take 2… or 3. The last thing of note is to “Prime or Not to Prime”? The only reason I would prime your Trygon is if you need the synapse. So if you are short and you have lots of units that are affected by being out of synapse (like raveners and gargoyles) then prime it up. If not, then I wouldn’t bother with it. One bit of advice is NEVER Prime him because you want the extra 5 shots, it’s not worth it.
Mawloc: The nice thing about Mawlocs is starting them on the board turn one and burrowing them at the start of your turn. Gives you a unit that comes in the following turn that you don’t have to roll for, and it completely messes up parking lots and is a wonderful distraction. One thing to keep in mind, though, is if you have the points/model ALWAYS take a second Trygon instead of one of these guys. Trygons are just flat out better in every way, and after about 50 games using Mawlocs I am now starting to convert them over to become Trygons instead.
Carnifex in a pod: It’s just another unit to saturate your opponent with Target Priority. I personally would only do 2 different set-ups for this guy. Either A) Dakka Fex (i.e. 2 MC Devs) or B) Screamer Killer (2 sets of scything talons and bio plasma). Keep them cheap and effective, don’t overload them with useless upgrades (well, this goes for ALL Nid MCs). The only thing that you really need to keep in mind for this unit though is it performs the exact same function as a Trygon, costs more and is 2 kill points instead of 1. That last point in particular makes me almost always go Trygon instead of Carnifexs for this list.
Phew! That was a lot more writing then I was expecting… lol. As you can see everything in that list has a special way to enter in from reserves and allows you to fight the enemy on YOUR terms. Another thing that is super fun about it is almost everything is fast. Lots of things with wings, fleet or beasts which gives you that much more flexibility.
Now that we have our Unit list we need to know how to get the most out of it. Here are some very important tips on how to get the most out of this army…
The most important thing when playing All Reserve Nids is making sure you go second. It’s normally fairly easy since most people want to go first, especially if they see you are playing nids (they figure they will just shoot you up for 3 turns while you flail all over the board). The two main reasons for wanting to second are A) You get to see your opponent set up their army and they have to commit to it (i.e. if they have podding dreadnoughts and declare that they are podding in they HAVE to stick with it) and B) They lose 2 turns of shooting at you. You basically take them from shooting you 5 turns in a row down to 3, while you get 4 turns. It is a HUGE advantage. Going first isn’t an auto lose either; it just makes it bit tougher, that’s all. Most players don’t know what to do when you set up NOTHING and say “I am done setting up, your go.” It honestly flusters even the best players, which is one of the main reasons this list works so well. I have seen people make serious errors in both deployment and what they will actually shoot at just because everything is coming in from reserve.
Overload one flank. This is important for many reasons. As most Nid players know, the only way you reliably win games is by using the synergy of your force, and this tactic really plays on that. Also, depending on how the terrain is set up, and how spread out your opponent is, you can greatly cut down on their firing lanes limiting the damage you take on that first turn. They have one turn to assess what is coming at them and deal with it. That’s it… 1 turn! If they make mistakes you are there to feast on their delicious meat bodies of baloney meat.
Target Saturation. One of the two real strengths with this list is how much you overload enemies with things to shoot at that are in their face. Most of the units listed above are all very deadly, so most of the time they will end up shooting one thing and the 5 others they ignore will cream them the next turn. It’s why units like Lictors and Raveners work well in this list. Both units CAN do well if they are allowed to run a-muk, which 9 times out of 10 will happen. The main job YOU have as the Nid player, though, is assessing the units that will ruin your day on the turn you come in. It is the main reason why I have so many units dedicated to taking out the enemy anti-tank (paroxysm/ymgarls/etc.). If you can neuter much of their anti-tank, they can’t deal with your MCs and your next turn they are toast. You want to stun as many vehicles as possible with shooting (like your Trygons shooting attack, devourers, etc.), which means the units inside can’t shoot either. If they get out to shoot you then your opponent has done half the work for you. It is another reason why I love overloading the weak flank is it makes your job of picking the right targets easier as you reduce the stuff you NEED to deal with.
Here is a sample list that I am currently running with great success:
HQ
Hive Tyrant – Wings, 2 Sets of Scything Talons, Paroxysm, Leech Essence, Hive Commander
Elites
Ymgarls (10)
Zoanthropes (3) – Mycetic Spore
Troops
Tervigon – Cluster Spines, Catalyst
Termagants (10)
Genestealers (10) – Toxin Sacs,
Heavy Support
Trygon
Trygon
1500pts
Everything can deep strike or outflank – minus the 50pts of termagants (which don’t need to). I have many units that are functional the turn the arrive and almost everything fills a “niche” in the army.

