FOW AAR: Desert Domination- British vs German


After the I-95 Domination Tournament, both Sean and I couldn’t wait to try their “Blind Domination” mission again. We decided it’d been a while since we were in the desert, and so decided to use some lists from a previous battle of ours that we thought were very well balanced.
SEAN’S GERMAN SCHUTZEN
|
STEVEN’S BRITISH RIFLE COMPANY
|
The basic premise of Blind Domination is similar to Domination, with a few big changes. First of all, the order of platoon arrival must be mapped out ahead of time. This is done by writing platoons on a grid- 3 rows and 6 columns. The rows correspond to the turn the platoon will arrive, and the column corresponds to which 12″ segment of the back edge they will arrive on! On turn 1, only recon and forward observers may arrive. On turn 2, 2 platoons + 1 independent team can arrive. On turn 3 the rest of your force comes on. No platoons are allowed to double time until turn 6, and the objectives also do not “go hot” until turn 6. 8 points must be captured to win.
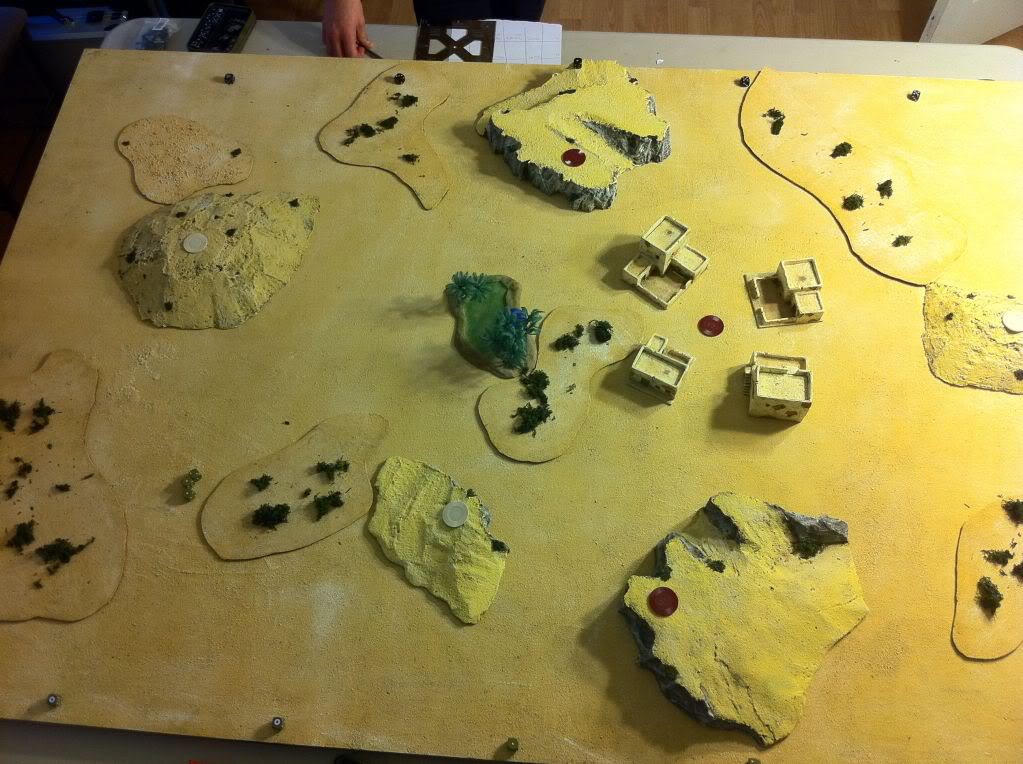
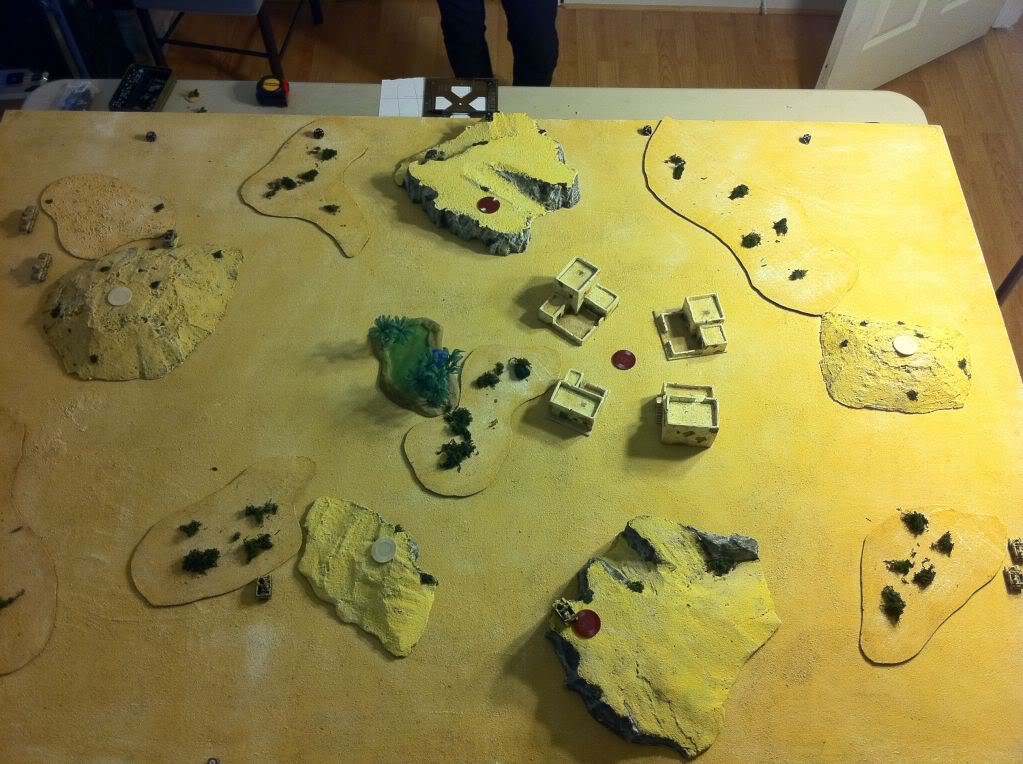
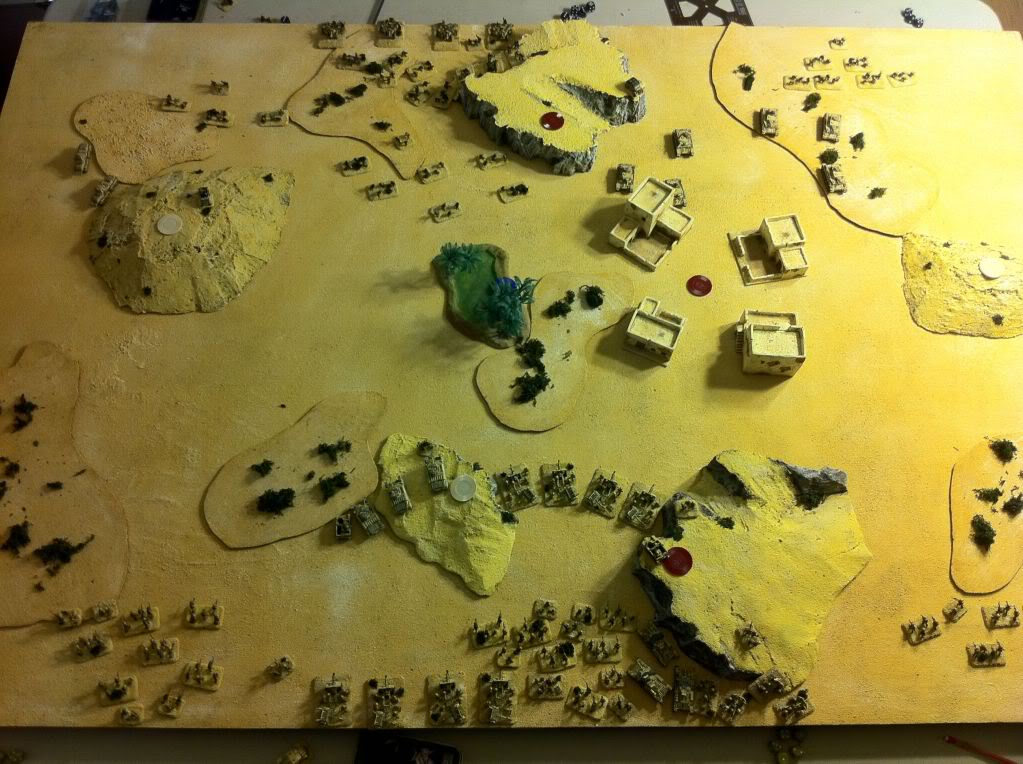
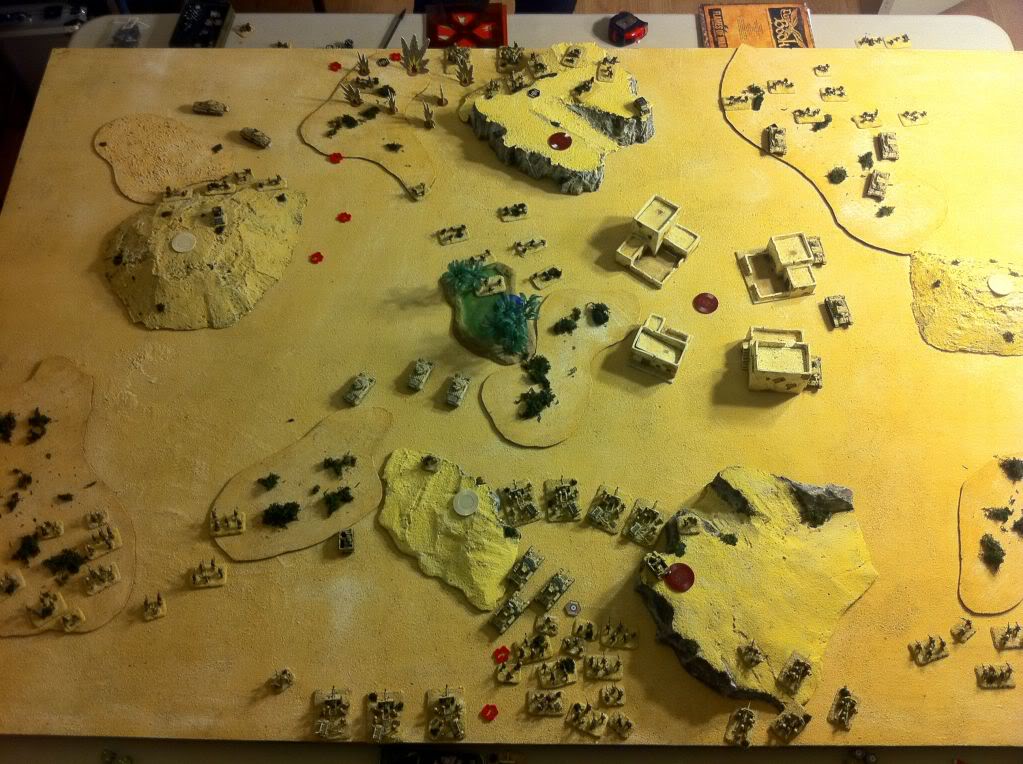
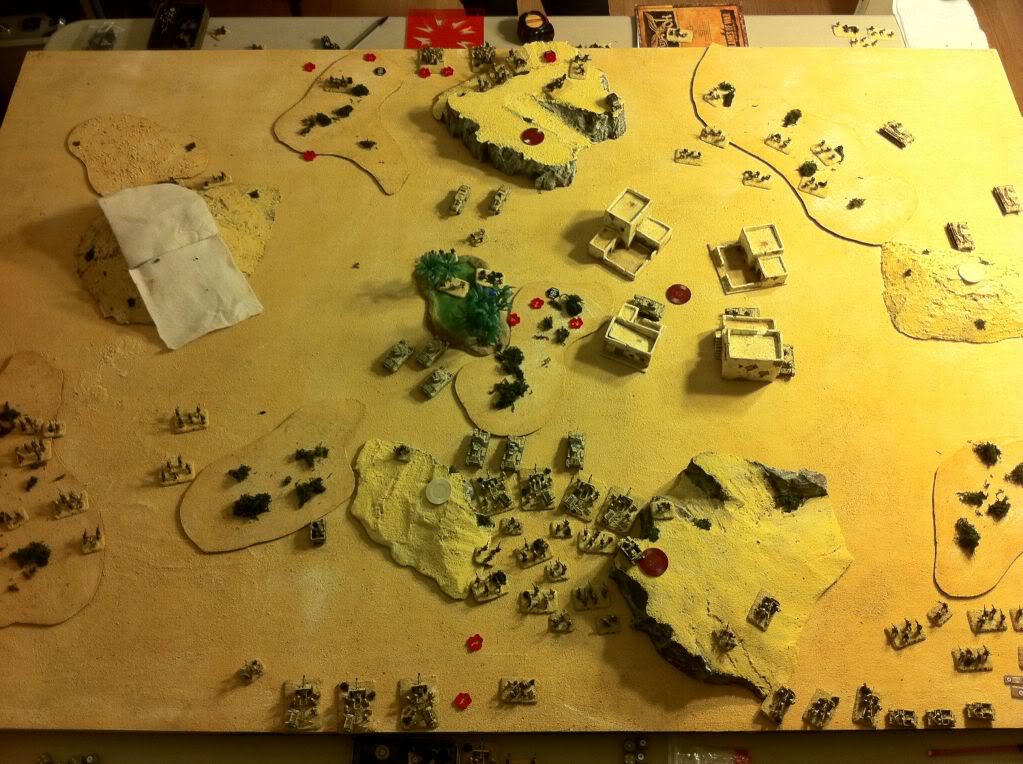
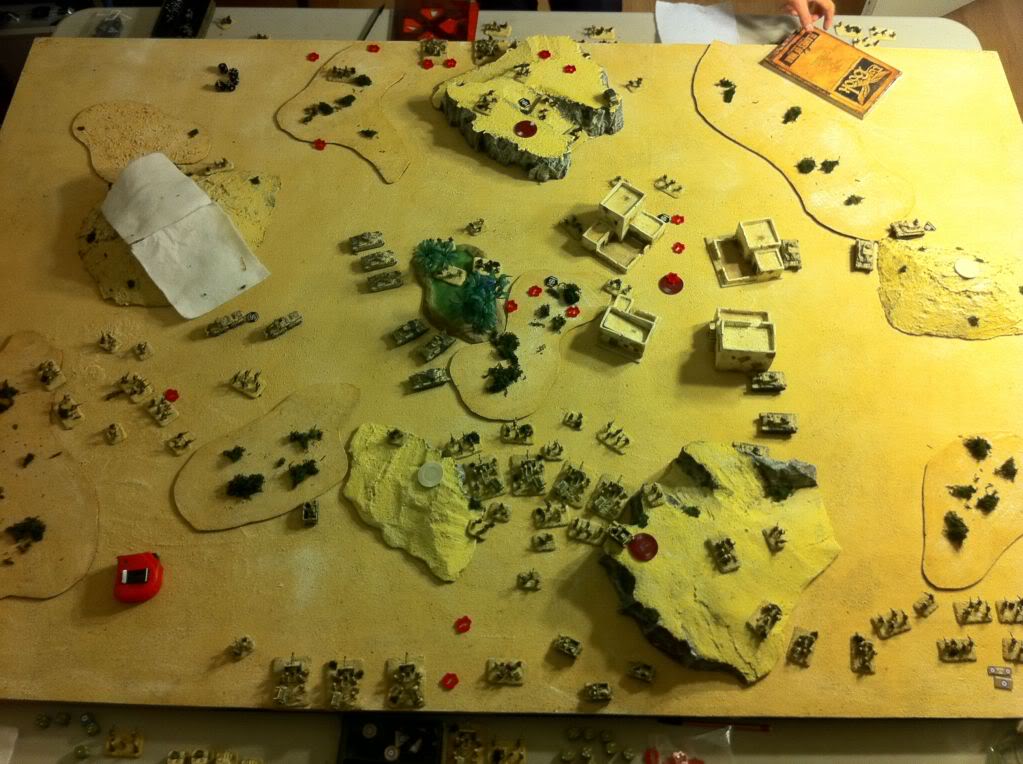
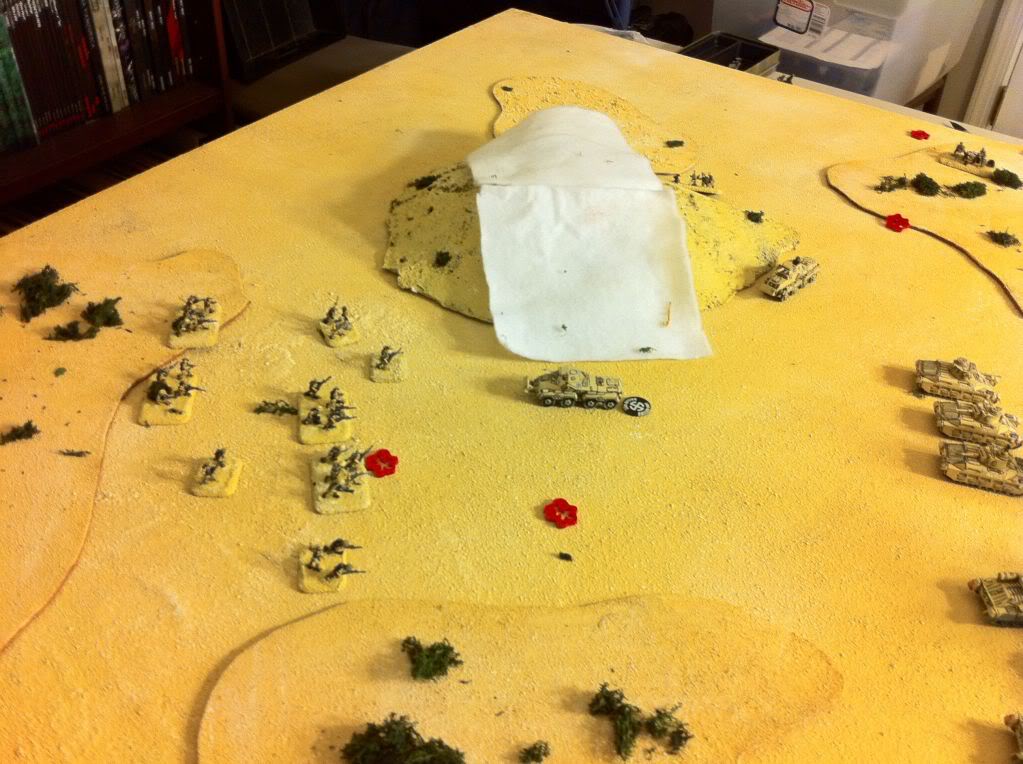
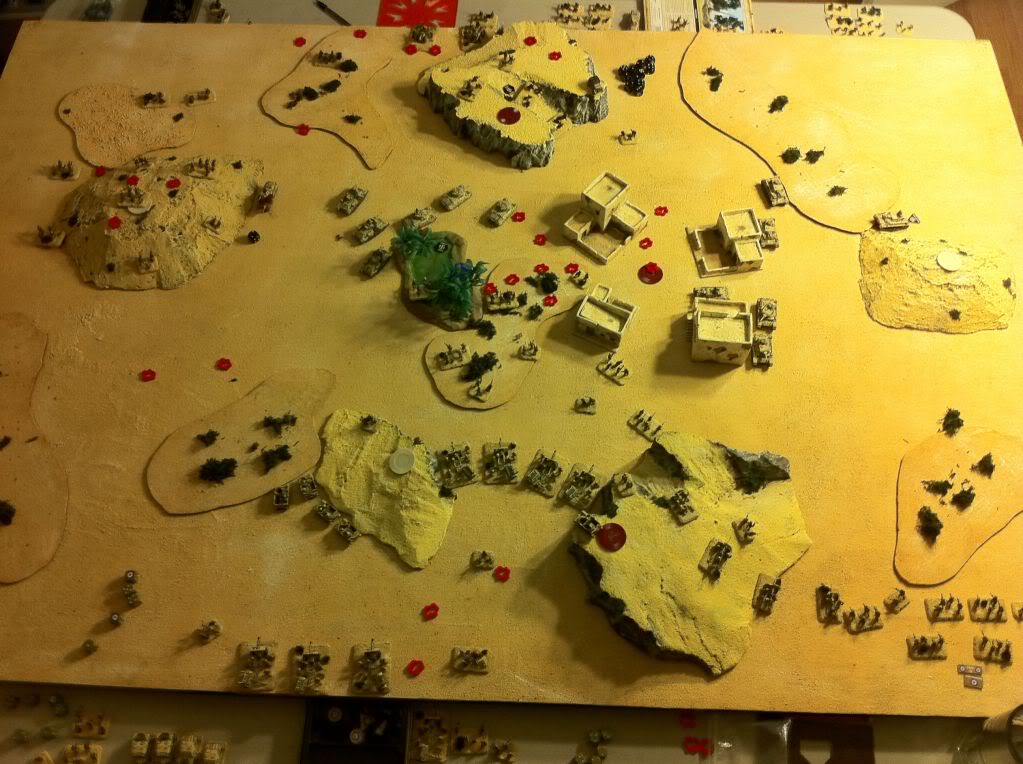
The table from the British point of view. Whites are 1 pointers, reds are 2, and the blue one (barely visible in the oasis) is worth 3.
TURN ONE
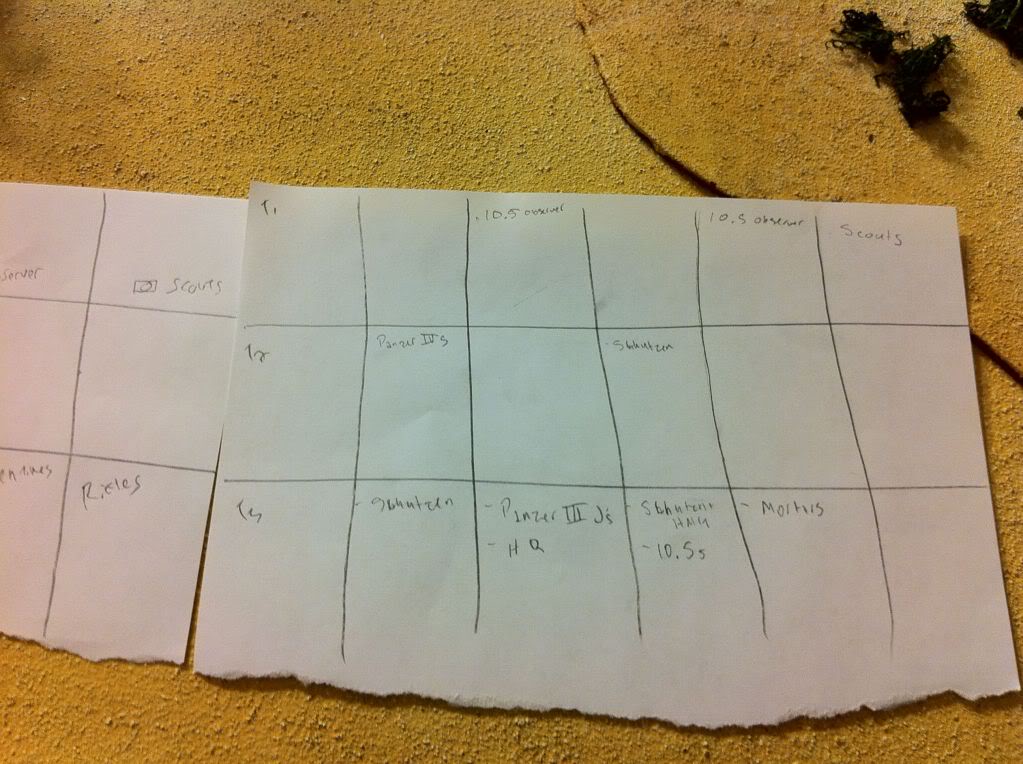
Sean’s Deployment Orders.
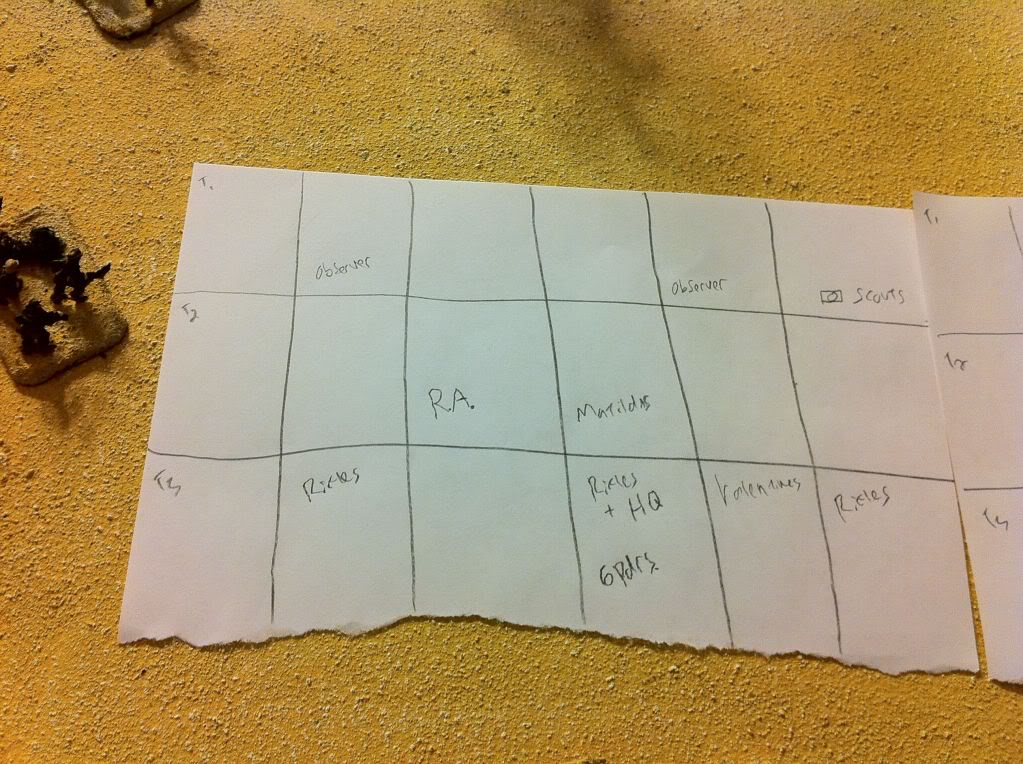
Steven’s Deployment Orders.
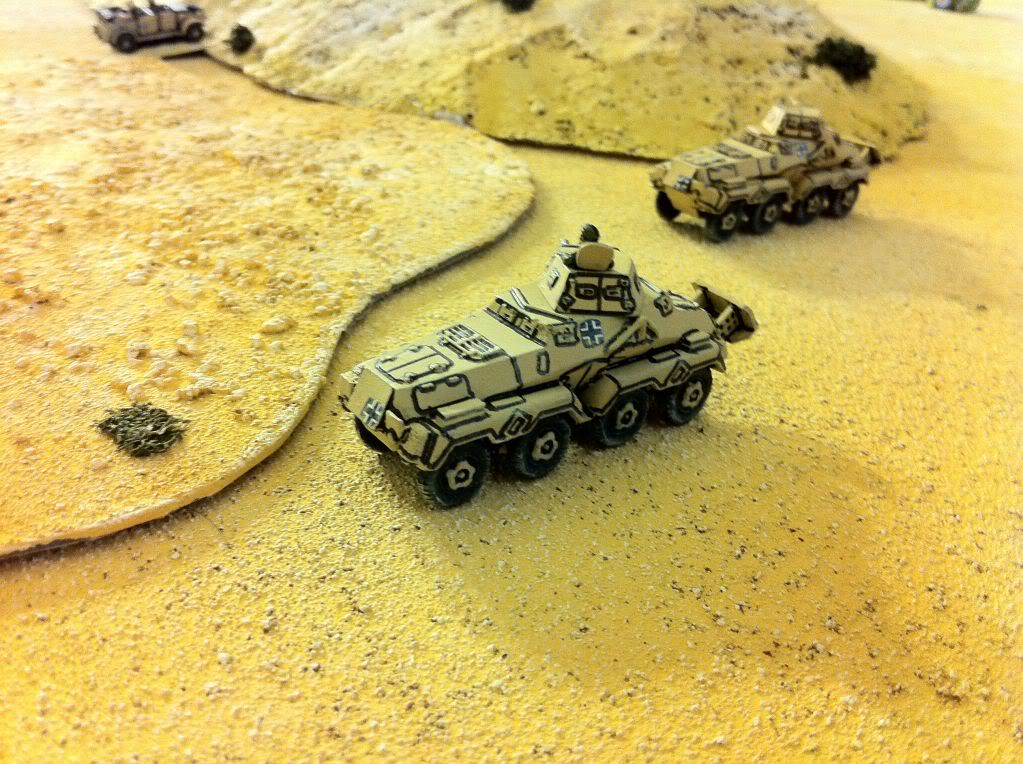
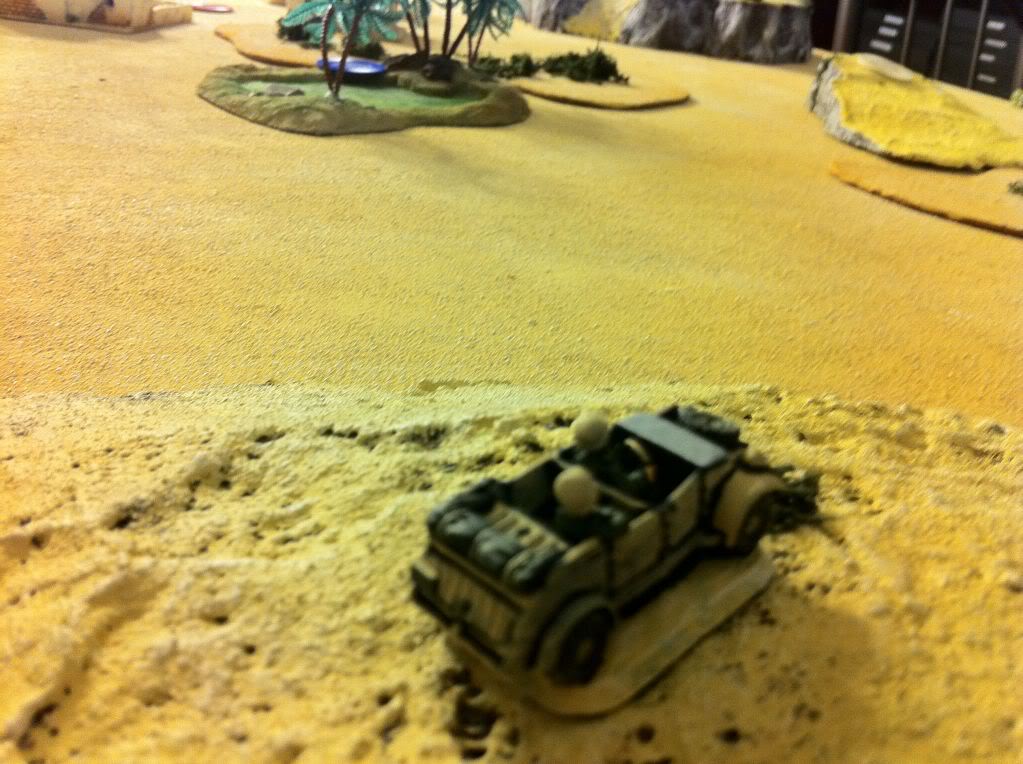
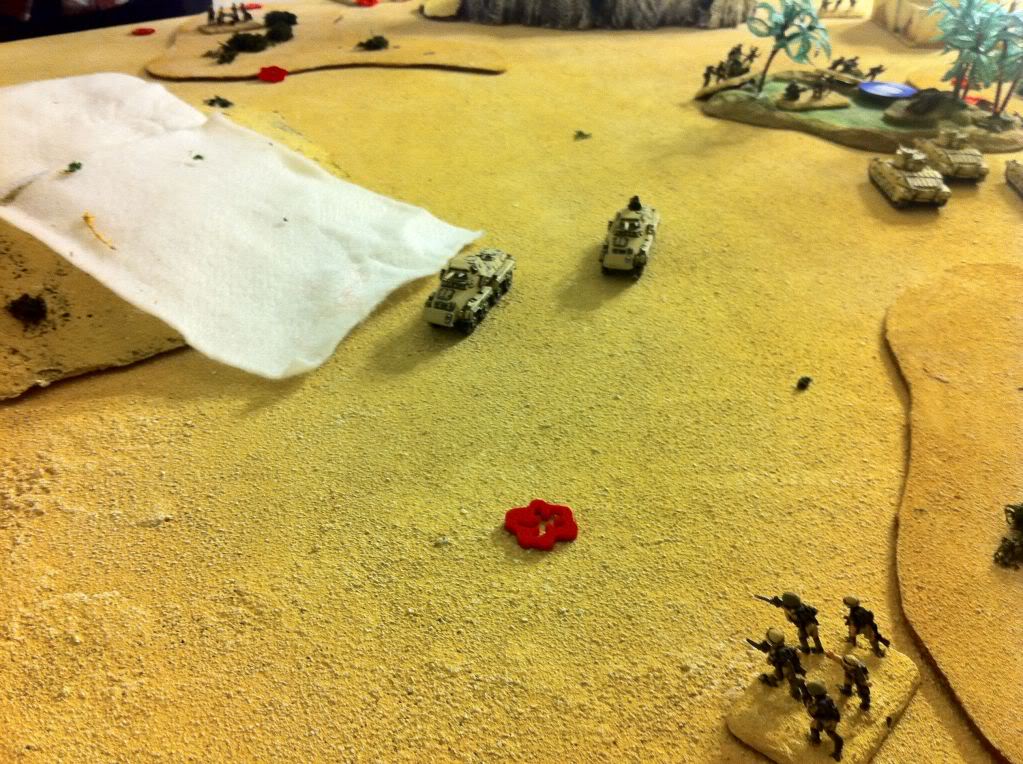
Sean’s 8-rads arrive. We decided to treat the desert as hard packed (road), so both of our recon platoons have great mobility.
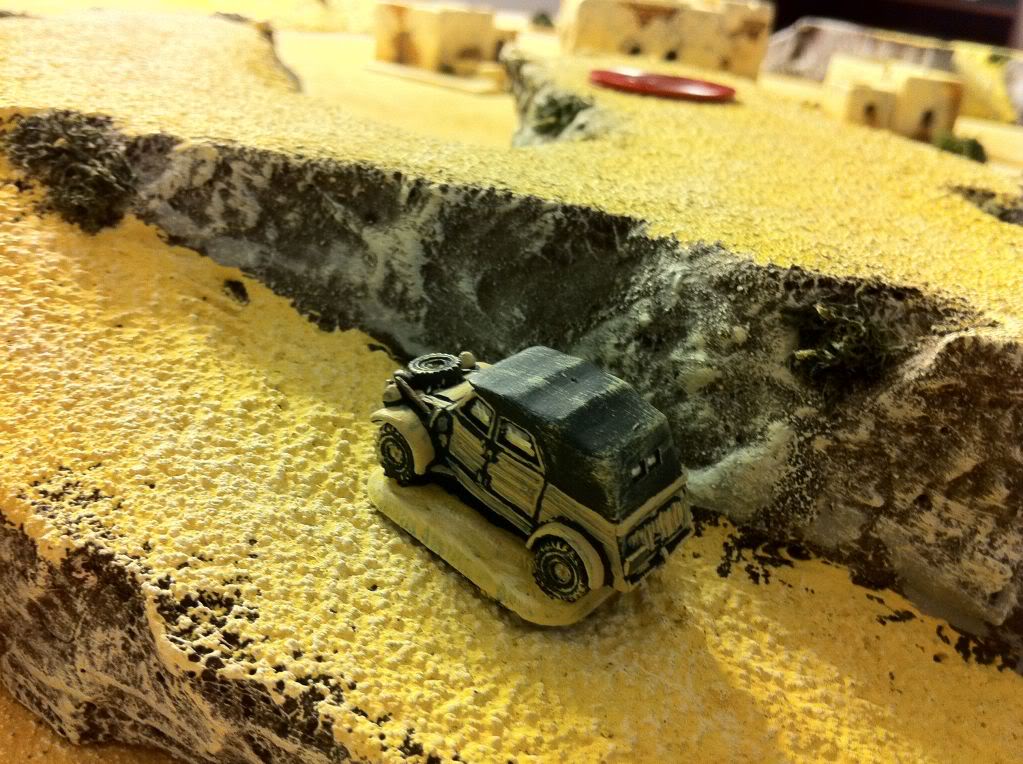
One of Sean’s observers.

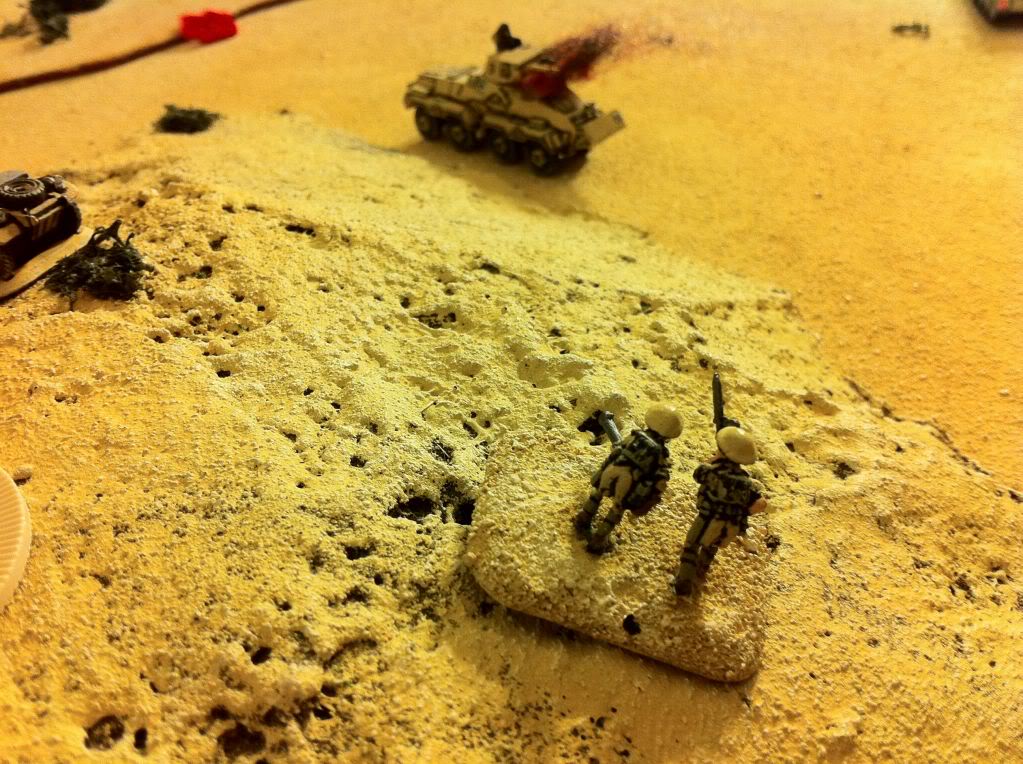
British Scouts move up the opposite flank.
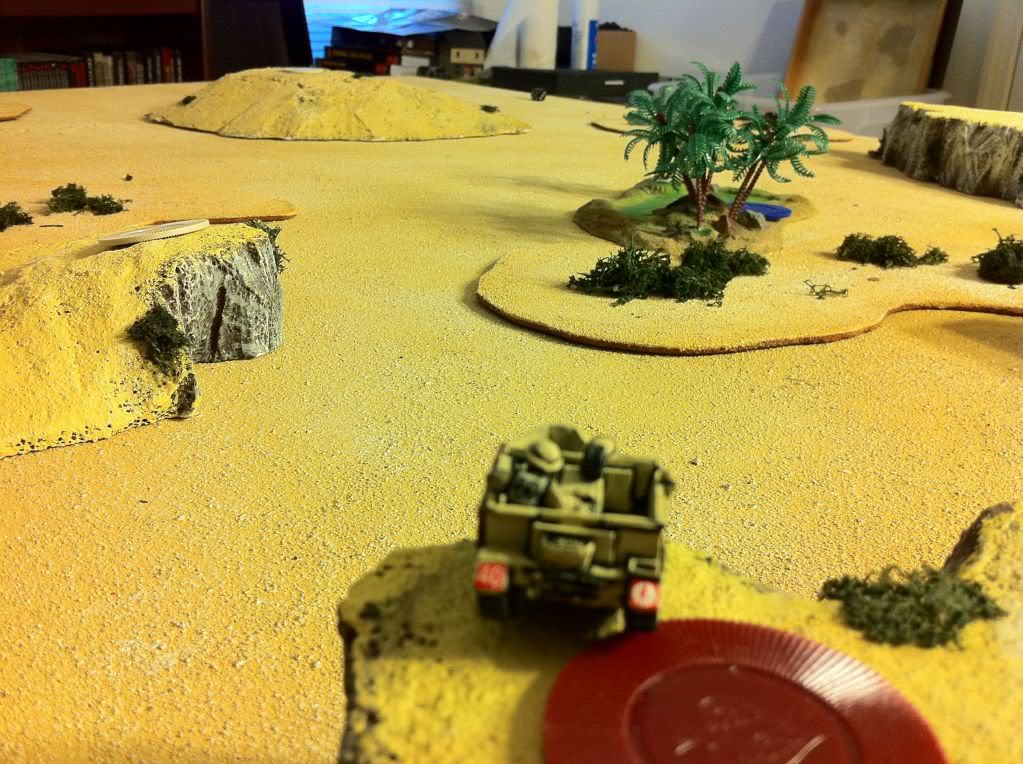
And an RA observer takes up position on a ridge.
|
|
|
| BRITISH none |
GERMANS nonen |
TURN TWO
We both had roughly the same idea with our recon and observers.
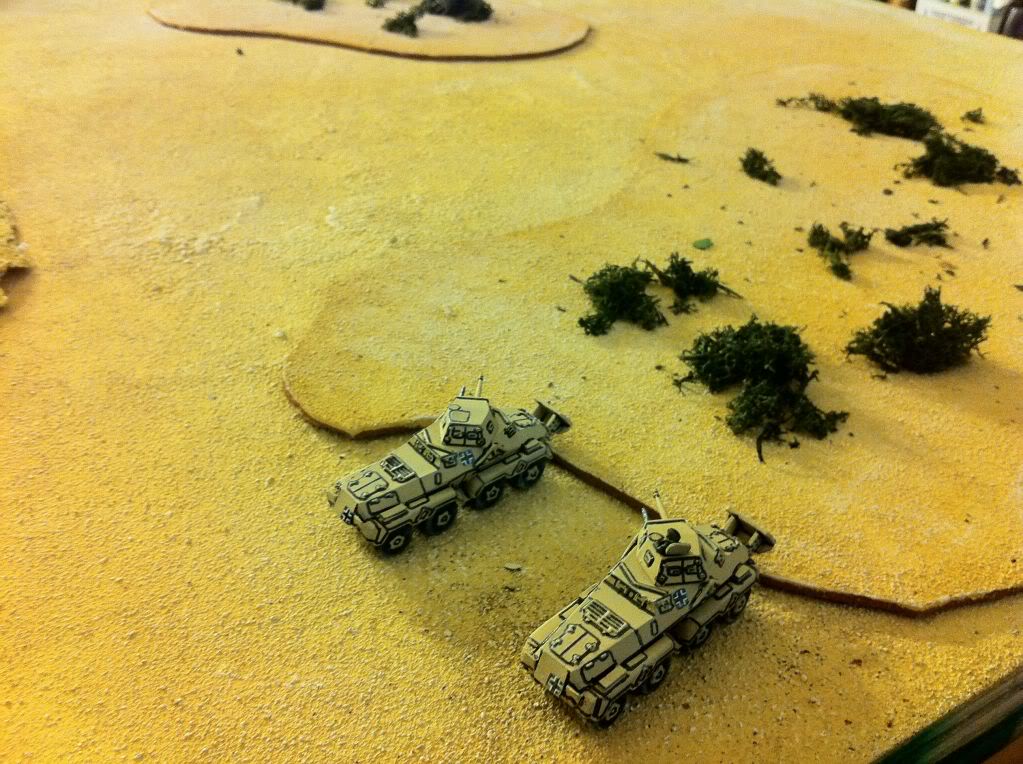
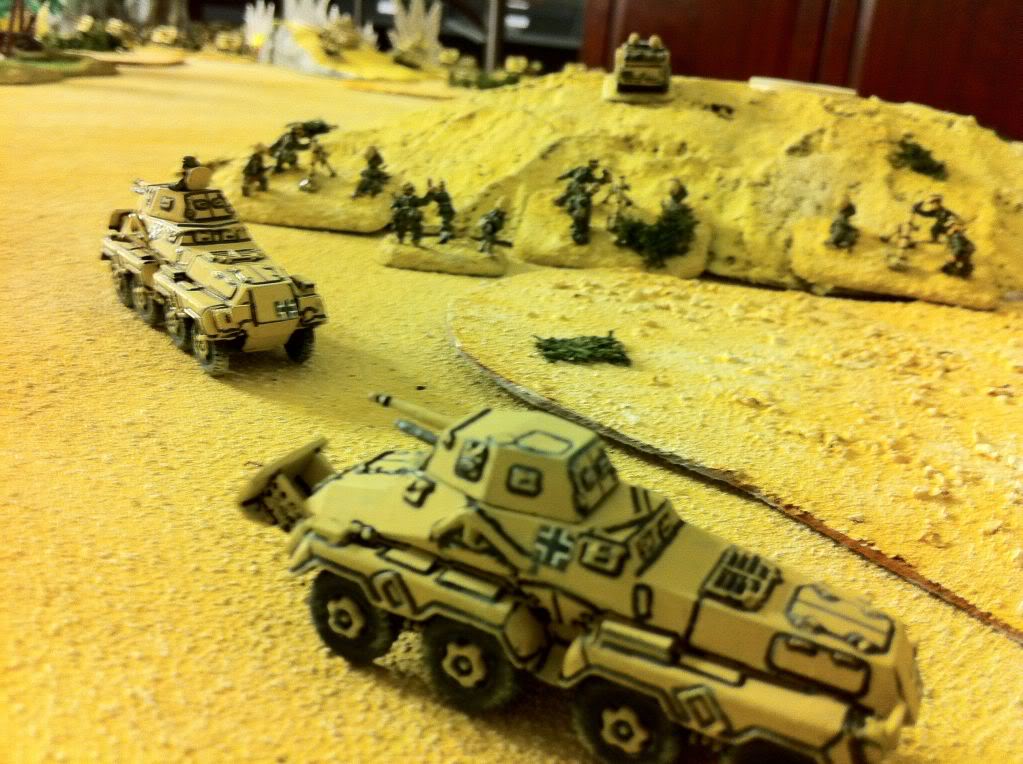
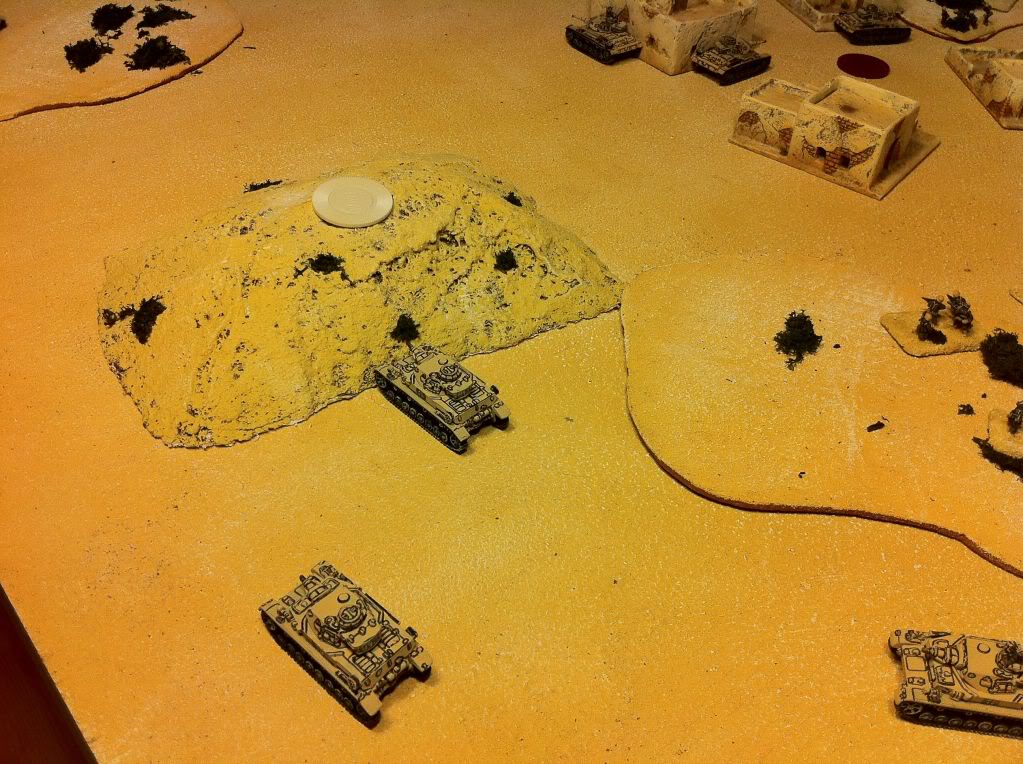
8-rads push further forward.
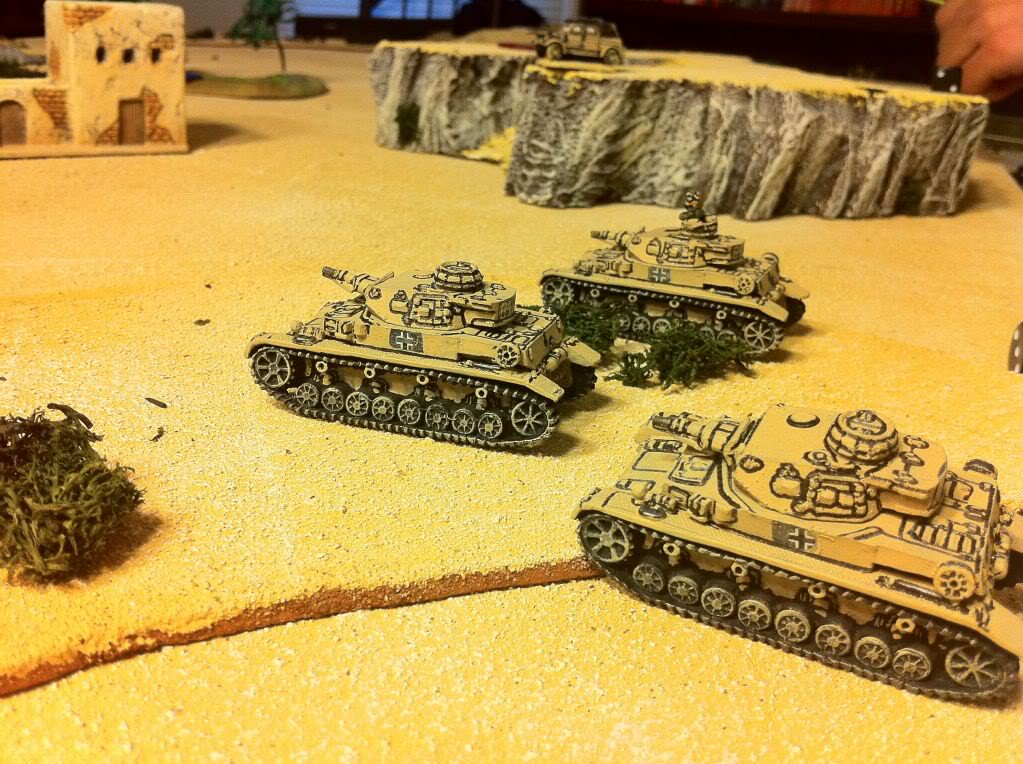
On Sean’s left flank, some Panzer IVs navigate the brush.
While an observer gets into position.
![]()
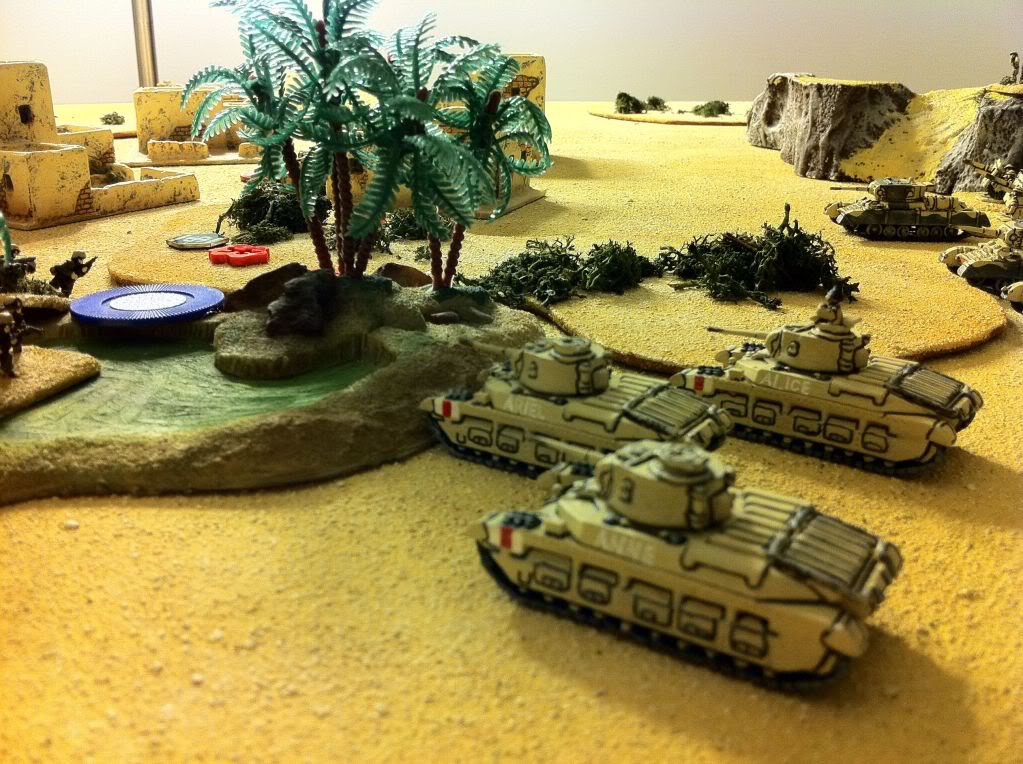
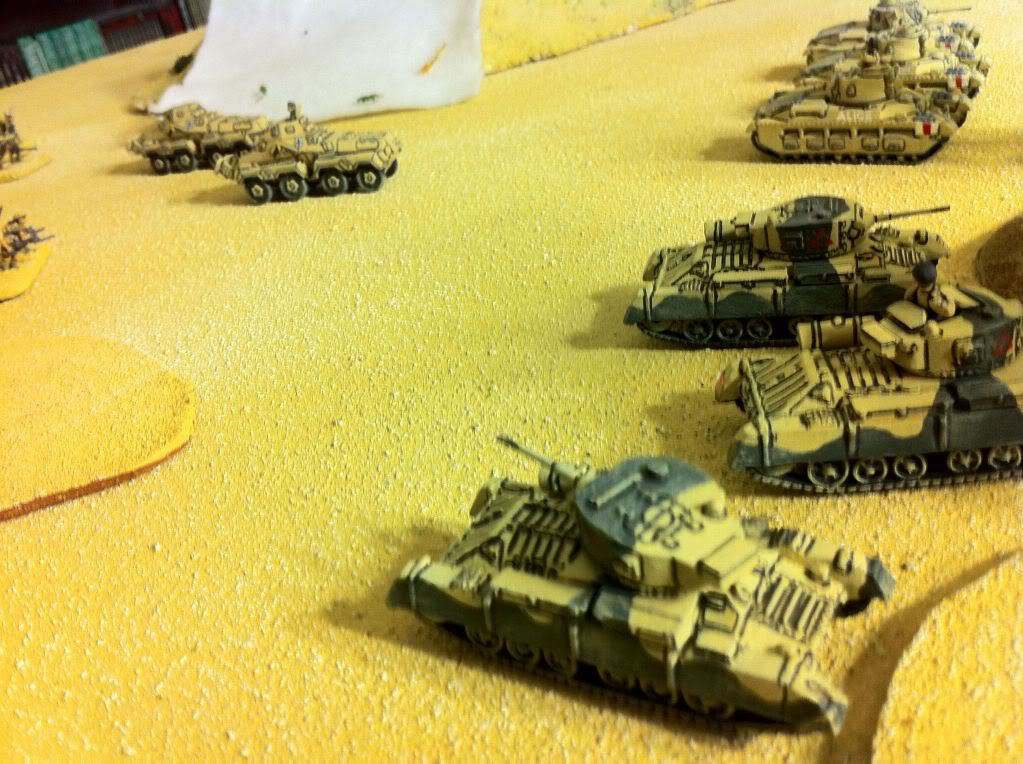
In the British center, Matildas and the Royal Artillery arrive.
![]()
Fear Naught.
![]()
B Battery drives on limbered up.
|
|
|
| BRITISH none |
GERMANS nonen |
TURN THREE
![]()
Note the Schutzen in Sean’s top left- forgot to get a close up of them.
It’s time for the rest of our forces to arrive.
![]()
Schutzen moves up behind the Panzer IVs on Sean’s left.
![]()
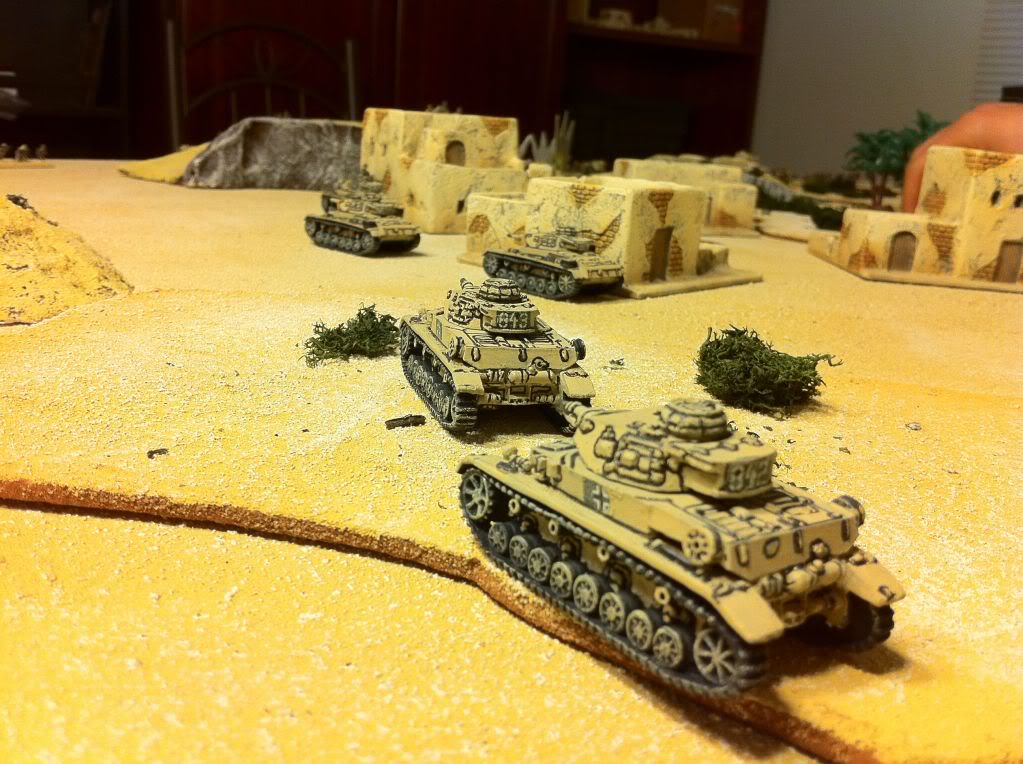
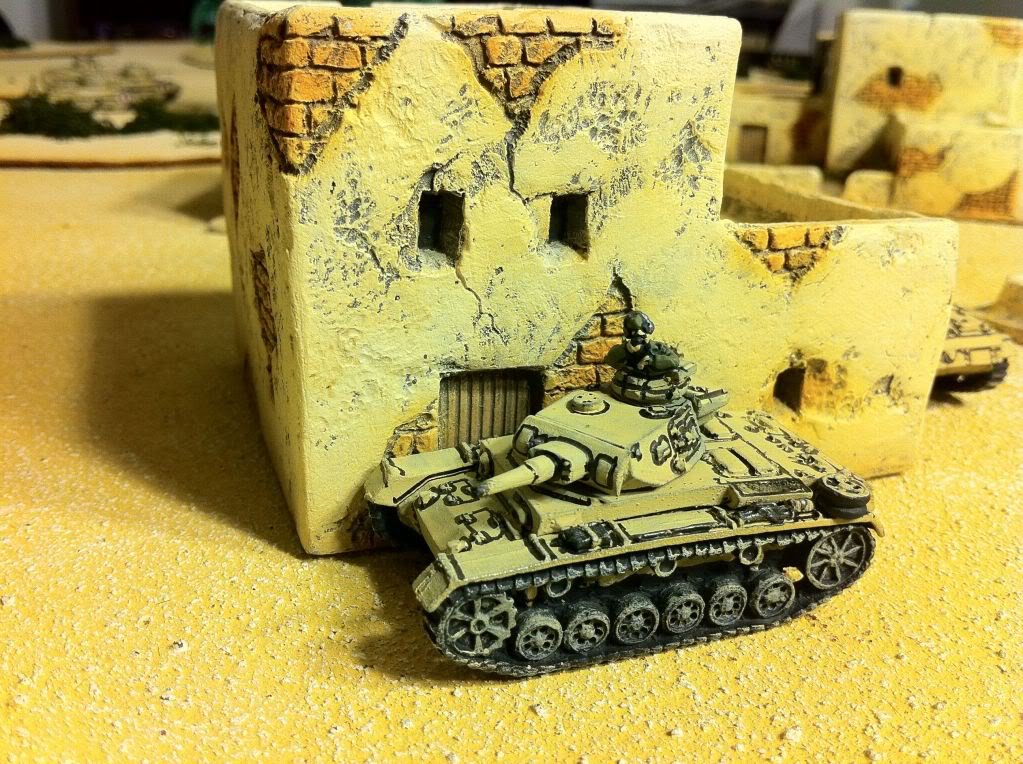
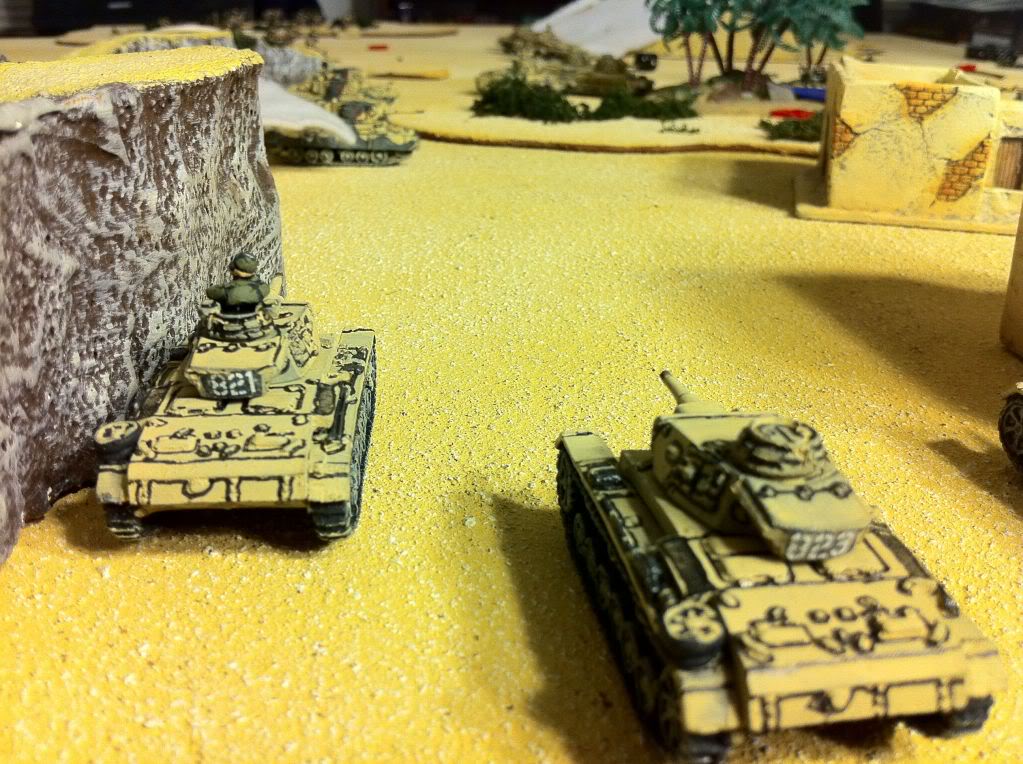
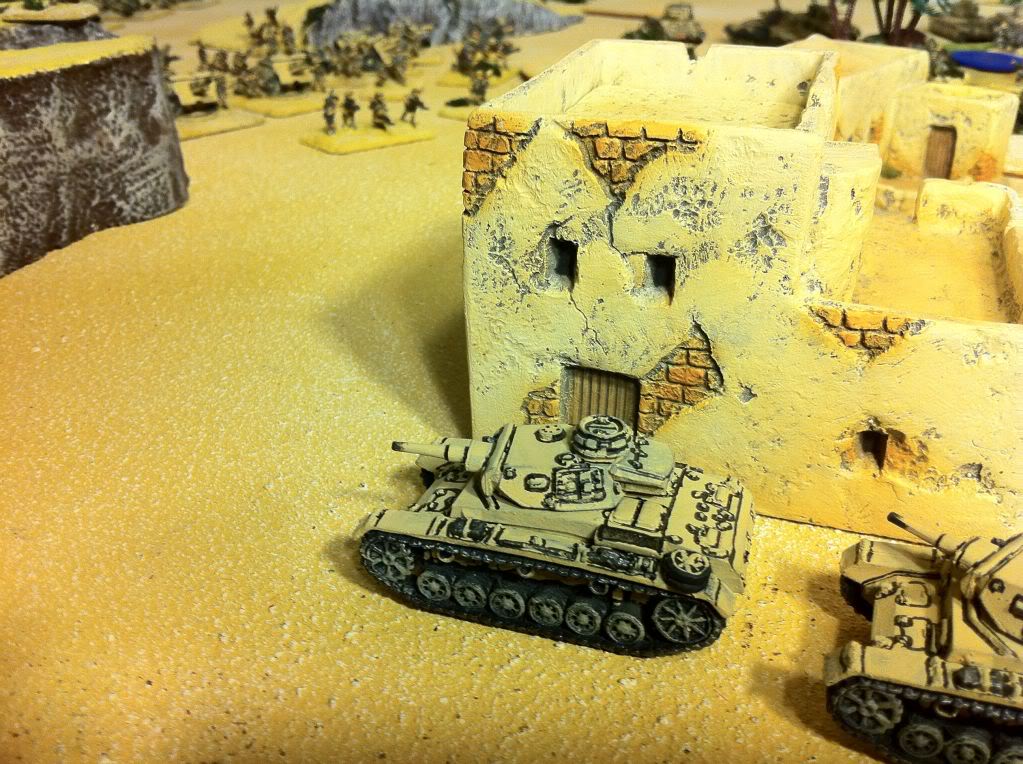
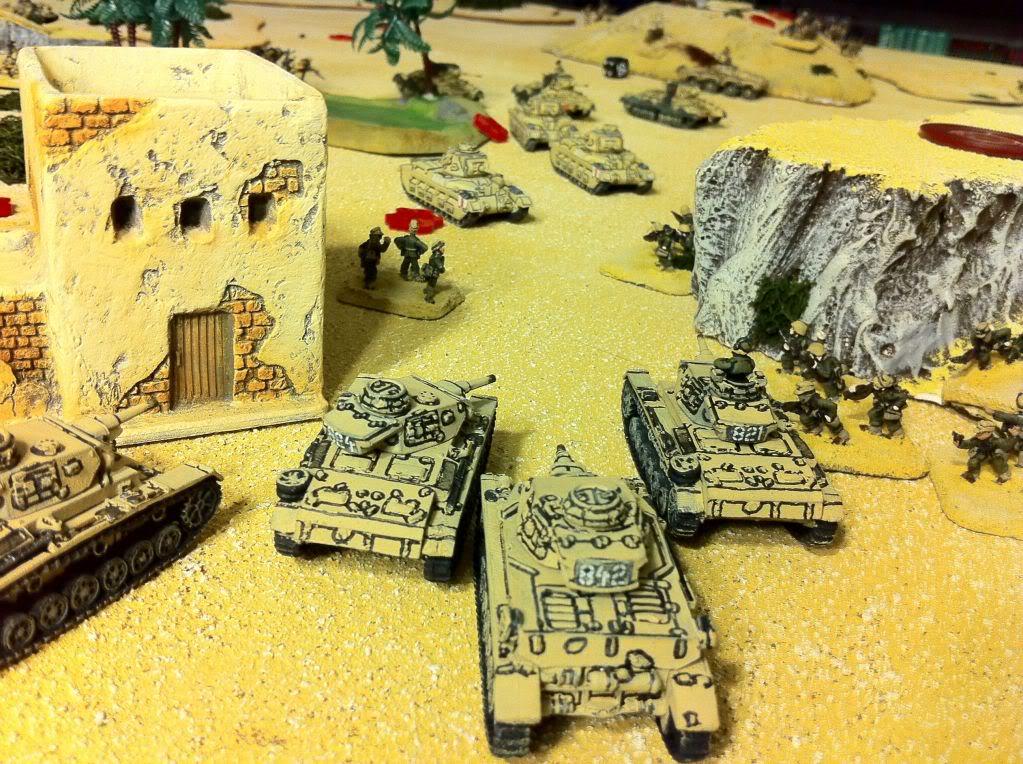
Panzer IIIs arrive just to the right of the IVs.
![]()
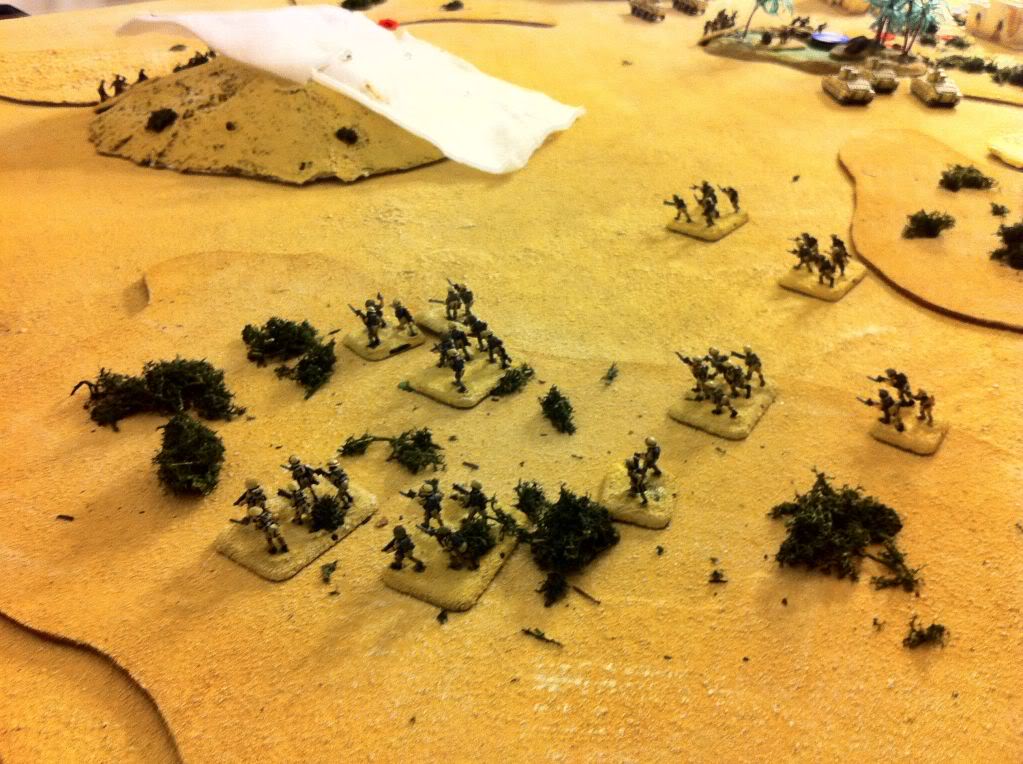
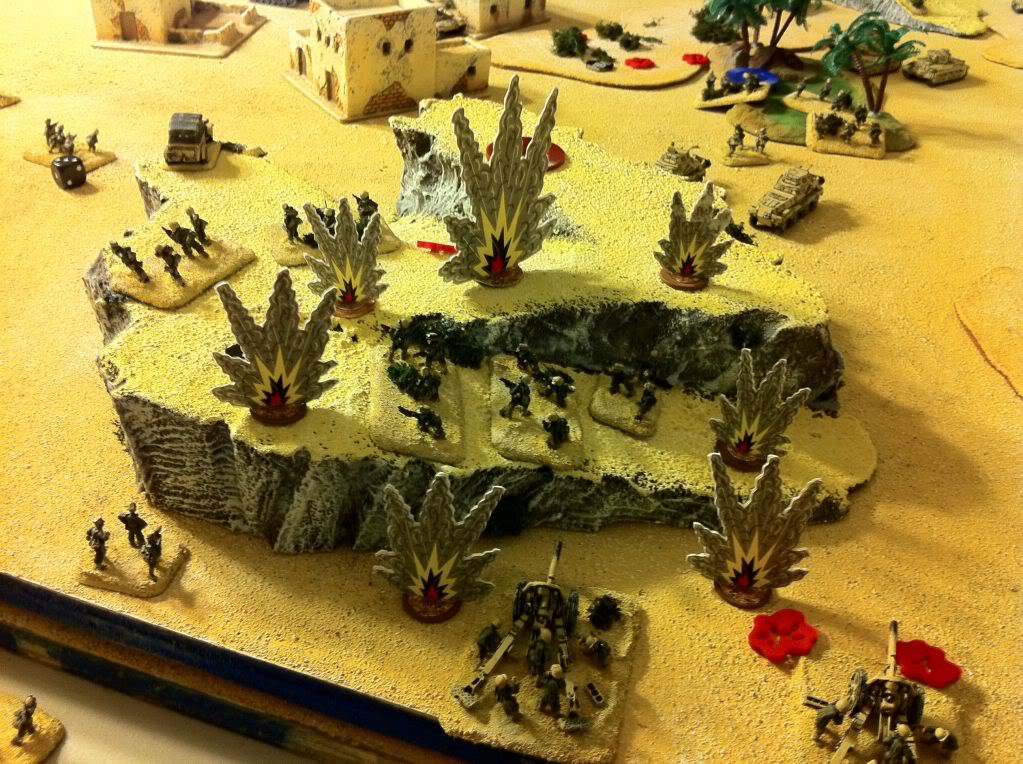
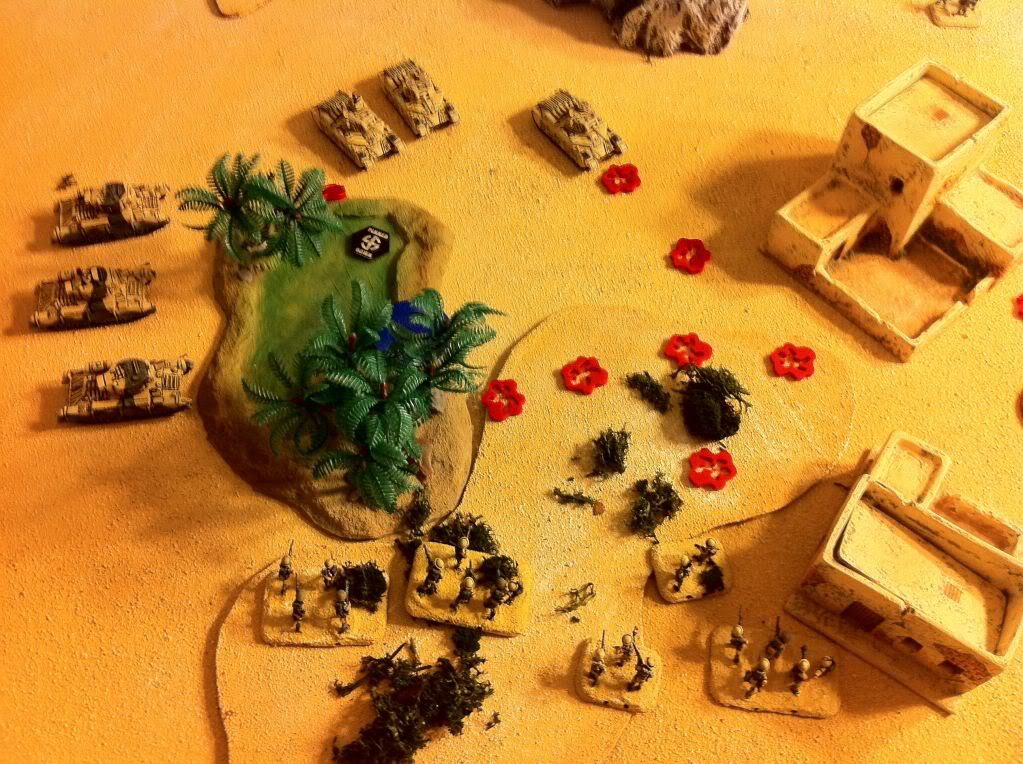
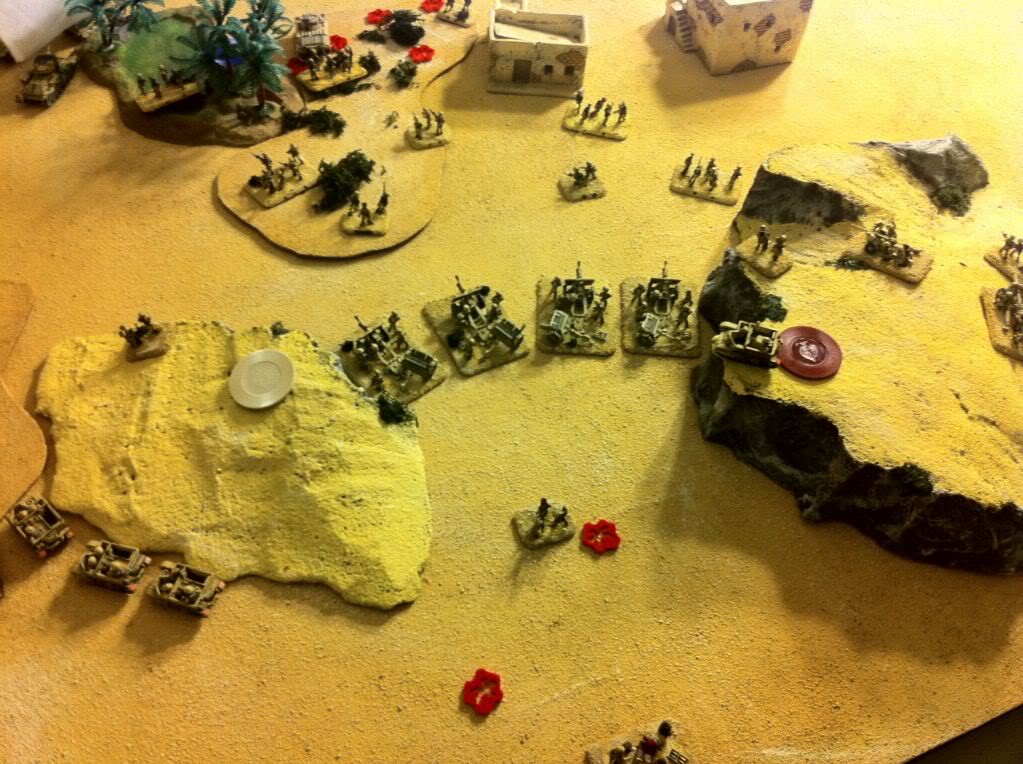
A mass of artillery and Schutzen arrive in the center.
![]()
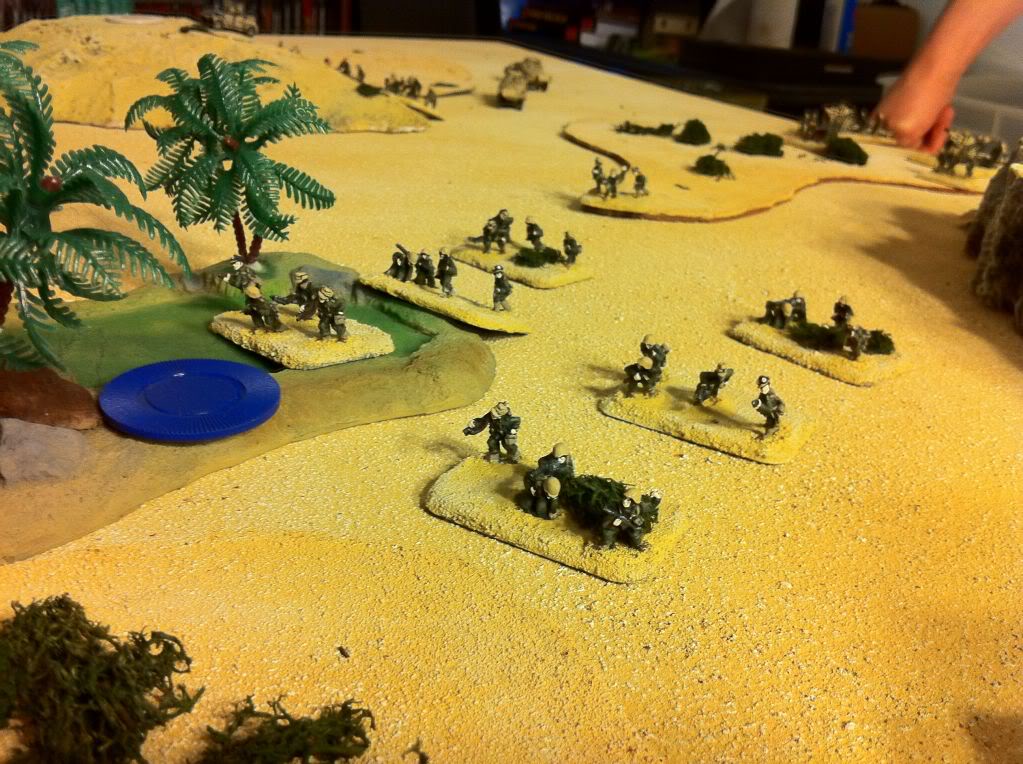
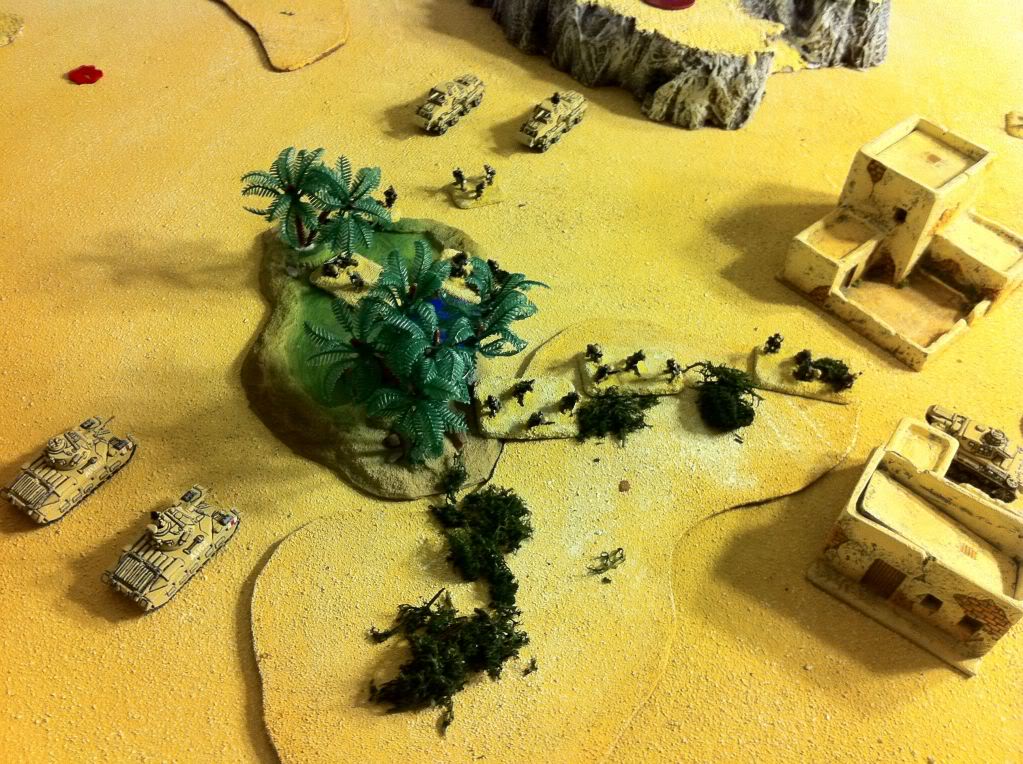
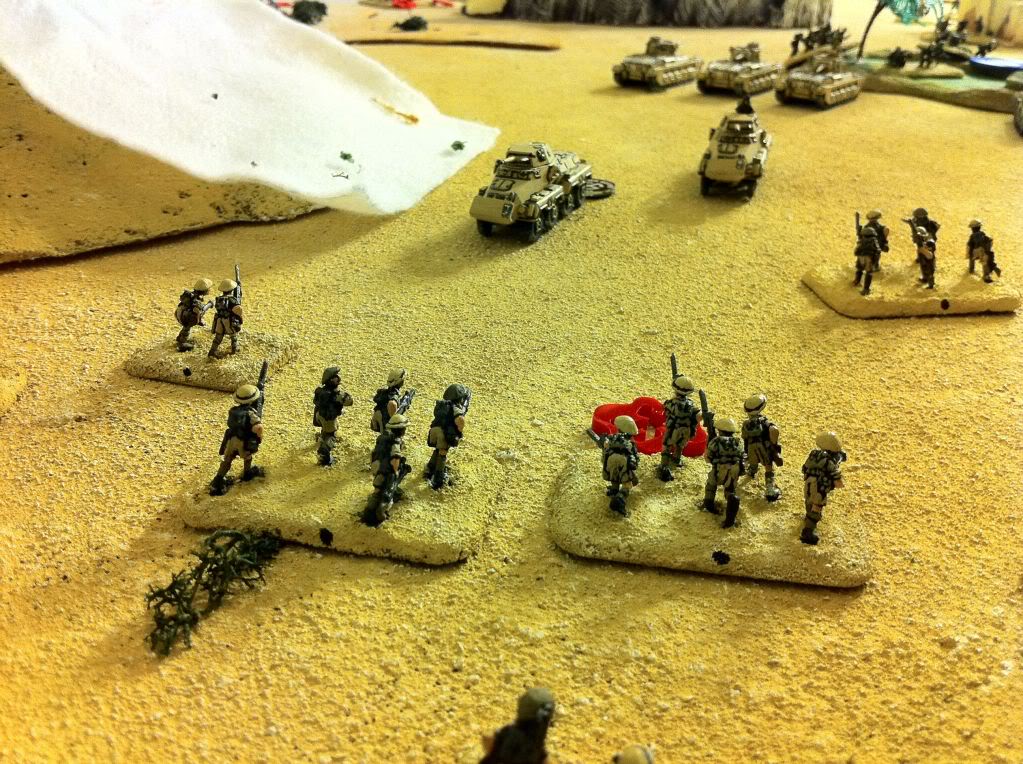
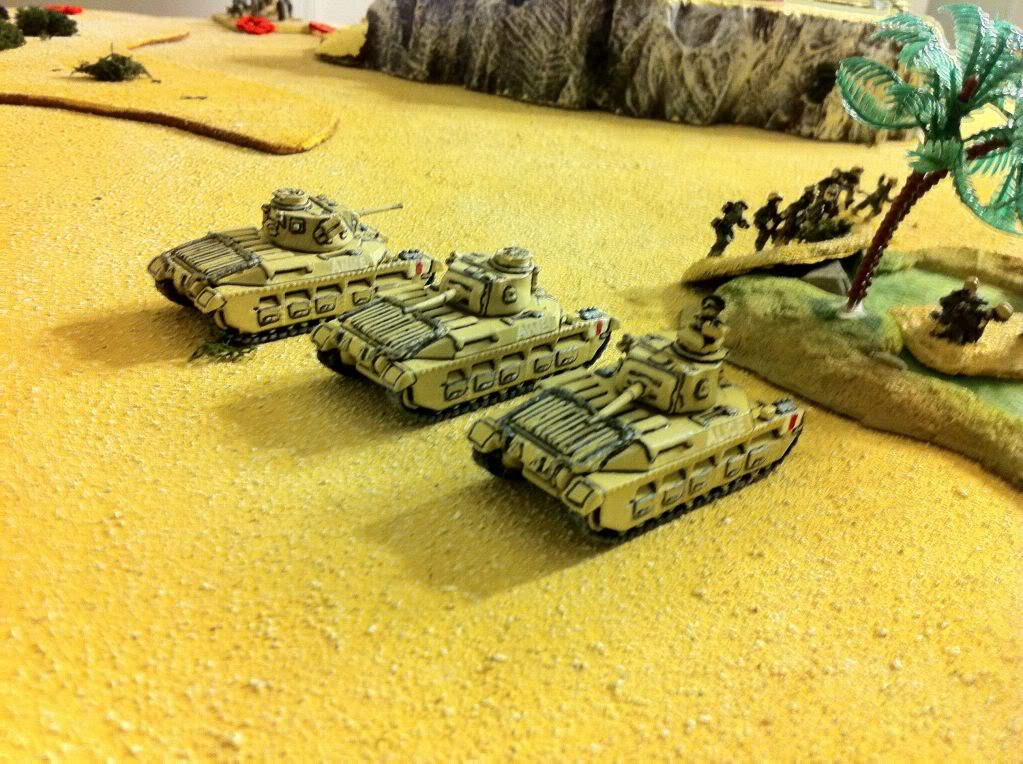
British rifles arrive on the right flank.
![]()
Valentines, rifles, and 6 pounders arrive in the British center in an uncoordinated mass!
![]()
And more British rifles arrive on the left flank.
|
|
|
| BRITISH none |
GERMANS nonen |
TURN FOUR
Everything is on the board now, and ready to rock!
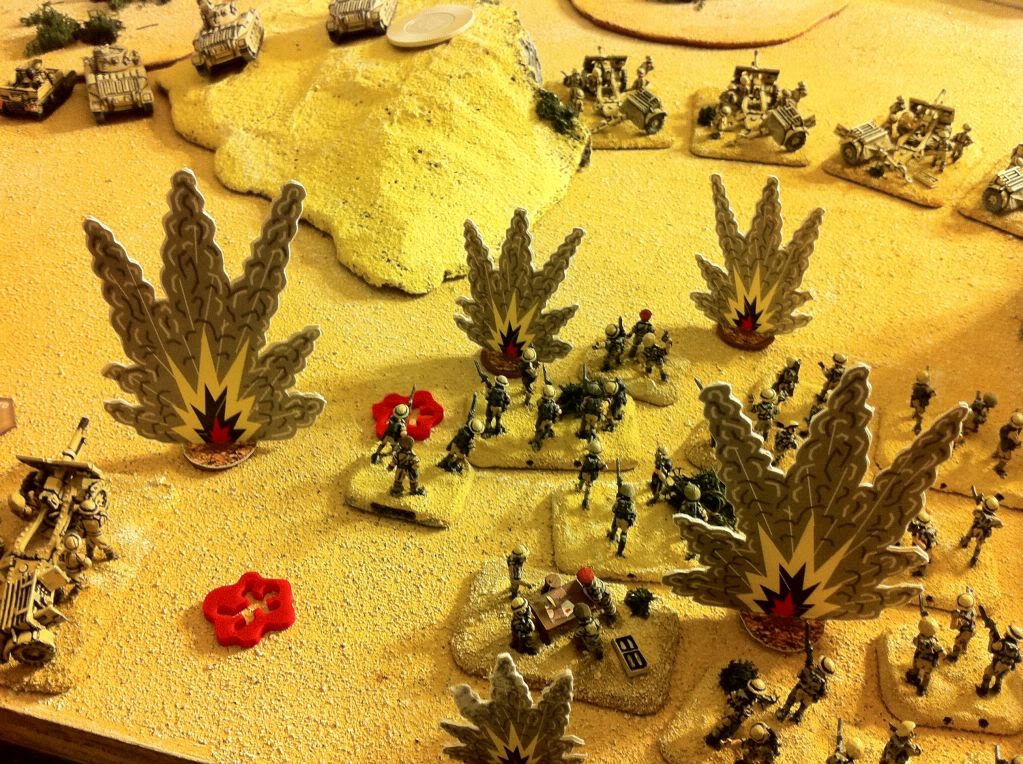
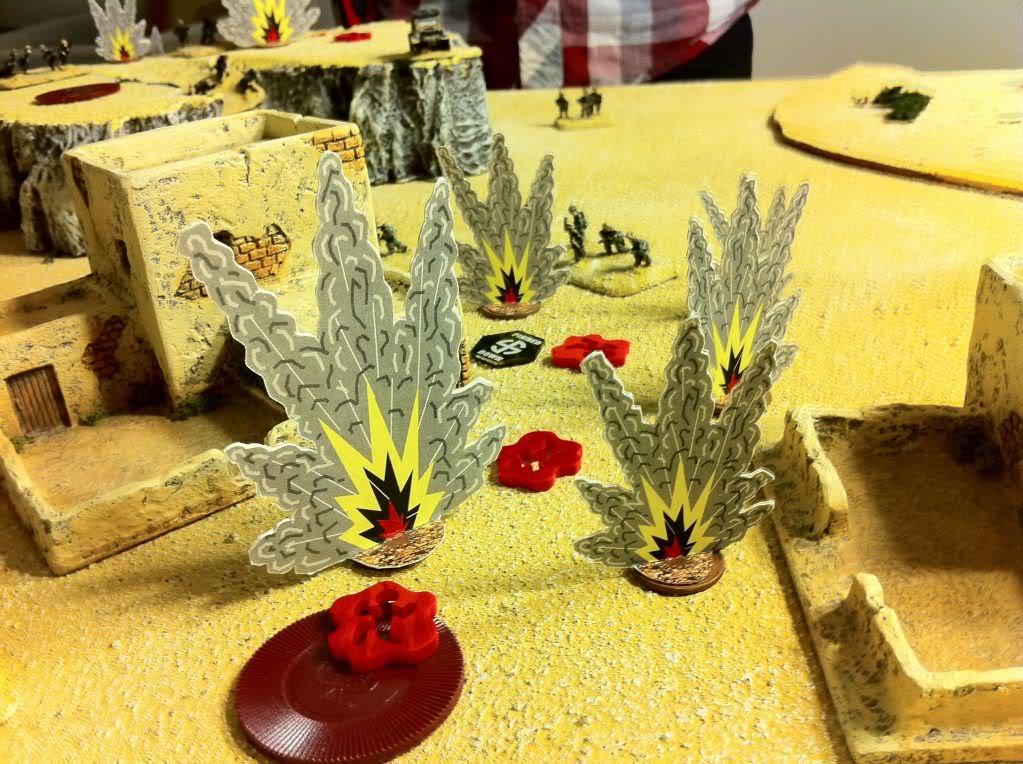
German 10.5s range in on the massive jumble of British troops hitting both A Battery and the infantry in the open!
Panzers push forward on the left flank.
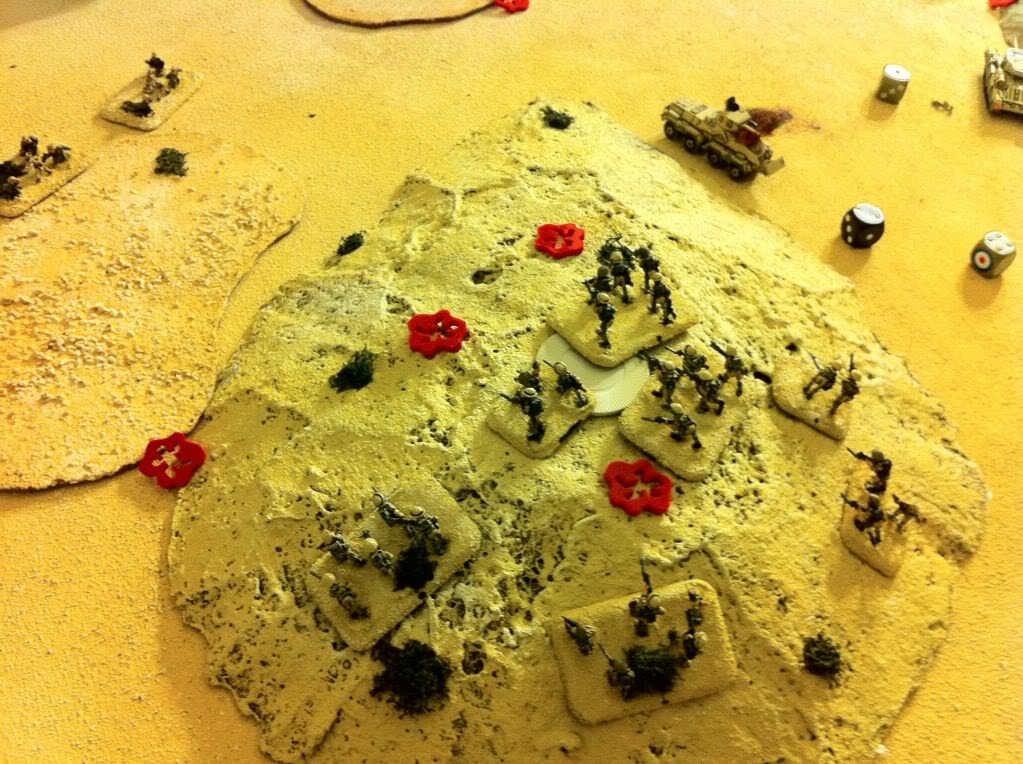
Schutzen moves into the center of the board, nabbing the highest priced objective!
8-rads pull back to the safety of German lines as the 2iC commands the company’s mortars to the backside of a hill.

The Royal artillery unpins and looses a stonk on the German artillery. 2 guns and the battery commander fall, in addition to 2 schutzen stands.
|
|
|
| BRITISH A Battery: 1 gun Rifle Platoon (center): 1 stand |
GERMANS 10.5cm Battery: 2 guns + commander Schutzen Platoon (rear): 1 stand |
TURN FIVE
Panzers move forward and grab the flank hill objective.
A Panzer III radios to HQ that the town is secure.
Matildas move forward to contest the schutzen in the center.
A Battery smokes the 2iC, covering the advance of the left Rifles.
B Battery fires on the hill, pinning the Geman 105s and knocking out the attached HMG on the rear schutzen platoon.
Matildas and Valentines fire MGs into the Schutzen, who take severe casualties.
|
|
|
| BRITISH A Battery: 1 gun Rifle Platoon (center): 1 stand |
GERMANS 10.5cm Battery: 2 guns + commander Schutzen Platoon (rear): 1 stand, attached HMG Schutzen Platoon (center): 3 stands |
TURN SIX
British armor is pressing the center. German armor is pressing right. British Rifles advance nearly uncontested on the left flank, but the Germans hold or contest the majority of the objectives, and they are now hot!
GERMAN OBJECTIVE POINTS HELD: 6 1- (right flank hill), 2 (central town), 2 (rear ridge), 1 (left flank hill under smoke).
CONTESTED OBJECTIVE POINTS: 3 3- (Oasis)
BRITISH OBJECTIVE POINTS HELD: 3 2- (bottom center Ridge), 1- (Smaller central ridge)
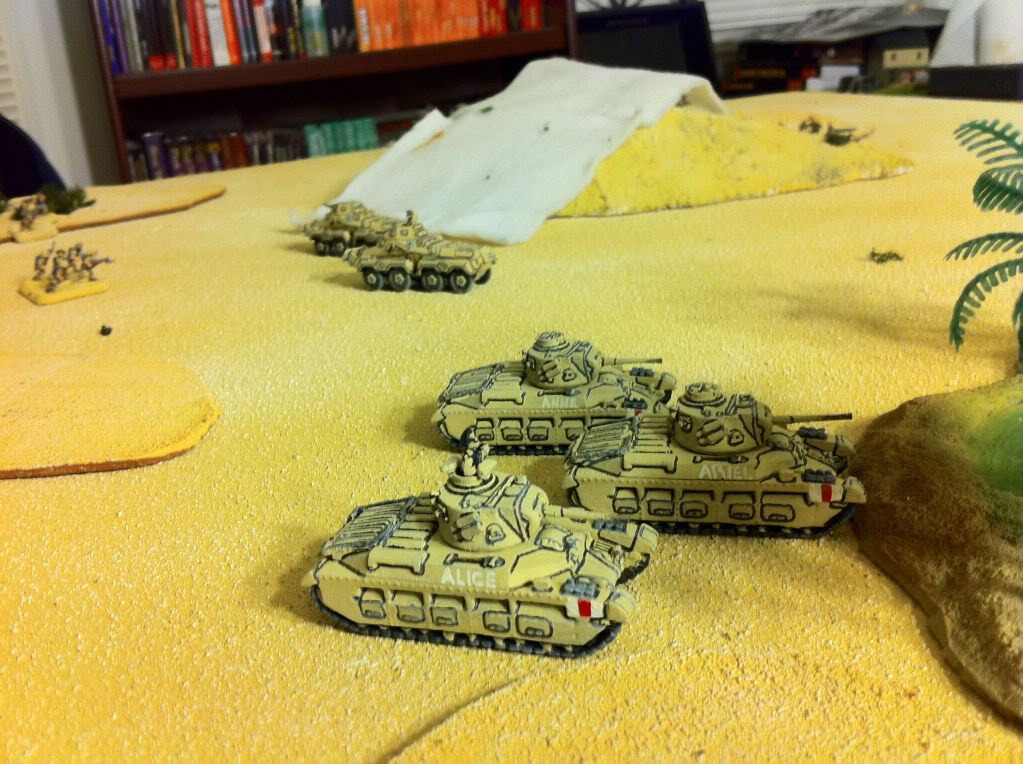
8-rads push past Matildas in an effort to slow the advancing Rifles.
And knock out one stand with MGs!
Panzer IIIs watch as a smoke barrage from their 10.5s smother the British RA B Battery and Valentines.
Despite being under smoke, the veteran gunners of B Battery deftly range in on the Schutzen moving in from the right flank and knock out 3 teams.
Rifles move up to the 8-rads. Matildas swivel their turrets around and hit one of the 8-rads, bailing it out! The Rifles decide not to assault the 8-rads, however, and sit there cowering instead. Stiff upper lip, lads!
Valentines split their fire.
After moving ever so slowly, 6 pounders take a long range shot on a Panzer IV, but miss.
|
|
|
| BRITISH A Battery: 1 gun Rifle Platoon (center): 1 stand Rifle Platoon (left): 1 stand |
GERMANS 10.5cm Battery: 2 guns + commander Schutzen Platoon (rear): 2 stands, attached HMG Schutzen Platoon (center): 3 stands Schutzen Platoon (right): 3 stands |
TURN SEVEN
Panzer IIIs make a bold move against B Battery, but when they fail to score any kills, they rely on stormtrooper to get them out of harm’s way!
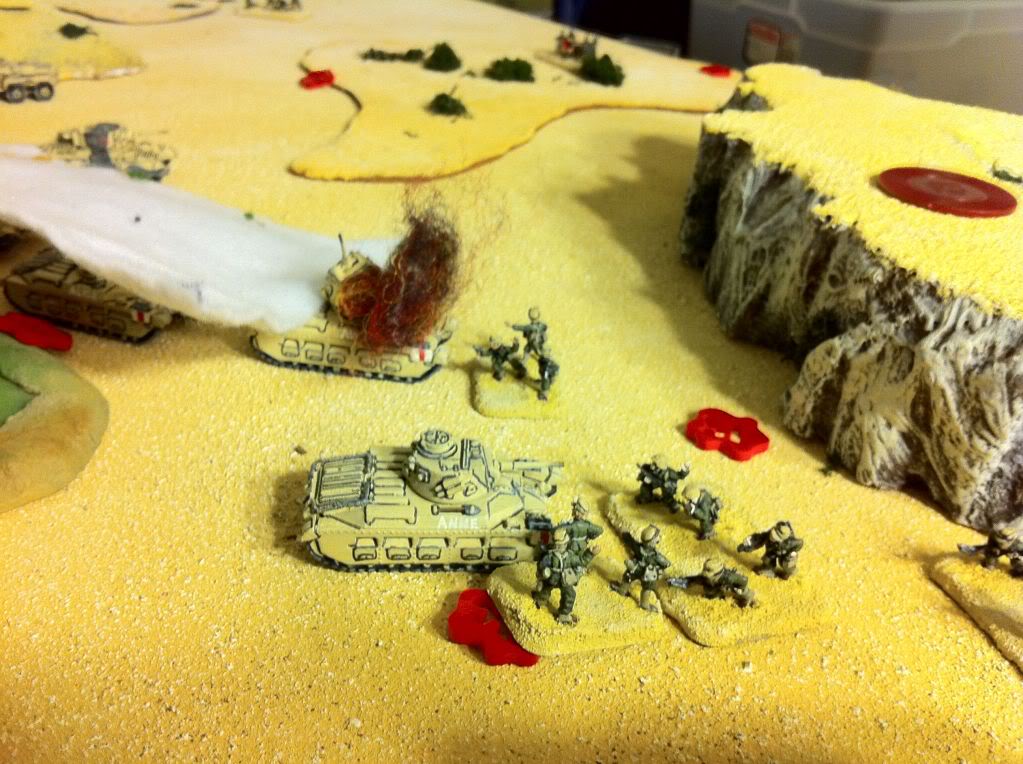
The 8-rad commander moves away! While falling back, their HMGs knock out a 2nd stand of the British left-most rifle platoon.
The British rifles move forward- when suddenly a well aimed shot from the Anti-Tank Rifle team knocks out the commander’s 8-rad! The remaining 8-rad fails morale and flees!
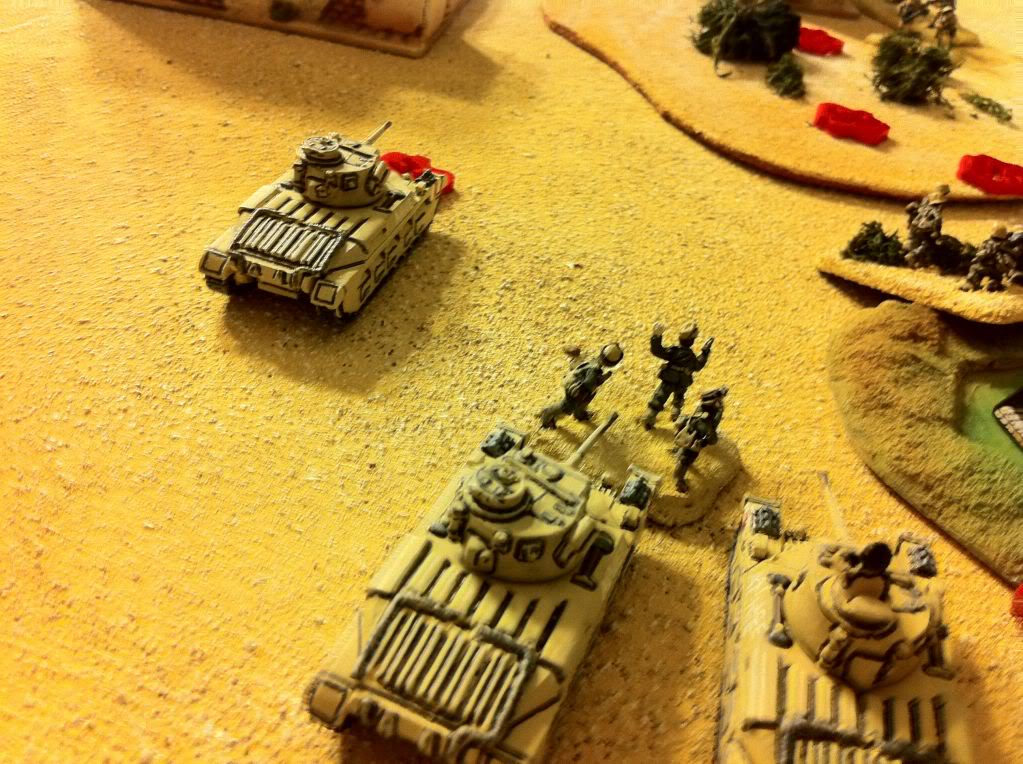
In the center, Matildas move forward and assault the “right” schutzen platoon (to avoid assaulting into the oasis).
Both of the Schutzen platoons fail motivation to counter attack, and due to British encirclement there is no escape for them- every single last team cannot get outside of 4″ of enemy teams and is so captured. With that, the center is entirely in British hands.

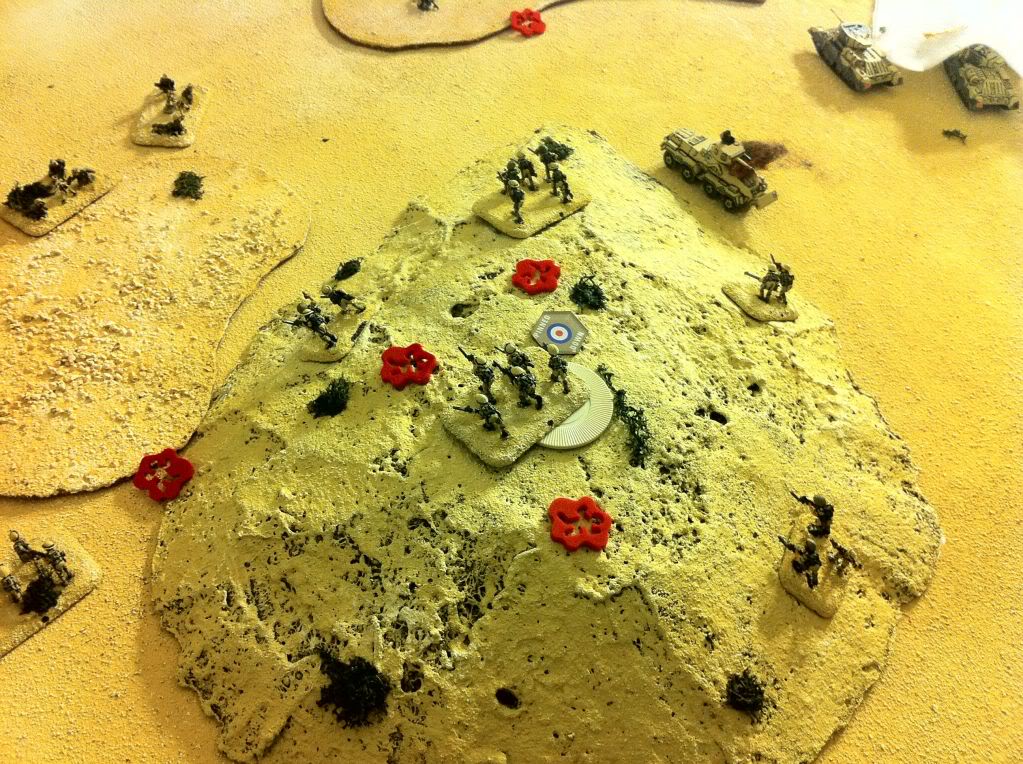
On the left, the British storm the hill.
Knocking out the 2iC, 10.5cm observer, and 1 mortar. The remaining mortars fall back.
GERMAN OBJECTIVE POINTS HELD: 6 1- (right flank hill), 2 (central town), 2 (rear ridge), 1 (left flank hill under smoke).
CONTESTED OBJECTIVE POINTS: 3 3- (Oasis)
BRITISH OBJECTIVE POINTS HELD: 3 2- (bottom center Ridge), 1- (Smaller central ridge)
|
|
|
| BRITISH A Battery: 1 gun Rifle Platoon (center): 1 stand Rifle Platoon (left): 3 stands |
GERMANS 8-rad Platoon Schutzen Platoon (right) Schutzen Platoon (center) 10.5cm Battery: 2 guns + commander Schutzen Platoon (rear): 2 stands, attached HMG Mortar Kamfgruppe: 2iC, 1 mortar |
TURN EIGHT
GERMAN OBJECTIVE POINTS HELD: 3 1- (right flank hill), 2 (rear ridge)
CONTESTED OBJECTIVE POINTS: 2 2- (Town)
BRITISH OBJECTIVE POINTS HELD: 7 2- (bottom center Ridge), 1- (Smaller central ridge), 3- (Oasis), 1- (left hill)
Panzer IIIs and IVs move forward recklessly to stop the British advance in the center.
A smoke barrage by the 10.5s allow the schutzen to get into an assault with the Matildas- one Matilda is knocked out by a panzerknacker! The Matildas counter attack, killing 1 stand. The Schutzen then fail to counter attack. The HQ attaches in an attempt to motivate them. They still fail- and fall back. Furthermore, now below half strength, the platoon and attached company command break and leave the table! FOUR failed motivation checks in a row!
The British now solidly hold the left.
As well as the center (including the town objective, which Sean moved away from)
At the start of the British Turn 8, 9 domination points are held putting an end to the game.
What a bloody battle! Always a pleasure to play with Sean, especially in the desert!