Warmachine: Winter Guard Deathstar 101
6 Minute Read
Apr 11 2013

Advertisement
Privateer recently released the resculpt of the Winter Guard Infantry. It’s a great deal for new Khador players, and a good excuse to cover the basics of the “Deathstar”.
photo by Scott Beale / Laughing Squid
Tactics by battlemechanik
Breaking down the components of the Deathstar, starting with what’s in the new unit box and adding all the trimmings:
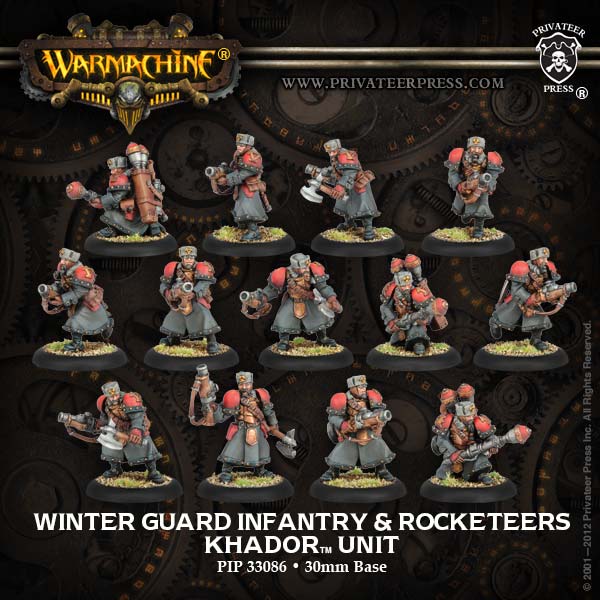
Leader & Grunts
Completely uninspiring base stats, with a correspondingly cheap point cost. However, even the basic unit has Combined Ranged Attack, making it the backbone of the Deathstar. A 10 man CRA isn’t yet a fully operational orbital battle station, but a rat 15 pow 22 shot can threaten almost anything in the game if need be.
It’s actually worth some time playing the unit without all the extras, to get used to the fundamentals of positioning them. They’re a primarily ranged unit, but with only a moderate 14″ threat range, just enough to stay outside of common charge ranges. CRA is usually their most effective offensive threat, and given their range, this can lead to clumping them up near targets. Their armor is barely high enough to survive low rolls from most blast damage, so you don’t want to bunch them more than necessary.
Rocketeers
The new box also includes three of these weapon attachments in addition to the full unit, which is why it’s such a good deal. Rocketeers are only a point each, so they’re great to round out a list. They’ve got 6″ more range than regular WGI, at the same damage, plus a small AoE. They can participate in a CRA, bumping your Deathstar cannon up to pow 25 if necessary, but lose the extra range and AoE if doing so.
Again, there’s a tension between positioning in take-up range and exposure to blast damage, so you usually don’t want more than 2 grunts near a rocketeer. One thing to notice about take-up of rockets – the rocketeer model stays where it is, and the nearby grunt model is removed. This means your rocketeer is still in range of whatever killed it the first time, but it also means that grunts outside of a zone can be expended to hold it, like a poor man’s self sacrifice.
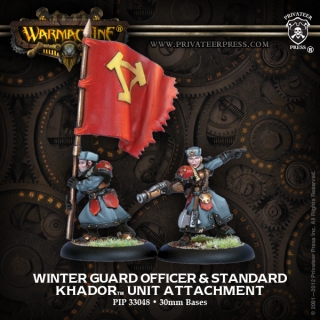
Officer & Standard
This unit attachment is a separate blister, and metal unlike the new plastic re-sculpts, but the sculpts are still quite good. From a gameplay perspective, this is where the unit really starts to take off, to the point where it’s a must-buy after getting the hang of the basics.
The officer provides Combined Melee Attack, and more importantly, Bob and Weave. CMA means the unit can scale up its melee accuracy and damage as necessary just like its ranged output, and it’s tactics, so the last dregs of the unit can still use it in endgame even after the officer dies. Bob and Weave plus Iron Flesh makes Winterguard slightly hard to hit by conventional means. It’s often misunderstood, so let me try to clarify a few things:
- Bob and weave gives a defensive bonus regardless of whether the model advances. “Make a full advance” is not a precondition of the defensive bonus, it just means the model must spend any available normal movement on a full advance, as opposed to aim, charge, or run. A full advance can be 0″ if you want (although this would still trigger e.g. Old Witch’s feat). It certainly doesn’t mean the model loses its combat action, you can bob and weave and then shoot, for instance. Having to sacrifice movement or action (e.g. Epic Haley’s feat) usually means you have to pick between bob & weave or attacking… but because of the timing of orders relative to knockdowns, a knocked down model can sacrifice movement to stand and apparently still get the defensive benefit.
- It’s an order. This means that anything that stops orders (e.g. Epic Irusk’s feat) shuts it down. It also means that ignoring defensive spell bonuses (e.g. blessed weapons) does not imply ignoring bob and weave. A unit can only receive one order per turn, but CRA is not an order, so you can bob and weave and then CRA.
- Once the officer dies, the unit cannot bob & weave, so protect the officer (or if you’re playing against them, prioritize killing her). She has a 9″ command range, abuse that to keep her away from the front lines. Just keep the unit leader model near her, so the unit isn’t completely out of formation when she dies.
Basically, turn 1 the officer should order a run, and every turn after that until she dies, she should order bob & weave (absent odd circumstances requiring a charge).
The standard provides the usual rerolls for command checks, but the real reason to keep the standard in formation is Grape Shot. 8″ sprays are great for clearing out infantry, even if they are slightly lower pow than the normal shot. Targeting something outside of range of the spray is often useful, for getting around targeting restrictions or to place the template exactly where you need it. Well-placed sprays can clear your front line of enemy troops that are engaging it, allowing the front line to shoot instead of melee. There has been some unfortunate noise on the forums about sprays taking up too much time, but in my experience you’ll be fine if plan your angles during your opponent’s turn, and don’t needlessly spray 15 times when a couple of sprays and a few CRAs would work just as well. You do lose grape shot if the standard dies, but you can keep the standard 8″ behind the officer to keep it safe. Said “cheesy” positioning leads us to…
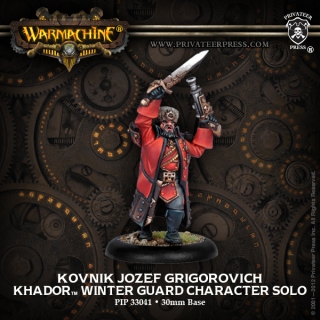
Kovnik Jozef Grigorovich
This solo is another separate blister, but he’s what really breaks the Deathstar wide open. He can make one of 3 speeches once per turn, affecting both himself and one Winter Guard unit within his command range. The obvious thing to keep in mind is that Jo needs to activate before the WGI, every time. The other thing is that if even one model in the unit is within his command range, his speech can benefit the entire unit. So if the officer is 8″ back from the front lines, and the standard is another 8″ back from the officer, Jo can be another 8″ back from the standard, chilling on the edge of the table next to his buddy Irusk. Jo has sac pawn, but I’ve never used it in several hundred games – if he’s up in the mix, something went sideways. Granted, if he is up there, a mat 7 pow 15 charge is an OK thing to have. Which brings us to his speeches:
- Strength. People almost never use this. However, in combination with Irusk or Butcher, this makes lowly winterguard hit like Banes on the charge. Not everyone is going to expect to lose a heavy to a handful of WGI, so you can probably get away with this once in a while.
- Tough and Fearless. This is what you use first turn to deal with random AoE casualties, and if you need WGI to just clog a zone and not die. Keep in mind that it doesn’t help at all against continuous effects, since it only lasts one round. Having fearless on tap can be OK as well, since it automatically rallies a fleeing unit and lets it activate normally.
- Boosted attack rolls. This is the number one source of complaints about the deathstar, right here. Even with the pitiful base rat of WGI, enough spray templates with boosted rolls can clear out most high-def infantry. Combined with CRA or CMA, this lets them scale up to hit almost anything.
Jokes about orbital lasers aside, you’re almost never going to get all 15 WGI shooting a single target under Epic Sorscha’s feat (although rat 20 with rerolls and pow 27 double damage is a funny concept). What makes the Deathstar really scary is their versatility: they clear out other high-defense infantry like a boss, and can at least harm almost any high-armor hard target, all while holding zones and being quite obnoxious to kill.
For the Motherland!
Author: Larry Vela
Advertisement

