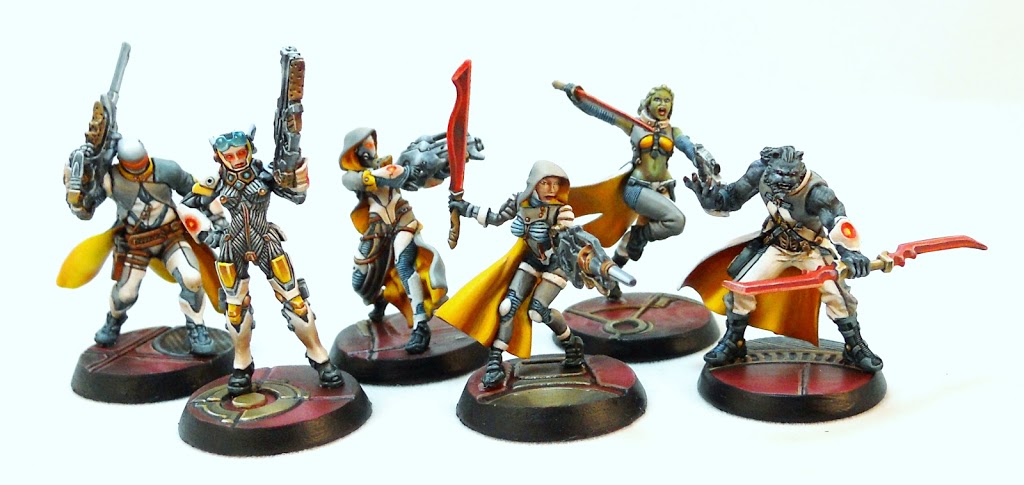
Infinity: Painting a Reverend Custodier


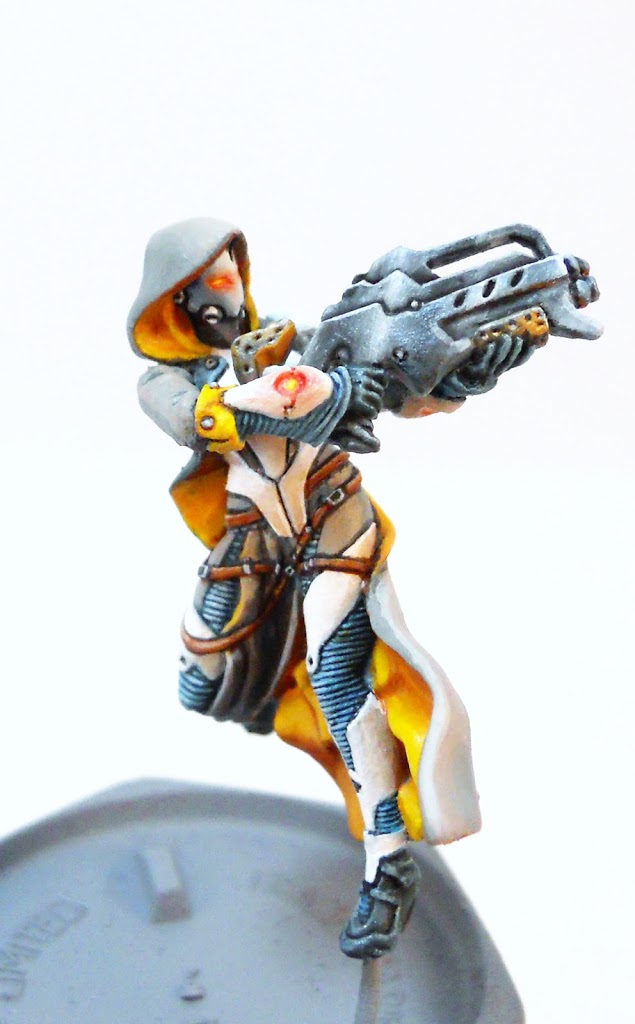
I finally took the plunge and started Infinity.
I’ve mused about picking up this game for a long time. Somehow I’ve always known it had to be Nomads – at least for my first army. And the Reverend Custodiers are some of my favorite Nomads.
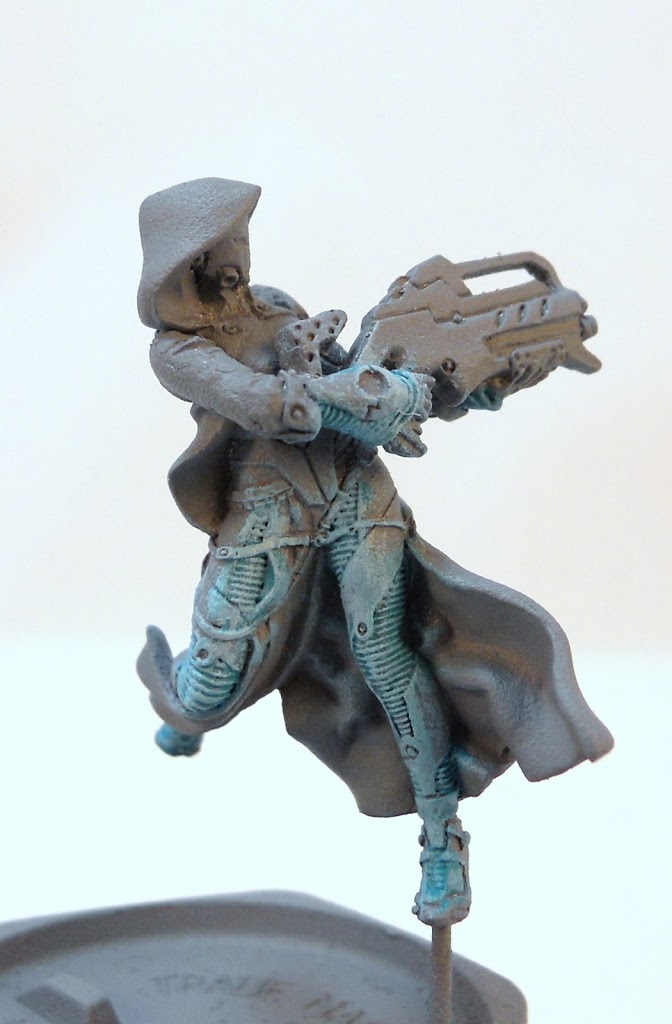
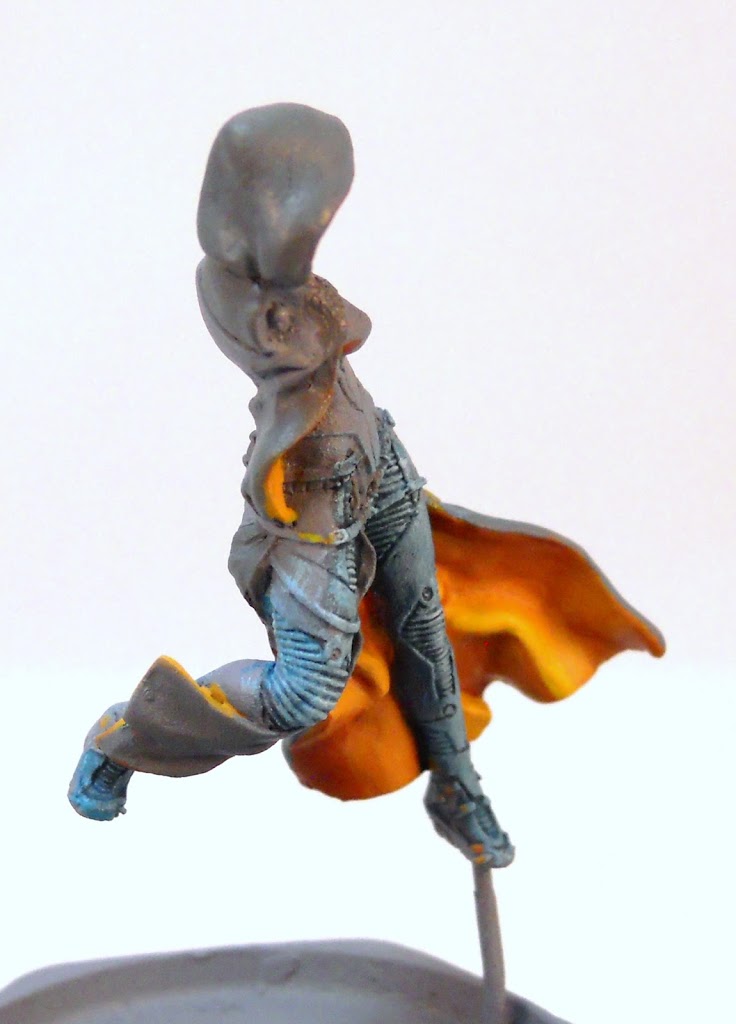
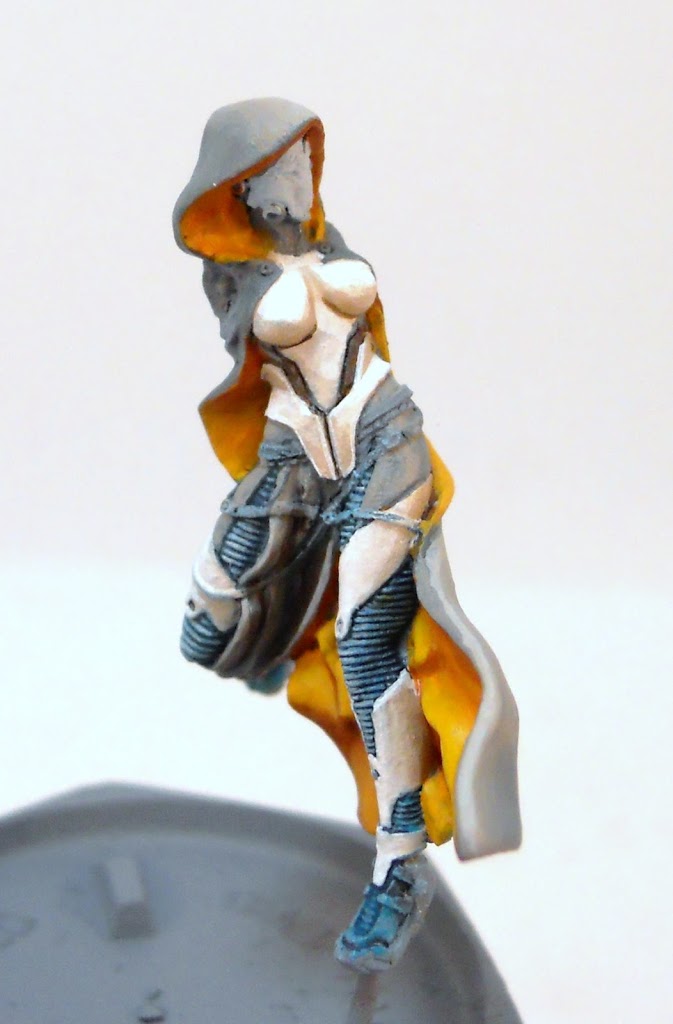
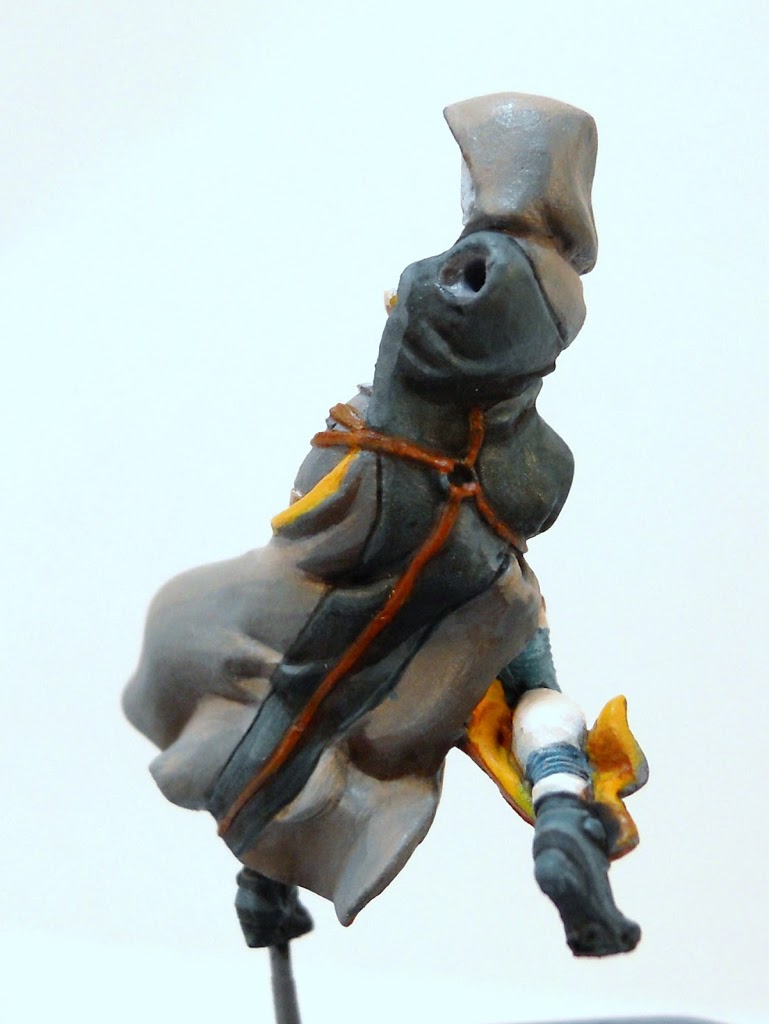
After basecoating everything a nice neutral gray, I start on the areas of ridged cloth(?) on her legs and arms. The easiest way to get good definition here is with drybrushing. Since that’s going to be messy, you might as well get it out of the way first so you can paint over it later. For this project I’m using almost exclusively P3 colors. Here I’ve drybrushed Frostbite over Meridian Blue.
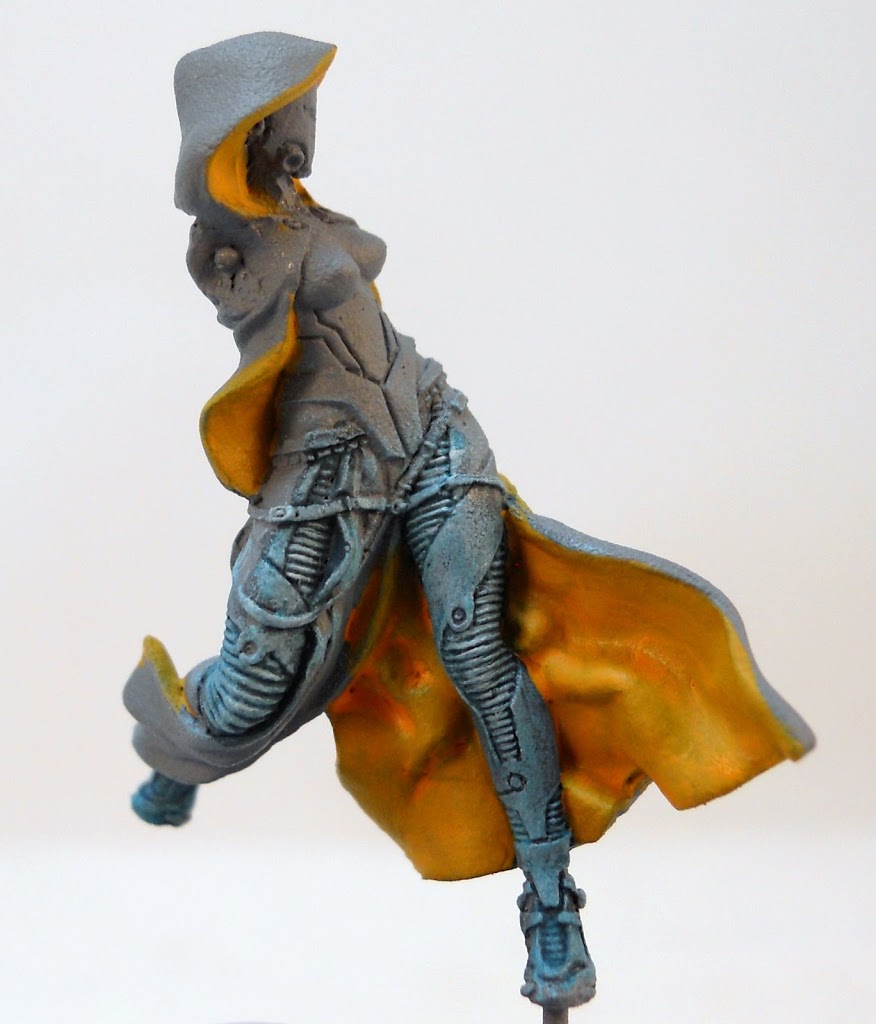
The next step is to wash the area. This is done with a slightly watered down mix of Nuln Oil and Guilliman Blue (both Citadel). Next the interior of the cloak is based with some old Iyanden Dark Sun (Citadel again) I had around. The gun and arms are just held in place with a long pin right now. Since they aren’t glued I can take them off and on if I like to make painting easier.
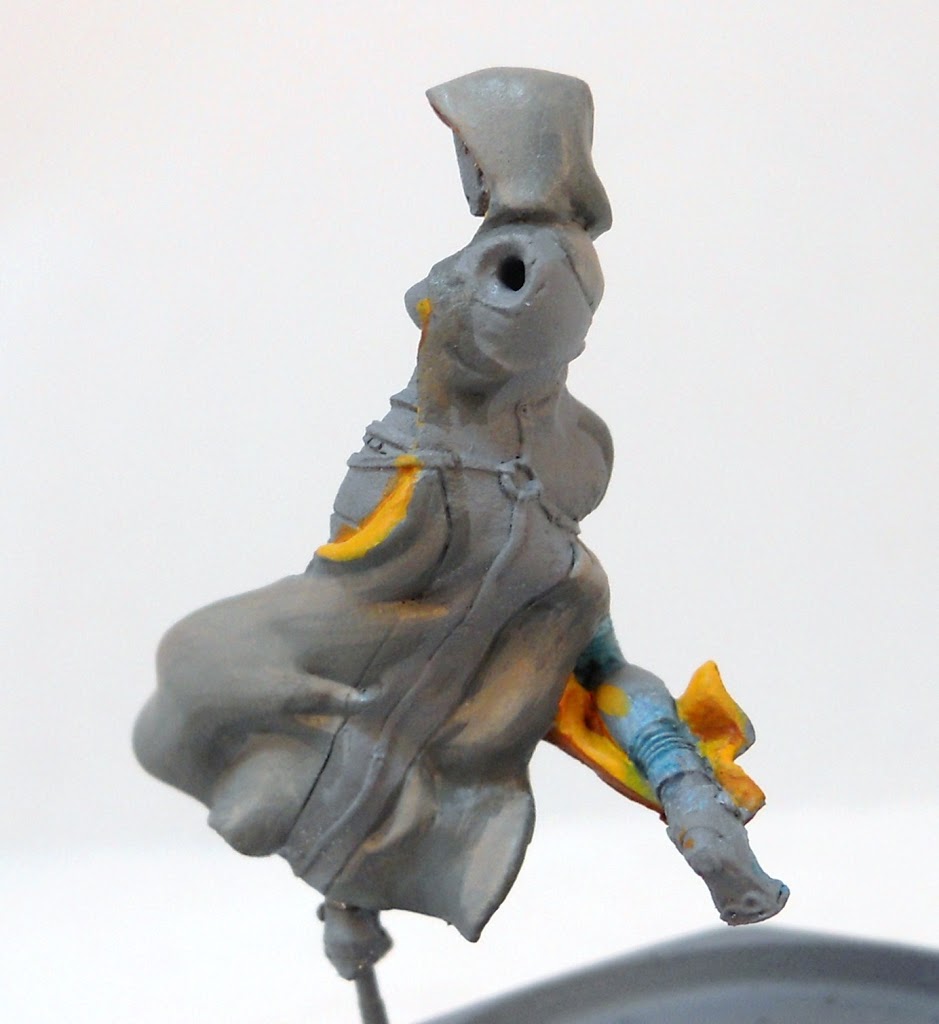
Even with the basecoat, it takes a few coats of Heartfire to get a good solid yellow foundation. The next step is to shade it with Blood Stone. I use Matisse Drying Retarder to help me do wet blending for stuff like this. I keep it in a dropper bottle and put a few drops on my palette as needed.
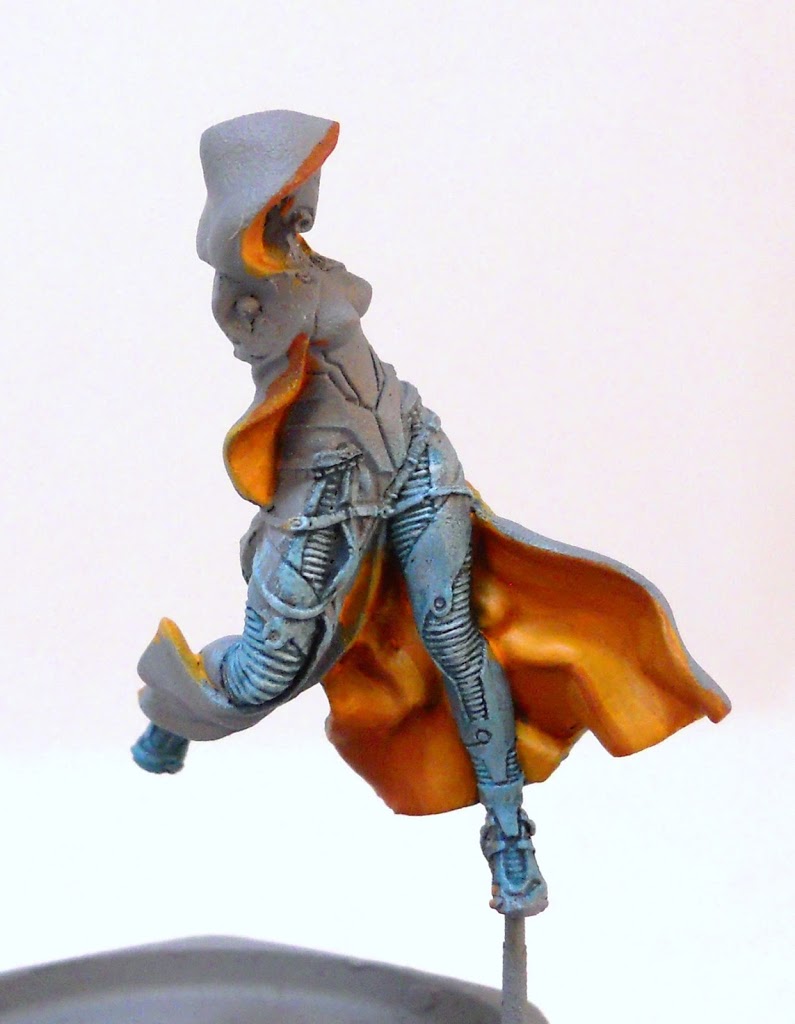
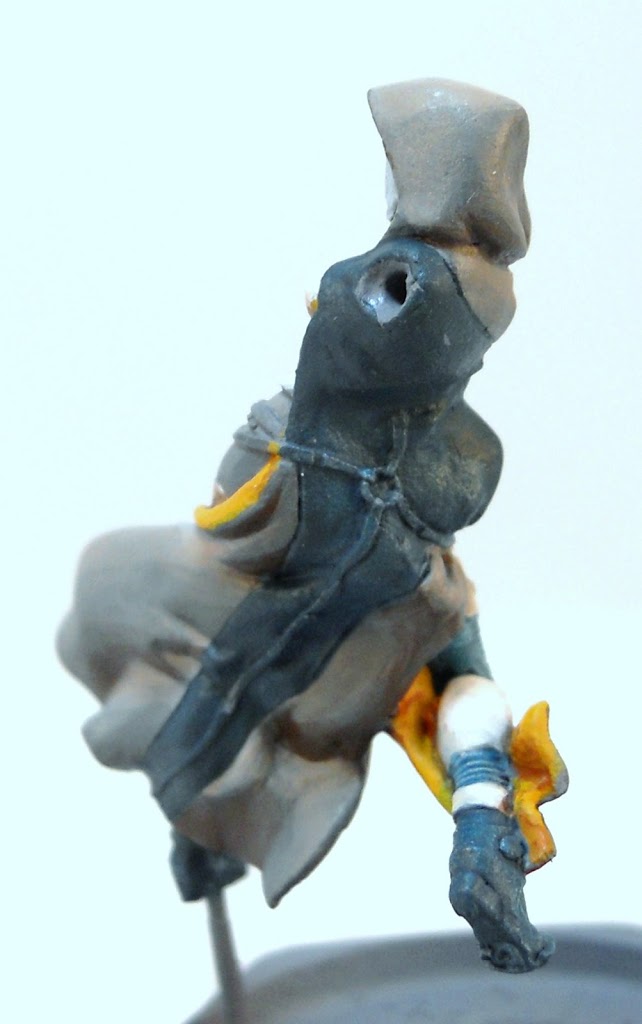
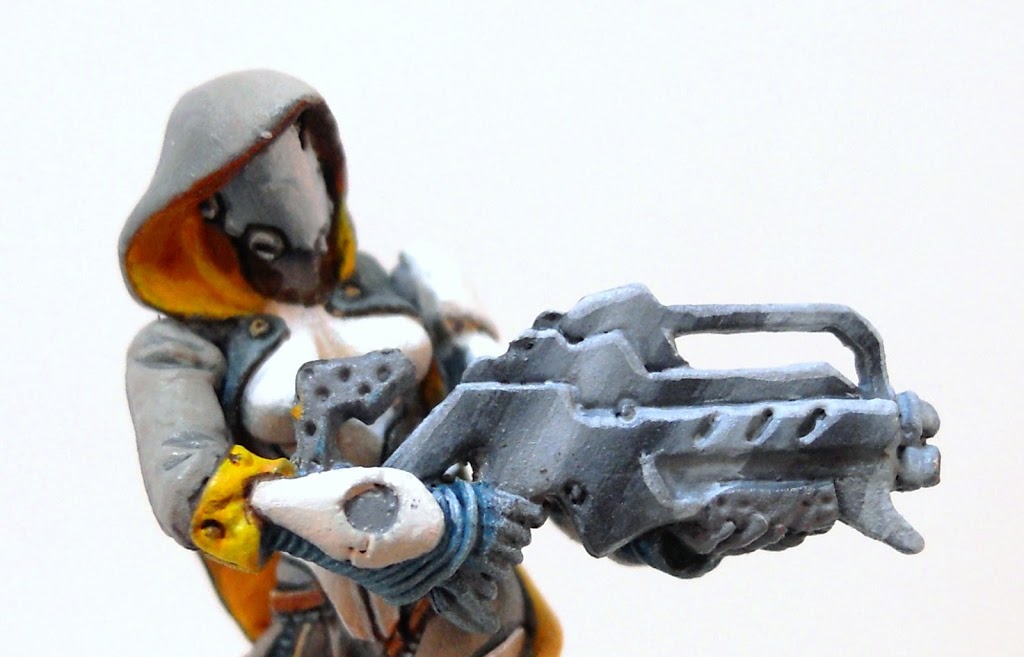
The Heartfire is highlighted with Cygnus Yellow before I move onto the next step: the cloak’s exterior. I start it off with a basecoat of Bastion Gray.
The cloak is highlighted with Trollblood Highlight.
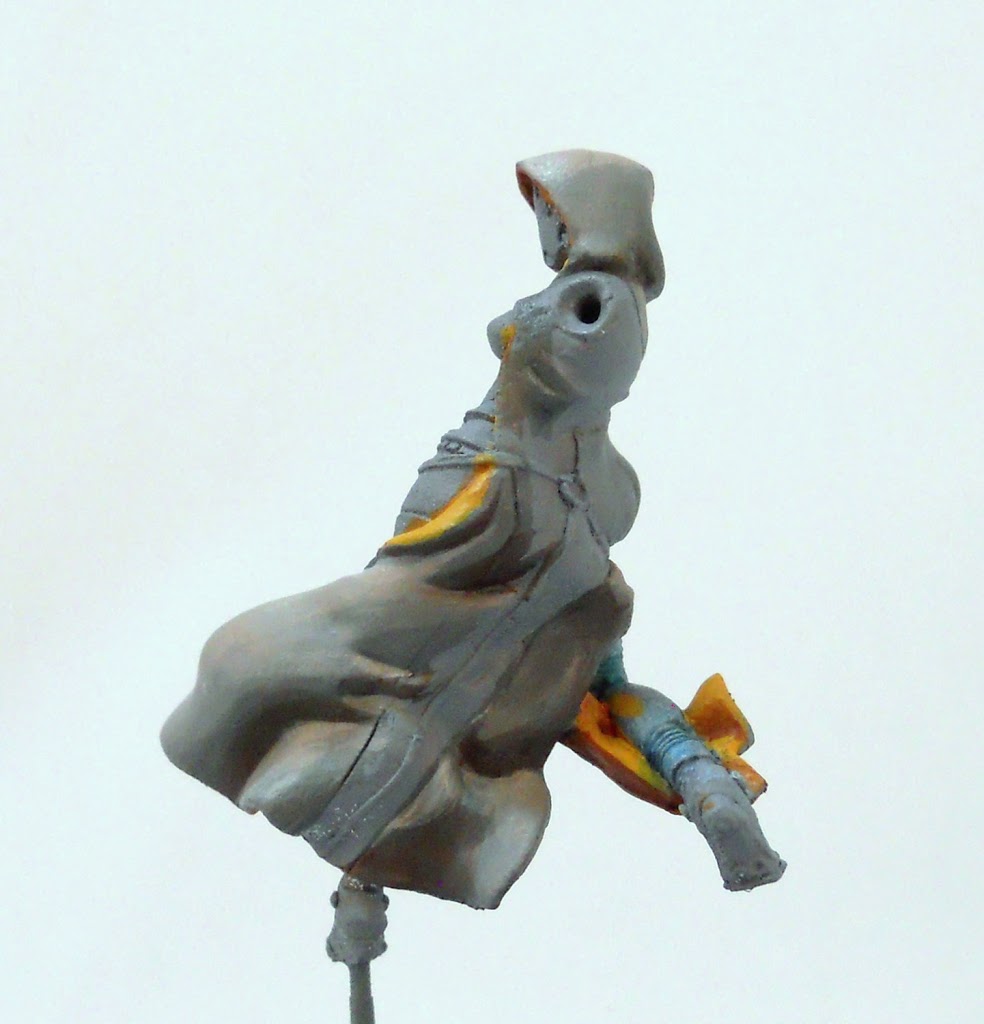
A little Menoth White Highlight is added to the Trollblood Highlight to lighten it a bit more. Shadows are added with Umbral Umber
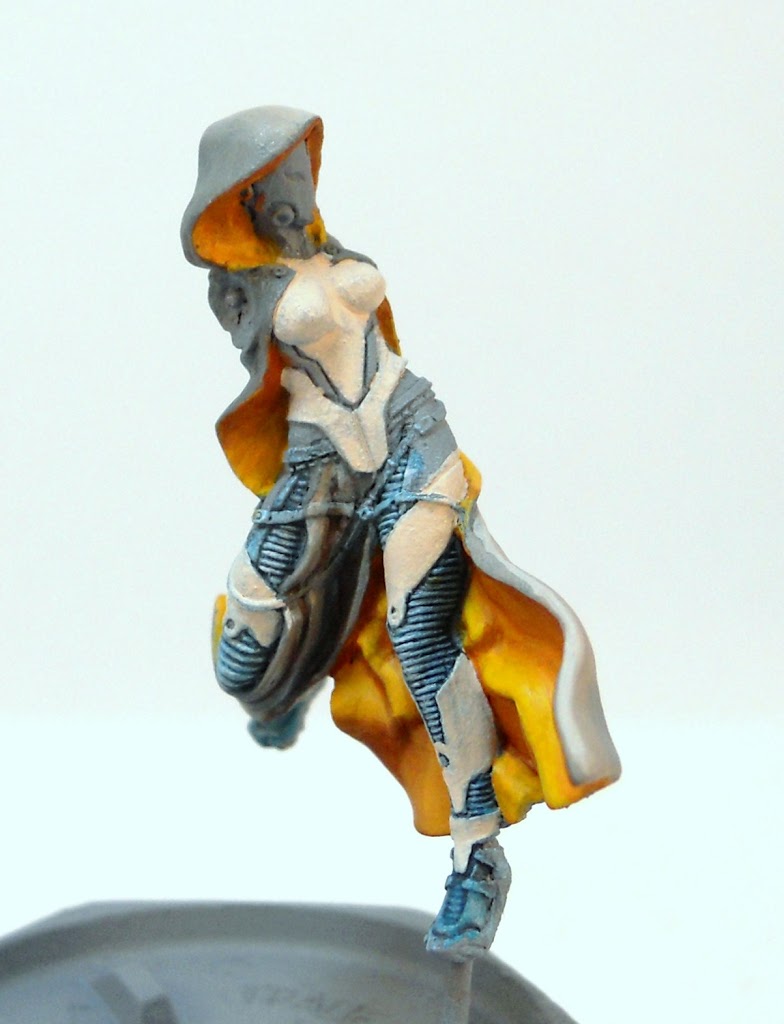
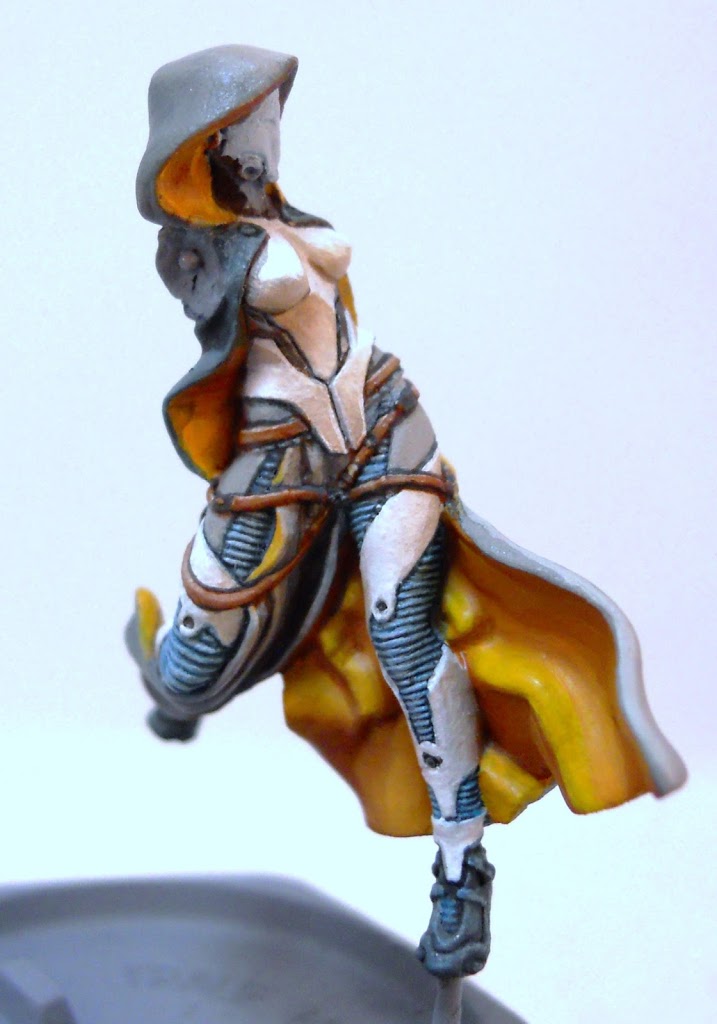
I move on to some of the armor now. To get a nice creamy white, I add a little Beast Hide to some Morrow White (that’s just P3’s pure white fyi).
I add a bit more Beast Hide in some places for shading and also highlight up to pure Morrow White.
Time to go back to the cloak again. I want that larger section to be a nice dark turquoise – almost a black. I start it off with Coal Black. Her feet get the same color, and so do her gloves.
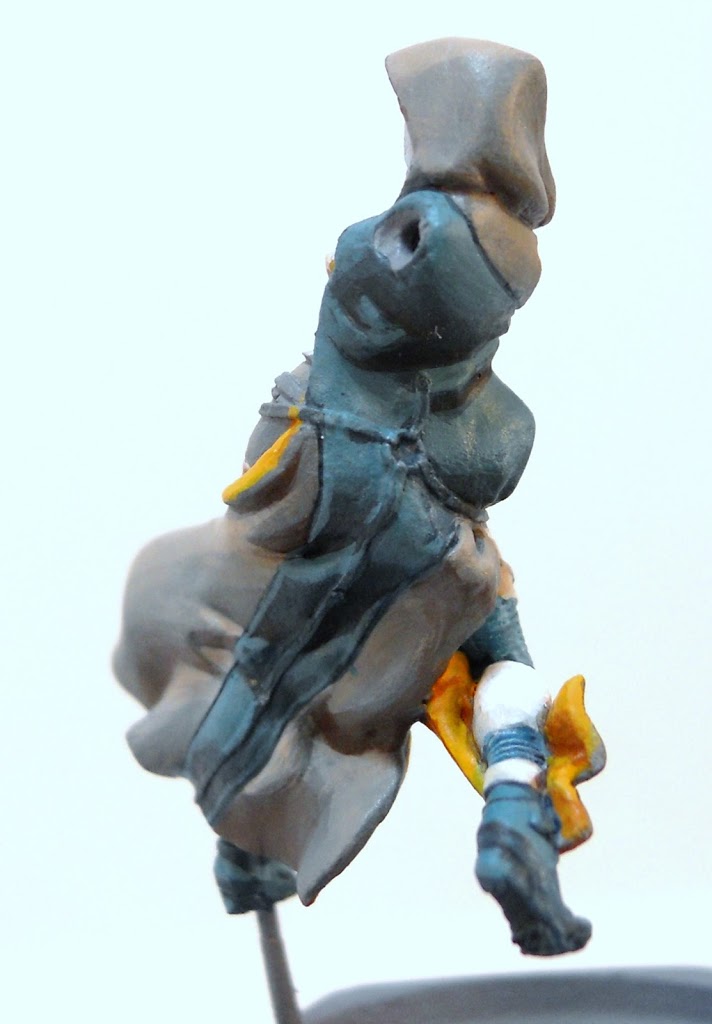
The Coal Black was highlighted up with Trollblood base. A little bit of Frostbite was blended in in a few places to lighten it up even further.
The last step was to wash the area with some thinned down Nuln Oil (Citadel Again). I use Nuln Oil a lot and while I usually don’t have a problem with it it dried patchy in some areas this time.
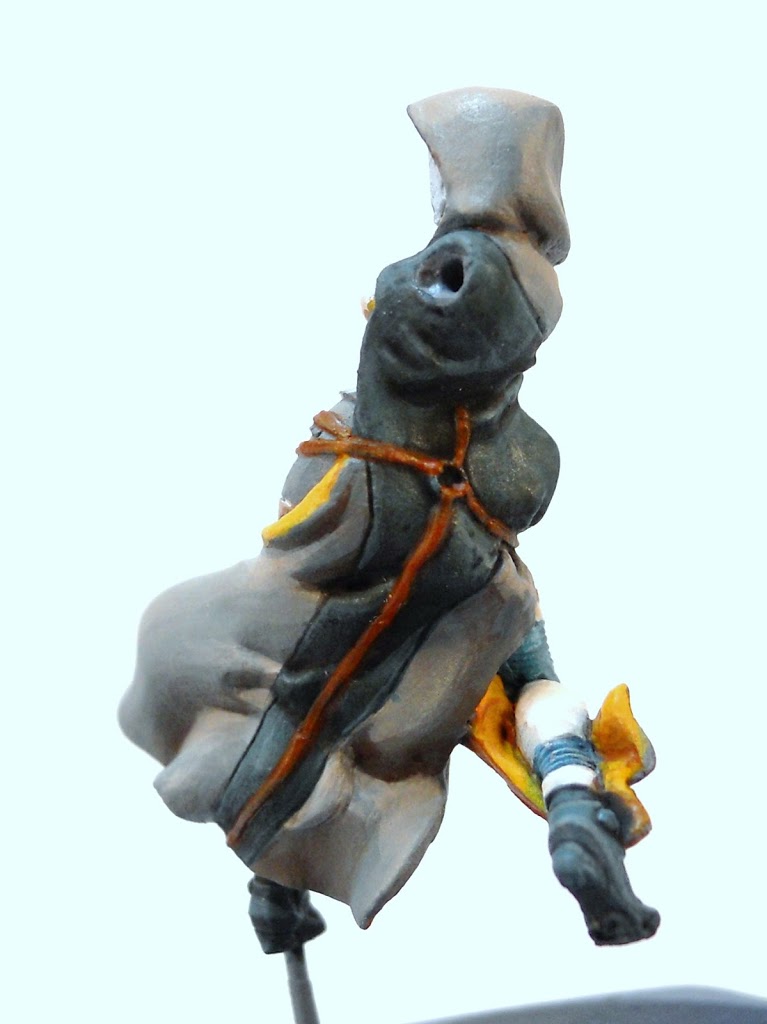
So I clean it up a bit by mixing a little Nuln Oil into the previous highlight colors. You may have also noticed I’ve started on one of the many straps that crisscross the model. These are done with Bloodstone.

They get a pretty stark highlight of Thrall Flesh.
Then I give them a thin and precise wash of Agrax Earth to even them out a bit.
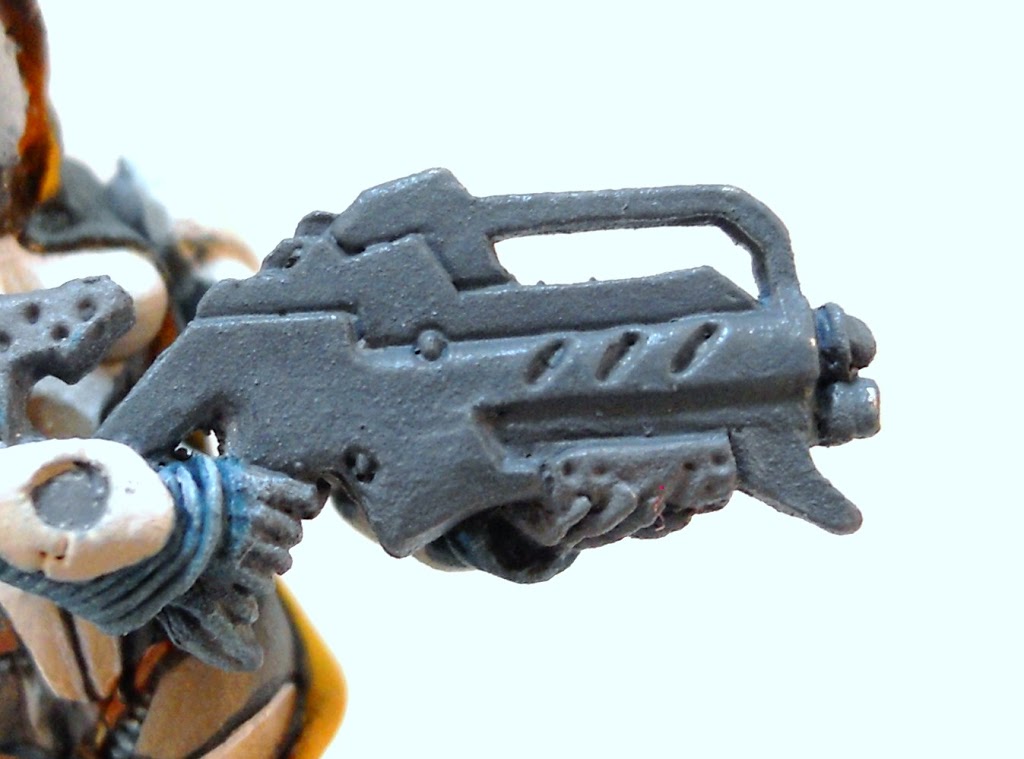
Finally time get back to that gun. I paint it with a mix of Frostbite, Umbral Umber, and Exile Blue.
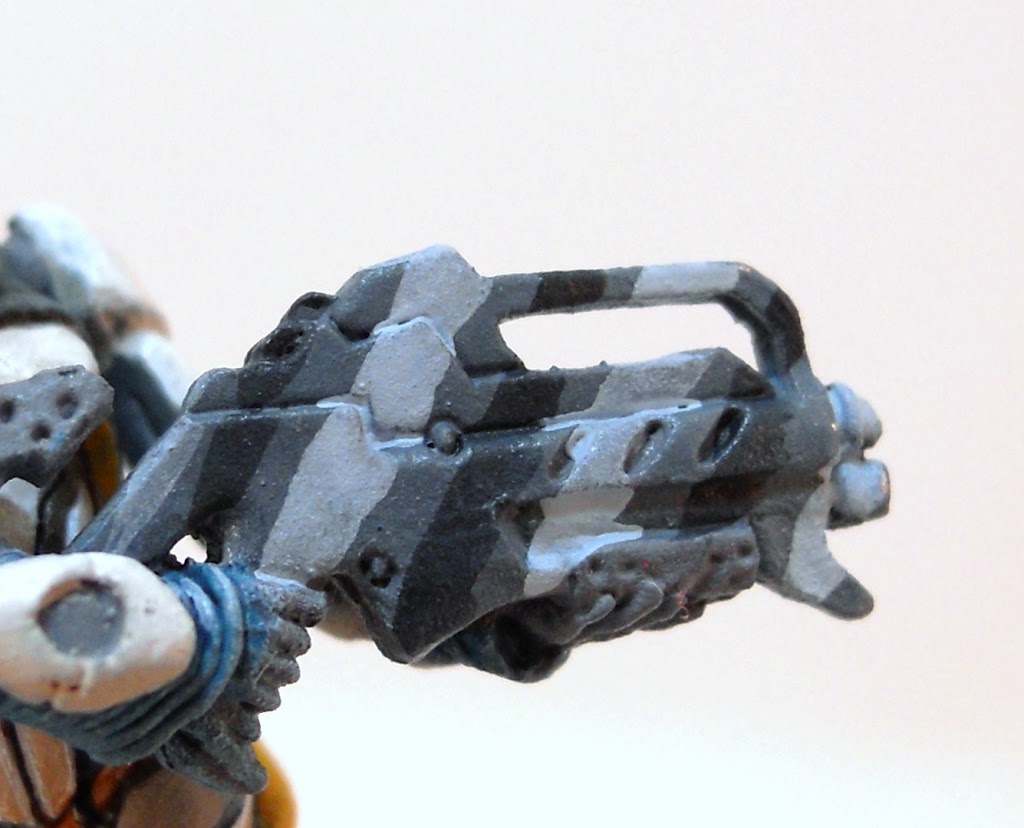
Painting these stripes on ahead of time creates a nice undercoat for the next step. The two colors here are Frostbite, and a 40/60 mix of Umbral Umber and Exile Blue.
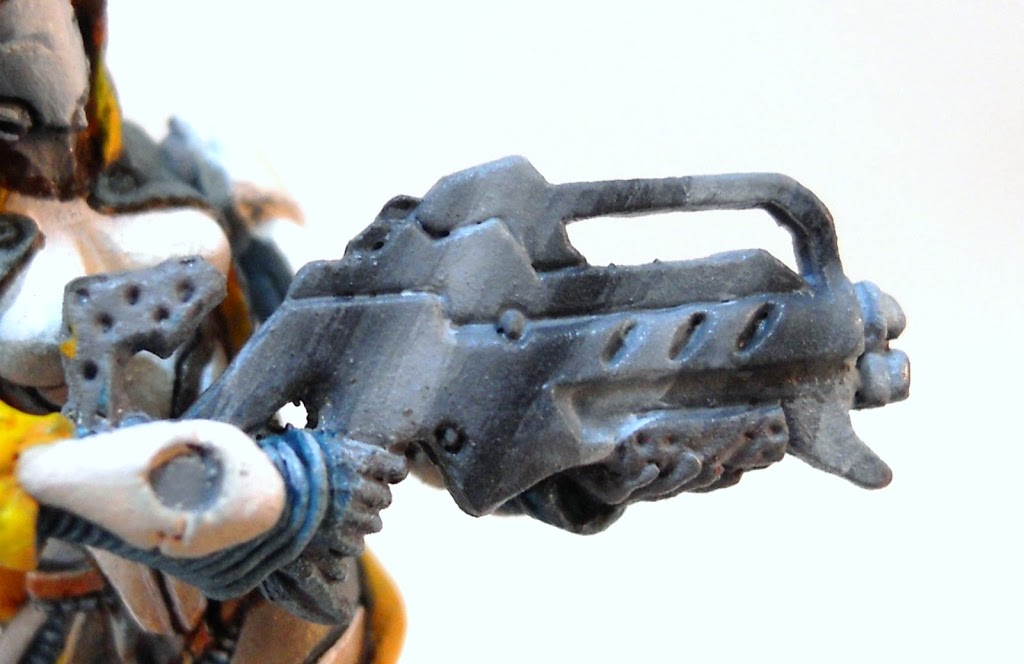
Then they are blended into the original base color.
All upward-facing lines get a stark highlight of Frostbite. You can also see I’ve been using the same pallette on the face.
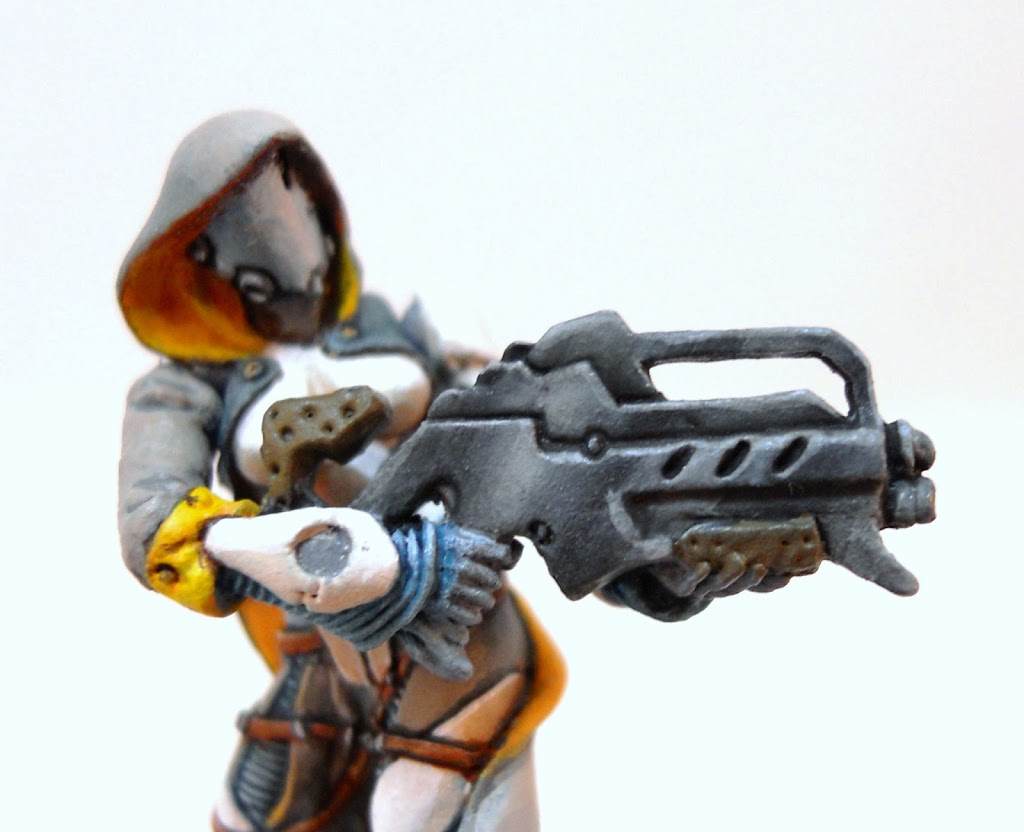
Then it all gets washed with my metal wash. I normally use this to wash traditional metallics, but it works just as well here. It’s about 1 part Agrax Earth, 1 part Nuln Oil, 1 part Guilliman Blue and 2 parts water. A little bit of matte medium is added to help make sure it binds properly. This wash evens out the blending and also quickly defines all the lines. and recesses. I also start on the other metallic parts of the gun. They get a basecoat of Traitor Green.

The traitor green is highlighted with Rucksack tan then with a little bit of Menoth White Highlight. Thin lines of the Menoth White are also applied on all the upward pacing areas to give the effect of light glinting off the surface.
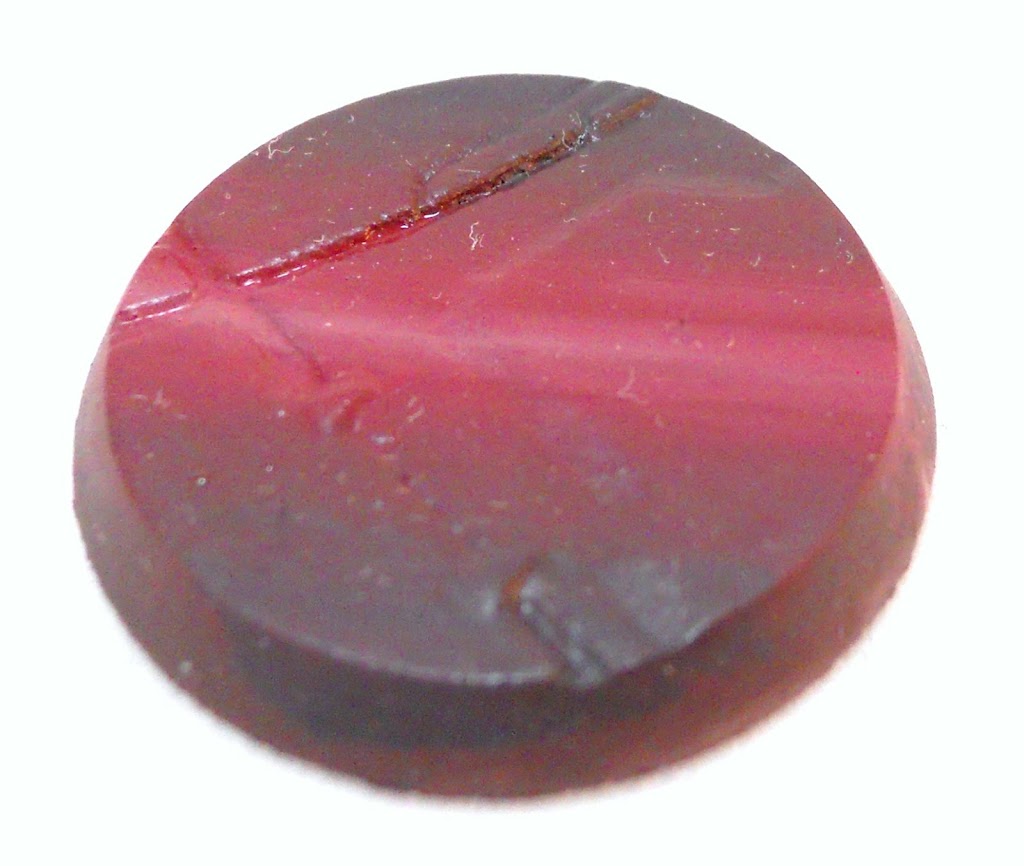
For the bases I went with Secret Weapon’s Tau Ceti line. The BoLS Market was the only place I could find that had them at a discount. And of course they have Infinity stuff too so I added some of that to my order.
I started with Sanguine base. I began mixing in a little bit of Rynn Flesh to get a nice highlight streak down the middle. The edges were shaded by mixing some Coal Black and Umbral Umber in with the Sanguine base.
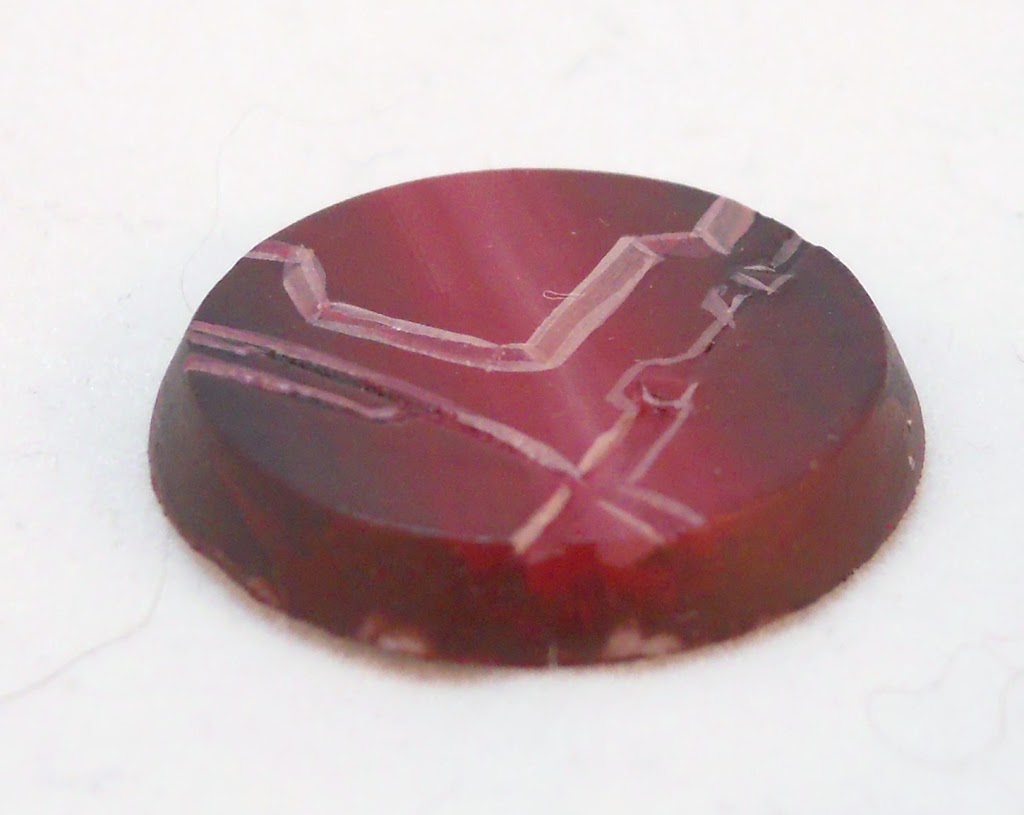
Then all the little details start to get picked out with Rynn Flesh blended with Varying amounts of the Sanguine Blend. I make sure to exaggerate these areas since the detail on the bases gets lost easily.
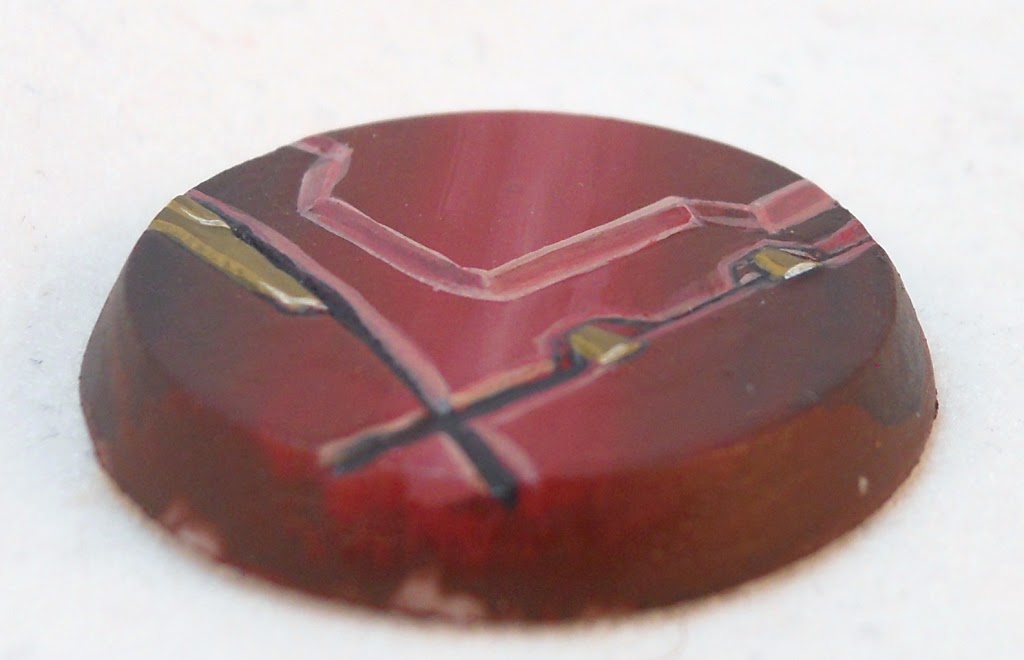
To give the bases a bit of definition, I pick out a few areas with the same metallic technique I used for the fore end and hilt of the shotgun. I also touch up and even out the red some more.
The base is given a thin wash of Agrax Earth, then our lady is ready to be pinned to it.