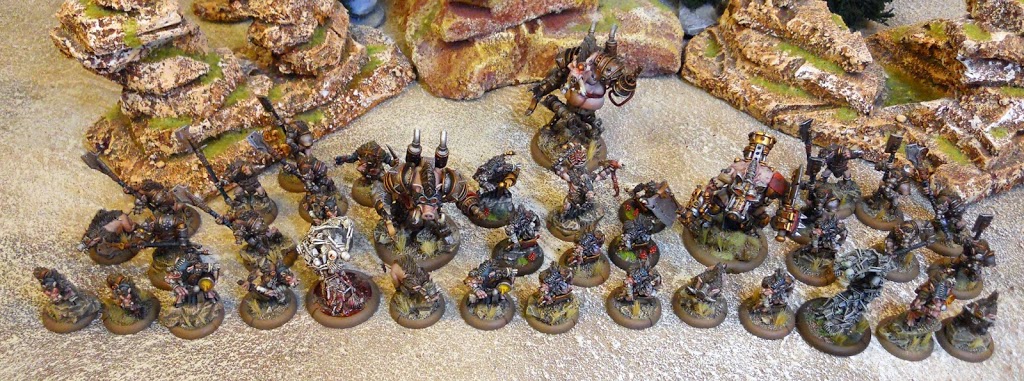
Well look who showed up on my tabletop – Midas, the pig with the “golden touch”.
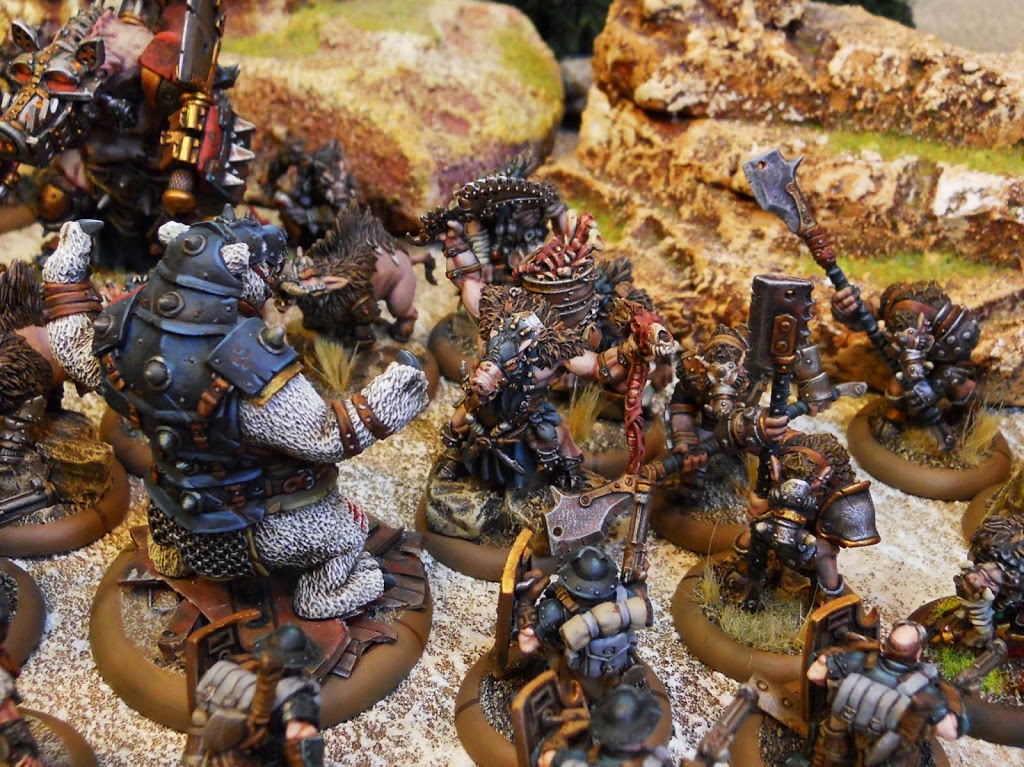
As soon as I got my first look at the War Hog it was a given. I would be riding the Pork Chop Express. I knew from the get-go winning with this faction would be an uphill battle. I did the whole Merc thing in Mark I (you know, back when they really really weren’t a faction). I knew how hindered I’d be by the limited options. But when I saw those pink curly tails I just couldn’t say no. Fortunately I’m a whole hobby kinda gamer. Painting and modelling are fun for me so I don’t need to win all my games. But man its been tough being a Thornfall player. Then along came Midas. What makes him so special you ask?
It’s definitely not his stats. Everything about them are about as average as it gets. But things start to get interesting when you move onto his spells. Rather than list them alphabetically as you’ll find them on his card, I’m going to go down in order of importance.
Calamity: Yeah that’s the one I’m putting at the top. The +2 to attack and damage rolls gives Farrow something they desperately need: accuracy. At first I was worried this would be one of those “once every other game spells.” Why? Because Midas has to put himself in a bit of danger to get it out there. Yeah you can get the spell’s range up to 10″ with Bone Grinders but even that seemed a little too close for the somewhat squishy Midas. Fortunately with the list I’ve been running, there’s so much to tar pit with that I’ve been able to get Midas up there to cast it round after round. It’s expensive, but if you play Midas right it isn’t too hard to have enough Fury to cast both this spell and the next one on the list.
Battle Lust: A lot of people might have put this spell at the top. And hey it’s great, but I’ll always go for accuracy and hitting power over just hitting power. Honestly it seems silly to rank the two spells at all when they go together so well. If you didn’t know, this spell will give a warrior model/ unit an extra die on melee damage rolls and make them Fearless. This will of course turn your Slaughterhousers into real killing machines against just about anything. In a pinch it can also really crank up the dial on those humble Bone Grinders that you should be fielding plenty of in a Midas list. There are even situations where Midas may want to cast it on himself.
Hex Blast: This often ends up being one of those throw-away spells with other warlocks. But with no good ways to strip upkeeps in a Thornfall list, Hex Blast is a real blessing. I have cast it time and time again with Midas. To give you a sense of just how important it is, the first time I ever used it was to take Polarity Shield off of a Hyperion that thought it was safe from my Slaughterhousers. And with a POW 13, I was able to easily damage the Colossal with a boosted roll. And all it takes is one point of damage to open up all your Slaughterhousers for Finisher.
Bad Blood: The least interesting spell on Midas’ list, but by no means useless. It prevents transfers to a target warbeast and prevents them from being healed. It also causes a warlock leaching from said beast to suffer a point of damage. This one can really catch a warlock off guard. I’ve seen it plenty of times – you and your opponent have ground yourselves down to your last couple of beasts. They only have one beast that isn’t maxed out on fury and they’ve kept three on their warlock. Your opponent knows you don’t have quite enough assets to kill their ‘lock – what with the three transfers they can do. And you don’t have quite enough to kill their transfer target either. And that’s when Bad Blood comes in. Cast it on that one beast they didn’t max out when they were pulping your army last turn and down they go. Have I pulled this off yet? No not quite. But there was one time when I might have been able to… and I forgot to cast Bad Blood. I’ve been kicking myself ever since because it could have been a game I’d won.
Rather than move straight into the feat lets go into some of Midas’ cool abilities. Just like with spells I’m going to start with what I think is the most important.
Butchery: This is the one that gets Midas Fury when his beasts die. Well to be specific, when a living beast dies in his control area you get a token that becomes Fury on your turn. You can have 3 of those tokens meaning Midas can potentially max out at 9. It’s very unlikely you won’t be using this every game. And it’s incredibly important that you become comfortable with feeding your opponent beasts at the right time to try to ensure that you have that extra Fury when you need it. There will be times when you need to boost a Calamity casting and throw Battle Lust out there on the same turn. This means you have to have lost at least one warbeast the previous round. I’m still cursing an opponent I had at a recent tournament for running out of time one turn before he activated the unit that would have almost certainly killed one of my Razor Boars. That lapse meant I didn’t get the Fury I needed to boost Calamity, causing me to miss the attack roll against his warcaster (despite just needing a 7 – lousy dice) and then watched everything in my army miss their attack rolls against him. That’s right, I’m blaming a loss on my opponent failing to kill one of my own Razor Boars. So make sure those boars of yours are enough of an irritant that your opponent can’t allow them to live.
Curse [Bone Grinders]: Gives Bone Grinders +2 to hit and a bit of extra SPD when they charge against the target of the curse. This is another one you should be using every game. Obvious uses are to help your Bone Grinders hit and move faster when they charge. Yes – Bone Grinders are melee troops with Midas. But more often than not I use it to try to make sure Midas hits his Calamity target. He’s a Bone Grinder too after all.
Dismember: Really this one is about tied with our next ability since they trigger under the same circumstance. This extra damage die against warbeasts turns Midas into a real terror when your fighting Hordes players. During my first game with this Warlock he killed an Archidon and a Bronzeback. And since Midas has access to Sprint, you have a way to keep him safe from reprisal.
Soul Food: Kill an enemy warbeast with Midas and you can cast a spell with cost 3 or less, or cast the destroyed warbeast’s animus. Really the free cast of Battle Lust is what makes this ability awesome – when you get to use it that is. The destroyed beast’s animus is always a tempting prospect, but if you see the chance to charge and kill a beast, you should be setting yourself up for a Battle Lust casting.
Pet Cemetary: Bring back all your destroyed warbeasts and place them within 3″ of Midas. Yeah they only have 3 health each but still, what a feat right? You can even spend Fury to heal a point from every warbeast per Fury spent. Although after many games with Midas I think the Fury expenditure is for noobs. Basically what you should be doing as a Midas player is delaying the use of the feat for as long as possible. When you bring all your beasts back you should be finishing off the last of your opponent’s infantry with aimed sprays from your Road Hogs, and killing their last heavy with the three attacks from your War Hog. And you’re going to want to be doing this so far upfield that you’ll need some Fury for transfers, just in case. Of course that means you’ll also want to have a beast around that still has a decent amount of health on it. This feat is killer for scenarios when you can literally dump who even knows how many points onto a control zone if you think time is about to be called. There’s even assassination potential since you can bring back multiple Road Hogs to throw down aimed sprays against a possibly Calamity-ed caster.
Alright so that just about covers everything for Midas right? Yeah I didn’t go into “Farrow Warlock” but that’s pretty trivial. Well there’s one more thing that goes into the Midas strategic superiority plan. It’s his tier. I’m only going to say this once: DON’T PLAY MIDAS WITHOUT HIS TIER.
Farrow armies lose out on more than just options when you take one of their tiers. You also lose Advance Deployment on all Farrow units. It’s a lot to go without, but “Butcher’s Block” more than makes up for it. If you can restrict yourself to only Farrow things your first reward will be access to Boneswarms for Midas’ Battlegroup. Perhaps more importantly, Bone Grinders become FA U. Why are unlimited Bone Grinders fantastic news? You haven’t already forgotten about that whole Curse thing Midas does have you? Also, Bone Grinders are absolutely dirt freaking cheap. Finally Farrow have a unit that’s cheap enough to be expendable, can be taken en masse, and (with Curse and Calamity) can hit reliably. And these little guys have Confluence and Arcane Bolt which makes them great for hunting high DEF solos – even ones with incorporeal. Up next, for every Bone Grinder unit you take, you’ll get Advance Move for one of your beasts. I take four units of them, so I get plenty of those moves. These advance moves are an important part of winning with Midas, although I want to wait until we get a little further along to fully explain why. Things start to get really interesting with Tier 3. For each Slaughterhouser unit your army includes, a Boneswarm starts the game with three corpse counters. With each counter adding a point to this beast’s ARM and STR, this tier makes for some very strong and resilient 4 pt warbeasts. And the things can heal themselves with their Corpse Counters.
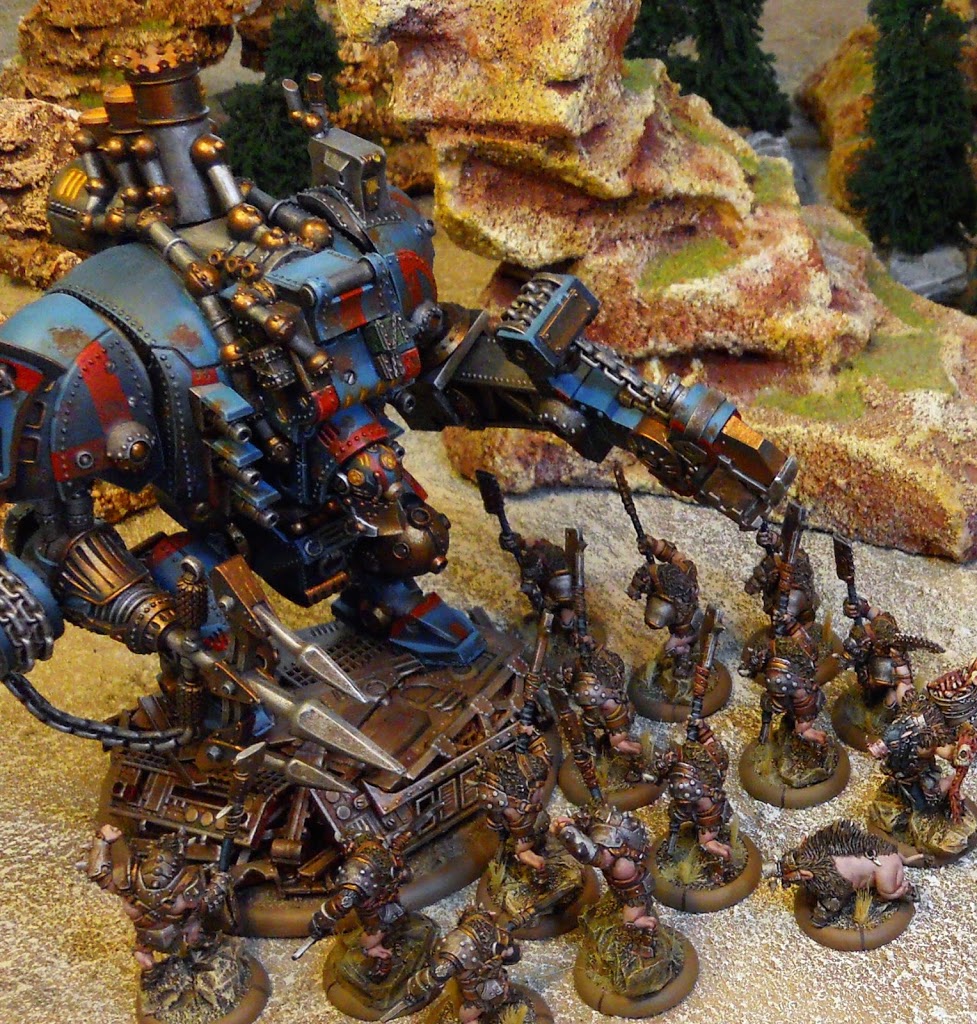
Finally, the Pièce de résistance: at Tier 4 Midas gets to add a completely free destroyed warbeast to his battlegroup. If you turn your attention straight away to the Farrow’s most costly beast – the nine point Road Hog – then you are on the money. But there’s a lot more at work here than just maximizing your points. There are two other big reasons to chose a Road Hog as your Tier 4 destroyed beast. First, Midas’ feat allows you to place this beast in such a position that its 10″ Spray can cover the most possible potential targets – all with an aiming bonus. In one game I managed 9 models that had lined themselves up quite nicely as they charged my massed ranks of Bone Grinders and Slaughterhousers.The other reason to take the Road Hog is that your Bone Grinders can use its animus from the very start of the game. Midas likes to get himself in trouble, and sometimes the best way to get him out of it again is with the free move he can get from Sprint.
So that’s it. You’ve now fully read up on all of Midas’ strengths. Now let me give you the list I’ve been using so I can explain how all these awesome abilities coalesce.
So here’s how this list plays out. You have your two Boneswarms. These are both going to benefit from the Advance Move from the tier. Turn 1 they’ll animus and charge whatever to move them quickly up the field. This should put them pretty far up there while making them a supremely annoying tarpit as they’ll be ARM 18 with concealment and DEF 15 against melee attacks made by living models. Two of the Razor Boars will Advance Move too. If you can get a kill or two with them great, but really you want them to die in Midas’ control area for the Fury from Butchery. This is pretty much what all the Razor Boars are for, although they’re also helpful for putting a couple of damage points on something to get Finisher working.
As for the rest of your army, three of the four Bone Grinder units form the Vanguard along with the other two Razor Boars. These Bone Grinders function largely as a tarpit, but if the boneswarms are doing their job, it’s quite likely that these little two-point units will actually get to charge in and cause some actual damage. Once things get nice and stuck in, the Road Hog gets to start sending some sprays into the enemy lines. Targ will let him do this twice per turn. By this time Midas will have hopefully cast Calamity on something to help him out. The War Hog will try to wait patiently until he gets a good juicy target to charge into. Although with the way things tend to get bunched up in the middle with this army, you might actually get a chance to see your War Hog do some Massacre moves.
The Slaughterhousers need to hang back a bit. They are your most valuable resource as they will be dishing out the lion’s share of the damage. The good news is that with Battle Lust and Calamity up it’s often easy to take down a heavy target with as few as three of them. They have a fairly average threat range of ten inches, so maneuvering them to be ready for a counter charge is a skill you’ll have to cultivate. Really it just boils down to setting one of your beasts up to get taken out and having the Slaughterhousers right behind it. Midas always wins the piece trading game since his feat can bring so many of those pieces back to the table.
And while we’re on that feat, you probably shouldn’t need me to tell you that this is one best saved for late game. Obviously you’re going to want to wait until a lot of those beasts are dead before you use it. Then, just when your opponent thinks they have you finished off, you get to drop as much as 42 points back into the game. You might not be able to force any of those beasts that turn, but they can all otherwise activate normally. That’s a lot of sprays and other attacks. And it should be enough bodies to put a decent wall between Midas and whatever is left of your opponent’s army. You need to try pretty hard to have some healthy beasts left when Midas feats though. He’ll need something to transfer to since he’ll likely be quite vulnerable at this time. If you’ve played all your cards right by now you should have ground your way to victory. And if not, Midas should have a solid nine Fury on your next turn to cast dismember on himself and do some murdering of his own.
While this army does phenomenally against melee-centric armies that like to get stuck in, it can have some real problems with armies with lots of ranged attacks. Circle and Skorne also give me some real problems with Sprint and Fate Walker. Molik Karn or a Warpwolf Stalker can charge in murder a heavy, then move farther away than my poor Slaughterhousers can reach. Thornfall’s lack of SPD really shows when you don’t have Mobility to cast. Careful placement can help mitigate this a bit, but overall my response in tournaments is just to field another list. I have a Rask list I bring along with this one that counters its weaknesses quite nicely. I really wish there was a pairing as nice as Rask within Thornfall for all you Farrow only players, but the truth is Midas and the Bog Trog are a Minion match made in heaven. ~ Thanks for reading, and I hope you enjoyed it!
Ben Willimans is a Professional Painter and Columnist at Bell of Lost Souls. He has been involved in the hobby and art side of miniatures and the tabletop gaming industry for over 20 years. He has won multiple national painting awards.