Warmachine/Hordes – Cryx vs Circle Video Battle Report and Analysis
3 Minute Read
Jul 24 2013

Advertisement
I recently wrote an article on Tharn Ravagers and how I felt it best to go about getting the most out of them. I tested my hypothesis, and I’m here to report the results.
Having played three games with this list, I feel like I have a pretty solid grasp of its capabilities in terms of what it does and what Tharn Ravagers specifically bring to the table in the list. For a quick refresher, the list consists of:
Kaya the Wildborne (*6pts)
– Gorax (4pts)
– Ghetorix (11pts)
– Warpwolf Stalker (10pts)
Shifting Stones (2pts)
– Stone Keeper (1pts)
Shifting Stones (2pts)
Swamp Gobber Bellows Crew (Leader & 1 Grunt) (1pts)
Swamp Gobber Bellows Crew (Leader & 1 Grunt) (1pts)
Tharn Bloodtrackers (Leader & 9 Grunts) (8pts)
– Nuala the Huntress (2pts)
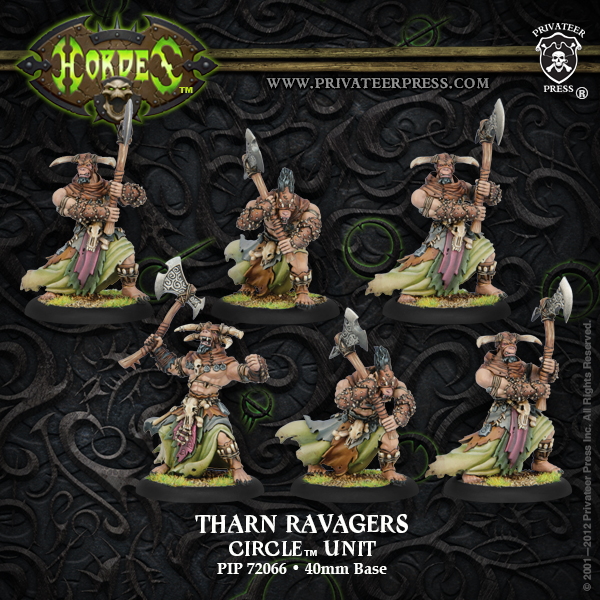
Tharn Ravagers (Leader & 5 Grunts) (9pts)
– Tharn Ravager Chieftain (2pts)
Blackclad Wayfarer (2pts)
Druid Wilder (2pts)
Video Battle Report
Analysis
Overall, I’ve actually been pretty happy with the Ravagers in this list. I have found that Occultation has been a consistently strong tool for getting Ravagers to their destination unmolested, even though they typically don’t stay that way once delivered. Since the full unit of Ravagers with the Chieftain comes in at a pricey 11 points, it’s really important to make sure that they make a pretty large splash when they get stuck in since they don’t have the defensive stats to survive very well past first contact. This leads me to discuss the nature of the list itself and why I’m willing to live with this cruel reality in the context of the build.
Out of the 56 points in the list, 42 points are there to do real work, specifically the Stalker, Ghetorix, Ravagers, and Bloodtrackers. The Gorax, Shifting Stones, Swamp Gobbers, Blackclad, and Wilder are really just support pieces present to enable the rest of my army to remove my opponent’s from the table. I’m not invested in expensive support units or models like Druids of Orboros or Woldwardens, so I don’t feel like there’s necessarily a huge amount of pressure on just a few models to carry all the weight.
The other thing that I like about Ravagers in this list is how beautifully they pair with Bloodtrackers. Having two highly-mobile units with Advance Deployment and Stealth (naturally on the Bloodtrackers, via Occultation on the Ravagers) puts a huge amount of pressure on the opposing player to get upfield quickly, often causing them to run significant portions of their army into the threat range of my Tharn if they wish to avoid getting pinned deep into their side of the board on the opening turns, granting this list significant value in scenario play, especially when it gets to go first. In the above game, if Jerry didn’t have any units with Advance Deployment, I could have run the Tharn forward at full stride, putting them at 25″ upfield before my opponent even gets to activate, most likely outside of the immediate threat range of his forces and giving me the first strike on the following turn while Kaya and the warpwolves run forward to wreak their havoc.
In terms of the rest of the list, the threat of charging in and then pulling back Ghetorix and the Stalker every turn is just incredible. Positioning proves to be a challenge, and is something that I certainly need to work on improving as is evident by the near loss on turn four in the video battle report. The trick is keeping Kaya far enough forward to lend her Pack Hunters ability to the Stalker and Ghetorix before she activates and without exposing her to undue harm, particularly if I’m planning on blowing my entire fury load to cast Spirit Door on both of my heavy warbeasts, leaving her with nothing for transfers. It’s a dangerous gambit, but as I’ve shown in the above video, it can allow me to play a brutally efficient attrition game. The fourth turn shows this as well when the Stalker wiped out all of his Mechanithralls and two of the remaining Bloodgorgers followed by Ghetorix destroying a fully-healthy Seether, after which both were pulled to safety by Spirit Door.
Where keeping Kaya safe is concerned, using her feat after casting Spirit Door twice isn’t a terrible idea either, as it can help to rebalance fury distribution on hard-pushed heavies as well as put a few extra on her for transfers on turns where she might otherwise be exposed to danger.
I’m tremendously happy with this list at the moment for the pure and simple fact that I feel like Kaya the Wildborne and Tharn Ravagers are pretty ignored by the masses as a competitive, viable options. Granted, three games is pretty anecdotal, but sometimes you just get that feeling…
Anyone else have similar thoughts or experiences? Sound off, Internet!
Author: relasine
Advertisement

