HOBBY SHOWCASE: Painting the Earthbreaker Pt. 2

Time for Pt. 2 of painting the Earthbreaker. Go ahead and catch up with part 1 here and break our your paintbrushes. Here we go!
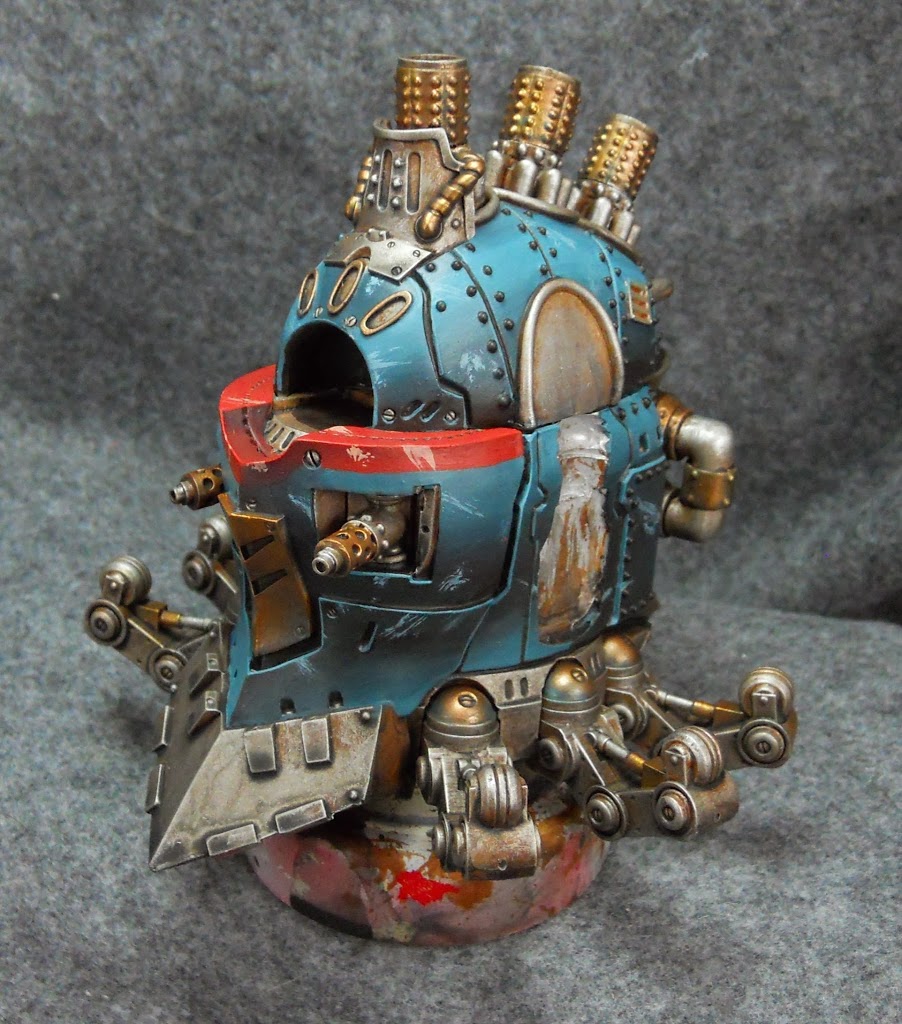
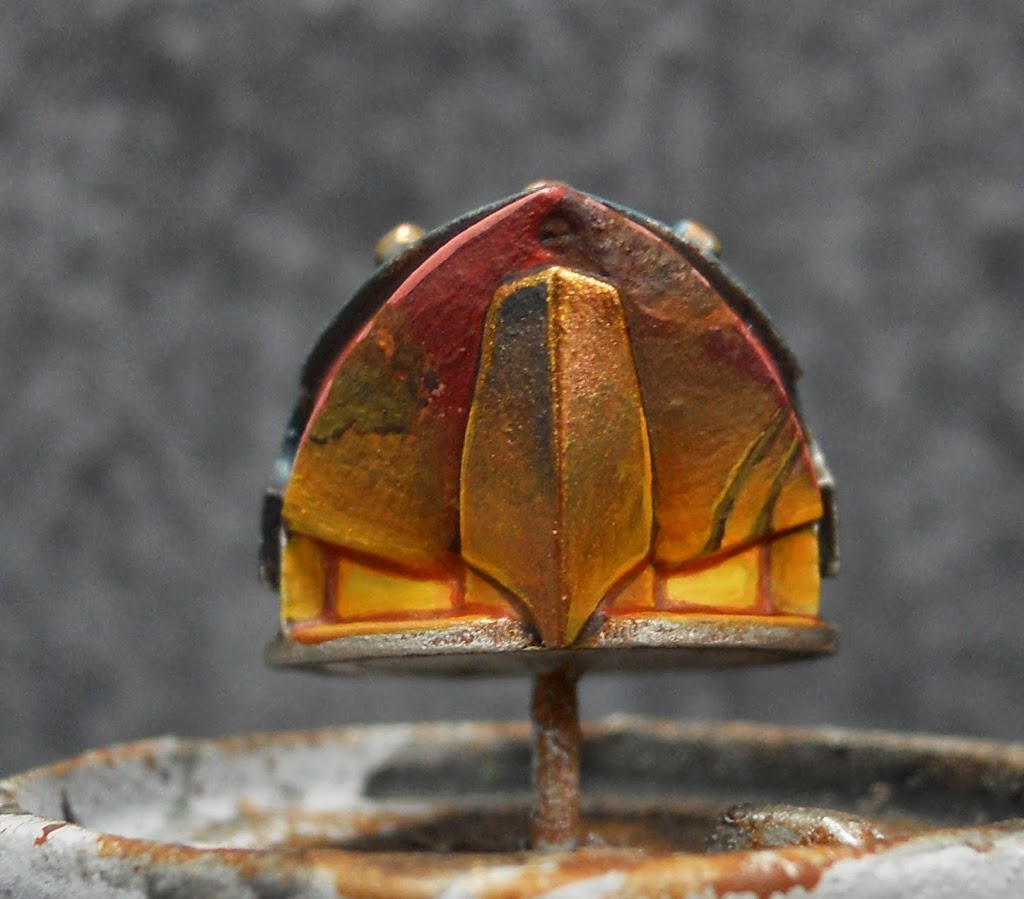
Last time I had just finished blending all the blues on the chassis. So lets move on to red now. The reds are used rather sparingly as accents in a few places. I start them off with a basecoat of Skorne Red. It has a pretty good opacity but a few coats are still required to make it nice and uniform.
The reds are shaded with a roughly 50/50 mix of Beaten Purple and Umbral Umber.
Along the edges I add a few stark highlight lines of Midlund Flesh mixed with just a bit of red.
Then its time to start the battle damage. I have a few old brushes I keep around that are many years past their prime. They were initially used for drybrushing and this led to their bristles getting beat up and paint drying at the base of the bristles. They look pretty wrecked but they work well for battle damage. Their split bristles allow me to apply paint in jagged broken streaks. And that’s just what I’ve done here. For the Red areas I use the same highlight tone from above. After I’ve toweled a decent amount off the brush I begin applying streaks here and there, as well as some occasional stippling. It’s the same technique for the blue areas of the model, but for my color I use Trollblood Highlight mixed with a bit of Underbelly Blue.
Before moving on to the next stage of the battle damage I begin defining some of the armor plates by blacklining all the cracks and crevices. I use the same toned black from the last article: a roughly 2-1 Thamar Black Bllodstone mix. I also define each rivet with the same color. Then I add a highlight line along the lip of each plate. The color of the line depends on how dark the surrounding areas are. Where these are darkest I line with Trollblood Highlight. In lighter areas Underbelly Blue is used. Some areas are lined with a mix of the two.

Alright, back to the interesting stuff: the battle damage. I paint Umbral Umber over my battle damaged areas leaving only a thin line of the highlight color to represent light glinting off of chipped paint.
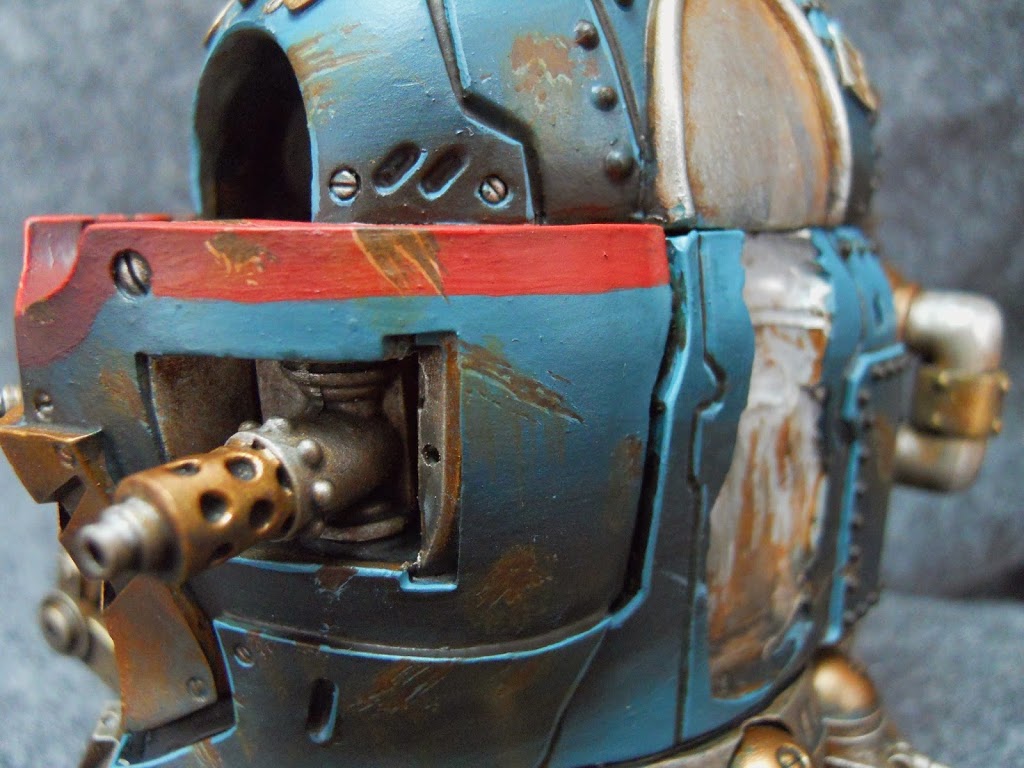
We’re zoomed in a little now here. To add the appearance of more rust, I stipple some very watered down Bloodtracker Brown over my battle damage. In some place I even add some subtle streaks running downward.
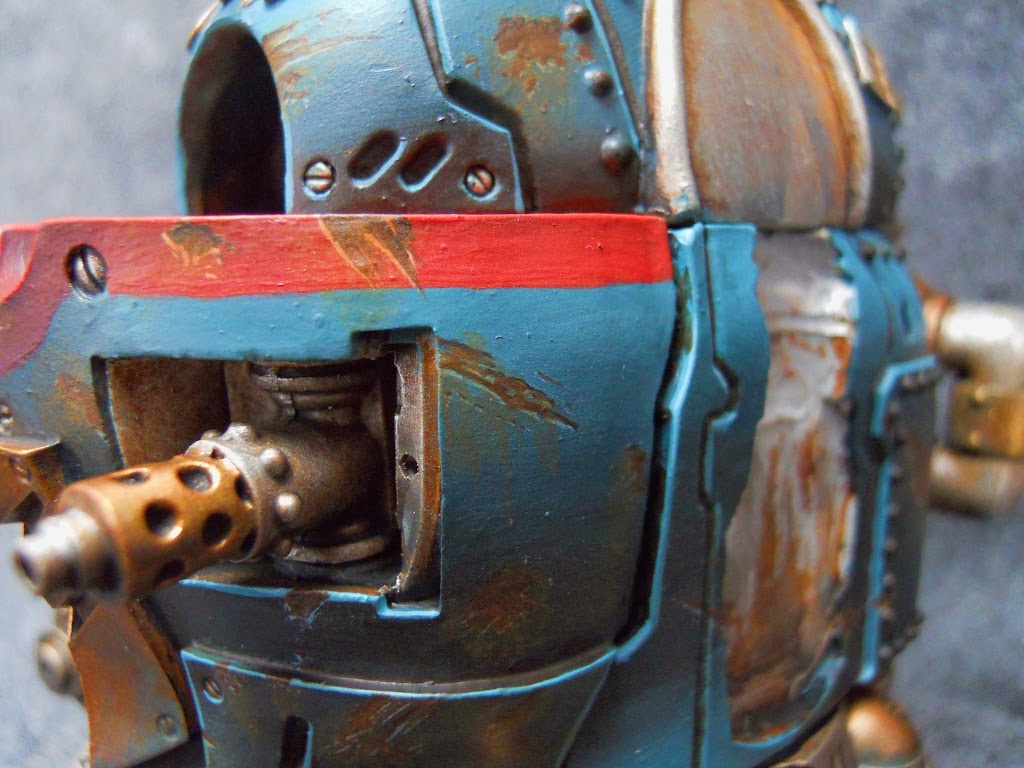
The last step is to shade along the top of all the distressed areas with Umbral Umber with a bit of Thamar Black mixed in to darken it. This adds the appearance of a shadow making the damage appear deep and gouged in.
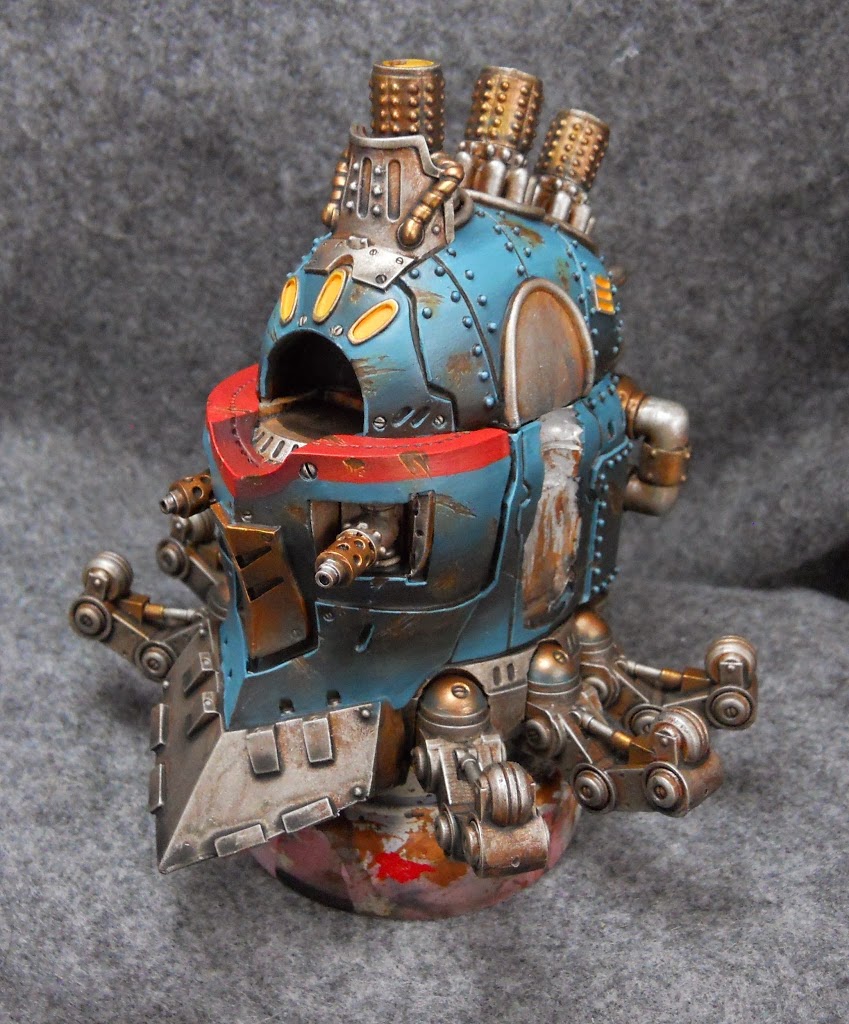
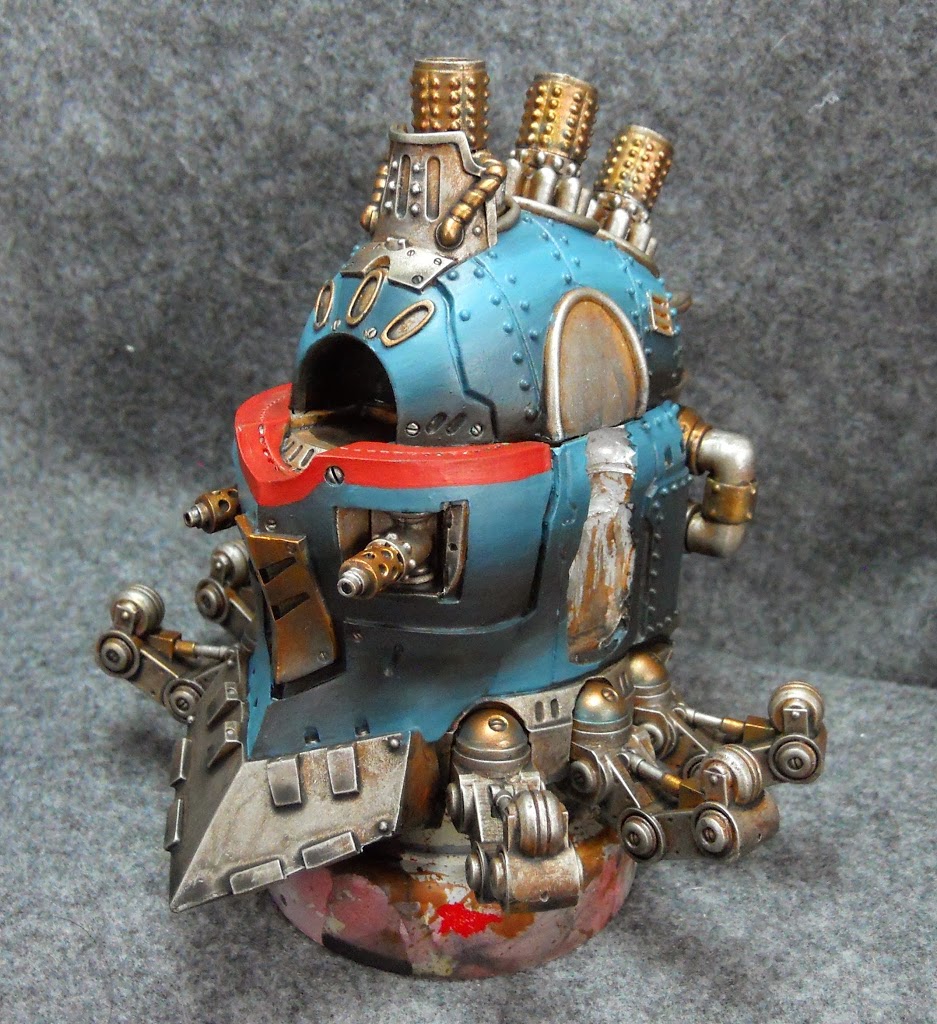
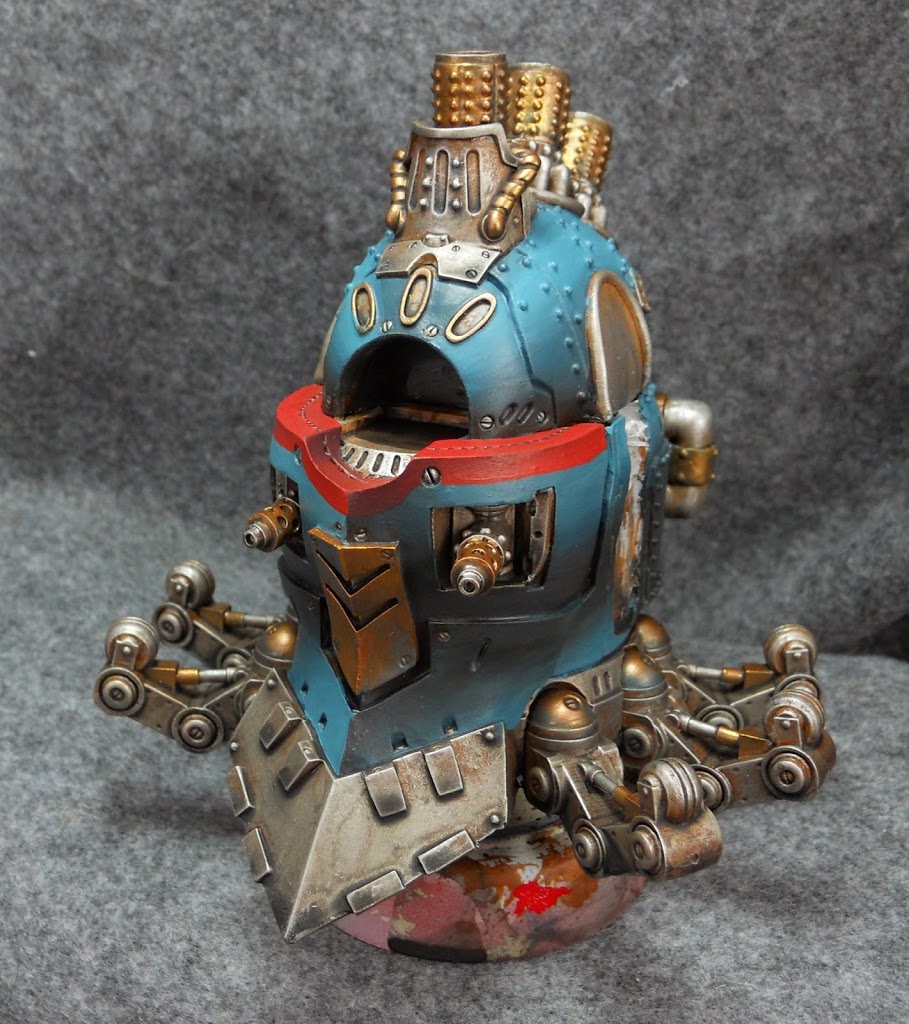
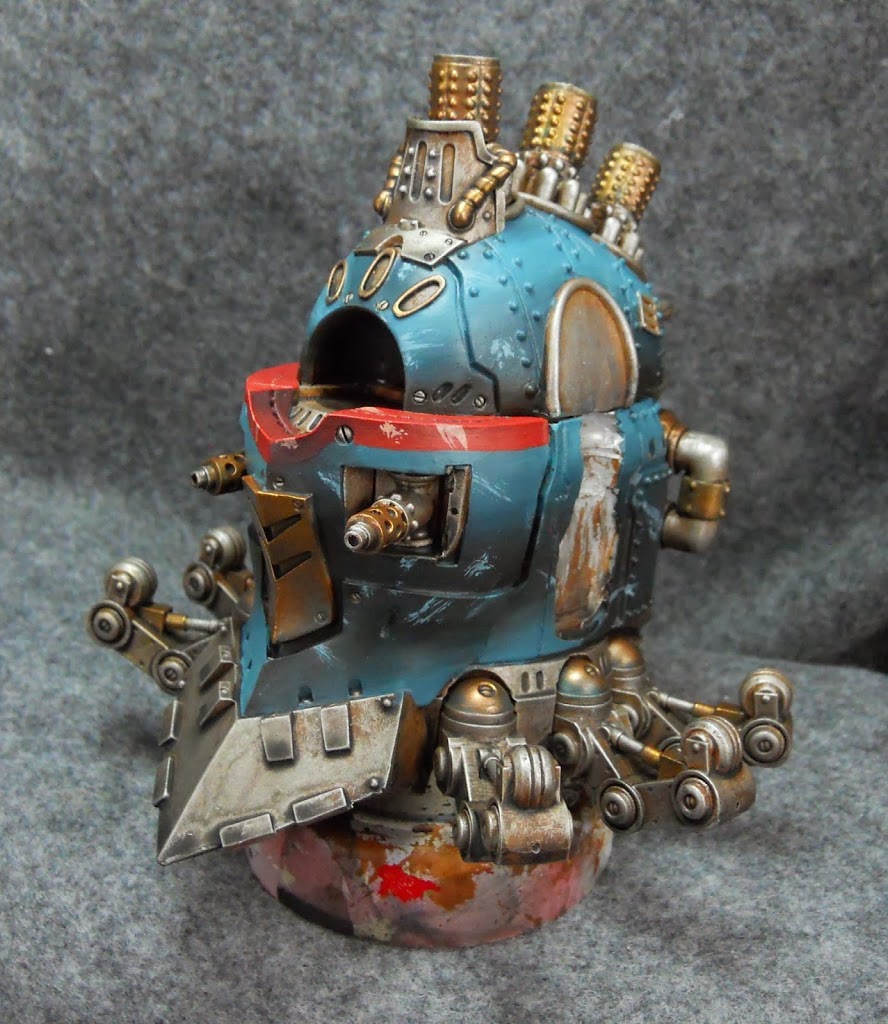
The only thing left now are the glows. To basecoat the yellow I have a pot of Iyanden Darksun leftover from before the last time all the Citadel paints changed names. Even this foundation color requires a couple of coats.
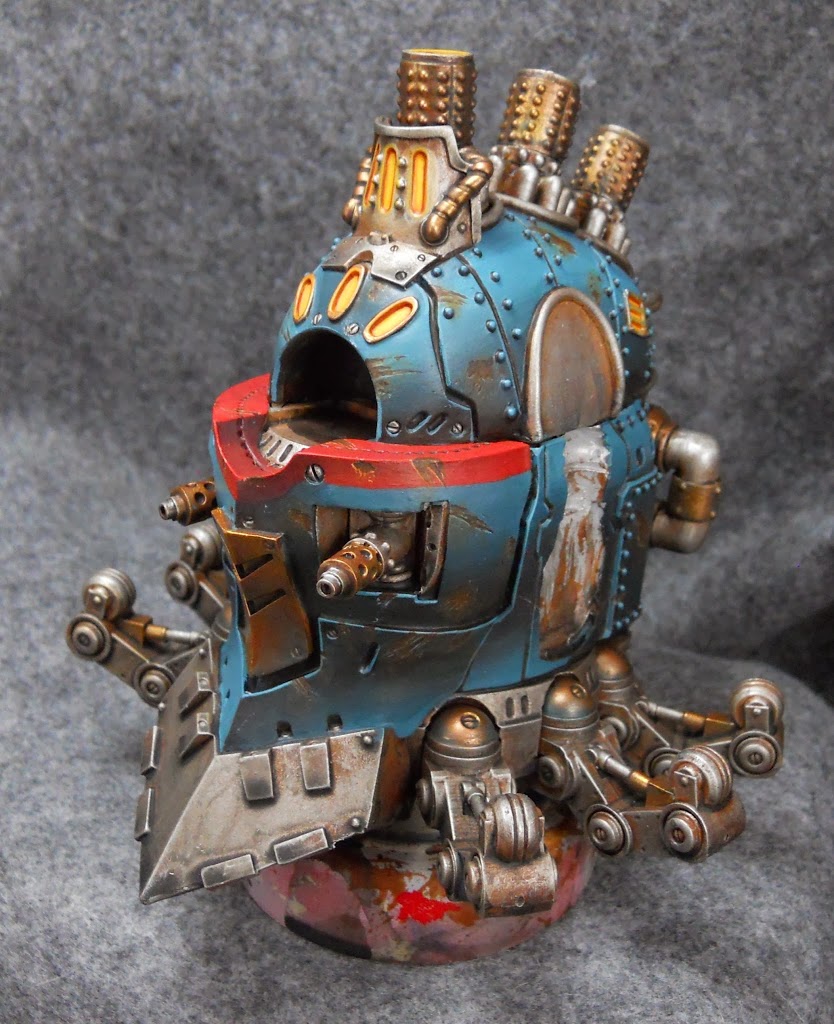
Next, the Iyanden Darksun is painted with Hearthfire. This is blended outward by adding a little bloodstone. A solid line of bloodstone is painted around each cavity to define them. Then more Hearthfire is blended into whatever color surrounds them.
This close-up of the head should help you get a better idea of what I mean. The lightest area in the interior is done with Sulfuric Yellow – kind of a pale yellow. For more on glows check out this article.
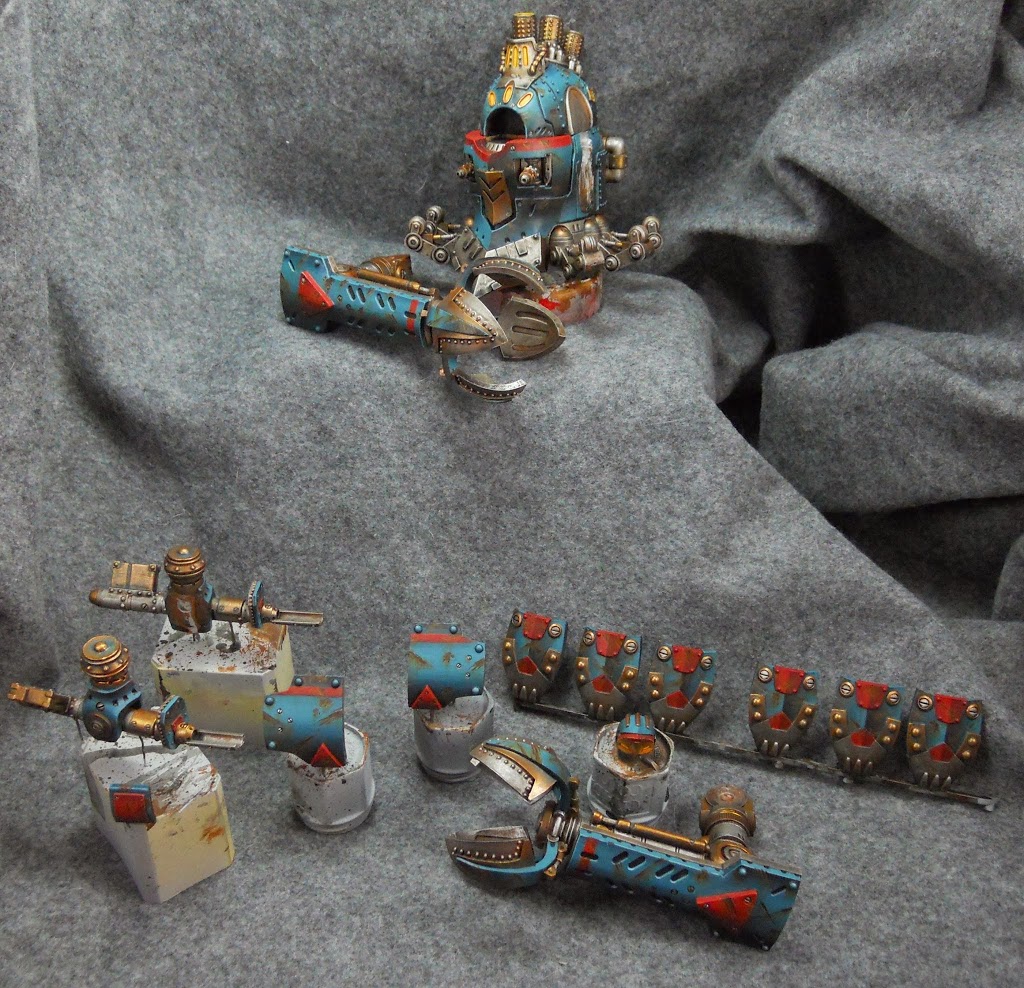
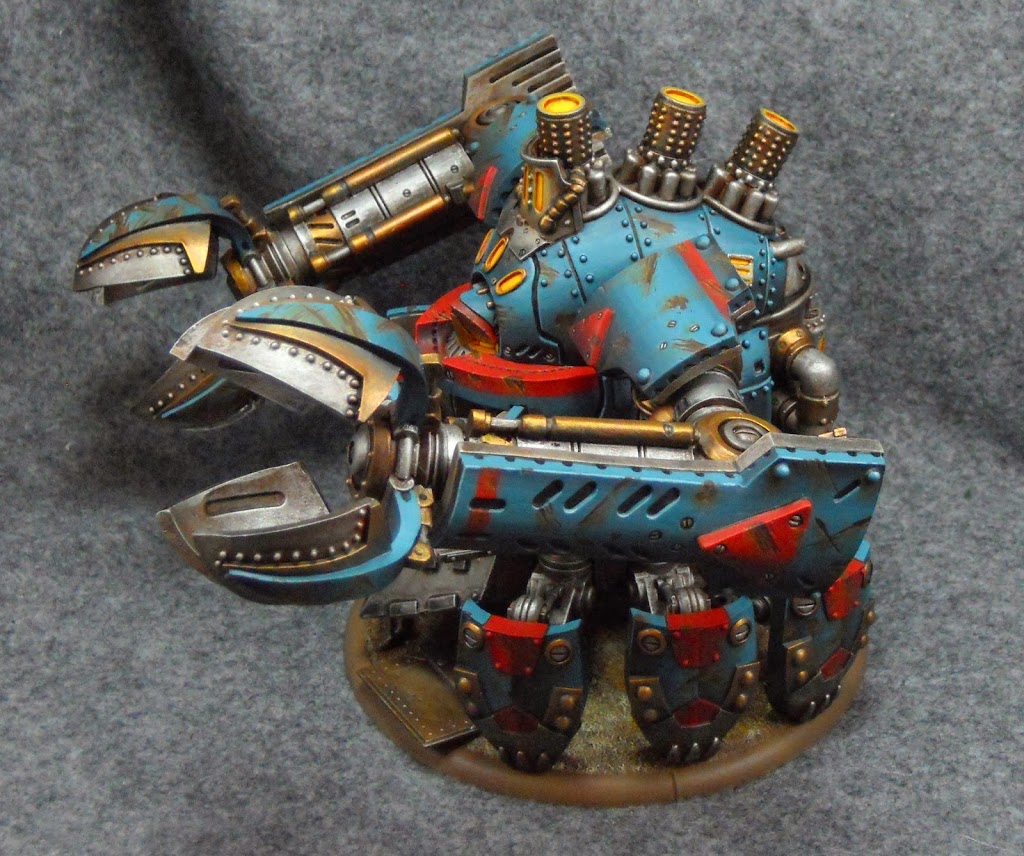
And here’s one last shot of all the pieces before I glue them together. Ok, I’ll admit it, I got ahead of myself and glued the plates onto the arms before I decided it would be good to get one last shot like this.
I kept the basing simple since so much of it is obscured by the model anyway. Years ago I decided my mercenaries were fighting over a scrapyard. To make this guy match the rest of them, I glued a few chunks of a Pegasus Hobbies Platformer set to the base since they make nice scrap. I painted them in more or less the same way as the metal on the Earthbreaker itself, but to make them appear more rusty I stippled some Ember Orange onto them before drybrushing with Radiant Platinum. I also apply the radiant platinum a lot less thoroughly so more of that orange and brown show through.
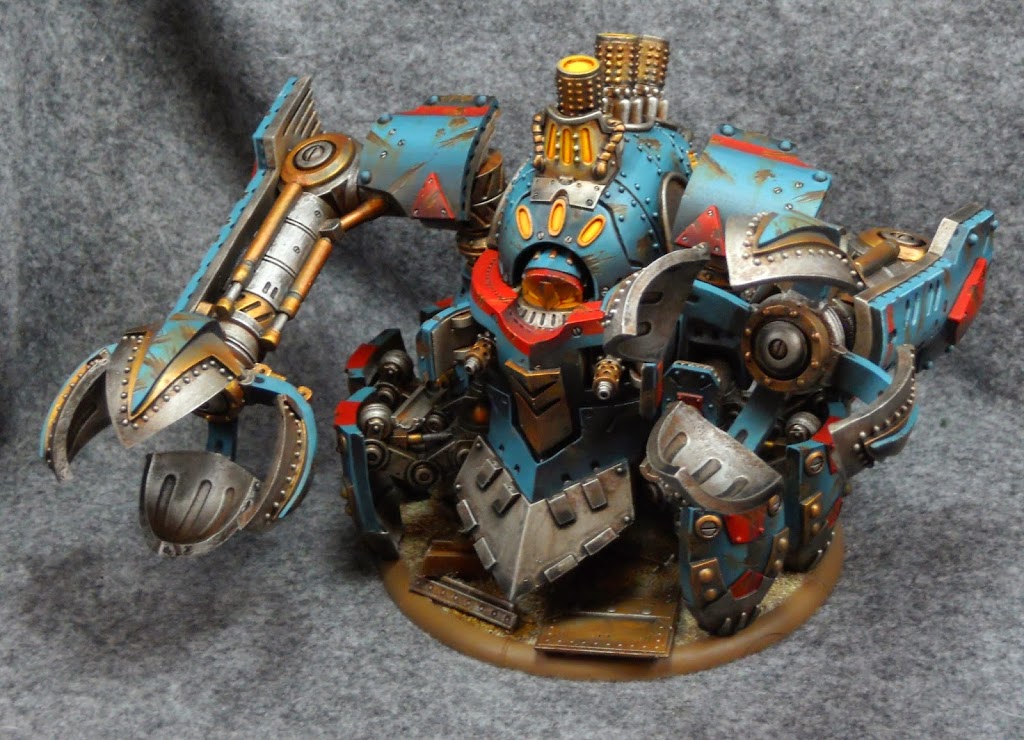
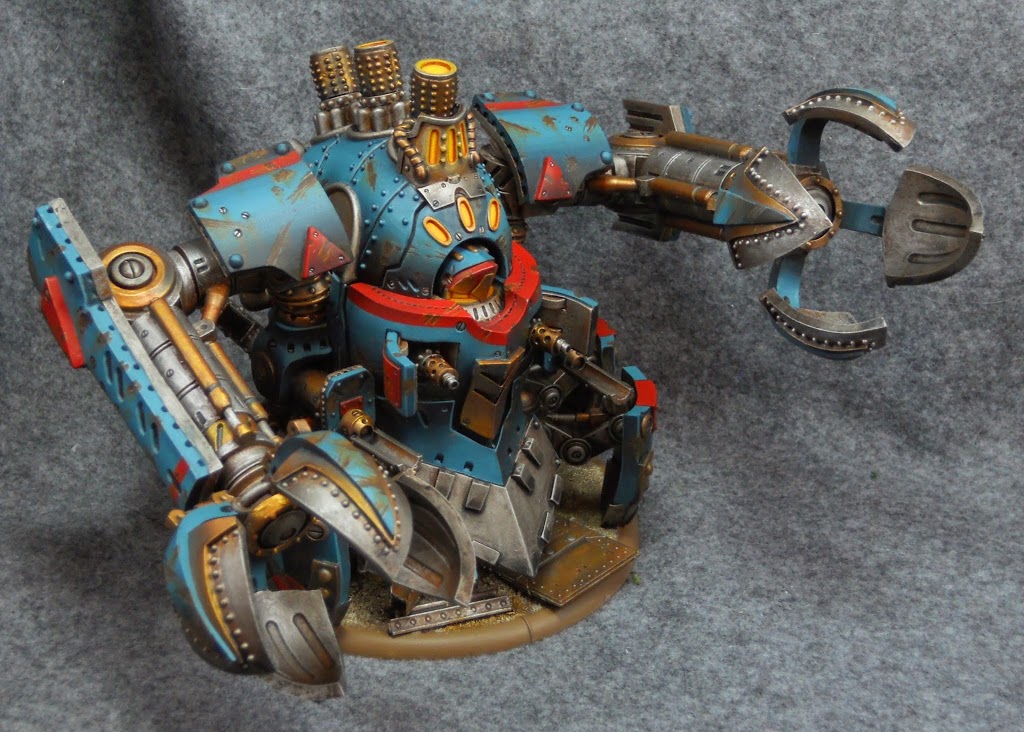
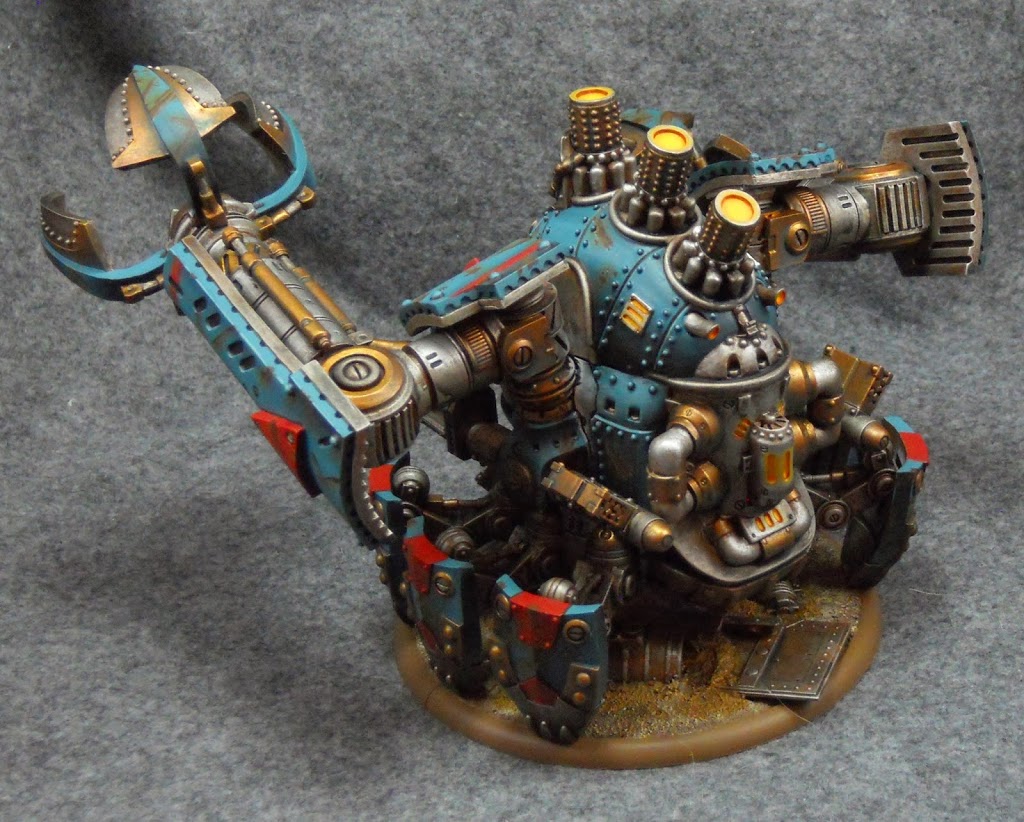
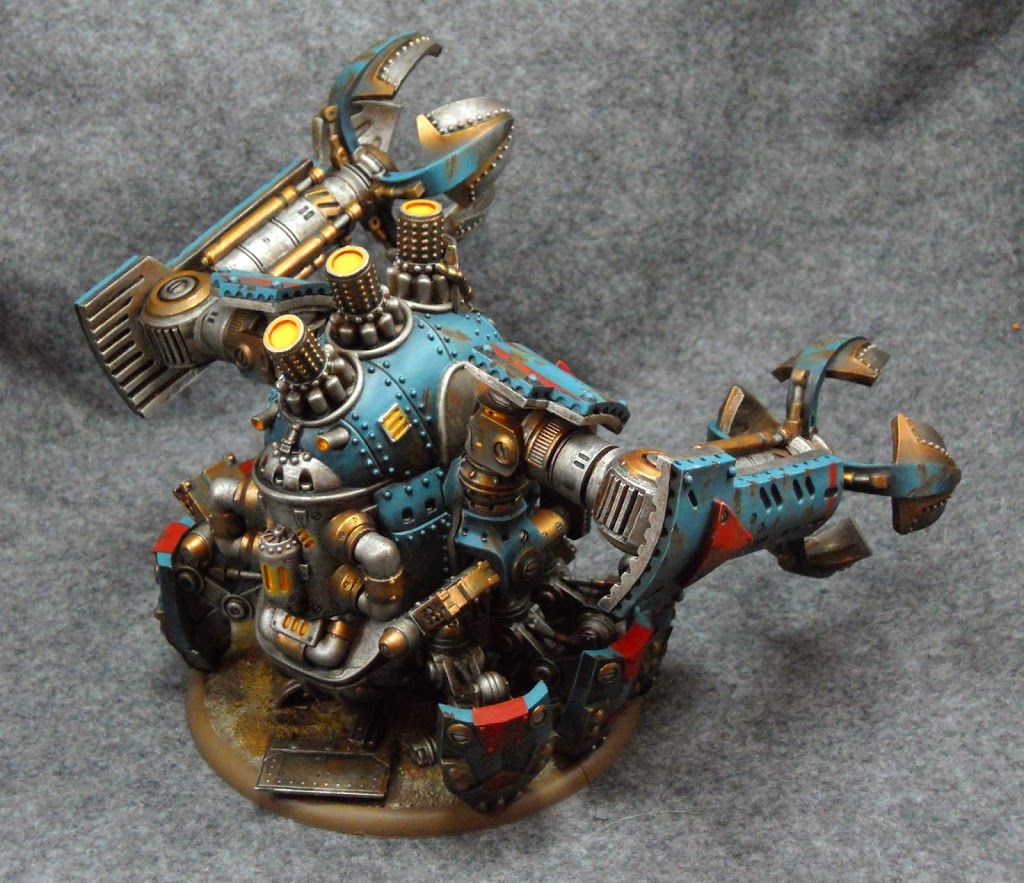
And here are some more angles.
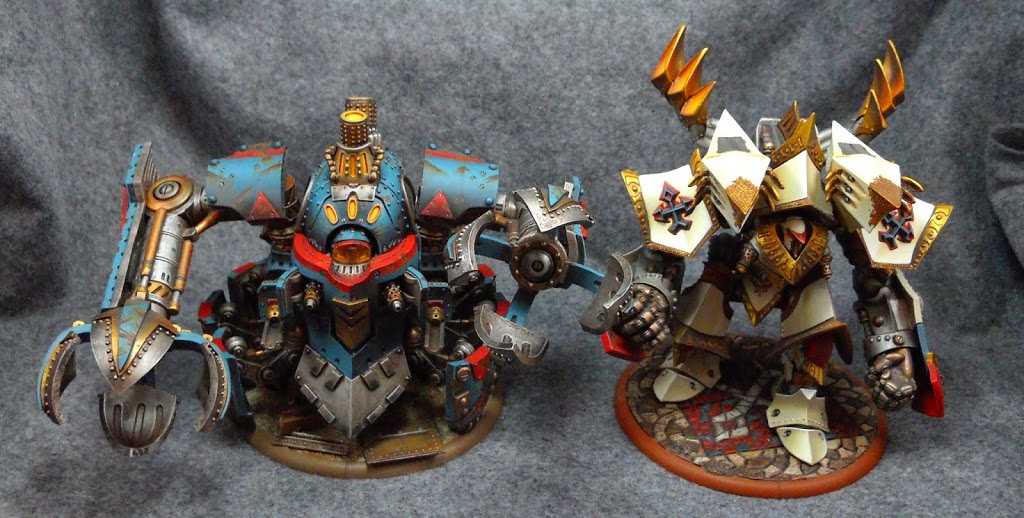
And a size comparison. As you can see the Earthbreaker is simply massive. Its shoulders are almost the same height as the Judicator’s but it’s just is so much wider.
~ Now when I say no pictures do the Earthbreaker justice, I want to make it clear I’m talking about the model, and not bragging about my paint job. It’s just so massive and imposing. My wife is frequently subjected to my painting projects despite her complete lack of interest in the hobby. Like a true champ, she usually manages to gather up at least an “oooooh hey that’s cool.” I love that she tries. So when I tell you that the Earthbreaker solicited a very sincere “WHOA!” from the woman, I want you to understand exactly what that means.

