HOBBY: Painting the Prime Axiom Part 2: Everything Else
5 Minute Read
Jan 15 2014

Advertisement
Welcome back, Robots! Last time, we tackled the vast preponderance of the Prime Axiom’s surface area: the silver. This time, we’ll be talking about some finishing touches!
In the interest of space, I’m not going to cover how I paint the golds, as I’ve already done this here–I’ve been really happy with the results this method achieves, so no changes there. The big thing is while you’ve got the model unassembled, try and keep in mind which surfaces will be facing up and will be visible when you put it all together.
Onto the meat of the article: the glow. I covered this in the above article as well, but as some of you may remember, I screwed it up! So with a tiny bit more experience, here’s another run at it:
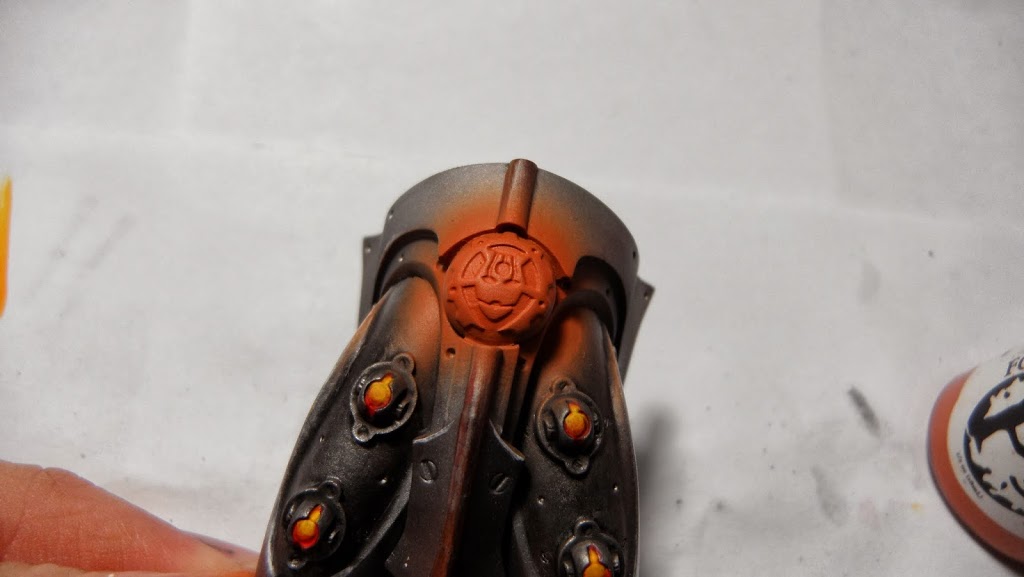
I start out by blocking out the glow in P3 Khardic Flesh, with a tad of GW Troll Slayer Orange
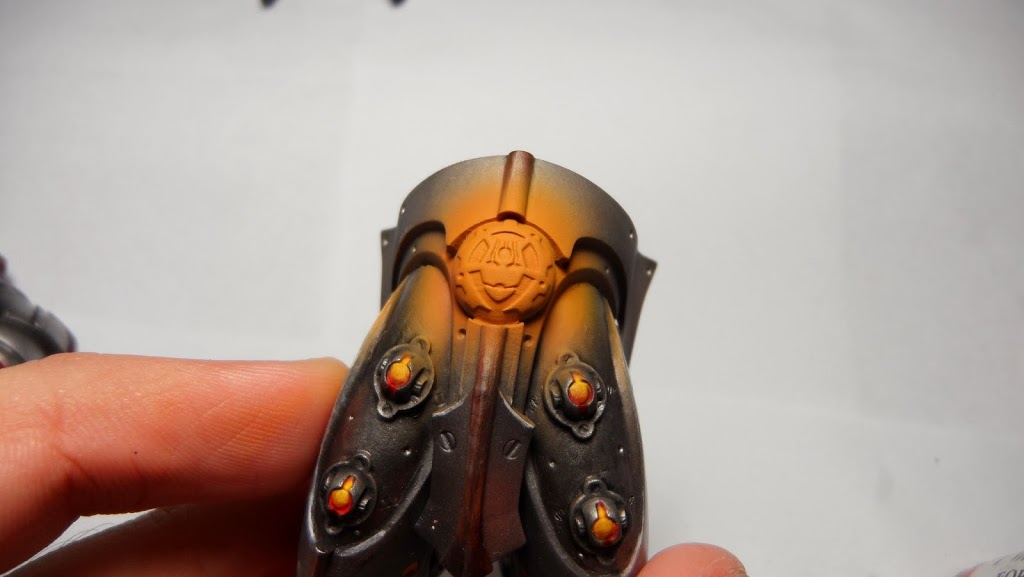
Next, I airbrushed on a mix of Troll Slayer Orange and Flash Gitz Yellow (ugh, those names). I do make something of a mistake here: You can see that I not only totally cover the previous step, but go outside it a bit. This causes my end product to be noticeably more yellow than my previous models–Ideally, I’d only have covered the inner maybe 70% of the previous area.

Having noticed my previous mistake, I decide to YOLO it up and go for a yellower glow, and mix more Flash Gitz Yellow into my previous mix and airbrush that on. A big part of my accepting this mistake is that the brighter glow will give the model a focal point that the eye will be drawn to.
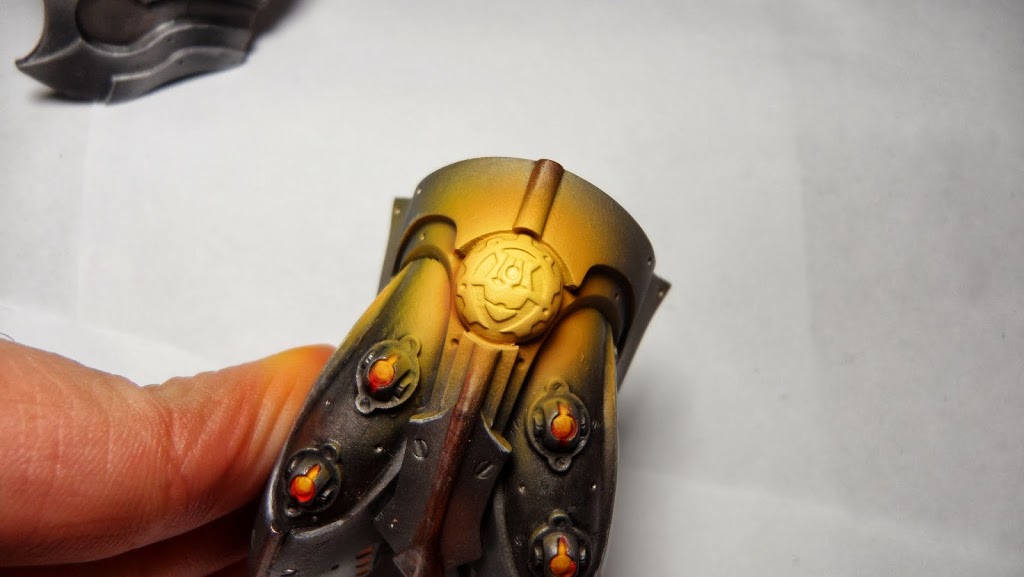
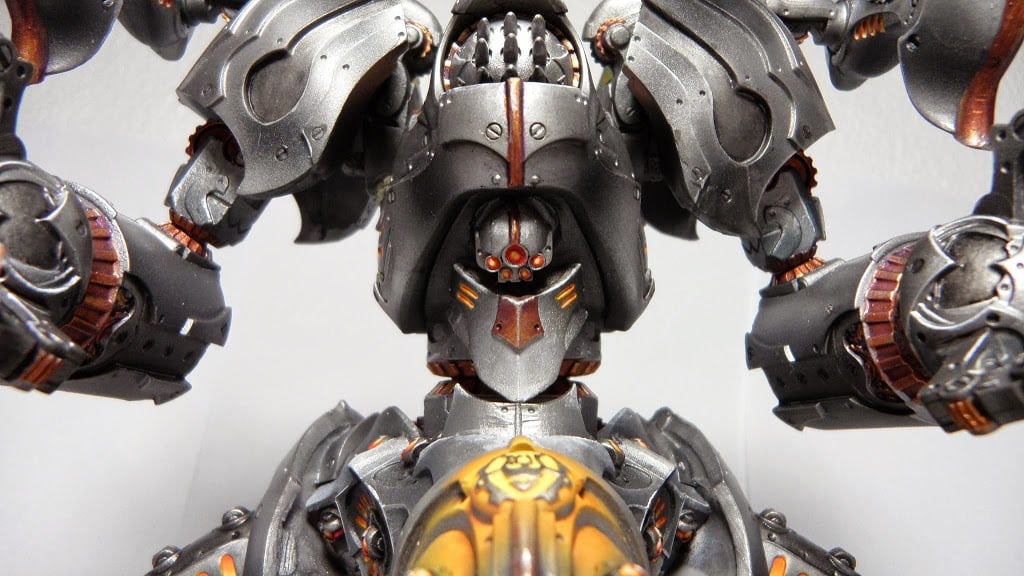
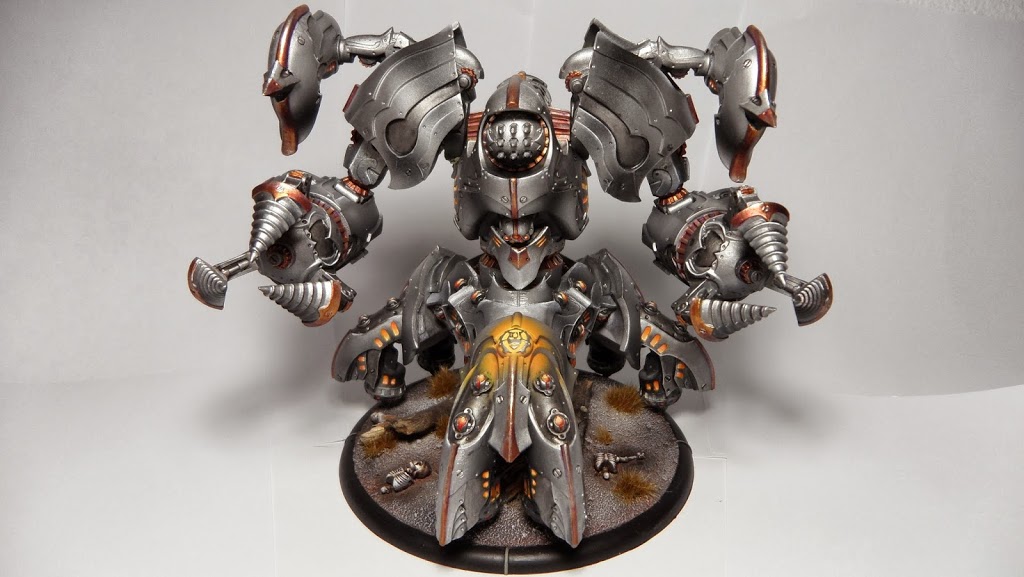
Finally, I mix some Flash Gitz Yellow and P3 Menoth White Highlight something like 2:1 and airbrush it directly onto the center to give the glow a point to radiate from. Once I do this, I take some Leadbelcher and clean up (including painting the Cyriss face, as you can see in the photo at the top)
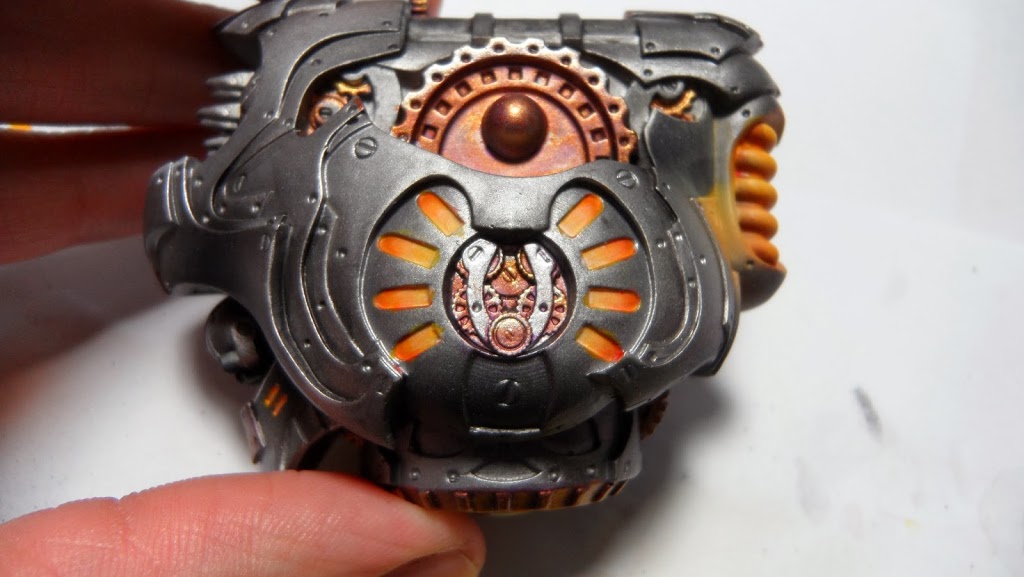
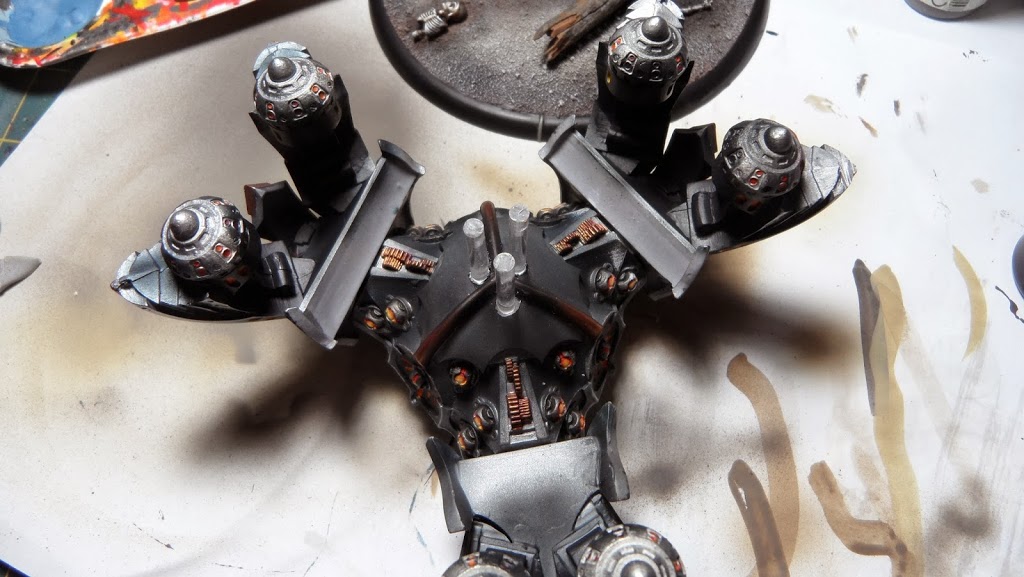
For the glows in the vents and those little glow-node pimple things all over it, I change this up a bit, and start with Troll Slayer and try to two-brush-blend from Orange to Yellow to Menoth White Highlight to give a different effect (aiming to look a little bit orange-r).
I choose not to airbrush glows on each of these because with so many, the whole model would just look like one glow-y blob.
The last important thing is to build this guy a base. I’m using basically the same method I used here, but because it’s not everyday you get to play around with a 120mm base, I’ll show you guys my process.
I decide to forgo the infamous Prime Axiom Butt-Rock, and opt to use clear plastic flight stands to prop up my model. To do this, I drill 3 Holes in the bottom of the pelvis… thing, and glue in 3 flight stands… If I could do this again, I’d probably spread them out a bit more, but this worked out fine.
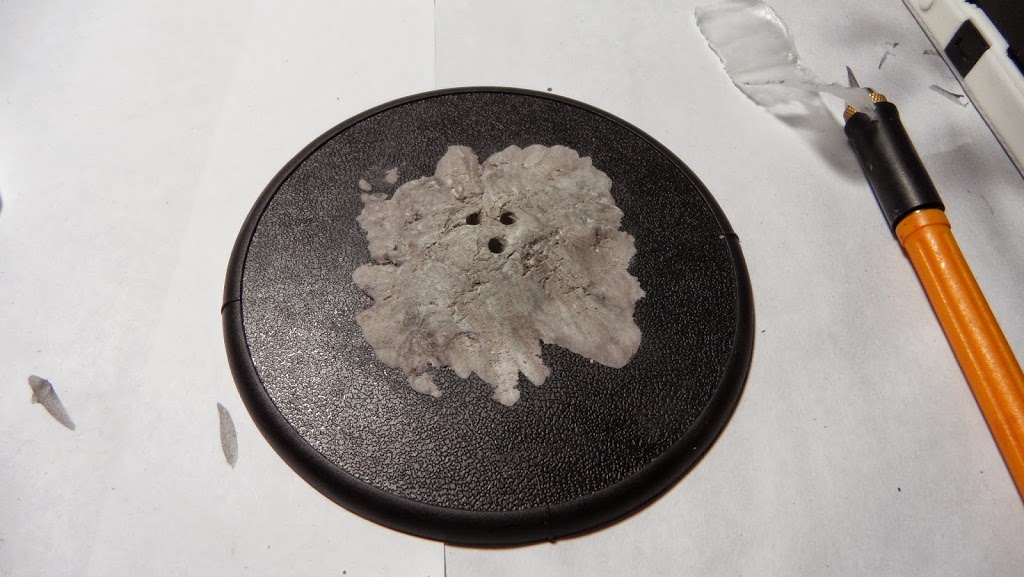
Next, I grab my base, and mix up a bit of plumber’s putty and slap it down–It hardens in about 3 minutes, so I quickly knead it into the shape I want, and press the flight stands down into them so that they’ll have a good slot to fit into when it comes time to attach the Axiom to the base.
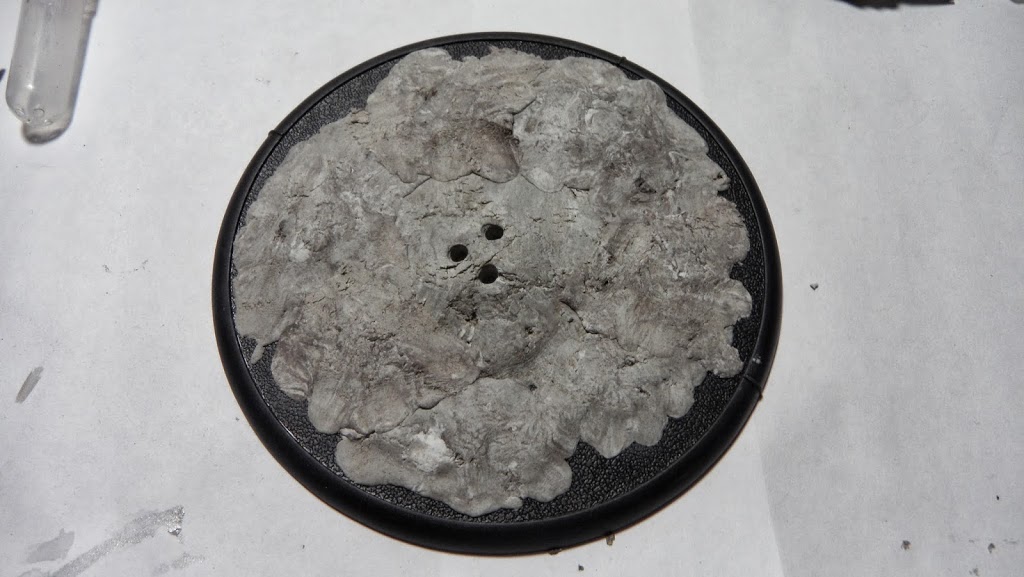
Then, I add more plumber’s putty on the base, trying to focus on an uneven texture. This isn’t strictly necessary, but I find that the more 3d elements a base has, the more interesting it is (within reason). Once that hardens, I cover the whole thing (avoiding the holes I made earlier) in basing gravel, and glue down some Skeleton Bits.
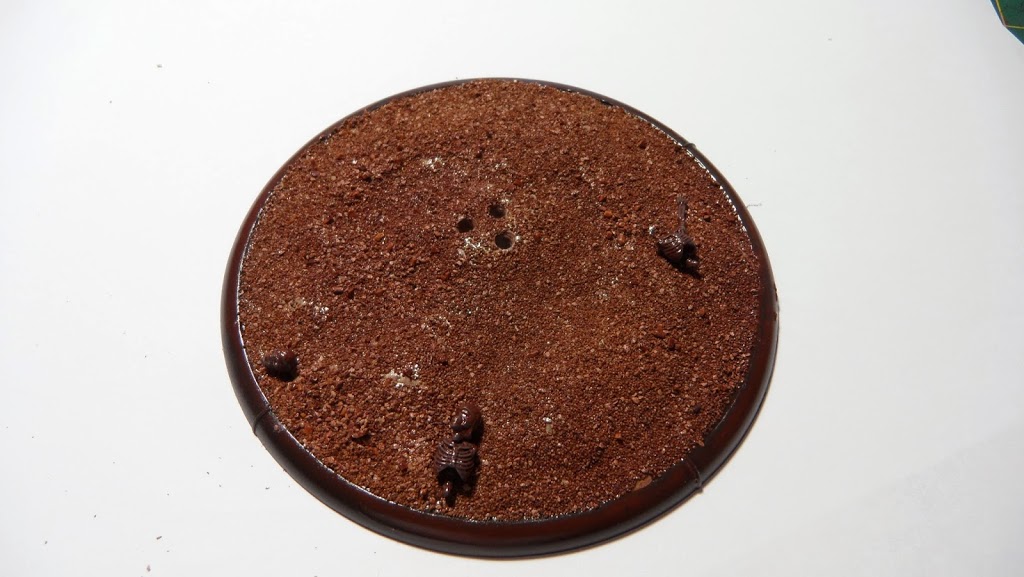
I had some brown spray paint stuff from a project a LONG time ago, so I figured I’d give it a shot for basecoating the base. It was bad. Should’ve just airbrushed Umbral Umber.
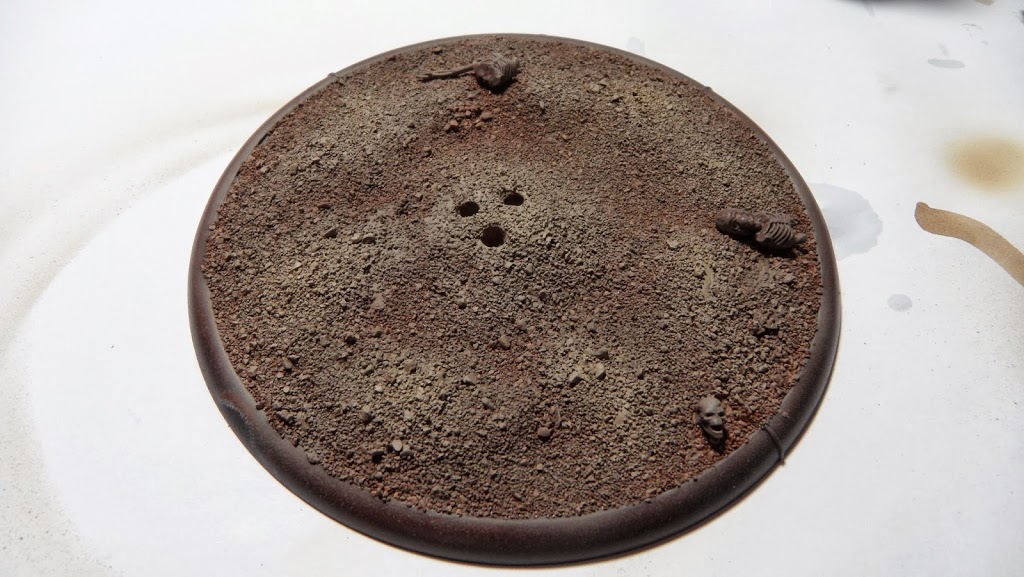
Next I airbrush on some RMS Bone Shadow. I focus on the higher areas, and I’ll be going for a kind of uneven look overall.

After that, I airbrush some P3 Thamar Black into the lower areas of the base, and around the skeletons.
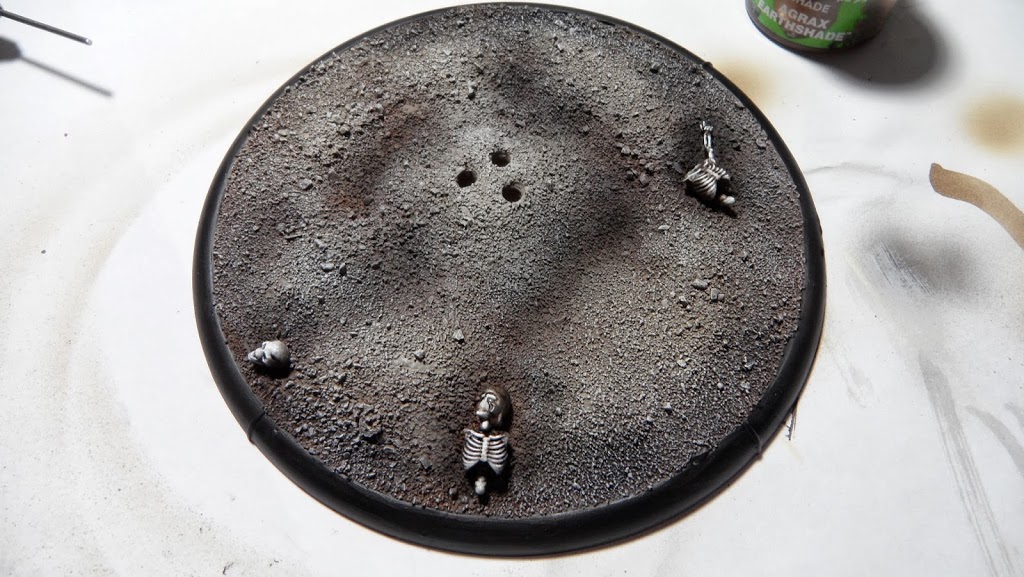
Finally, I drybrush the majority of the base with RMS Leather White for a sort of ashy feel, and I paint up the skeletons the same way I did in my basing article. I paint P3 Thamar black around the rim of the base, and pick out the facing marks in P3 Cryx Bane Highlight.
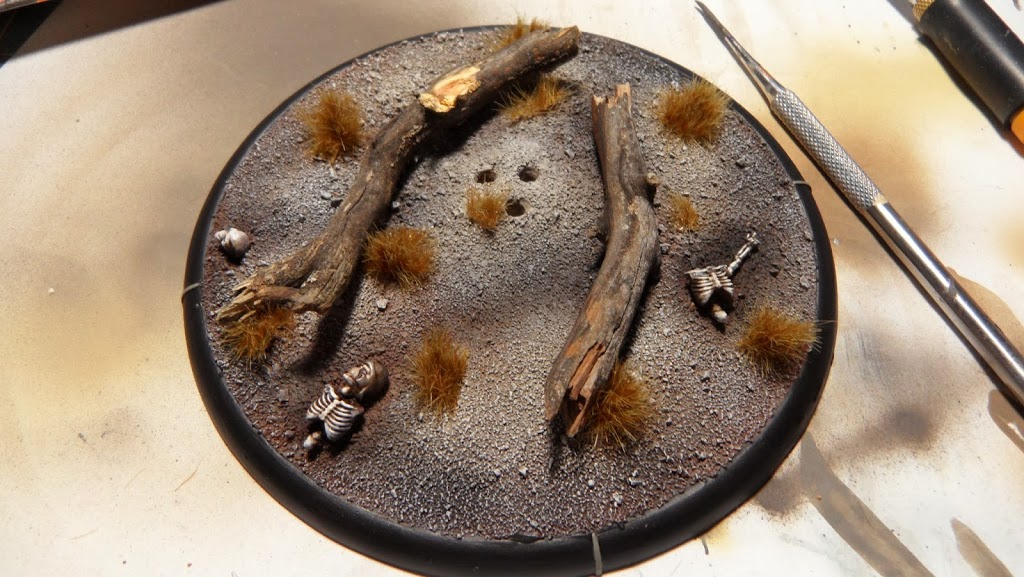
The last step of basing is to add some Woodland Scenics Deadfall (read: sticks), and some ArmyPainter Highland Tuft to taste
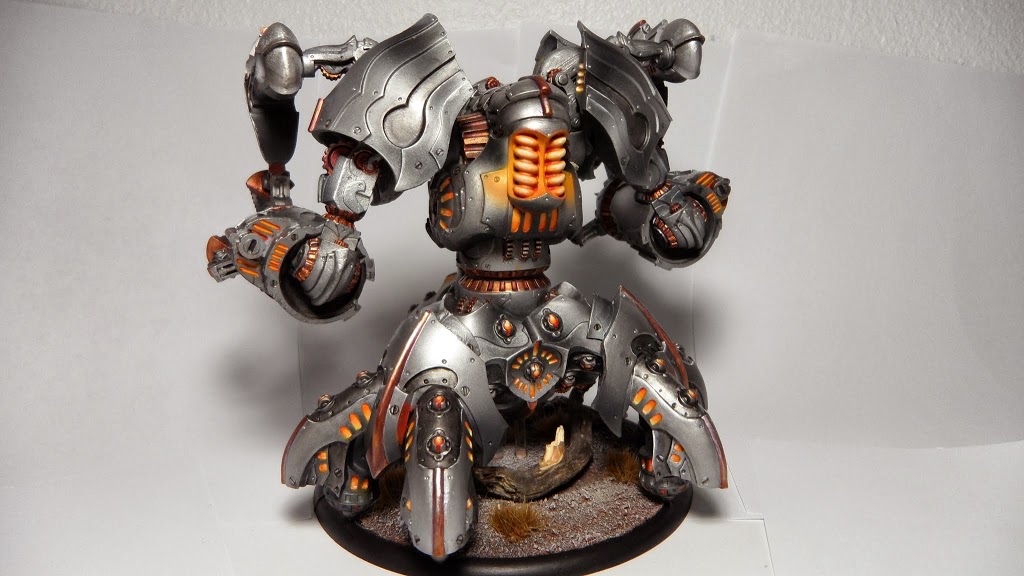
I assemble and glue the Prime Axiom to the base, and here’s what I’ve got:
Hope you guys found that helpful! The Axiom was a blast to paint up! What Colossals or Gargantuans have you painted?
Author: PeanutButterConspiracy
Advertisement

