Infinity: Painting Operation Icestorm: Part 2


Let’s finish up this Fusilier yes? Pull out those paintbrushes and follow along!
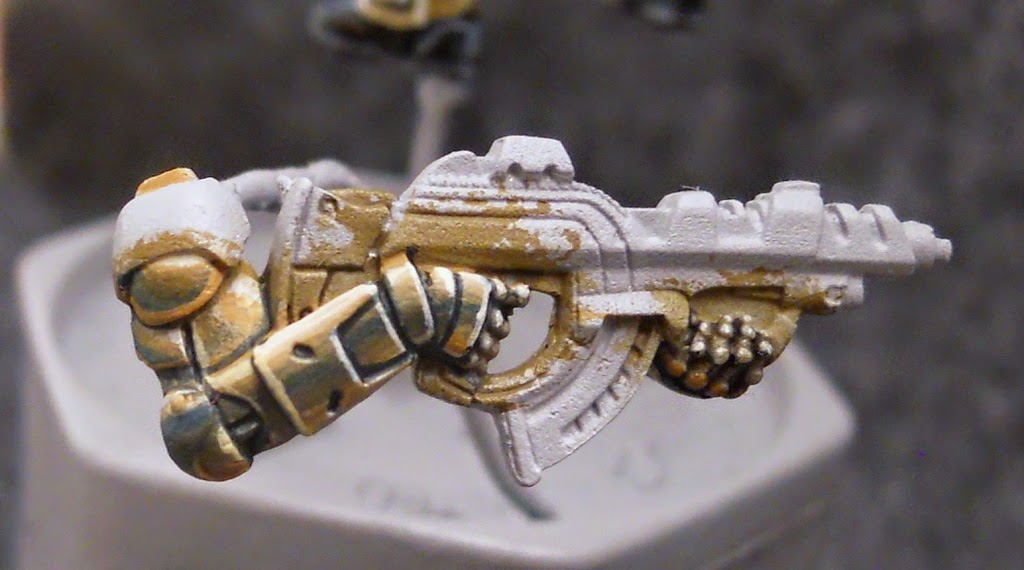
So lets move on to actual gun. I start the gun off with Coal Black, and while it’s still wet, I blend some Thrall Flesh in along the bottom, and some of my warm black along the top.
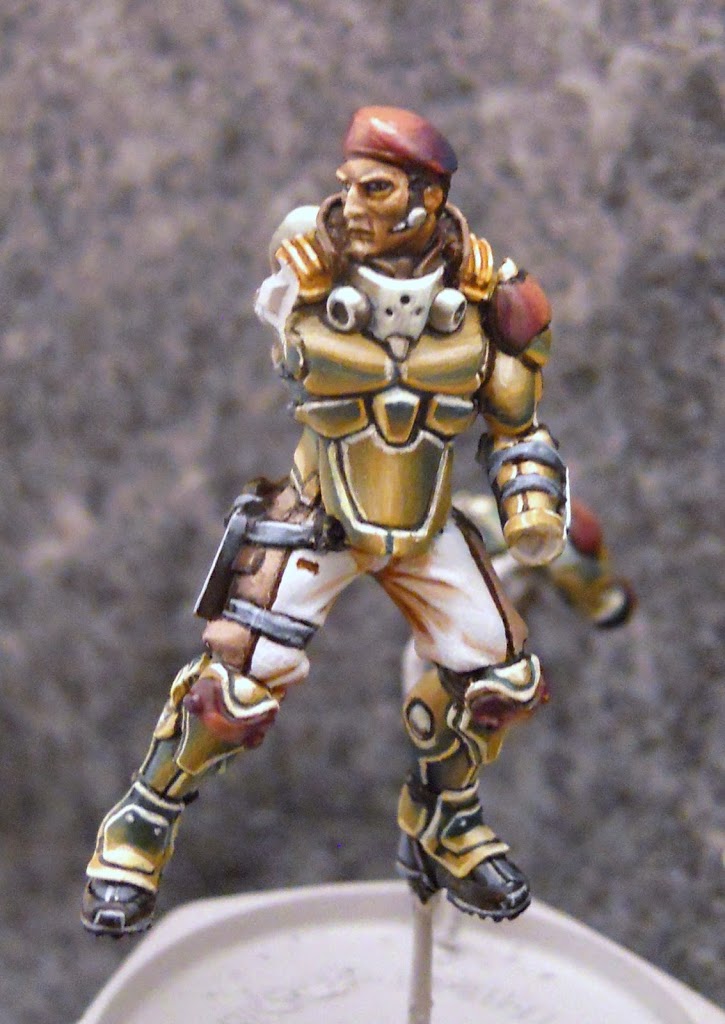
After cleaning up the blending a little more I wash it all with Agrax Earth.
A little of the blending is redone where needed. Then highlight lines are added everywhere with Menoth White Highlight.
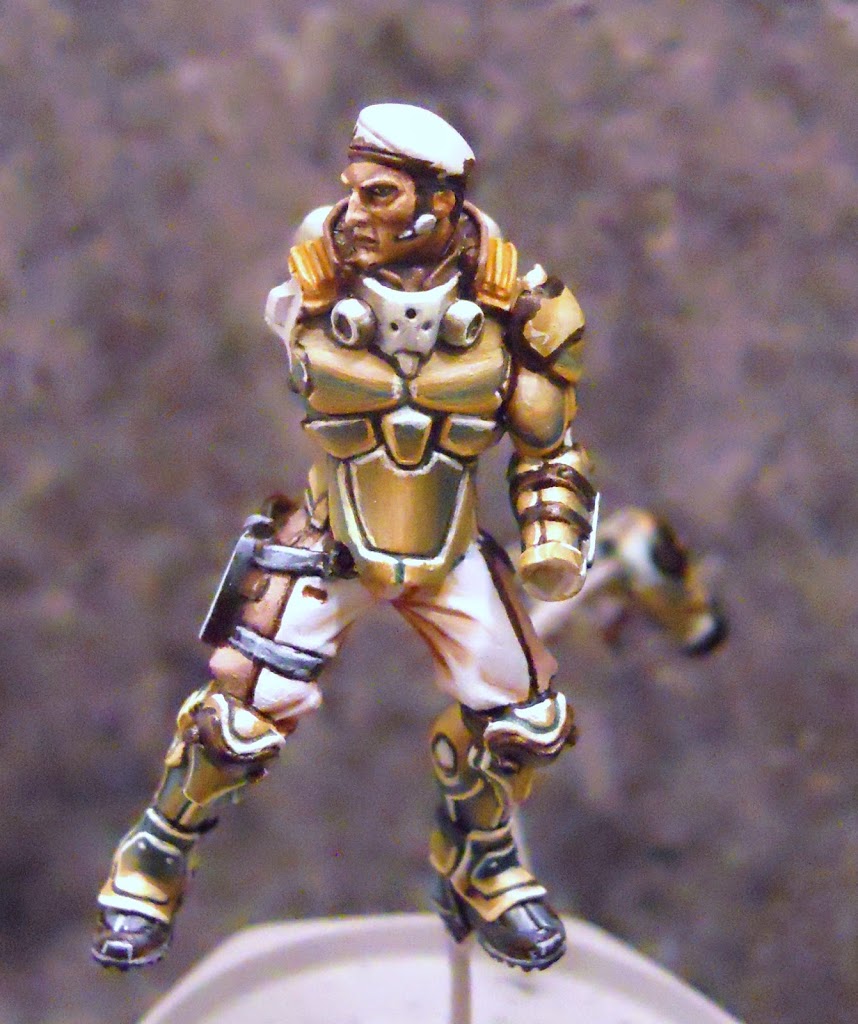
The rebreather and com are done with the same Underbelly/Thornwood/Menoth White Highlight palette. And those aren’t the only bits. The ammo clip and other metal areas on the gun, those weird orbs in the legs, and unusual nodes on the kneepads – all done in the same color scheme.
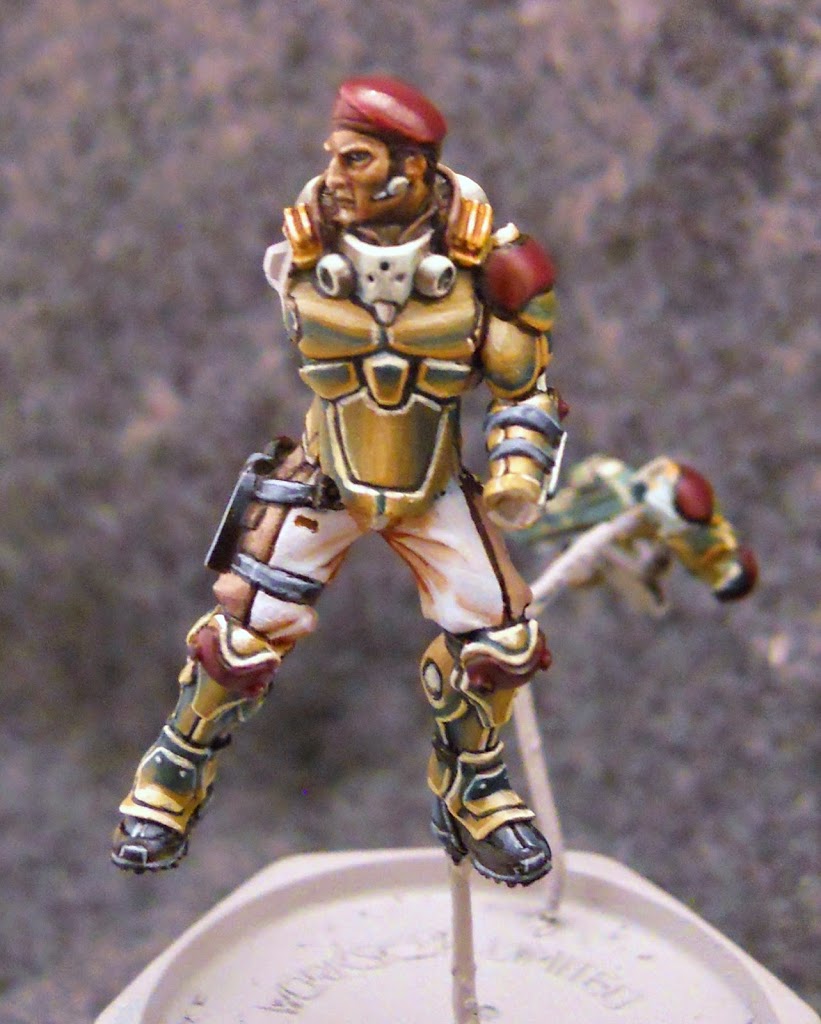
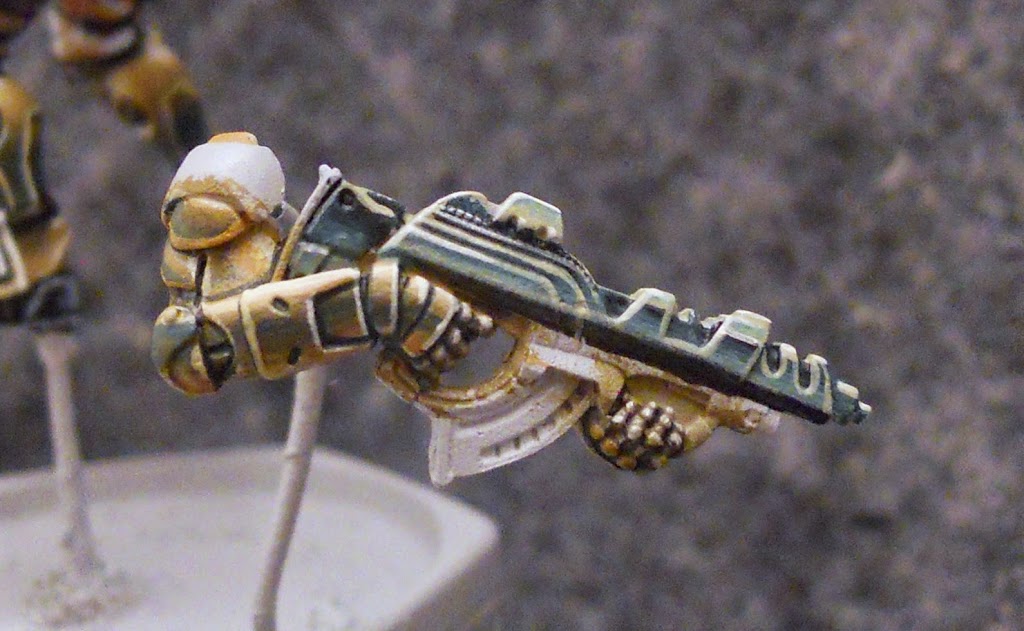
Then it’s berets and shoulder/kneepads. These start off with a mix of Beaten Purple and Sanguine Base.
The basecoat is shaded with Exile Blue and highlighted with Sulfuric Yellow.

Then it’s more blacklining and highlight lining. The highlights are primarily Sulfuric Yellow with only a bit of the purple mixed in.
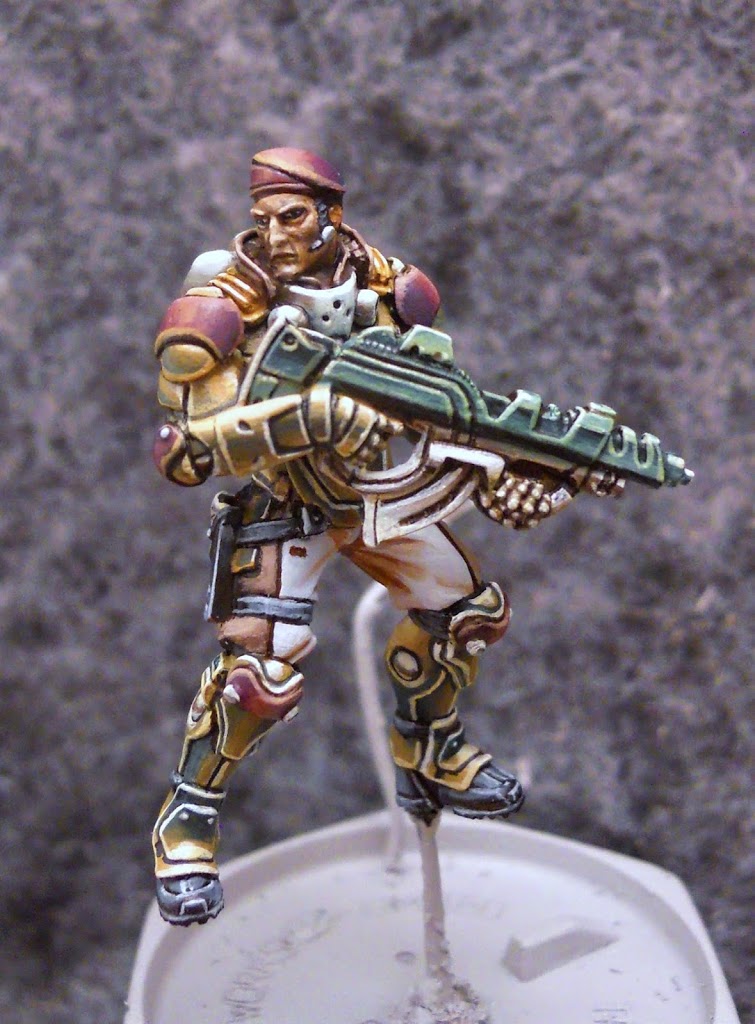
With the gun glued on there’s not much left to do.
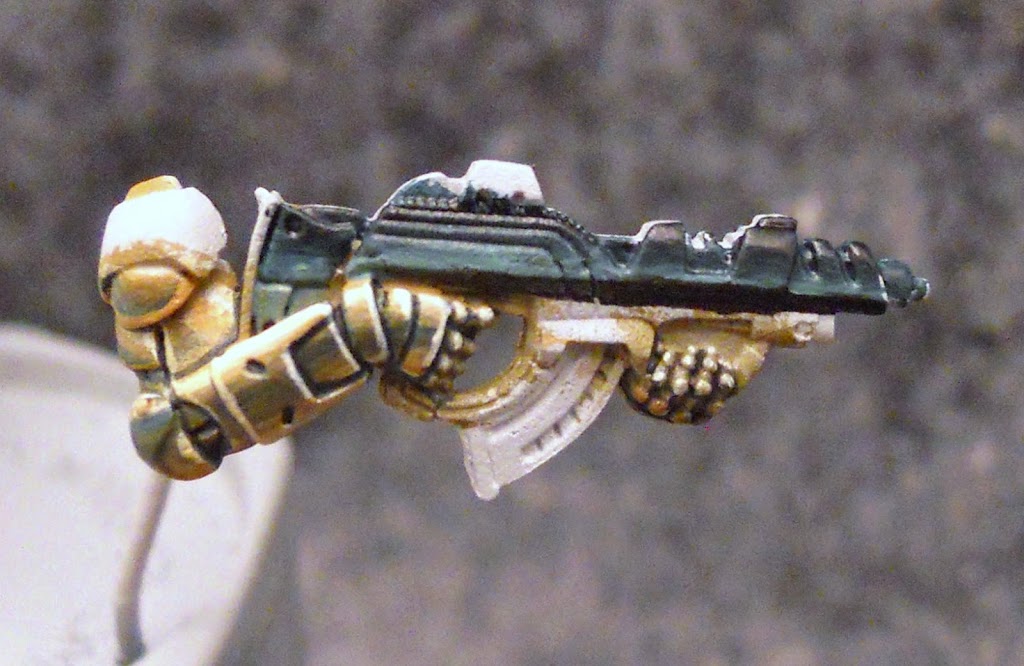
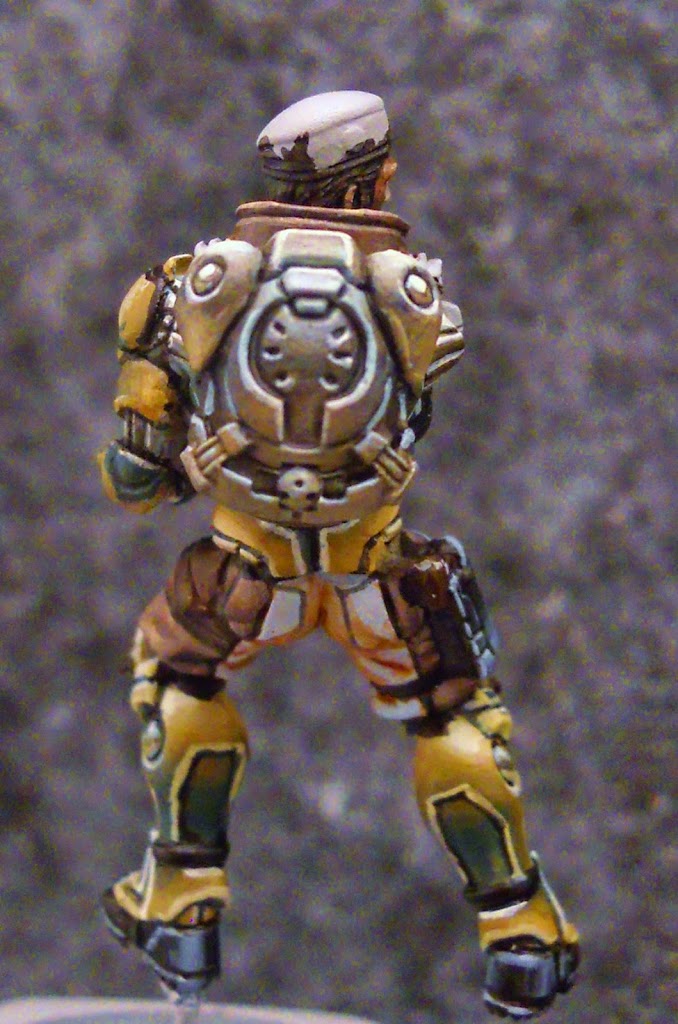
We’re back with that first picture now. There are only two really big changes from the last shot. The gun received a wash of mostly Agrax Earth with just a tiny bit of P3 Green Ink added. P3’s inks are very saturated so if you just want a touch of color it helps to mix them with something else. Additionally all the purple areas were washed with GW’s Druchii Violet since I didn’t think they were quite purple enough.
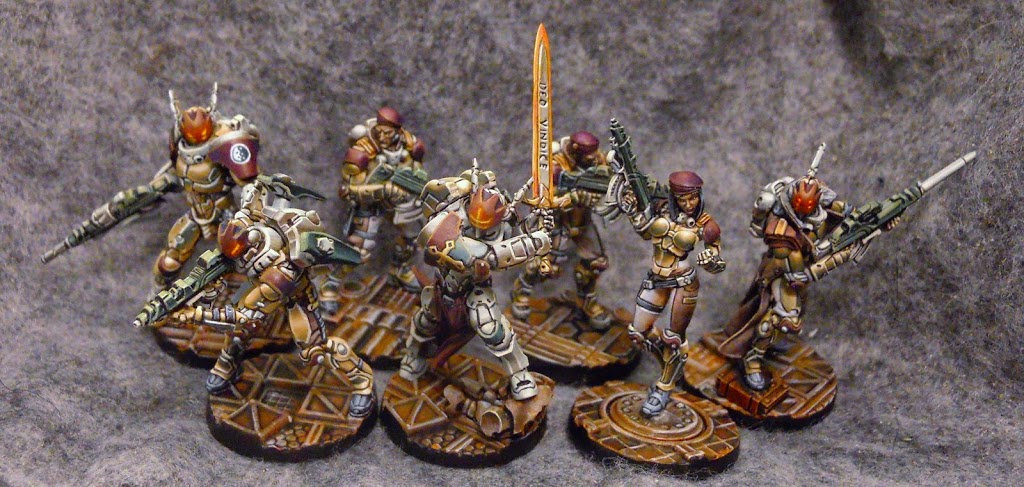
The bases came with my Relic Knights Kickstarter rewards. They were probably the best thing to come out of that whole fiasco, and the fact that I’ve chosen to use them for Infinity rather than with the Relic Knights minis they came with – well I’ll just let you draw your own conclusions. They really are some great bases though. They’re actually inserts for recessed 30mm bases, but they’re almost exactly 25mm, so work well on their own.
I kind of rushed painting them because I was ready to be done with this particular project. A basecoat of Bloodstone was drybrushed with Underbelly Blue. This was washed with Agrax Earth, and while the wash was still wet, I added some Khador Red Highlight. Painting in some rough lines of Underbelly Blue along all the edges is the final step before pinning the model to the base.
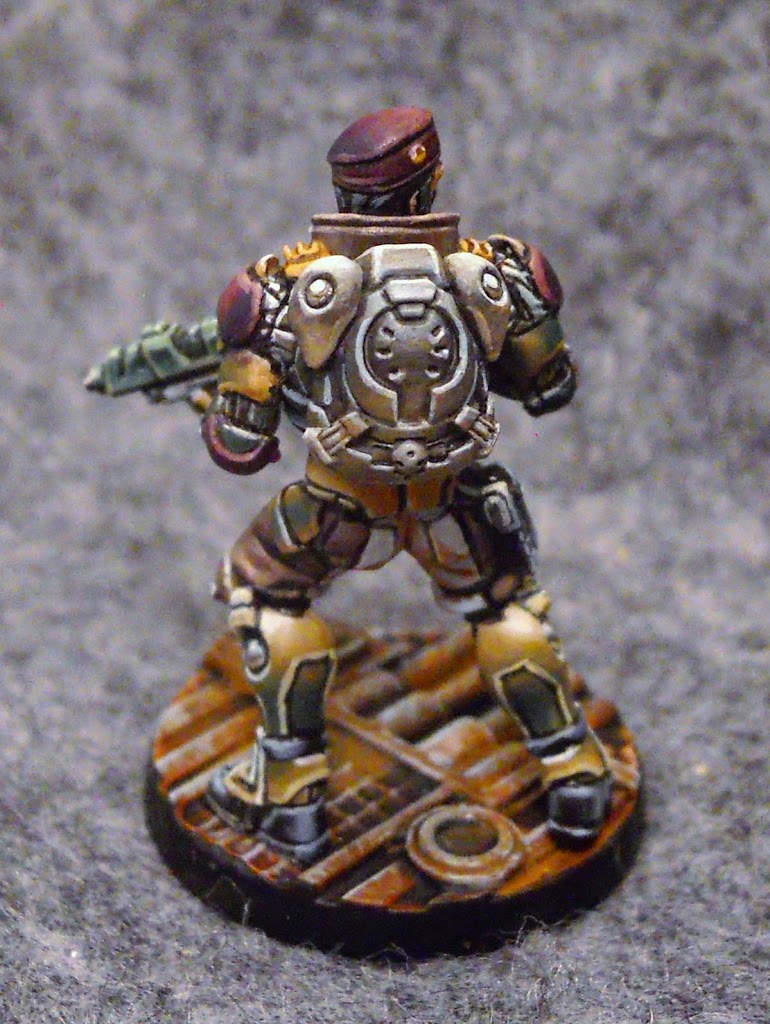
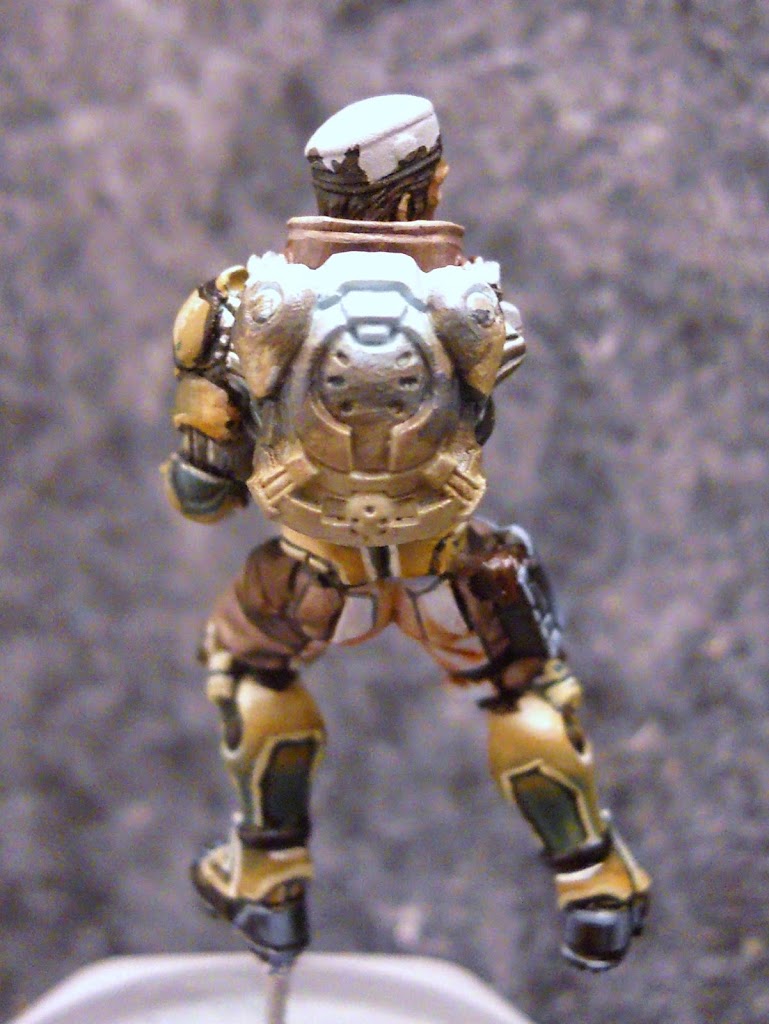
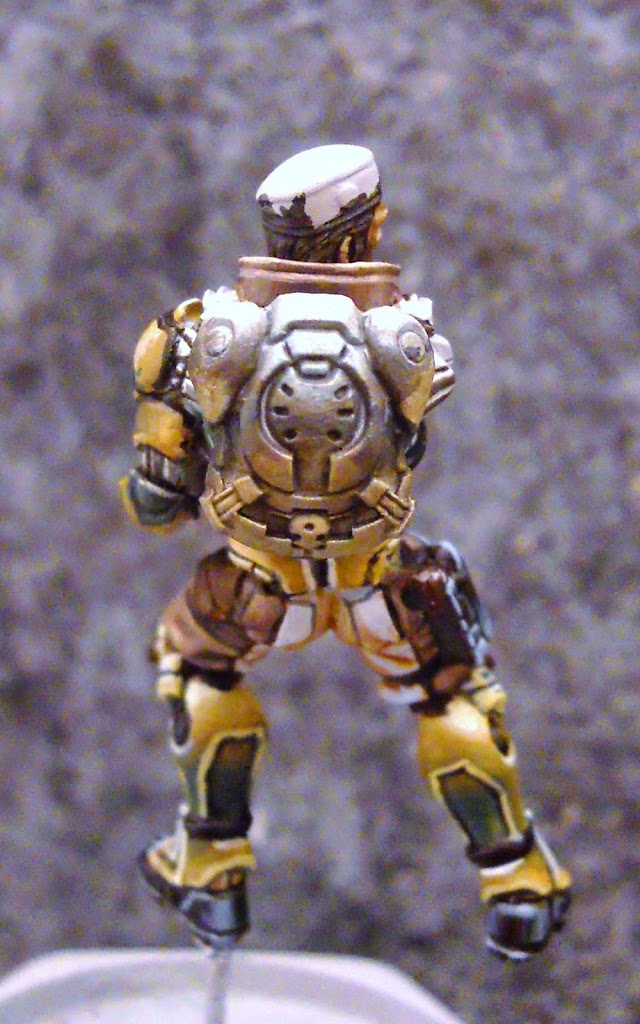
Here’s the back.
~ Don’t miss part 3, I’ll be showing off the rest of the gang!

