HOBBY: Warzone Resurrection- Remaining Flexible


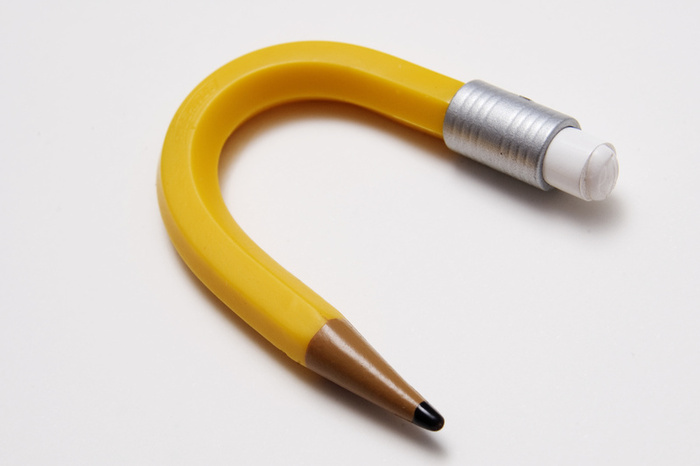
The material used in Prodos minis is very flexible and holds great detail, but it also gives hobbyists a way to alter their miniatures: hot water bending.
 Remaining Flexible
One of the things that has attracted many people to Warzone: Resurrection is the miniatures. The quality, the styling, the truescale sculpts- these are definitely the best miniatures that the Mutant Chronicles/ Warzone franchise has seen.
The resin/plastic material that Prodos Games use for these minis has a number of properties that make it fantastic to work with- it’s light, it’s easy to cut, and it’s very flexible. The flexibility is something that has not been seen very often in miniatures- for truescale swords, periscopes, fingers and exhausts, it means the difference between small or thin parts being lost to breakage or accepting blows and bouncing back into position. This flexibility also gives way to one of the material’s other great attributes- you can re-pose your minis with nothing more than hot water.
A word of warning to anyone trying this at home: hot water is, strangely enough, hot, and it can cause burns. Please exercise all due caution when handling it or working around it, and adult supervision is required for any youngsters planning to use this technique.
Hot-Water Bending: The Basics
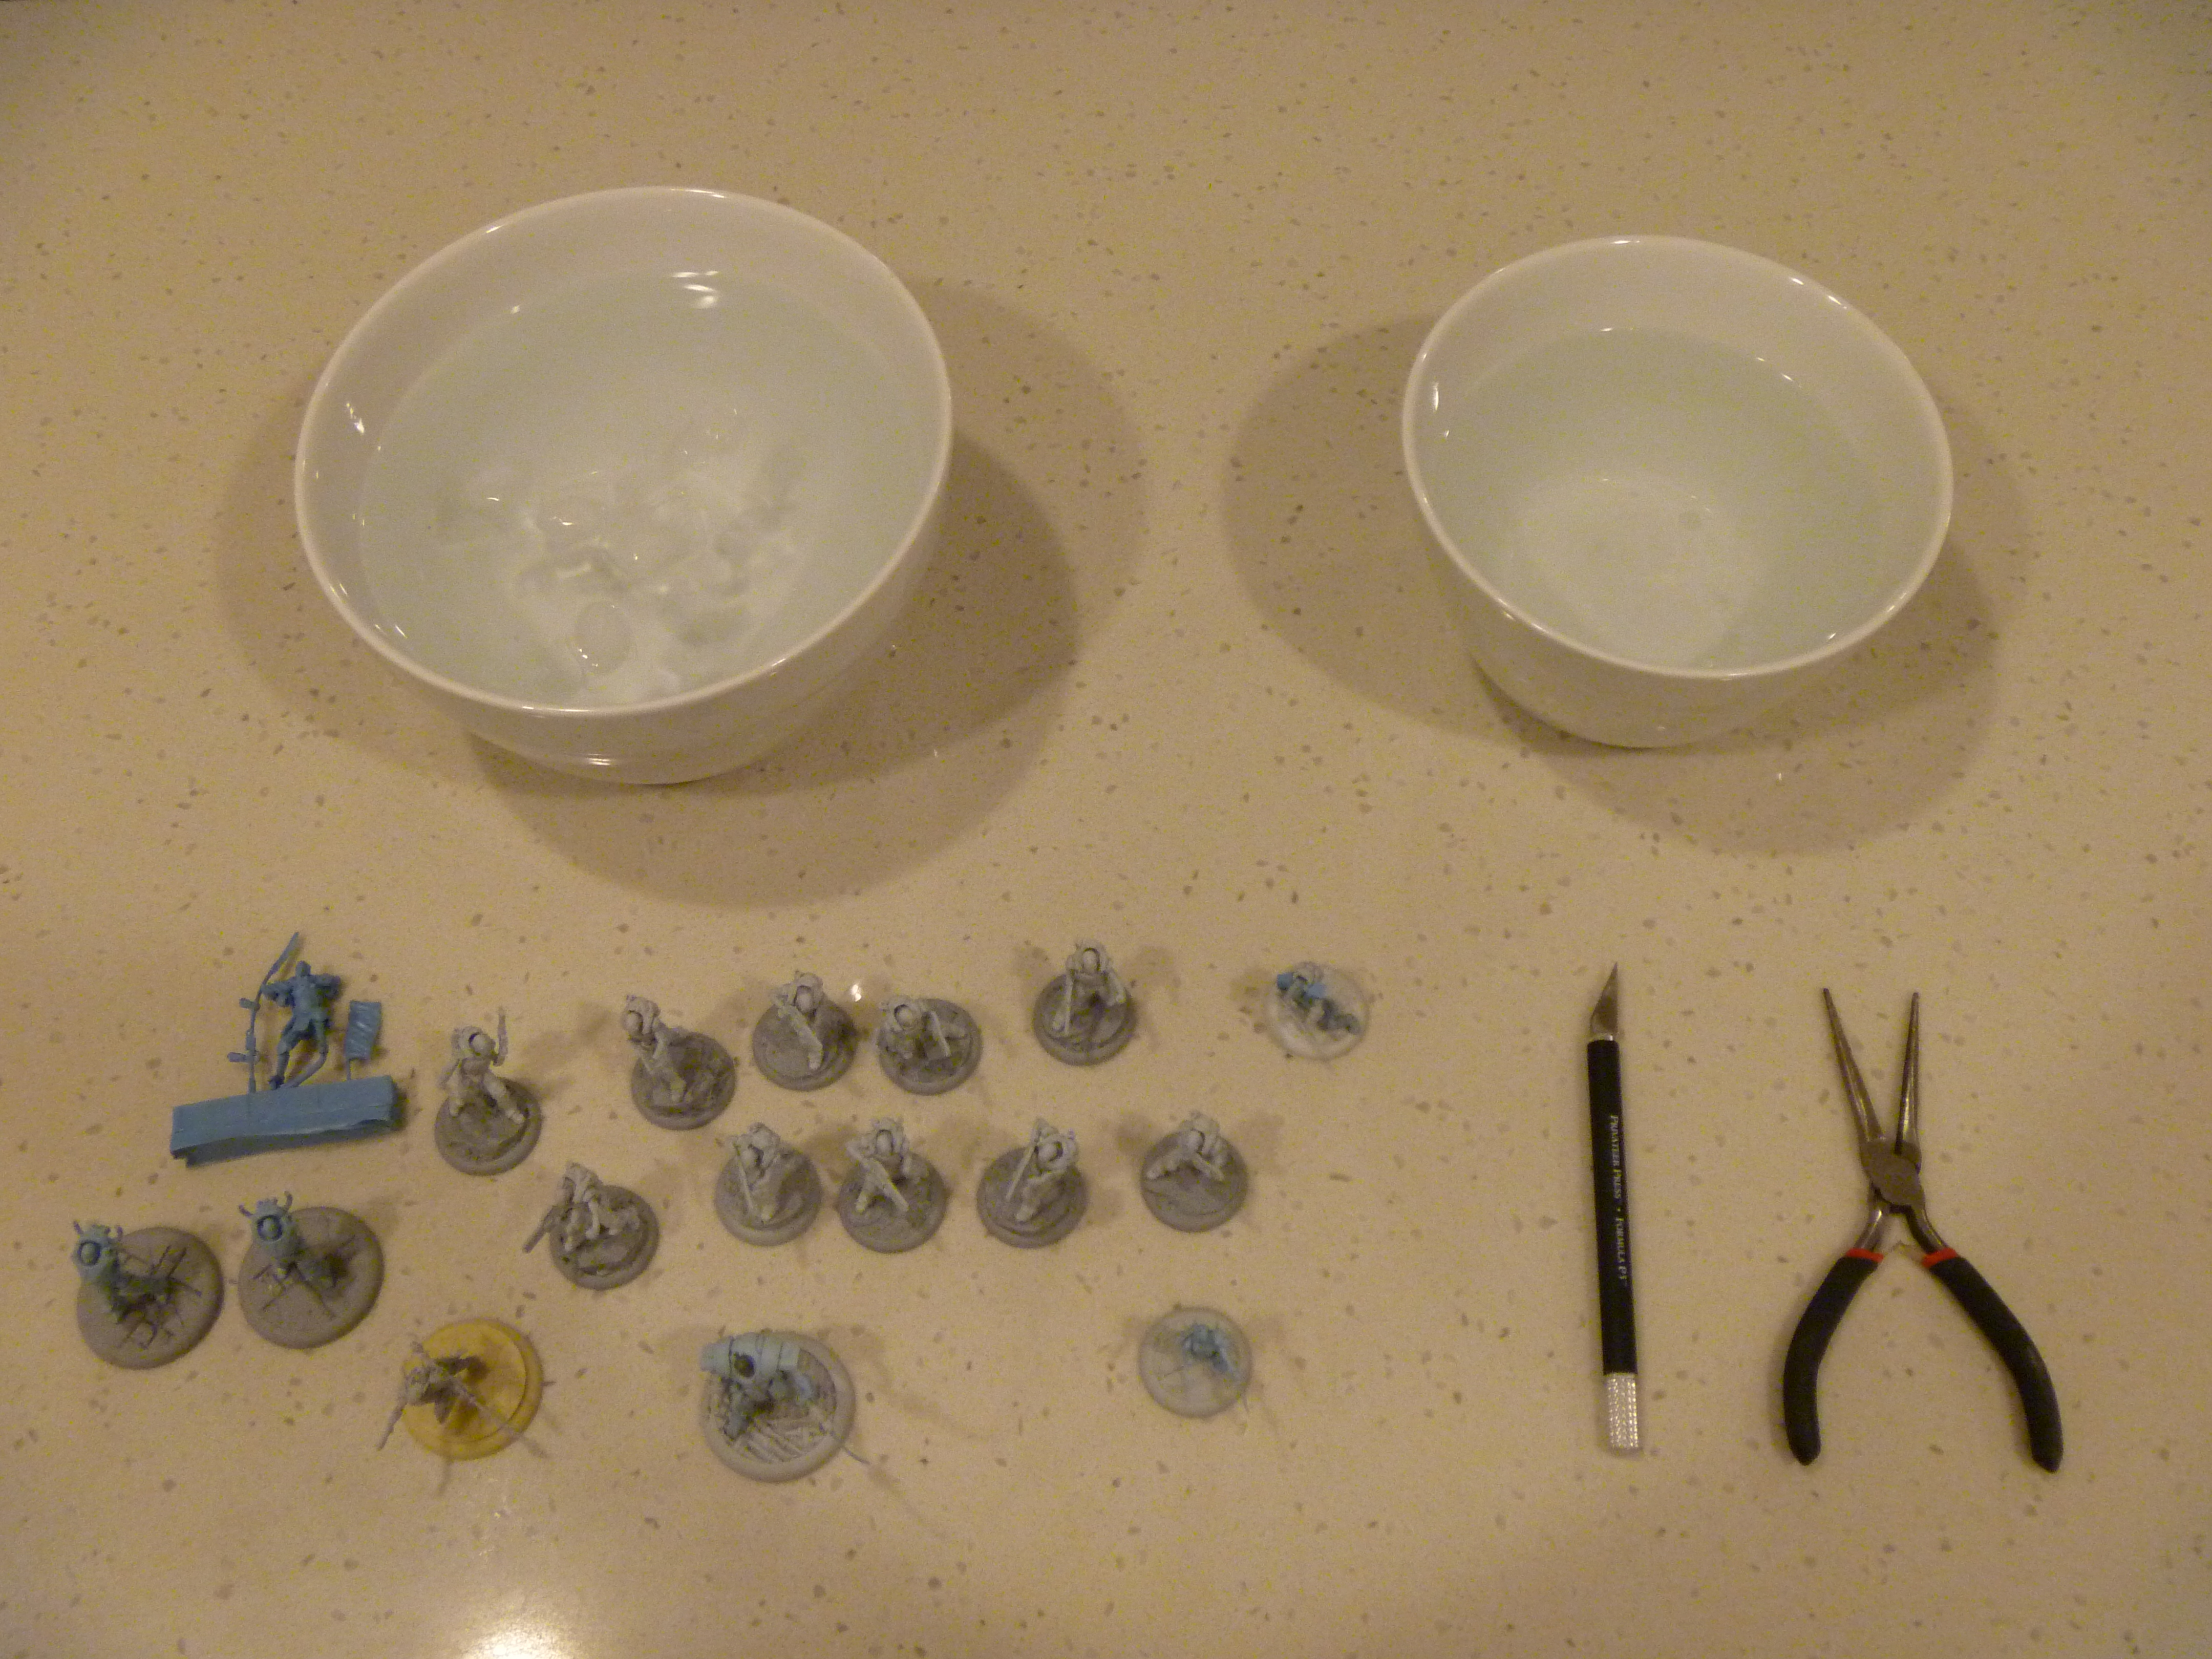
In order to bend your miniatures, ensure that you have the following items: your minis, a bowl or other container of hot water (freshly boiled from the kettle is good), a bowl or container of cold water (tap water with a handful of ice cubes works well), and a pair of long needle-nose pliers or similar.
Your miniatures may vary.
Your miniatures can be still on the sprue, removed, assembled or even attached to their base. Just ensure that you have ‘cleaned up’ the miniature by removing any excess flash, vents and mould lines before starting this process.
For both water bowls, ensure that they are large enough to allow you to fully submerse the miniature, and also large enough that you can manipulate it with tools or (in the case of the cold bowl) your fingers. The pliers are there to assist you in shaping your miniatures as well as to retrieve miniatures from the hot bowl.
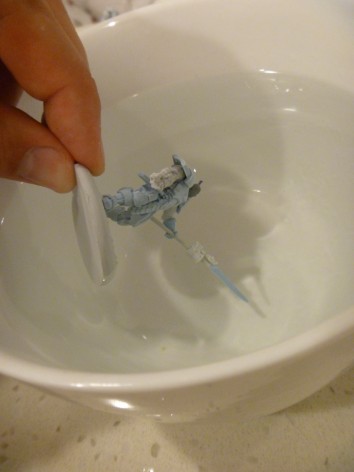
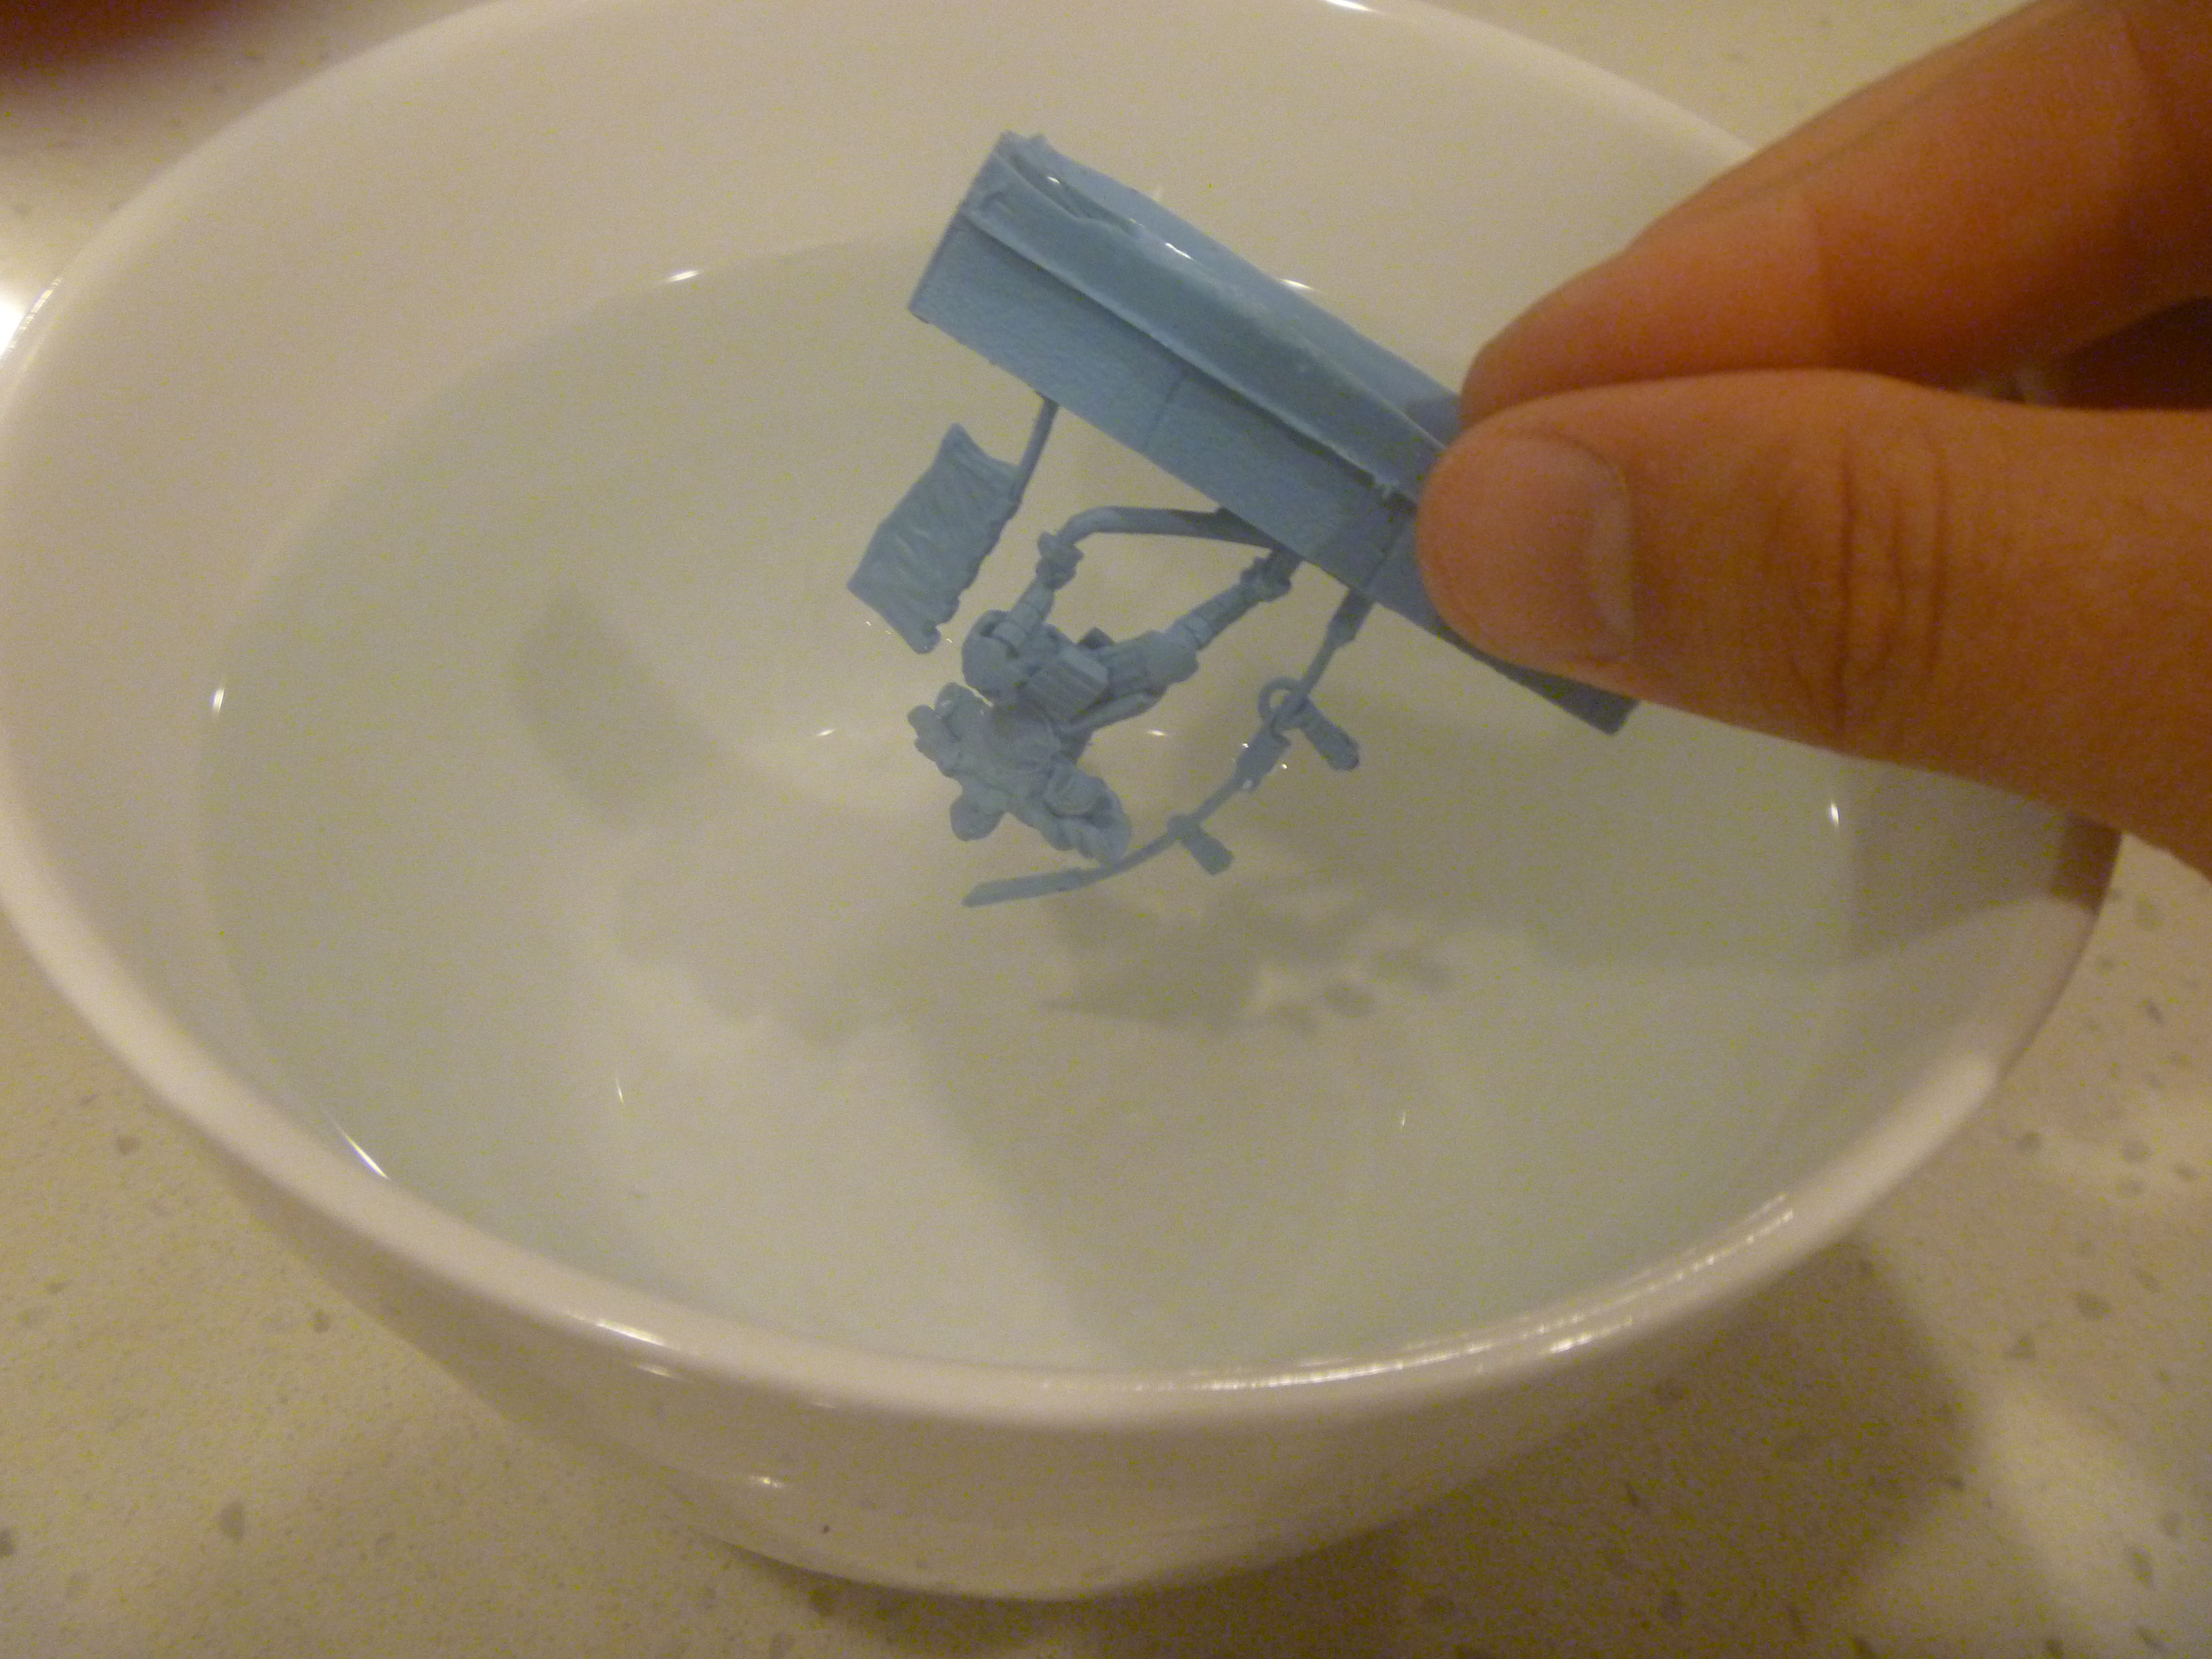
The process itself is quite simple: place your miniature (or just the part you want to bend) into the hot water bowl, count out 5 to 15 seconds until the part is nice and soft, and then bend it into the shape that you want to. Hold it in that new shape, dunk it in the cold bowl and count out 10 seconds. That’s all there is to it- you’ve managed to manipulate your miniature!
Correcting a Bend
Here is a classic example of why we use this technique. Some of the thinner parts on our miniatures can get a little bent in transit, particularly where they may have been exposed to high temperatures. This is very easy to correct- just dunk hot, re-align and dunk cold.
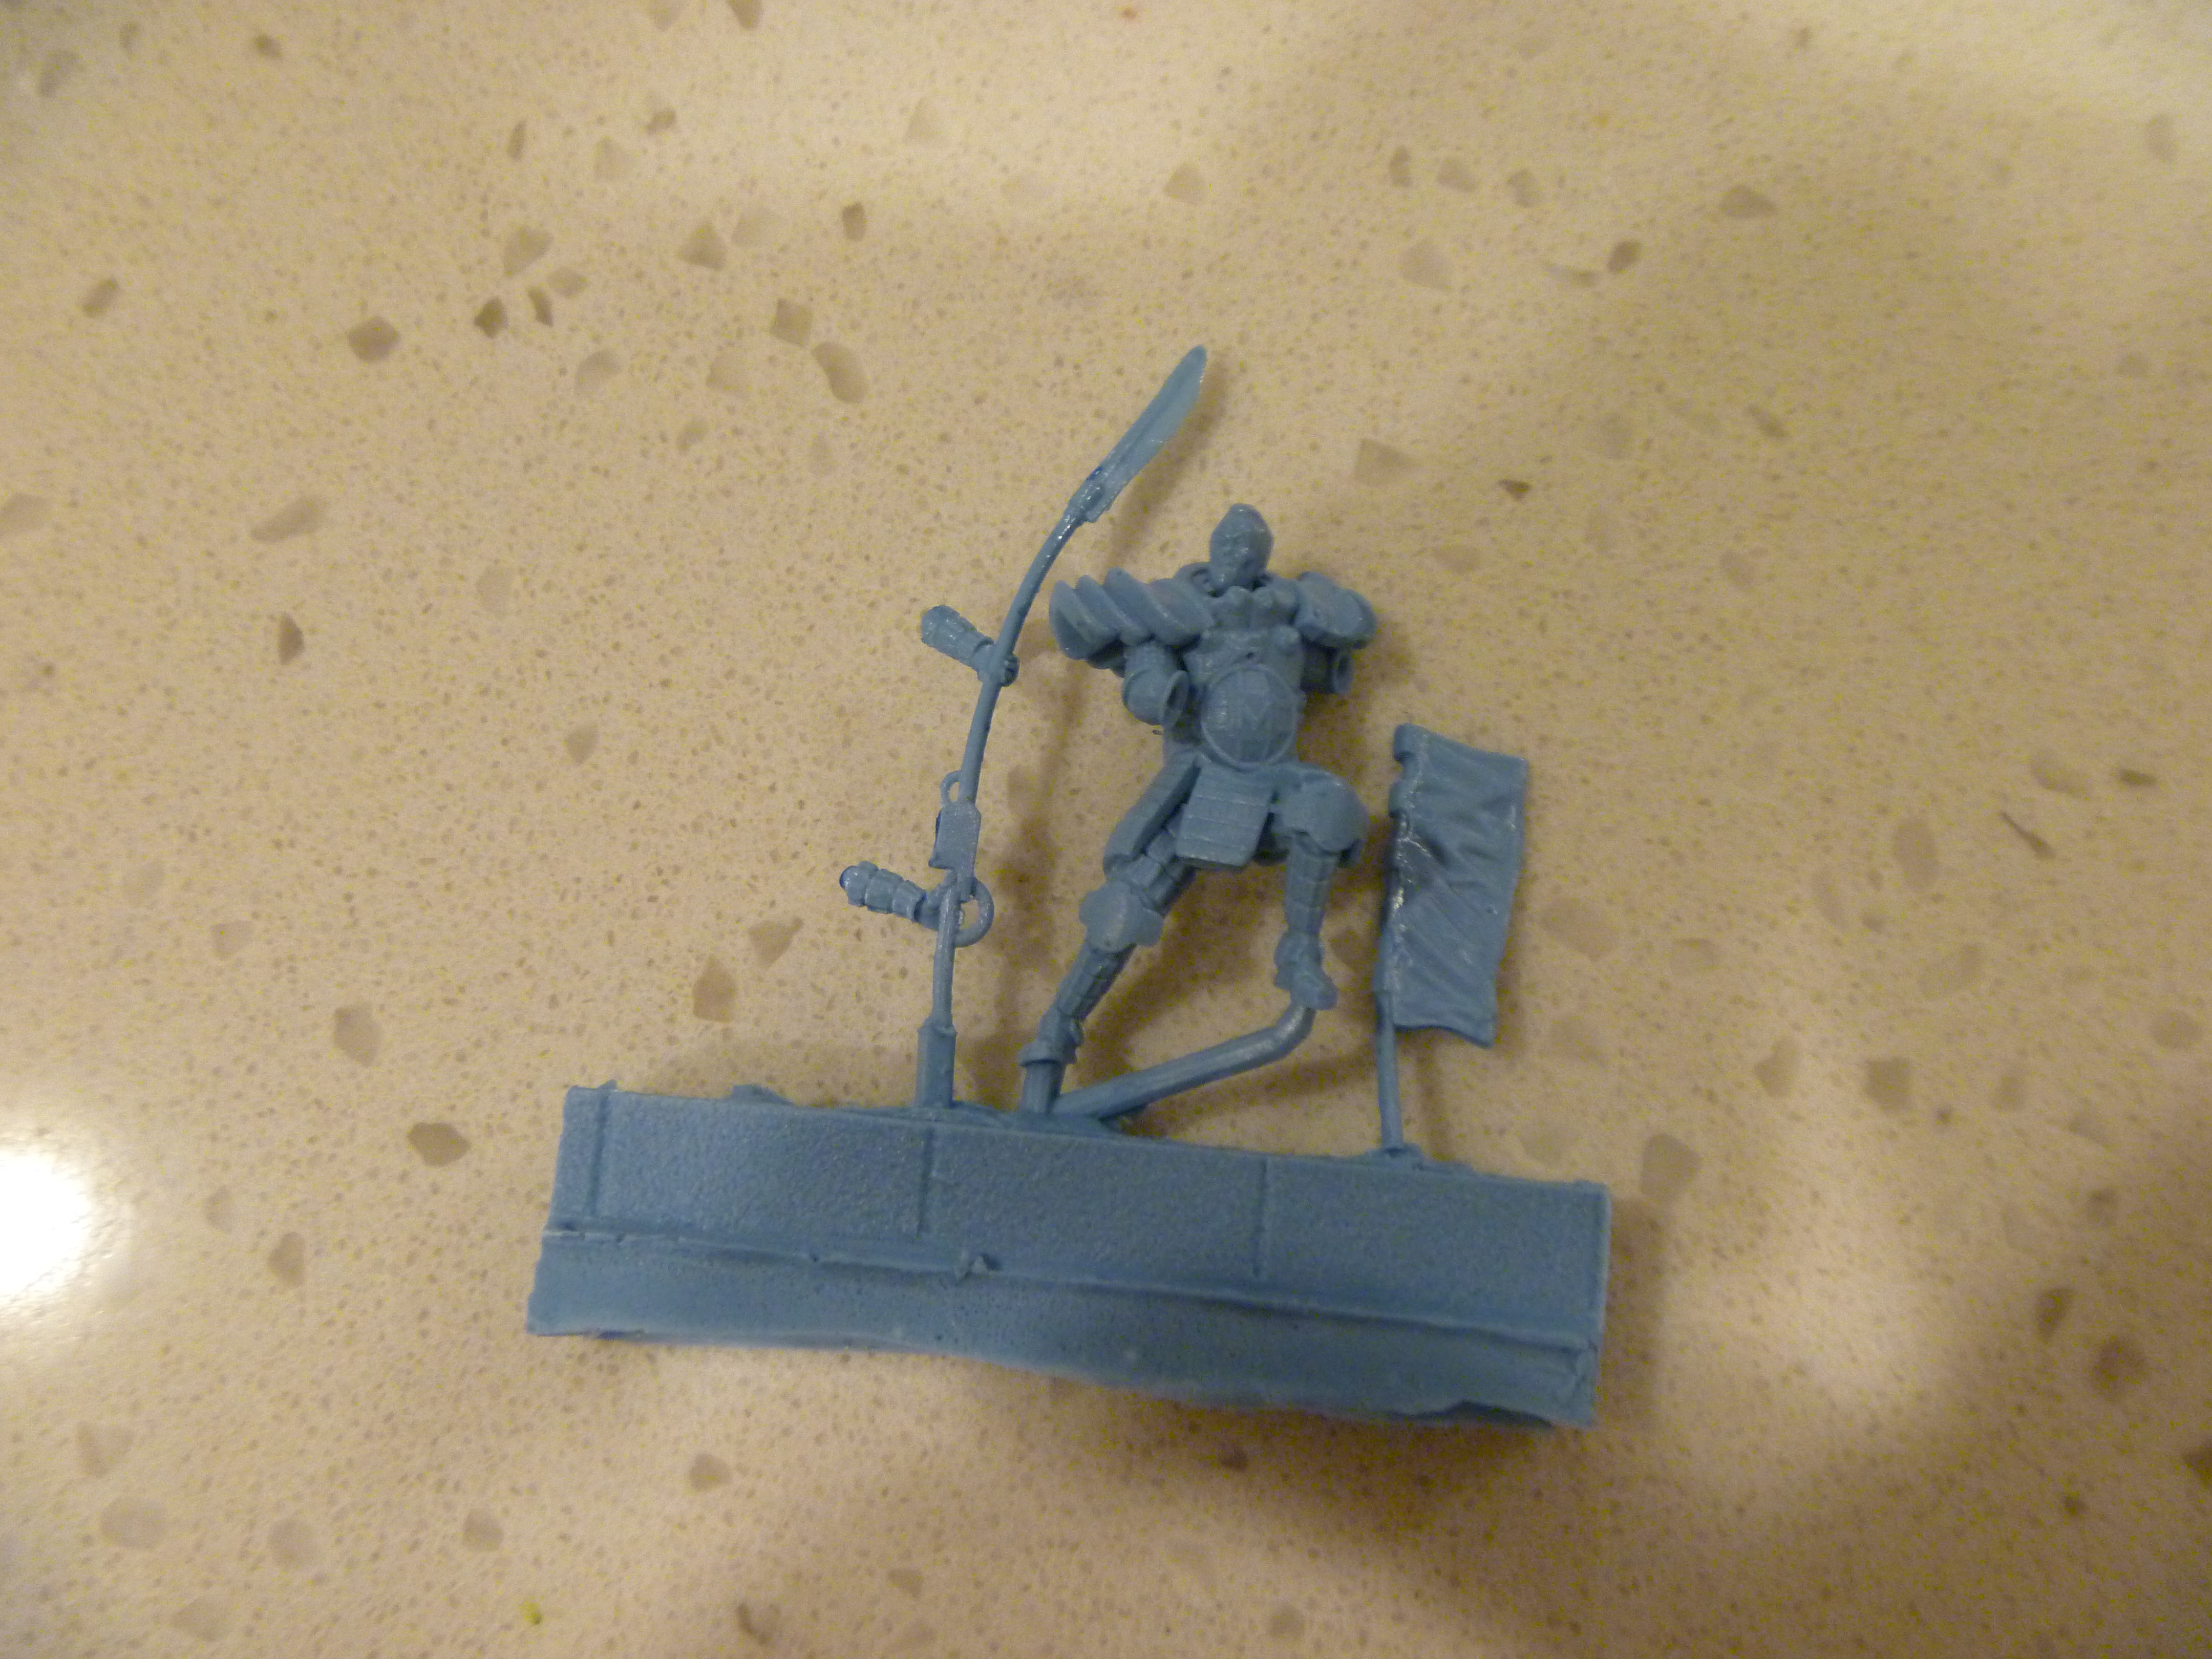
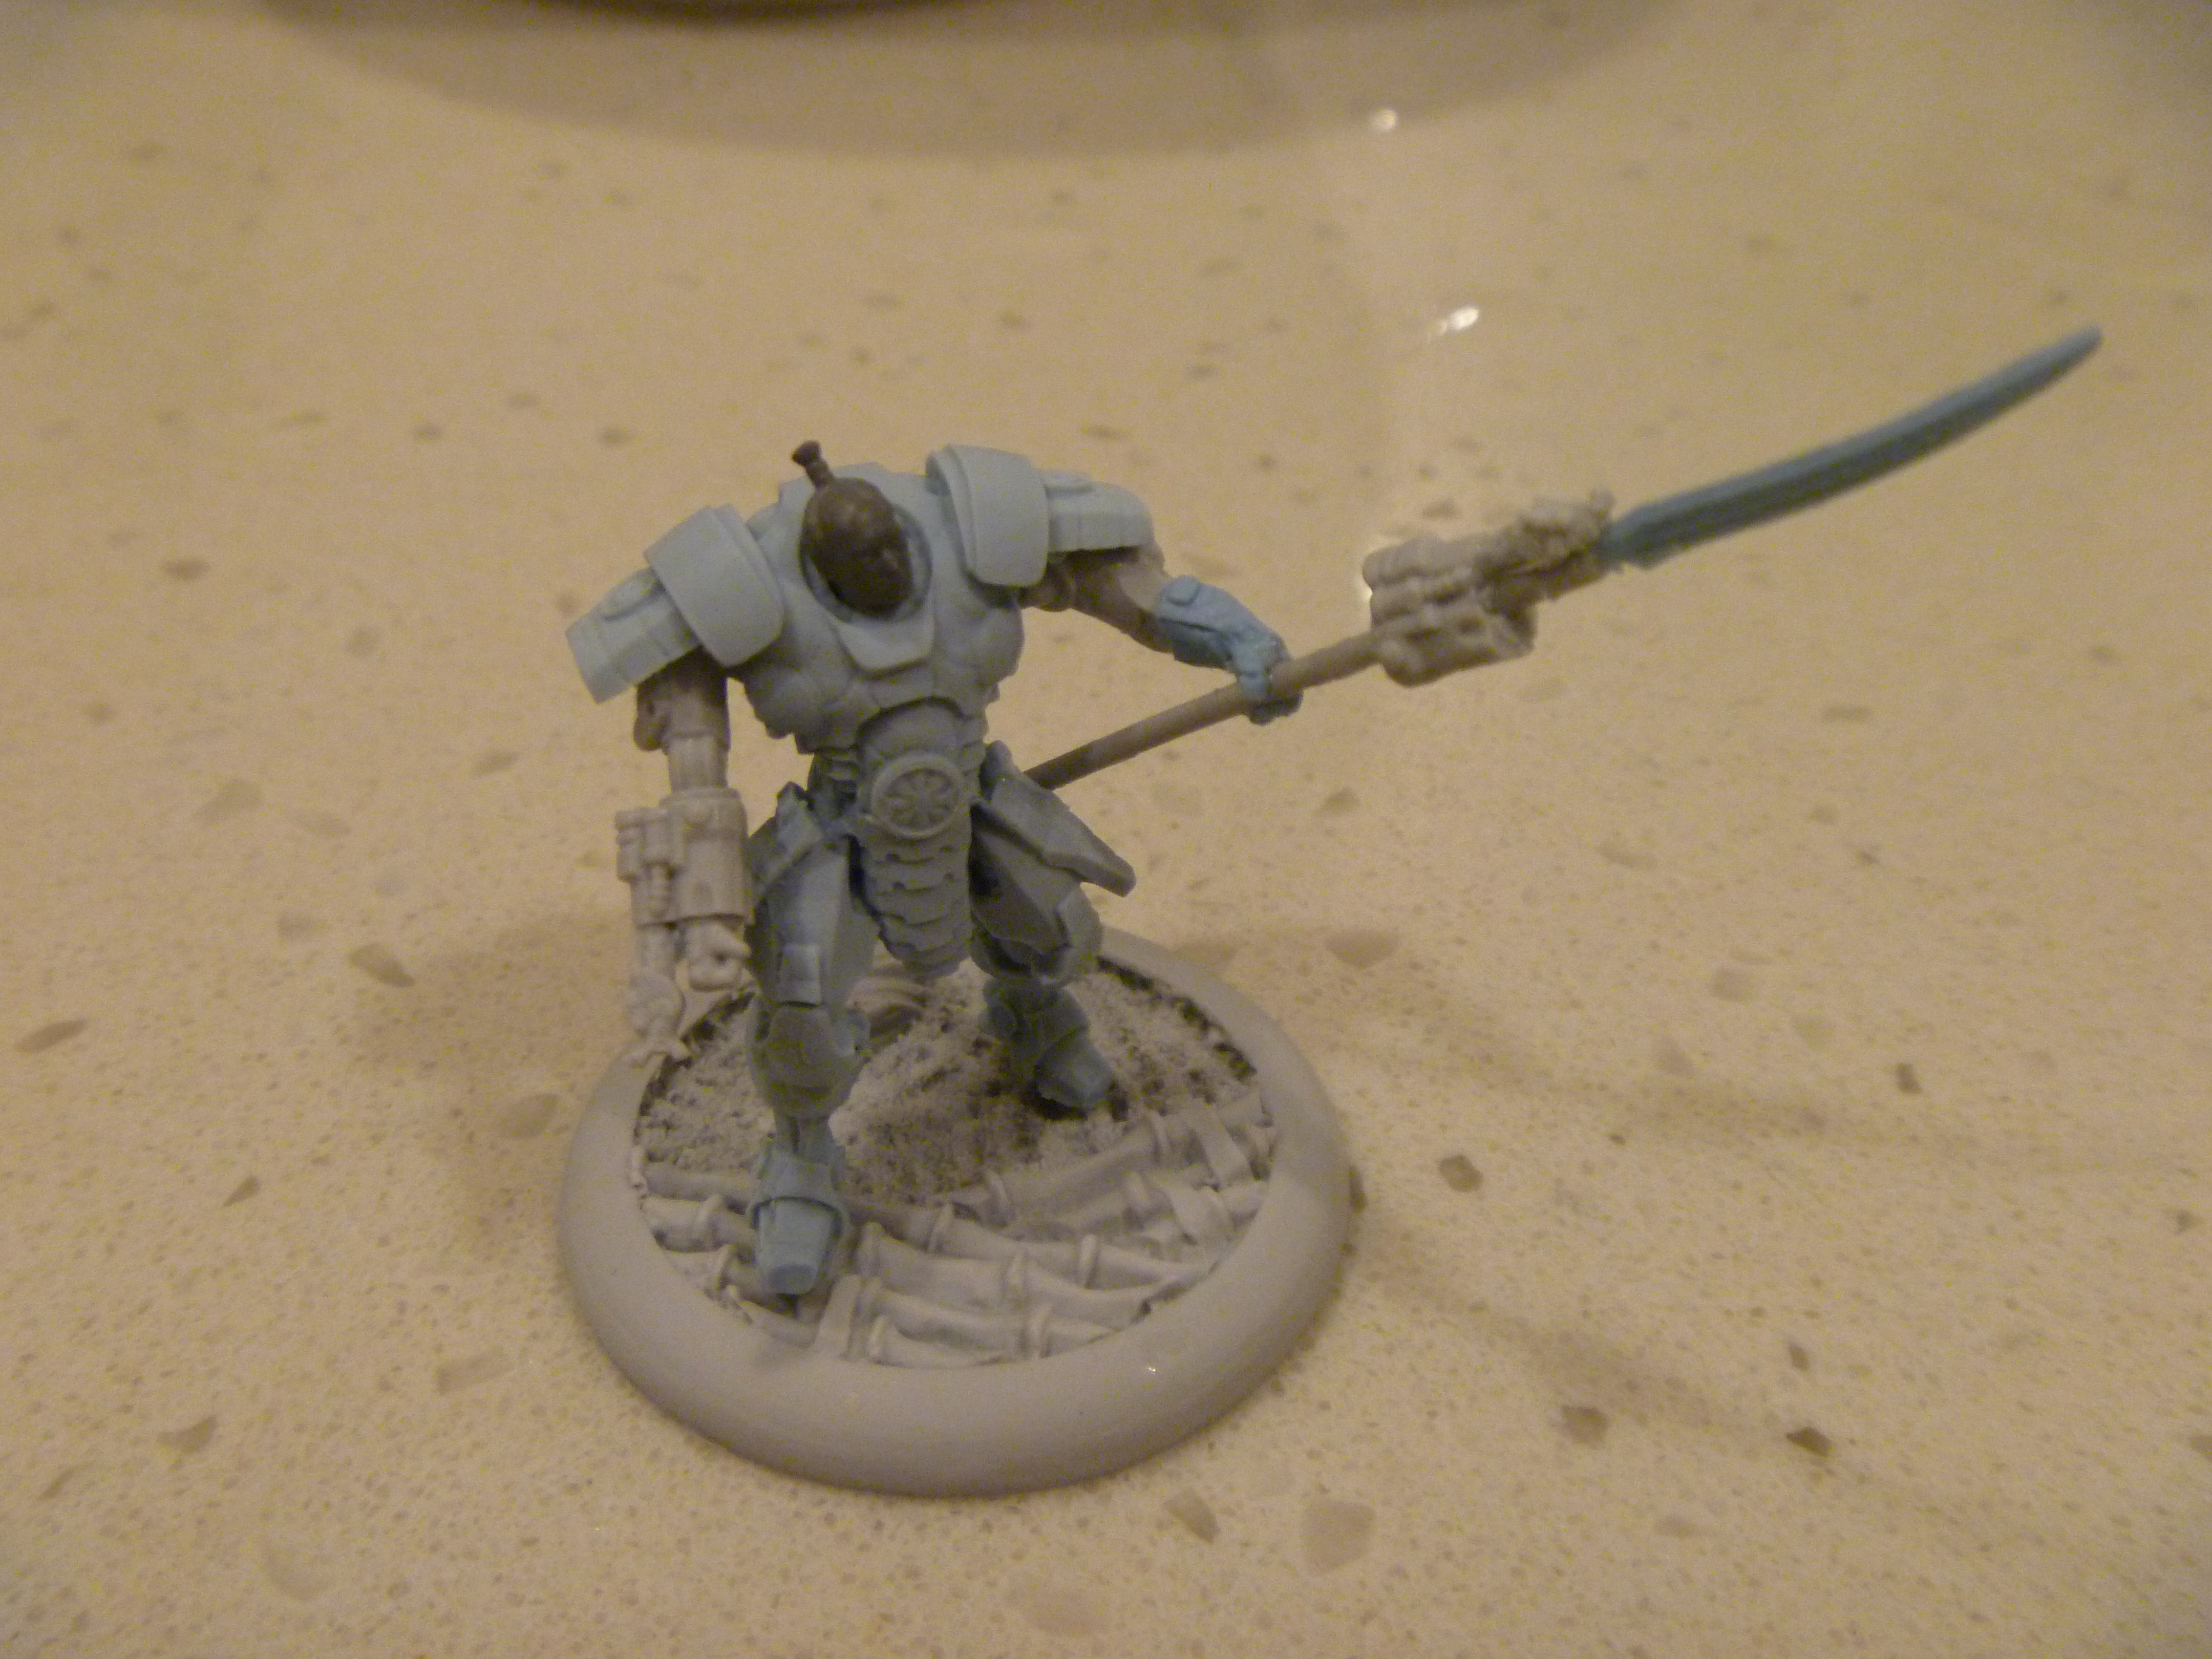
The Tatsumoto Doomtrooper with a bent Naginata.
Dunk the bent part into hot water for 5-10 seconds.
Once soft, hold in the new position and then dunk in cold water for 5-10 seconds.
In most cases, the resin memory will straighten the miniature automatically. However, if this does not happen, just manually re-align it and hold it in position when dunking cold.
Aligning Arms
This can also be used to bring arms together where they might not normally meet, particularly if you are choosing to use a set of arms that might not go together, or are designed for another miniature. Just be careful that the parts of the miniature that bend are the ‘natural’ parts like joints or arms- otherwise you might end up with a weapon that has a strange kink in it!
This Capitol Air Cavalry miniature was assembled with different arms to give a different pose, but they don’t naturally align.
With some hot water, the arms meet perfectly. Care has been taken to ensure his M50 assault rifle remains straight.
Posing Arms
Arms are usually one of the easiest pieces to pose- they are often one of the thinnest parts and the shape of them lends itself to working quite well. Just be aware that inorganic components (like armour plating and robotic pistons) should remain straight and not get deformed if at all possible. Also understand that there are limits to how well the arms can bend- you can’t turn a tightly bent elbow into a completely straight arm without re-scuplting it.
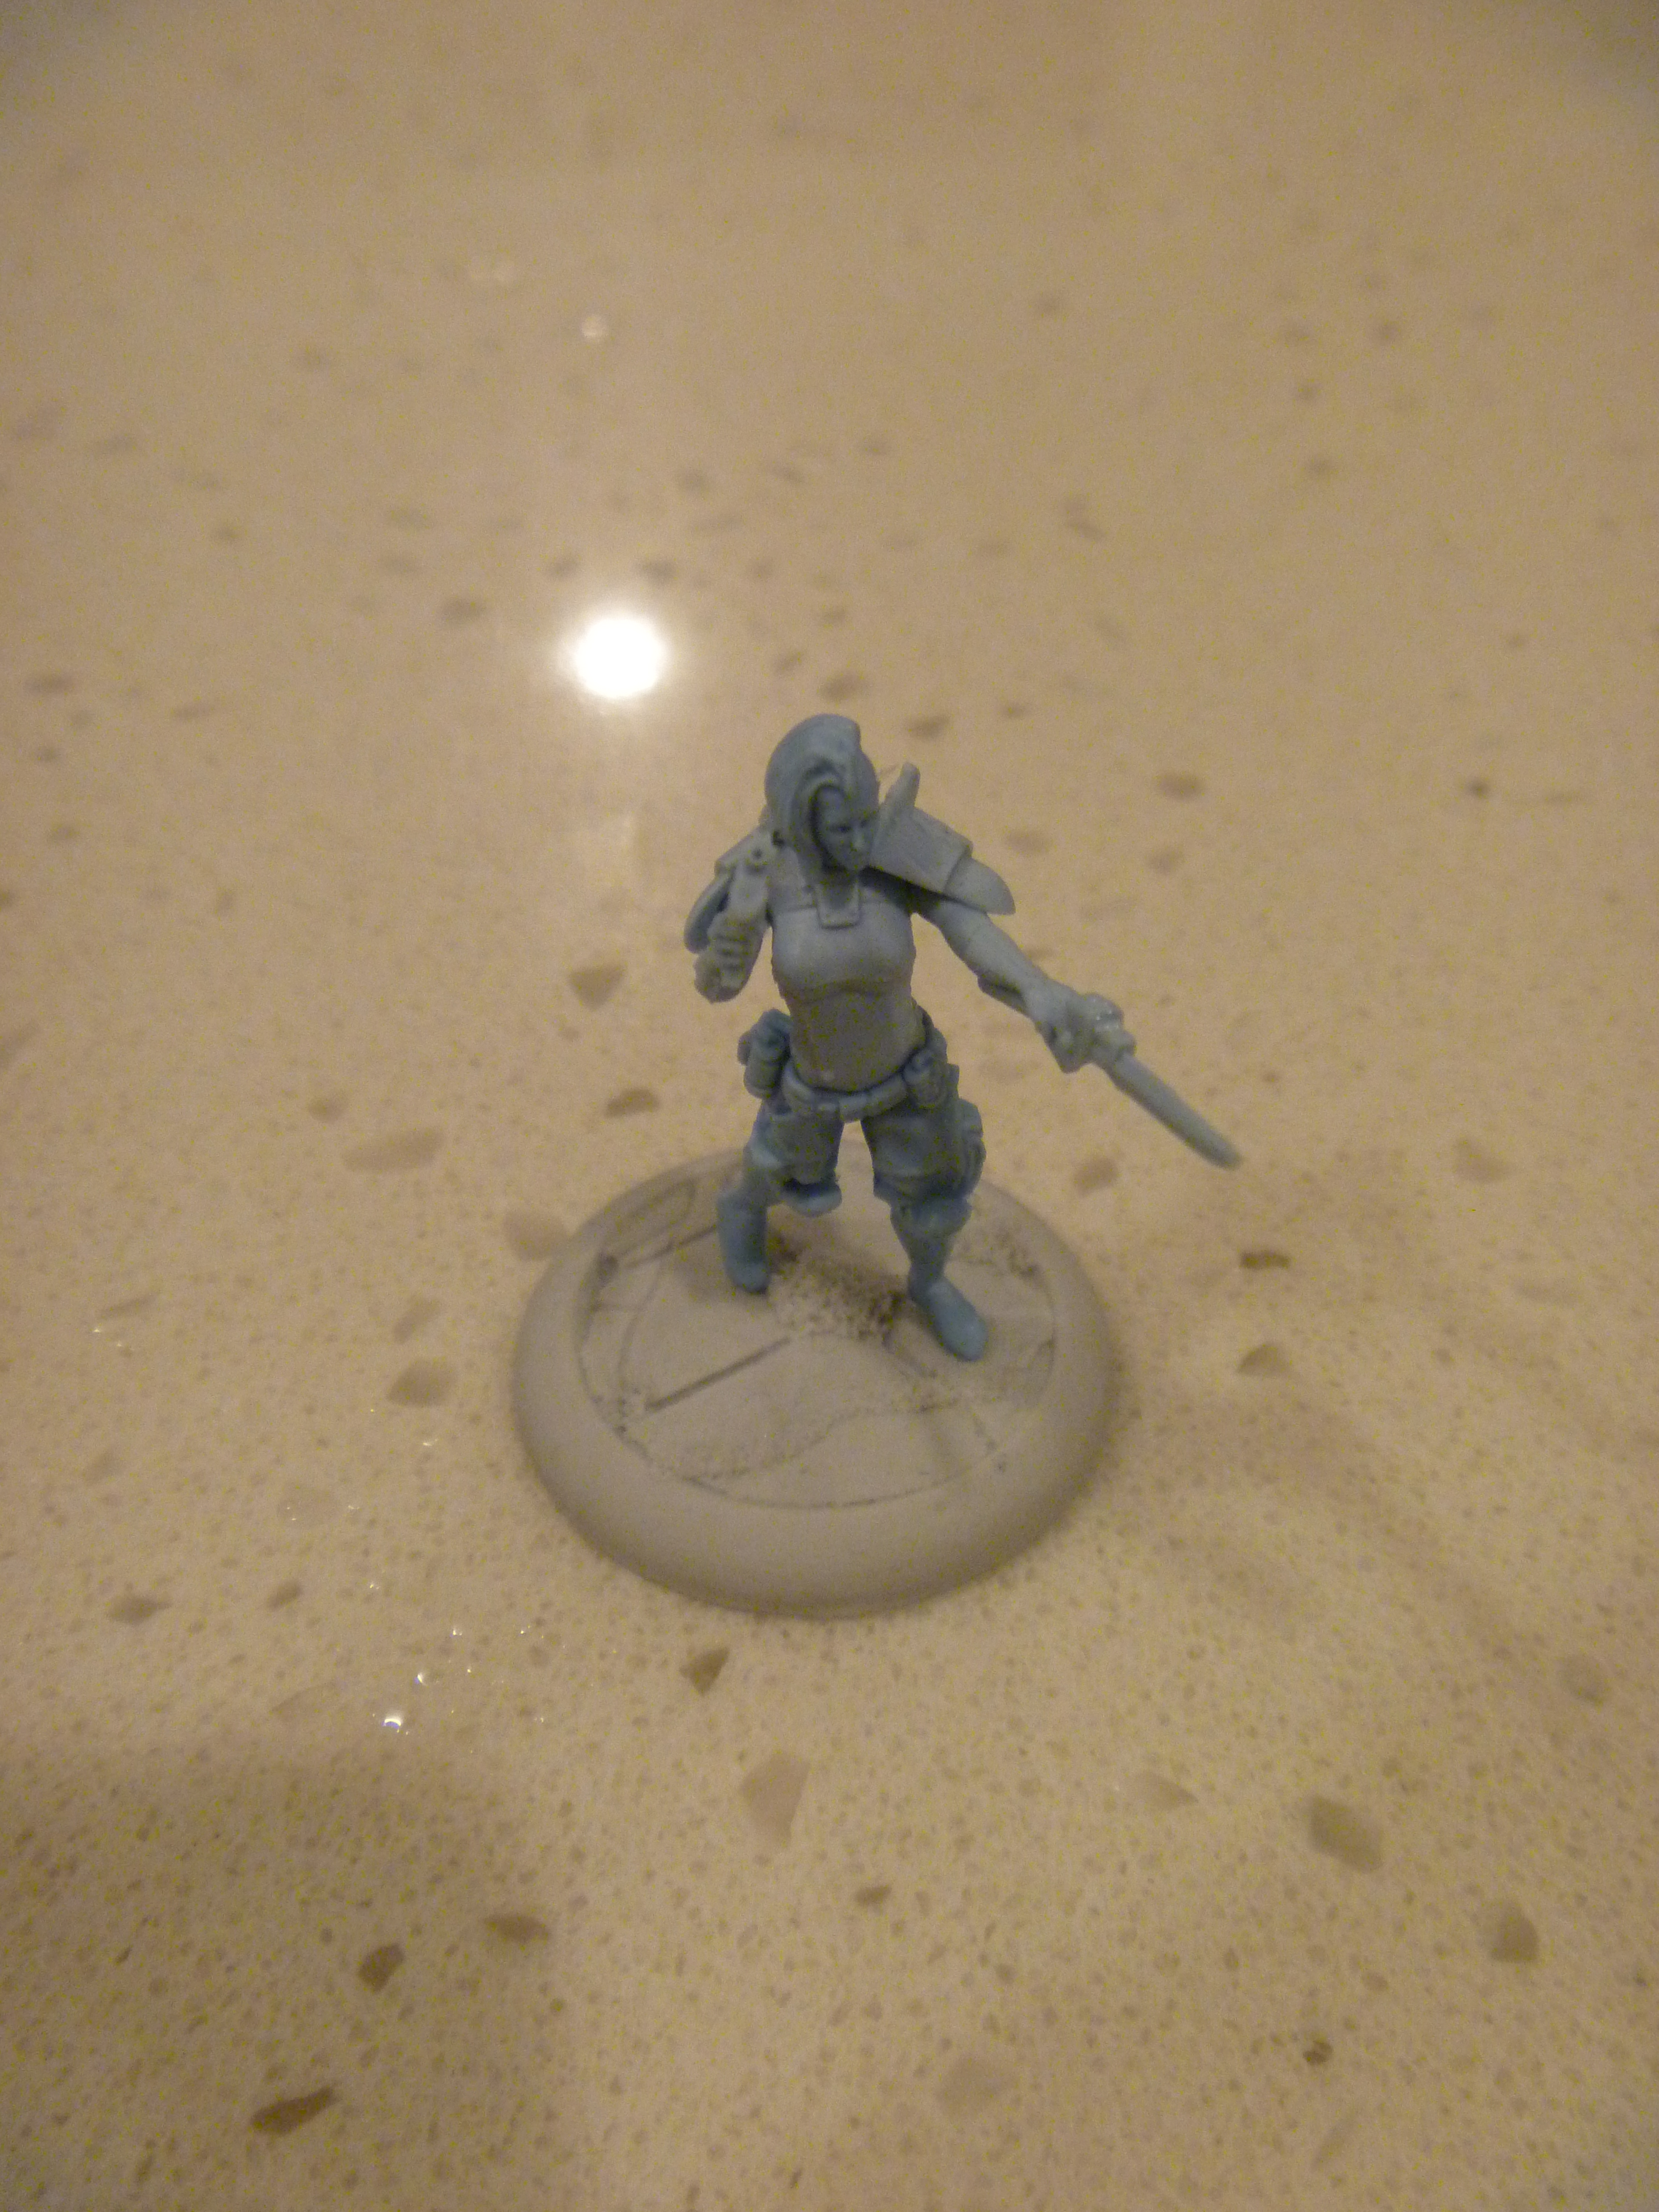
The Etoiles Mortant before altering. Her Punisher short sword is held forward aggressively.
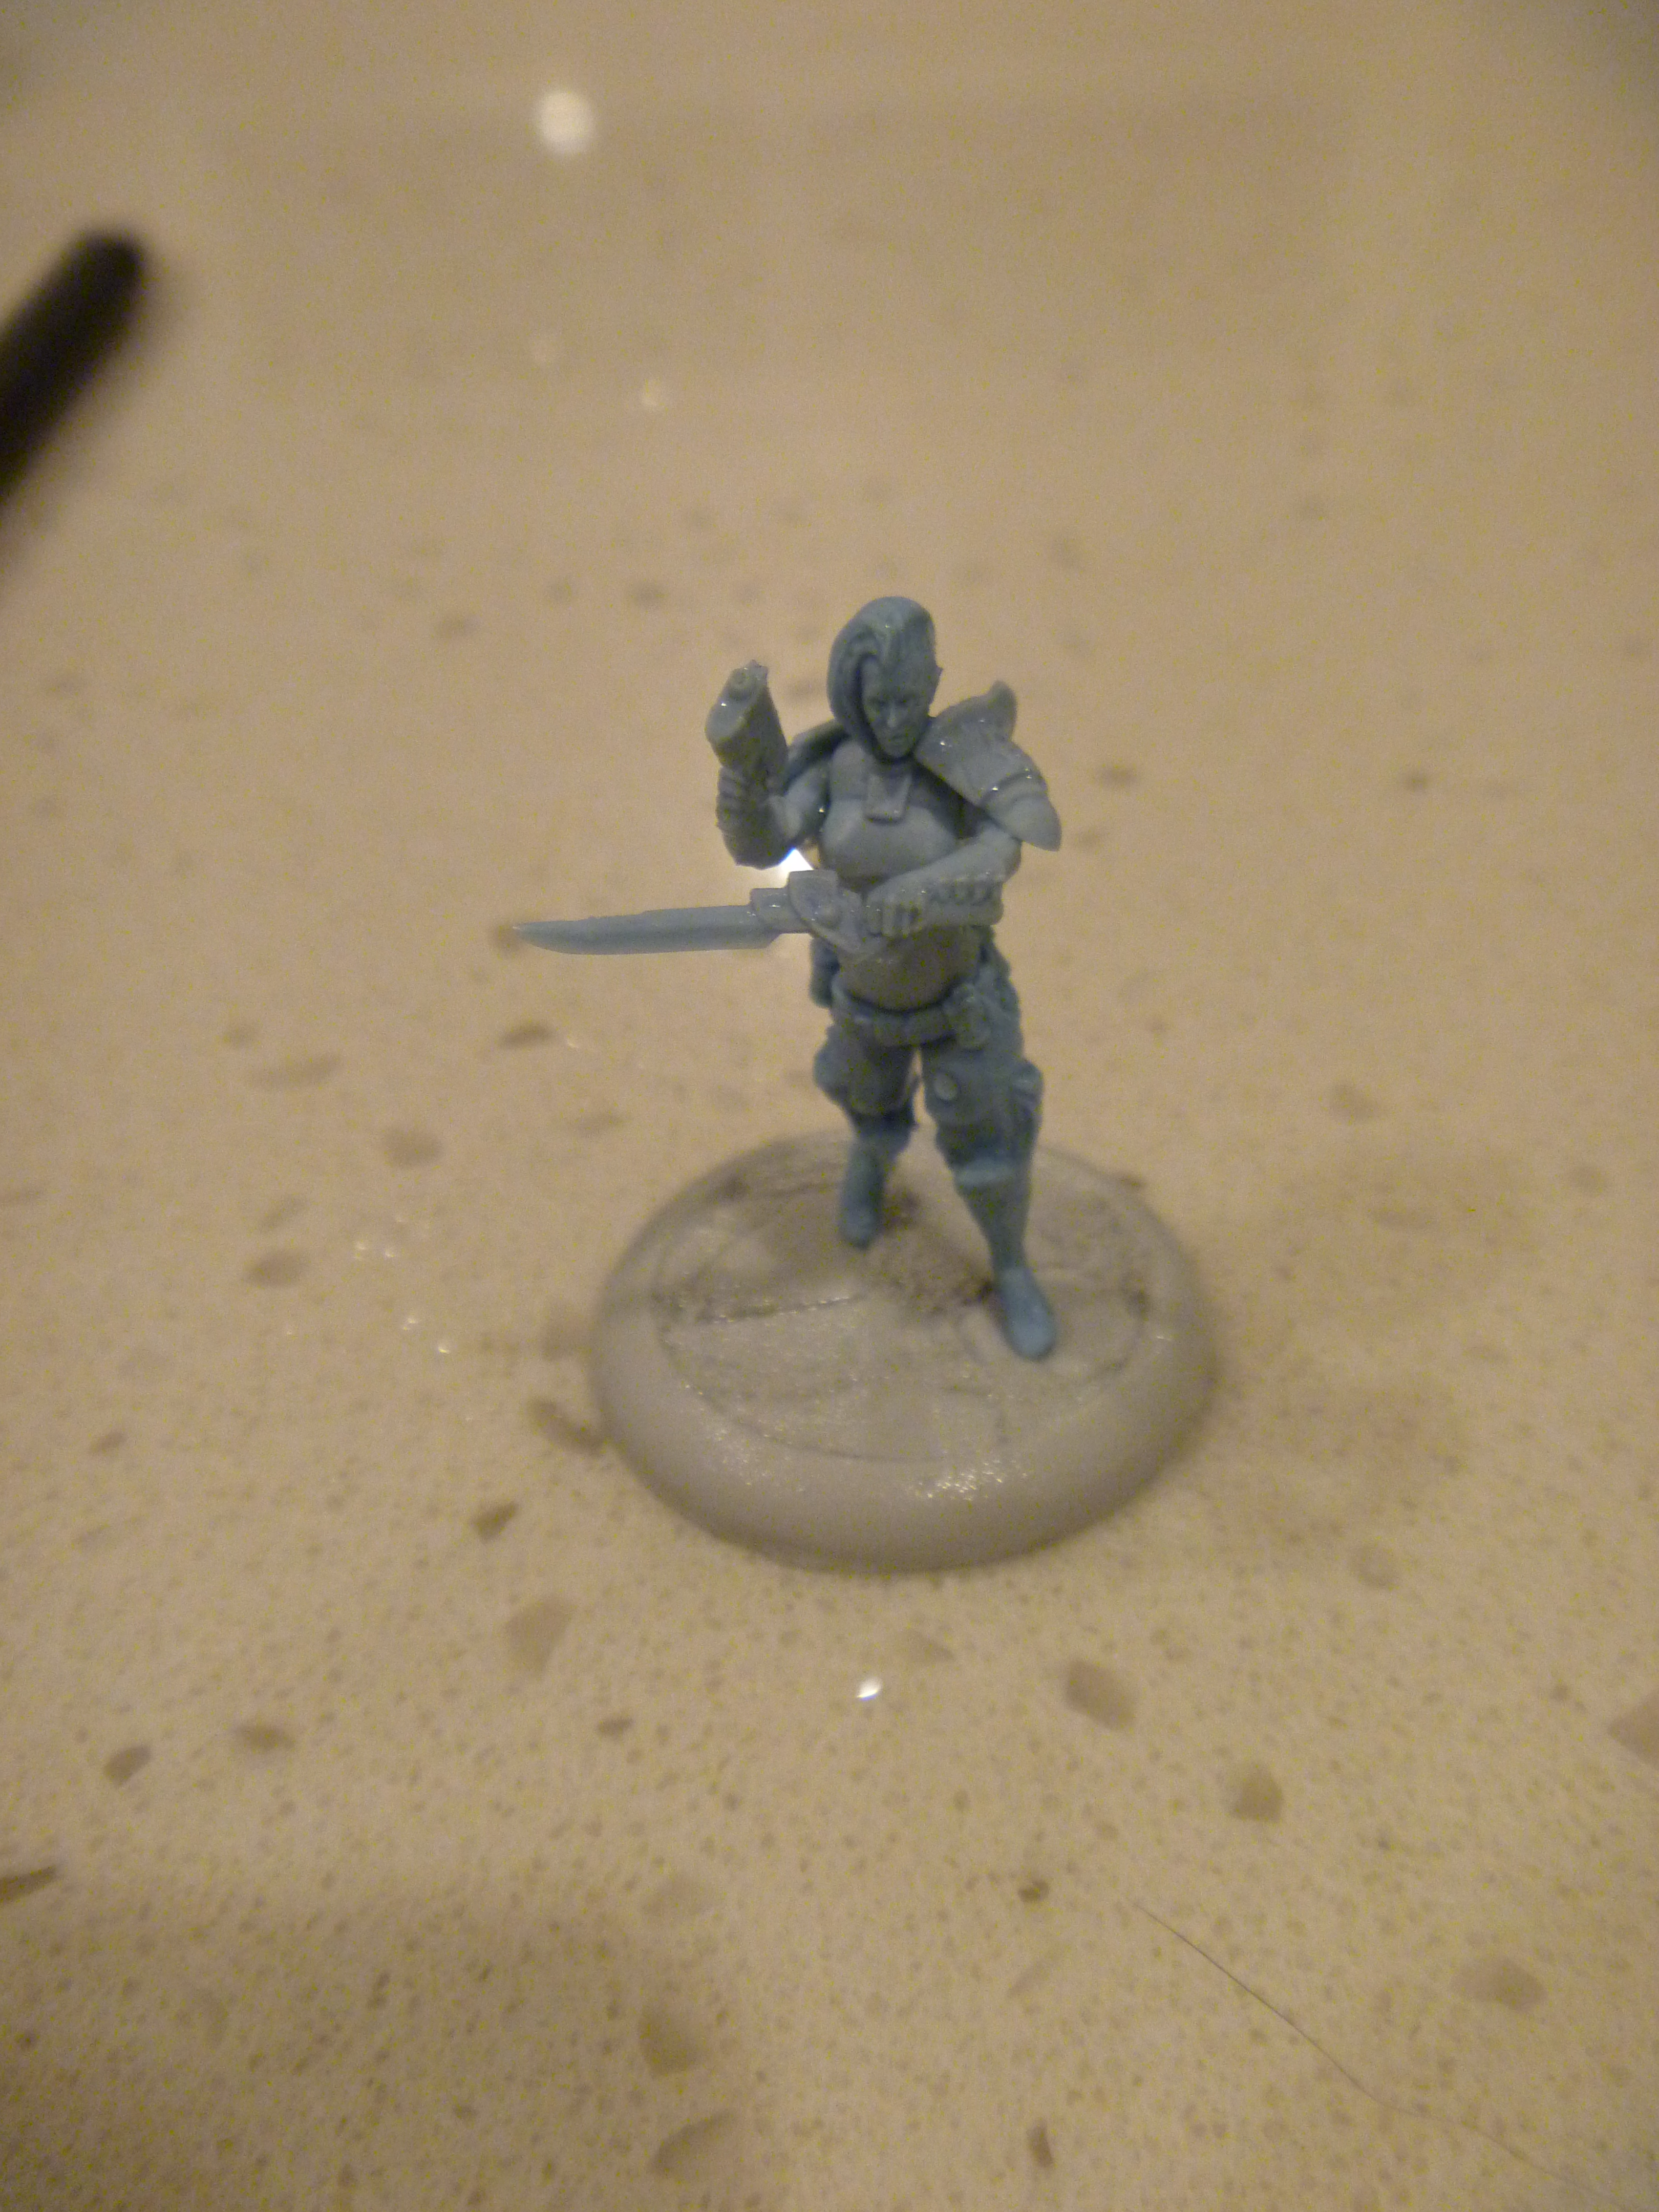
After a quick bend she is now holding it in a guard stance. The back of a hobby knife was pressed into the inside of her elbow while bending to get the right shape.
Changing Stance
When changing the stance of a mini, at least one foot should be attached to the base. This can be glued down or pinned, depending on preference. The reason for this is to keep the miniature’s feet properly aligned to the base- if you try to align the miniature without first conducting this step, you may have to fix the angle of the feet, knees or hips later.
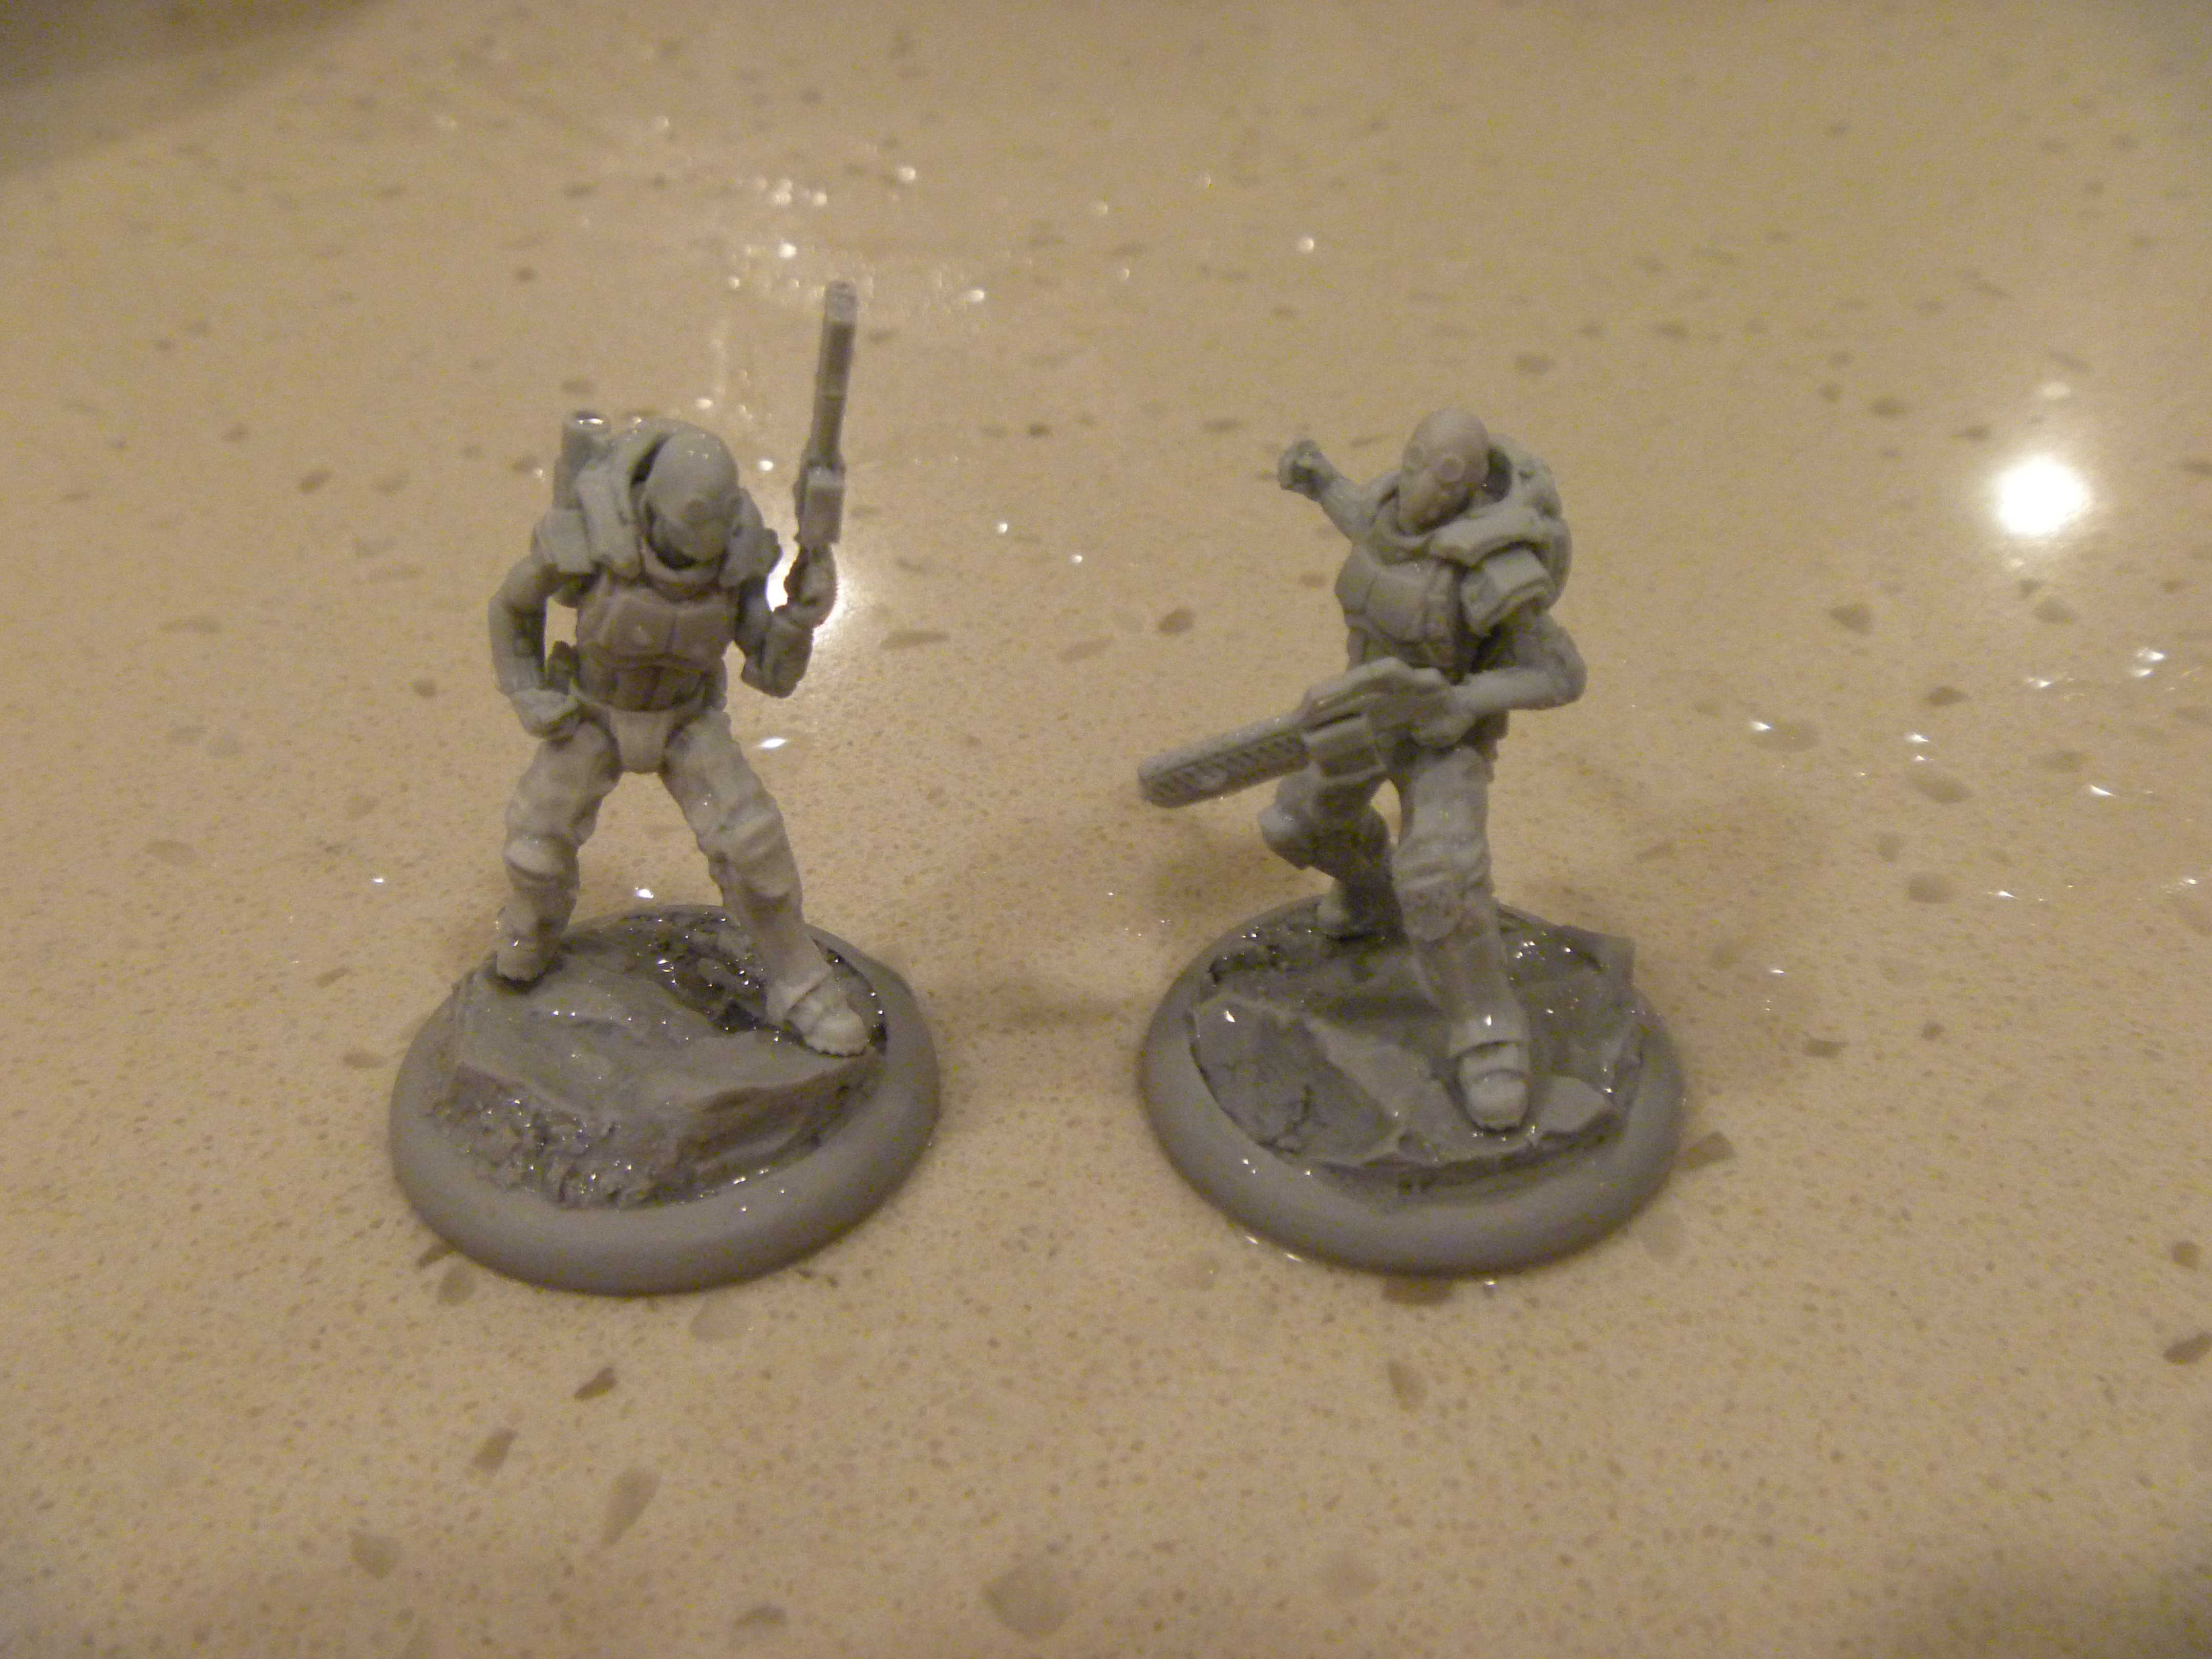
Believe it or not, both of these Air Cavalry miniatures were posed identically before being bent into shape.
Changing stance can be something as simple as moving a leg to align with the base, through altering the ‘feel’ of a models pose, to something as radical as making a standing miniature kneel or lay down.
Complex Changes
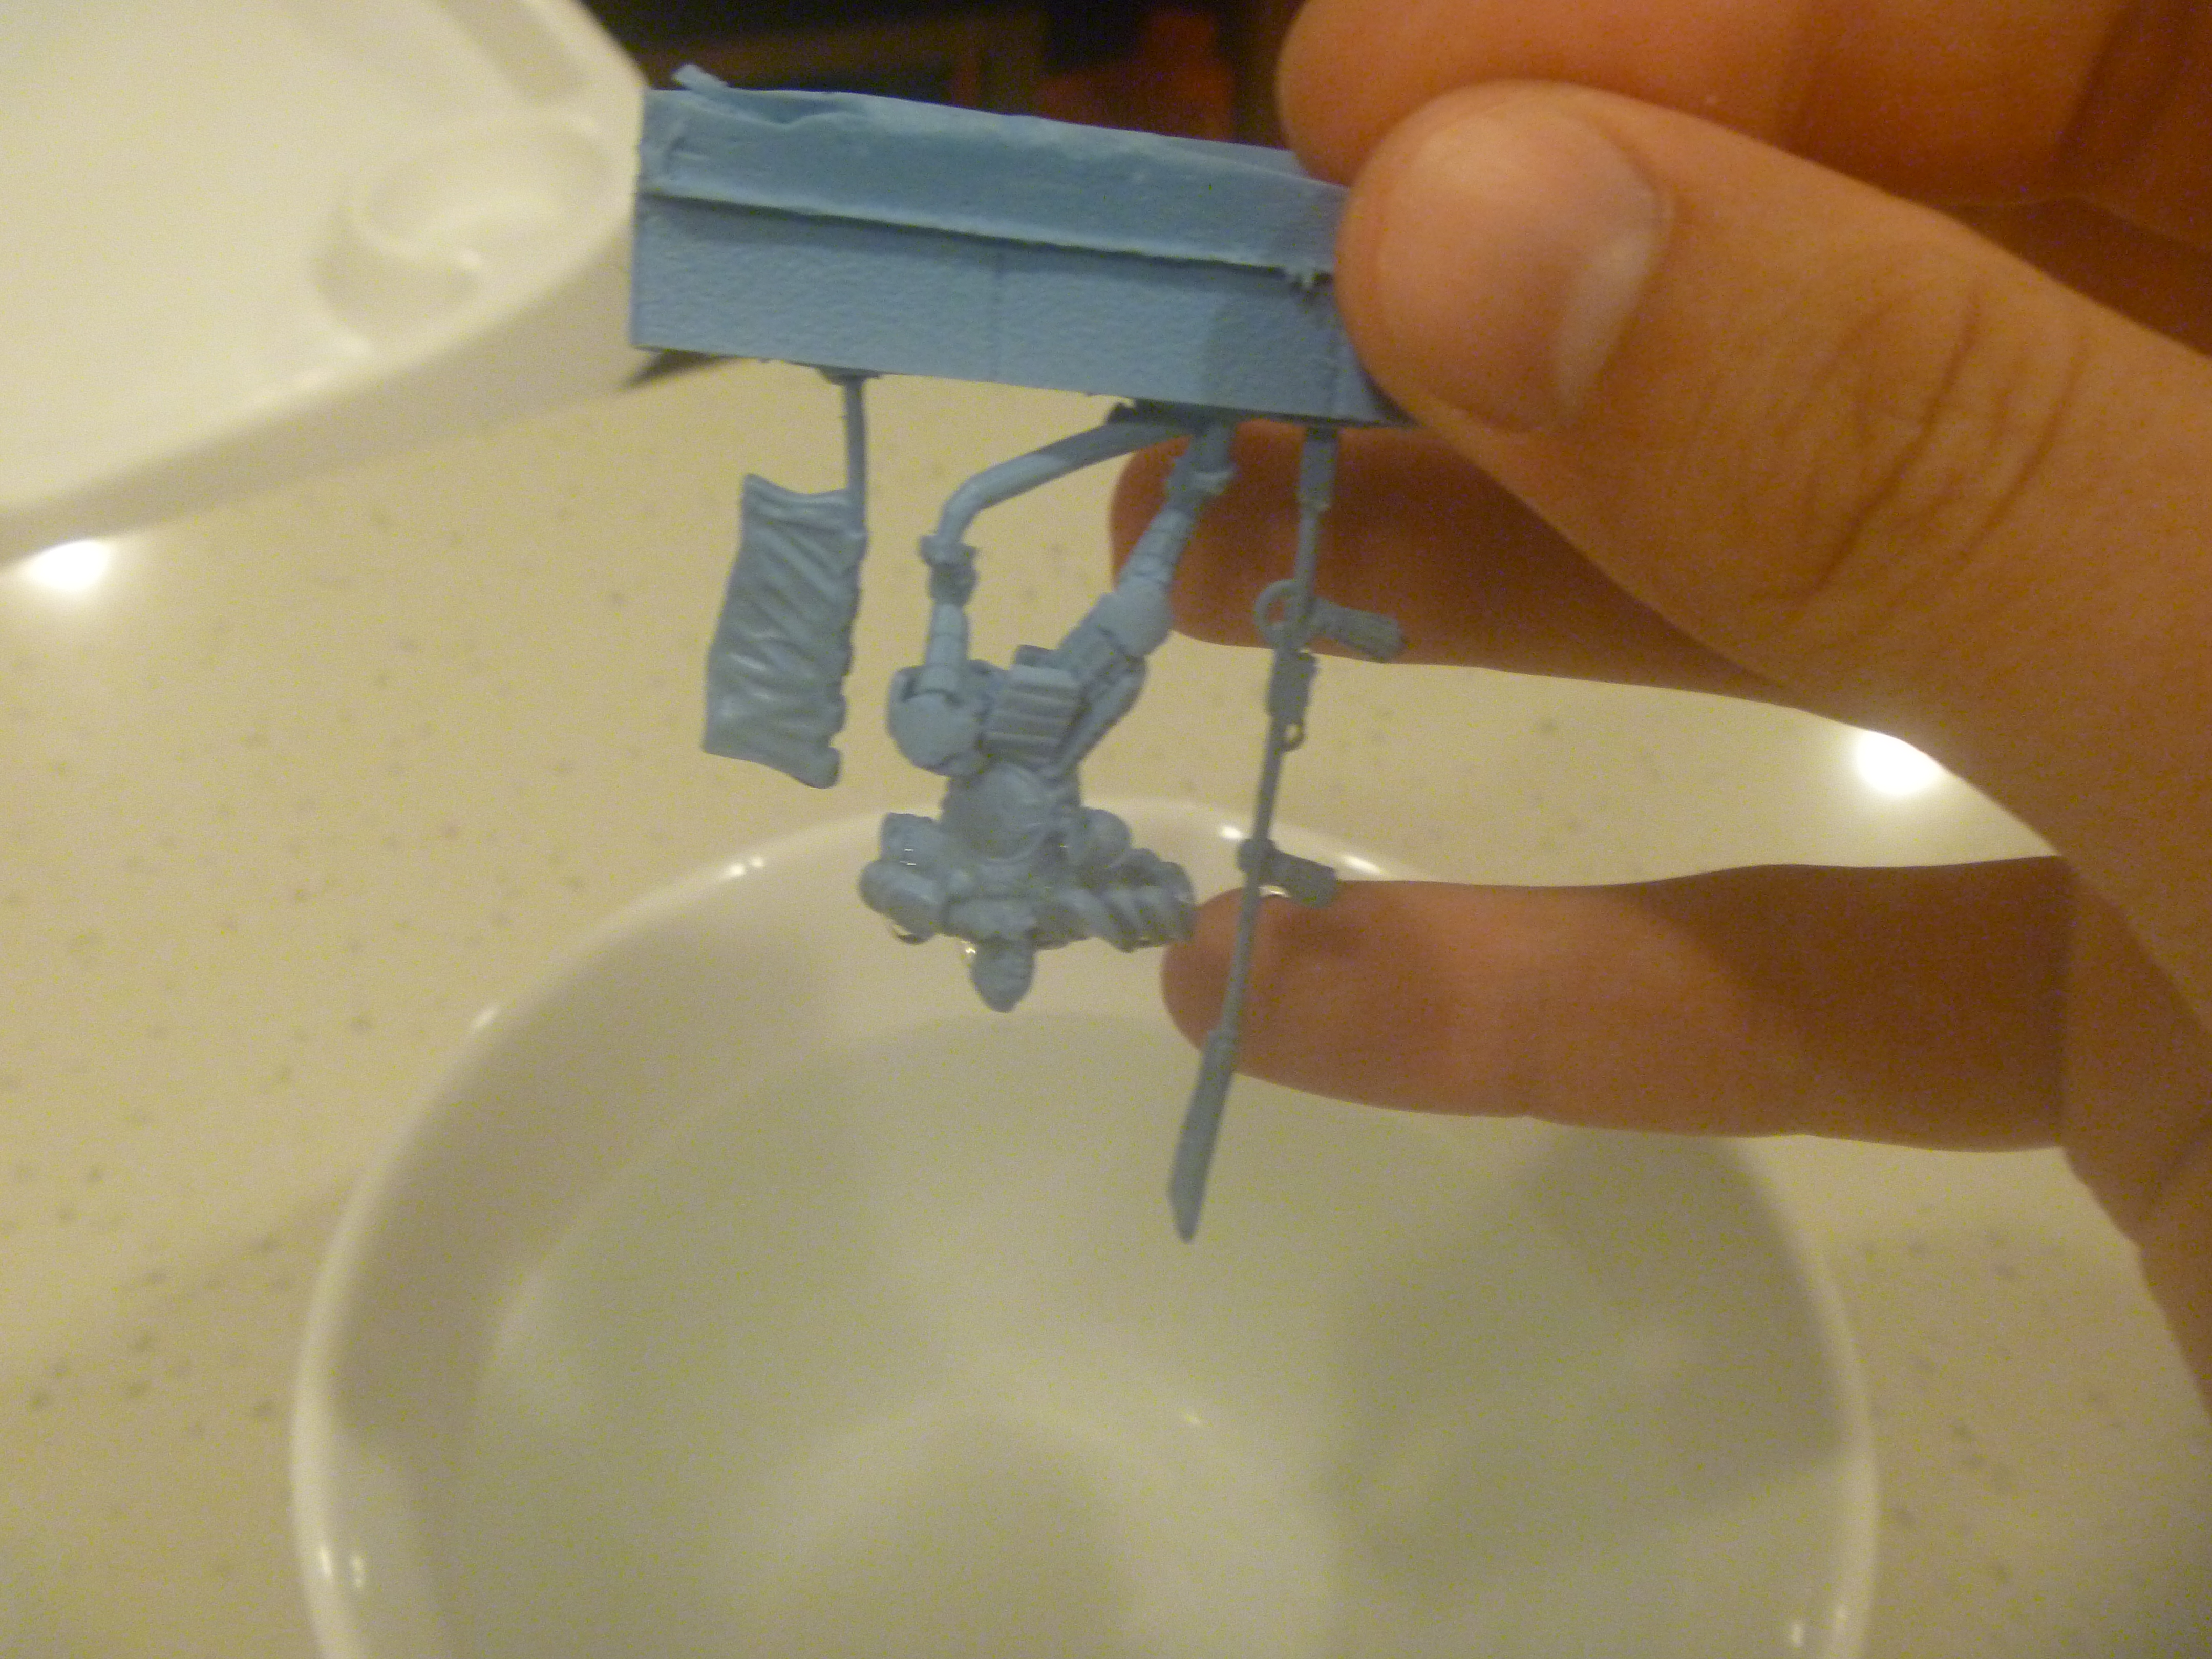
If you’re looking to make major changes to a miniature, you may have to conduct your re-posing in several steps. This might mean assembling the body and attaching it to the base, then re-posing the legs and torso before adding the arms and later re-posing those. Alternately, try just dipping part of the miniature at a time in the hot water- start with the core parts of the mini like the legs and torso, then work your way out in later dips to the arms, banners, head, etc.
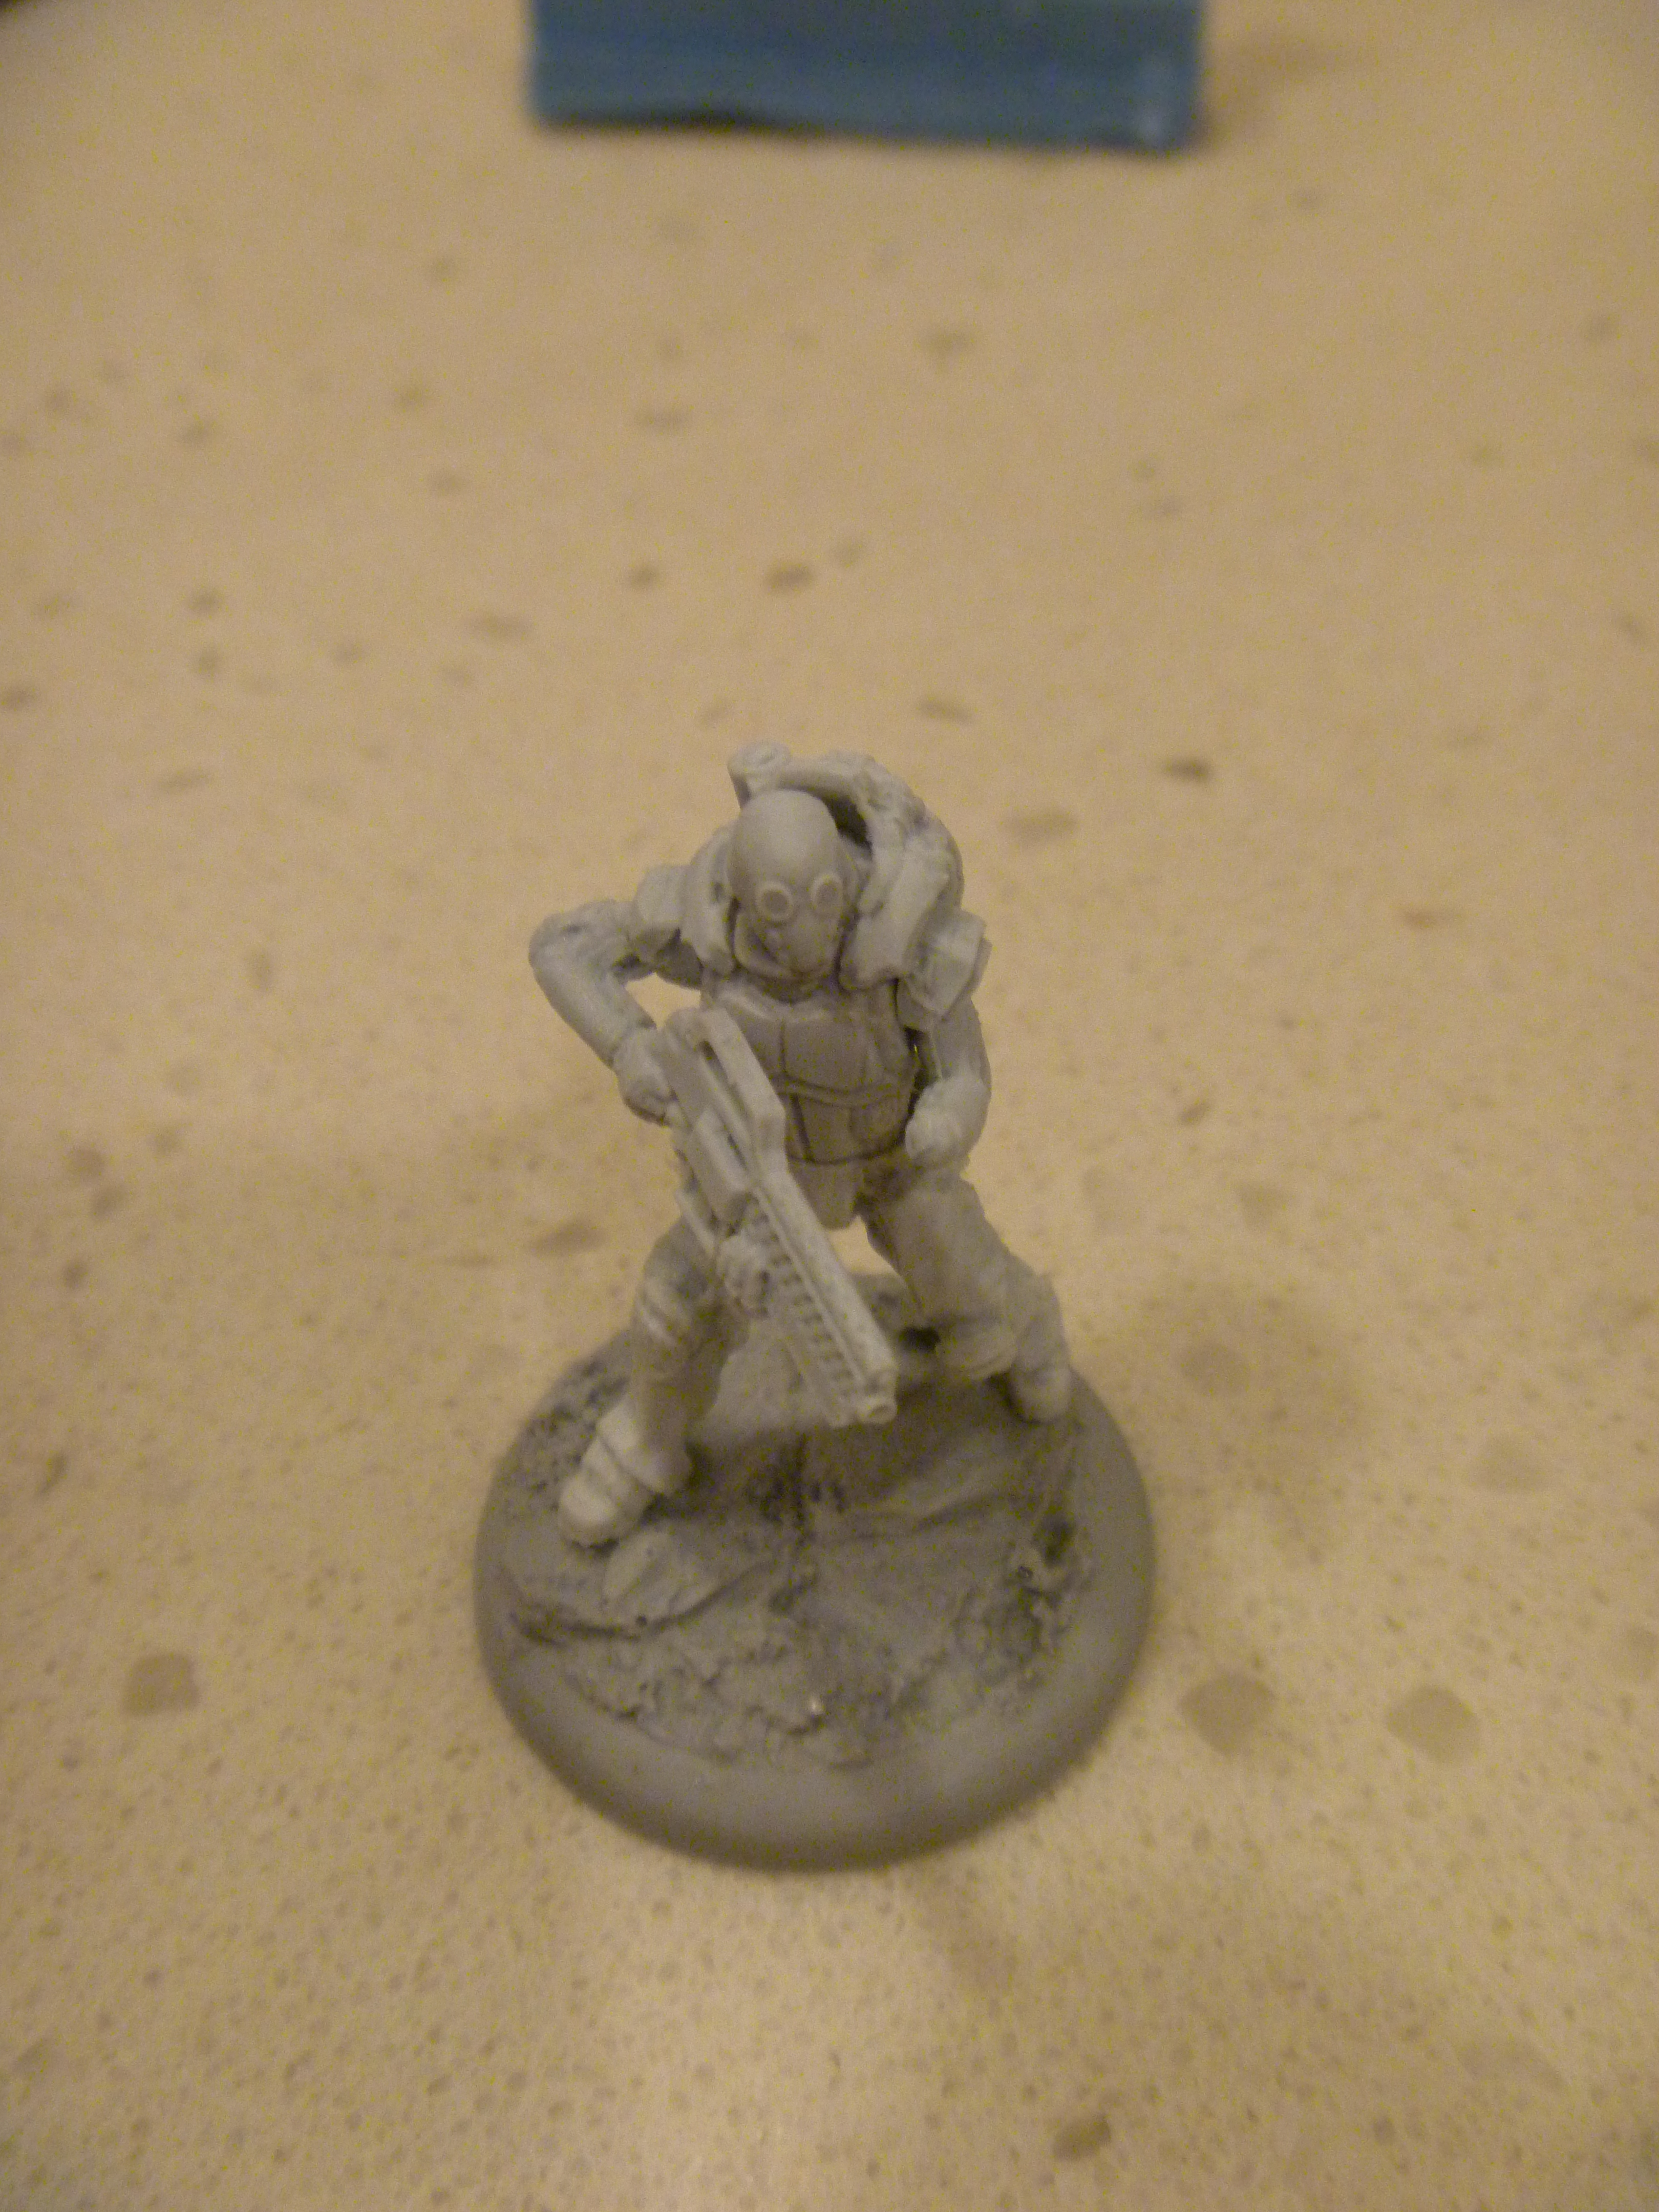
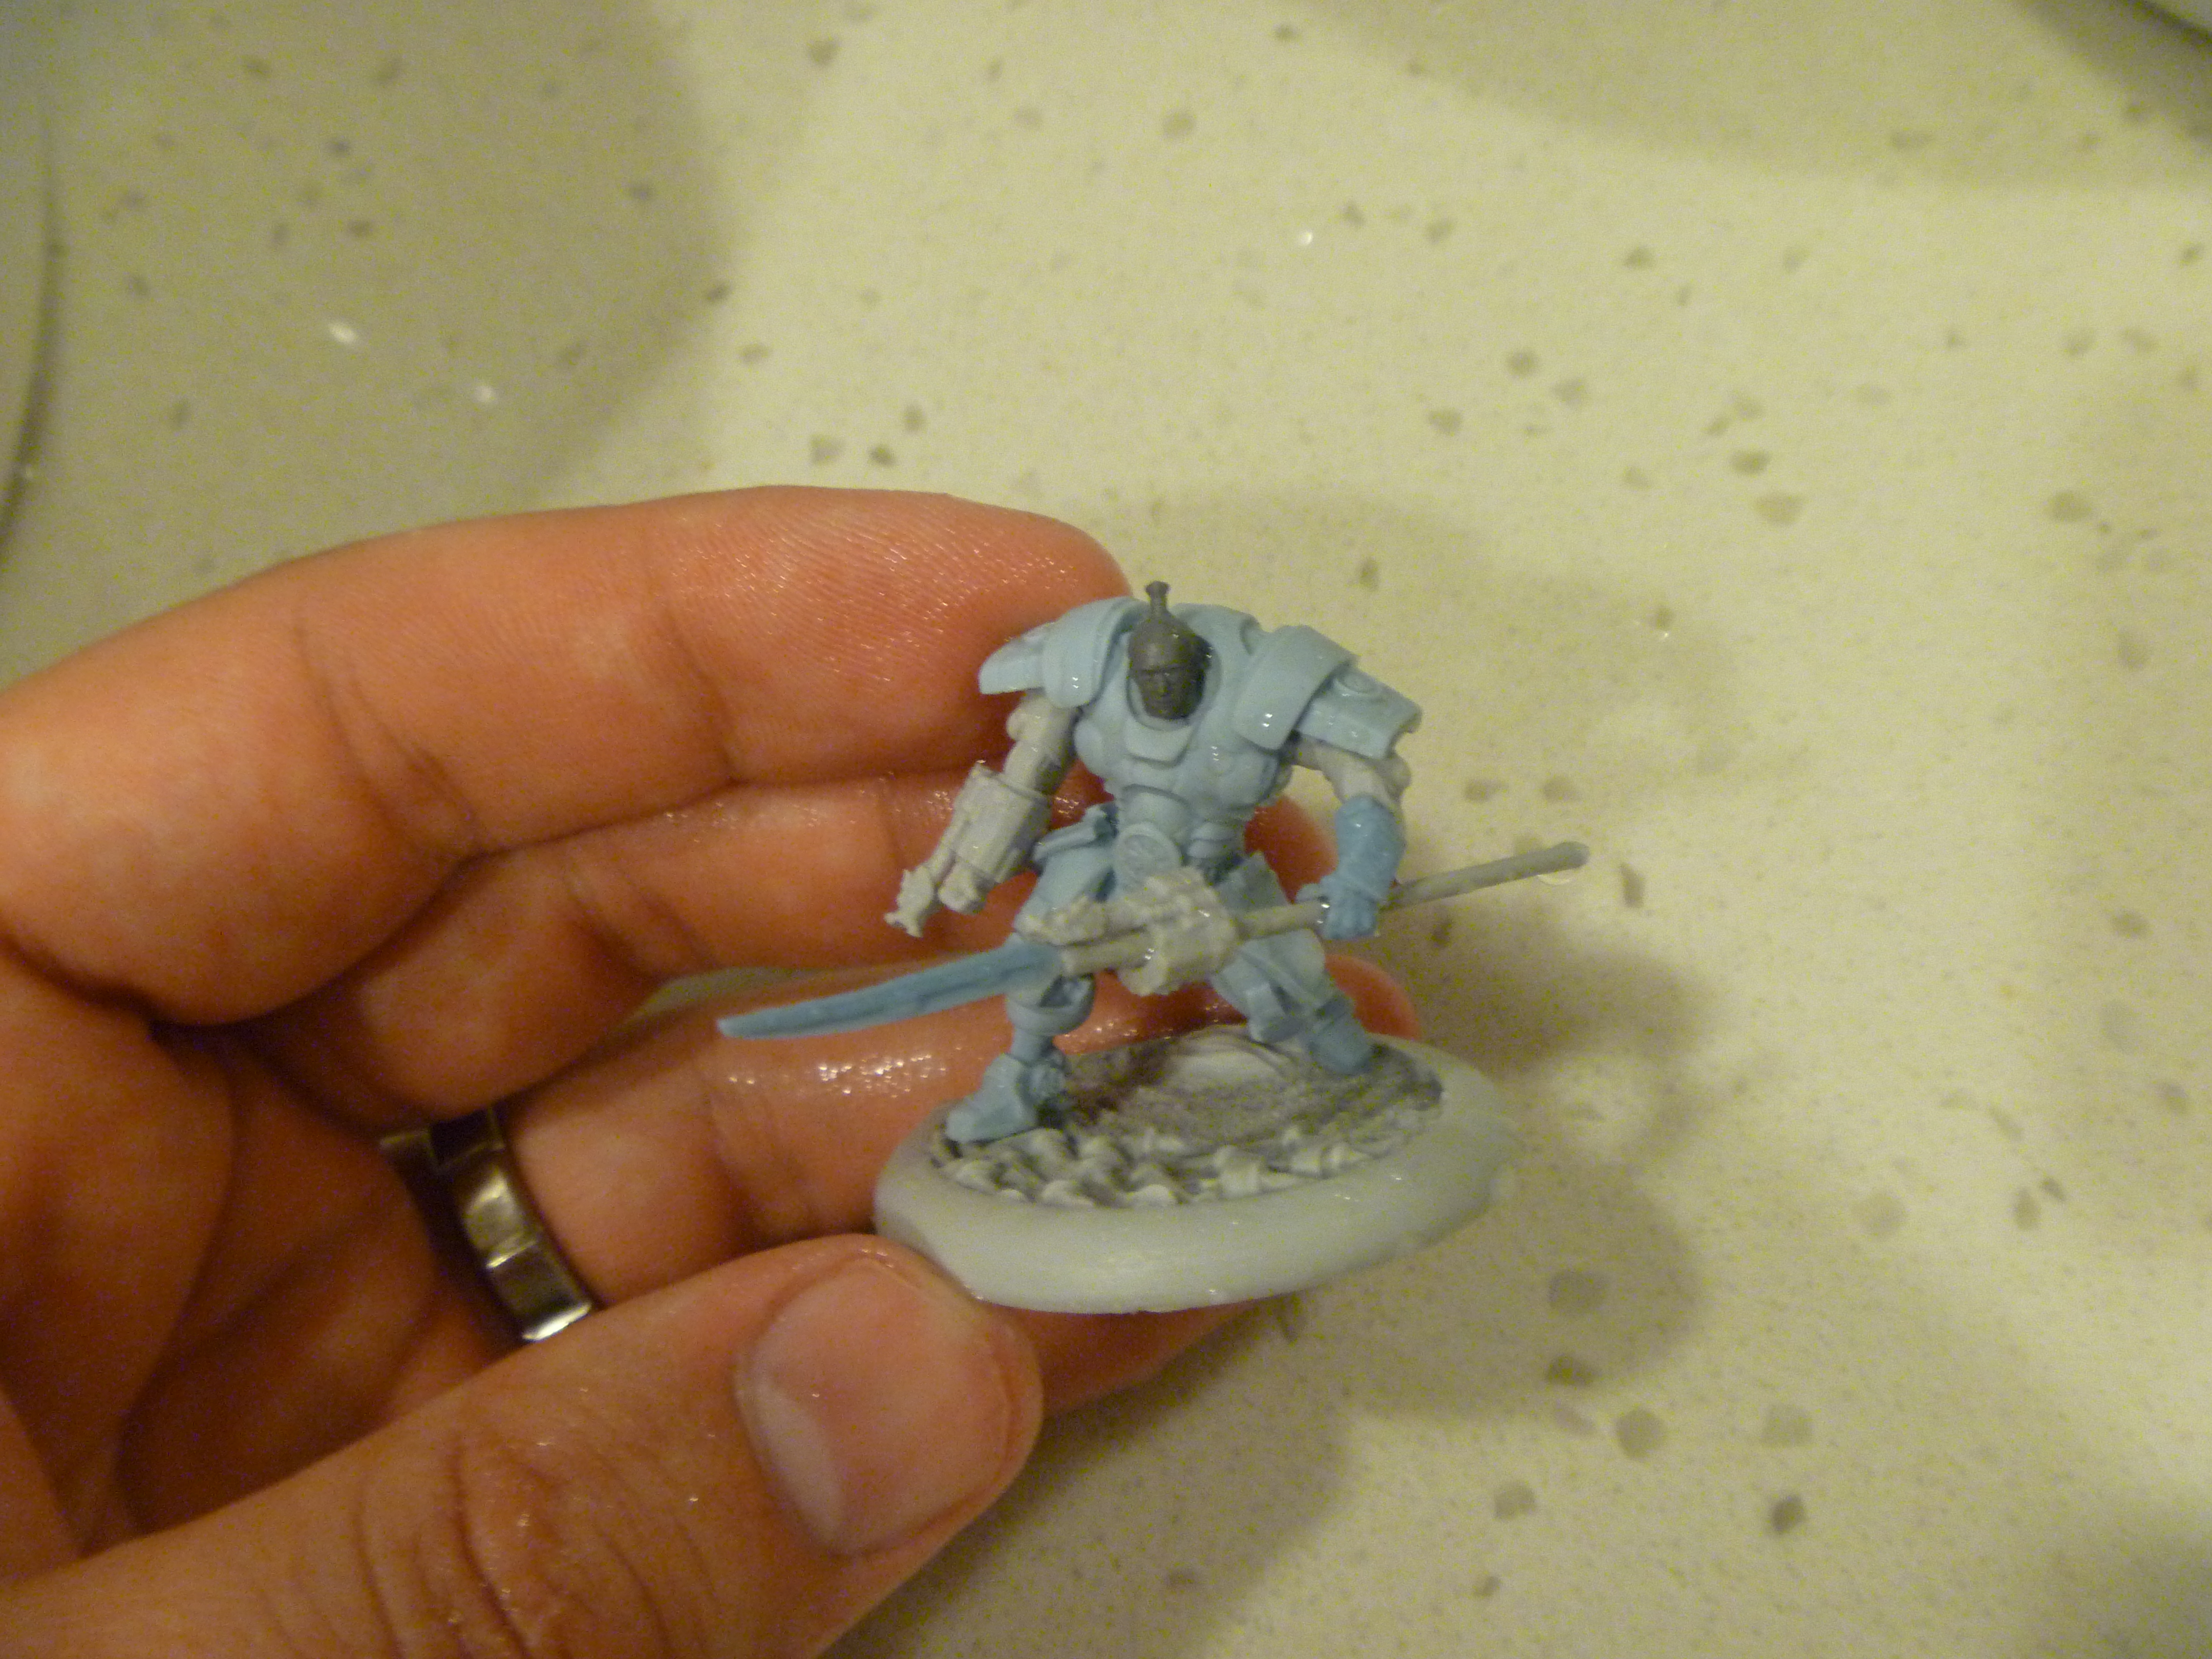
The original miniature after assembly. Only the back foot is glued down at this stage.

At first, the whole miniature is dunked in hot water to loosen the legs.
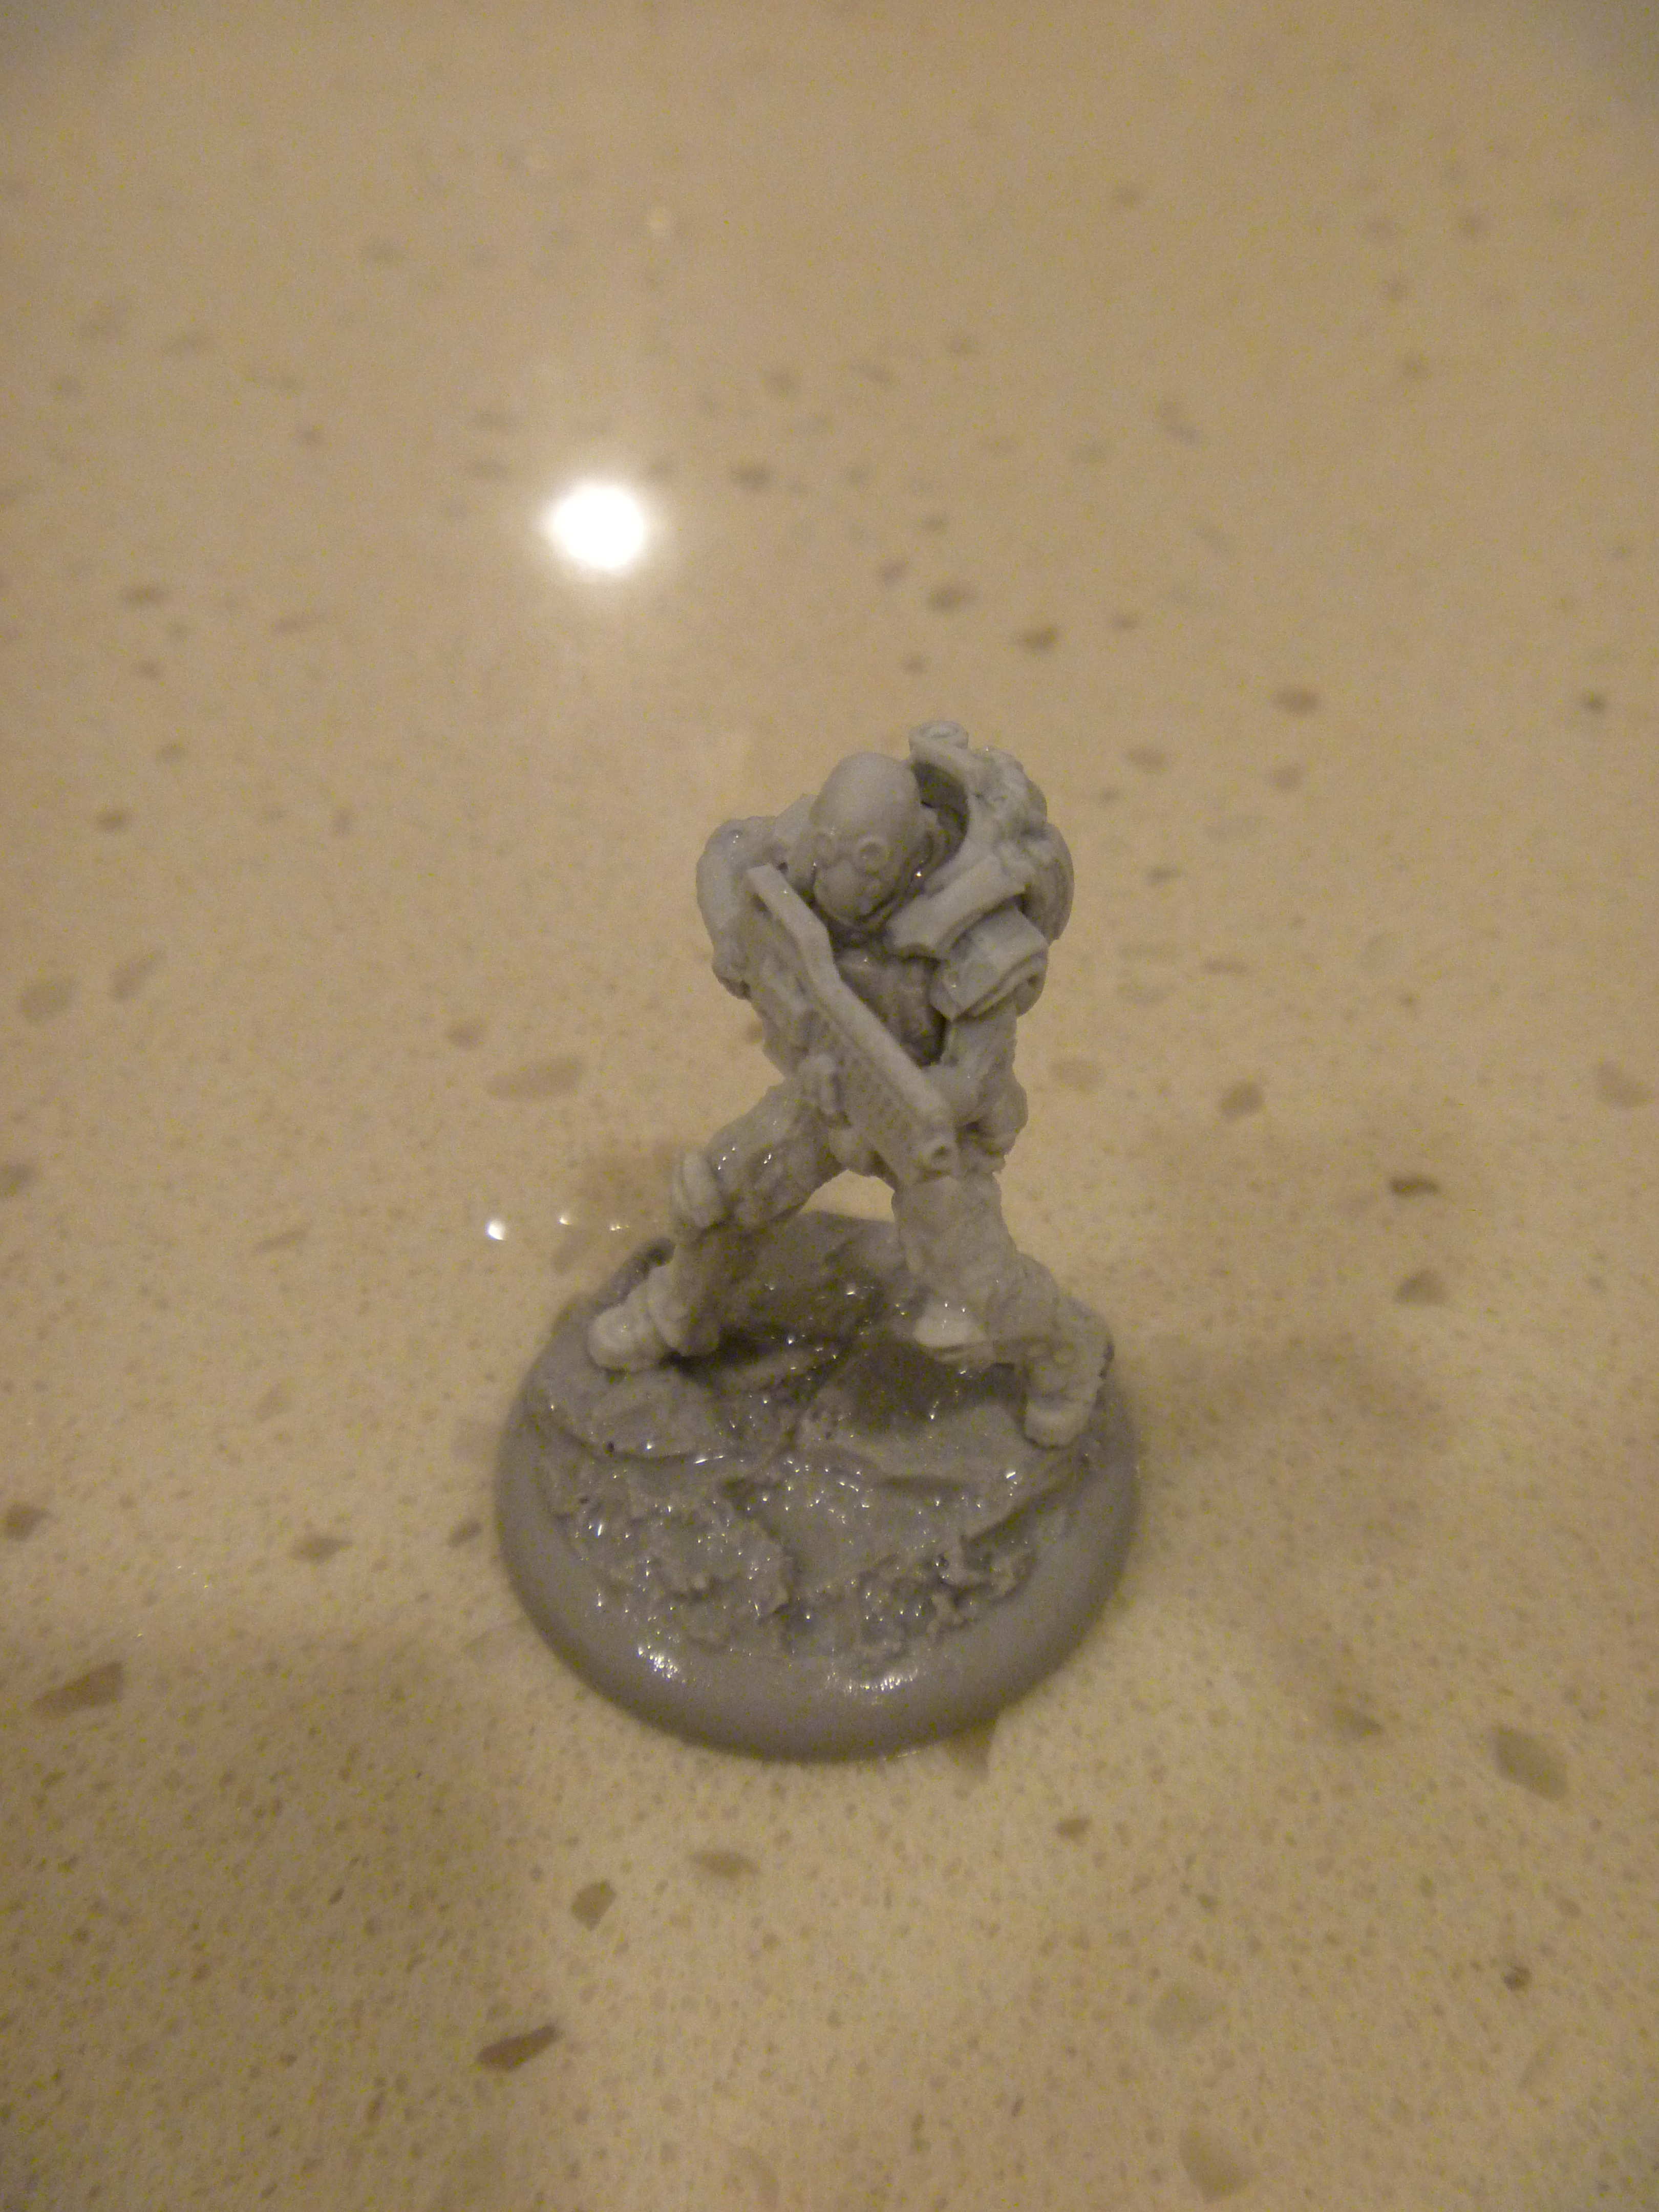
After a pose change, the next part of the miniature can be altered.
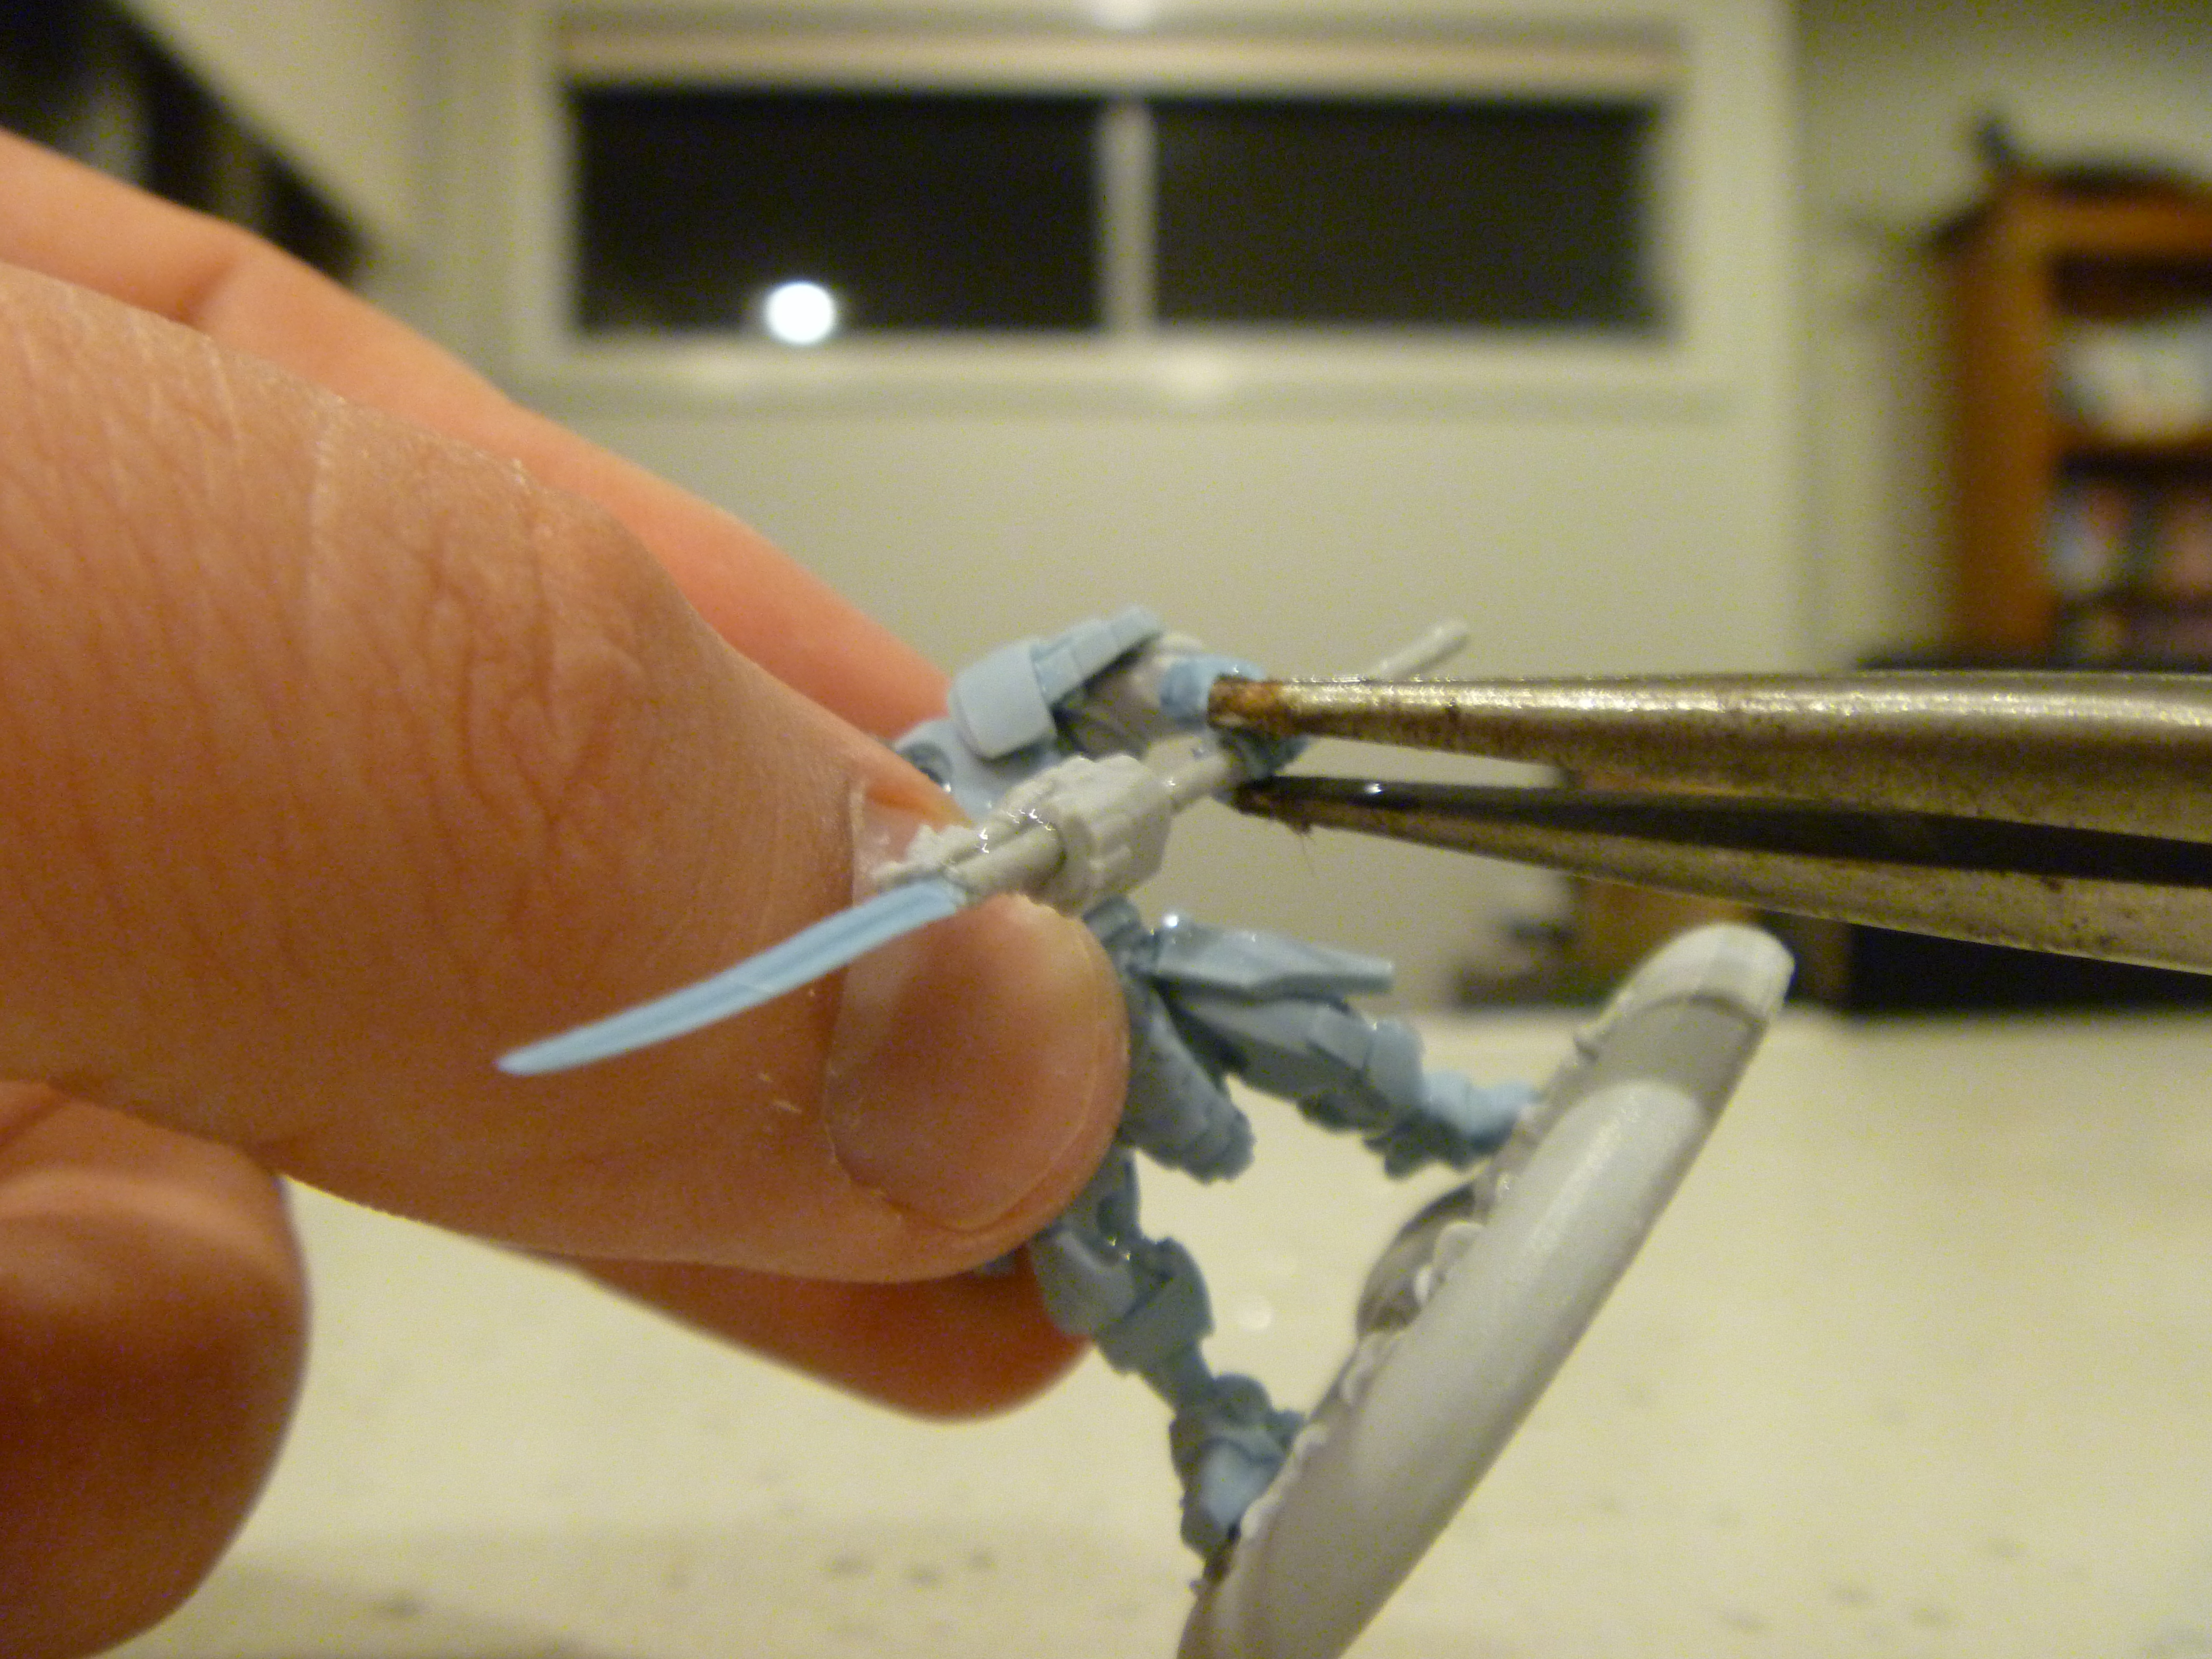
Pliers can be used to focus on the part you want to bend.
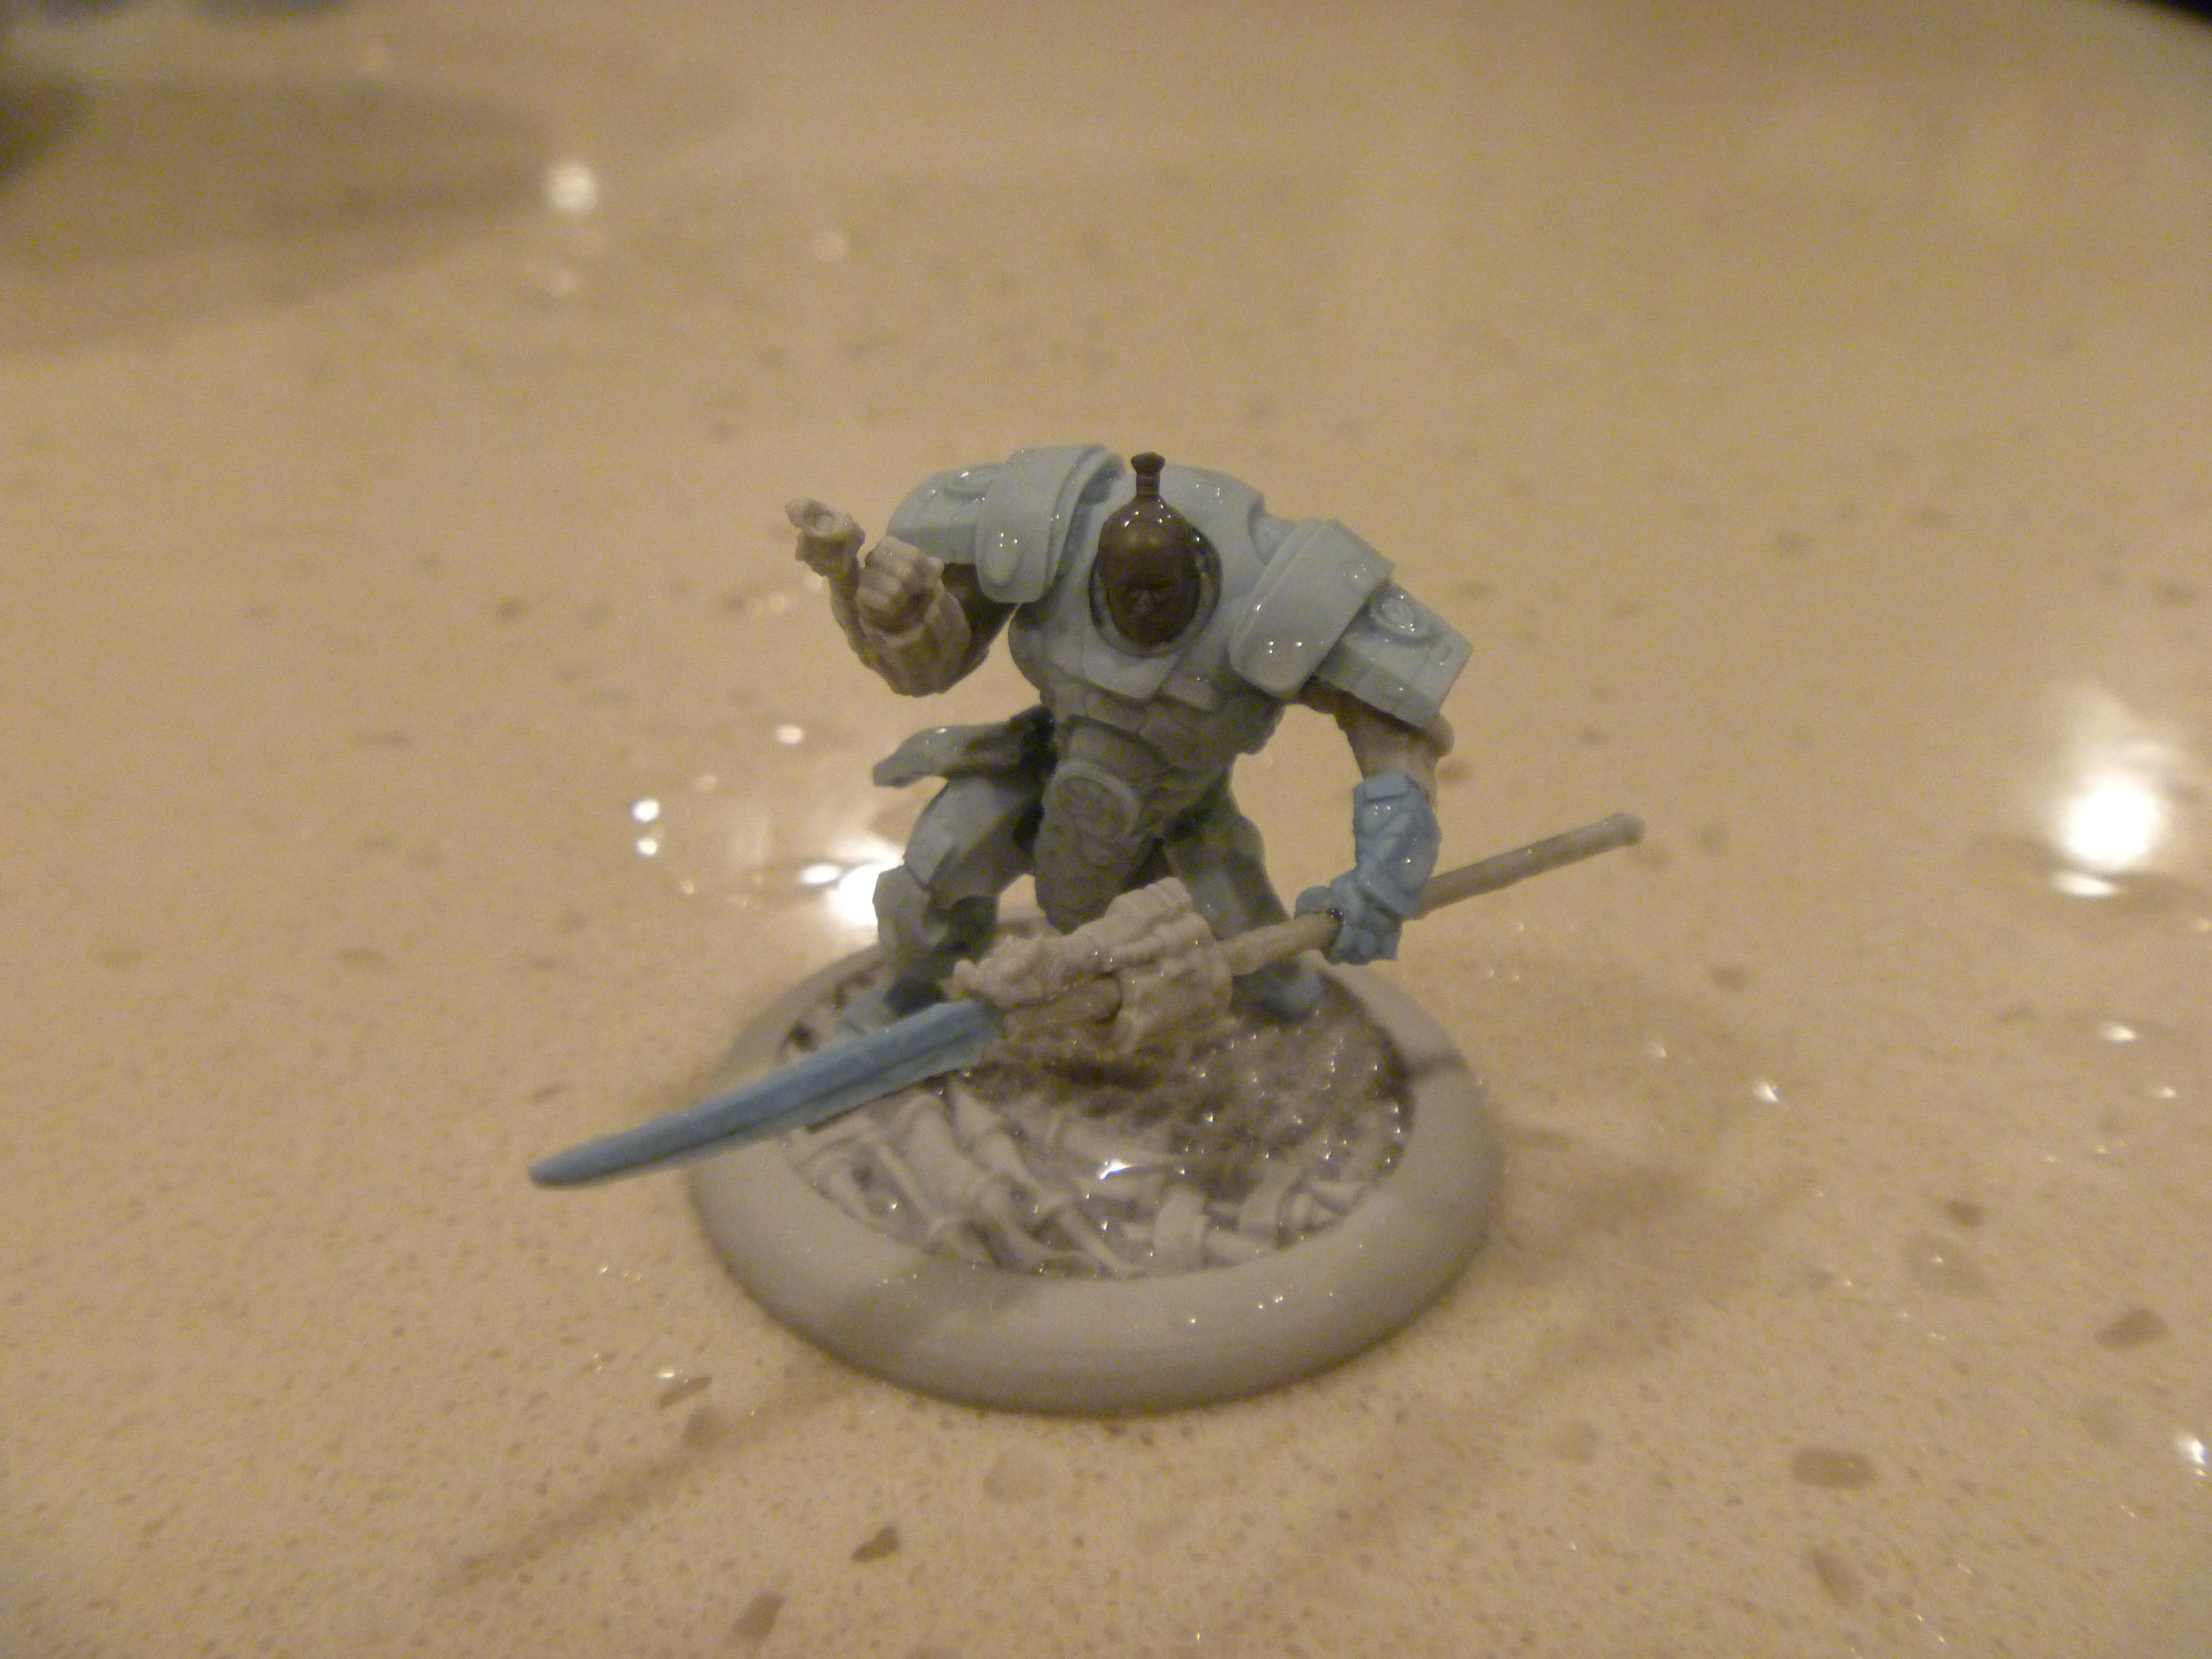
The finished re-pose.
This article is an abridged version of one that appeared in Cartel Tactical Centre magazine, issue #2. Have a look at the CTC Magazine archives here, or get a hold of their latest issue here. Also check out their Facebook Page.
Have you used hot water bending techniques? How do miniatures by other manufacturers hold up under this sort of treatment?

