Warzone – Target: Dropzone (Tactics Workshop)

Rapid Deployment can be either your bane or a boon… but how to use it properly?
Target: Dropzone
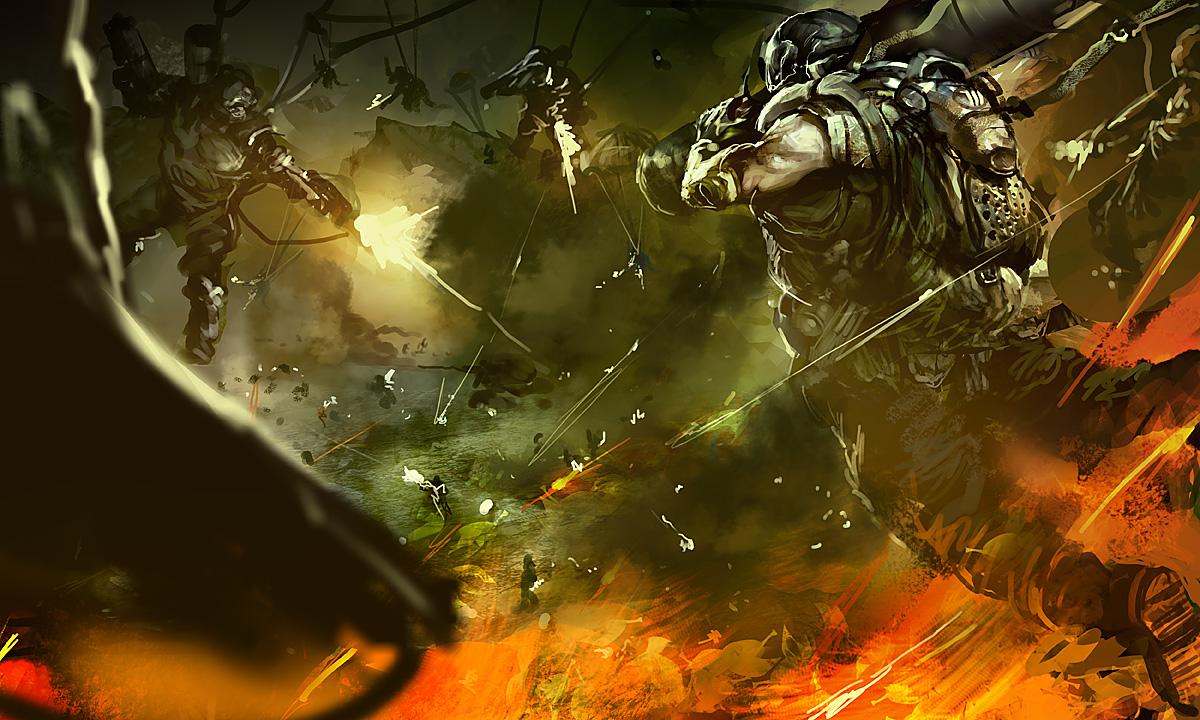
The ability to appear anywhere on the battlefield and attack targets of opportunity has been so capable that the suicide Rapid Deployment run at the enemy warlord seemed almost a default tactic. However, with the changes brought by v1.3 to the RD rules, it’s worth re-examining how you can use this powerful tool to best effect… and it turns out there’s a massive variety of ways to use it.
In this article, we will look at a range of methods that you can use to bring out the best in your Rapid Deployment troops. Specifically, we will explore the following:
- Combat Deployment
- Seize and Hold actions
- Foiling and Disruption tactics
- Anti-Rapid Deployment actions
We heard your library book is late…
Prepare to Drop!
Before we look at the tactics, it’s worth looking at the tools we’re working with. Rapid Deployment isn’t an exact science, and the use of it can be disruptive or even fatal for your RD troops. For example, there’s a 5% chance that your super-expensive RD unit with all the shiny toys under the sun might never even make it to the battlefield… and that’s even worse if it happens to your warlord. For some players, the risk is too much for them to allow their precious unit to RD at all! This is a valid point to note when developing RD units- do you go with multiple small units, so that losses aren’t crippling but the likelihood of someone rolling that dreaded 20 increases? Or do you put all your eggs in one basket like making a squad of three Vulkans that drop together and wreak unimaginable carnage in a single activation?
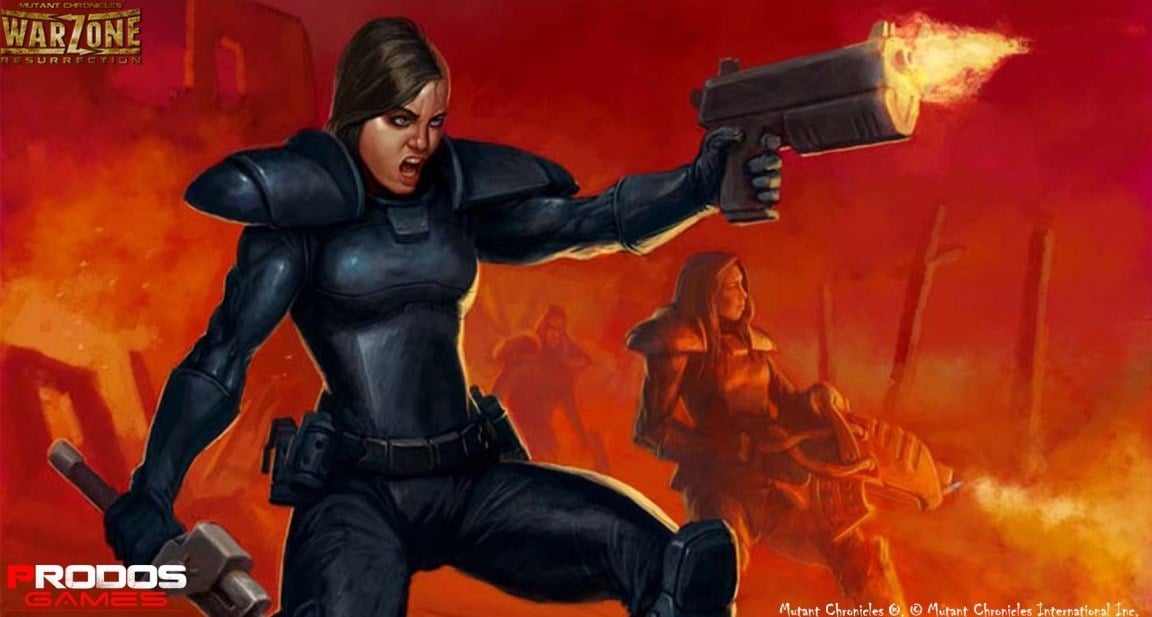
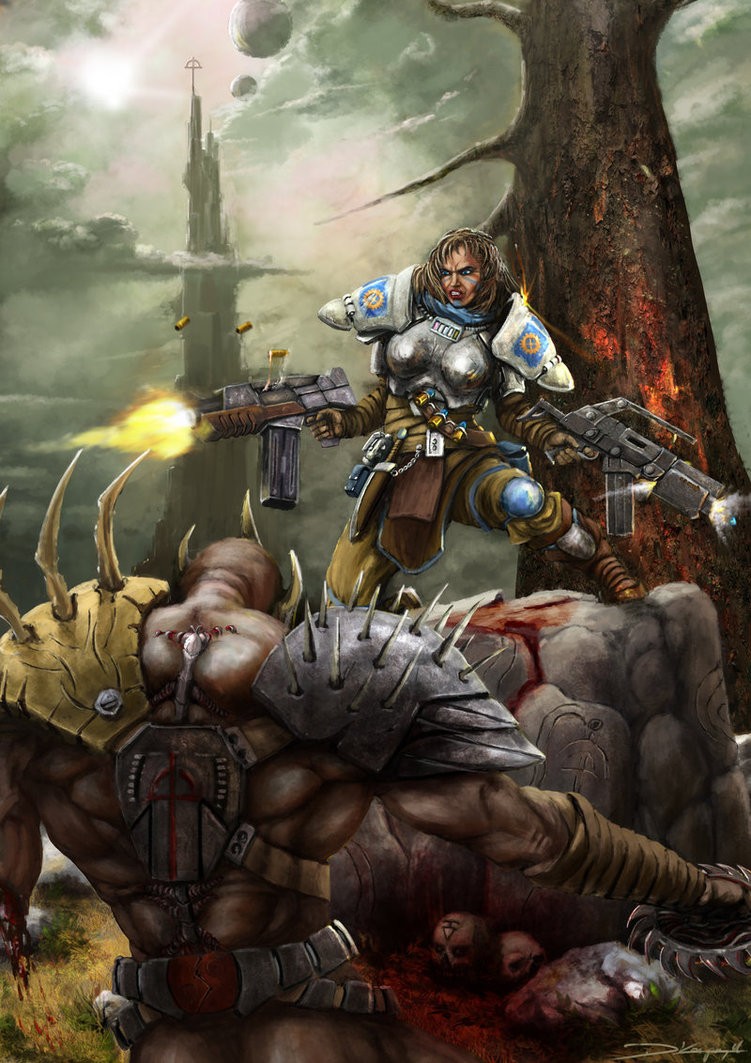
For the most part, units that RD are assault units. Etoiles Mortant, Martian Banshees, Valkyries, Golden Lions… the list goes on. Some factions (Bauhaus and Capitol) can allow a variety of units to RD through special rules, and there are some RD units that mix assault with potent firepower (Tiger Dragons with upgrades, Scorpions, Blood Berets with McBride). This might make you think that RD is all about getting in close and personal, but don’t be deceived!

Hot LZ! Hot LZ!
Ahh, the Combat Drop. It has often been what players instinctively reach for when choosing an RD unit, and it would be remiss of us to leave out an examination of the tactic here. While it sounds straightforward, even where direct action is the aim, there are a range of methods to employ.
The first of these I’ll call the Suicide Puker. It’s where a unit with a great template weapon has the ability to drop on the enemy while they’re still packed in close and cause as much havoc as possible. I call it the Suicide Puker because the perfect expression of it is a squad of Etoiles Mortants dropping in just to get their Ghenna Puker in the perfect spot to wipe out a whole squad, before the Etoiles, in turn, are killed. It’s a perfect salute to both fluff and rules.
To make this tactic work, you’ll need both a precise drop and the appropriate weapon. It’s best to employ it immediately on deployment, when the enemy may still packed in close together- particularly if the deployment mission uses quarters deployment and/or the forces are large enough that they need to squeeze in. When you drop, the Squad commander needs to arrive in a position where the 3”deployment bubble allows the Puker to be put in the right place immediately. The casualties that this weapon reaps mean that the rest of the squad are mostly window dressing, but they can also be useful for picking up the Puker for a second round (assuming they survive to the next turn!). However, by employing them in this way you should accept that they are already dead and can’t factor into your plans in later turns.
The second tactic I like to call the Shoot and Lock. In this version, you drop the squad with the first couple of soldiers firing their weapons at key targets before the remainder charge with the sole intent of locking the enemy in close combat. Again, they’re only there to disrupt the enemy and cause casualties, and in this version you’re not aiming to burn all your resource cards- just get into CCWR and hold the enemy to it.
There are a couple of ways that you can employ this tactic. Choose either before the enemy units activate, in which case the drop is there to protect other squads (like engaging the enemy rocket launcher to save your vehicles), or after most of the enemy have activated, in which case you’re aiming to survive and attack in CC in the next turn (just remember to leave one other squad to activate after your RD troops so you’re not delaying them next turn!). Tiger Dragons and Scorpions are good for this tactic (e.g. TTB to allow your single Scorpion to deploy, fire and then engage), but it can also be used in concert with the Suicide Puker tactic above- the Puker is your shooting, and the remaining Mortants are then charging into CC to prevent the enemy shooting back.
The third combat tactic is the Tie-up for follow-up. Here, you’re pinning down a fast-moving squad so that others can close up and kill it- think of dropping your Valkyries into combat with Armoured Chasseurs or Purple Sharks so that a fist-enabled Vulkan can charge across the battlefield to deal with them. You can also find and hold hard-hitting targets like Meka, Necrobeasts and Exterminateurs before they can get close enough to your lines to pick their own targets.
The perfect troops for this sort of action are those with great survivability- Valkyries in CCWR are a great example. Bolstered with a protective Art power, they can reliably hold up even the strongest targets.
Take it or Leave it
Rapid Deployment drops are also great ways to take and hold positions. The obvious ones are objectives, and there are some very well equipped units able to do this- Tiger Dragons, Capitol Heavy Infantry with the right Tactical Training Advantages or Juggernauts with the appropriate Doctrines. The best choices will have a great offensive output from weapons fire or psychic powers, solid defence and threat against both vehicles and troops. However, if you’re looking to use this tactic, most of those roles are done just as well by the majority of units with Infiltrate… so here’s some other uses for them.
Using a Mousetrap on an objective is great fun. Don’t drop onto the objective straight away- wait for them to run a squad into the open and well in advance of support, and then take the objective. You might need to hold your RD squad off the table for one or two turns in order to make it happen, but the results can be worth it.
Of course, objectives in the centre of the table aren’t always the focus of the mission. For Supply Run missions or any of the missions where a player must place forces into a particular zone, you can always engage in a Pincer Drop. For example, you can wait until the enemy is engaged with your forces in the centreline of the table, and one of his squads starts escaping with a Supply Run objective. You can then RD to kill the squad carrying the objective, or even just drop between their forces and their deployment zone, forcing them to either confront you or go around. For a mission like FUBAR, the delay that this tactic imposes on your enemy will allow you to get the rest of your squads to safety while they fight your RD troops.
The Perfect Foil
The ability to arrive anywhere is a great weapon to employ against enemy actions. If you can identify what they are up to, a well-placed RD arrival can throw all of the enemy’s plans into chaos even before a shot has been fired.
One way to do this is the Concealed Weapon tactic. You don’t necessarily need to attack the enemy on the turn you arrive- instead, RD in a position that’s behind cover from and out of sight to your enemy, but still close enough to threaten them. For example, you can drop those Praetorian Stalkers on the other side of a large wall where they can quickly climb over and use their Hindenburg Incinerators on their foes- they will be forced to try and deal with the threat or risk having a unit like that loose in their backline. For a unit that was about to fire on your troops to devastating effect (like Cybertronic Chasseurs), that disruption to their plans can be a pivotal moment. This sort of tactic is ideal for Airborne Cavalry, allowing them to fire their Hail Mary attack before dropping into safety.
Of course, you can use foiling tactics more aggressively. If you’re on the advance, you can drop some of your better shooting units into positions to provide Supporting Fire as you approach an objective. You can also use RD to add assault units to an advance that didn’t seem that strong at the start of the turn. When you drop these troops, consider turning to burn a couple of cards to put one or two of them onto sentry, so that the enemy thinks twice about attacking them.
Finally, even if they don’t fire, a great place to put your RD units is the opposite side of the enemy in a Bracketing manoeuvre. If they’re equipped with shields like Sacred Warriors or are capable vehicle squad, their rear arc is vulnerable to weapons fire and/or assault. If you put your RD troops on one side and your regular troops on the other, the enemy will have to make a decision to choose one threat or the other to face.

Getting the Drop on Them
Of course, it’s not all about the RD troops doing their thing. There are plenty of ways to counter them as well, depending on what you have in the toolbox. For one, you can spread your troops out to their fullest extent- this covers more ground and can occupy those critical open terrain areas that the RD troops need to drop into combat. It also reduces the number of casualties that you will take from template weapons, and through canny placement you can ensure that the RD troops won’t get to your squad leaders, special weapons or characters.
The appropriate use of facings can also be helpful. If the enemy are aiming to drop and destroy you in close combat or stand off as a threat, keeping a few of your troops facing rearwards as you advance can provide an effective counter. This is especially the case for units with a stronger front facing like Sacred Warriors.
Of course, the best defence against attacking RD troops is Sentry. The versatility of the 1AP available to troops on Sentry gives a range of options for dealing with the enemy. Do you spray the enemy with your firepower? Do you engage them so that they cannot shoot your troops? Do you use a 0AP attack like a Ki power to do both?
Finally, it is worth noting that the best weapon to use against a tank is a tank, and the best weapon to counter artillery is counterbattery fire from your own guns. In the same way, holding a RD unit in delay until the enemy drops theirs means that you can immediately and effectively counter their unit (albeit after they’ve done their damage). If they see that coming and choose to hold off their own RD unit, that psychological tactic may be just as effective, especially if your unit is cheaper.
Green Light, Green Light, Go Go Go!
So there are a double handful of ways to use and counter RD units. Of course, this is not an exhaustive list… the flexibility to deploy anywhere is something that may present more opportunities with more unique effects than can be covered in these pages. Get out there and drop on target!
This article first appeared in Cartel Tactical Centre magazine, issue #4. Have a look at the CTC Magazine archives here, or get a hold of their latest issue here. Also check out their Facebook Page.
What’s your favourite Rapid Deployment tactic? What squad(s) do you use to pull it off? What’s the best outcome you’ve had from Rapid Deployment on the battlefield?

