Star Wars ARMADA: 5 Rules You Probably Missed


![]()
Star Wars ARMADA is a phenomenal game. Here’s 5 rules a lot of Admirals miss when they take to the stars!
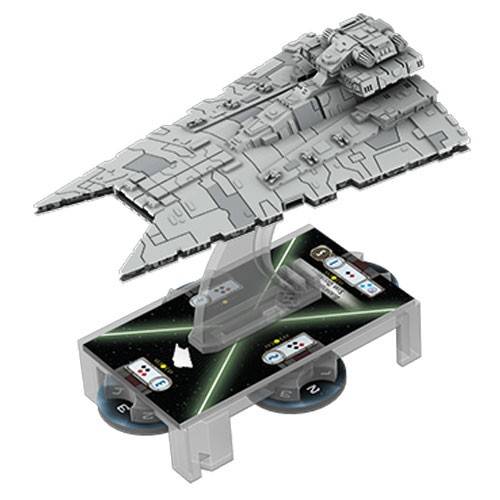
Watch Out for Collisions. When determining if capital ships overlap, the cardboard shield dials and the plastic parts of the base that frame them COUNT as part of your ship for purposes of overlapping. Watch out with those extra tight formations.
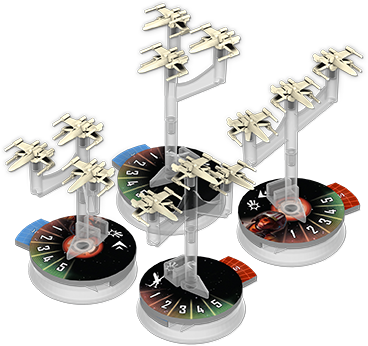
Fighters are closer than you think! When you setup for a game, squadrons can be placed OUTSIDE the deployment zones. They simply must be placed within distance 1-2 of a friendly ship. So if you put your ships right up on the deployment zone line, you can place the squadrons up in front of them, and save them some movement before they hit the bad guys. Just the thing to help your dog slow squadrons out. I’m looking at you B-wings!
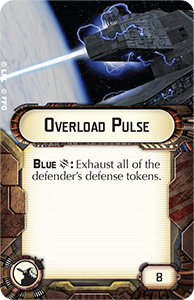
Choose Critical Effects Wisely! Remember the big rule for critical effects that you can ONLY RESOLVE ONE per attack. So for example if you attacked a ship and got in some critical damage dice, and you have an upgrade card that resolves on a critical effect (say an Ion Overload Pulse), you have to CHOOSE WHICH effect your attack resolves. Do you want the upgrade critical effect card to activate, or do you want to inflict that face up card? You can’t have both, and one can only activate the “standard critical effect” when the ship takes actual damage (that’s why the new Assault Proton Torpedoes are looking good to us)!
The Bomber Rule. It seems everyone and thier brother resolves the Bomber squadron rule differently. Ok here’s the deal. Squadrons normally CANNOT CAUSE CRITICAL HITS in any capacity, so any critical hit rolls on squadron attack dice count as misses, and additionally do not generate a critical damage effect. The bomber ability grants a squadron the ability to be on par with standard capital ships. So each critical hit roll on your dice causes a single point of damage, and inflicts a critical hit. See, not so hard.

Line of Sight Concerns. Possibly the single most complex part of the ARMADA rules to get your head around is determining if you have Line of Sight (LoS) to various hull zones. Remember you have to meet three criteria to be able to shoot at an enemy hull zone:
Clear LoS: measured from yellow dot to yellow dot on the firing hullzone to the target hullzone (without crossing an intervening target ship hullzone). These yellow dots are ONLY used to determine if the target hullzone is within LoS and for nothing else. NOTE: You can also cross enemy hull zone arc tangents in space, but NOT on the ship card.
Firing Arc: Some portion of the target hullzone must be within the firing arc of the firing hullzone.
Distance: The closest point on the firing ship’s hullzone is measured to the closest point of the target hullzone (without crossing an intervening hullzone).
This pic from FFG shows a good example:

~ Concentrate Forward Firepower! Via Larry Vela and Rob Baer.
