SHOWCASE: Dark Age: Painting Saint Mary Part 1


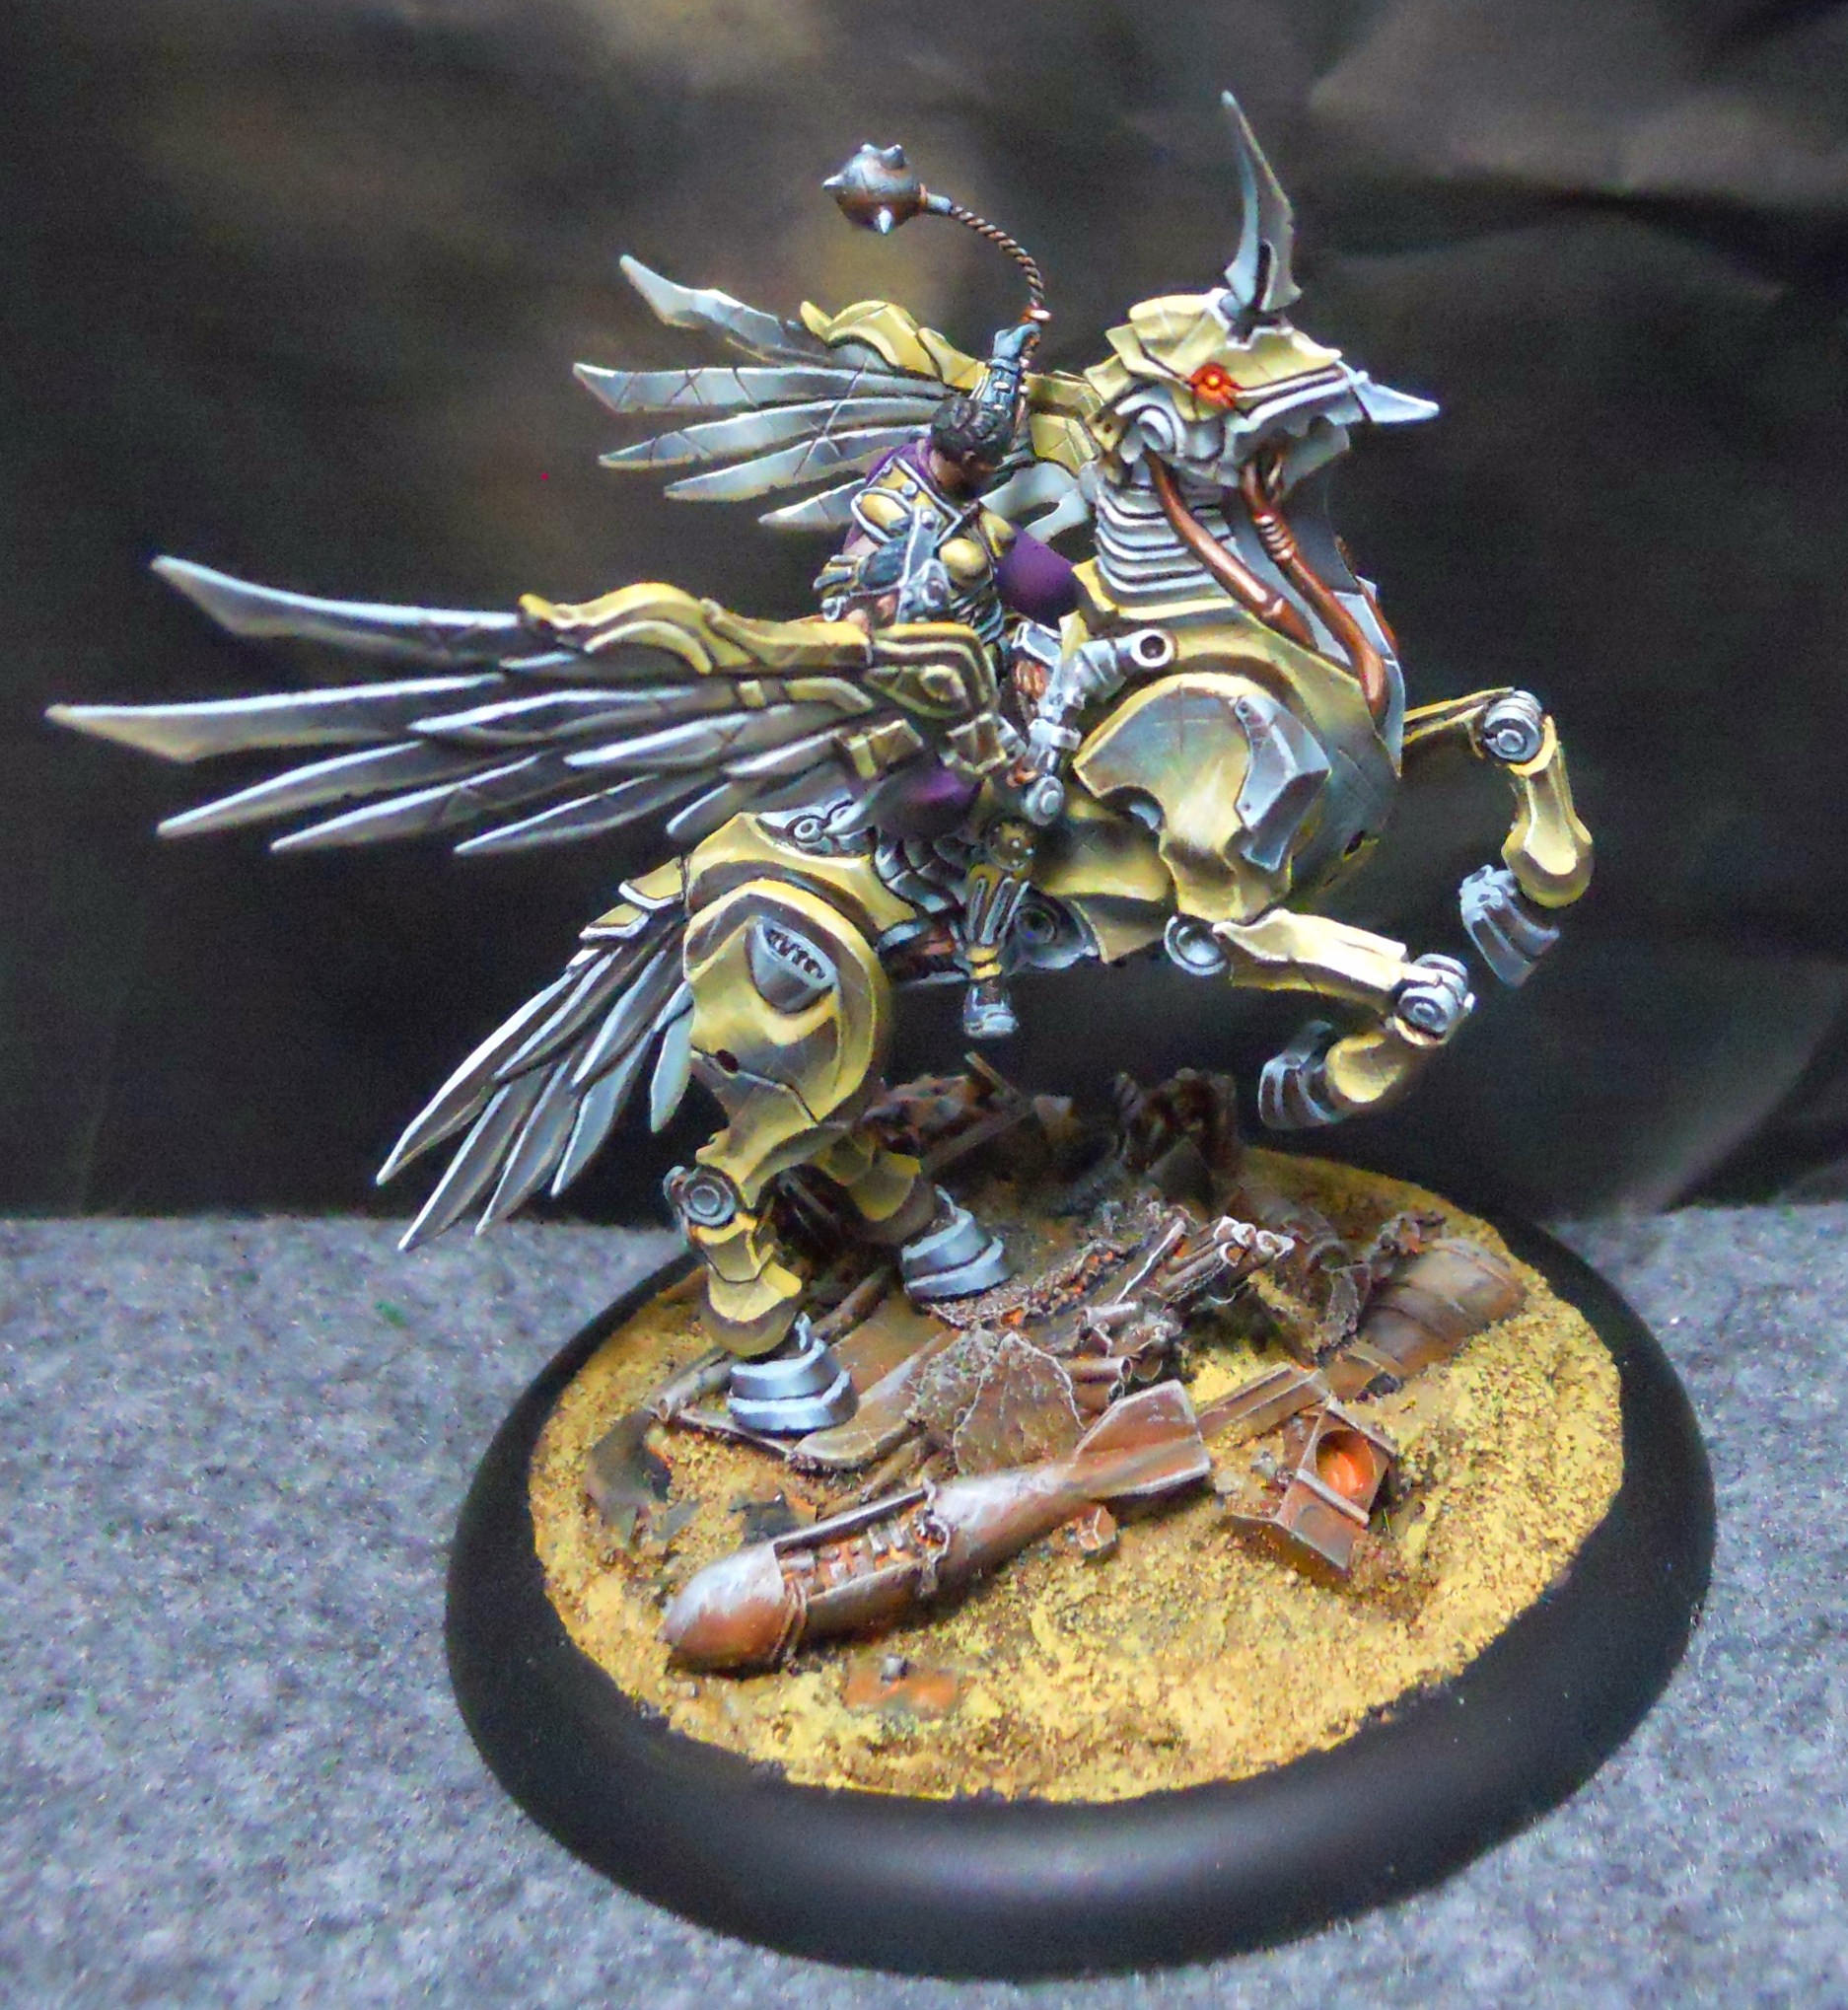
It’s been a few months since I painted Saint Mary, but I saved this article until she finally hit general release.
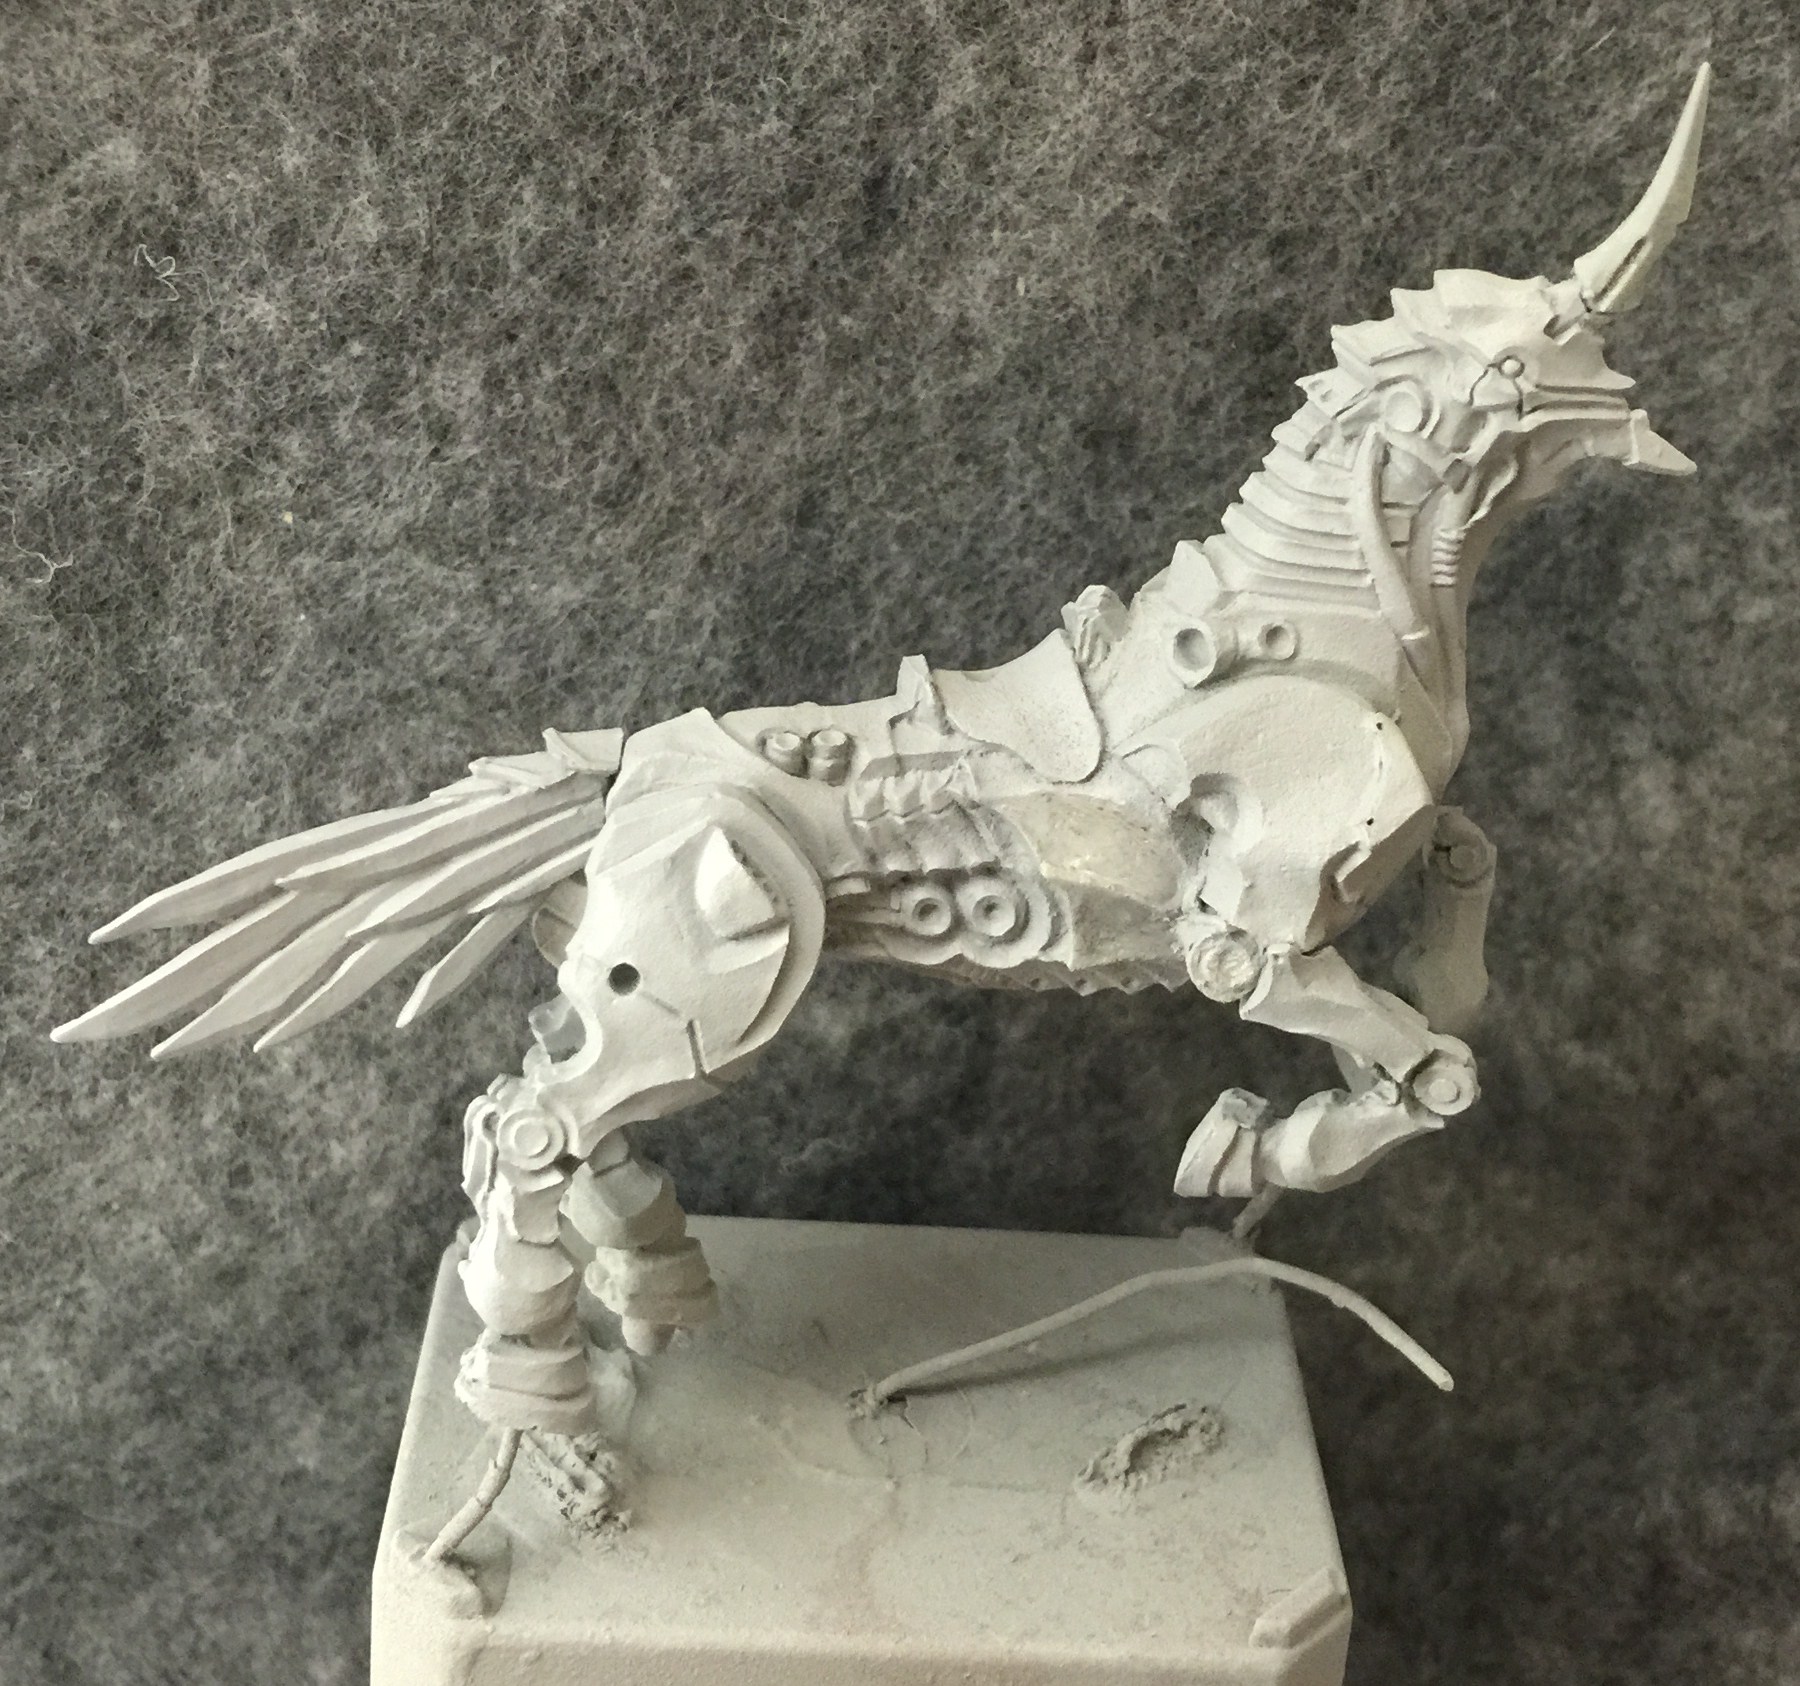
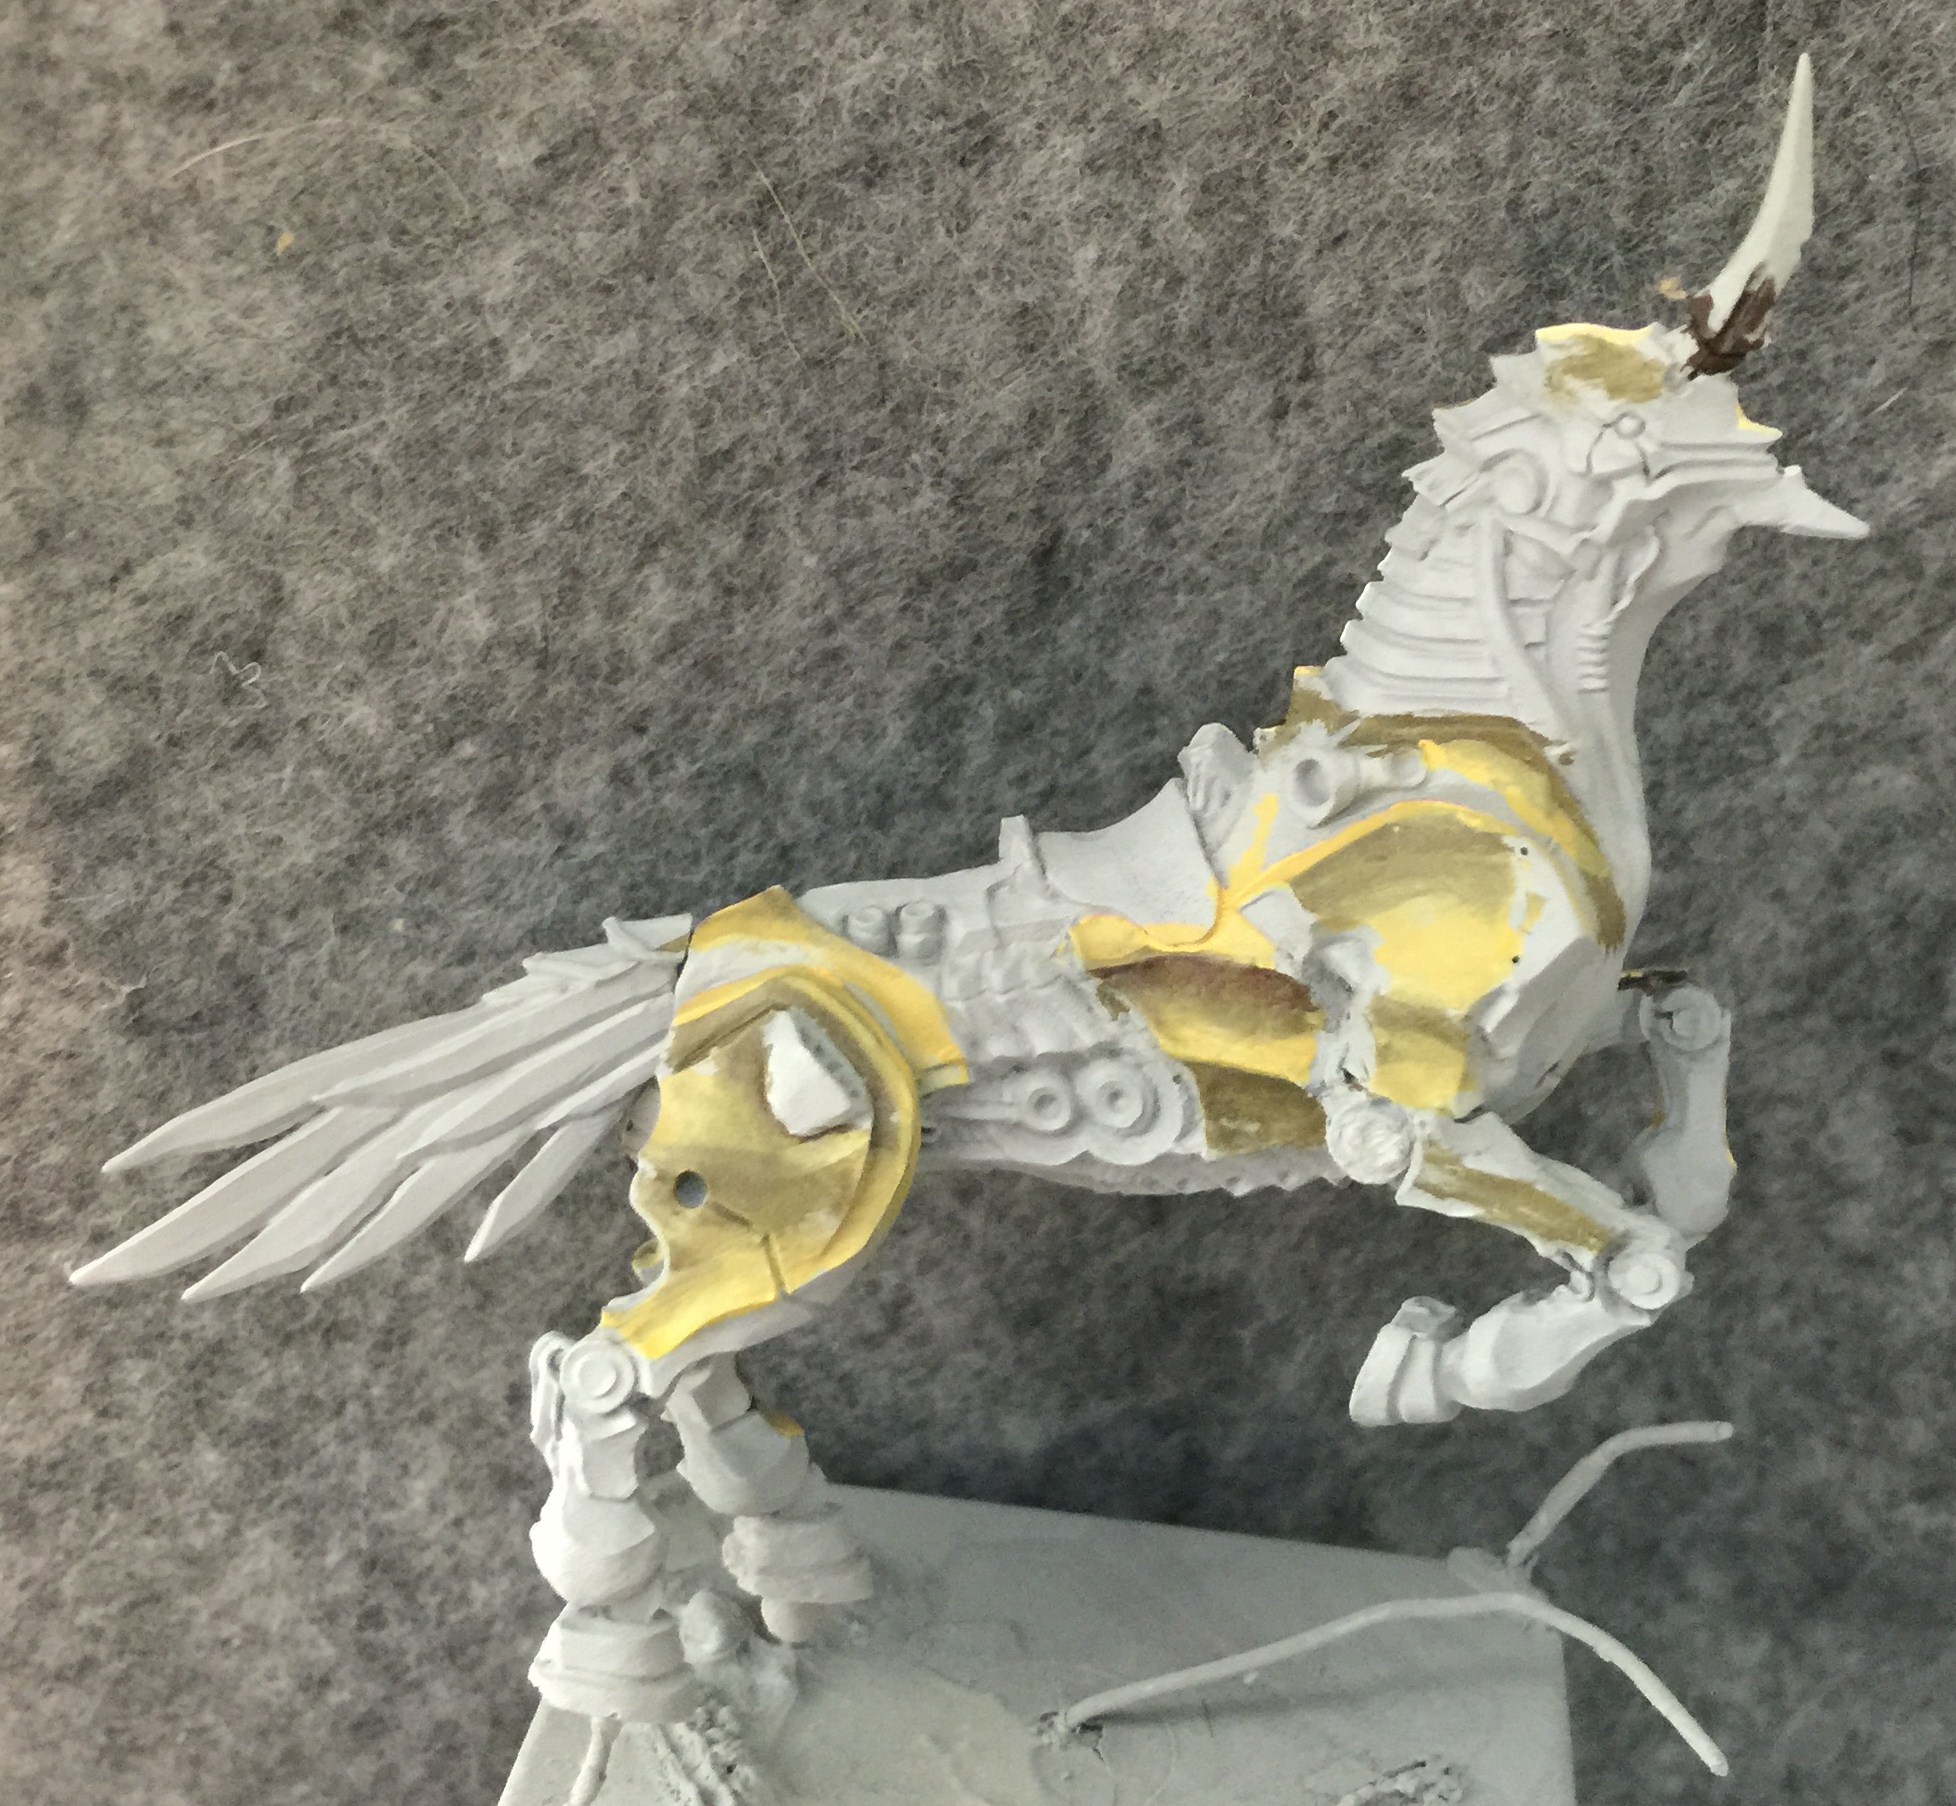
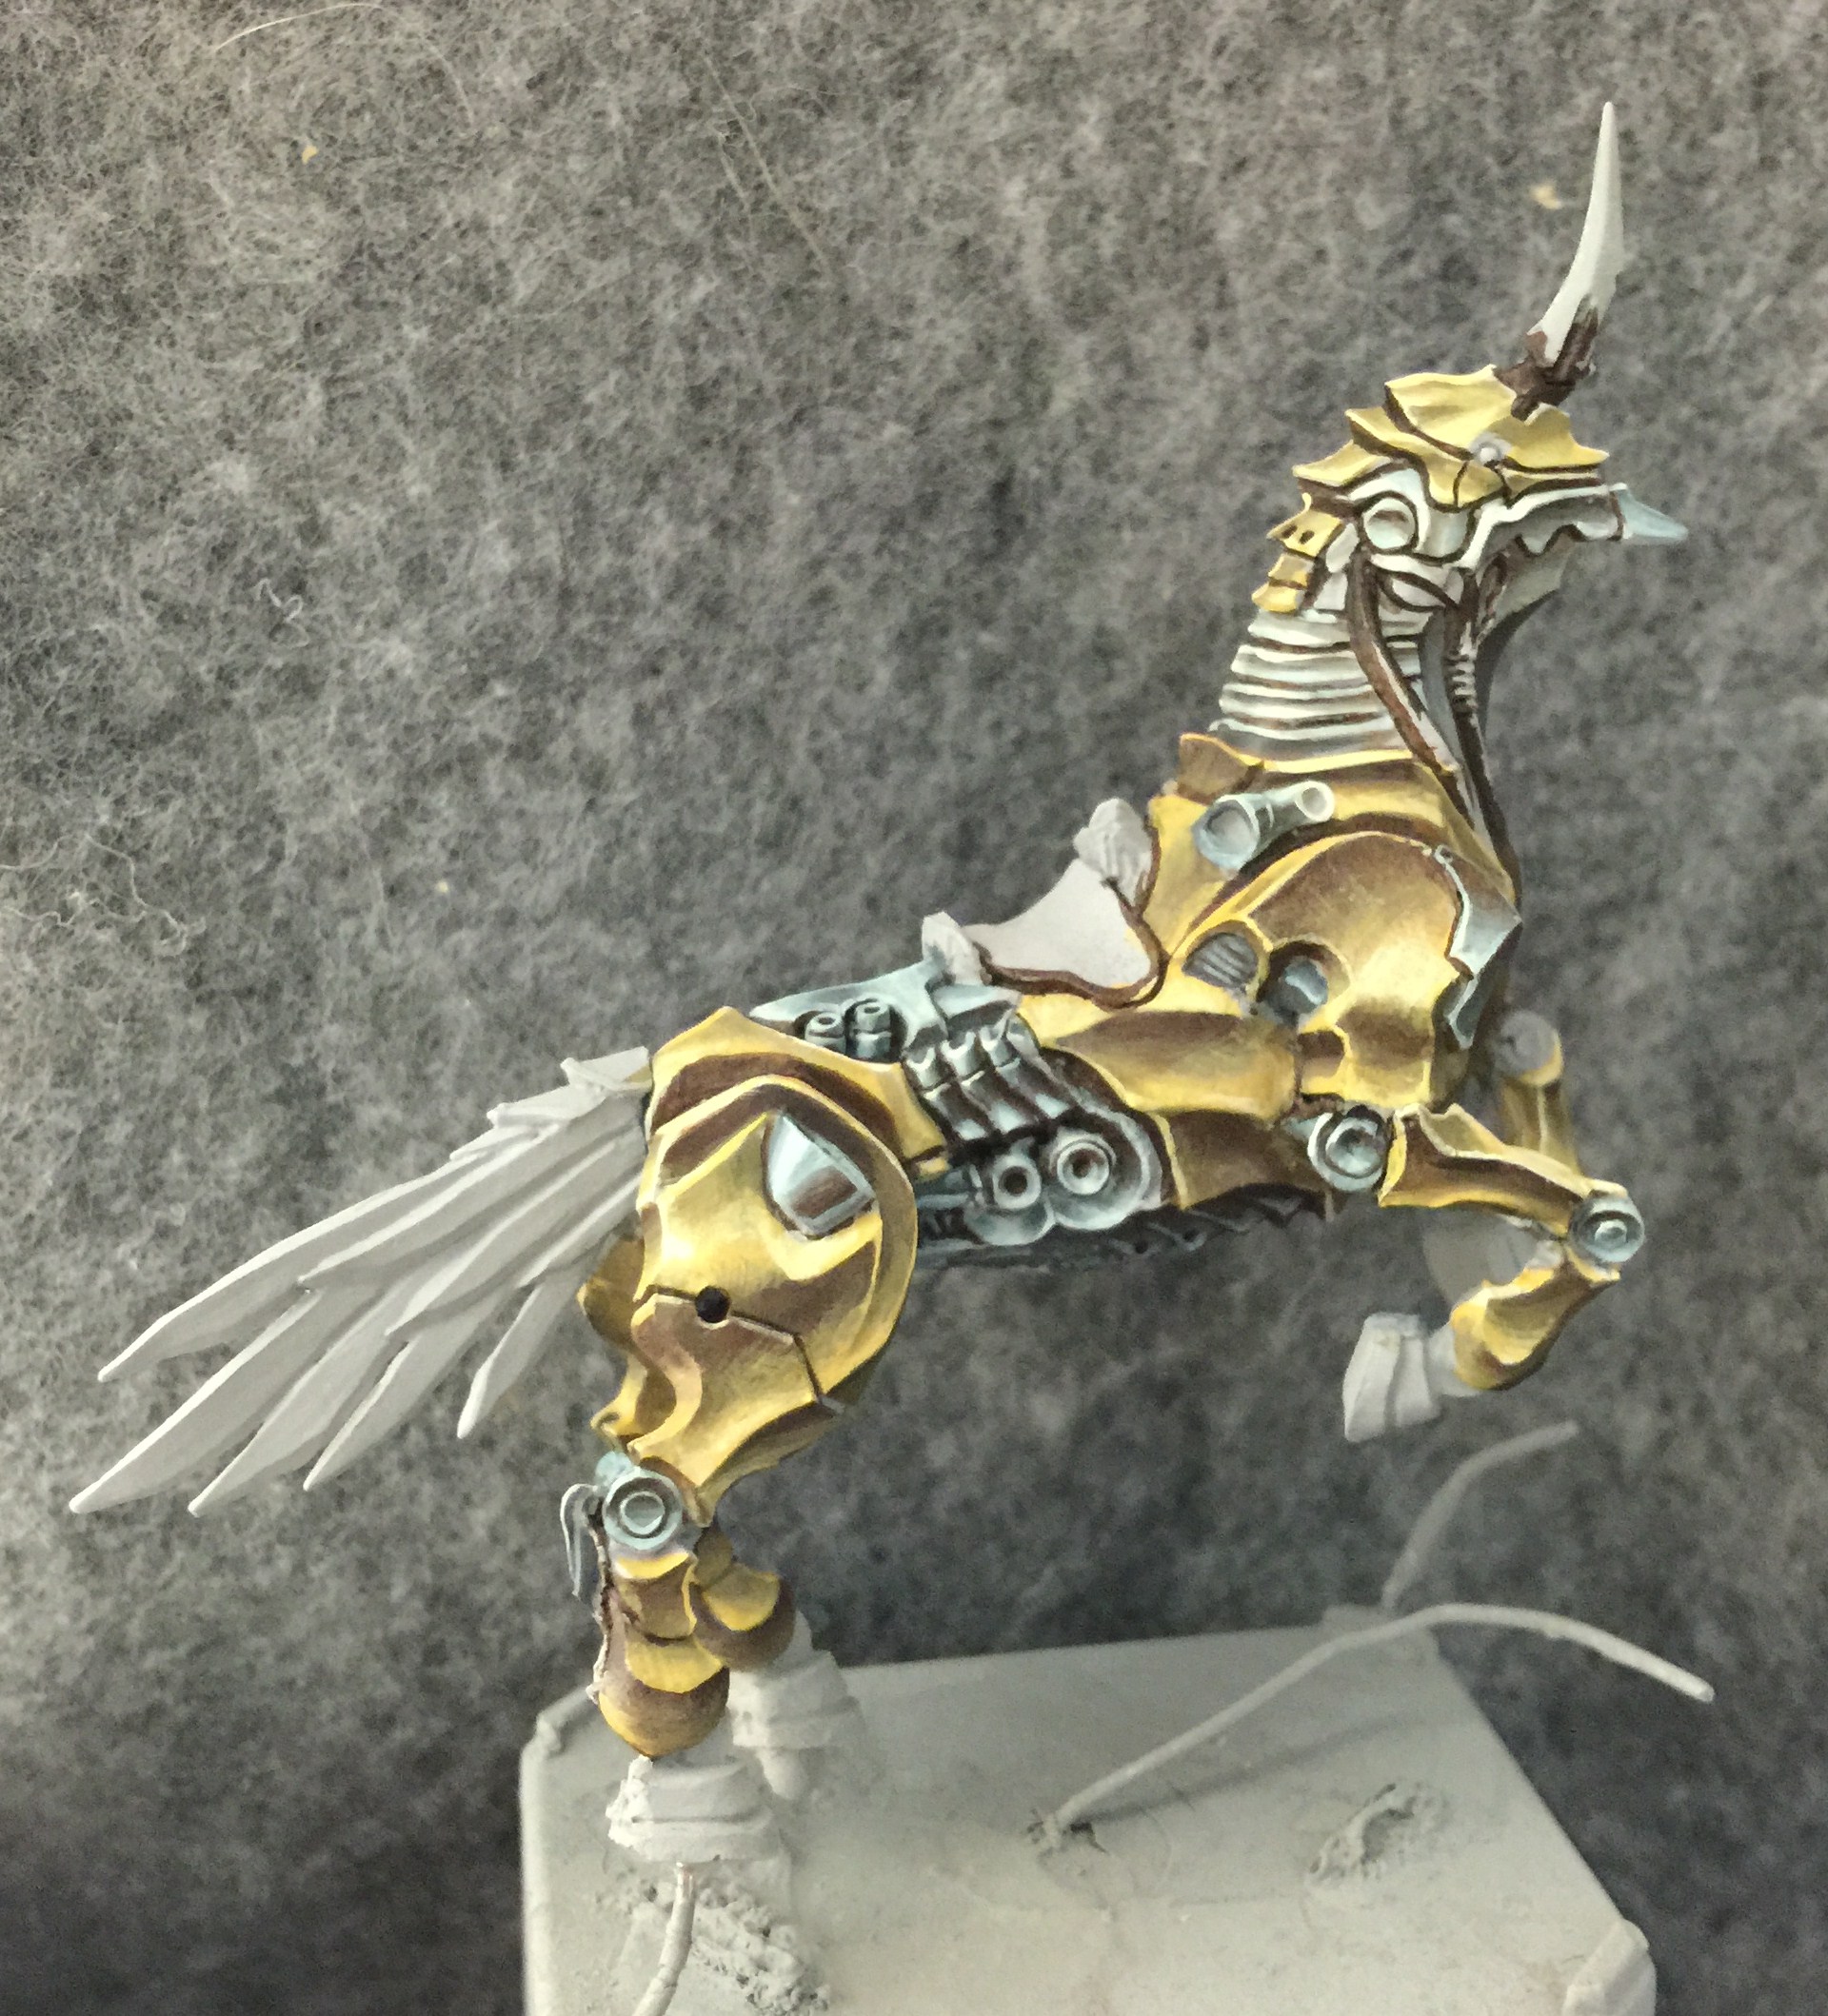
Saint Mary is my first Saint, and the centerpiece of my first Forsaken army. I prime everything with Tamiya light Grey Fine Surface Primer. I noticed a couple bubbles post priming and sealed them with some Zap-a-Gap which is what that kind of shiny area behind the upper front leg is. I probably could have just left it given how distressed the model ended up looking.
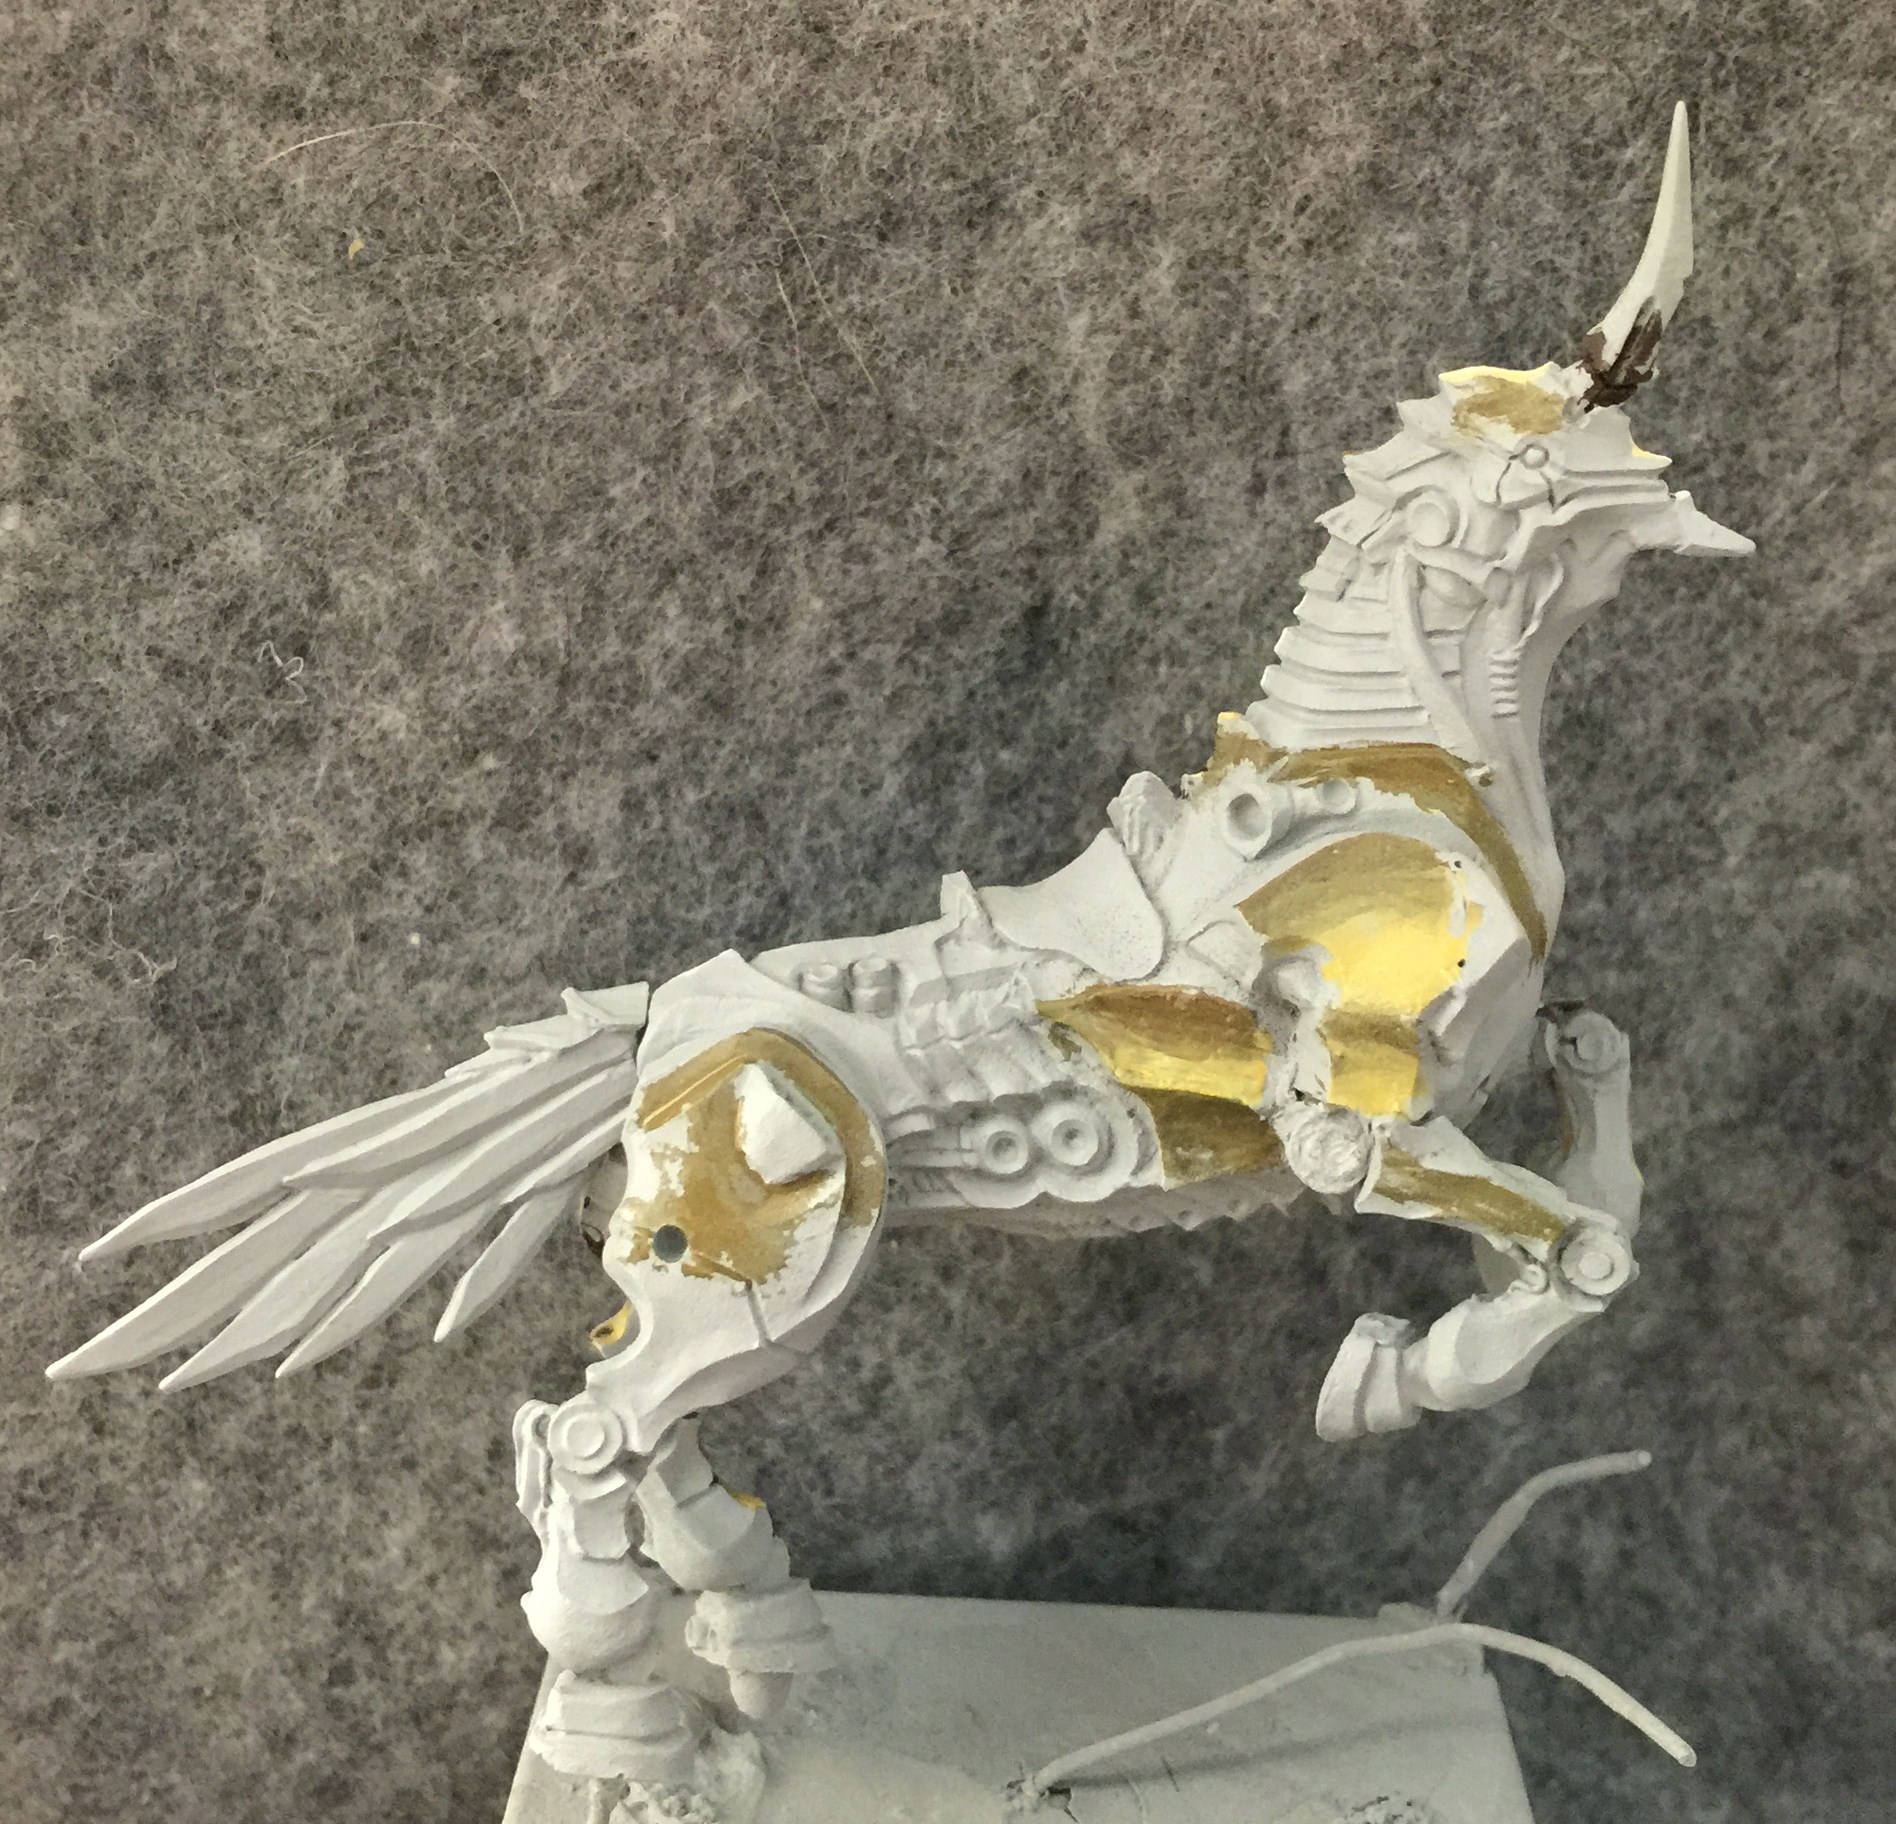
I wanted a kind of gold-ish brass appearance, so I started off with some Moldy Ochre and Thornwood Green. As always with an NMM paint job, finding the right places for the highlights and shading are the trickiest parts. You have to consider how best to approach each side of every piece. Often the best way to get a metallic look is to keep the darks towards the top, and exaggerate the highlights towards the bottom and along ridges and curves. You can see how I’m trying to do that in a lot of places here.
I keep the same plan in mind and spread out across the rest of the body. There’s kind of an overhang on the torso, right behind the front leg. This is the first place I add a darker shade color. This time it’s a warm black: Thamar Black with Bloodstone and some P3 Red Ink mixed in.
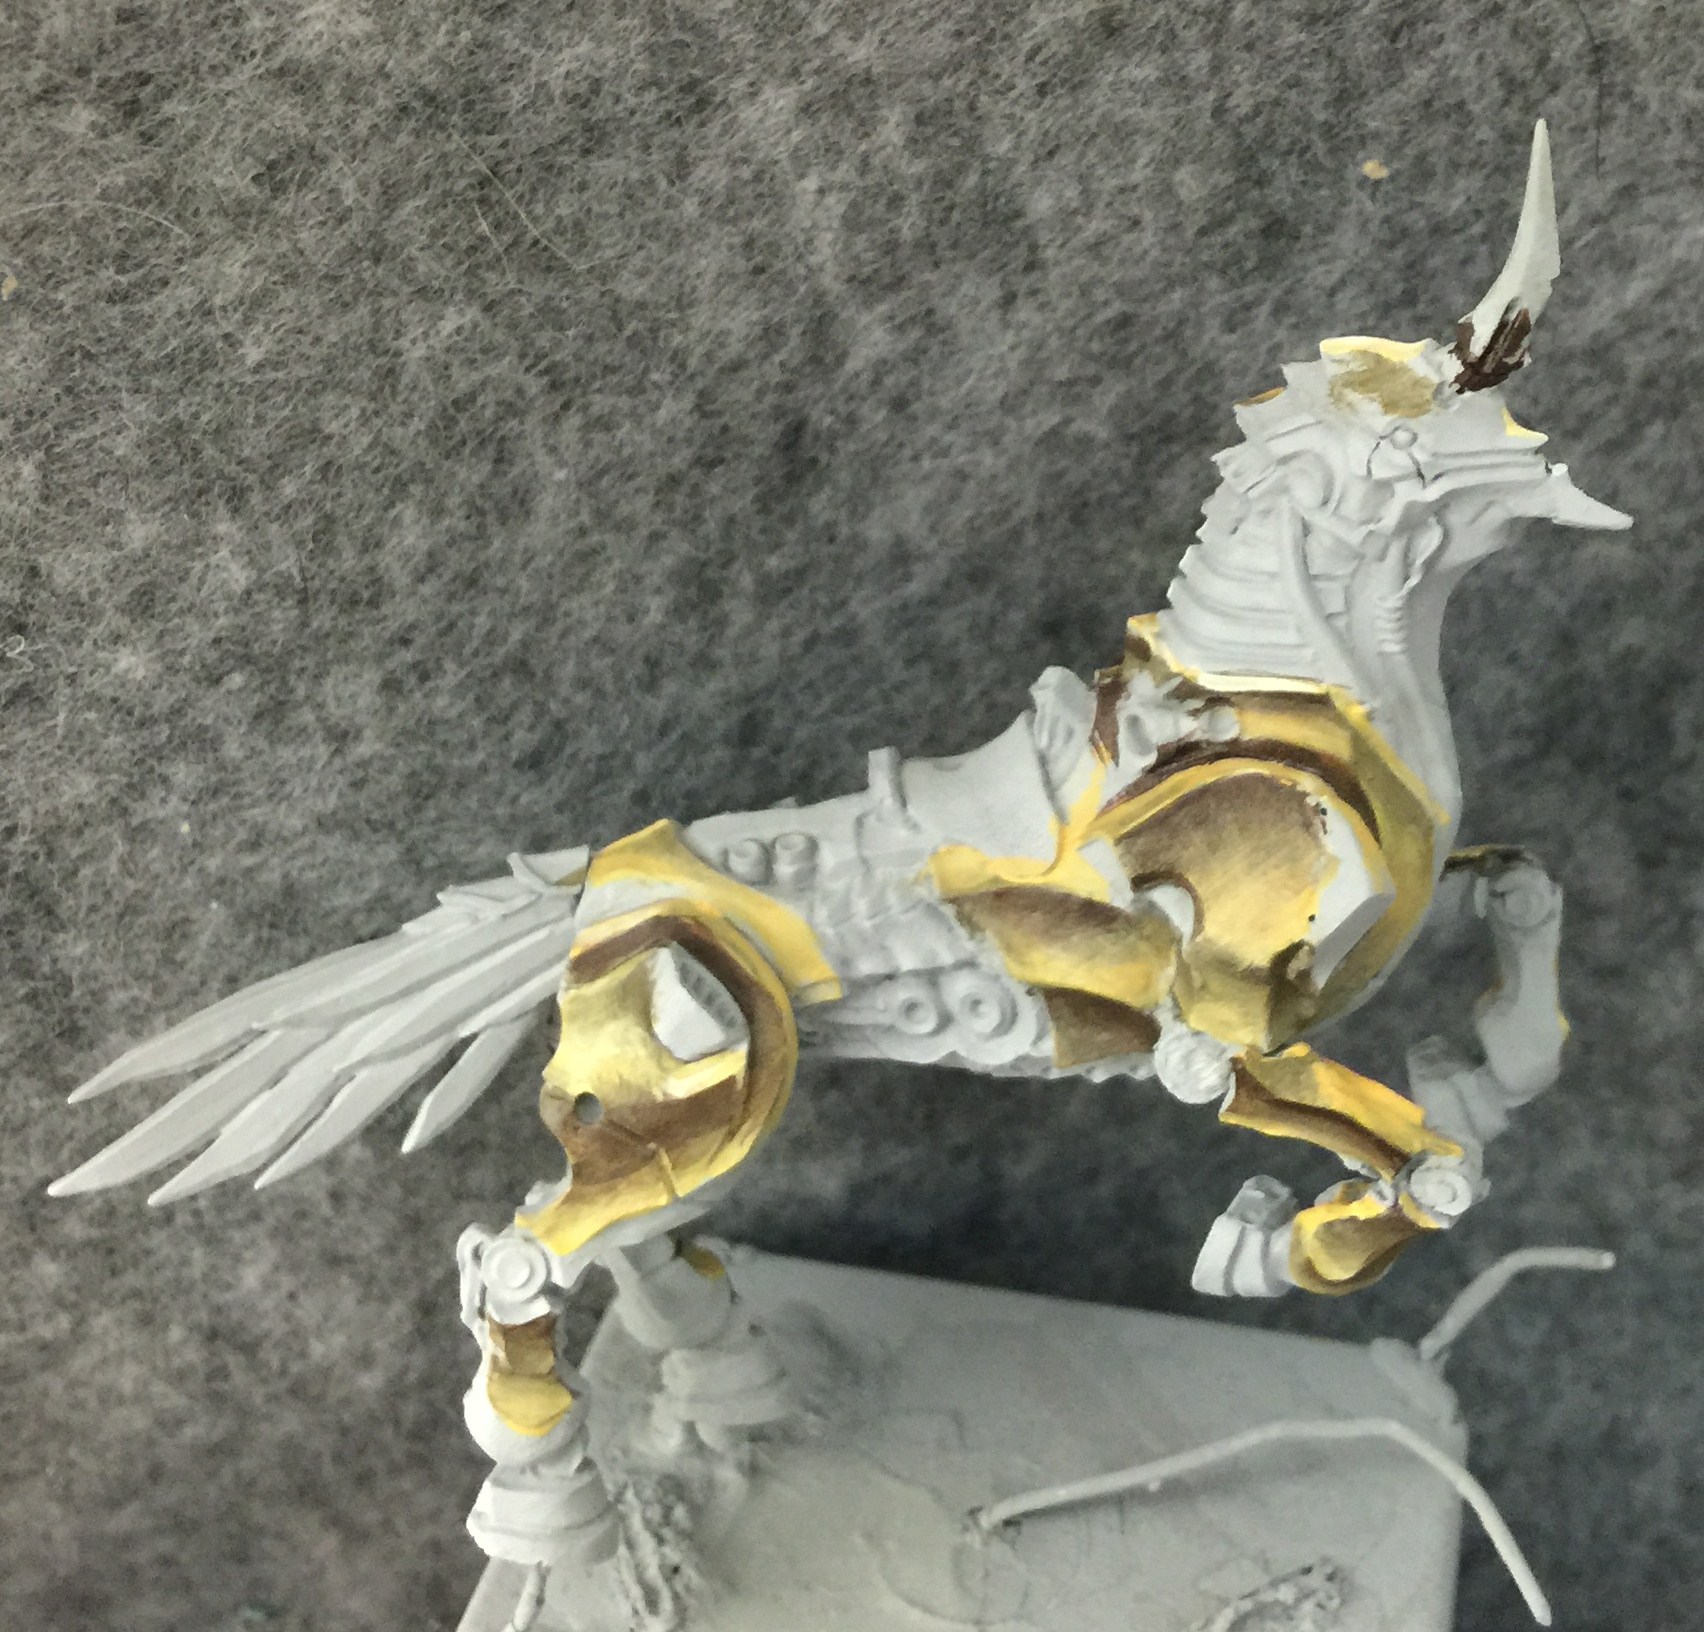
I mix more of that same warm black in in a few more places to up the contrast, while continuing to blend the Moldy Ochre in more evenly with its surroundings. You also may notice I added a bit of distressing with some thin lines of Ochre. This was a bit premature, but since I’m doing so much layering some of it probably ended up showing through in the end.
I also added some stronger highlights in a few areas by blending in some Menoth White Highlight with the Ochre.
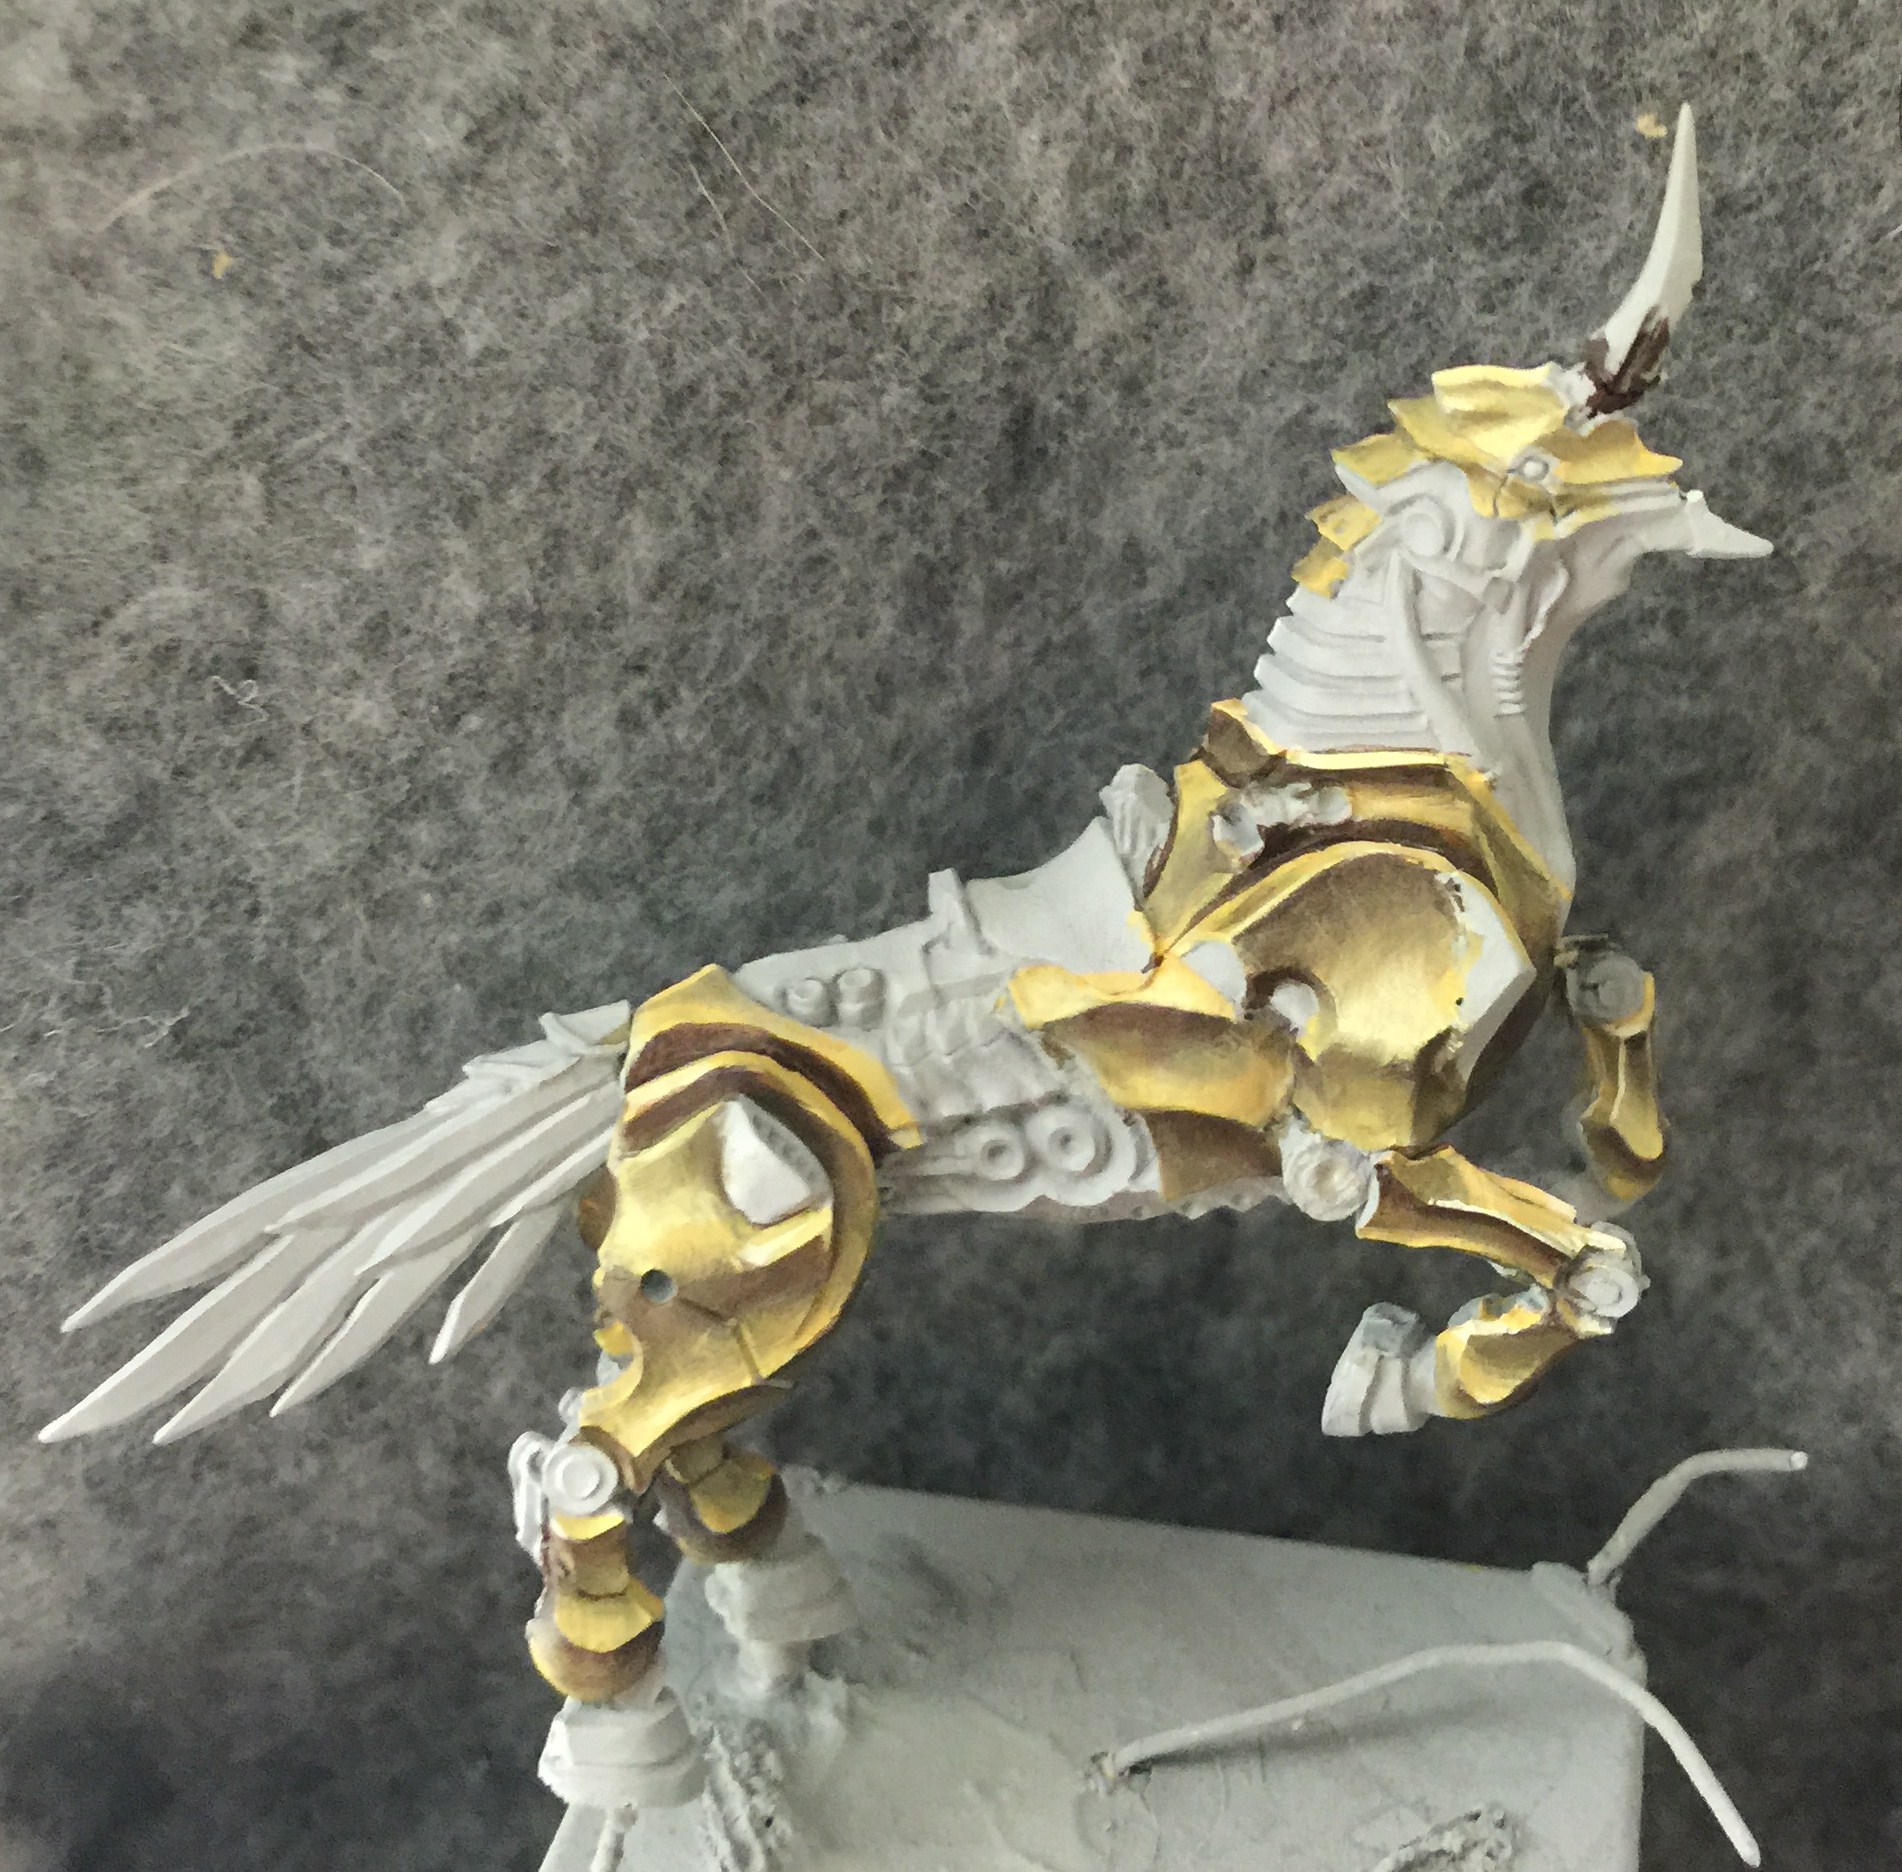
To get a distressed look across every surface, I add the final blends with very thin layers of paint applied with an almost stippling technique. I have to wait until I’ve painted on a good foundation before I can start with this step since it’s all so thin. It doesn’t take as long as you might think since part of making it look distressed is using quick strokes.
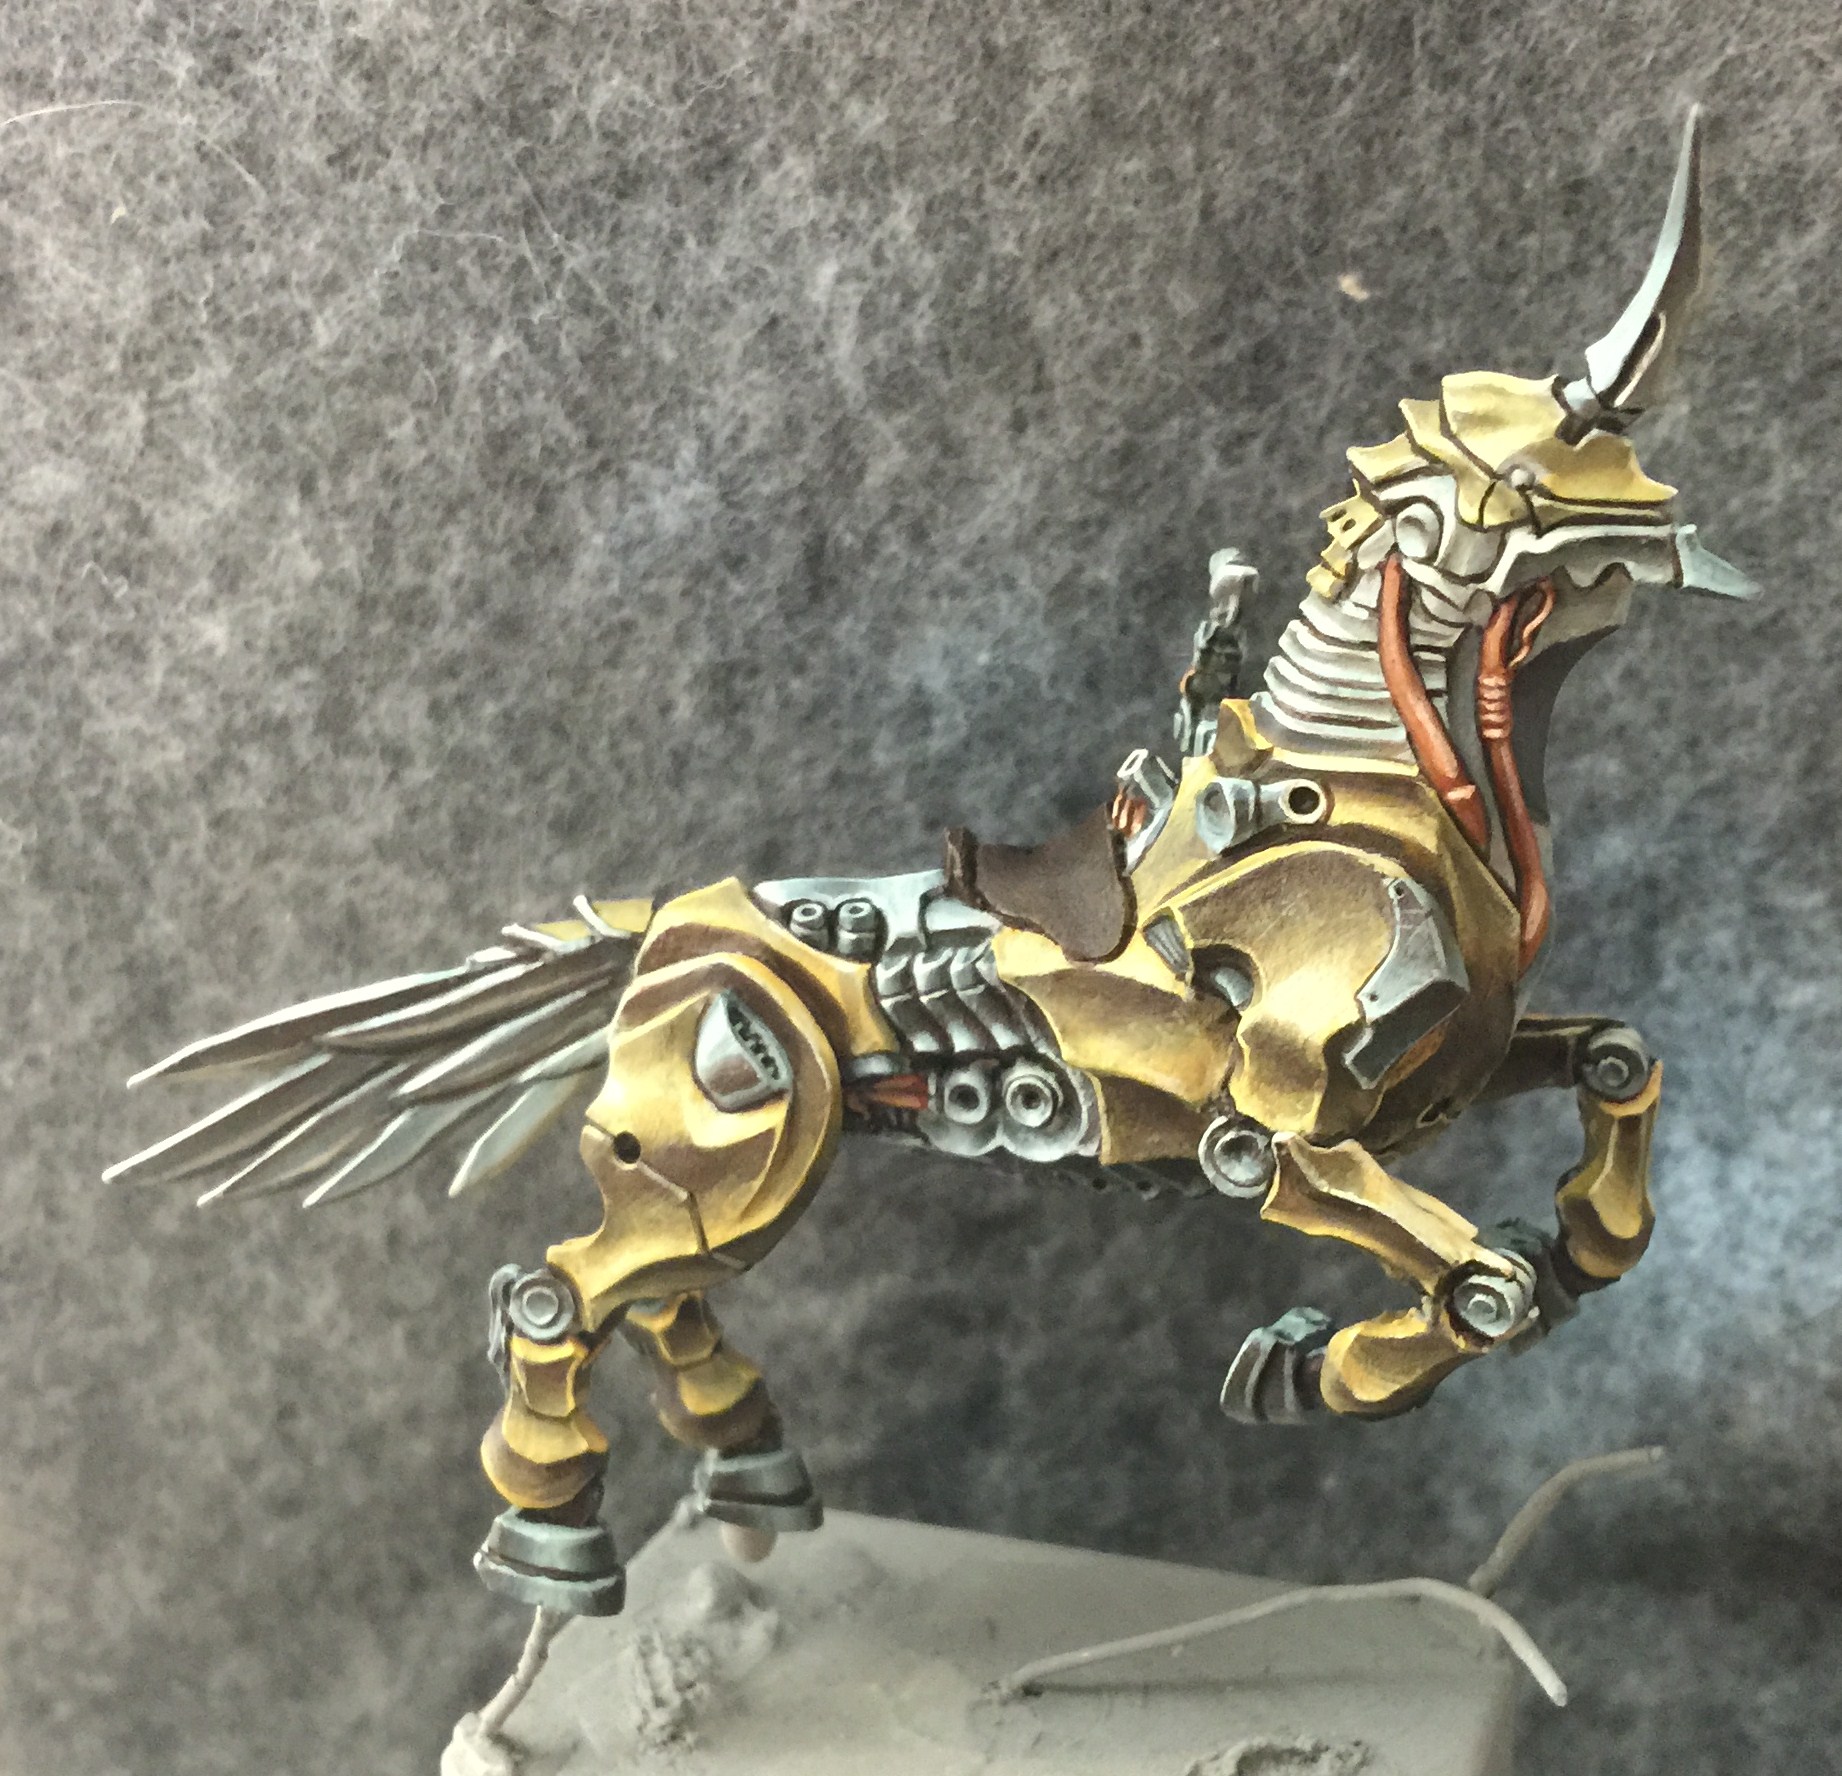
At this point I’m pleased up with the brass to start moving on to other areas. I start working on some of the parts with a more silvery finish. There are a few more colors involved with the metals. The darkest areas are a mix of Umbral Umber and Exile Blue that creates a nice earthy Navy tone. This is highlighted up into Thornwood Green, then into UnderBelly Blue, then finally Menoth White Highlight in a few areas that I think need an extreme Highlight. I started with the tubes in the middle but you can see I’m already moving into other places.
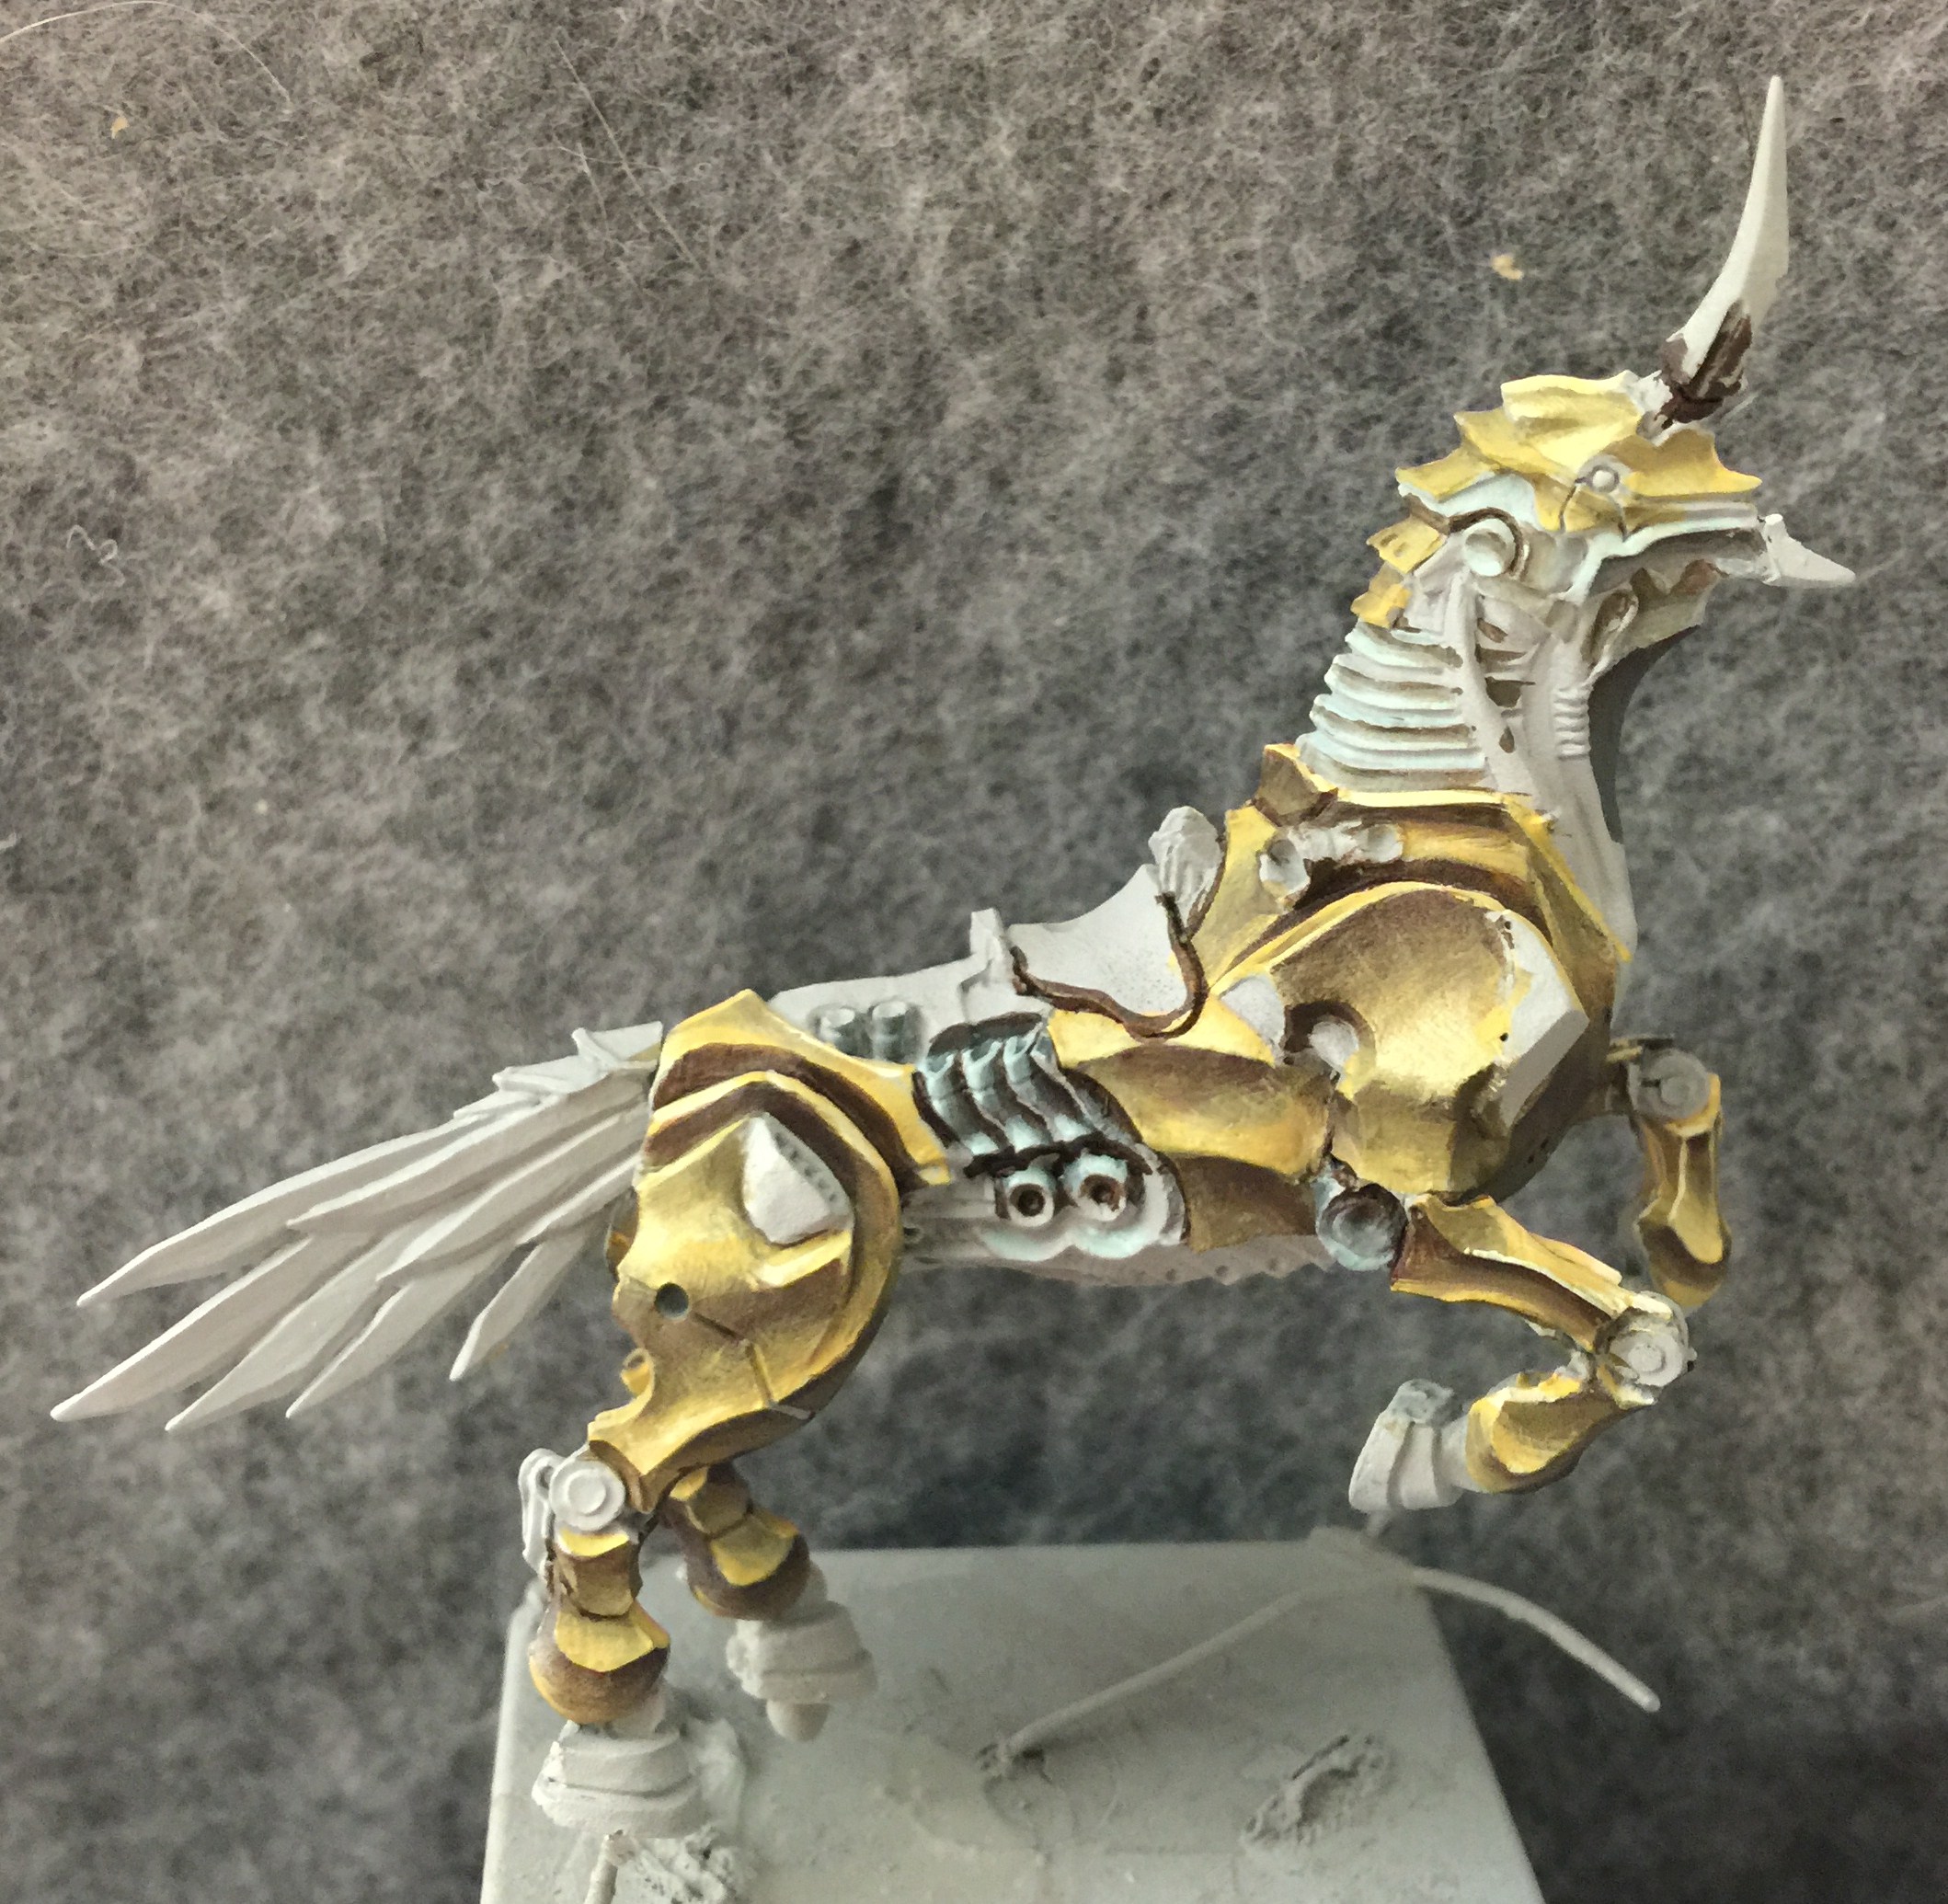
Now I’ve gotten even more done and have moved all the way up through the neck plates and into the face. I also finalize the brass even further by adding dark lines in all the crevices and stark lines of highlights along all the lips and edges.

Now I’ve finished pretty much all the “steel” areas. Everything has a nice gradient with stark highlights along the top to create that NMM illusion. I move on to the few areas I want to appear copper; the tubes on the neck, and a couple of spots towards the bottom of the torso that you can barely even notice.
I feel like I’m always changing up my recipe for copper. I’ve always liked to start with Bloodstone. this time I’m highlighting it with Thrall Flesh.
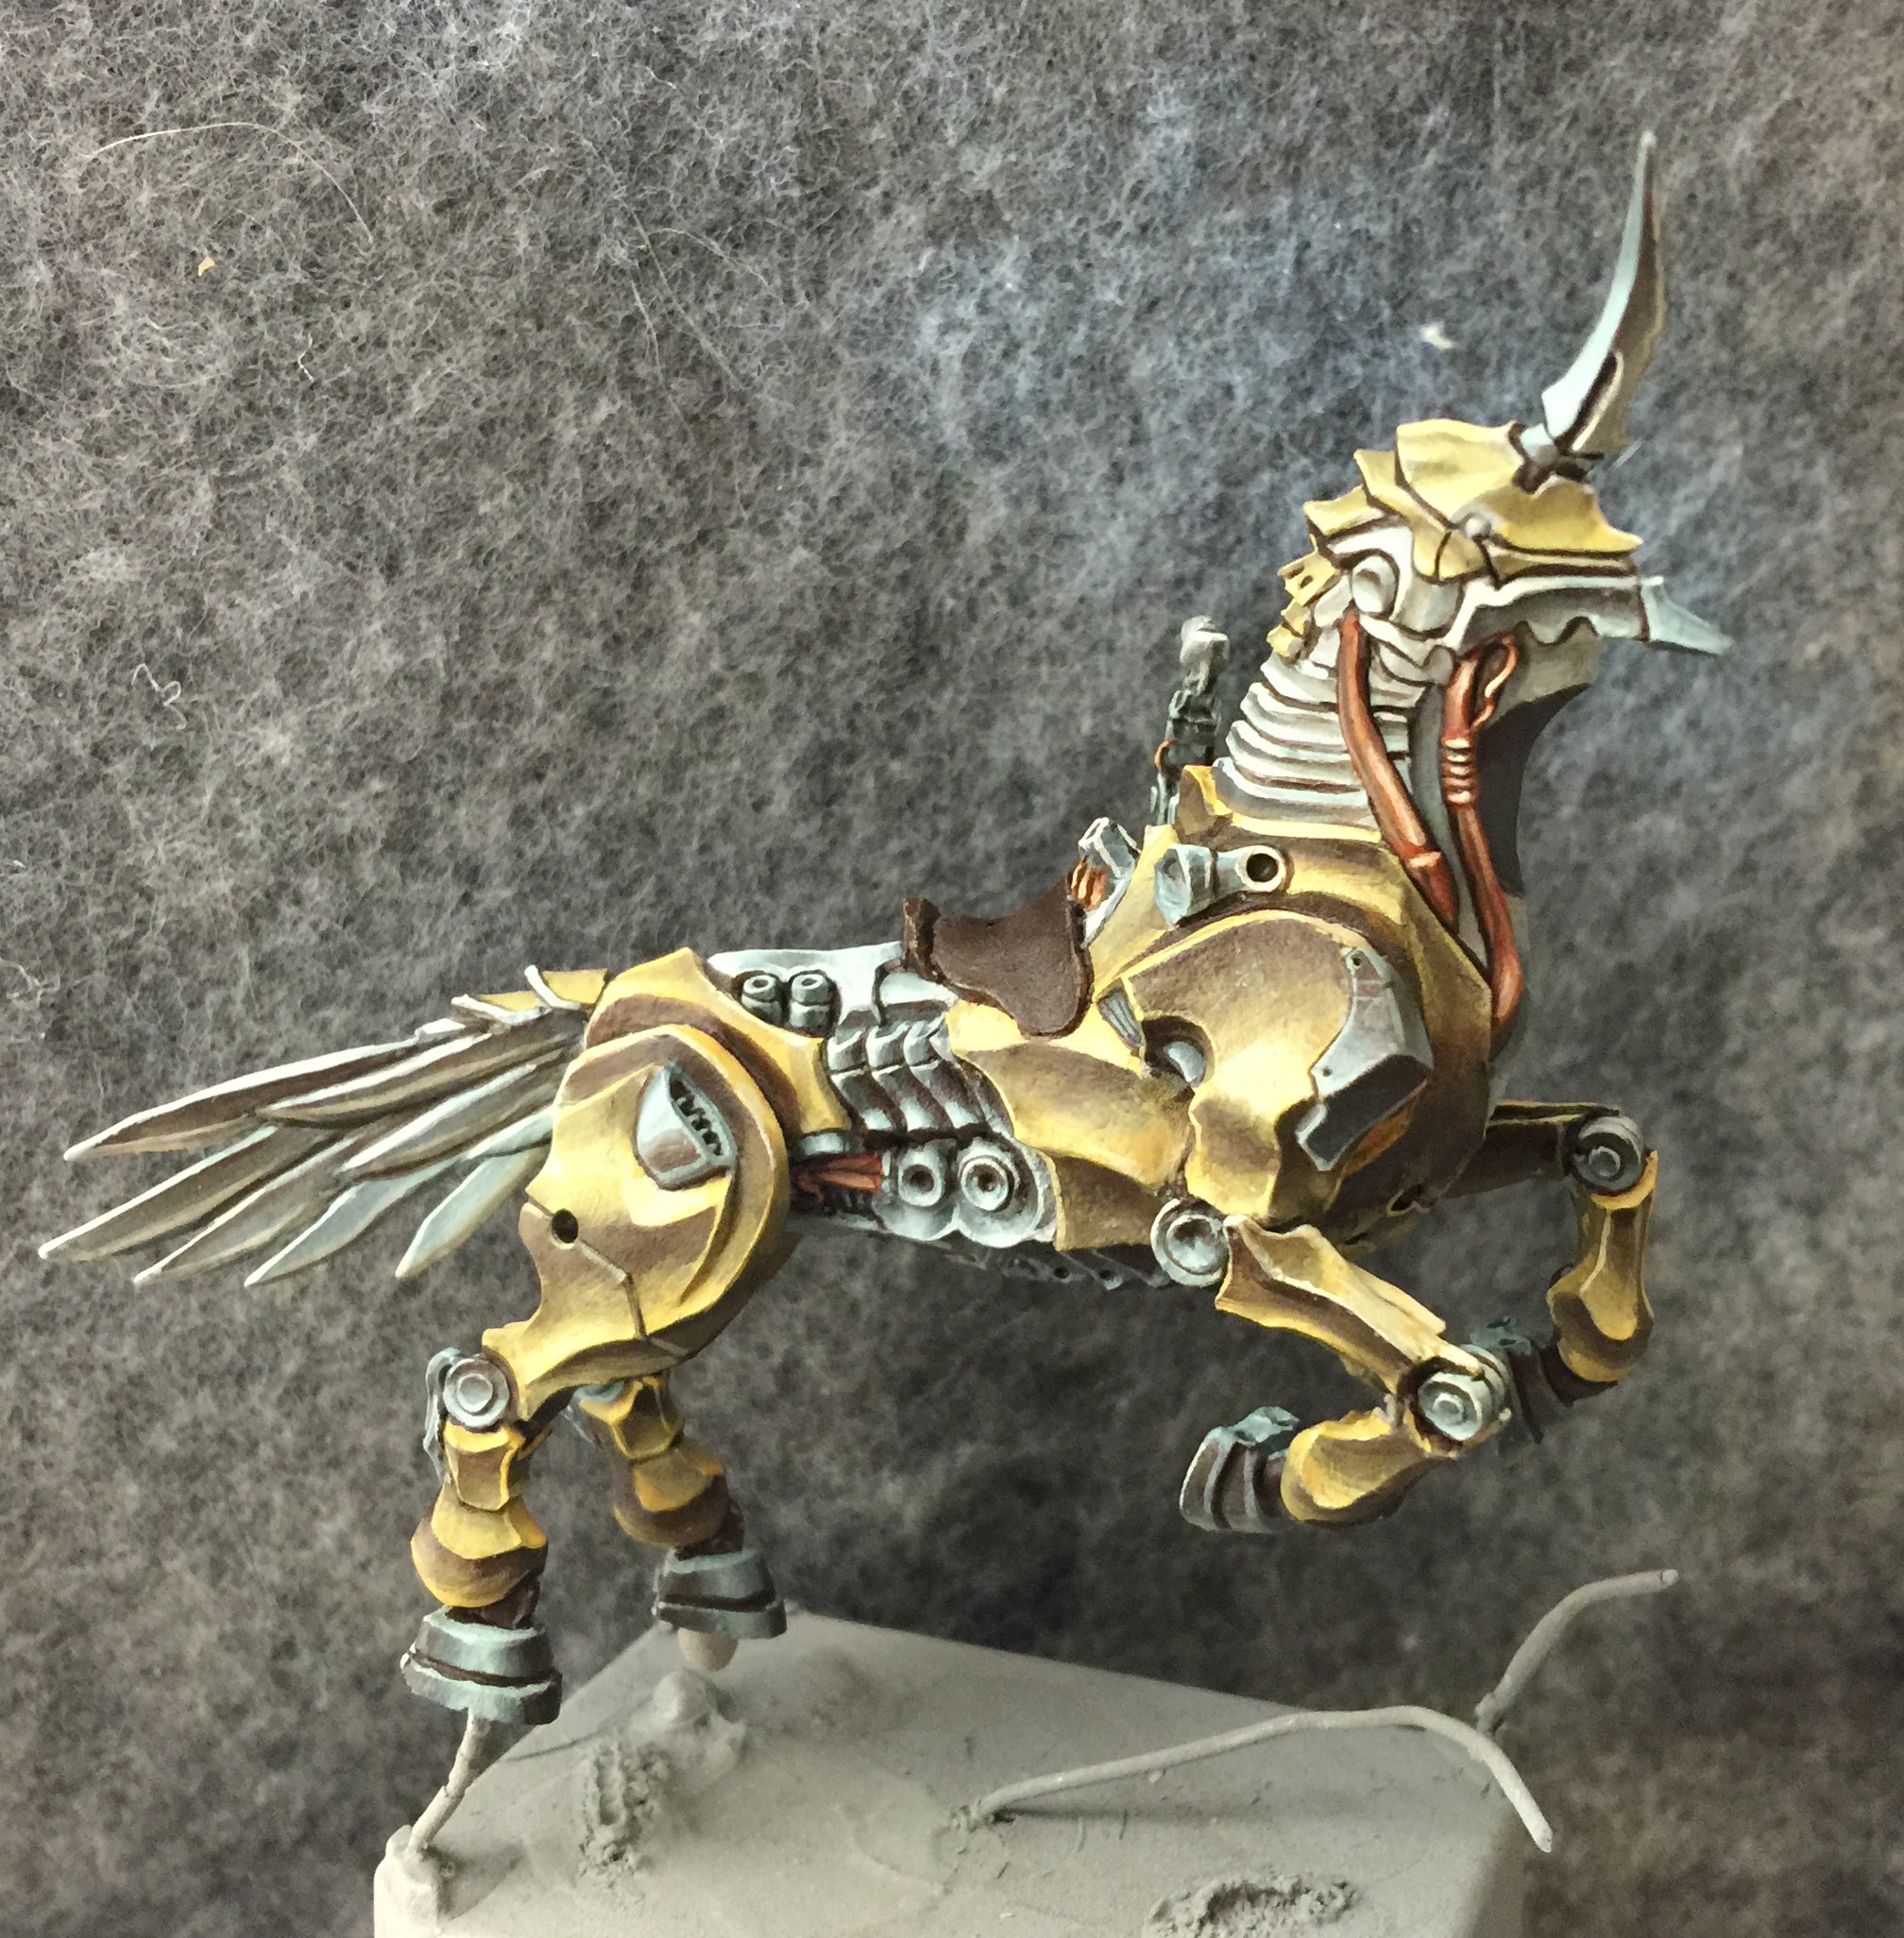
As always there are a few further highlights added with Menoth White Highlight in a few places.
I add a thin glaze of Arcane blue in some of the shadows to create a hit of oxidization. In retrospect I feel like I could have been a little more aggressive with it given how hard it is to notice. I also add a little bit of damage back in, with thin lines of Moldy Ochre. In the lighter areas I had to paint the lines with Menoth White Highlight to get them to stand out.

Then darker lines are added above them to create the illusion of a recessed scratch. Next I give the eyes a red glow. Khador red base is the starting point. I blend in some Heartfhfire in the socket trying for a nice even blend of Hearthfire in the inside our to pure Khador Red Base the further it gets from the center. The pupil itself is pure Hearthfire. In the lines around the eye I also paint some Khador Red Base to give the illusion of the glow “spilling” outwards.
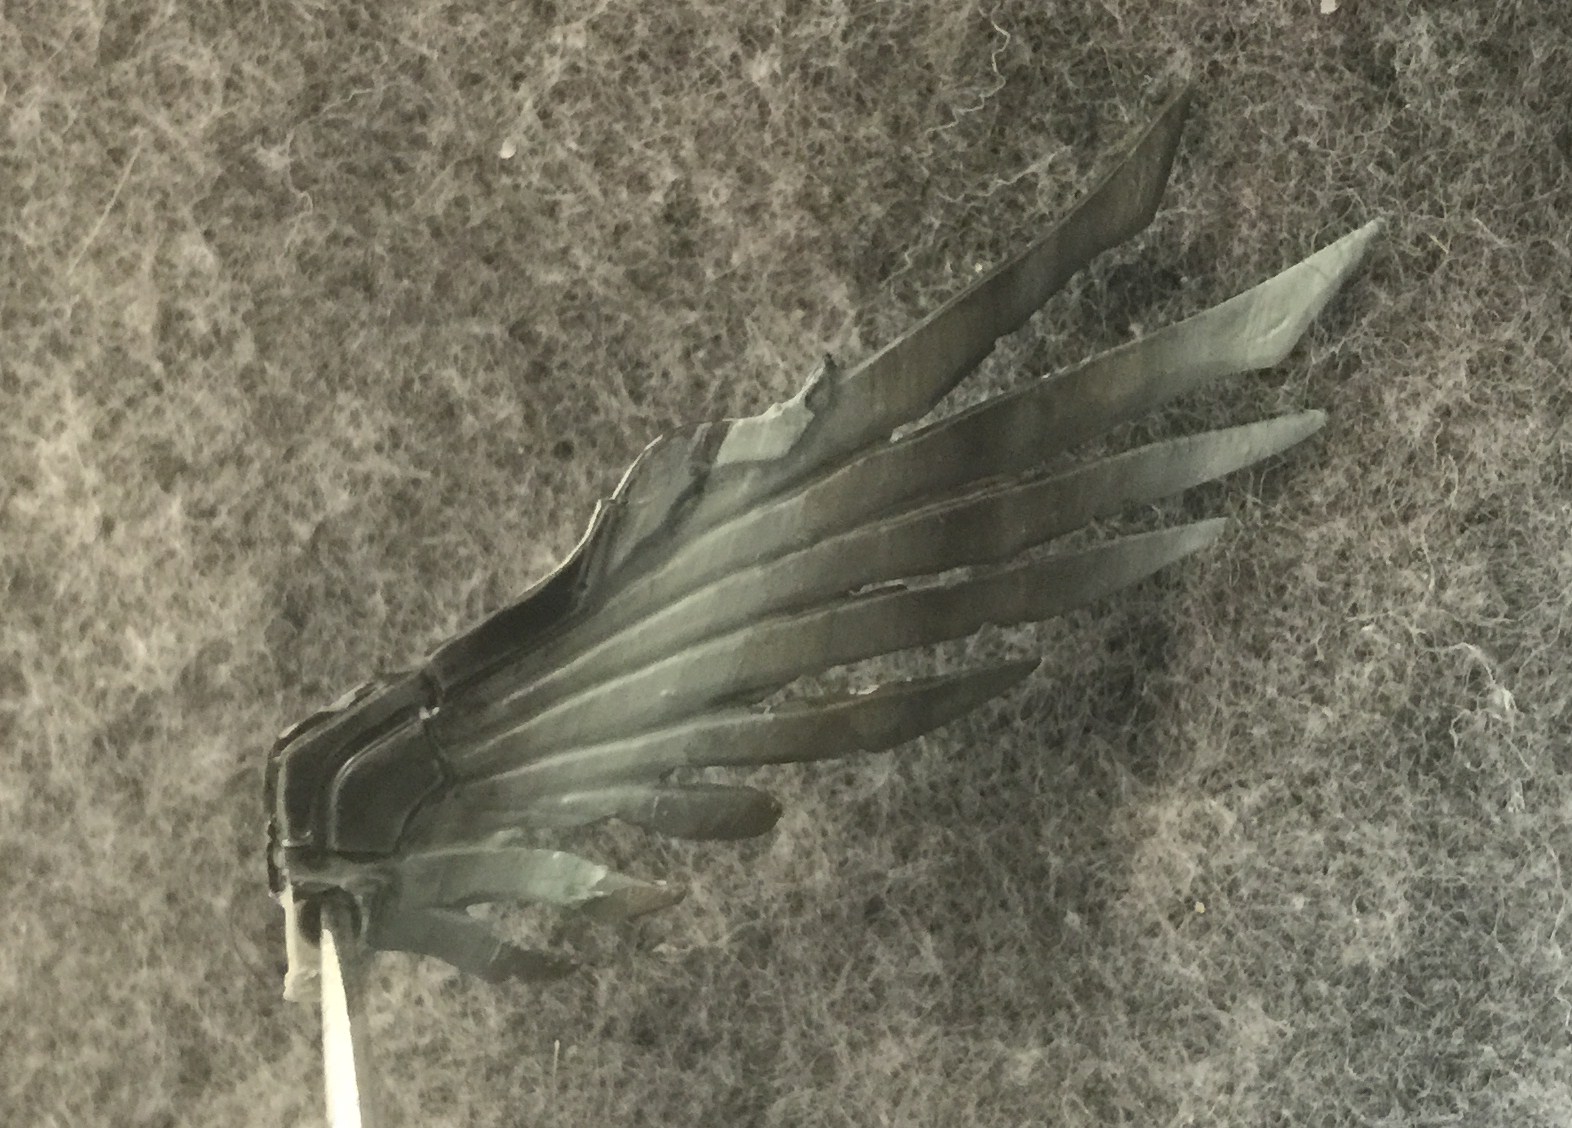
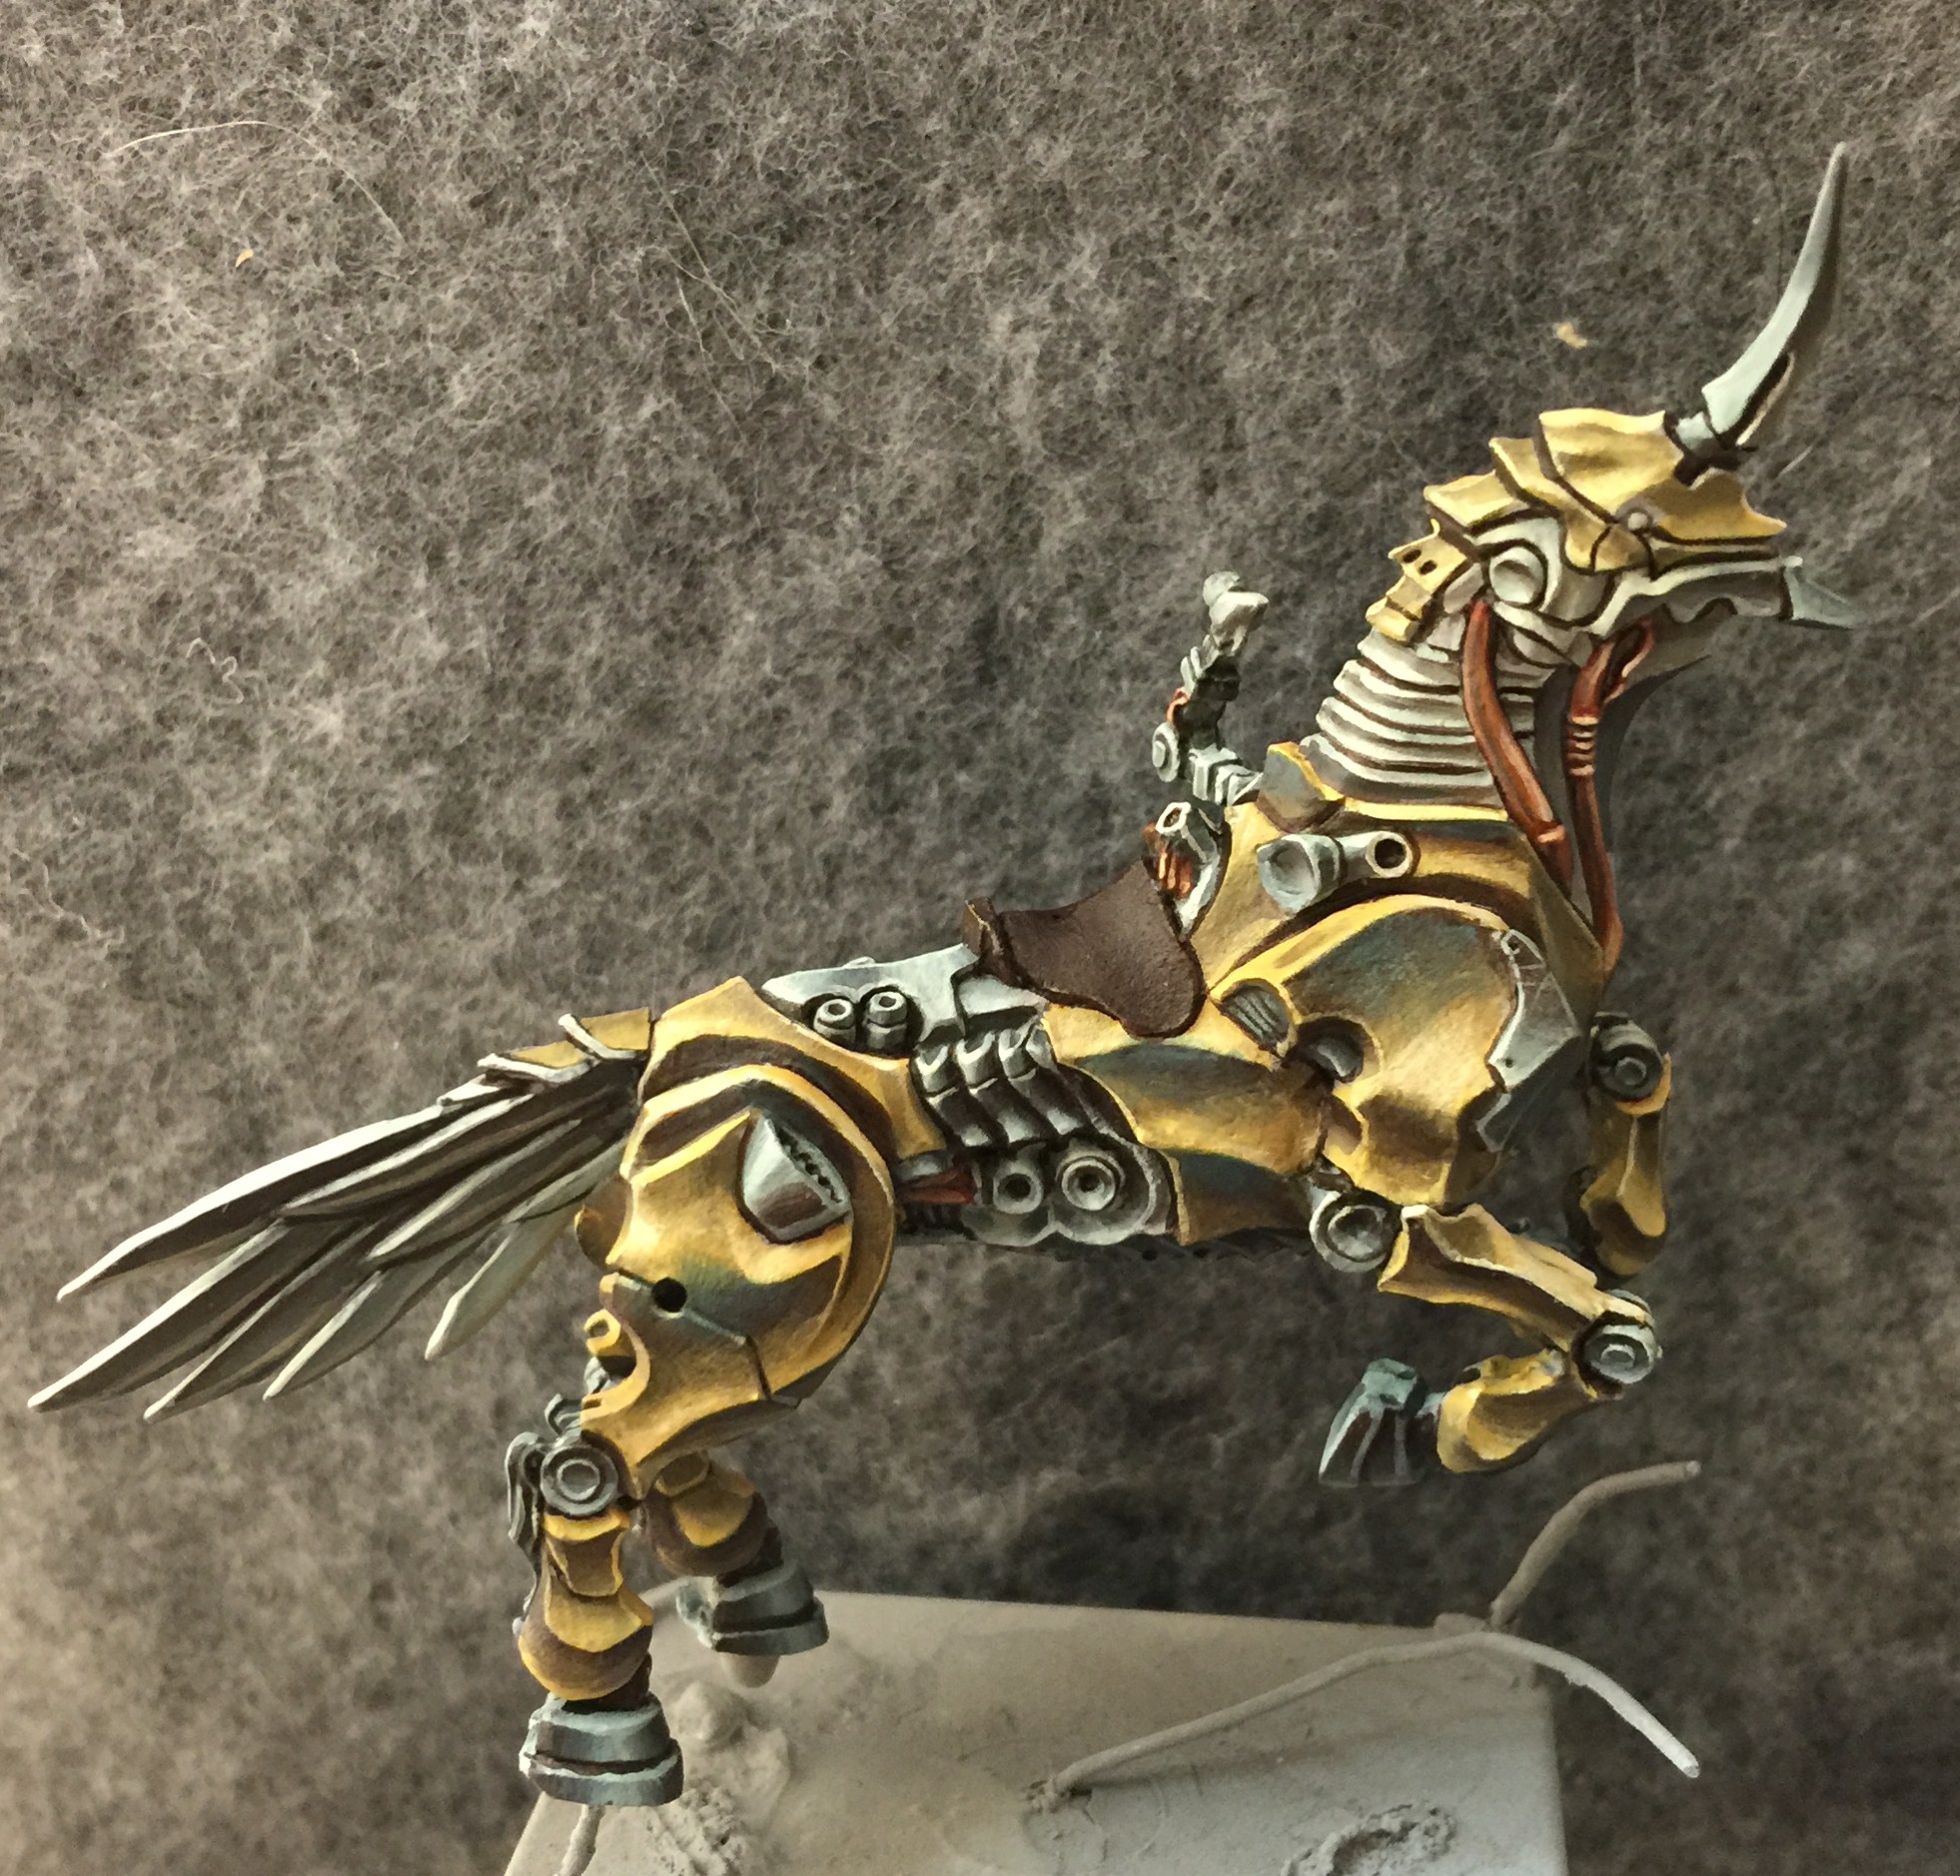
We’re pretty much done but I did want to do one more look at the wings to show some more metal work. Here I started with a nice gradient of the Umbral Umber/Exile Blue mix into Underbelly Blue, then back again, then back again.
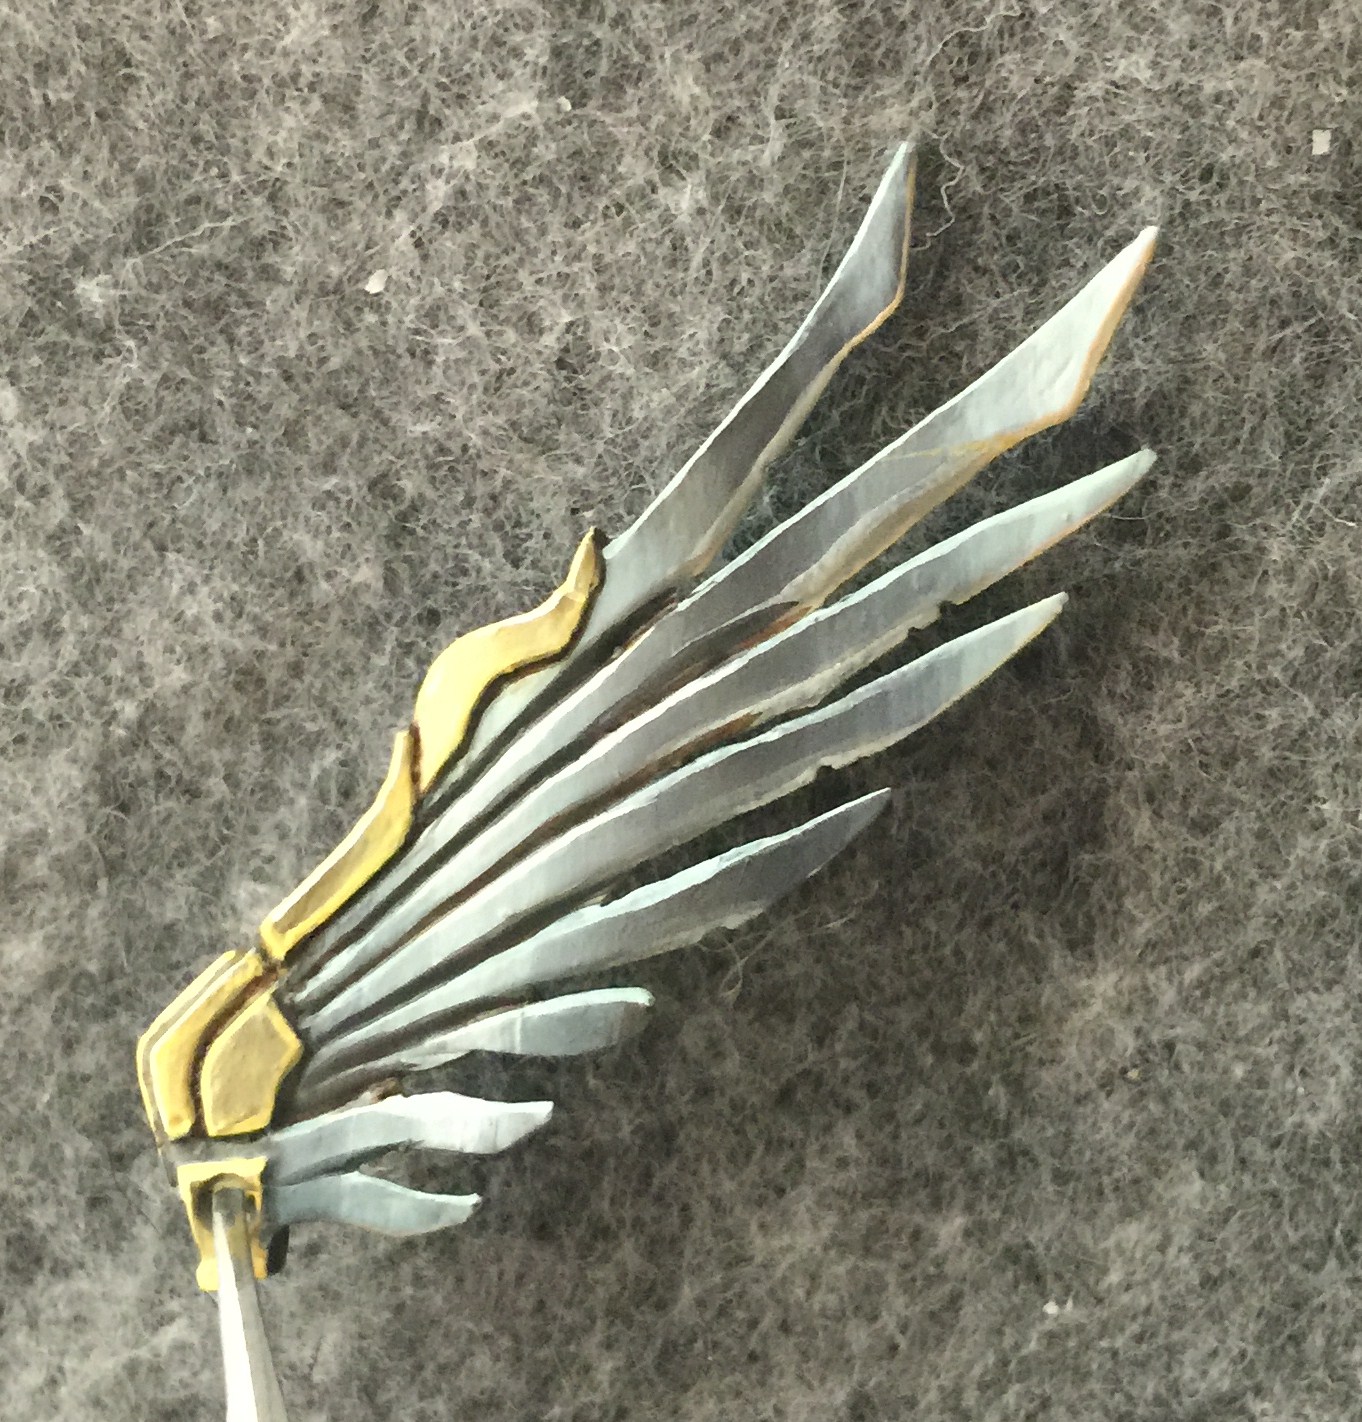
It was a little too dark so I lightened it up by blending the Underbelly Blue outwards and then adding a Menoth White Highlight Streak down the middle. Next, I add a strip of Underbelly Blue along the top of all the wing “blades”. I bump it up to Menoth White Highlight in a few areas to represent a strong reflection. Then I line all the crevices with the same navy mix.
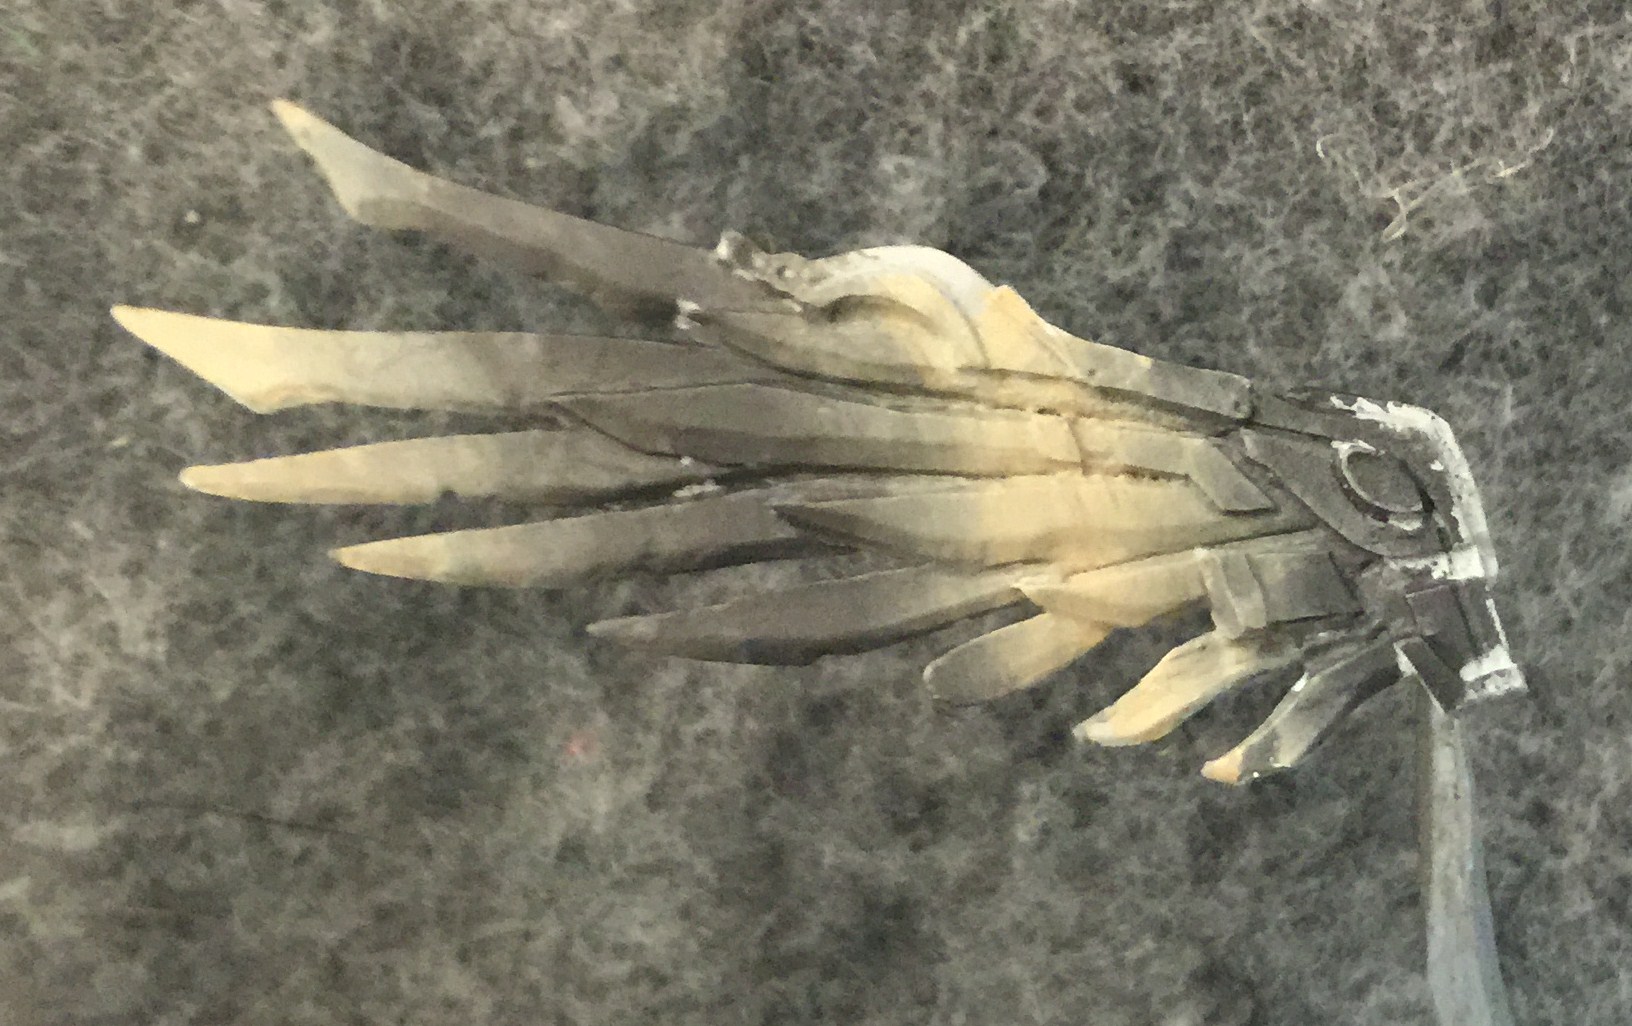
Since the underside of the wings faces the ground, I paint it slightly differently. Here I use the same Navy mix but blend it into Hammerfall Khaki since the wings are reflecting dirt rather than sky.
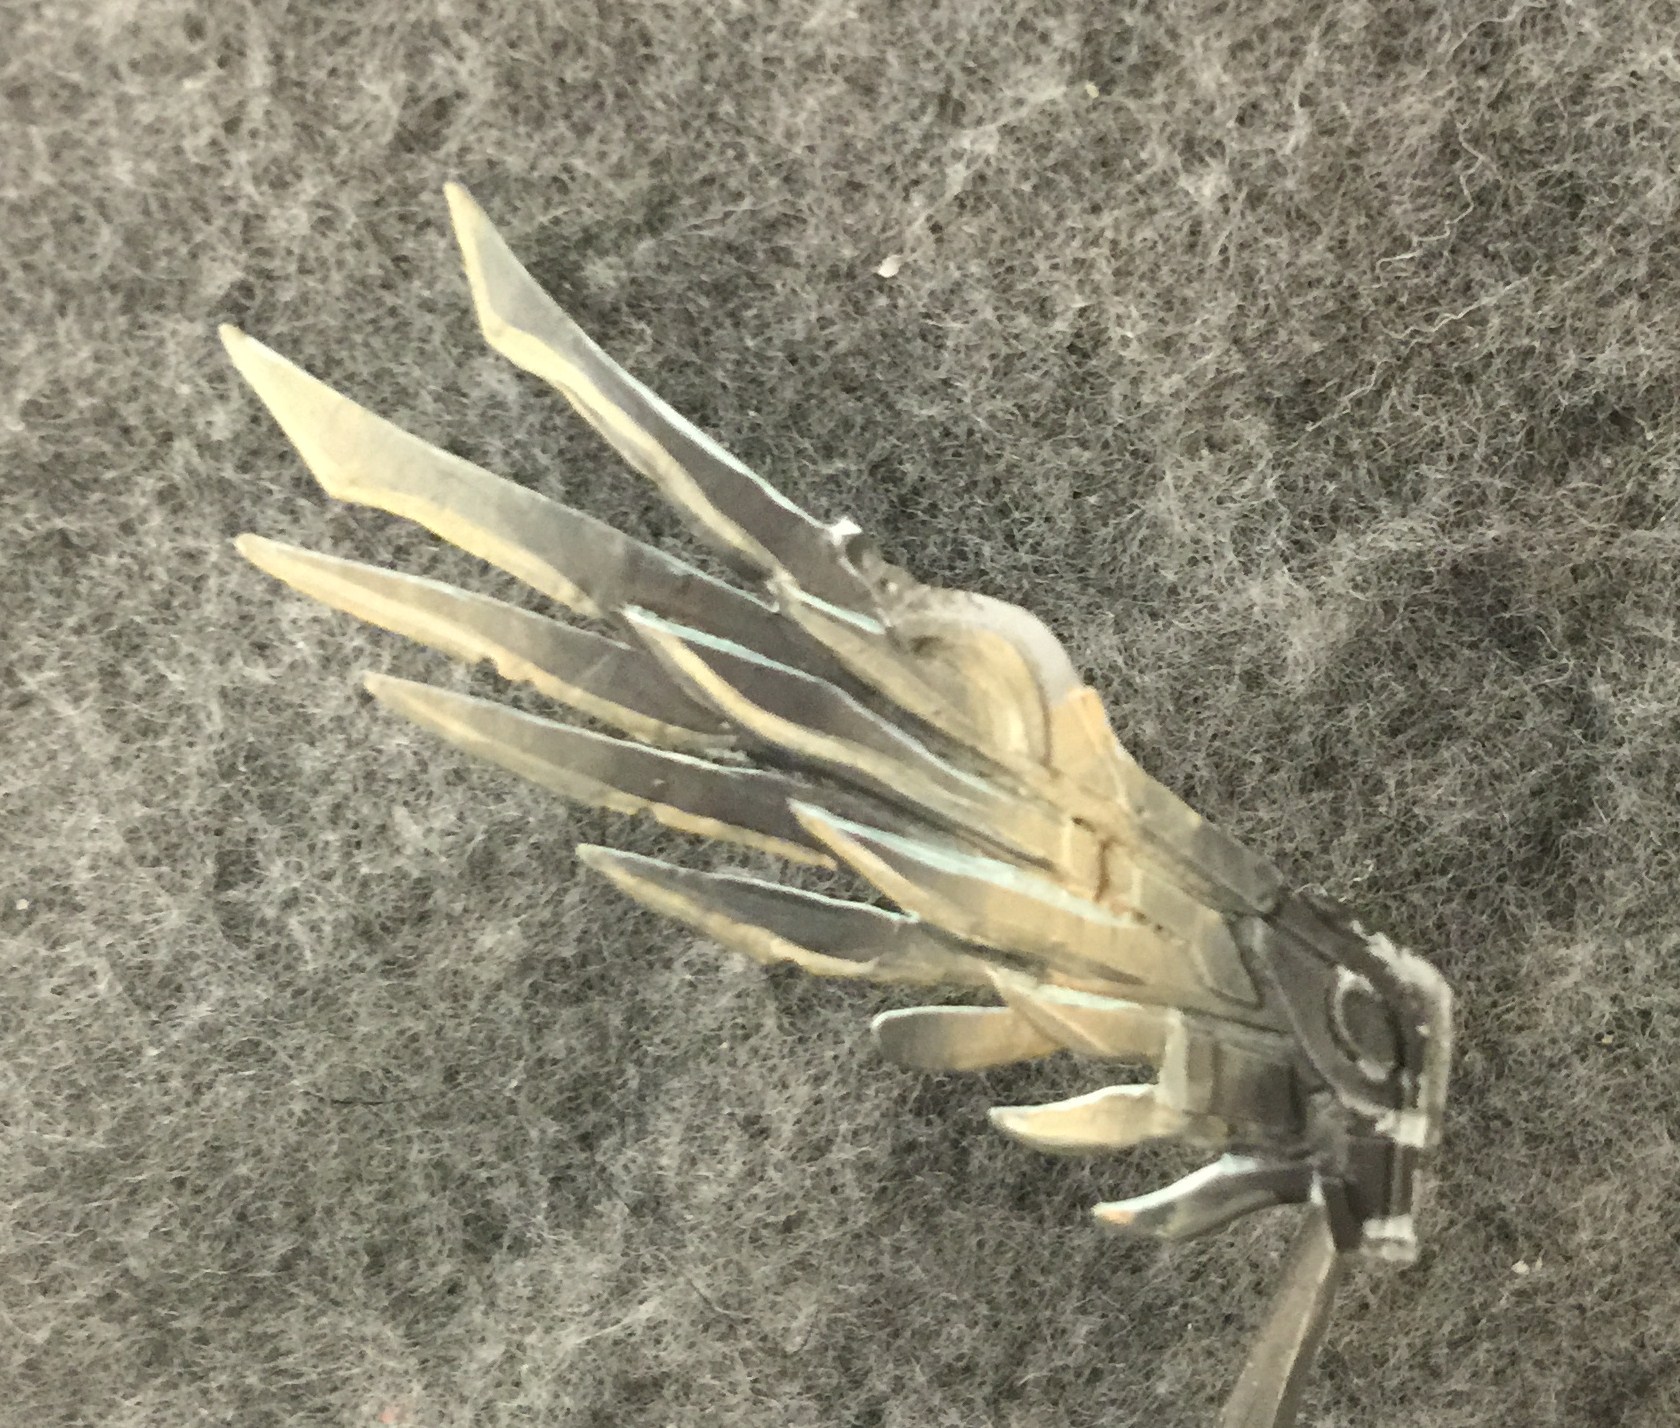
Then the edges of the blades get a similar treatment to the reverse side.
~Hope you enjoyed the article. I’ll cover Mary herself in Part 2.