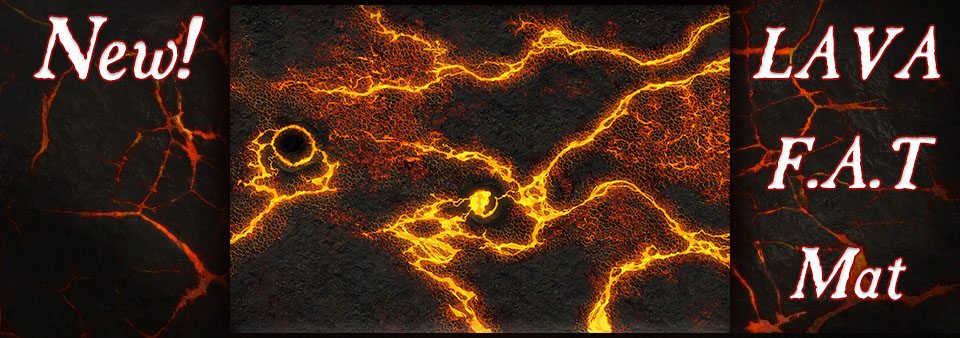
HOBBY: Lava F.A.T. Mat Terrain Tutorial


Hey everyone, Reecius here from Frontline Gaming to share the Lava F.A.T. Mat terrain tutorial! Let’s make LAVA Terrain!
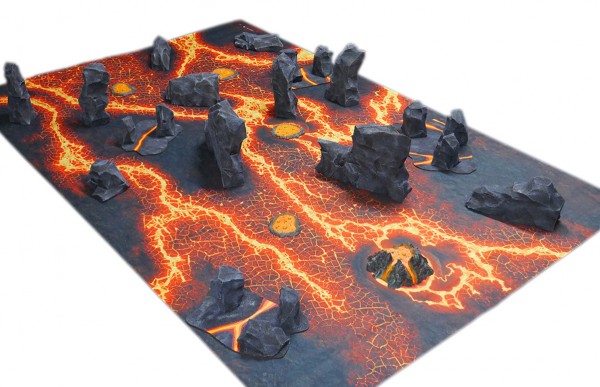
A lot of folks have been asking to see how we made the cool terrain on the Lava F.A.T. Mat, and so here we are with a step by step on how to do it.
This is a SUPER easy process, requiring not much money or time to pull off, which is one of the reasons why I love it, haha. While this tutorial focuses on lava style terrain, it can easily be used to make rock formations for any theme or F.A.T. Mat by simply changing the colors and adding some fun stuff such as flock, snow, etc.
Anywho, here’s what you’ll need:
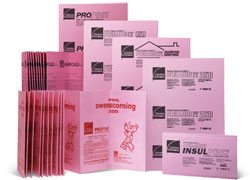
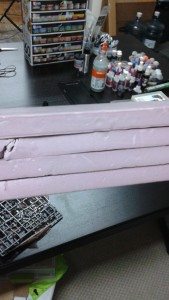
- Pink Insulation Foam. These can be purchased at pretty much any big hardware store like Home Depot or ordered online. They typically come in various sized panels, up to 4×8′ sheets, which is more than you’ll need for several tables, and are cheap, too. Be sure not to get the kind that has a metallic coat on one side, that doesn’t work for our purposes.
- Hot Wire Cutter. These are pretty much a necessity for cutting insulation foam. Grab one and it’ll last you for many a terrain making projects to come as once you see how fun and easy it is to make terrain out of foam, you’ll likely do it again for other projects.

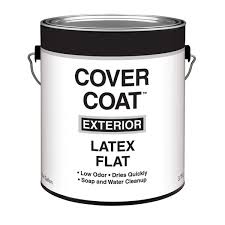
- Black Latex House Paint. This stuff rocks for terrain. It’s super strong and acts as both paint (duh!), a glue for the sand, and a sealer to protect the foam from chipping.
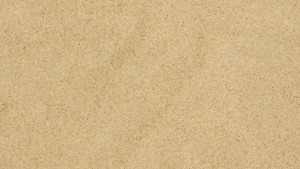
- Sand. You’ll use this for a ton of modeling projects from basing minis, to coating terrain as we will do here, to basing terrain, etc. Awesome to have in your hobby arsenal. You can pick up some from a hardware store, or get modeling sand from a company like Frontline Gaming (although the quantities sold for scale modeling are often not enough for terrain projects).
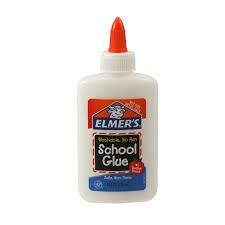
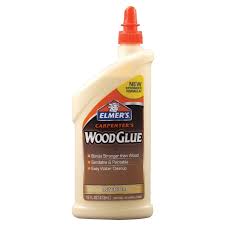
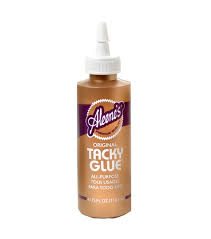
- Glue and/or Toothpicks. You can use a variety of glues from Elmer’s to Tacky Glue. Elmer’s is usually good enough but Wood Glue and Tacky Glue are quite a bit stronger. Also, Tooth Picks can be used to make very strong bonds in the foam, but are not necessary.
- Dark Blue and Light Grey acrylic paint: It doesn’t matter where you get the paint or what kind it is (we often use the cheap bottles of craft paint) but you want a dark blue and a light grey color to match the Lava F.A.T. Mat. If you want to use this tutorial for other types of terrain, just vary the colors you use starting with a darker base color working up to a lighter shade for the final dry brush.

- Paint Brush and Dry brush. You’ll want a house painting brush for the latex paint, which you can get at any hardware store for a few bucks. You’ll also need a big, fat dry brush that is nice and sturdy. Get a BIG one, too, it makes the process go much faster over several pieces of terrain.
Let’s do this!
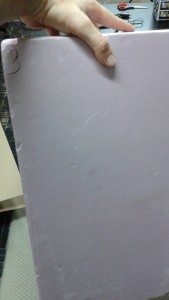
- Step 1, get dat insulation foam! Break it into manageable sized pieces if you got a full sized sheet. To do this, score one side with a sharp knife and then break it in half on the opposite side. Be careful, when it snaps it can hurt your ears as it is crazy loud.
- Step 2, glue some of the pieces together into a thickness that your hot wire cutter will fit around. If you want to build bigger objects than your hot wire cutter can fit around, you’ll have to cut them out from another stack of foam and then layer it onto the first, which is actually quite easy to do. The foam should be nice and flat which will create an even stack. I usually glue them together at this point and leave them to dry, but you can also use toothpicks to attach one level to another by poking it into one piece and then impaling the next on top of that. This makes the hills crazy strong but it not necessary.
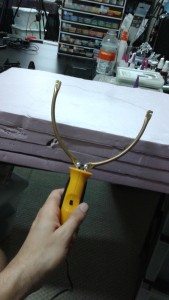
- Step 3, plug in your Hot Wire Cutter and let it warm up. Once it’s nice and hot, go to town cutting out the shapes for the rock formations. Let your imagination go crazy, you can do all kinds of fun stuff like spires, rock clusters, arches, etc. Go nuts!
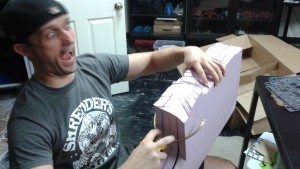
- Be sure to cut the foam in a ventilated area as the fumes are bad for you. If not, you risk going crazy like me in this picture!
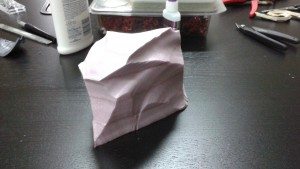
- Step 4, once you’ve got the rock cut out, it’s time to get ready to paint the base coat on!
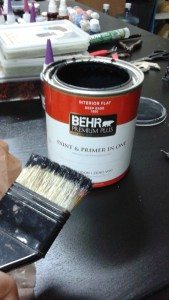
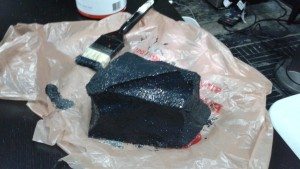
- Step 5, grab your house painting brush and slap a thick coat of paint on that little bugger. Really slop it on, you want the excess paint to hold the sand in the next stage.
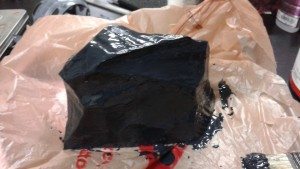
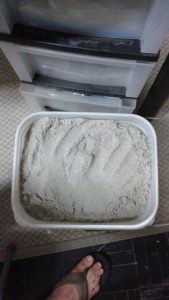
- Step 6, snag that sand! We have a lot in the picture below because we’re always working on terrain projects. You probably won’t need this much for personal projects.
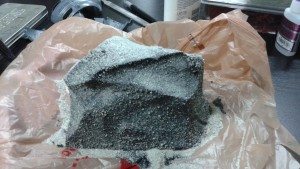
- Step 7, pour sand onto the still wet paint of your nifty rock, and it will stick right to it. Tap off any excess on to your drop cloth/paper/plastic bag and pour it back into the sand bucket.
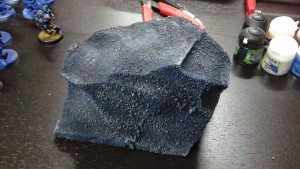
- Step 8, at this point, you’ll want to let it dry overnight or at least for an afternoon. Once the paint has dried, tap off any excess sand and then grab your paint, again! Time for the second coat.
- Step 9, again, apply a thick coat. If you don’t, when the paint dries and shrinks down, sand will show through. The second coat of paint seals in the sand and makes the terrain piece quite sturdy. You’ll again want to wait for it to completely dry. We usually make terrain like this in big batches for several tables at a time to increase efficiency.
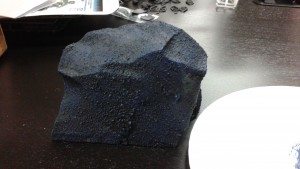
- Step 10, grab your dry brush and apply the first coat of dark blue paint. I used Kantor Blue, but you can use any dark blue.
- Step 11, apply your second layer of paint, this time very lightly. I used Administratum Grey (but again, you can use any light grey paint) to create a strong contrast with the deep blue and black of the base. This really makes it pop on the table!
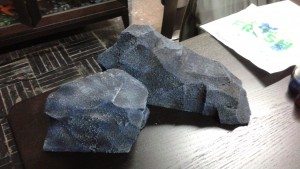
And you’re done! Easy peasy. You can knock out an entire table’s worth of terrain in a weekend, putting in just an hour or so per day into it. If you want to use these same techniques for rock formations for other F.A.T. Mats, it is mega easy to do. Just alter the colors of paint you use. For desert, go with browns and tans, for grass, stick with browns and add green flock, for snow or even urban, use light blue or grey latex paint instead of black to apply and seal the sand, and then dry brush it with light greys and white, possibly gluing on some snow flock.
Simple, fast, affordable and great looking. Win!