Hobby Hacks: Build & Magnetize Your Leviathan


Looking for an awesome Hobby project this Holiday weekend? Check this hobby tutorial out!
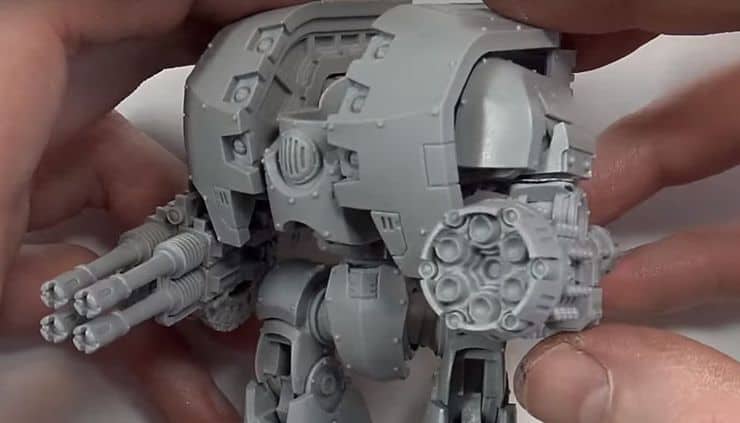
It’s a bit tricky, but the shoulders come with the model, and the arms then magnetize into it. So, if you build the body first and then add in some weapons, you can add as you go. I’m digging the different poses on the back of the instructions pdf and there’s a lot of different ways to put this guy together which I think is really great. It won’t see a lot of use in Competitive 40k but it’s a really sweet model so lets’ jump right into it.
Step 1. Grab your Instructions. There’s a couple of gotcha’s for sure. The yellow is where you mate pats, the green is the active part and the blue are the options. Red are gates to remove otherwise it won’t fit properly.
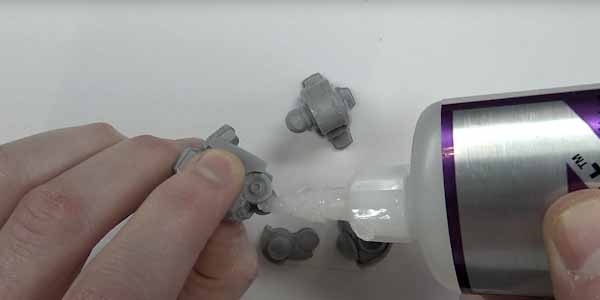
Pro-Tip: This kit was covered in resin release, I don’t normally wash before but it wasn’t holding together as well as I’d like, and that’s because of all that resin release residue. So, I started scoring the parts because I didn’t want to have to wash all the parts. This gives the glue some extra surface area to attach too. It also gives some extra space to swell up.
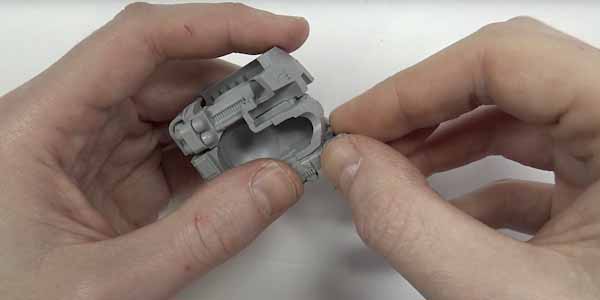
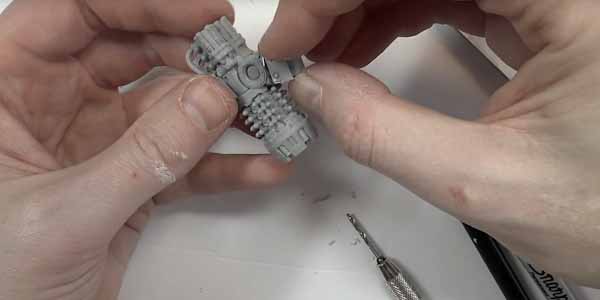
Step 2. Start putting together the chassis. It’s pretty straight forward.
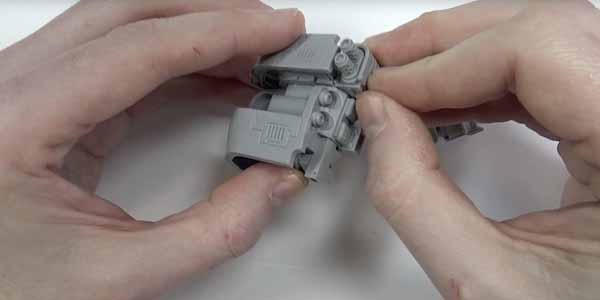
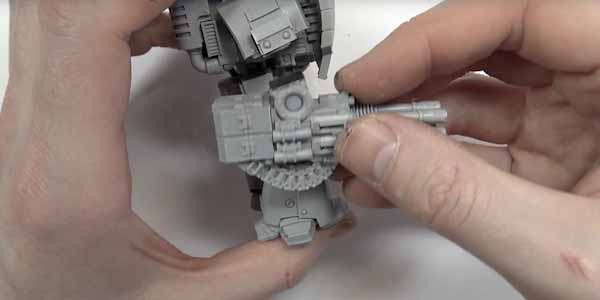
Step 3. Once you got it going dry fit your guns into those sockets; I do this a lot to avoid the “gotcha” situations. I don’t show you how to magnetize these bits because I figured most people would just glue them in and say they’re whatever. Personally, I’m not sure if I’m making Blood Angels or Iron Warriors.
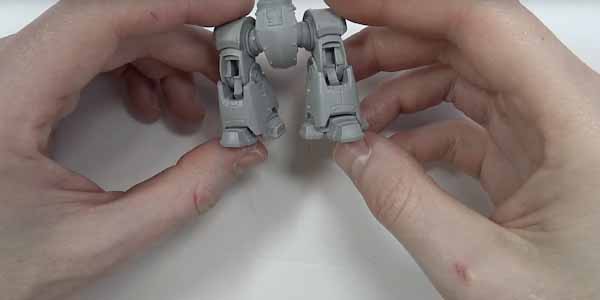
Step 4. Assemble the legs. You can see it comes with feet, shin, and leg bits that all slot in pretty nice and have great range of motion. I’d recommend putting them together and seeing how they fit.
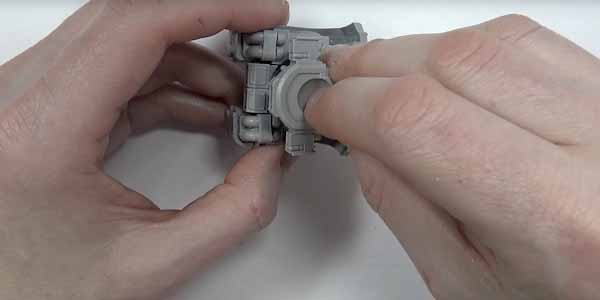
Step 5. The groin/hip region gives you even more flexibility. The right leg in my set up is going to be pressed down with my ring finger as I’m gluing the rest of it just to give it that extra support.
You can see I got it some nice cantering going on. I don’t glue the knee pad on because I’m going to air brush it.
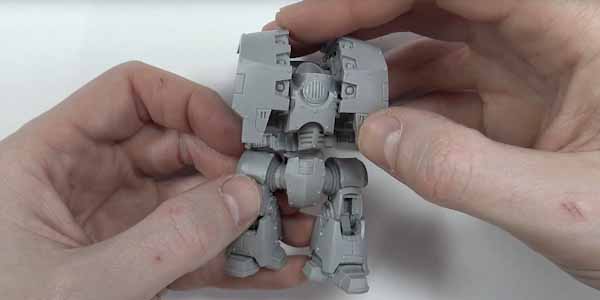
Step 6: Dry fit the torso to the legs. This is a very tall model and I feel that the torso needs to be pointed down. I dry fitted the bit that slots between the upper torso and the hips before gluing it down.
Pro-Tip: Use the dull edge of the exacto knife and scrape along the nozzle so it gets all that glue off and doesn’t cut into your nozzle. If you need to cut a bit off the top just to add some free flow.
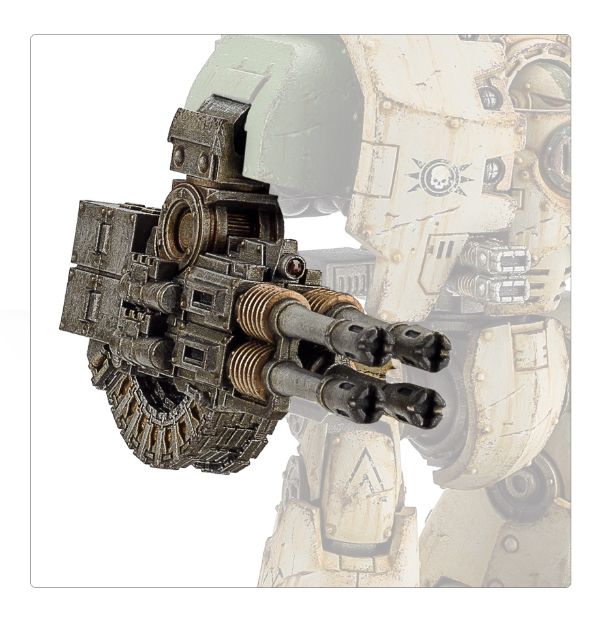
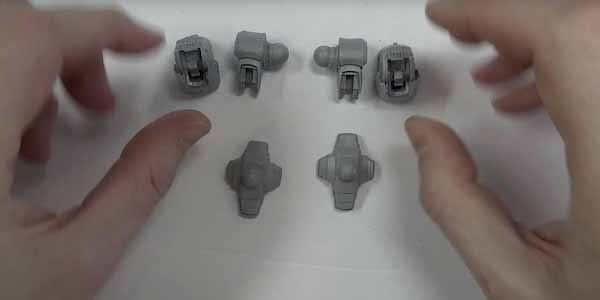
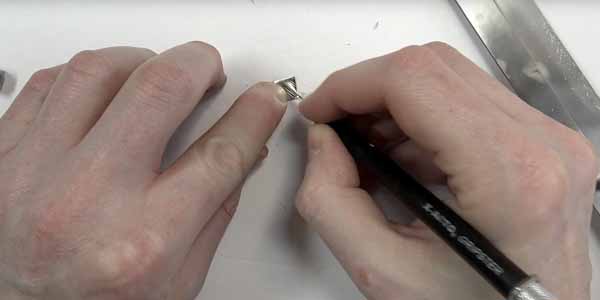
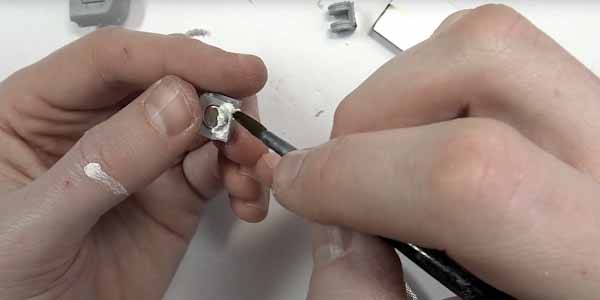
Step 7: For the weapons, I’m adding some metal plates instead of magnets because looking at the weapons there’s not much space for the magnets plus then you’re dealing with all the polarity options and that gets a bit annoying.
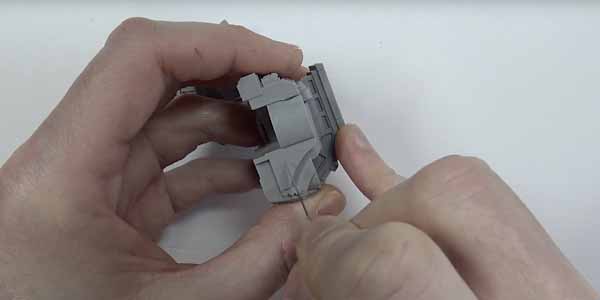
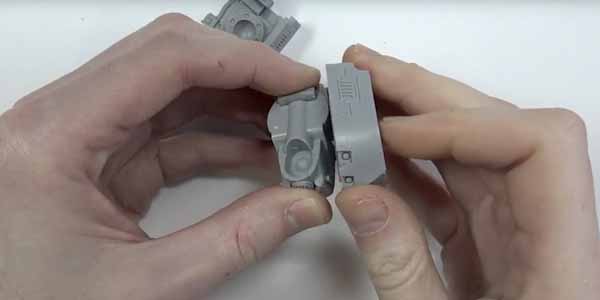
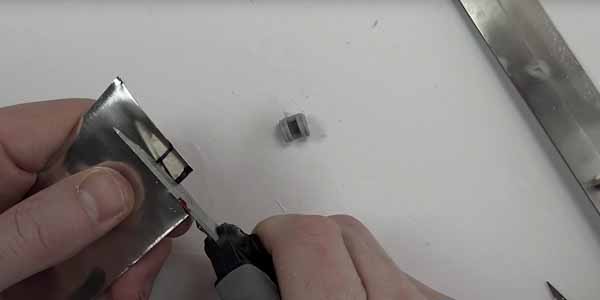
Step 8: Cut off a bit of the arm section to free up some space to place the metal on.
Step 9: I’m using metal sheet from a latex paint roller tray I cut up: marked it, cut it, scored it and then glued it into the bit.
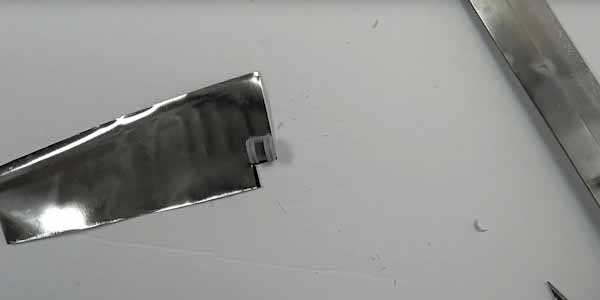
Pro-Warning: this metal will cut you. Literally, cut you. Be careful.
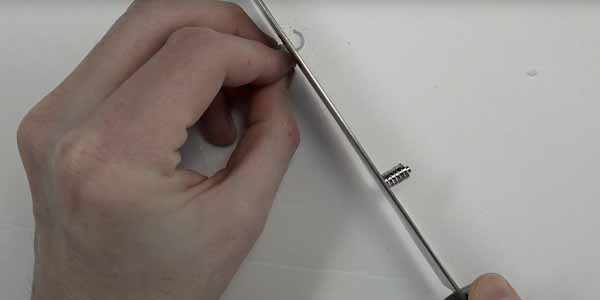
Step 10: Drill out the connecting arm bit.
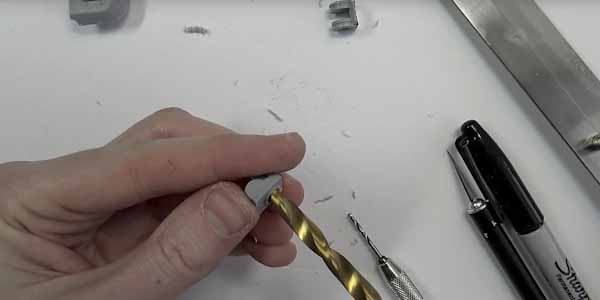
Pro-Warning: go SUPER slow, no need to rush it. This is a small bit.
Step 11: I drilled off the side support, so I had to use the putty to fill it in. I love this stuff, it’s way better than liquid.
Step 12: I used a ¼” dowel because I was afraid a magnet would shred the torso area.
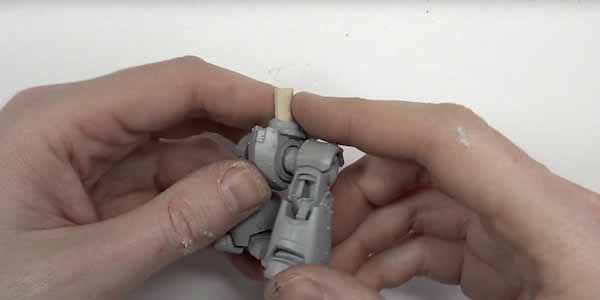
I left the head pieces off because I’ll glue those on later after I’ve airbrushed it all.