TUTORIAL: Ironjawz ‘Ardboy


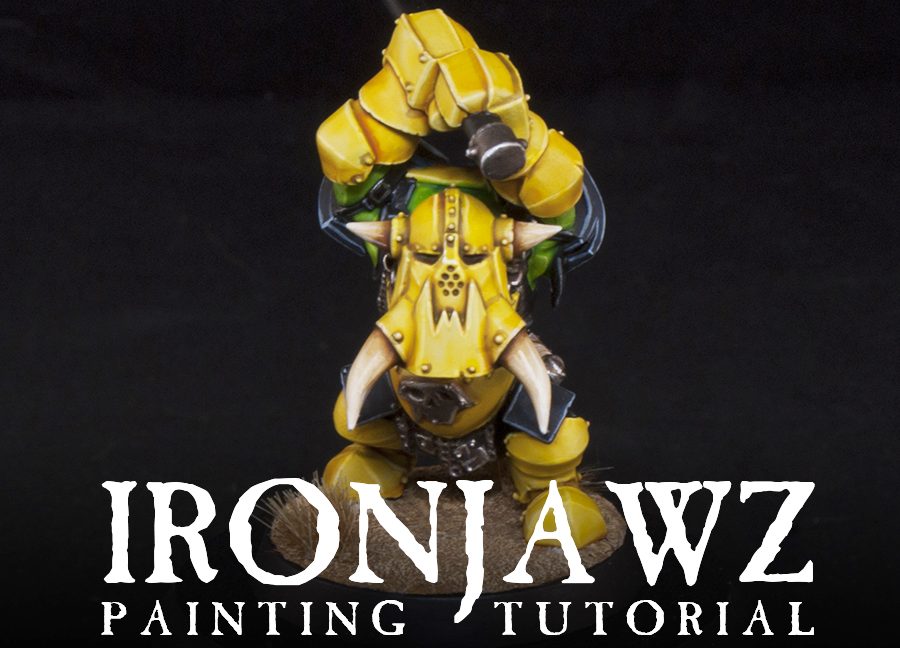
A new way to paint orruk skin using mostly glazes and shades–check out this shiny new Ironjawz scheme and handy step by step tutorial!
I was recently toying with the idea of starting a new small 1,000 point force in AoS to diversify my armies a bit and give me a break from painting Tomb Kings and Stormcast. The orruks have always interested me, and after testing out a new way to paint orruk skin using mostly glazes and shades I decided to give a spare ‘Ardboy model I had a shiny new Ironjawz scheme to see how it looks, which I have put into this handy step by step tutorial for you!
Though this is an ‘Ardboy model I am testing it on it will work equally as well on any of the other Ironjawz minis. In fact, it should go even faster since they are even more just skin and armor than the ‘Ardboyz.

Step 1.
I started off by priming the model Corax White. You want to make sure you have a nice solid coat of this so none of the plastic is showing through. Don’t spray it on too thick though. I then carefully washed all of the armor with a mix of Casondora Yellow and Lahmian Medium. You want to cover all of the armor, but be careful not to get any on the skin or bone areas, we need those to stay white. Also watch for pooling of the shade. It’s okay for it to be a bit messy, it is an orruk after all, but you don’t want it to get too out of hand.

Step 2.
I then did the same thing on the skin, but with Biel-Tan Green and Lahmain Medium. Again, make sure not to get any of this on the armor or bones and watch for pooling.

Step 3.
Now I wanted to enrich the green of the skin, so I hit it with two glazes of Waywatcher Green. Make sure to let the first layer of glaze dry before doing the second one. I also went in with Agrax Earthshade and just picked out the crevices and rivets on the armor so they would pop more. Unlike the previous shades I didn’t just slather this on, but painted it exactly where I wanted it.

Step 4.
Then I highlighted all of the armor and skin at the same time. I used white and picked out all of the edges and rivets on the armor, and also any prominent muscles on the skin. You want to keep all of these highlights fairly thin and precise, especially on the skin.
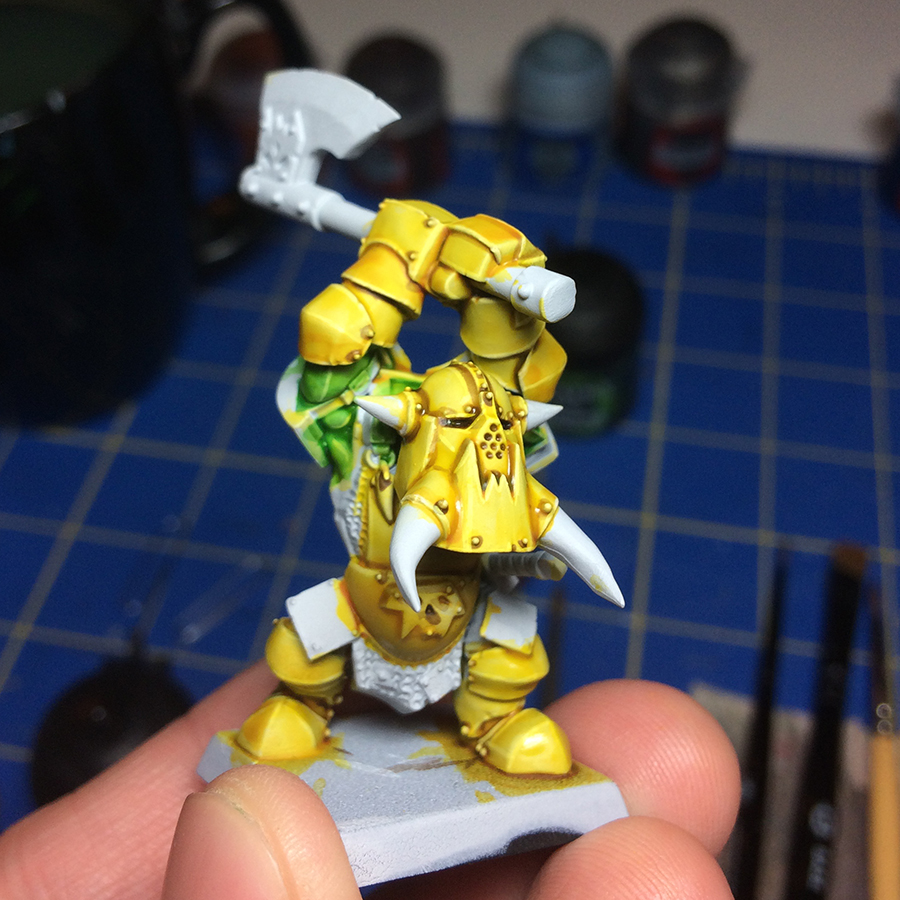
Step 5.
Lastly for the skin and armor I gave all of it a glaze of Lamenters Yellow. This is what really makes the armor pop and also gives the skin a warmer feel to it. The skin is finished off with one final glaze of Waywatcher Green to bring the green back into it.

Step 6.
The parts of the armor that I wanted to be “black” were actually painted with Kantor Blue. For this model I decided to do the shoulder pads and thigh guards in this color. When you are painting a whole unit I would probably vary up which panels are this color to make it look a little more ramshackle. I would always keep the shoulder pads blue though.

Step 7.
I then gave all of the blue areas to coats of Nuln Oil to really darken them down. I want it to look black with a hint of blue. Be really careful on the step to not get any on the skin or armor.

Step 8.
While that was drying I basecoated all of the areas that were going to be black or metal with Abaddon Black.

Step 9.
The blue areas were edge highlighted with Fenrisian Grey. I also highlighted the black areas with Dawnstone Grey but forgot to take a picture. The black areas were the pants, straps, and knife scabbard. I just did thin edge highlights for this as well.

Step 10.
Even though I tried to be careful about not getting other colors on the bone areas it’s inevitable that it will happen. I went back with white and cleaned up those areas so they were solid white. On this model it’s just the tusks and a tooth trinket on his armor, but on others this would include skulls and such too.

Step 11.
I then painted these with Seraphim Sepia. I pretty much used this as a glaze, but I still want it to pool near the crevices and such.

Step 12.
The bone areas then got a highlight of pure white. On the tusks this meant painting growth lines on it going towards the tip. One skulls and other bones it would mean picking out the edges and defined areas. I also basecoated all of the metal areas with Leadbelcher.

Step 13.
All of the metal areas then got a wash of Agrax Earthshade. I didn’t mix any Lahmian Medium in because I wanted it to be very strong to get a good dirty vibe. I also painted this into the crevices on the bone, so on the tusks that just meant where it meets the armor. The wrappings on his knife were painted in the same manner as the bone.

Step 14.
I then did one more glaze of Seraphim Sepia on the bone areas, but thinned it down a bit. I also tried to leave the very tips white.

Step 15.
The metal was finished off with an edge highlight of Stormhost Silver, but a drybrush of Necron Compound would probably work too.

Step 16.
The last thing I did was pop him off the square base he was on (bought this model secondhand) and glued him to his proper base. I made mine look like a desert, perhaps the Pharaonic Badlands in the Endless Deserts?


I really like how this guy turned out, and although I decided to go in a different direction with my new army I may come back to the Ironjawz at some point considering how quick it was to paint this. Hopefully this was helpful to you and if you have any questions let me know in the comments below.
Until next time,
Tyler M.
Tyler is a life long painter and hobbyist and took home his first Golden Demon award at the 2012 Chicago Games Day with a follow up at the 2013 North American Games Day. More of his work can be found at his blog, Mengel Miniatures.