Painting Twisted Grymkin Flesh with P3

This week, get gruesome, paint your models’ skin and moans.
Celebrating the release of the Grymkin models, this week Privateer Press has some fantastic painting tutorials about how to get the most grim out of your Grymkin. Take a look as they take you through painting up this horrific Grymkin–you’ll see a lesson in base-coating and getting the model done up, followed by a tutorial on highlights, and then one on bone/weapon details.
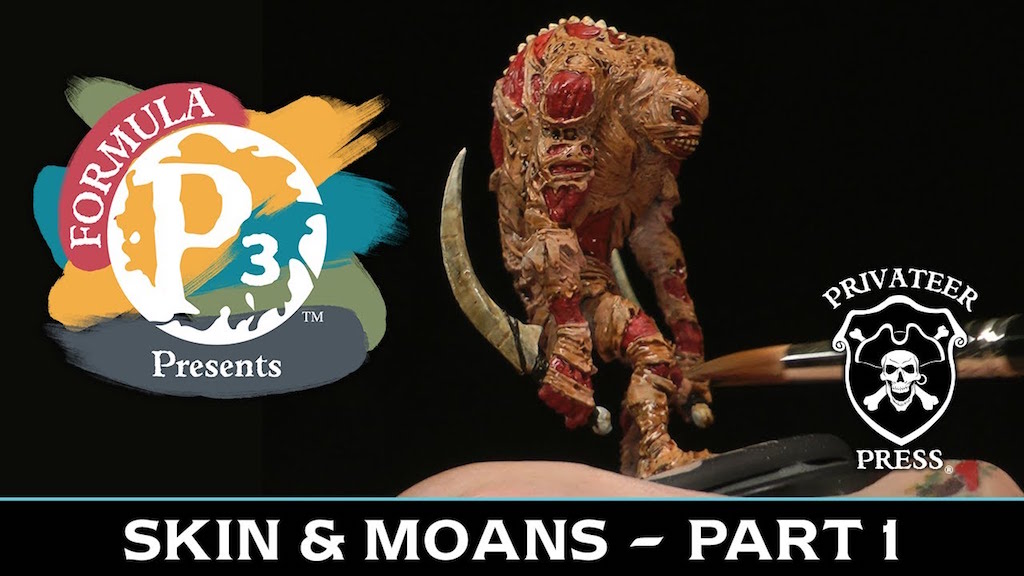
As you can see, this guy is full of amazing detail. Stitched into the skin are a number of moaning faces and–oh I just got the name!–other fine details. There’s a ton of tattered, peeling flesh, enough to make this man-mummy seem to glisten in places. And with the tutorials, they help you pick out the detail–the number of times you’ll hear “and now let’s accent this face” is enough to make anyone within earshot worry just a little bit about what you might be getting up to.
But, even if you’re not playing the Grymkin, these are still fantastic tutorials. Their technique for painting flesh, and in particular battle-damaged flesh, are pretty great. Part of the reason this looks so horrific is that it looks like it could very well be real–there’s a visceral quality to it, and one that you can bring out in any model. No matter the number of faces!
Part One, as we’ve talked about is all about getting the base of the model in place. This is the workhorse tutorial–if you paint along with the video, you’ll be table-ready by the end. There’s a lot of quick and dirty detail work to get the first stage complete. For more advanced techniques though, check out:
Part two is all about highlights and shading. The faces and flesh are given particular attention here. There’s a lot of them, and so a lot of wrinkles and tatters and tears to highlight, all fleshy or bloody. Of particular interest to me was the “stretched skin” effect that you’re able to create with the right kind of highlighting.
And then, of course, there’s always:
Now we get to the final touches. This tutorial is all about painting up teeth, bones, hooks, and the wicked weapons wielded by our friend there. These are great techniques for any kind of primeval weapon–that curved sword is basically like a giant bone and you’ll see some fancy effects to bring out that nicked, “used” quality to it.
All in all these are some great tutorials, so get your models and palettes out and enjoy. Just try not to think too much about how it’d feel to be whoever you’re painting.
Happy Painting!

