X-Wing: The Skinny on Bullseye

Get it? It’s skinny because the arc is… never mind. ChahDresh explores this new ubiquitous feature in X-Wing. Part 1: numbers and pictures.
Ever feel like FFG is conducting research with you as a participant? You should: two of the most visible changes in X-Wing 2.0 got test drives during the later phases of 1.0. The Lancer’s mobile firing arc is one; the Kimogila’s bullseye arc is another.
For a variety of reasons, the ‘Gila Monster never really caught on. Its legacy remains, though: the bullseye firing arc is now a permanent fixture in the game, and a variety of pilot abilities and upgrades (from Soontir Fel to Crack Shot) now turn on your ability to nail your enemy down in that narrow strip.
But how much do we really know about the bullseye arc? It’s time to take a tour.
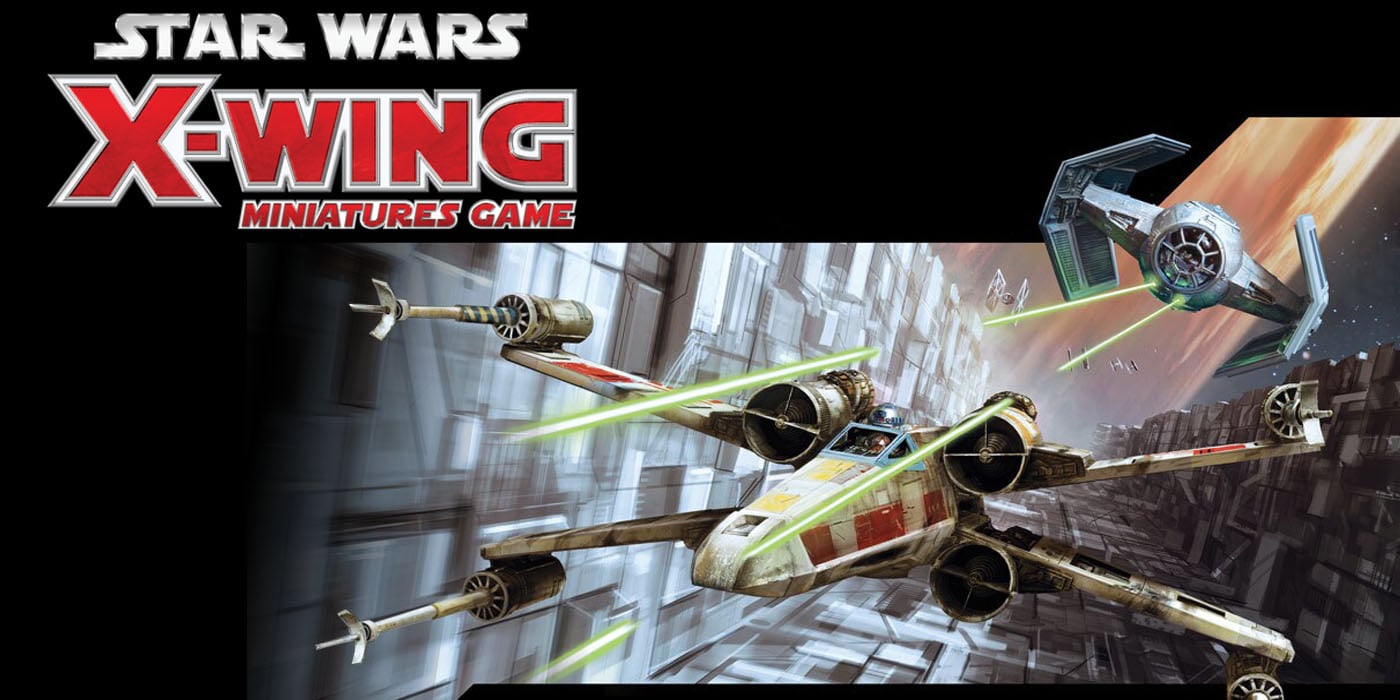
First things first: it’s really skinny. The bullseye arc is the length and width of the common range ruler, meaning it’s 30cm long by 1.5cm wide:
All there is to it.
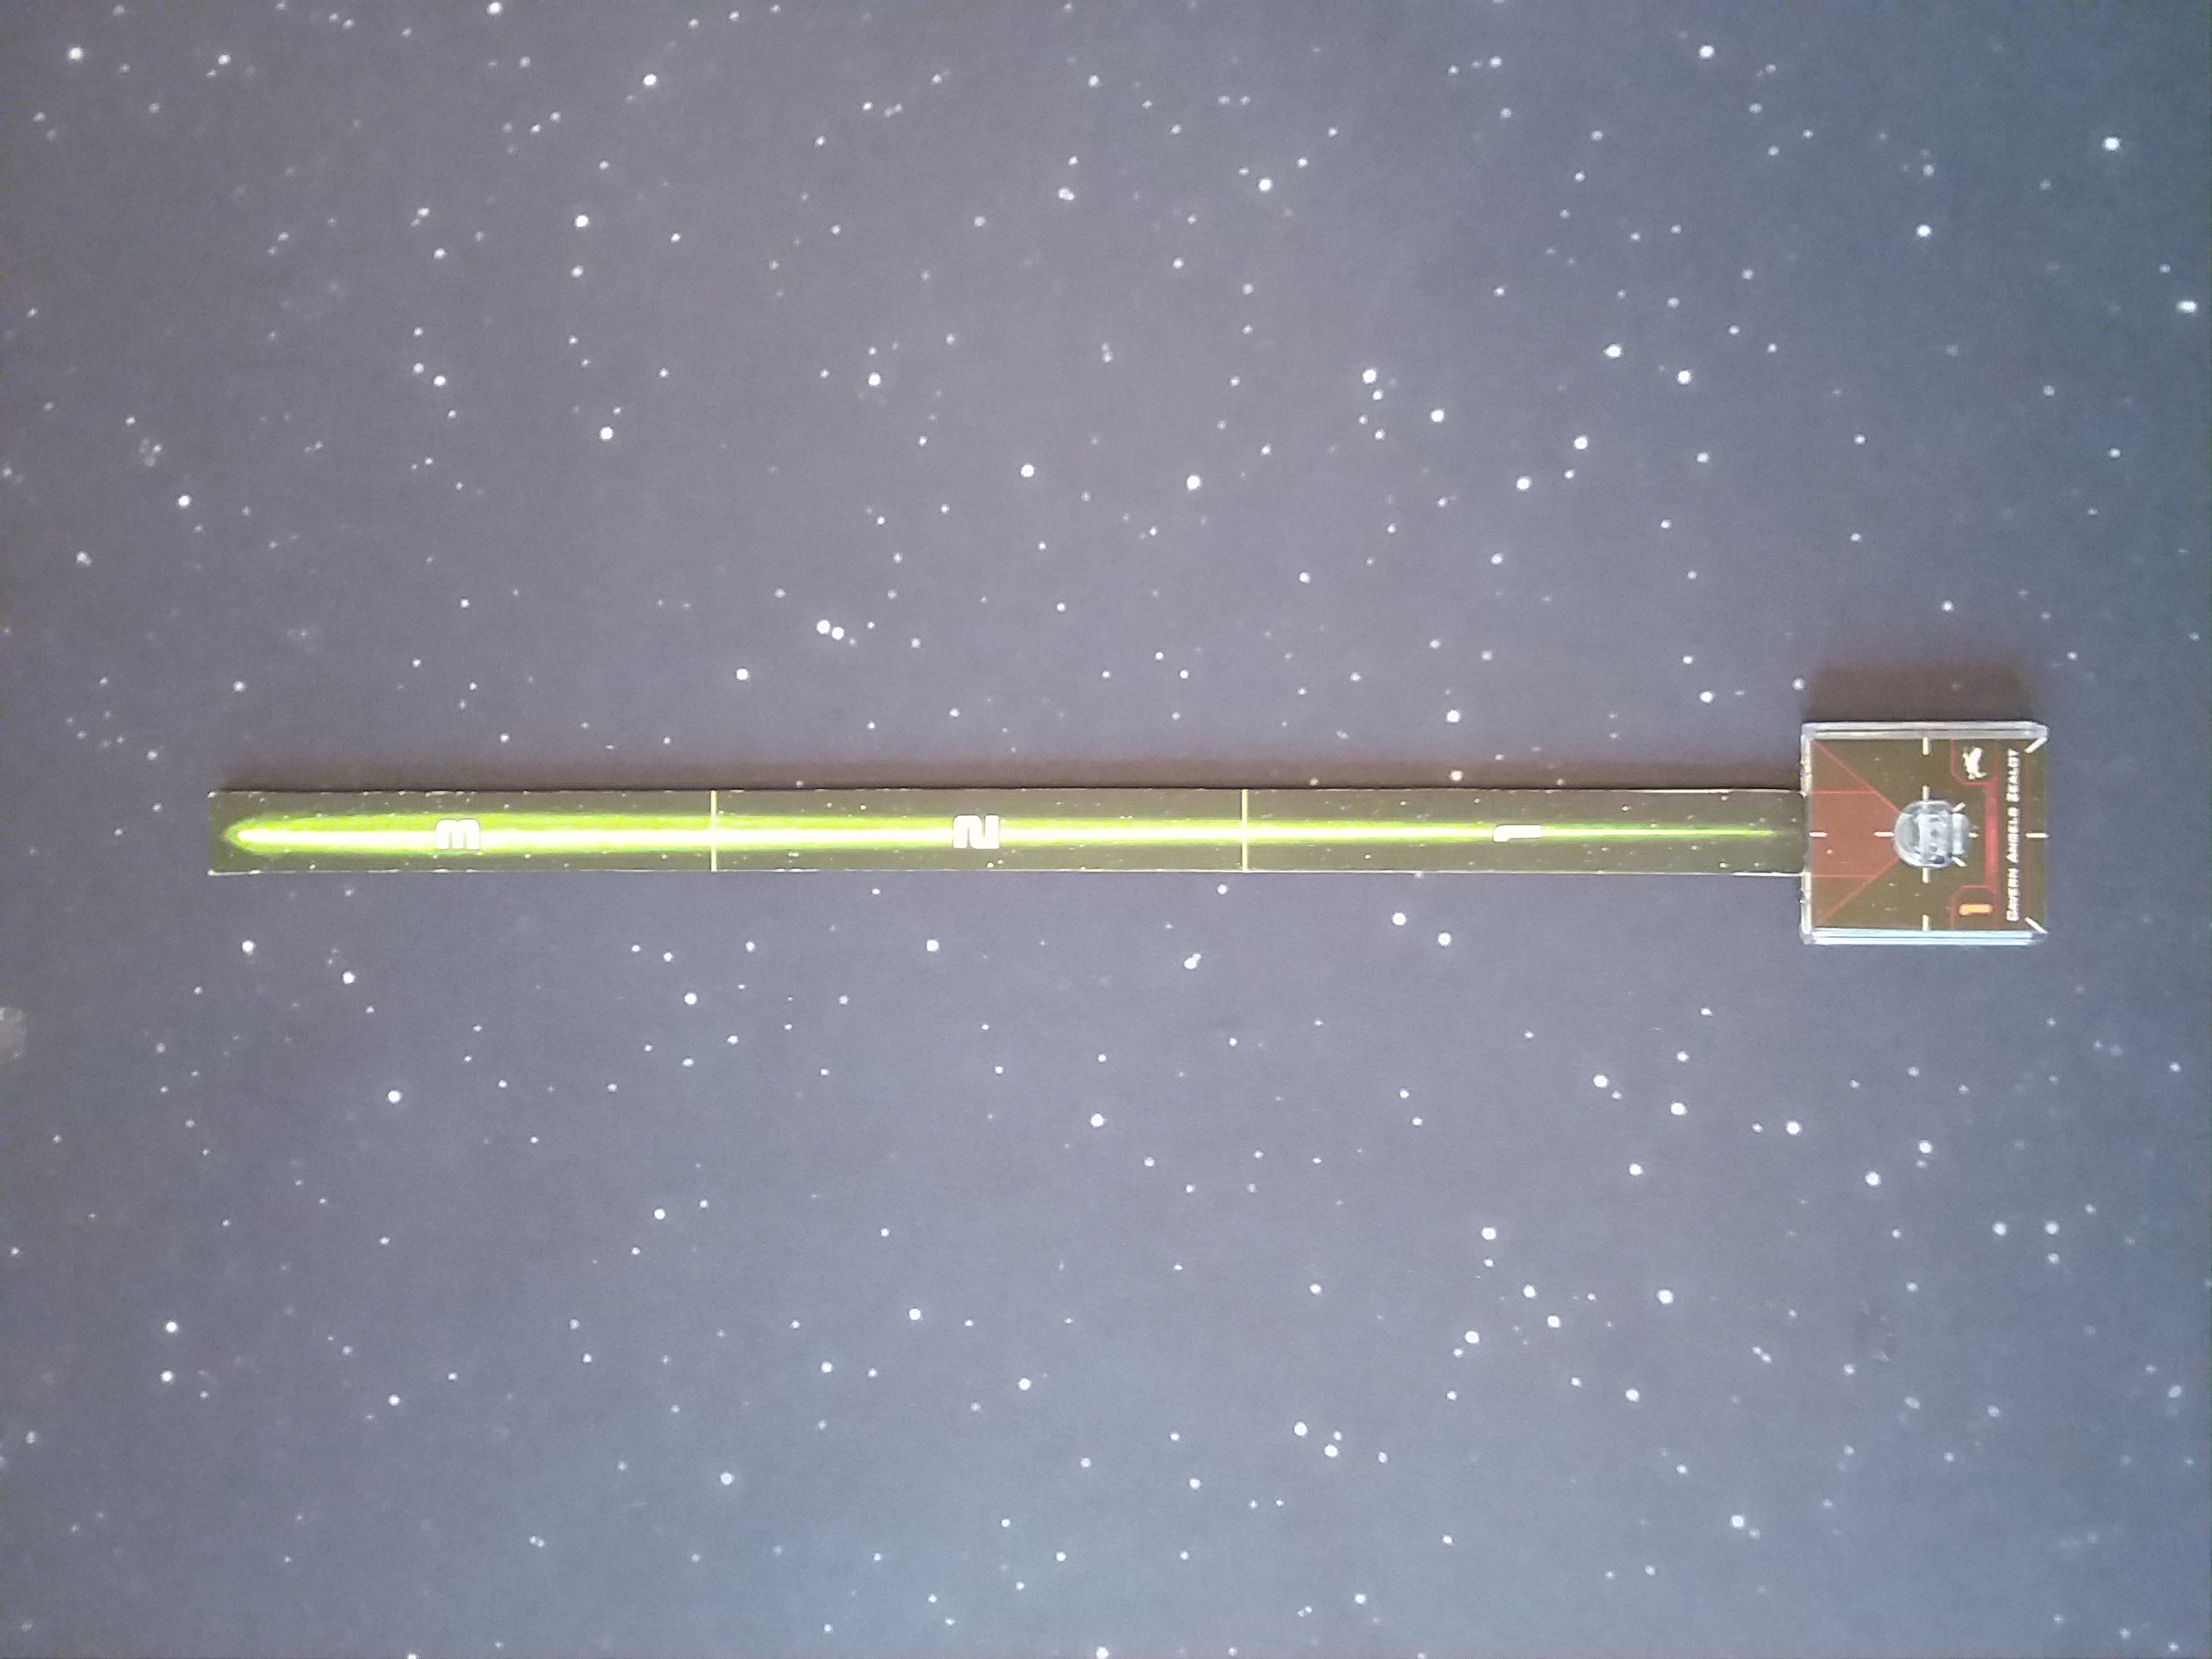
By comparison, this is our overall firing arc:
Just by looking you can tell the bullseye arc doesn’t amount to much. For the mathematically inclined: the bullseye arc constitutes only 5.3% of your overall firing arc— 45 cm^2 out of ~848cm^2 in total.
Mathnerdness: all arc calculations are approximate because the firing arc isn’t a perfect circle; it’s squared off. Still, these numbers should be close enough to give us perspective.
We can see there are plenty of places a ship can be that are in your arc, but not in your bullseye, from relatively tame examples:
…to spicier fare…
Face it, you’re just lucky to have *any* shot here.
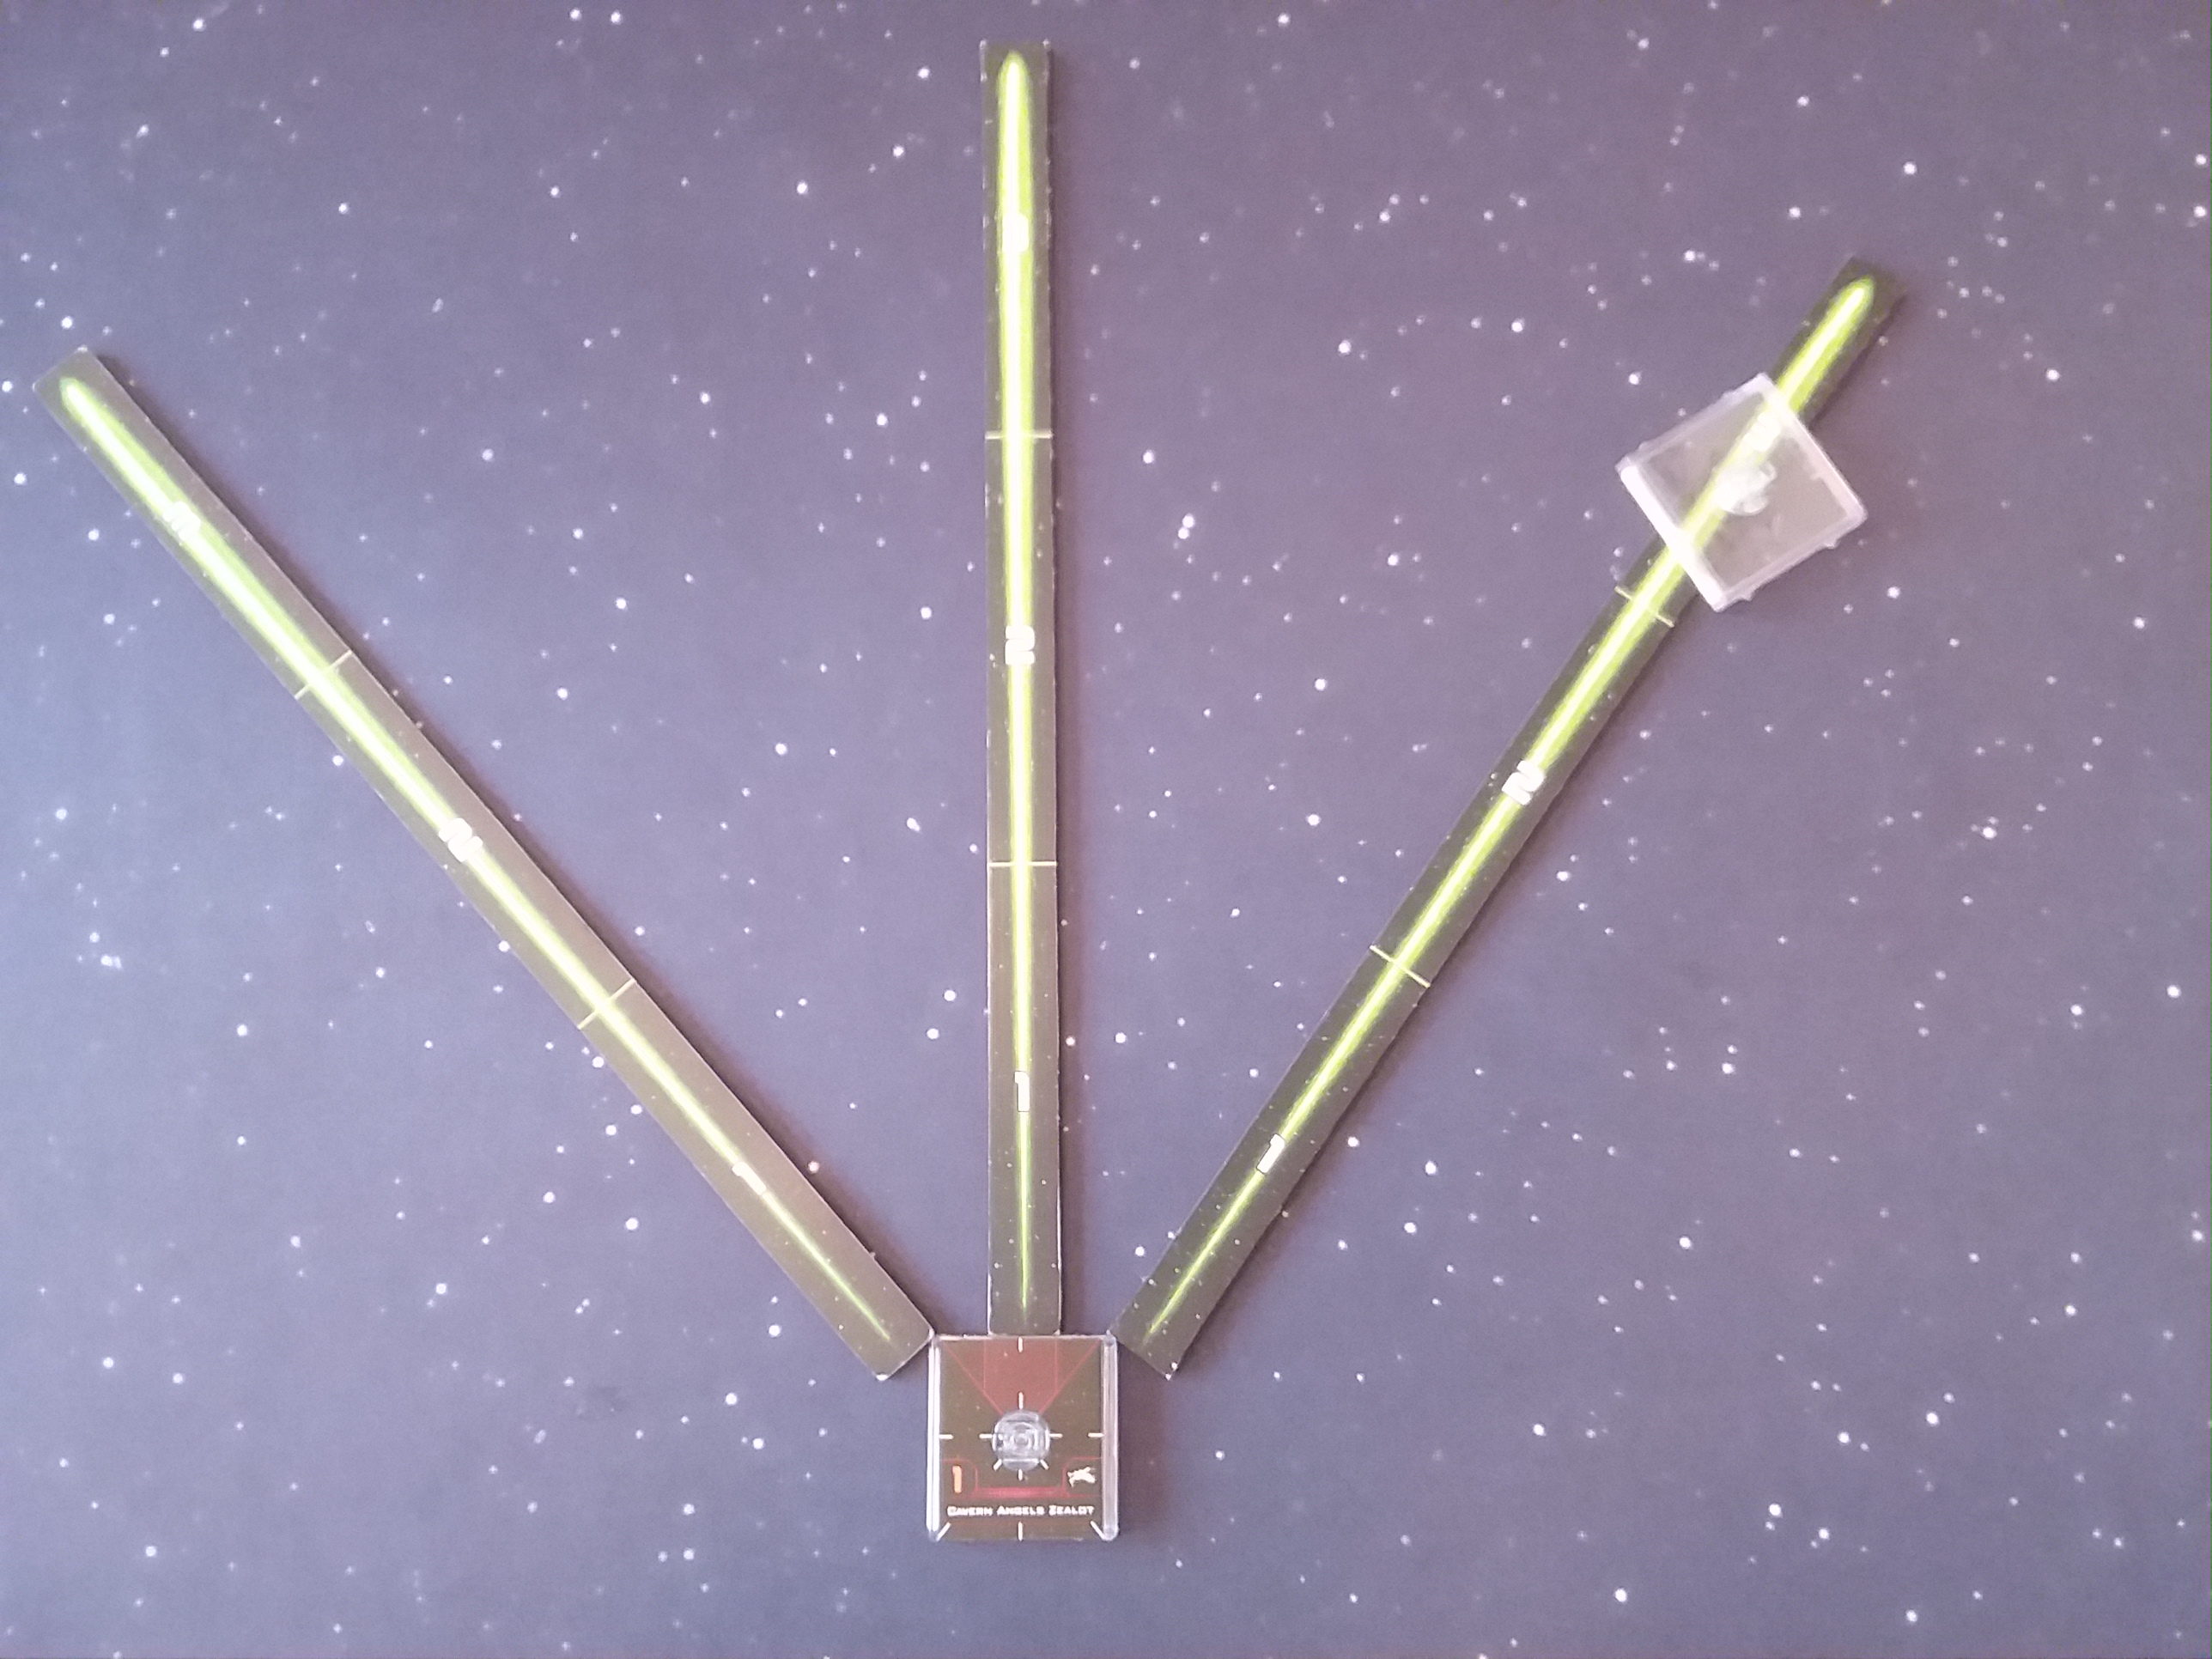
Here’s the trick of it, though: most of the area of our arc is far away. It’s concentrated at range 3. That is, the farther away a ship is, the harder it is to bullseye.
Illustration of the point: check this action out:
That’s five, count ’em, FIVE small ship bases!
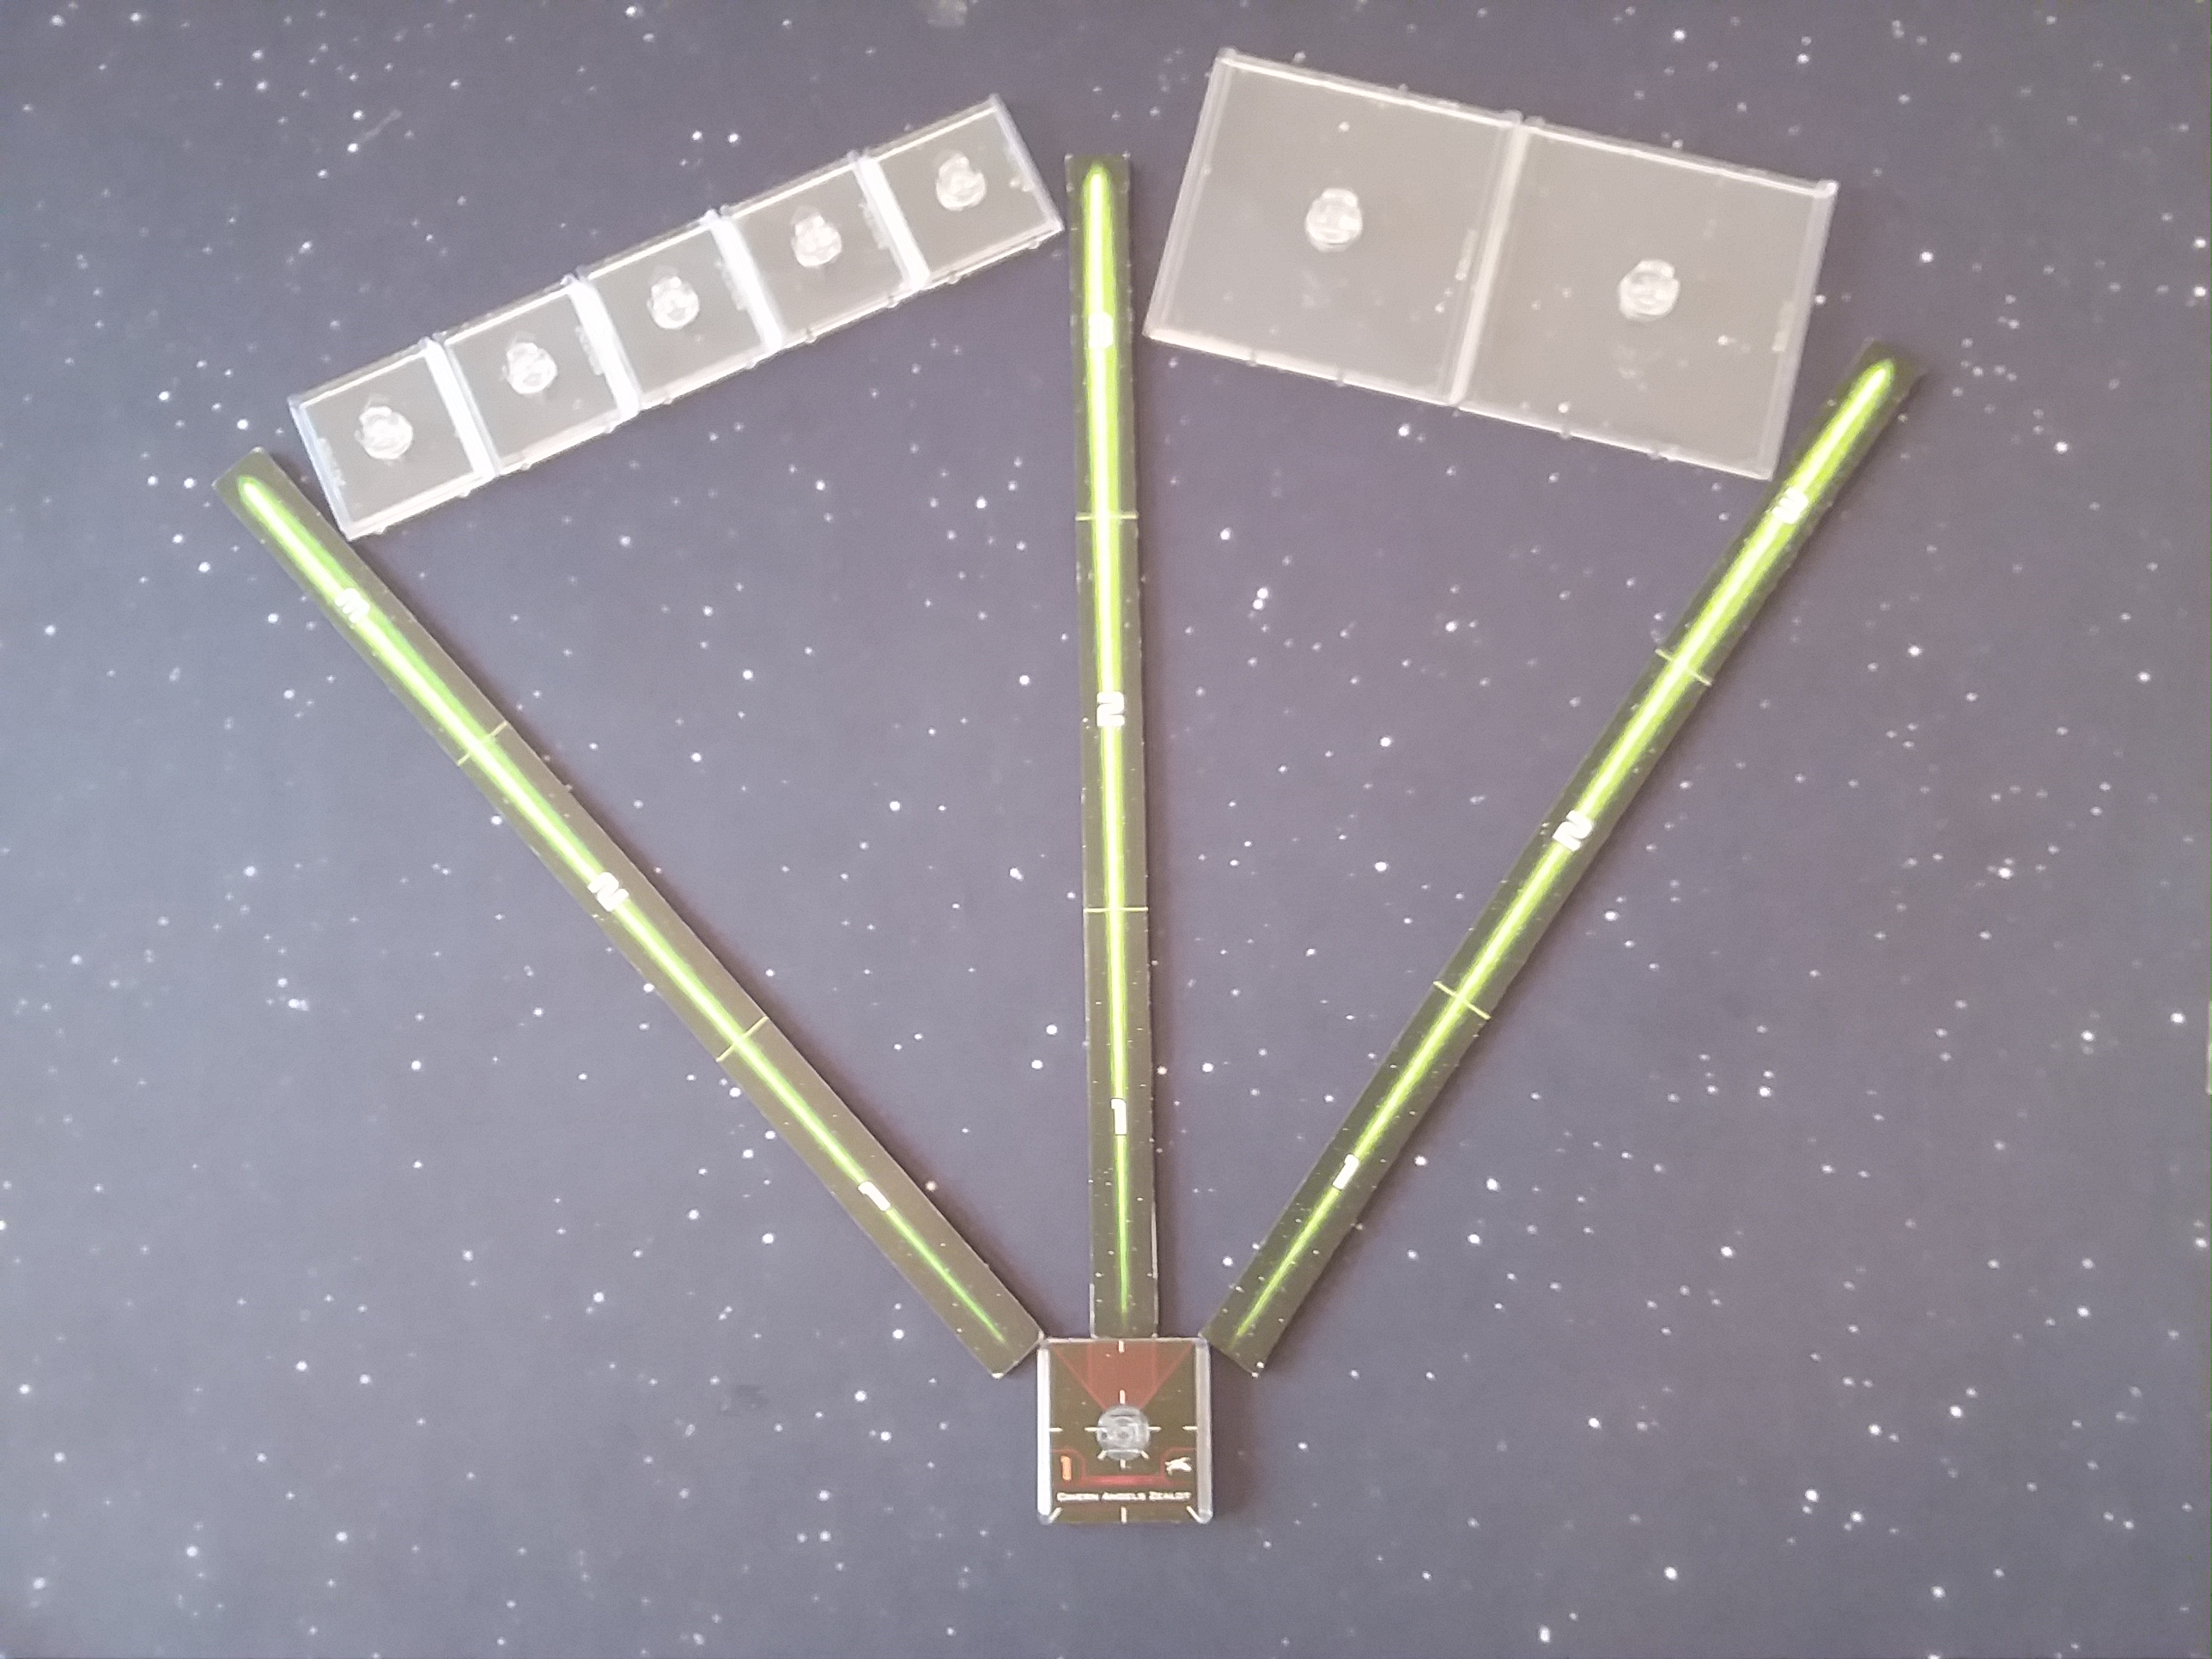
Note that we could’ve stuck a sixth in there since any part being in arc would put the ship in arc, but I think we’re making the point here: at range 3, there’s a lot of room. What about range two? That’s a different story.
Note that those are *medium* bases, not large, and they only barely fit here.
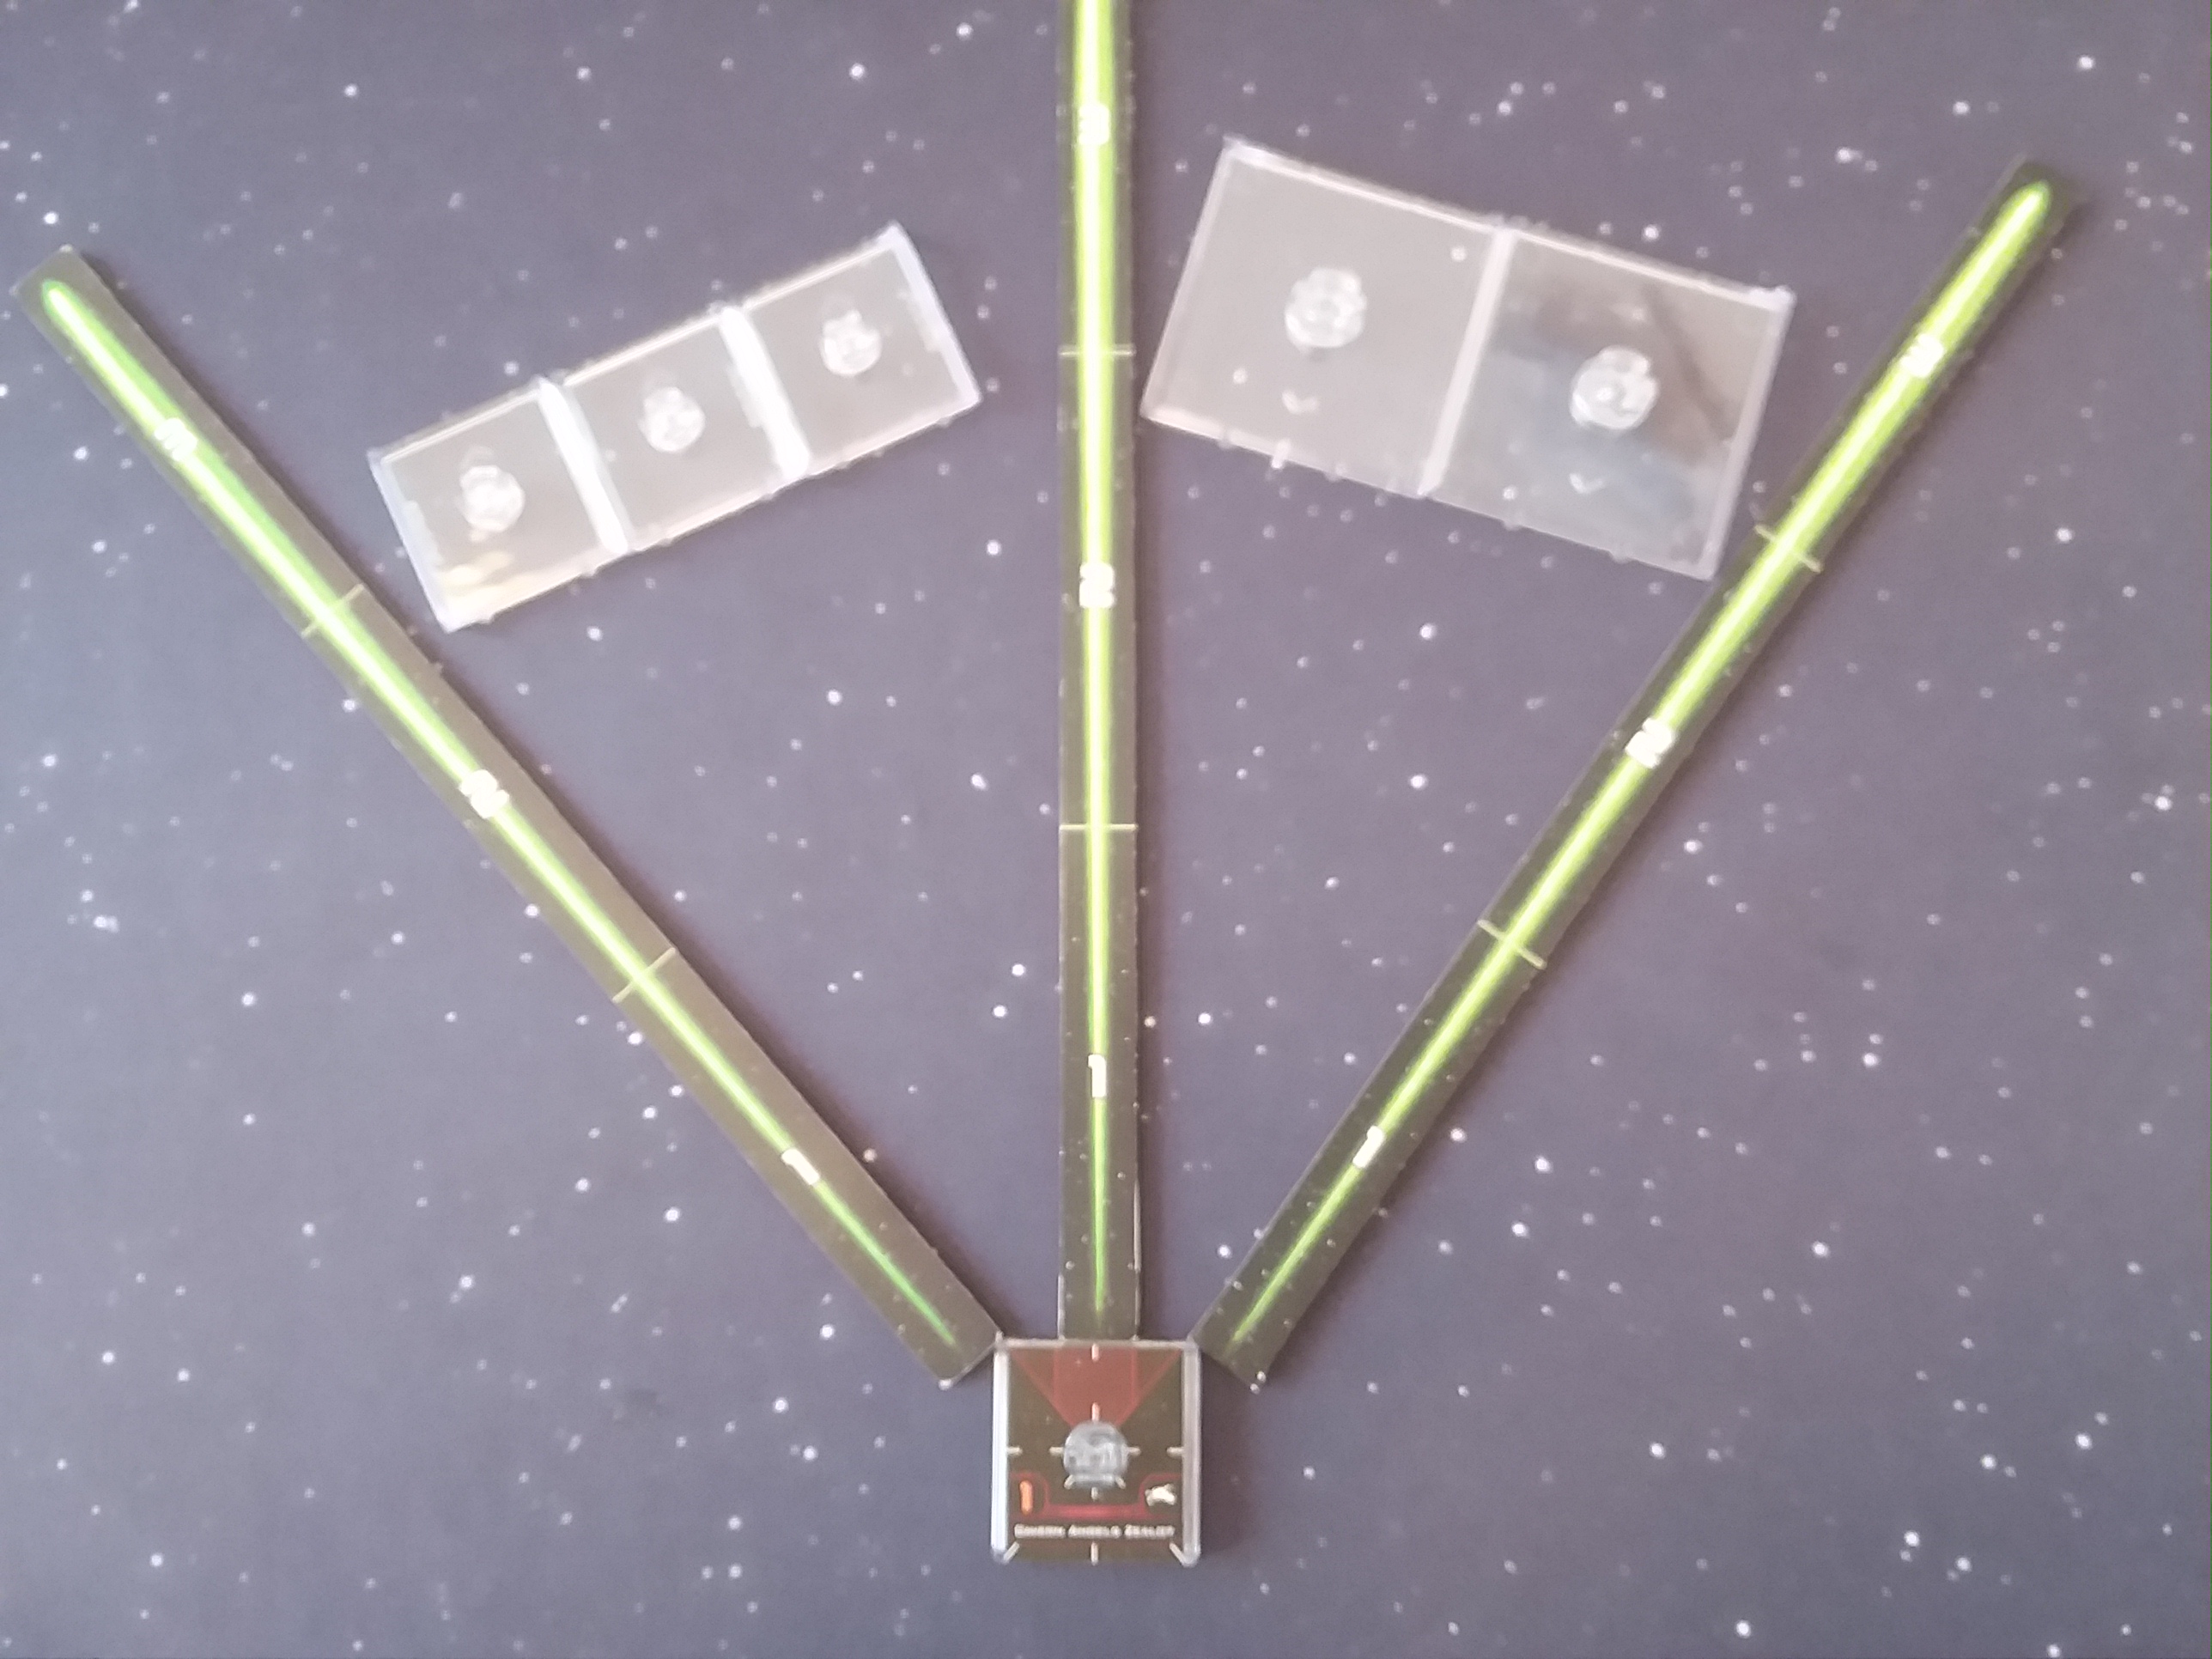
And, for the sake of completeness, range 1:
Getting crowded, huh?
That checks with our math. At range 1, the bullseye arc is 15cm^2 of area… out of a total area of 133. That’s 11% of our range 1 area, compared to 5% of range 2 and a mere 3.5% of our range 3 arc. This helps explain why the Heavy Laser Cannon is only four points: it’s most useful at ranges where it’s hardest to get the shot. (Contrast to Proton Rockets: more expensive for a one-use shot… but an extra die and at a much more useful range band.) These pictures also help make another point clear: the bigger a ship is, the easier it is to bullseye.
This is a potential internal balance proposition: if big ships start to get popular, players can easily shift towards favoring bullseye tools, making a bigger drawback of the bigger bases. Me like.
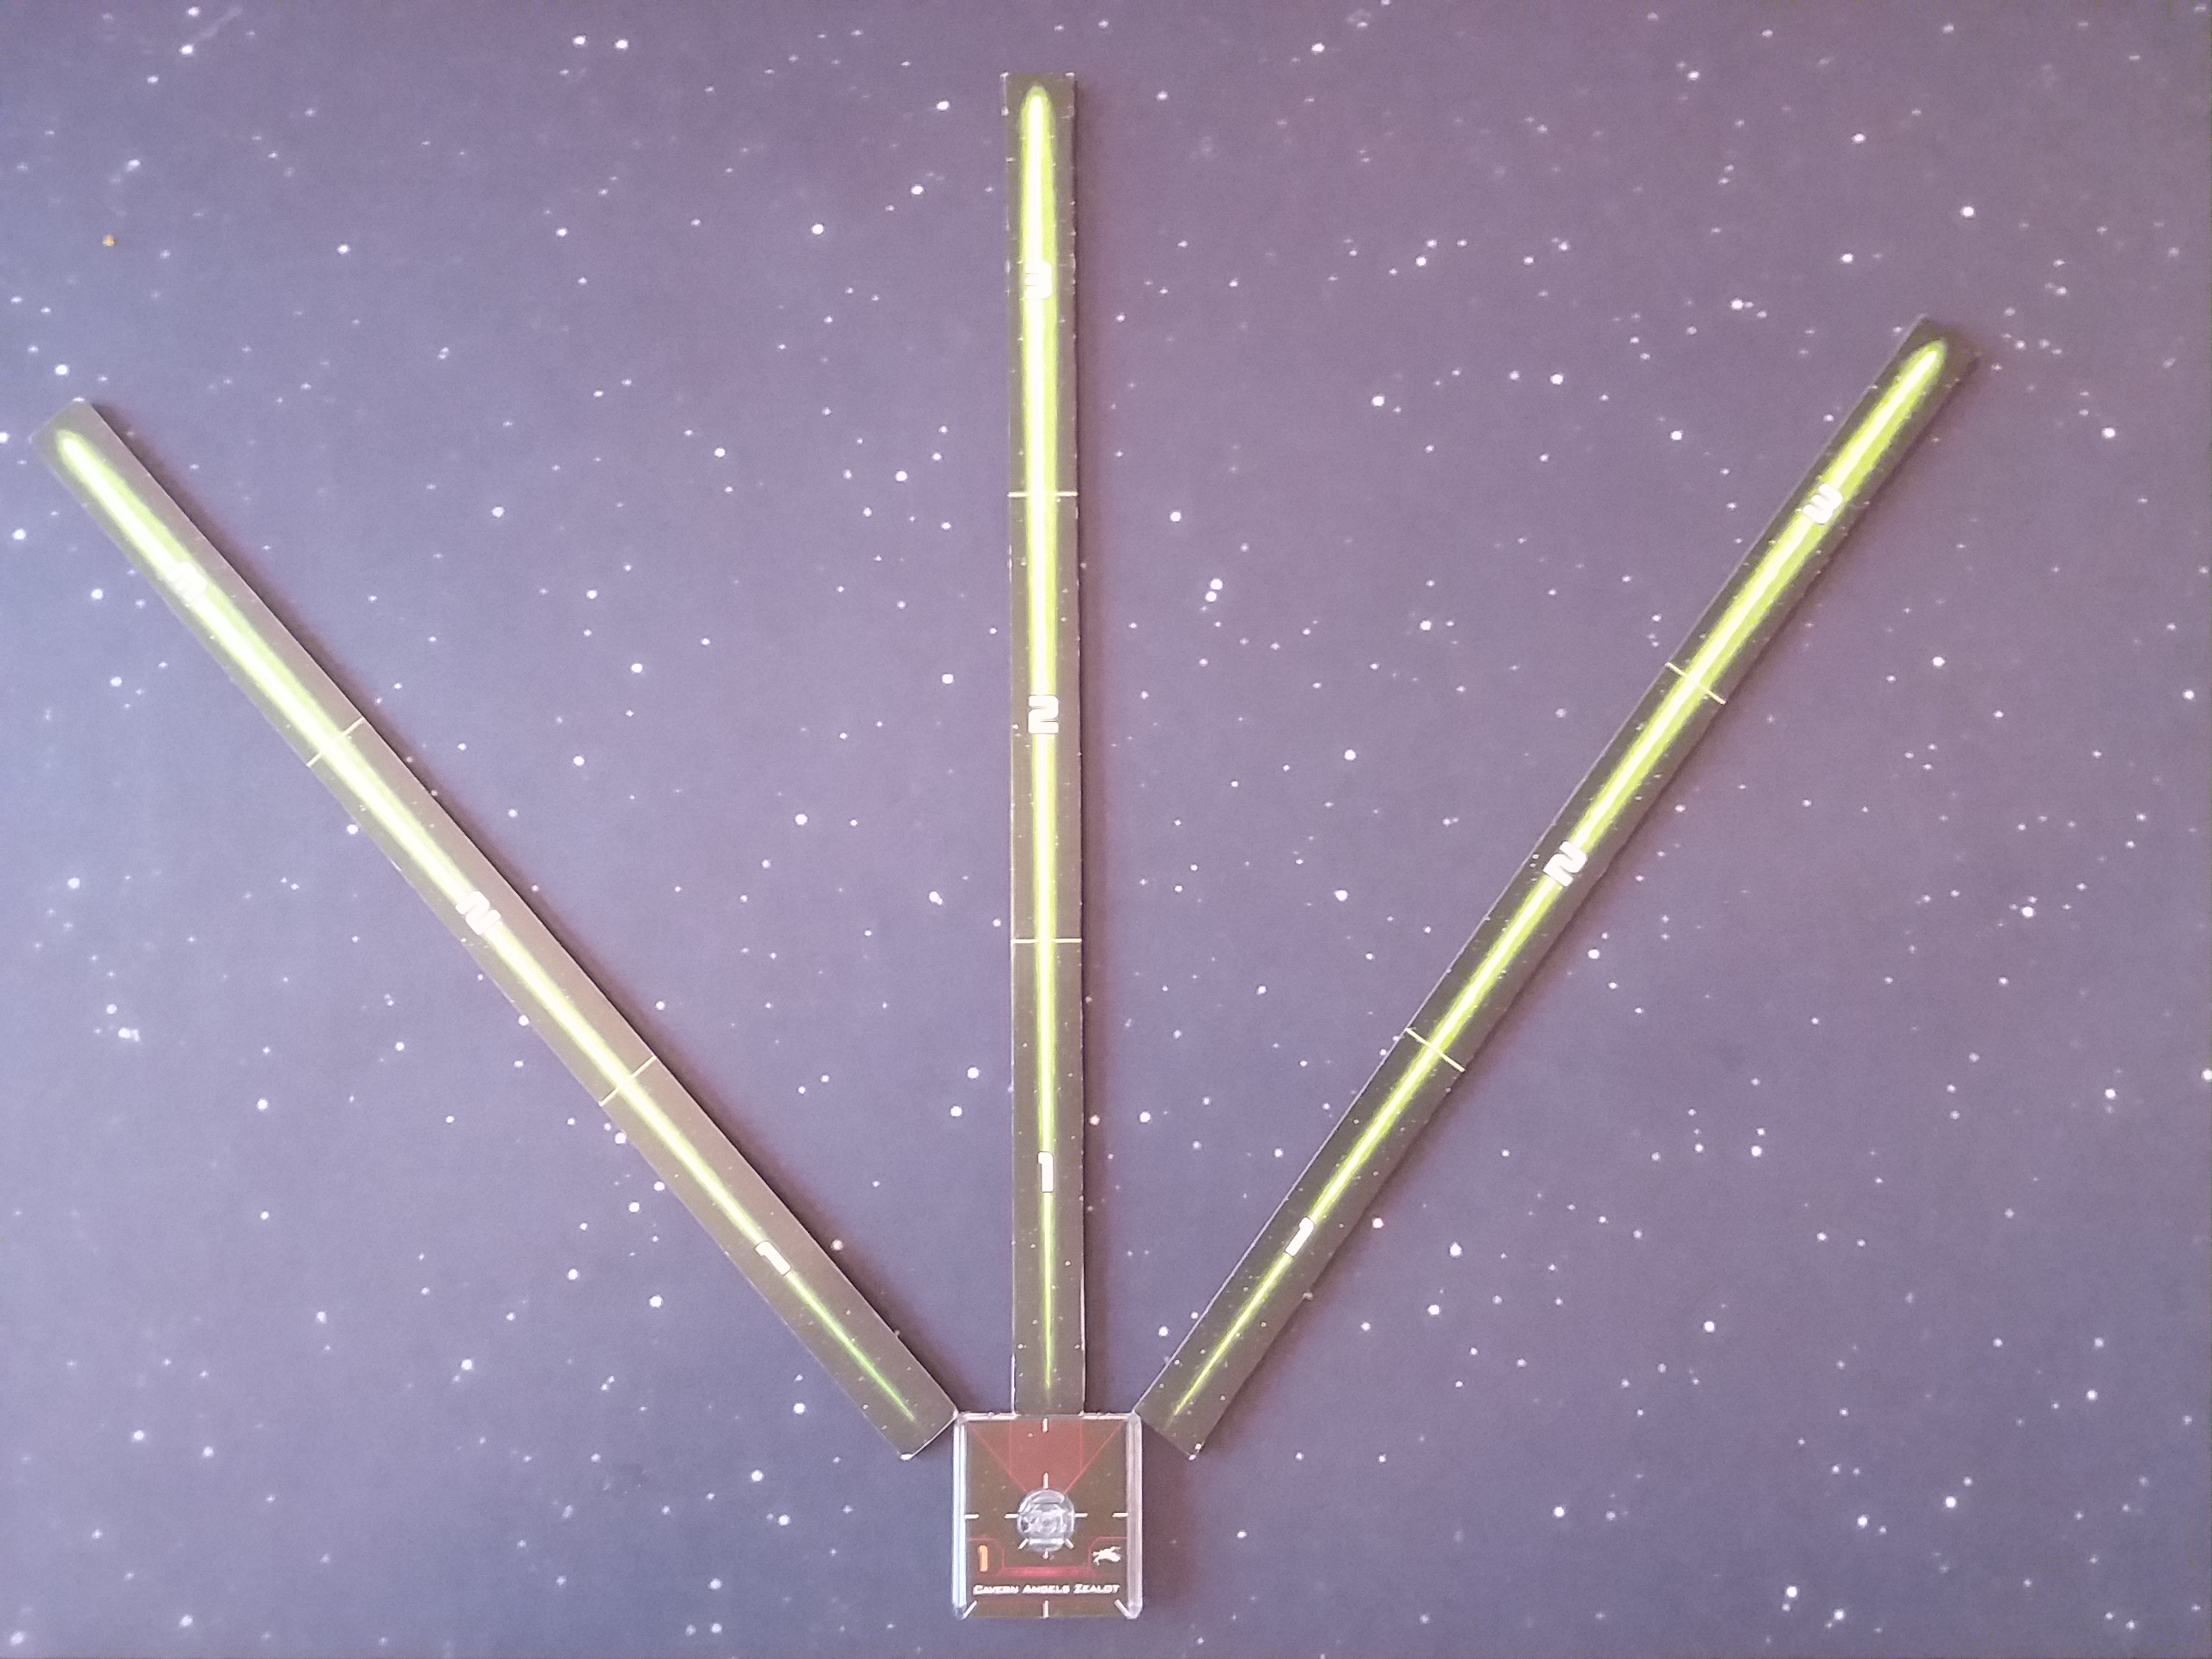
You can, of course, increase your bullseye coverage via repositioning:
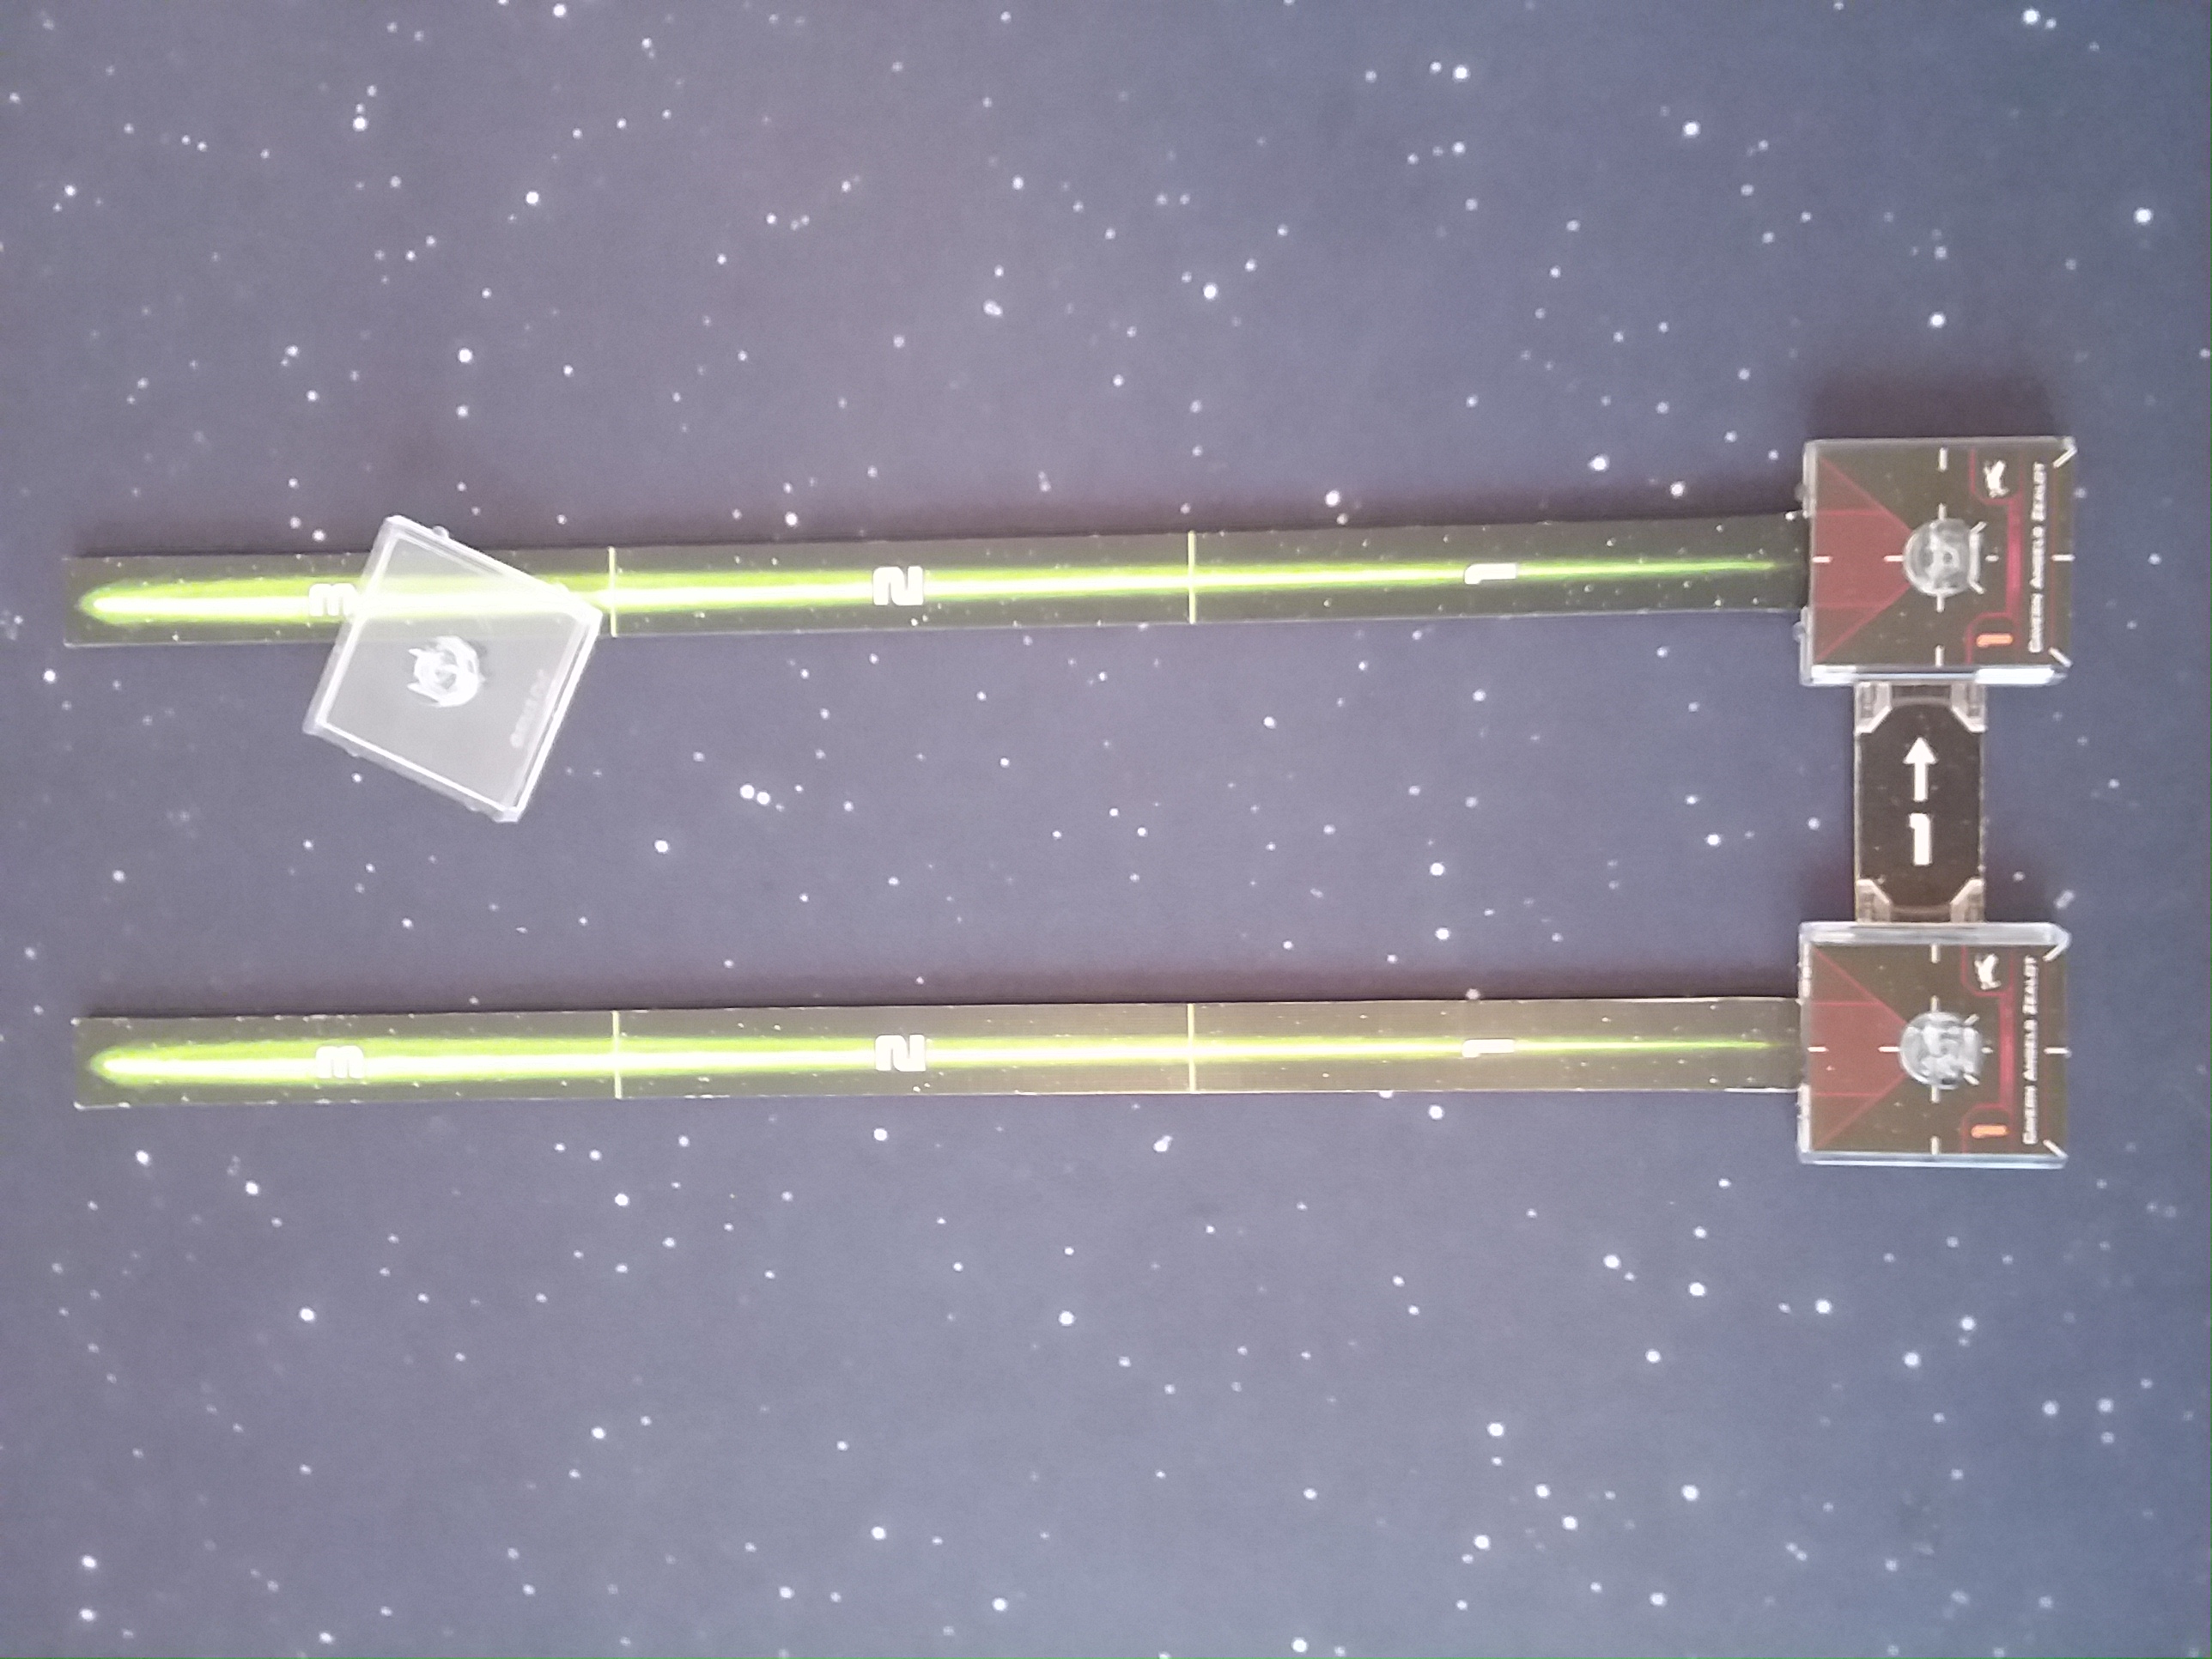
Got ’em!
The ability to barrel roll effectively triples your potential bullseye coverage. This most comes into play for high PS ships; in the same way that they reposition to arc-dodge, now they can reposition to nail their chosen prey. The lower PS you are, the harder it is to make hay out of the bullseye, barring some immaculate blocks.
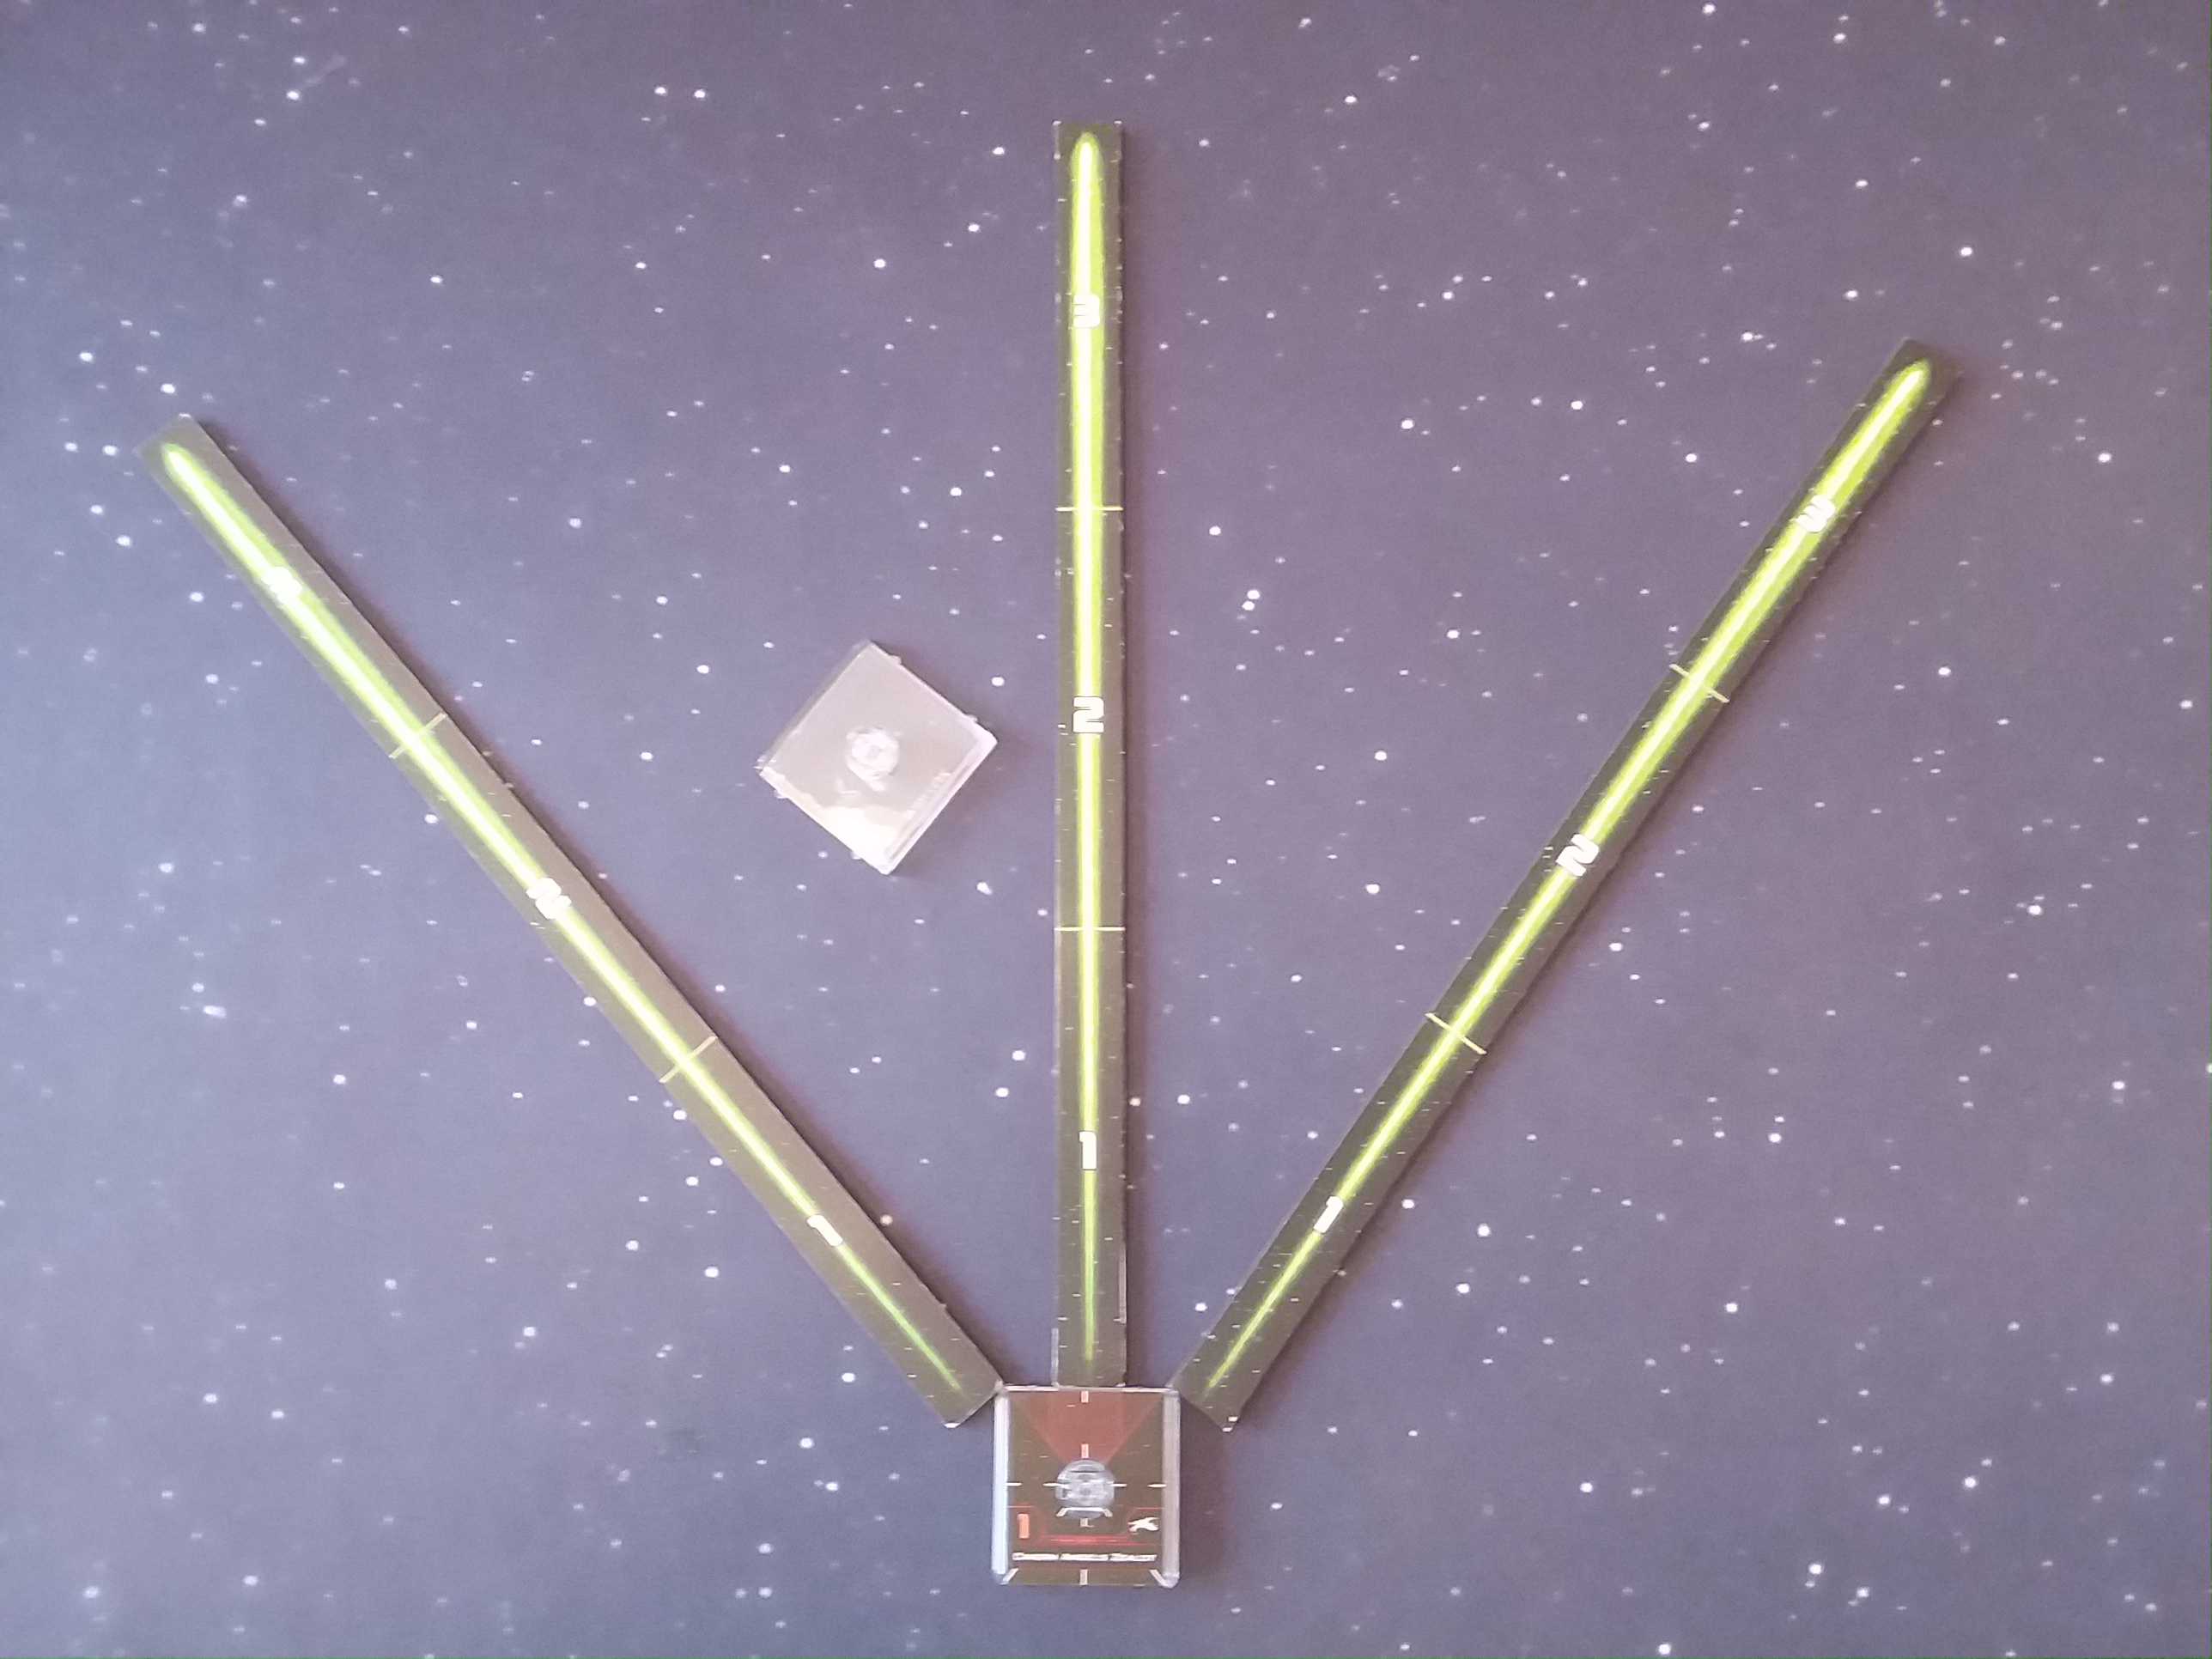
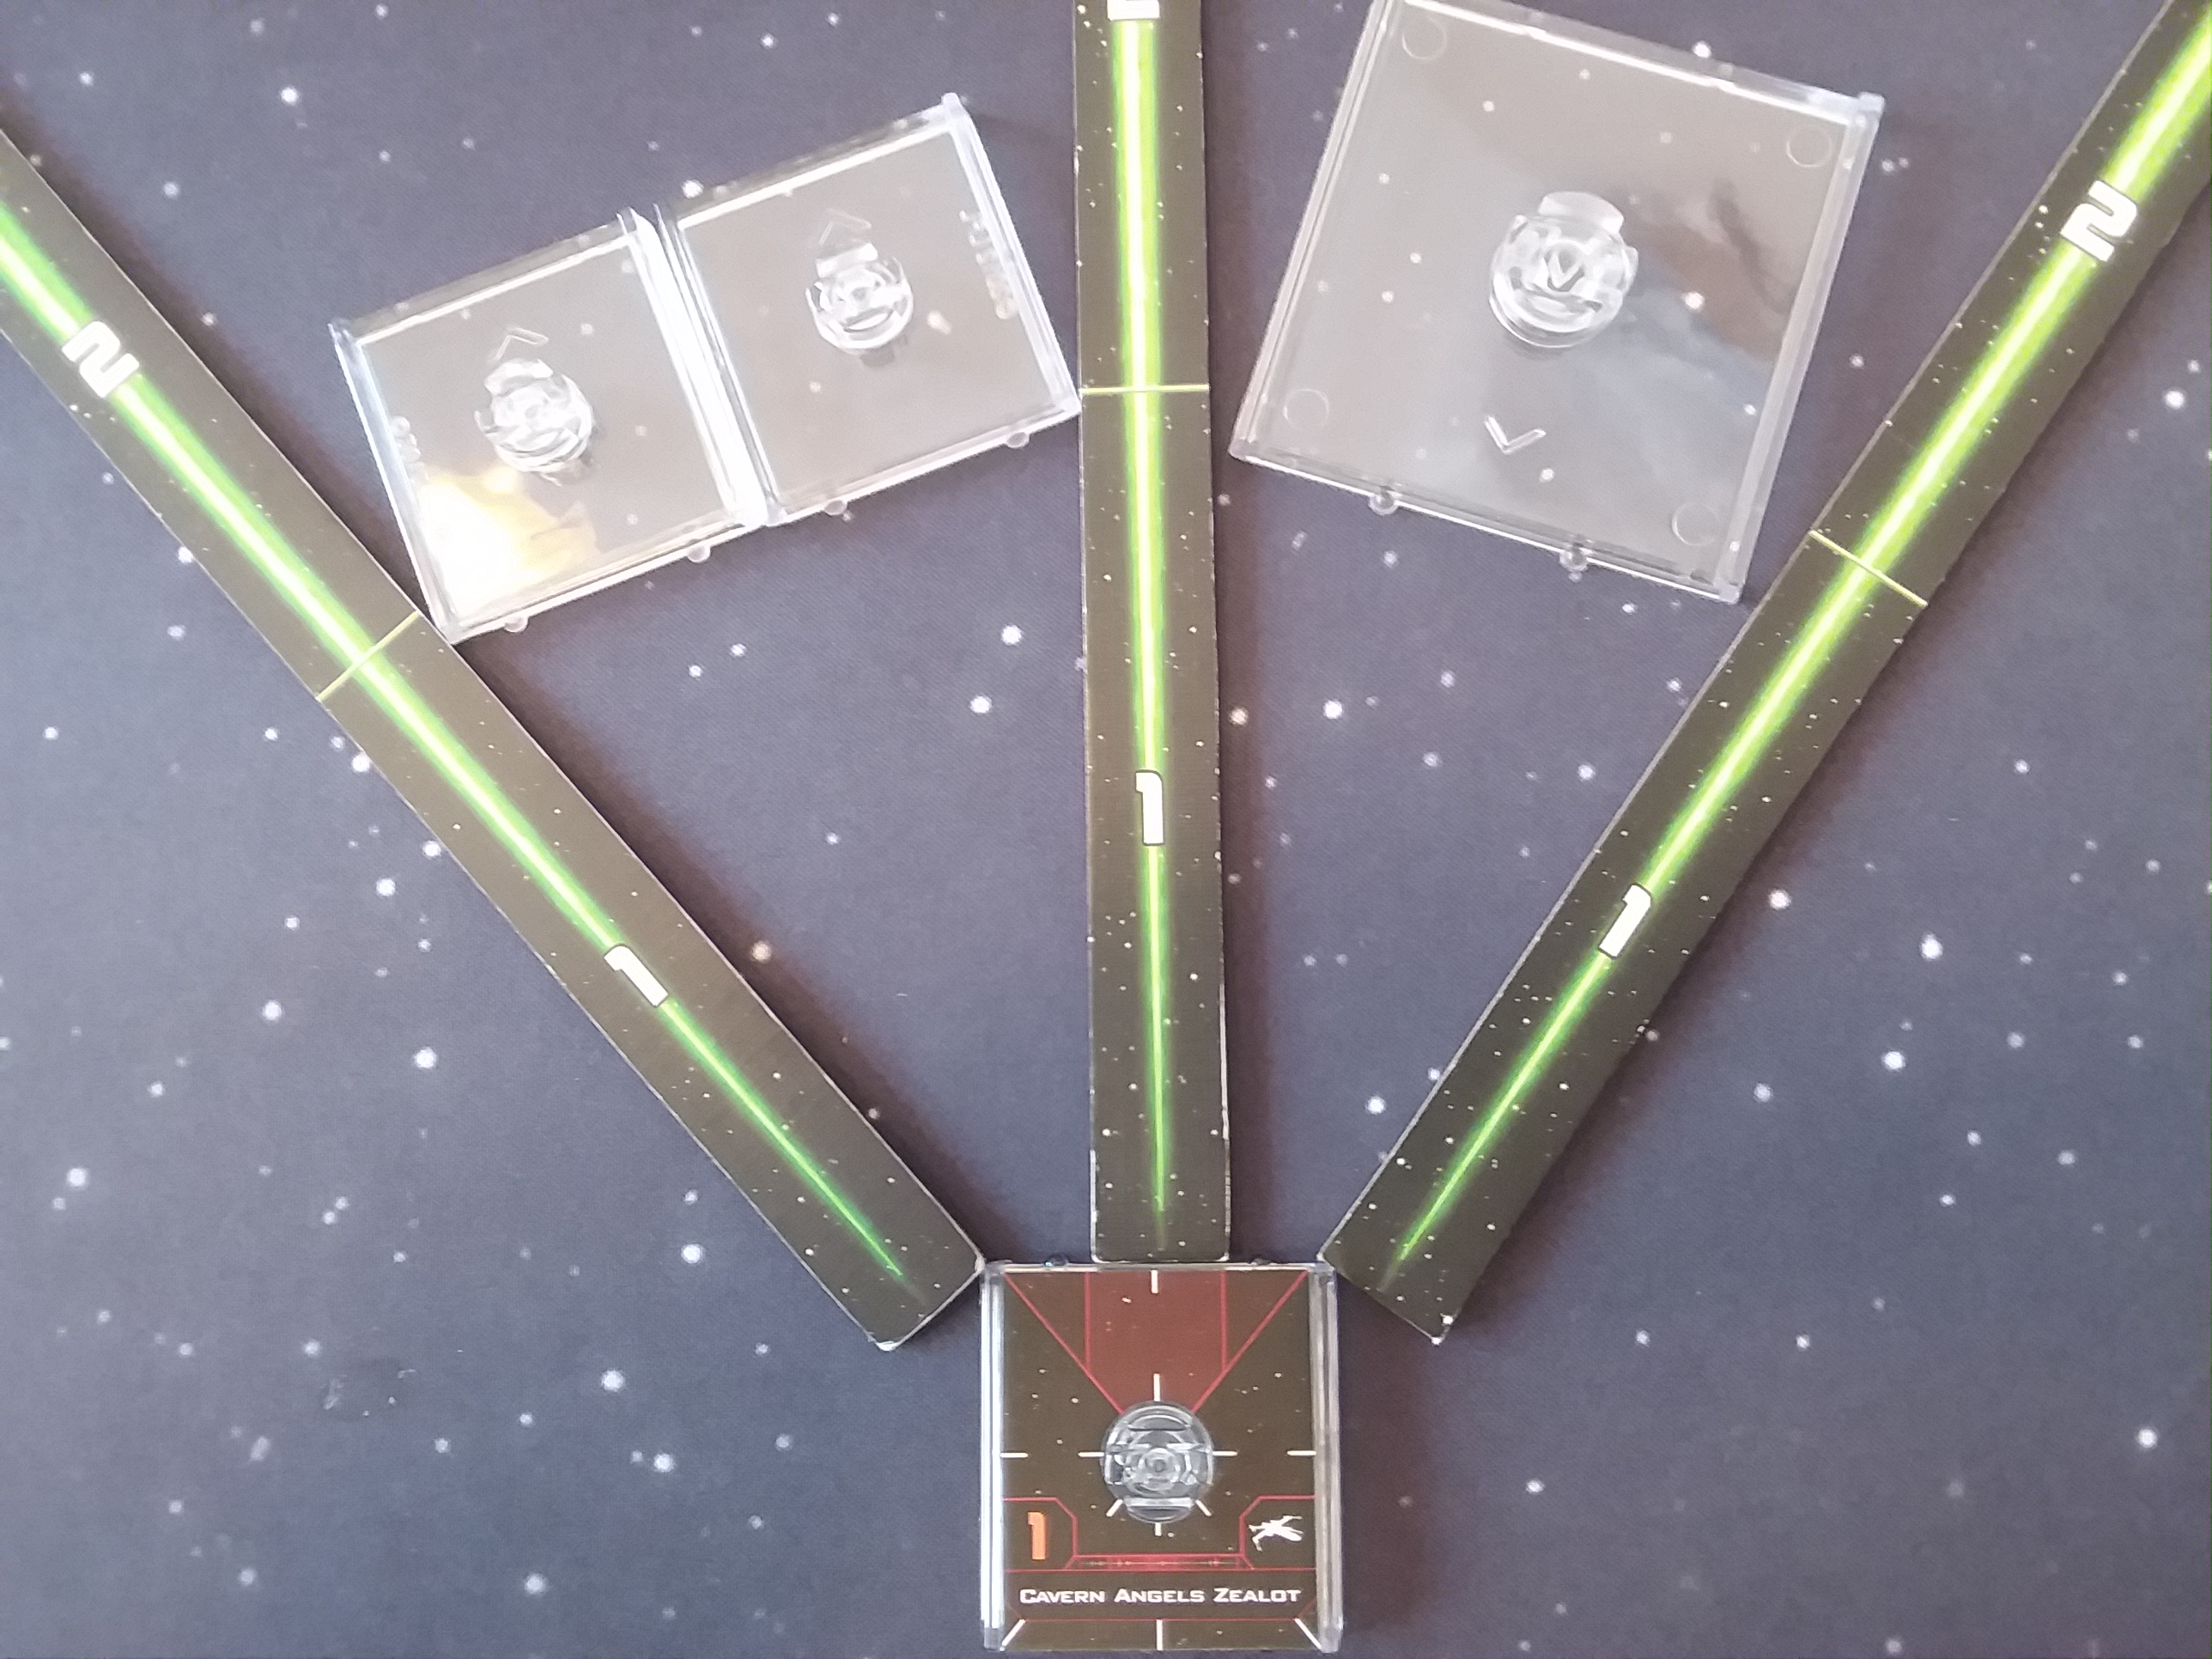
Interesting point of comparison: check out this medium ship barrel roll:
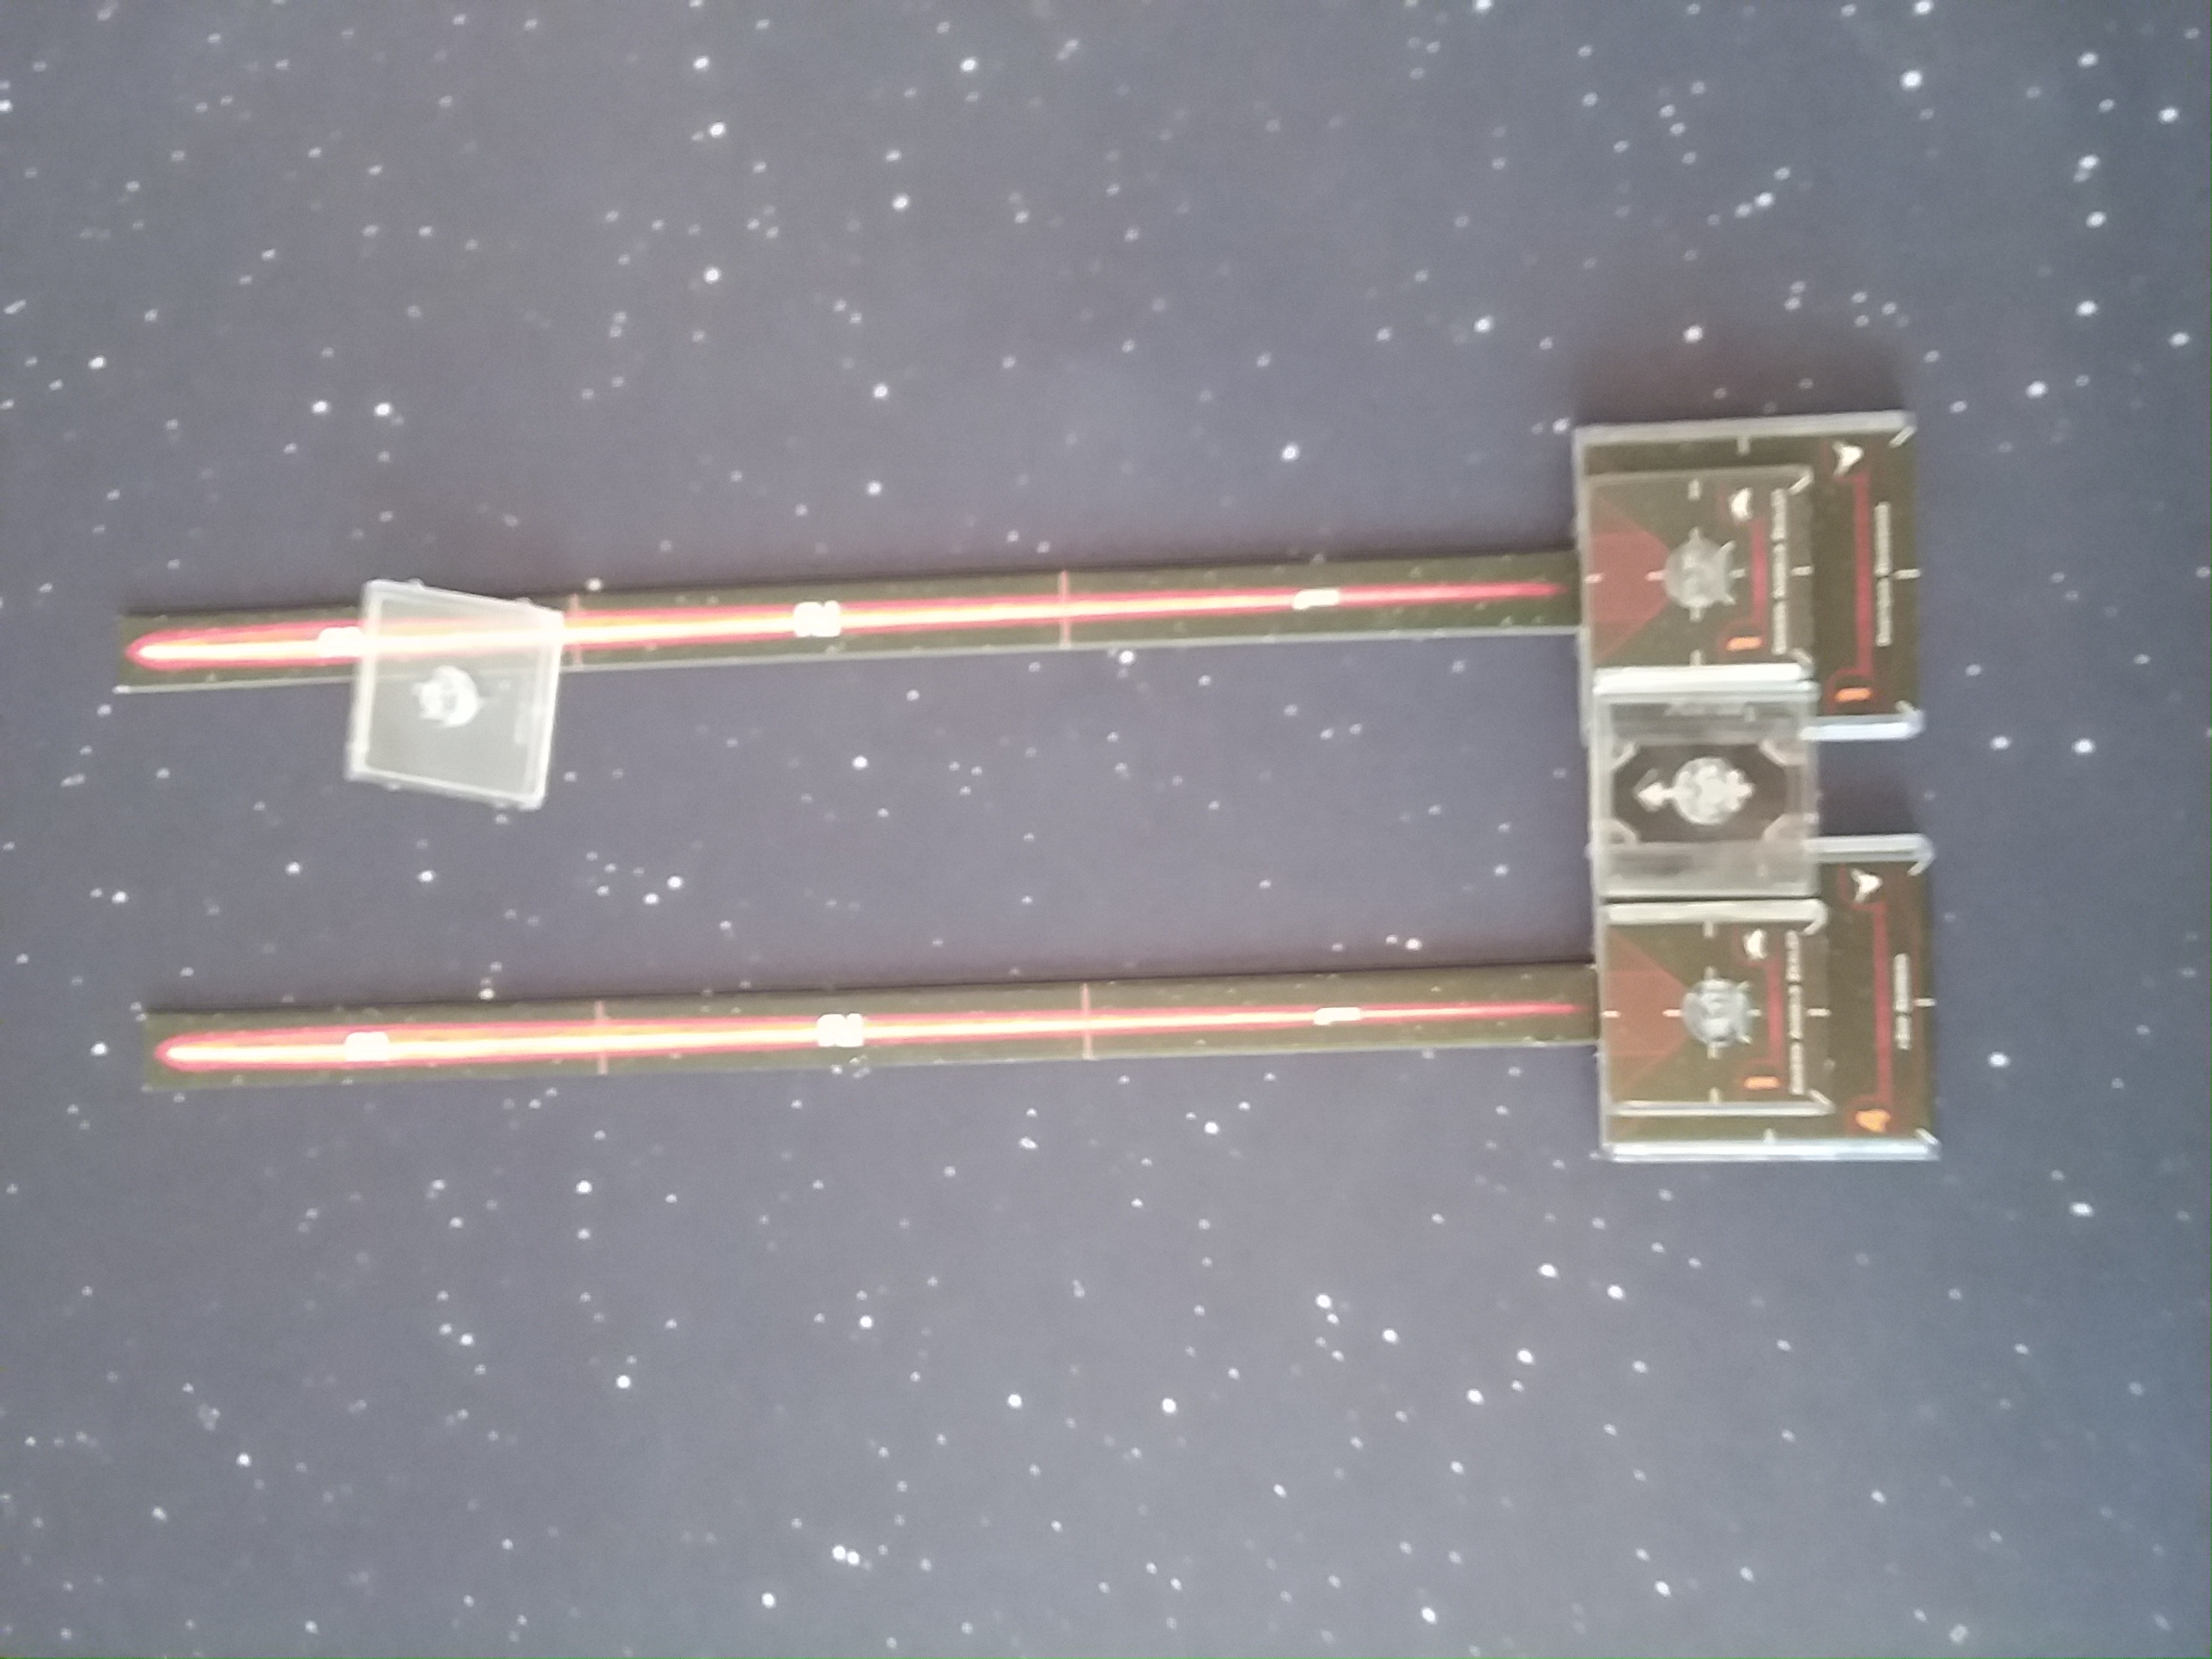
Yes, I know the U-Wing can’t barrel roll, hush.
If it looks a little cluttered: that’s a small ship base on top of each medium base, with exactly one small ship base (i.e. the same size as the one-ahead template) between them. Compared to the small ship barrel roll, you end up with your bullseye arc in the exact same position. It’s not that the bullseye is any bigger for the medium ship (it’s not); it’s that the extra base size is offset by the fact that the barrel roll uses the long edge instead of the short edge for medium ships. Note that this DOES NOT work for big ships; barrel rolls for big ships toss your bullseye all over the place.
Naturally, a barrel roll applies only a linear offset; it doesn’t change the angle of your bullseye. But a boost can:
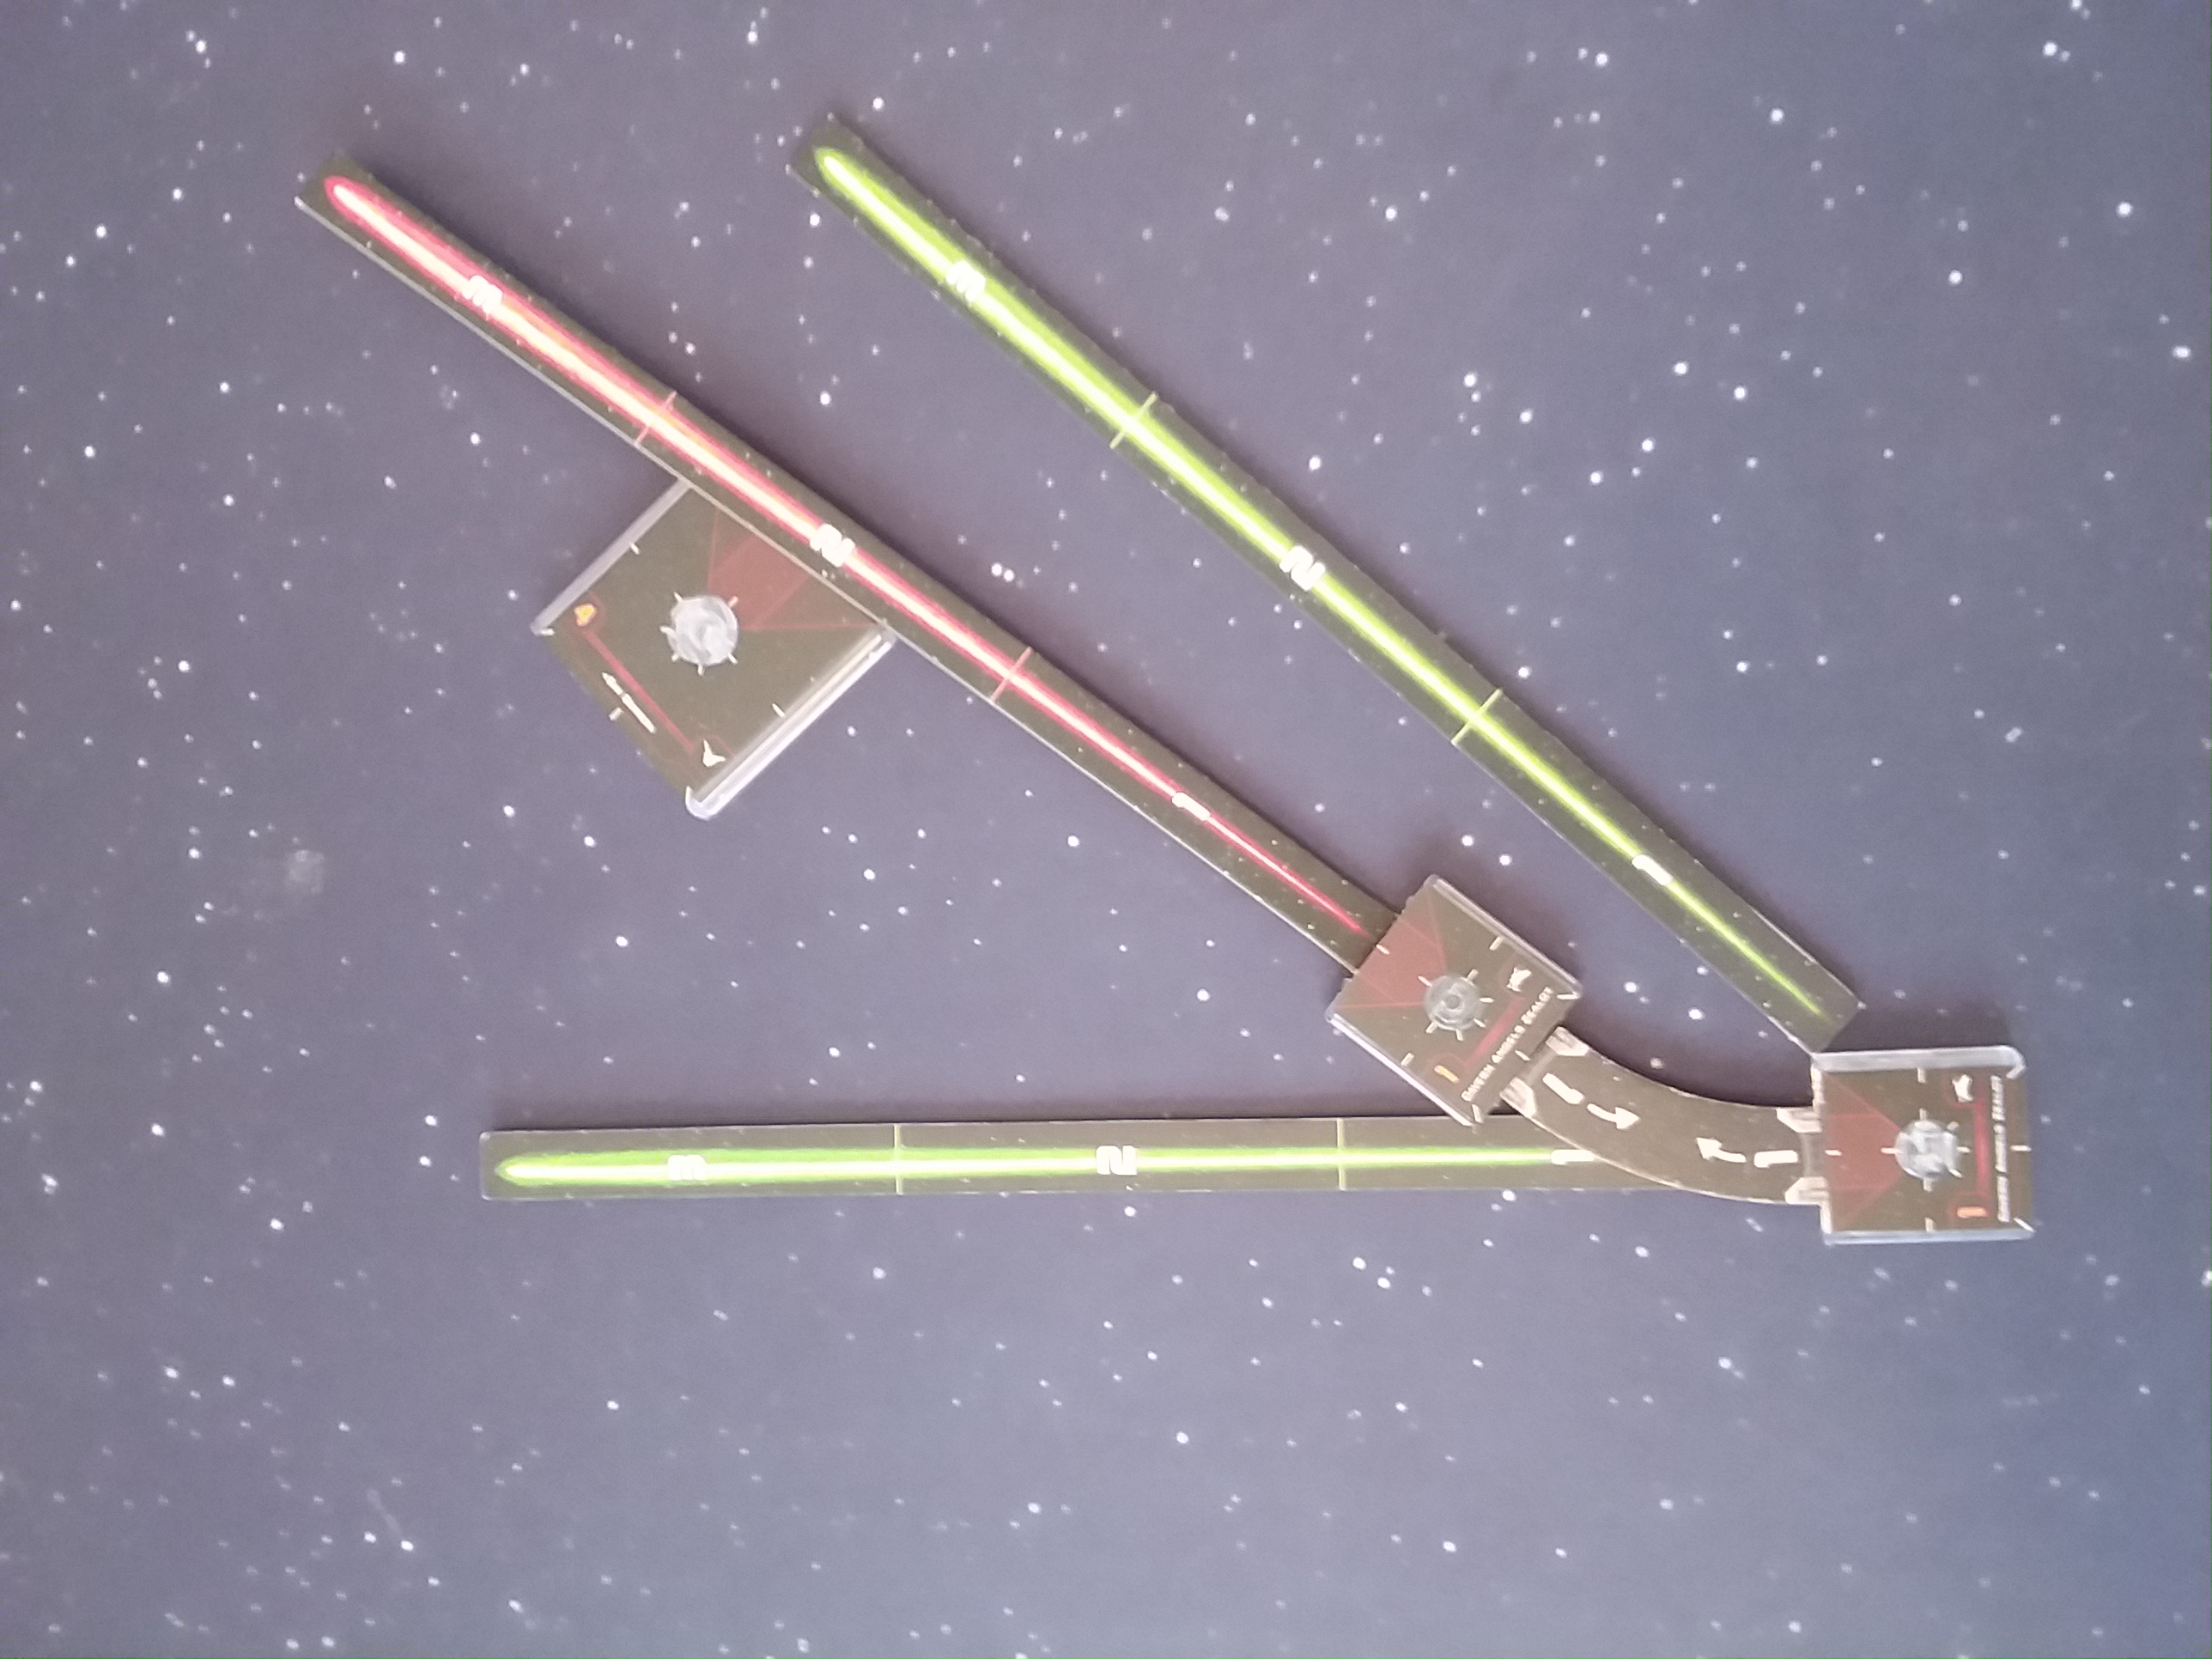
Here’s the catch: both boost and barrel roll take an action to perform. Is that worth it? Put more precisely: if we disregard positioning and treat the boost/roll as purely an offensive mod, when is that a better plan than just, say, taking a focus token?
~That’s an excellent question! And it’s the subject of next week’s article. Stay tuned!

