EPIC: Black Legion vs Blood Ravens (Pt.2)

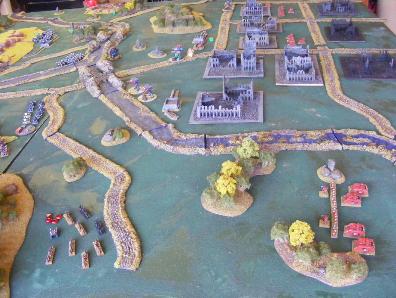
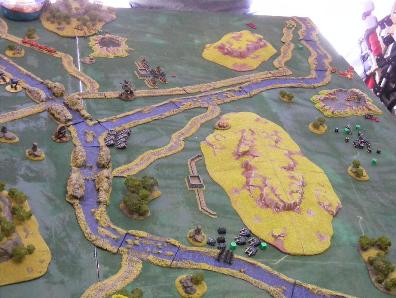
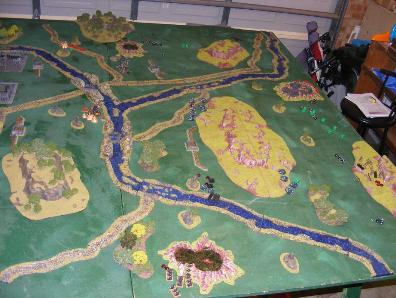
Where Epic:Armageddon really shines is The Big Game. In my last post, I started to share with you a great battle that highlights how well Epic works at larger scales: a fantastic battle waged between the Blood Ravens (played by Aaron) and the Black Legion (played by Drew).
Due to the scale of this battle, I had to break the report into two posts–for the first two turns, please see the preceeding post.
Now let’s resume this titanic struggle from the top of Turn 3…
Note: Special thanks again to Aaron and Drew for the original write-up upon which this post is based.
Turn 3: Initiative Blood Ravens
Teleports arrive before the turn proper begins, and this turn sees two formations of Chosen with Obliterators arrive on the battle field.
The Slaaneshi Chosen formation (CH 1) arrives behind Strike Team 2, deep west of the Chaos Blitz, in an attempt to catch the Marines in a deadly crossfire. The Nurgle Chosen (CH 2) then arrives deep in the Marine half, taking residence in the buildings behind the Reaver. Each formation takes one blast marker upon arrival.

Aaron and Drew now roll for the initiative (Strategy roll), and Aaron finally get lucky–much to Drew’s chagrin (when you teleport, you really want to win the Strategy roll).
The Predators west of the Blitz sustain fire. Aaron laments that he did not take a mixed formation as he has more infantry targets than vehicles, but the fire does the job and four more Rhinos pop under lascannon fire while the Vindicators claim two more infantry stands. The target formation breaks and flees to the east.
Retaining the initiative, Aaron’s Terminators engage the Chosen formation to their rear. Each side suffers three casualties in the fighting, but the dice are against the Chosen during assault resolution, and the 11-6 result for the Marines means that all but the Obliterators are cut down in the Chaos formation and the formation breaks.
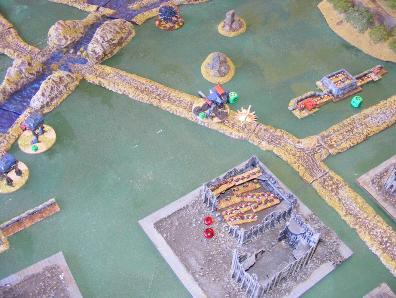
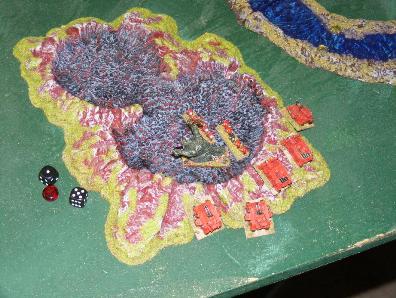
Chaos replies with Chaos Land Raider (CLR) 1 sustaining fire on the Reaver. Shields are wiped away and one shot penetrates the hull. Worse, it causes a critical hit. Aaron is not happy.
Chaos retains the initiative with CH 2, which engages the wounded Reaver. Daemons are called forth, but (luckily for Aaron) there is not enough warp energies are present to call forth the Greater Daemon. Overwatch fire from DD 1 east of the Reaver kills two of the Chosen, but the remaining formation goes into close combat with the Reaver. Three more hits are scored on the Reaver, while the Reaver rolls terribly–1s and 2s. The result is 6-3 in favour of the Chosen, and the Reaver is broken. It takes the opportunity to withdraw to and secure the Marine Blitz object.
WH 1 sustains fire on the Chaos Predators, killing five and breaking the formation. The broken Predators retreat to the cover of the defences to their rear. Marines retain and the Terminators follow Slaaneshi Retinue (RET) A, doubling forward and firing upon them, destroying one stand.
RET A attempts to regroup after failing to activate. They are pounced upon by TB 1, however, and the resulting fire kills another stand, breaking the formation again.
Chaos reply with Helltalons targeting the close-knit formations of Terminators and Predators near the Blitz, one stand and one Predator are destroyed in the fire. Chaos retains, and once again the Swiftdeaths go on CAP–this will prove to be a key move on behalf of the Chaos Warlord.
Looking to secure the victory, Landing Craft (LC) 1 conducts a ground attack on CH 2, destroying one unit and breaking the formation.
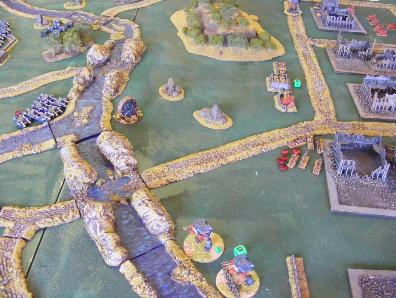
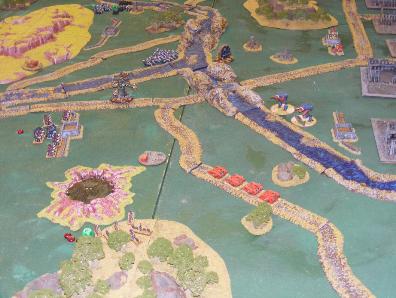
Chaos respond with CLR 2 doubling across the ford in the eastern part of the table. Overwatch fire from the Tactical detachment (TD) in the buildings causes a blast marker only, as not all of the valiant Marines are in range. The Chaos Land Raiders fire, removing a void shield from the closest Warhound.
RET C retains and doubles forward, deploying its compliment of infantry, who take aim at the Warhounds. The fire from the Chaos forces is poor, though, and just a single void shield is removed. Finally, the Warhounds get their chance, and unleash a torrent of fire upon the Chaos Land Raiders. Three explode, shaking the nearby infantry to their core. The Banelord seeks vengeance and doubles forward to fire at WH 1, but again just a single shield is removed. (These are very lucky Warhounds, it seems. Such luck cannot last forever, though.)
The Whirlwind (WW) 2 formation sustains fire on the massed infantry and vehicles in the east, and two Chaos Rhinos and seven stands evaporate in the firestorm. The Chaos Bikes (CB) 1 formation advances on the western flank, taking up a position on Marine Objective 1. WW 1 sustains fire on the same target as WW 2, and the resulting fire destroys another two Rhinos and seven more Chaos infantry stands.
Note: Aaron was at pains to point out that he has never had such success with Whirlwinds before. Ever.
Looking to arrest all forward movement on the western flank, Landing Craft (LC) 2 retains and conducts a ground attack on CB 1, causing a blast marker.
CB 1 marshals and moves to the defences to the rear of Marine Objective 1. The Blood Ravens Land Raider (LR) formation doubles and takes advantage of the road leading to Marine Objective 1, closing on the objective and getting within the magical 15cm.
Now Aaron sees a possibility of winning the game on Turn 3 with a possible three victory conditions. Seizing the opportunity, his remaining Thunderhawk launches to land its detachments at the undefended Marine Objective 2. Upon approach, however, it is set upon by the Swiftdeaths. Their aim is true and the Thunderhawk is destroyed–along with its Assault and Devastator detachments payload. This is a terrible blow to the valiant Marines, and Drew has managed to keep Aaron to just two victory possible conditions.
The pain continues for Aaron, however, when Drew’s Chosen formation manages in the Marines half keeps Aaron from claiming the They Shall Not Pass victory condition. The turn ends with Marines holding the enemy Blitz victory condition only.
Aaron takes some solace, however, when rallying goes badly for the Chaos forces, and the majority of the broken Chaos formations remain broken.
Turn 4: Initiative Black Legion (Draw)
The Chaos Banelord starts the turn and fires on the Land Raiders to its west. One Land Raider is destroyed, and the formation is no longer close enough to Marine Objective 1 to secure it. The Blood Ravens respond with WW 1 sustaining fire on the CLR 1, but it causes a single blast marker only. CLR withdraws and defends the unprotected Marine Objective 2, careful to avoid the wreckage of the smoldering Thunderhawk.
Looking to change his strategy after the loss of the Thunderhawk, Aaron orders the Land Raiders to sustain fire at the Banelord. Its voids flicker under fire and now only two remain.
The Chosen in the Marine half call forth the power of the warp and summon a Greater Daemon. Although easy on the eye, she packs a mighty punch, and spurs the Chosen on to engage WH 1. The Greater Daemon destroys one Warhound with a flurry of first strikes, and the Chosen follow her lead to score three hits on the second. The remaining Warhound’s armour fails, and it too falls. Their luck has run out.
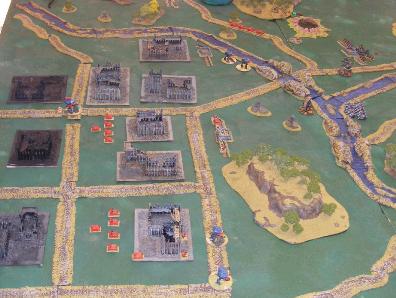
WW 2 responds to the movement of CH 2 and sustains fire on them in their building cover. One stand is killed and the formation is broken again. Chaos Helltalons swoop on the Land Raiders and cause a blast marker. DD 1 doubles forward and secures Chaos Objective 1. Firing on CLR 1, they cause a blast marker. Attempting to push the Marines away from Obj 1, the Predators advance and fire on the Land Raiders, but a blast marker is all that results.
The Reaver continues to withdraw and secures the Marine Blitz objective. The Swiftdeaths, seeing new the Marine battle plan, swoop on Chaos Objective 1 and kill four stands from DD 1. TB 1 conducts a similar attack on CH 2, killing four stands and ensuring that the Greater Daemon will return to the warp at the end of the turn. LC 1 strafes CB 1, killing another stand and making it harder for it to make a move. CB 1 makes its move and marches into Marine territory. LC 2 conducts a ground attack to finish it off, but fails to do any damage.
The WH 2 formation sees the threat and moves to the west and fires on CB 1. They kill one and break the formation. TD advances and secures Chaos Objective 2. The first Terminator detachment (TD 1) again doubles and fires on RET A, scoring another three kills and breaking the formation. The Predator (PD) formation marshals and moves towards the Chaos Blitz, assisting the second Terminator detachment (TD 2) in that location.

Rally Phase: Again all aircraft make it off the battlefield. CB 2, the only unit in the Marine half, fails to rally and the Black Legions fate is sealed.
Result: Blood Ravens Marines win 2-0 with Blitz and They Shall Not Pass.
Packing up
Now that’s an epic battle. What I really enjoyed when I was reading this battle report originally was the interrelationship that the game highlighted again and again between the infantry and armour formations: truly a combined-arms game.
Given his military training and experience in maneouvre warfare, Aaron is a tough opponent on the Epic battlefield (as, I can imagine, he would be on the real-life battlefield). Drew is an old hand too, though, and no slouch in the strategy and tactics departments. I’ve had the privilege of playing both of these guys and they really know their stuff, so I was understandably interested to know what they each had to say about this game and how their battle plans had fared in the field:
AARON
I stuck to my plan pretty much throughout the game. Where I was forced to change was when his Slaaneshi Retinue tried to make it down the left flank and in behind my Titan screen. Using the first Landing Craft and its compliment of toys there meant I was left a little short when it came to taking my Take And Hold victory condition. Loosing the Thunderhawk was the second place where I had to modifiy the plan. The point of this army list was to deny the enemy the ability to gain any objectives in my half, whilst taking my two in his half, and possibly his Blitz objective. Loosing the Thunderhawk meant I was not able to win on Turn 3. I adhusted my plan to enable my forces to take and win with the Defend The Flag, Blitz and They Shall Not Pass victory conditions. As a concept, this force composition works–now I need to refine the list so that it works at 3,000, ready for the coming tournaments: Heavy Bolter in Melbourne and CANCON in Canberra. This will require some playtesting of structure with different weapon systems.
DREW
With just two games under my belt with this army, and this being the smallest game it’s seen thus far, I went into the game expecting to get smashed. A 2-0 result is a loss, but not a bad one.
I had a basic plan: lead with the Land Raiders and support with the large Retinues, the Predators and the Titan. The bikes would go up the flanks and help take the Defend The Flag victory condition, the Chosen formation with the Greater Daemon would hit the Break Their Spirit target, and the other Chosen formation would support my Defend The Flag efforts.
To be fair, I was unlucky in getting a lot of 1s for my activation rolls–this was a huge thorn in my side, as it meant I had to continually adjust and re-adjust my plans, and it lead to a few serious problems, like the Retinue formation becoming broken. This seems to be a constant issue with my Chaos armies.
In short, I could have been luckier, and I probably put too much into trying to hold my Defend The Flag victory condition, but I think my plan was solid.
It was a really fun game, and I’m looking forward to exacting some revenge in our next game.
~Special thanks again to Aaron and Drew for their excellent battle report, upon which these posts were based–a great job describing a fantastic game.

