EPIC: Preparing an Enemy Formation for Assault

In a previous post, I described how to perform an air assault using Thunderhawks. In this post, we will look at how you might use detachments in tandem to break an enemy formation. For this example, we will use Assault and Land Speeder detachments.
The Setup
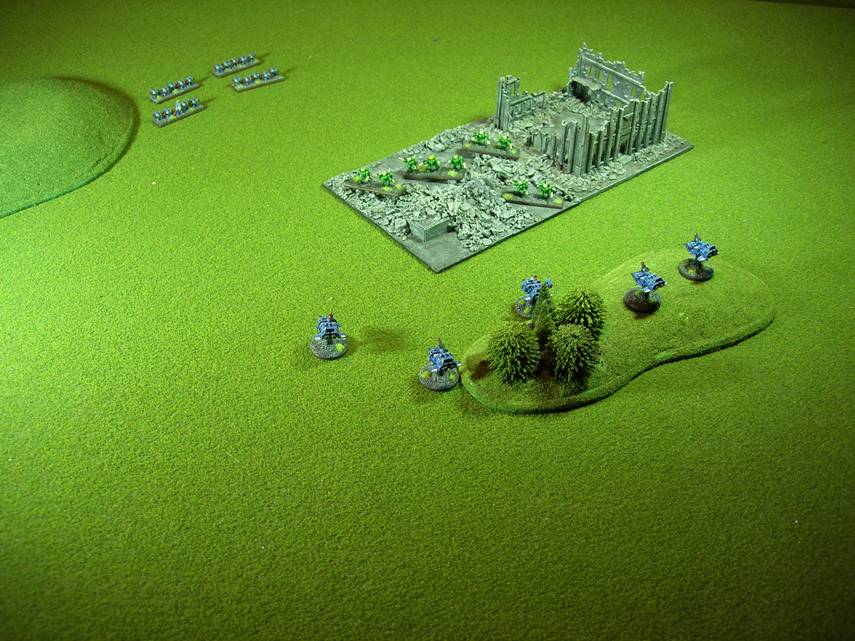
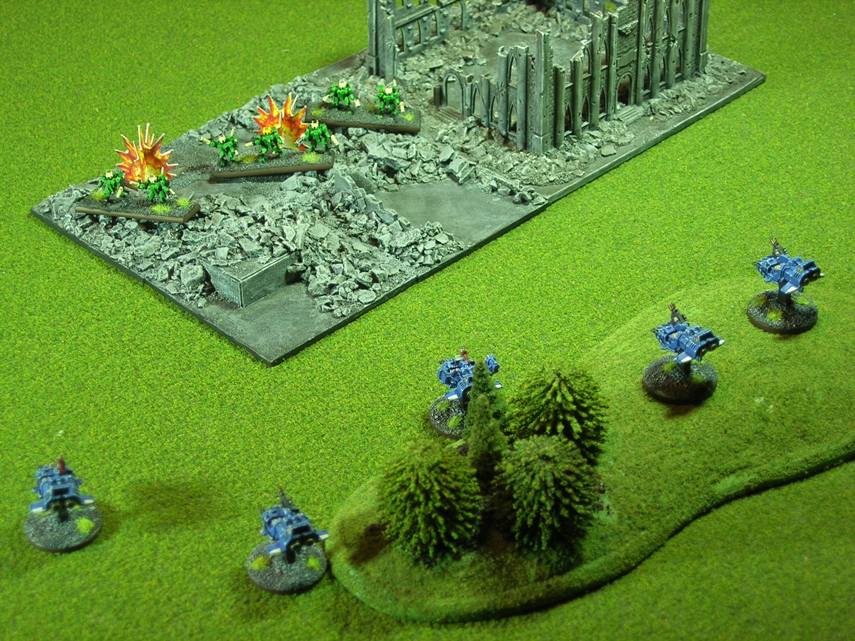
In the current turn, we move our Land Speeders to within 85cm of a target enemy formation that has already activated this turn (very important–we don’t want it running away from us, either intentionally or inadvertently).
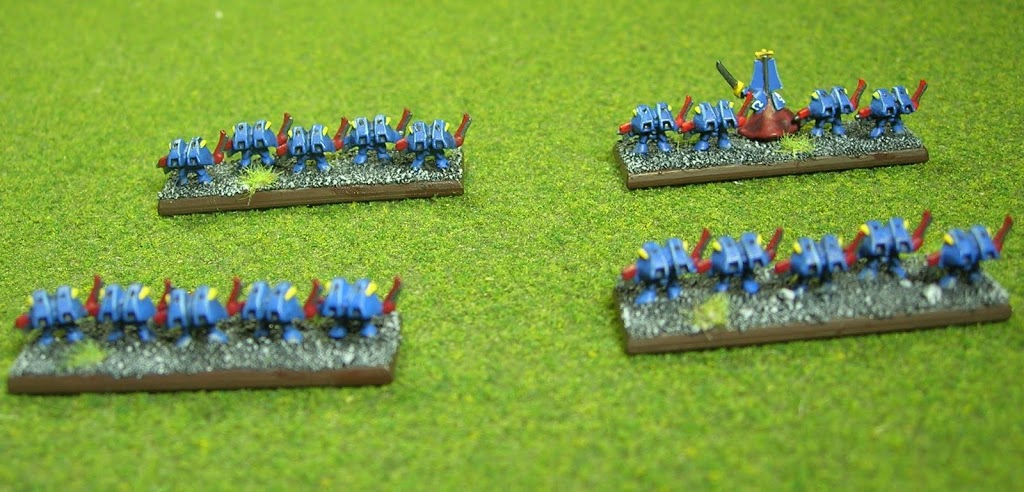
Later in the turn–preferably, the last activation for the turn, we move our Assault detachment to within 25-30cm of the same enemy formation (try to keep these Assault detachments free of blast markers, if you can, for a +2 advantage during assault resolution–more on this later).
These formations are now ready to pounce.
The Pounce
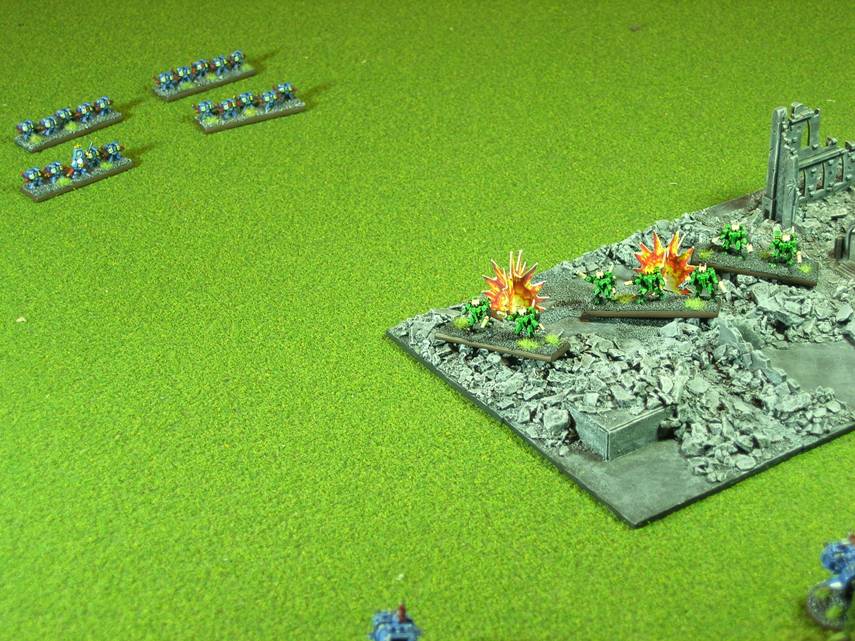
In the following turn, our high Strategy rating will hopefully win us the Strategy roll so that we can claim the first activation (if not, cross your fingers that your opponent doesn’t see what’s coming and move the target formation away).
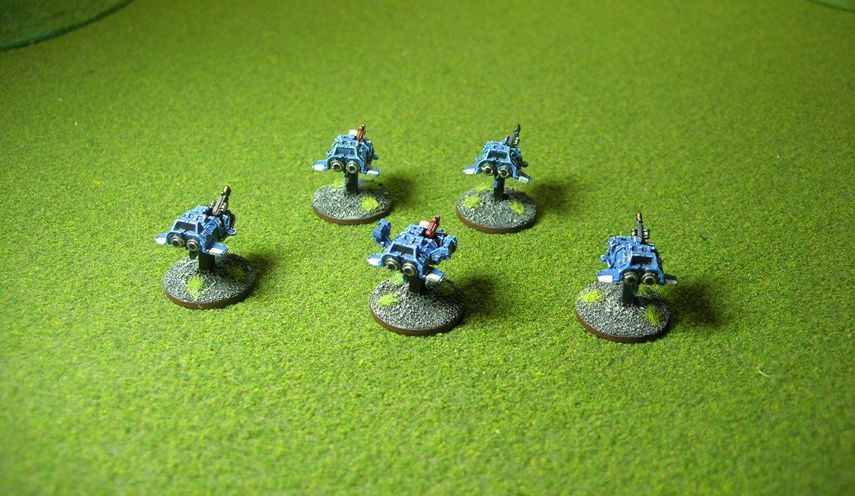
We activate the Land Speeder detachment and give it a Double order. We move the Land Speeders to within 15cm of the target formation, and then shoot at the target formation (at -1) using their multimeltas (macro weapons, so they ignore normal armour; only reinforce armour gets a save). Even if no casualties are caused, this shot places a blast marker upon the target formation, so it now has at least one blast marker–we have prepared it for assault.
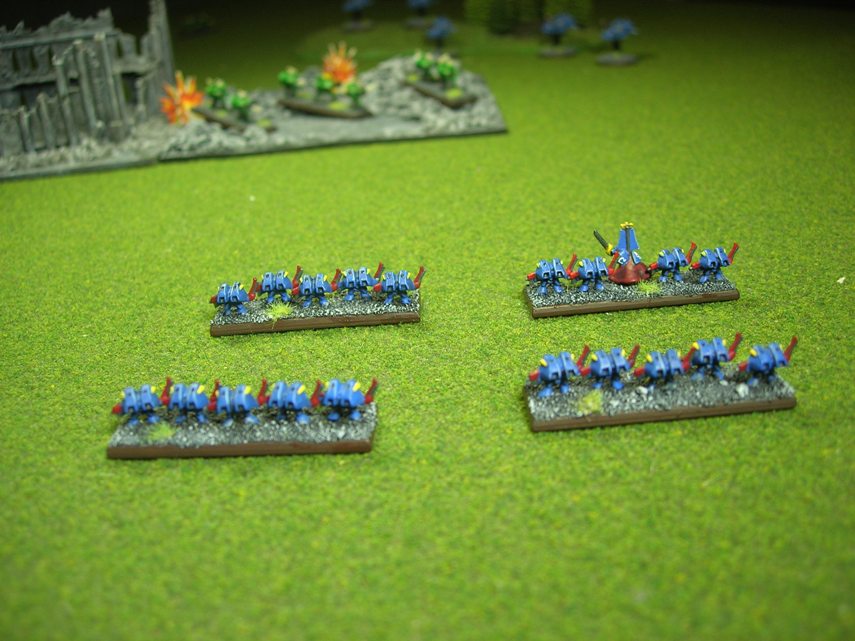
We retain the initiative (hope you remembered to bring your Supreme Commander along in case of a failed roll!) and give our Assault detachment an Engage order.
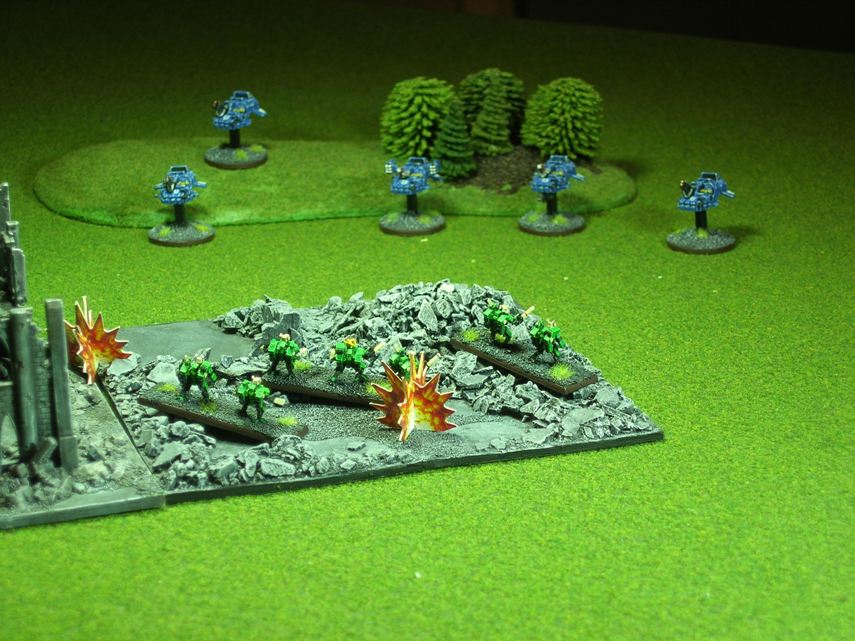
We move the Assault formation so that we get as many Assault units into base-to-base contact with the enemy as we can. In the ensuing assault, our Assault marines are hitting on 3 or more, which is quite good (hopefully, we have targeted an enemy formation that is less skilled in close combat).
When the round of assault is complete, and assuming neither side was wiped out completely during the assault, the Land Speeders get to contribute Supporting Fire using their 5+ Fire Fight value–in this way, you have effectively enabled your Land Speeders to impact the enemy twice in one turn.
Note: Sadly, this second volley of fire does not benefit from the macro weapon rule I mentioned earlier. In the case of Land Speeders, this applies only to shooting hits, not in firefights (which I, personally, think is laaame).
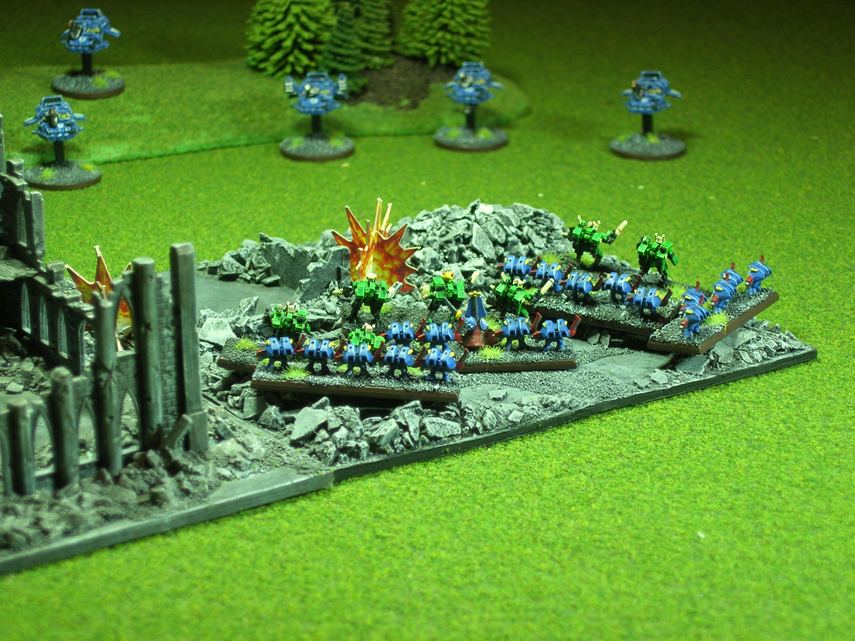
Finally, in the assault resolution, not only should we have caused more casualties on the enemy formation than we took, but, if we managed to keep our Assault marines free of blast markers, our prior “prepping” of the enemy for assault means we should get +1 to our assault resolution roll for having no blast markers and another +1 for the enemy formation having more blast markers than us. This can help a lot, particularly if you are outnumbered (that is, the number of units in the target formation is greater than the number of your attackers).
Special thanks to Matt “Dobbsy” Dobbs for providing the images of his most excellent Ultramarines and Tau miniatures.
~If there are any tactical devices you would like to see explored in this series of Epic posts, please let me know in the BoLS Lounge’s Epic section.
