WH40k Hobby: GO YELLOW RANGER GO! How to paint yellow

Howdy. Today I would like to talk about Yellow. And not just the reddish rusty yellow, but bright punchy in your face Power Ranger Yellow.
One of the most impressive looking armies I have seen for Warhammer 40k is an Imperial Fists army. Whether you like the fluff or not, it just looks good and always get attention.
However, one thing I have noticed over the years is the trends for Yellow have changed. What used to be a bright color has been taken over by the extensive use of weathering and rust and now most Yellows I see look like they were dragged through a field of red mud and rust, which is fine if you want that kind of look. I personally prefer fresh out of the factory Power Ranger Yellow!
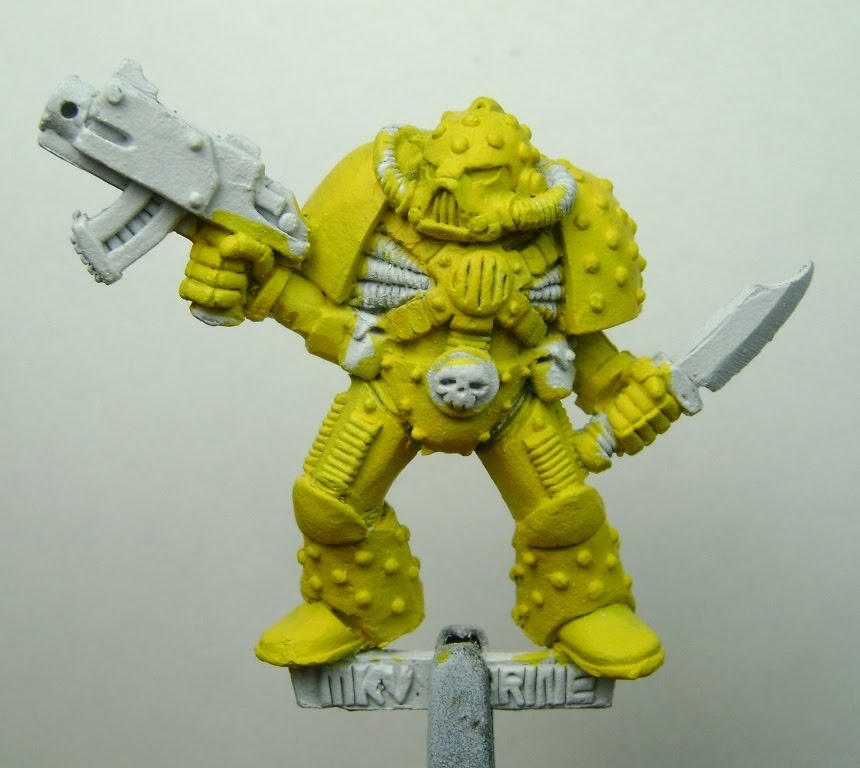
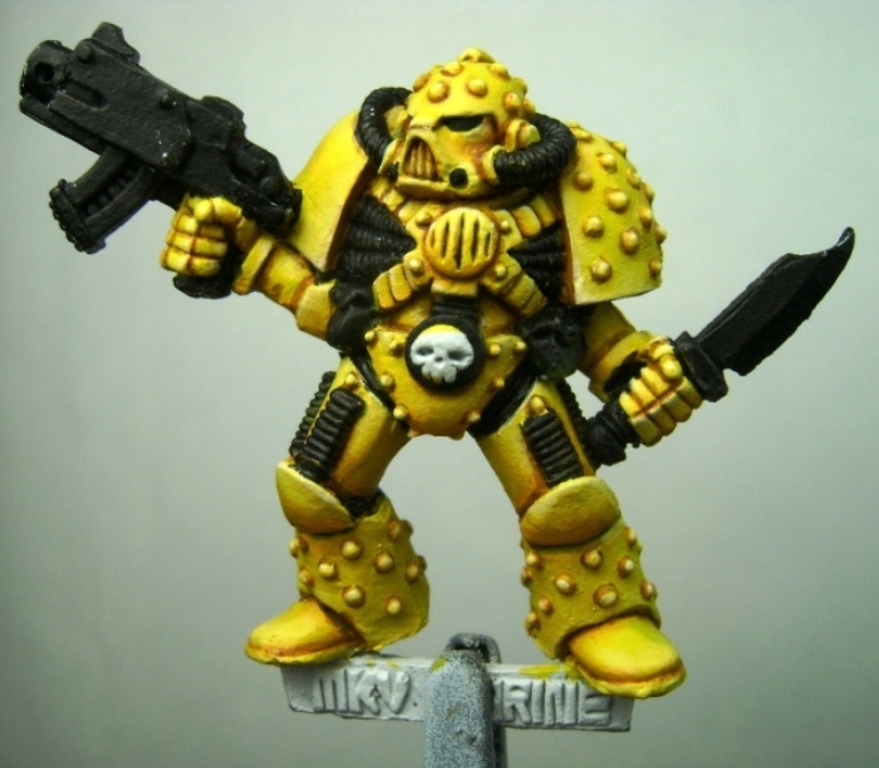
Step 2: Apply Leviathan Purple as a shade color. One thing, the purple needs to be applied locally. In other words, you cannot wash the entire model or you will have to go back and paint it all over again, which is time consuming. The Leviathan Purple is thin enough that I applied several layers to gradually increase the depth of the shade. While initially you may think it will look weird or not right, the reality is that the purple will change the hue of the yellow below it and it winds up looking kind of orange.
You could just try using orange and then a darker orange-brown, but what I like about the purple is how naturally purple works with Yellow and the depth of shade increases with each successive layer. It just looks right.
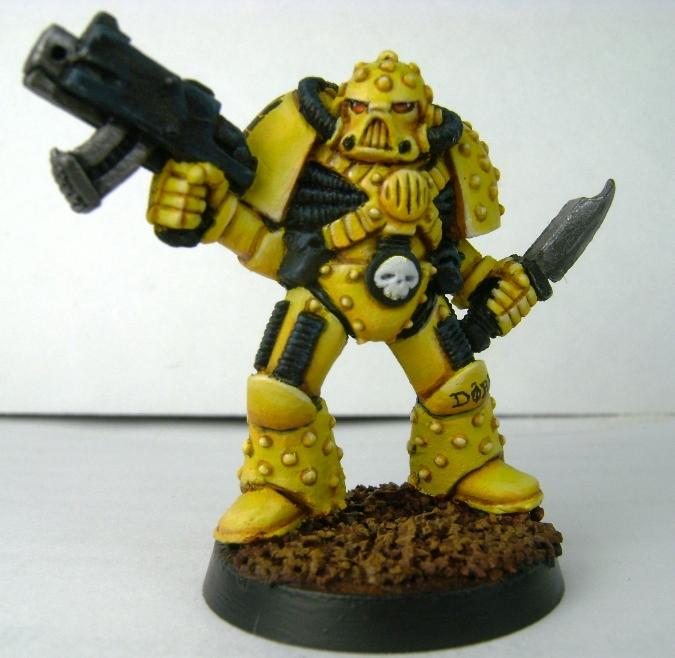
If you are wondering if the rivets were a pain to do individually, my answer would be yes. They were tedious, however, then end result I found to be very pleasing and worth the effort.
Also, I went in and painted the other parts of the model as you can see.
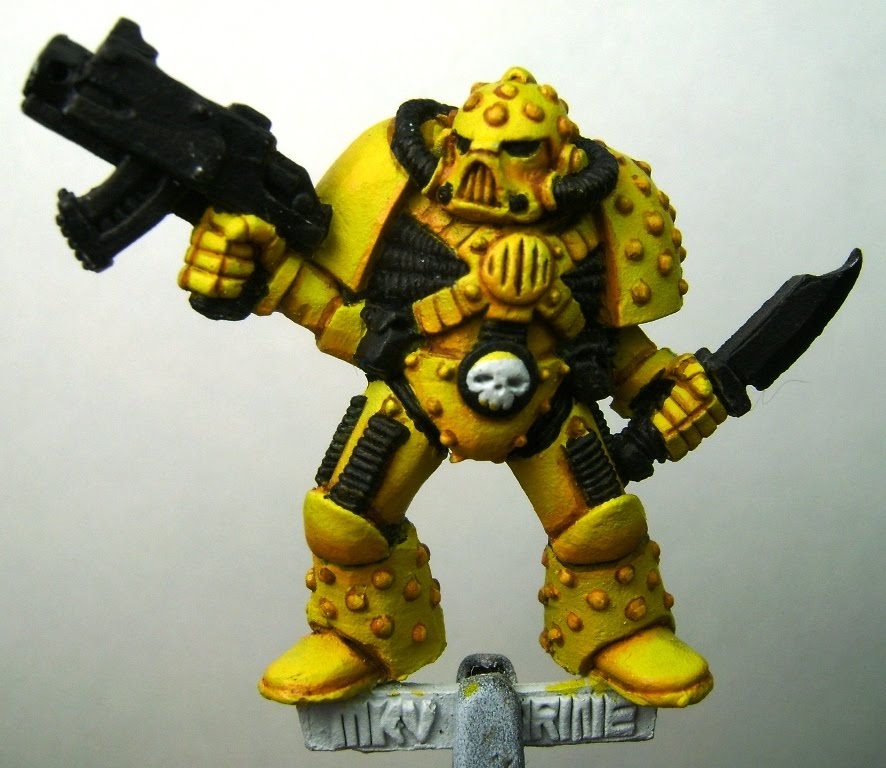
Step 3: Apply Sunburst Yellow to any errors where the shading may be too strong or slips of the brush where black paint got on the yellow.
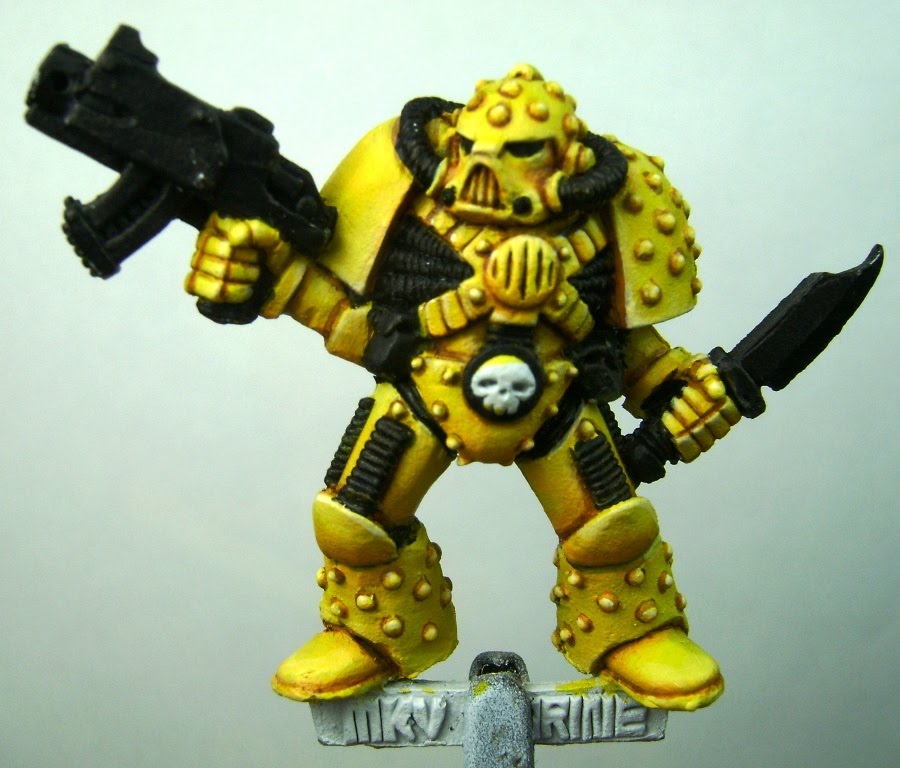
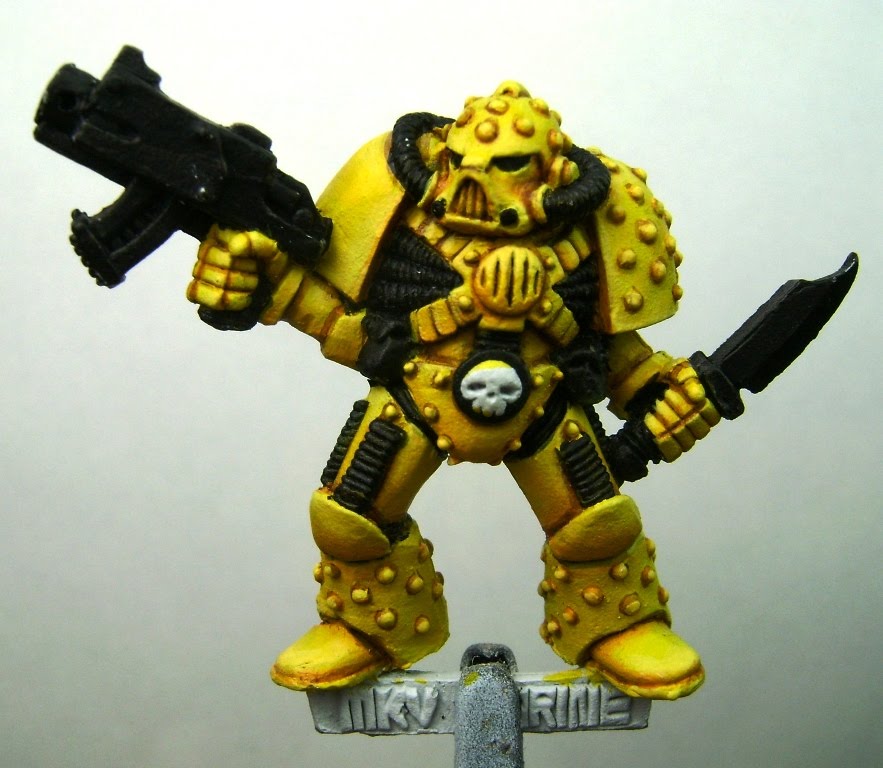
Step 4: Add White to the Sunburst Yellow in equal amounts and highlight only on the raised areas of the model.
Step 5: Apply Skull White to the very sharpest edges like the corners of the armor or helmet or dot the rivets.
Now simply go back and finish up the rest of the model. I painted the eyes blue initially, but I found I did not like the look of it so I went back and painted them red. Add in a few freehand details and basing and the model is almost complete. I need to back and do the back pack, the one I had suffered from a fussy primer incident and is getting a simple green bath.
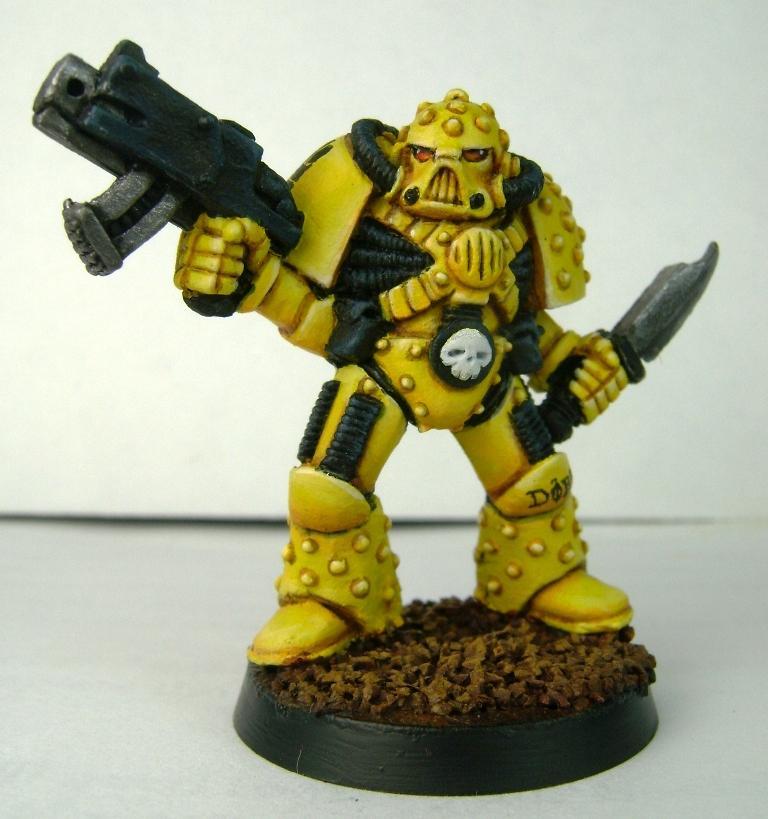
I hope you have liked what I have done here. I have to admit I am seriously considering doing an entire Imperial Fist army based on how this turned out. It did take a little time, but then end result is something I am very pleased with.
I have a few more articles on colors and then I will begin a series on Flesh tones.
What things to you all find as a challenge or daunting? Drop me a note, I’m more than happy to offer my thoughts on painting minis or models! -Gar

