WH40K Hobby: The Riddle of Steel

Howdy. Today I would like to discuss using metallics and getting the most out of them.
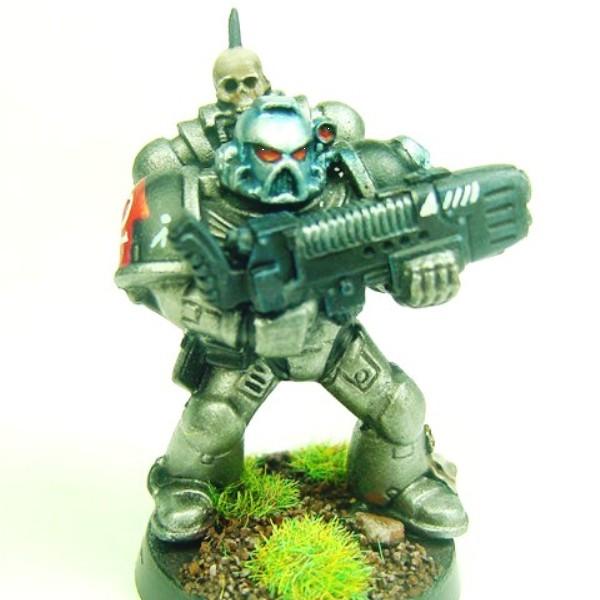
Typically what we get when we use metallics is we use GW bolt gun, or silver, or steel or whatever, wash it with black something or other, then we either call it done or dry brush it a bit and call it done. Now I understand that this is a time tested and true way to do it, with a few small changes we can accomplish a great many different effects and improve the basic metallic look. I am using my Silver Skull Space Marines as the sample models.
So the question I get is how do I get my metallics, or any metallics for that matter, to look better. The approach is to treat metallics like any other paint color. Starting with the undercoat or primer, this will have an impact on the metallics will look. Using black will make the color seem a little darker, using white will make it look very bright, almost white in some cases. Ultimately it is up to you to choose which you prefer to use, there is no right or wrong way, just preferences. I prefer to plan out my figures and how I ultimately want for them to look and that will determine which color primer I use.
Additionally, how I go about my metallics depends on how I want them to look. Metallics are for the most part highly reflective, add a little dirt and then not so much. I want my darker metallic body to look more gritty or rough, so I will dry brush this part of the model. I want my helmets to look highly polished, so these are going to be layered.
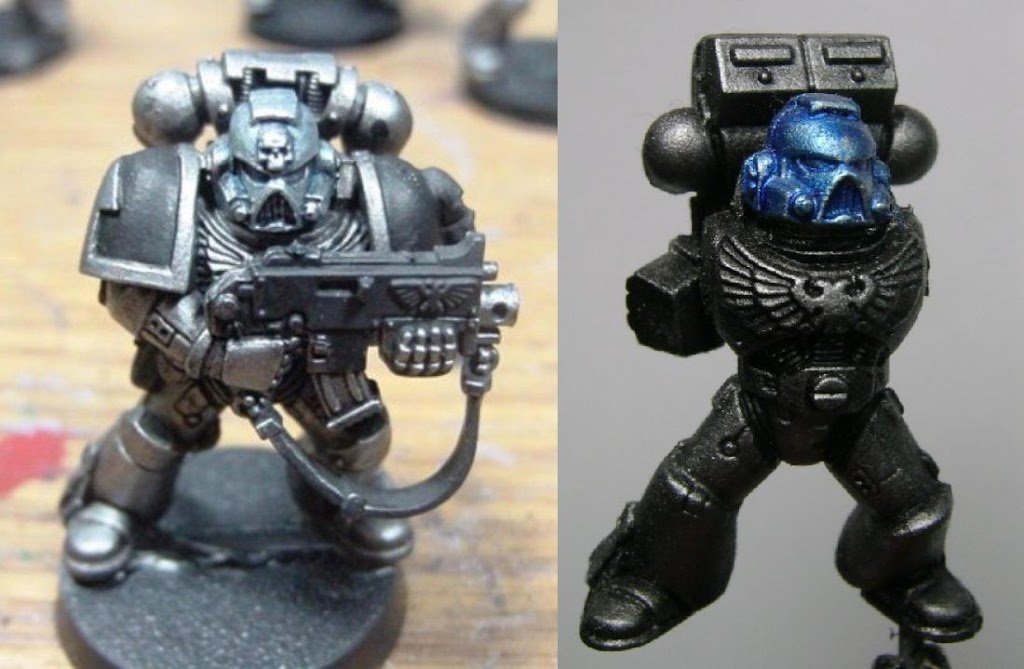
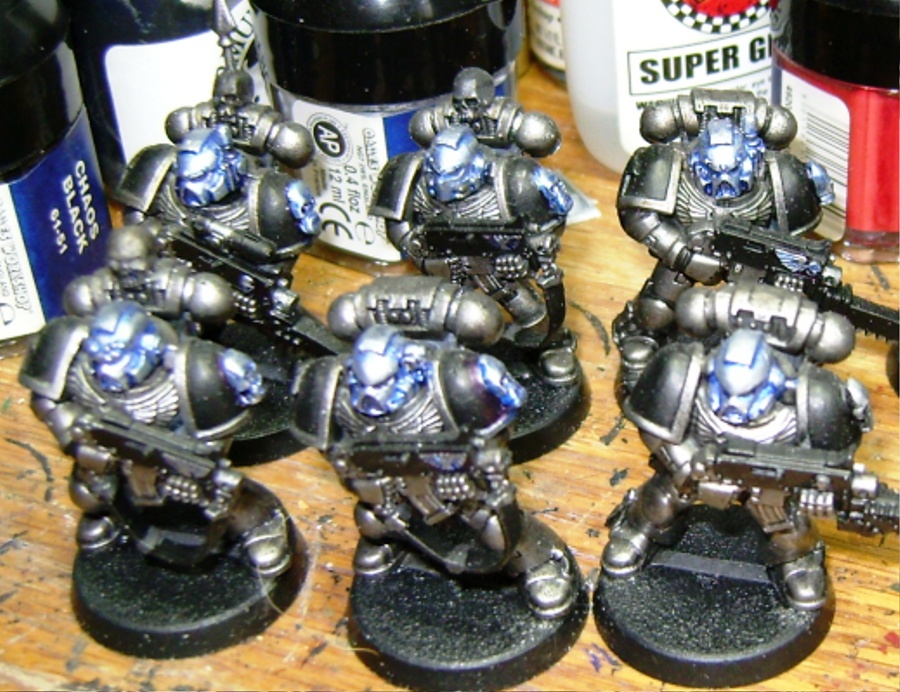
STEP 1: For my Silver Skull models, I primed in Black, then applied P3 Pig Iron as the base coat. I prefer this color to Boltgun. It just seems to give me a more gritty dark metallic color. The helmet was painted with GW Mithril Silver.
STEP 2: The body of the marine ( all of the Pig Iron areas) were washed with P3 Black ink or Armor wash. The helmet was washed with P3 Blue ink. I prefer the P3 inks to the GW ones because the color is more intense, more like the old GW washes and the coverage is more pronounced. There is still a little bit of shine with the inks, so I go back over and wash with GW Badab Black and Asuryan Blue respectively.
STEP 3: Using P3 Pig Iron, I will carefully drybrush the body of the model. Be careful not to go to heavy on the drybrush, the color should barely show up and it will take some time to get the model to look like it has been highlighted. Don’t worry about it is it does’nt look perfect, we are going to come back to this.
STEP 4: Using 3 drops GW Mithril Silver, add 2 drops of Asuryan Blue to the mix and then add a drop of water. Carefully apply this to the helmet in successive gradual layers. The helmet, in this case, we want to look polished.
STEP 5: Wash the body of the marine with P3 Ink a second time, then apply a second wash of GW Badab Black on top of that once the P3 ink has dried.
STEP 6: Drybrush the body again with P3 Pig Iron. At this stage you want to ensure the drybrushing is very light. Almost all of the paint should be off the brush. This application will take a little time, but the end result will be well worth it.
The reason I wash and drybrush successively is to slowly build up the base color and depth of the model. The washes will gradually increase the shade intensity while the drybrushing will maintain the base color. The transition between base color and shade we want to look smooth. This technique works very well for metallics.
STEP 7: On the helmet, apply GW Mithril Silver onto the most raised areas of the helmet.
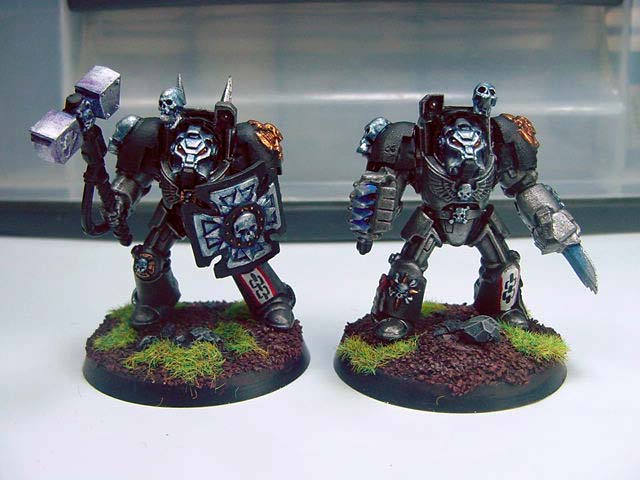
The reason I add the blue to the silver is it makes it stand out from the other darker Pig Iron color and a wide variety of effects can be accomplished with just a simple change in shade color. This can also be used to help add some reflective properties to the metallic in general. For example, for metallics to reflect the environment around them, I would add a brown wash, followed by a green wash and then a purple wash. These different colors will make the metallics around the ground look a little different from those higher up from the ground. Really, the sky is the limit on what you can achieve. A little practice and experimentation is going yield all kinds of effects.

What things to you all find as a challenge or daunting? Drop me a note, I’m more than happy to offer my thoughts on painting minis or models!
http://garness.blogspot.com/

