Hobby: Strictly Average Top Tips
6 Minute Read
Dec 14 2010

Advertisement
Hello and welcome again boys and girls, Unicorns and children of all ages. Today I bring you a year’s worth of Top Tips!
‘Top Tips’ is an infrequent series of articles I publish on my blog, Strictly Average. Some of these are fairly common and some less so, but all of them came about through hard experience or simple trial and error.
I’ve imported pictures, so this article stands alone, but if you’re interested enough in a particular topic the header is a hyperlink which will take you there. And hey, if you’ve a mind click that button up by the top – it delivers a mild electric shock, which should make some of you fine folks happy!
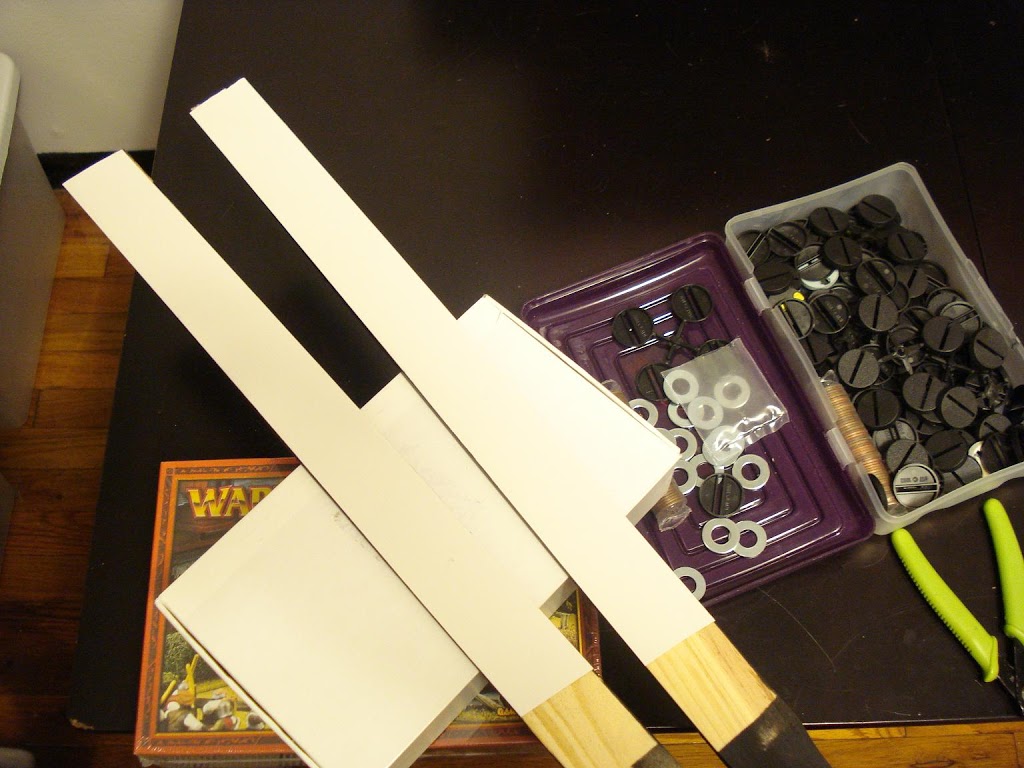
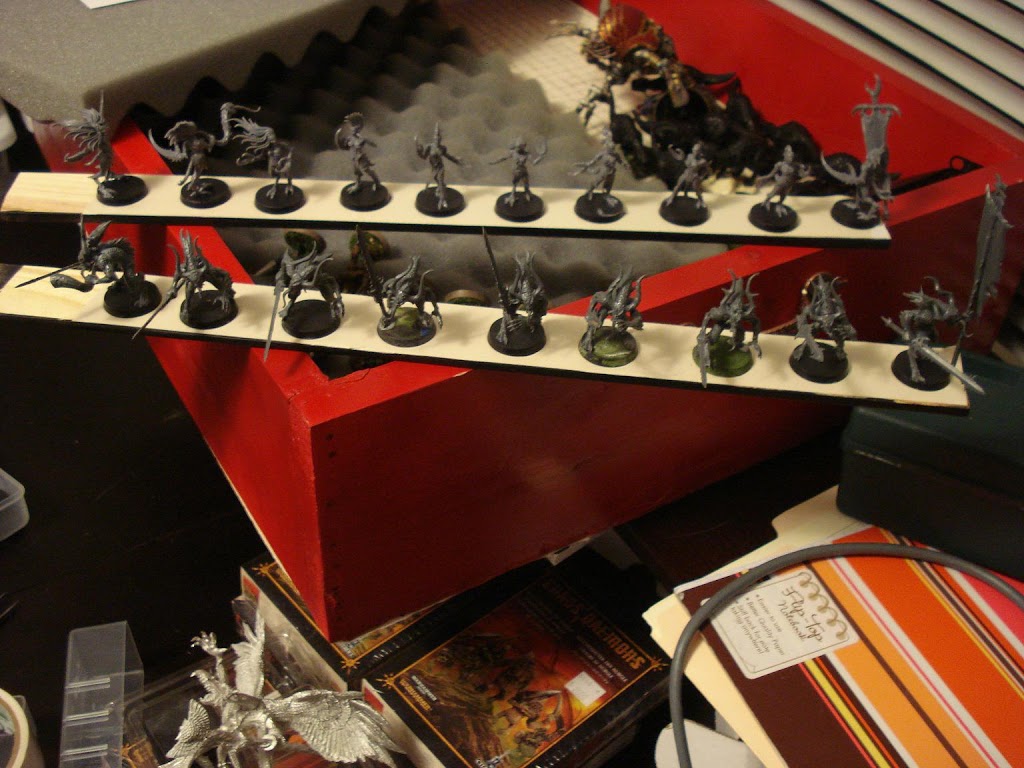
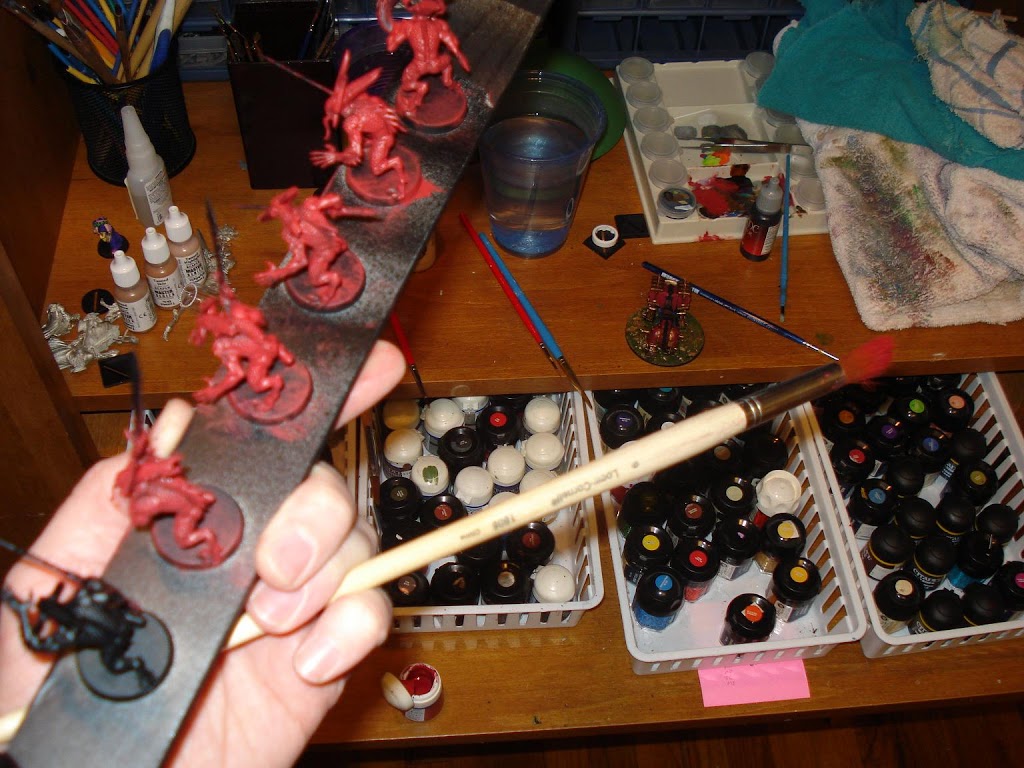

This is a personal favorite and probably one of the more useful tricks. Every store which sells cans of paint will also sell these giant stir-sticks. That and double-sided tape is all you need! I use this to prime groups of models or even batch paint miniatures.
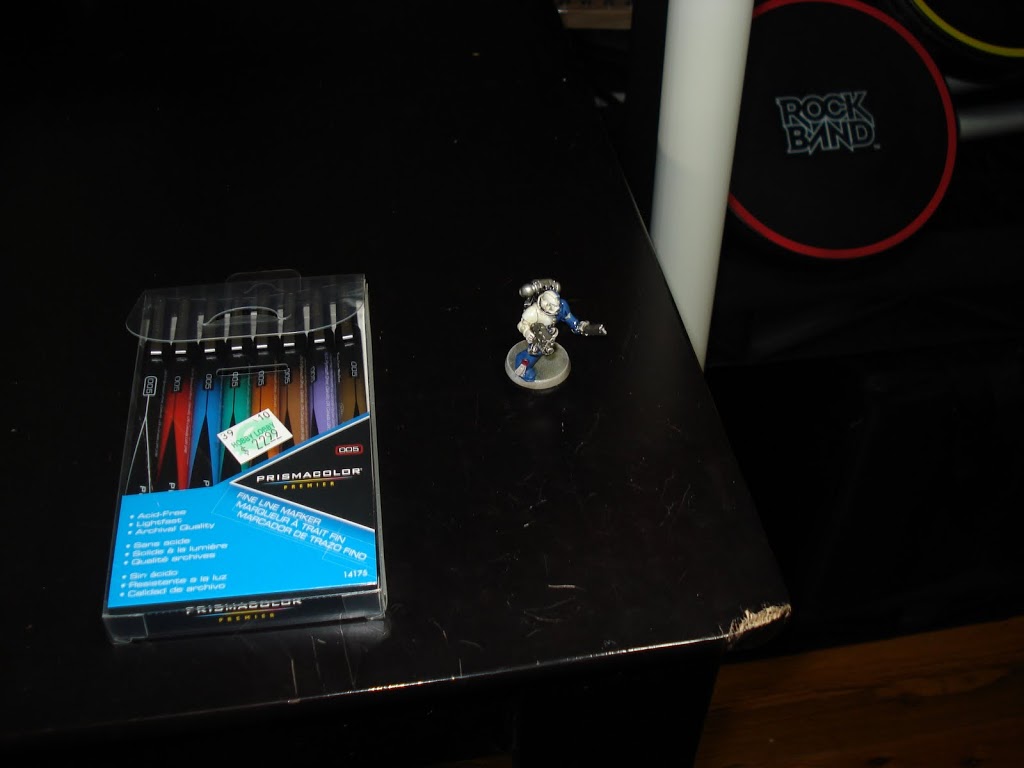
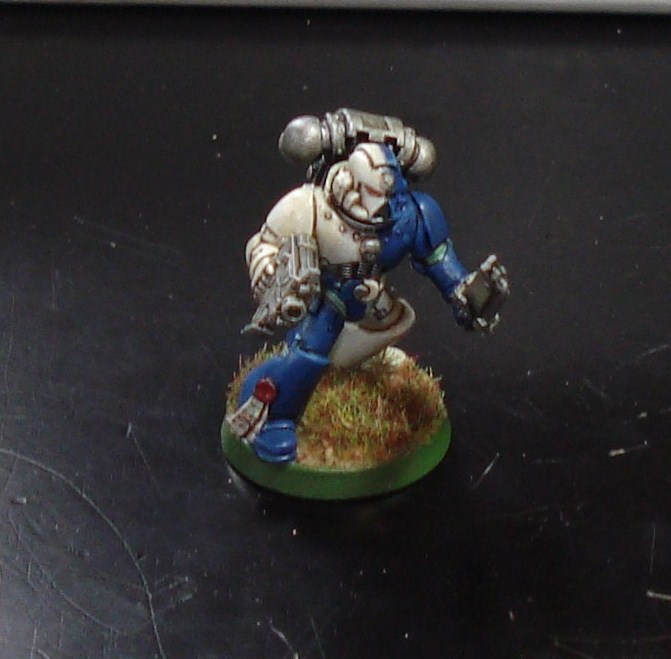
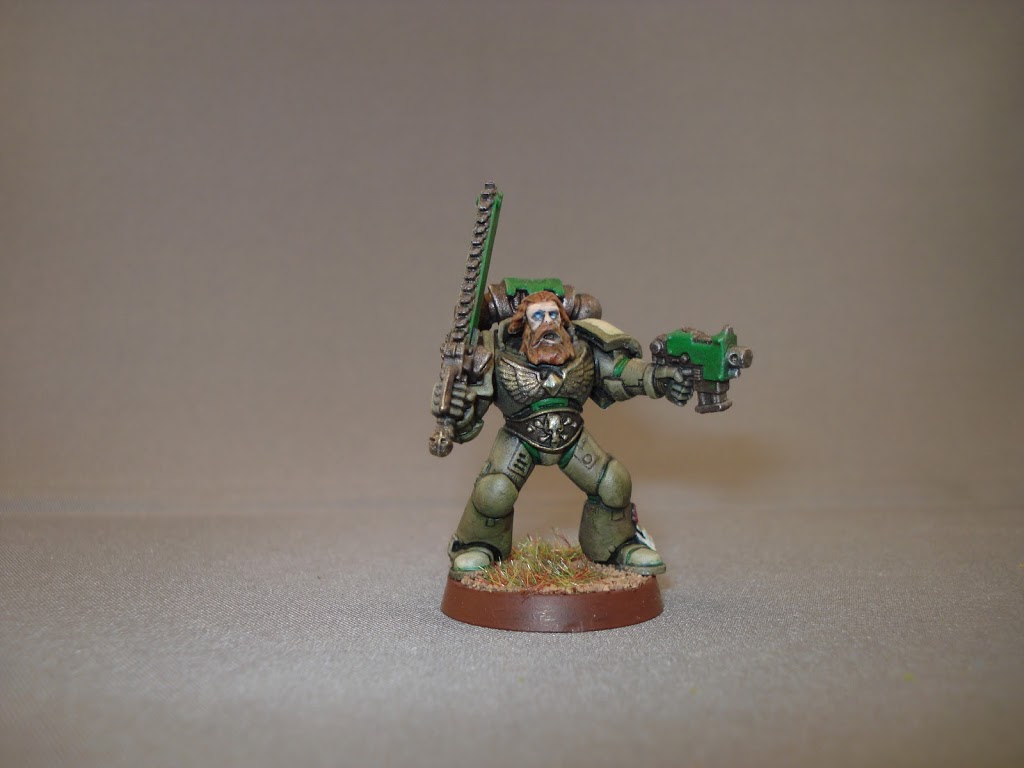
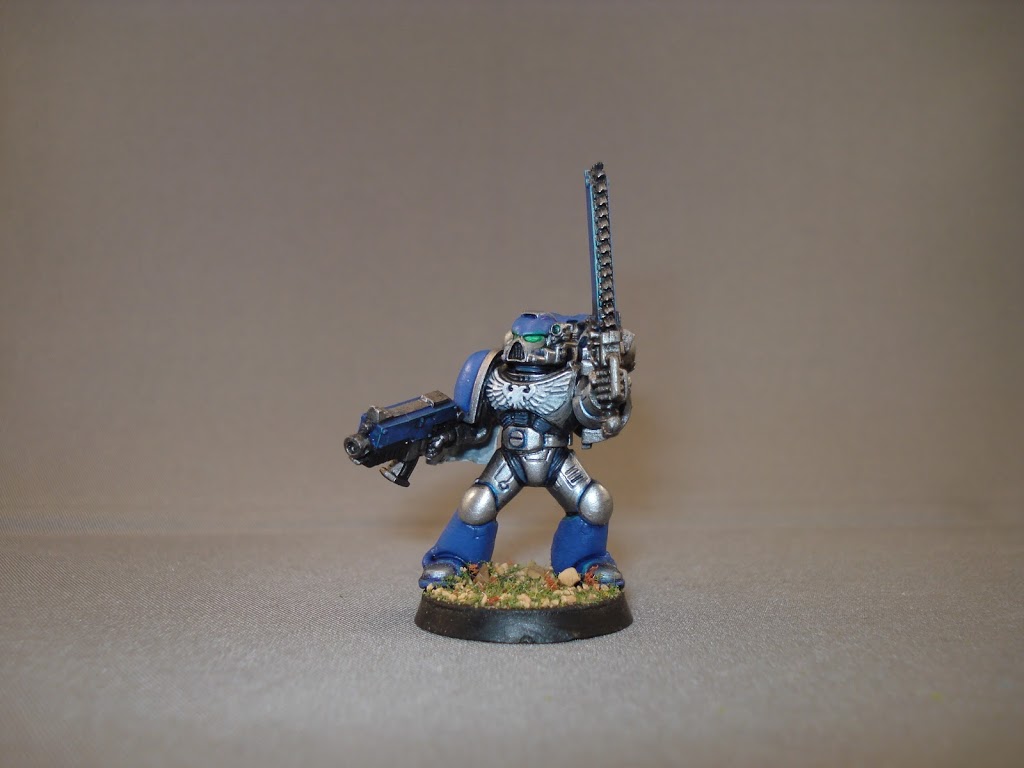
You can find these pens in any decent-sized hobby store, and they’re great for lining models. I used them fairly frequently – it’s a pretty handy tip. Below is a test-model I whipped up for the original article, a Nova Marine. I used brown to line the ivory areas and blue to line the blue areas. Easy enough.
Well… I don’t have an actual picture of an agitator, so I’ll have to make do.
Yea, that’s my Eldar army. Anyway, drop a piece of plastic in your paint bin to help stir the paint when you shake it. My friend uses plastic BB’s he buys in batch, but I’ve found a spare piece of sprue works just fine. On the same vein, I keep a dropper of fresh water handy at the station, and I’ll put a few drops in the pots at the end of a session.
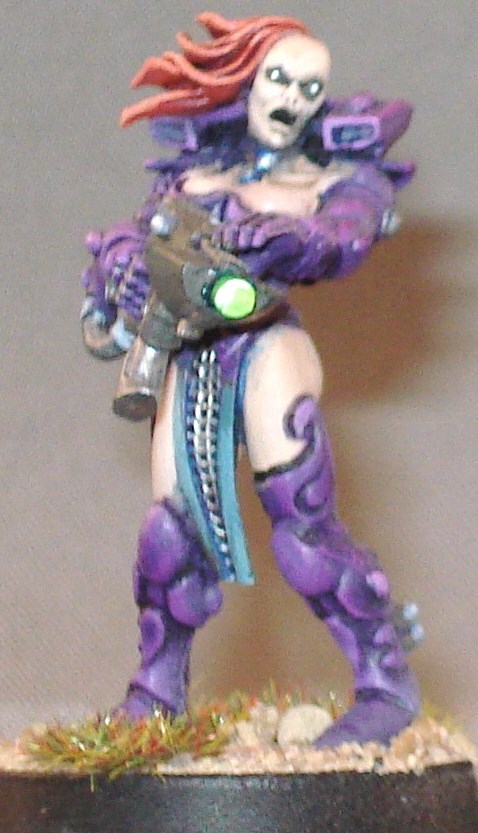
I used to use pure black and white when painting eyes, but when I was working on my super-secret Eldar Team Tournament army for this year’s Wargames Con I experimented a bit and came up with something better. Use a dark grey and off-white – or even yellow. It isn’t so harsh and you can get away with making the eyes pop.

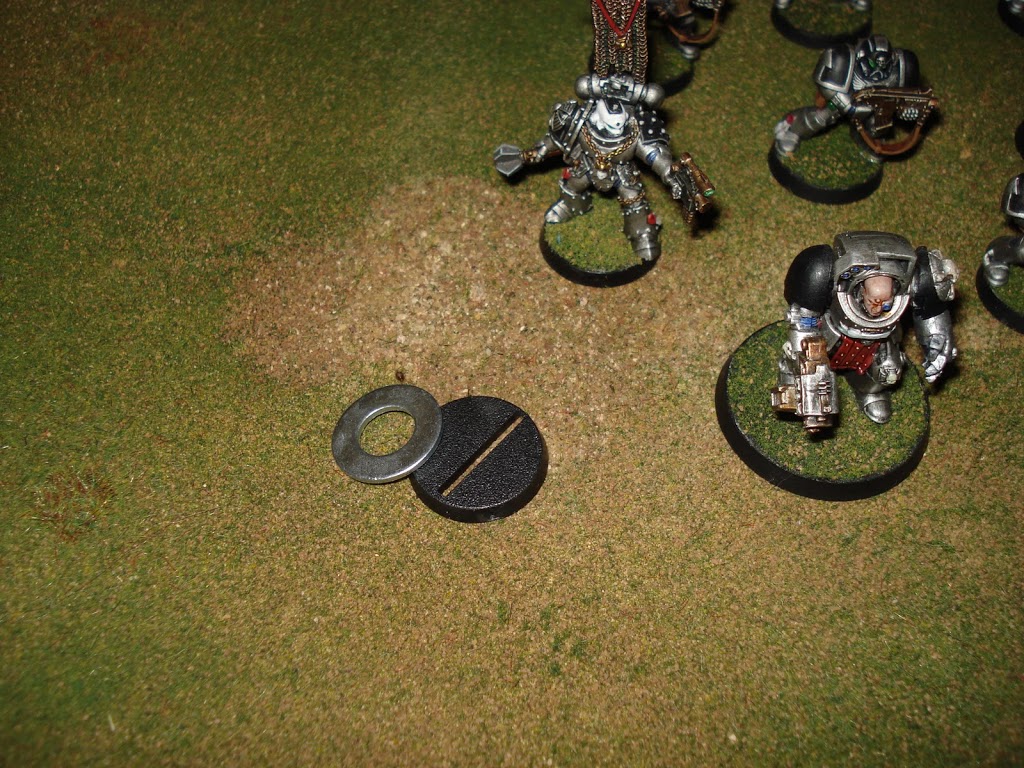
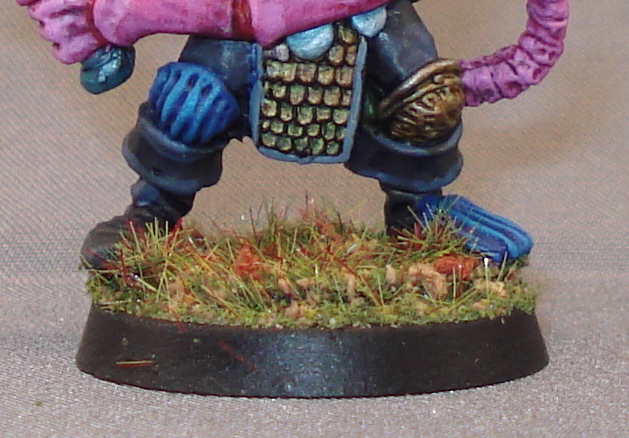
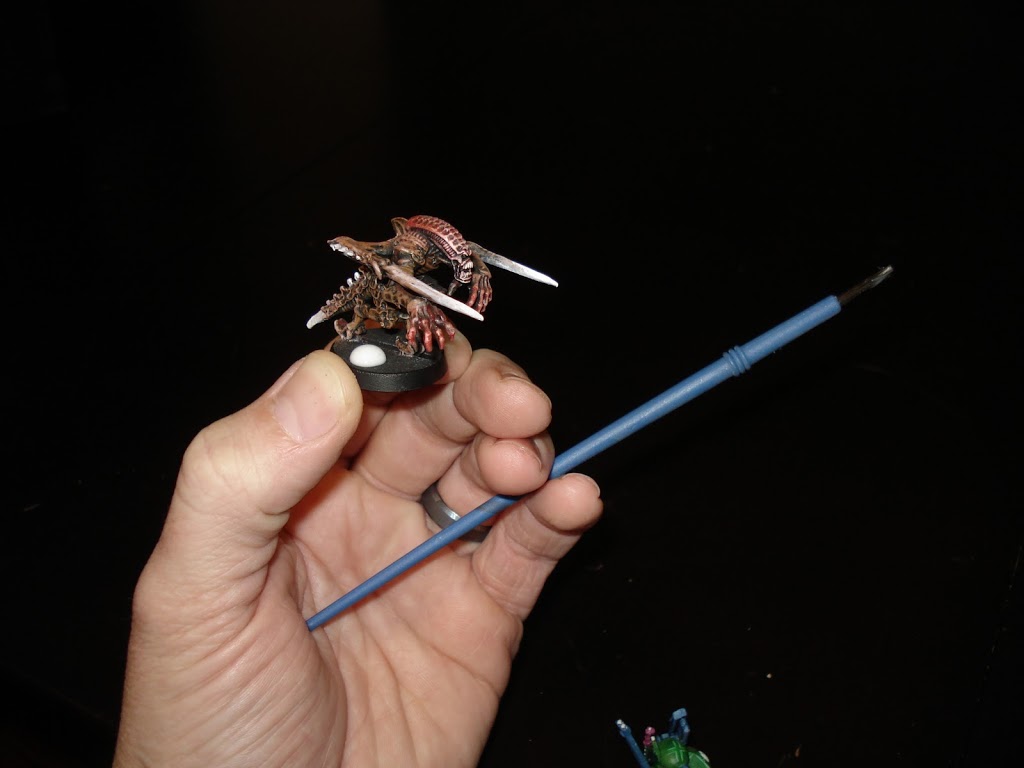
I’ve started doing this with my Brotherhood models. Some of them were a might top-heavy, so the washer helps weigh down the base. I also like the height it gives the Marines (note: the Silver Skulls don’t have the washer – not sure why I put them in the pic) and the effect after the model is flocked.
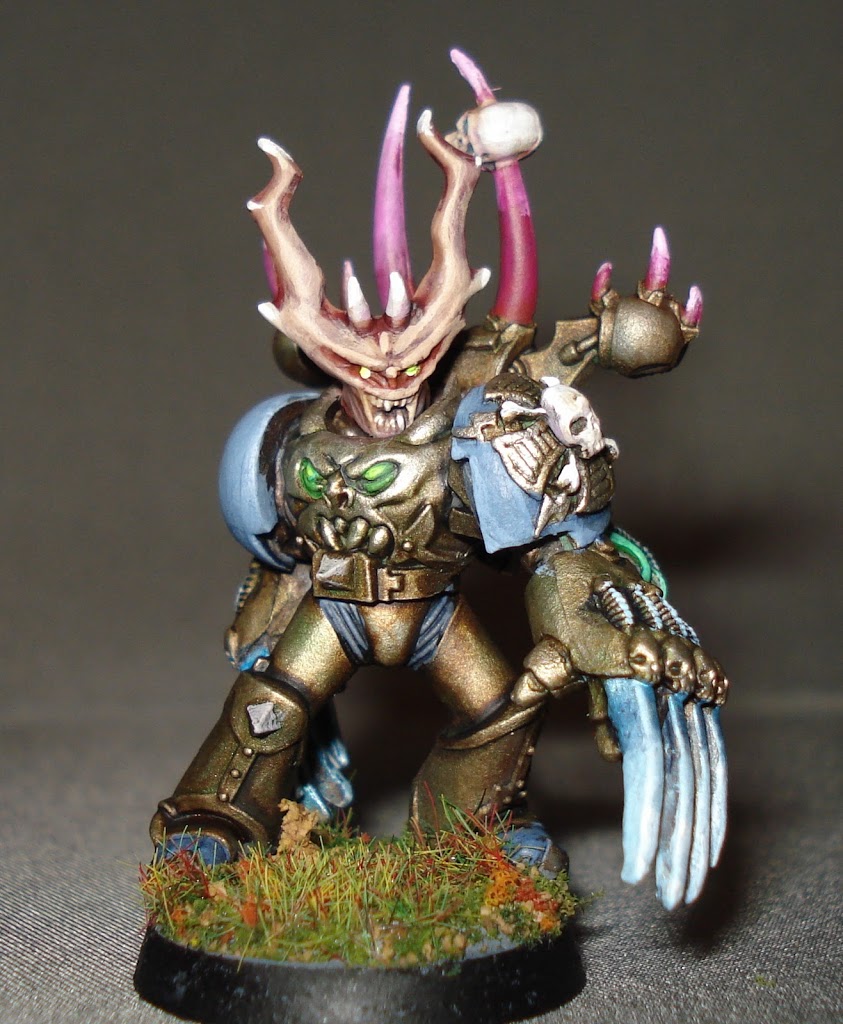
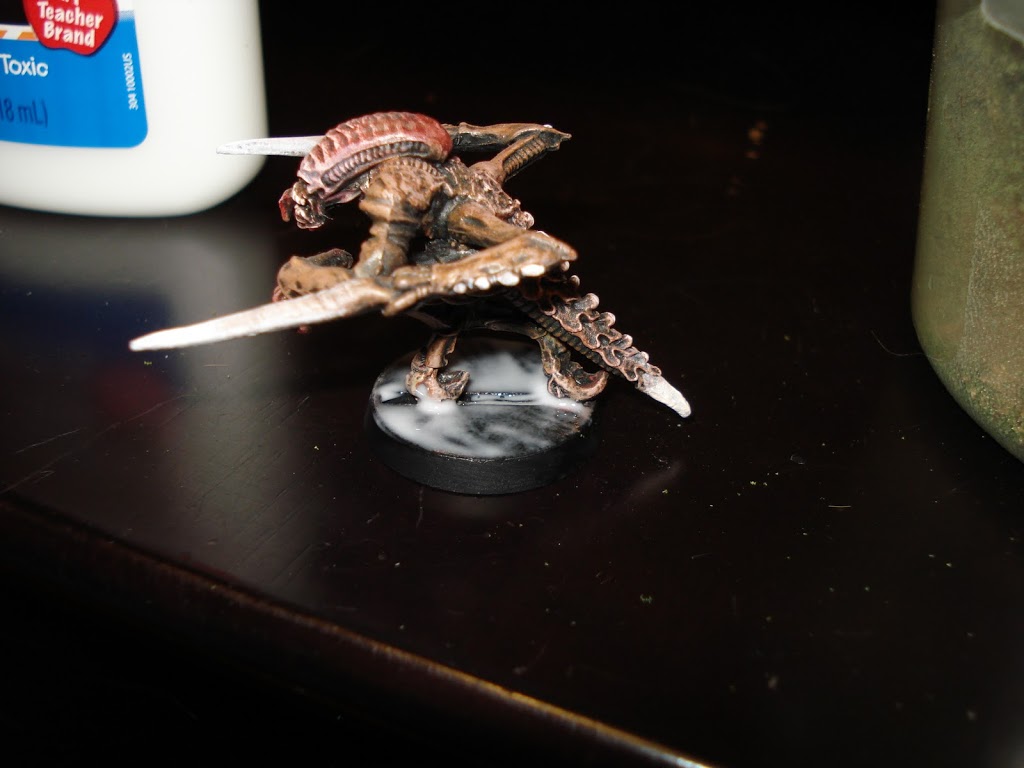
The Brotherhood model below also has a washer on the base – bet you couldn’t tell by looking though! Anyway, I was pretty happy with the way this model came out – although after this picture I went back and softened the transition on the Warlock Purple horns, but I digress. The point is, I was happy with the brassy-gold color, but school got in the way of painting and I lay down the brushes for a week…
…then forgot my recipe.
My boy Dethtron advocates using a ‘Little Black Book’ at the painting station to record your recipes. If you’re working on an army over time, don’t trust your memory! Just write it down. When the new Codex comes out 2 years from now and you have to add the newest super-unit, you’ll be thankful!
I was pretty happy when I finished my Daemon Prince – you’ll note there are magnets at the shoulders where the wings attach, but that’s a tip everyone knew before me, so it’s not on the list. Anyway, this model was done…
…then I dropped him. The arm popped right off, because I was so excited about painting this model that I’d failed to pin him properly. He hasn’t been the same since. You can see the damage at the should join. I’ve since repaired him properly, but I’ve learned my lesson. Pin your models!
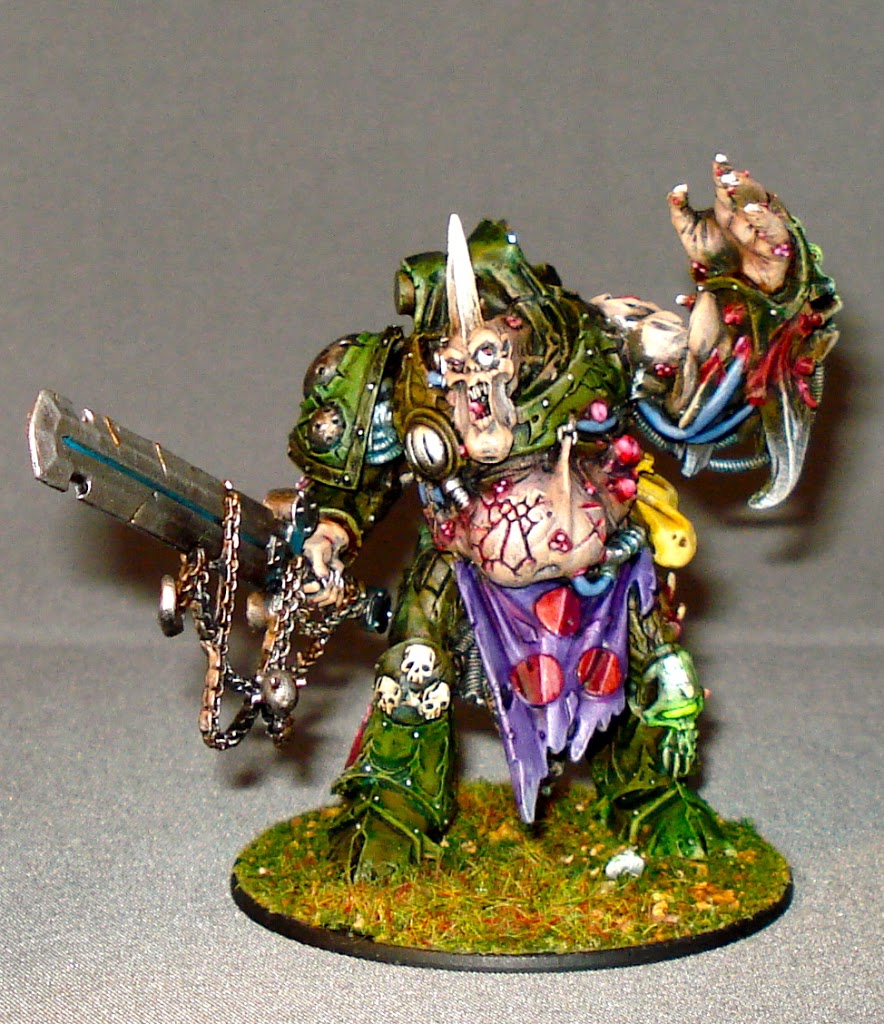
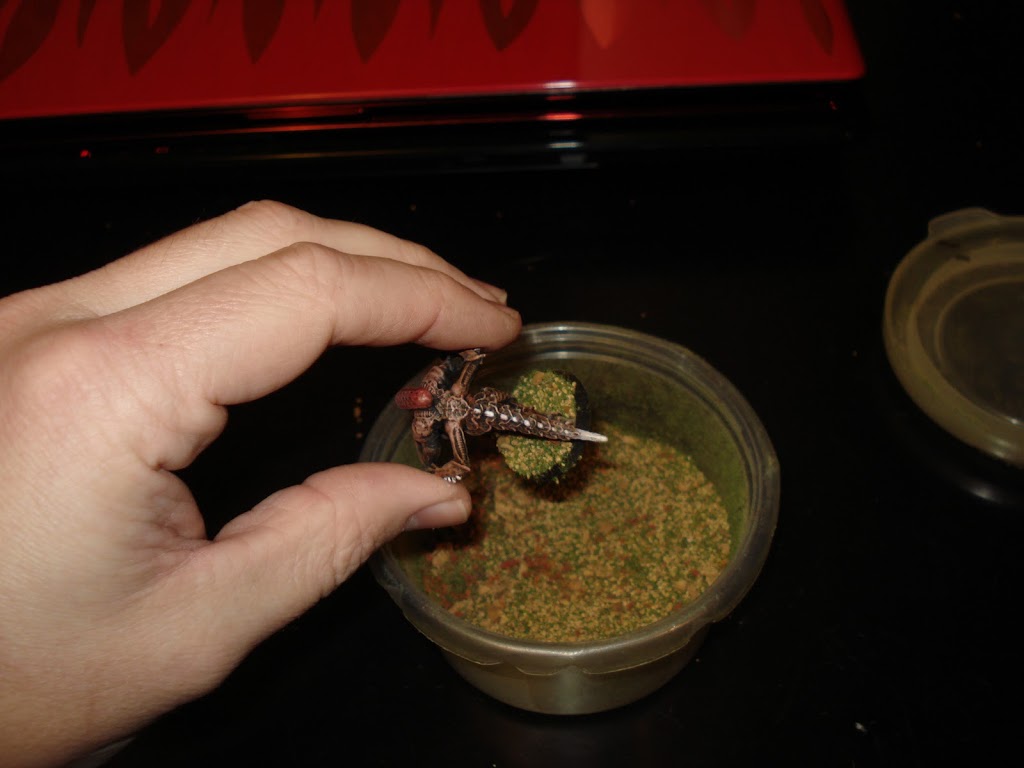
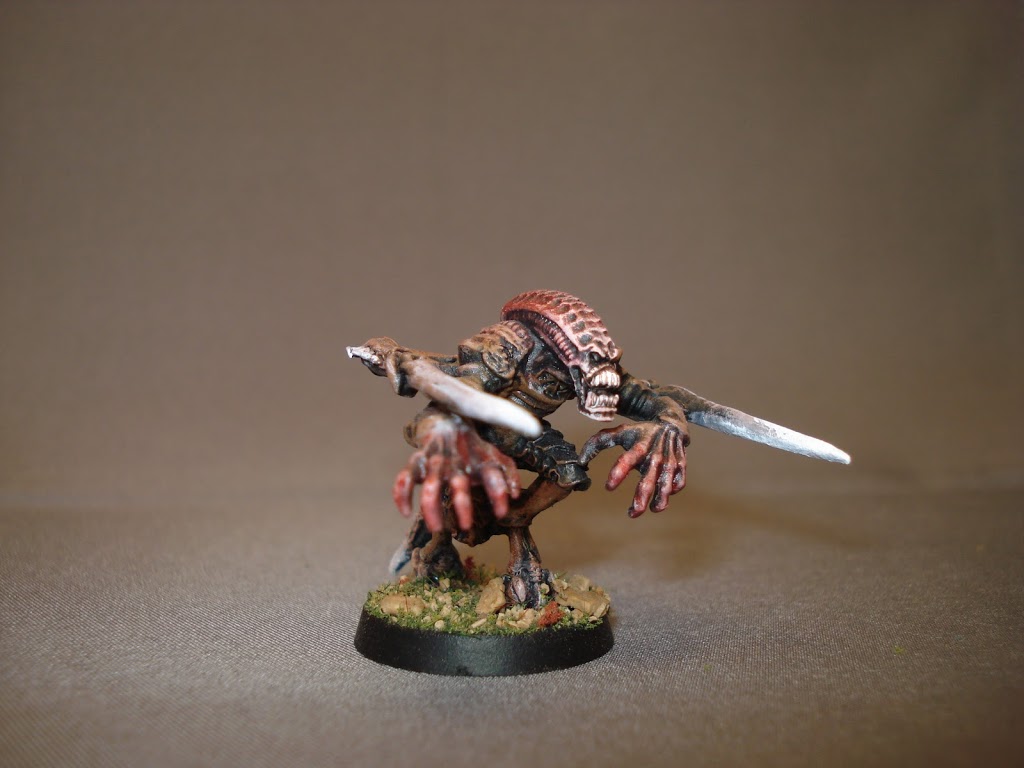
At Da Boyz I saw a really awesome army – the dude had lovingly painted his models. And lovingly painted his bases green. It goes without saying, that completely ruined the effect he was going for!
We got to talking and he admitted basing models was really time consuming for him. Me? I’ve based armies in the half hour before a tournament with Elmer’s Glue, a cheap brush, and a flocking mixture.
Shake it off and go! I’ll usually add rocks and static grass later, but it’s hardly necessary.
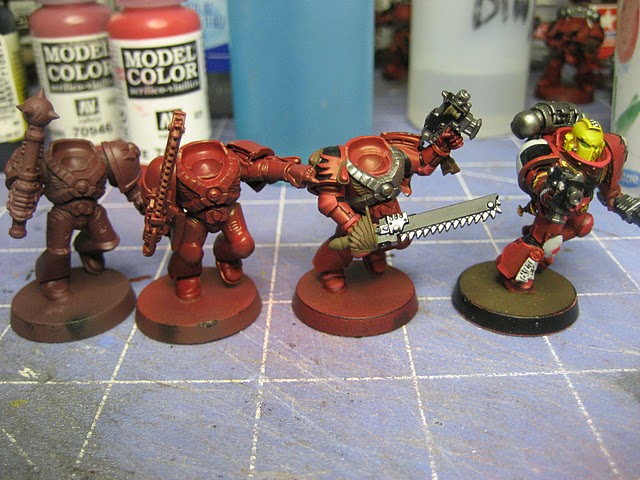
Over the years I’ve painted lots of test models, sometimes to try out a color scheme and others to test a technique. I’ve found it helps to paint one model and discover the problems rather than starting on your army and finishing a few squads before you figure it out.
Advertisement
Of these, only the last model will actually be used as a scheme in an army I’m building. I really liked the Storm Wardens project, but always wondered why the color scheme wasn’t reversed; I gave it a try and I liked it quite a lot.
Bonus!
Part of the purpose of this article is to encourage some of you fine folks to drop you own hobby tips in the comments section; share and share alike, right? While I was writing this article, my friend Kirby from 3++ is the New Black chimed on in chat… so with all this in mind, I asked him for one of his. Check out the article; I’ll admit, I think it’s high time I got an airbrush!
Here’s the link for the hobby articles on his blog, which he kindly gave me permission to use. Bell of Lost Souls has the Lounge, which plays host to numerous painting and hobby articles… and I’m sure you know of other resources out there!
So, I’ve shown you mine, you… doh! Let me rephrase that…
Okay folks, it’s time to share! What are your tips? How do you make your hobby easier on yourself in terms of time and resources? Got an links? If there is enough interest, I’ll use the best of what I get in a followup article.
Thoughts? Comments? Hugs and Gropings? Give it up already!
Author: Brent
Advertisement
