Battle Report: Blood Angels vs Tau – 1,500 points


Went to my local gaming club (Cannock Gamers Club) for the first time in ages, and it’s greatly improved. Played against a fella called Mike and his Tau aka Fish People.
Blood Angels “Wing Striker” – 1,500 points
HQ
Librarian – shield of sanguinus & unleash rage
Elite
2 x Sanguinary Priests
Troops
5 x Assault Marines w/ Razorback – meltagun – Razorback w/ twin-linked plasma gun & lascannon
5 x Assault Marines w/ Razorback – meltagun – Razorback w/ twin-linked plasma gun & lascannon
5 x Assault Marines w/ Razorback – meltagun – Razorback w/ twin-linked plasma gun & lascannon
5 x Assault Marines w/ Razorback – flamer – sgt w/ power weapon – Razorback w/ twin-linked plasma gun & lascannon
5 x Assault Marines w/ Razorback – flamer – sgt w/ power weapon – Razorback w/ twin-linked plasma gun & lascannon
5 x Assault Marines w/ Razorback – flamer – Razorback w/ twin-linked plasma gun & lascannon
Heavy Support
Vindicator
Vindicator
Total: 1,490
Tau “Fish People” – 1,500 points
HQ
Commander in suit – 2 x shield drones and some unknown wargear
Elite
3 x Battlesuits – shield drones and mixed wargear, S5 and S7 stuff
3 x Battlesuits – shield drones and mixed wargear, S5 and S7 stuff
Troops
6 x Fire Warriors w/ Devilfish – Devilfish w/ sensor spines, disruption pods, burst cannon & smart missile system
6 x Fire Warriors w/ Devilfish – Devilfish w/ sensor spines, disruption pods, burst cannon & smart missile system
6 x Fire Warriors w/ Devilfish – Devilfish w/ sensor spines, disruption pods, burst cannon & smart missile system
6 x Fire Warriors w/ Devilfish – Devilfish w/ sensor spines, disruption pods, burst cannon & smart missile system
Heavy Support
2 x Broadside Suits – 2 shield drones
Game: Seize Ground + Dawn of War
Deployment
I lost the roll off but Mike decided to go second. I kept everything off the field. He deployed the Broadside squad only.
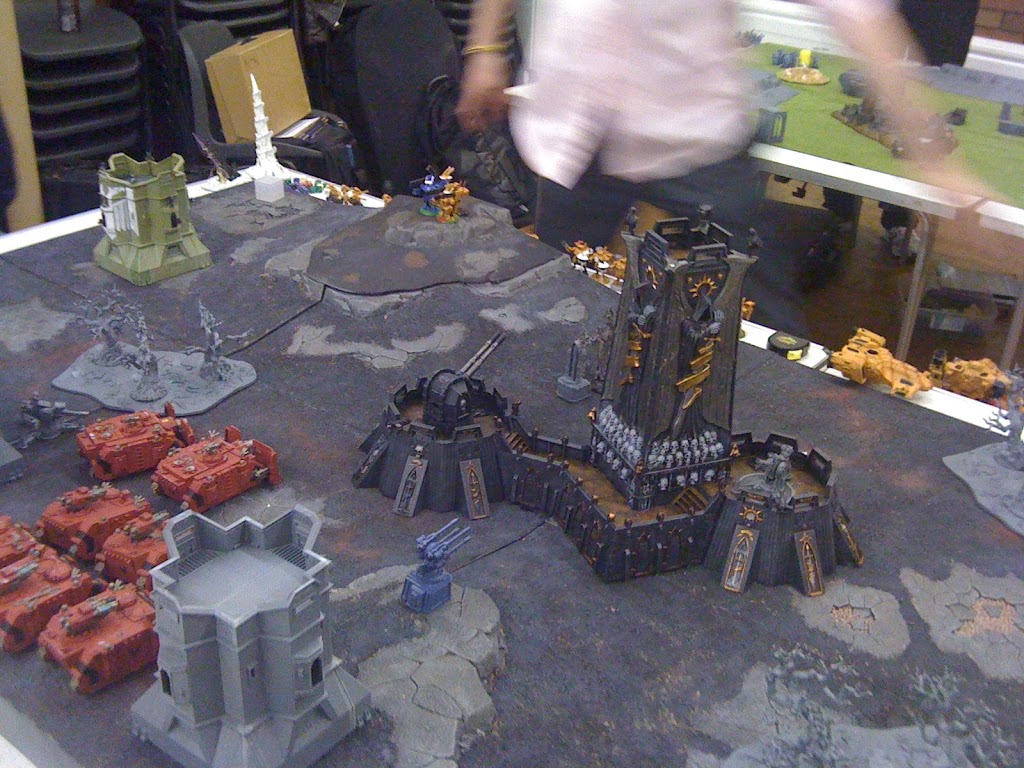
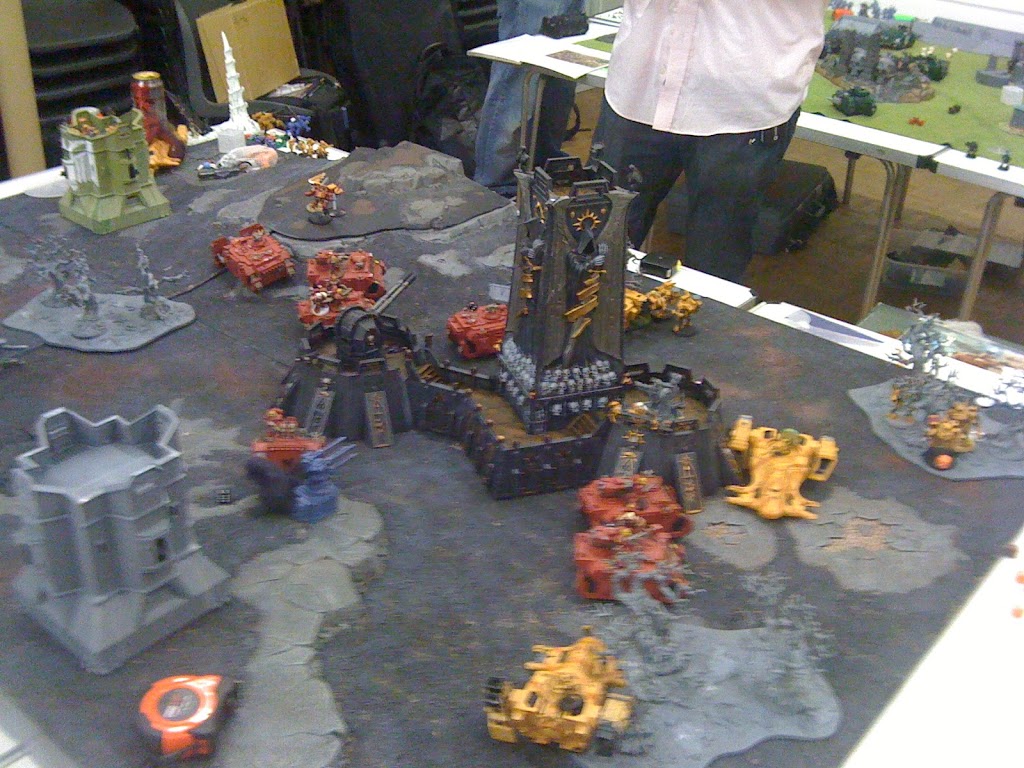
The random Planetstrike weapons are objectives, two are my side by the bastions, one is in the fortress the other Mike’s side by some trees. In the picture below my tanks aren’t deployed, I just left them on the table 😉
* Tactical Notes
This is my first time playing Tau, so after cluing up with lots of questions from Mike I think I know what I’m going to do. He’s left those Broadsides vulnerable, so I’m going to nail them as they’re his only real anti tank – with those down he shouldn’t have a fat lot to bust my tanks. I’ll use meltas and the Razorbacks on the Devilfish. Then I’ll use flamers and Assault Marines to batter them while Vindicators will shell the battle suits hopefully I.D’ing them.
Turn 1
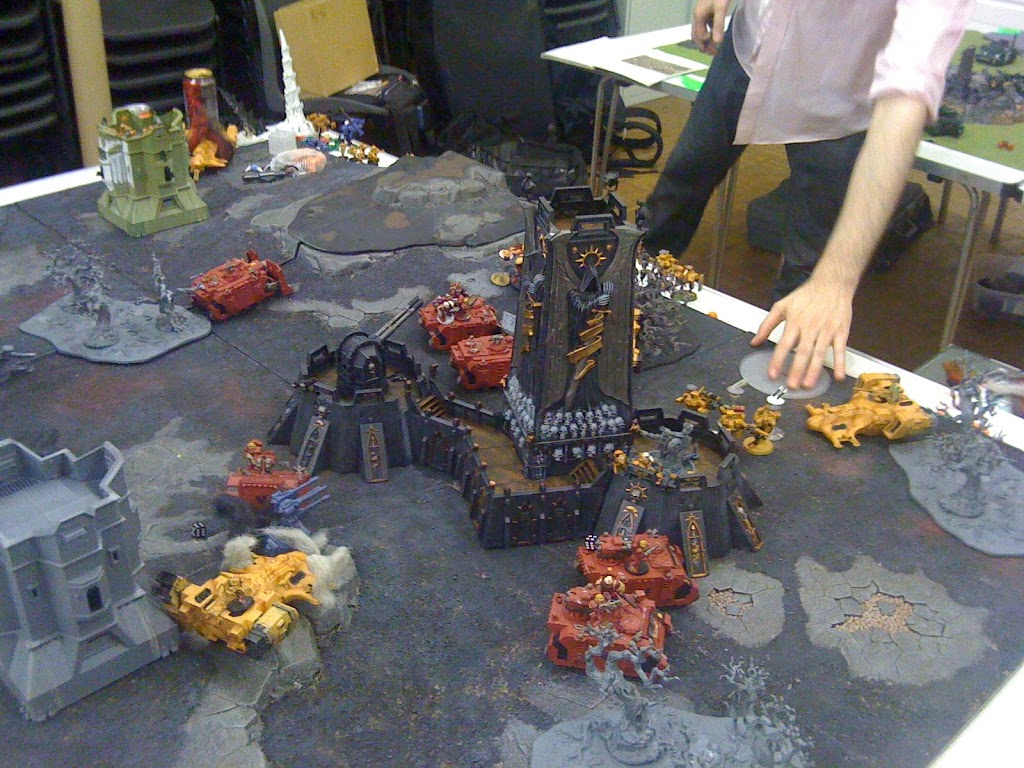
All my stuff rolls in off the board edge with the Vindicators and a single Razorback – forming an armoured wall and popping smoke while the other Razorbacks move 12″ behind.
Shooting: I blast the Broadsides with mass lascannons killing both shield drones and a suit.
Mike’s turn: he manages to explode a Razorback carrying a melta squad, two Marines are killed in the blast.
* Tactical Notes
Ok not bad first turn. Anti tank is almost gone, and the last model is vulnerable. Shame I lost a Razorback, but at least the squad is close to an objective so I can go for that next turn.
Turn 2
I move the armoured wall forward with the melta squad on foot [running towards the objective], but they get poor run roll 🙁
Shooting: the Broadside is full of lascannons holes. Three Devilfish come on from reserve, one coming down the left flank and two on the right. One squad disembarks from the Devilfish and moves onto the fortress claiming the objective.
Shooting: some smart missiles fire at a Vindicator, I think, but do diddly squat.
* Tactical Notes
A mistake from Mike here, which I should have pointed out, but was thinking what to do next. The Fire Warriors aren’t allowed to disembark, move and then get into the building as the Devilfish moved 12″.
Next turn I’ll blast the single vulnerable Devilfish on the left flank with lascannons and Vindicator while I move a squad towards the fortress and blast the Devilfish, which are on the board. With the Devilfish gone there’s no transport for the Tau to hide in or be mobile anymore.
Turn 3
I move my armour a little bit but keep it hidden using the fortress as cover. A single Vindicator points towards the solo Devilfish as a solo Razorback moves towards the fortress objective 12″. The squad bails out and another Razorback moves with a Priest to give them feel no pain. The melta squad on foot runs to the objective and claims it.
Shooting: the lone Devilfish gets smashed by a Vindicator shell and is wrecked. The Fire Warriors are pinned. Assault Marines unleash flamers into the fortress, but fail to kill any Tau. A Devilfish does get shaken though by the other Razorback by the fortress.
Mike’s turn: he calls for reserves with a single Battlesuit unit, coming on the right flank, walking through terrain. The empty Devilfish moves across and lands in terrain by the objective on Mike’s side.
Shooting: he doesn’t do a fat lot. I think he kills a single Marine from the squad that bailed out the Razorback last turn.
In assault he moves the Battlesuits through terrain and one takes a wound thanks to dangerous terrain.
* Tactical Notes
Ok, cool, the lone Devilfish has been nailed by a Vindicator, and the Fire Warriors are written off for this game. Nothing else really exciting has happened.
Next turn I’ll move the Vindicator 12″ or 18″ over the objective and ram Mikes Devilfish – contesting it while the Razorbacks move up to support it. The flamer squad outside the tank will bail back in and move the Razorback as close to the fortress objective as possible – I hope I’m within 3″ – while the Razorbacks will try and pop the Devilfish to expose the Fire Warriors inside. The other Razorbacks and Vindicator will go for the Battlesuits, and hopefully take them out with mass plasma or lascannons.
Turn 4
This turn I’m going to get the remaining objectives, as turn 5 could be it. I move the Vindicator 12″, ramming it into the Devilfish on the objective by Mike’s table edge. I manage to shake it. I move a Razorback back towards a objective my side – we agreed the ledges of the board are dangerous for vehicles – and it gets immobilised, but luckily within 3″. That’s claimed. I move the two Razorbacks by the fortress a little bit and now contest that, just within 3″! I also move the melta squad into the bastion by the objective they already hold, they’re still within 3″and claim it.
Shooting: I blast the Vindicator at the pinned Fire Warriors, it scatters off the board. I blast the Battlesuits with lascannons, but nothing happens after saves. I blast two Devilfish with lascannons and plasma, one makes cover saves the other is shaken, again.
Mike calls for reserves and the other Battlesuit team arrive, and the Commander – who is on his own. The Commander comes barrelling down the hill towards the exposed side armour on my Vindicator while the other suits come by the Devilfish contesting the objective on Mikes side. Only other movement from Mike is moving the Fire Warriors, which were pinned into a bastion, and moving Devilfish about.
Shooting: the Razorback closest to the fortress objective is shaken and immobilised by Devilfish fire and Battlesuits on the right flank. Commander blasts the Vindicator and does nothing while a Razorback gets shot by the newly arrived Battlesuits, nothing happens.
In assault the Battlesuits on the right flank move back into terrain, passing terrain tests.
* Tactical Notes
Things are getting interesting. All objectives except for two are contested. The one which isn’t contested is held by me, and there’s nothing around to get to it. Plus my Marines are nicely tucked away in a bastion 🙂 . The other is under threat by a Devilfish.
Plan is to nail that Devilfish with plasma and lascannons and hopefully stop it moving one way or another. I’ll move the other Razorbacks forward, blast those Battlesuits by the objective on Mike’s side with lascannons, plasma and melta. I’ll the bail the Assault Marines out, the Commander I’ll just blast with a Vindicator and any remaining plasmas and lascannons.
Turn 5
I move the Vindicator about so it can blast the Commander in the face while the Razorbacks move forward. Melta squad bails out of one into terrain. They’re ready to unleash melta on the Battlesuit unit.
Shooting: Vindicator lands smack on target on the Commander, but Mike gets lucky with his rolls. Both drones and the Commander passing the invulnerables; damn. Battlesuit team gets nailed by melta, bolt pistols, plasma and lascannons, leaving one left who fails morale and runs off the board! Devilfish by the fortress gets nailed with lascannon and plasma from the Razorback which isn’t shaken, manages to shake the Devilfish only 🙁
In Mike’s turn he moves the shaken Devilfish up and contests my objective. He moves the Battlesuits out of terrain and moves the other Devilfish away and towards my armour.
Shooting: a Razorback gets weapon destroyed by the Commander, that’s about it.
In assault the Commander gets brave and charges my Razorback even though it moved 6″. He manages to immobilize and weapon destroy it.
We roll for it and the game ends on a 2, Blood Angels win contesting three objectives and claiming one.
Summary
That was interesting for my first game against Tau, and went better than I thought. My plan worked ok, though I was surprised by some of Mike’s tactics – such as the lone Devilfish coming down the left flank. Mike told me he was going to use to contest the objective my side, but it had a long way to go and in the end a Vindicator dealt with it. I was also surprised his Commander was running solo, though the Commander managed to shrug off a Vindicator blast and do some damage to a Razorback.
All in all it went well. I was hoping to get into assault and batter some Tau, but it didn’t happen. The game was really armoured warfare in which my guns weren’t doing a fat lot to Tau armour. I didn’t even pop one – even though Mike’s Battlesuits and Devilfish didn’t have the right weapons for anti armour and didn’t even to take out a Razorback. I think if I had some more luck taking out transports I could have battered some Tau. Also the game could have been slightly different if those Fire Warriors didn’t get out the of the Devilfish, and got into the building on the second turn instead – as they cannot move once the transport has moved. Could have maybe had my Blood Angels on instead, maybe.
How would you have played this game? Can you offer any tactics advice?

