Warmachine: Painting the Khador Starter Models

So as you all probably know, later this September the Warmachine Two Player Battle Box will be hitting store shelves. Here’s a painting article for all you players out there hoping to pick up the Khador half.
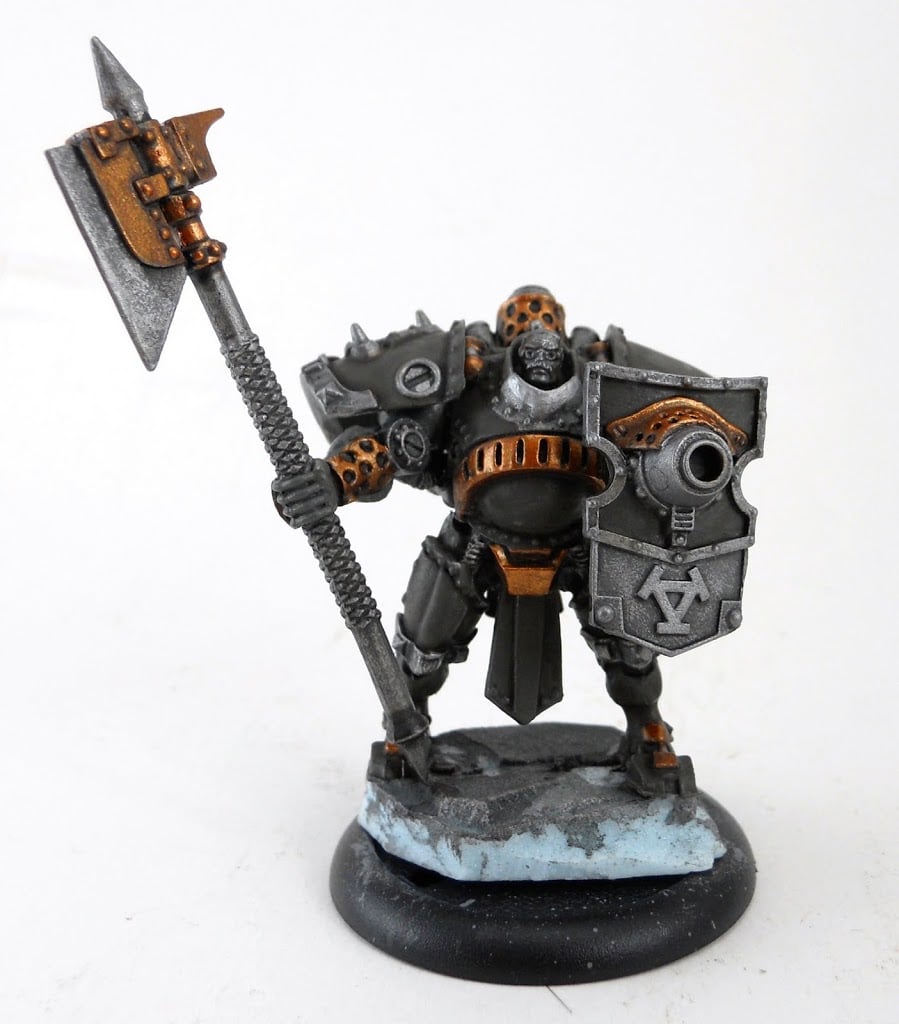
Hopefully this will give you some color scheme ideas as well as some technical knowledge to help you get your own soldiers of the Motherland ready for battle. This article will be covering one of the shiny new plastic Man o War Shocktroopers, but as you can see, its easy to apply these techniques to any Khador models.
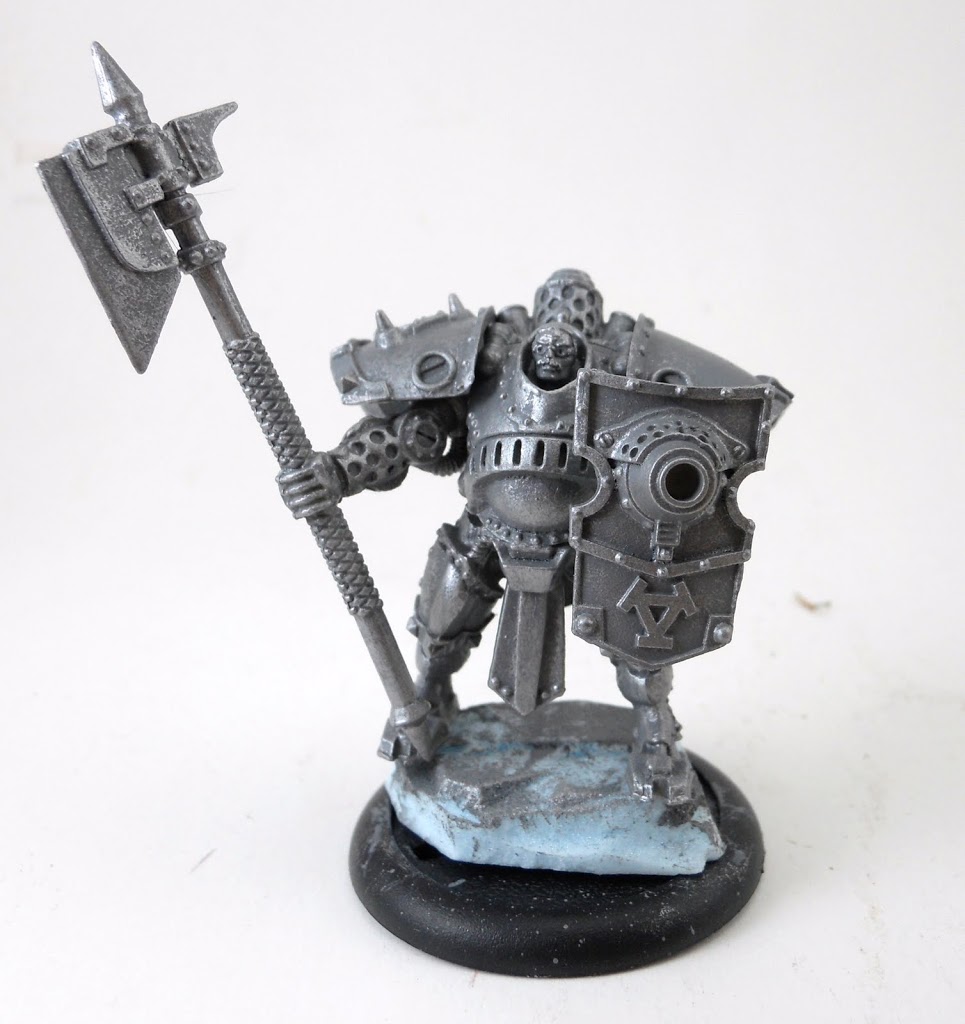 I start off, as I almost always do, with a neutral gray basecoat. This is drybrushed with chainmail so I can get all the metallic areas out of the way first.
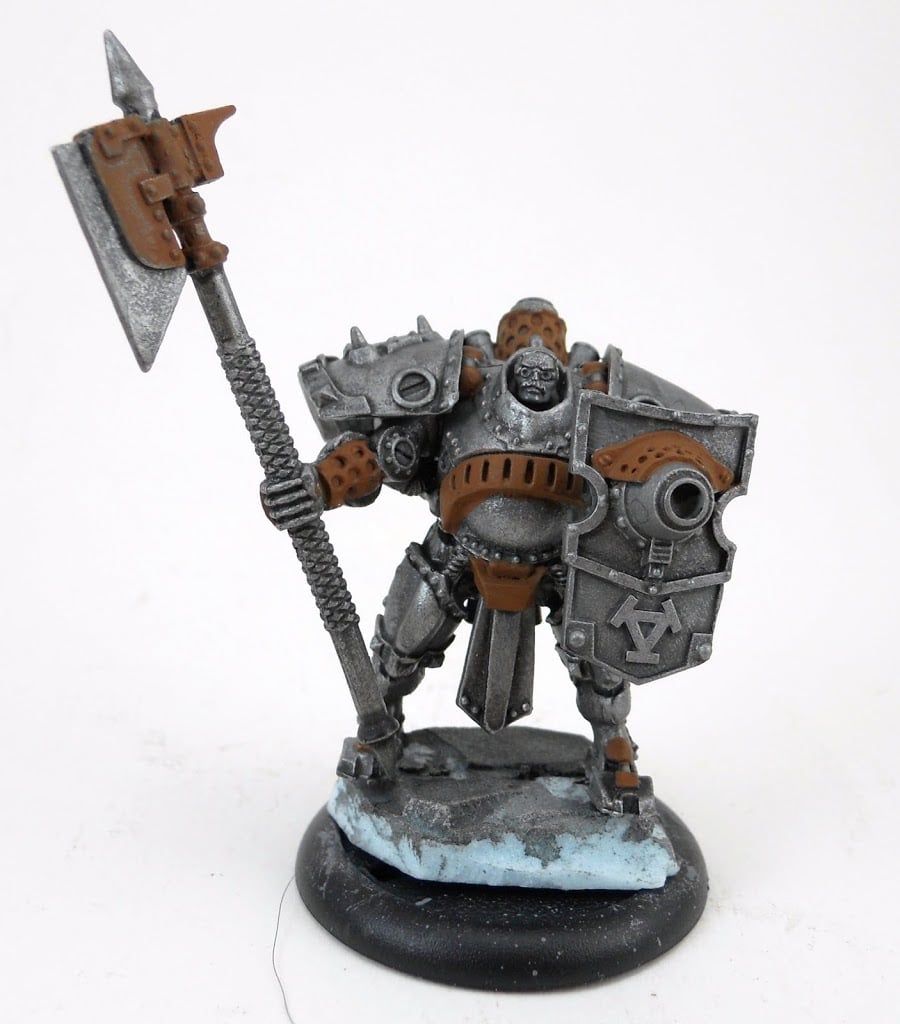 Then I wash everything with a custom ink mixed from Devlan Mud, Asurmen blue, Badab Black, and some water and a few drops of matte medium. The matte medium ensures the ink will cover properly. I find this custom ink creates a more realistic and engaging metal than pure Badab Black alone would. Once the ink is dry I begin prepping areas for the next metallic color which will be Dwarf Bronze. I paint all those areas with Calthan Brown.
 The Calthan Brown areas now get drybrushed with the Dwarf Bronze, then washed with the same ink from before.
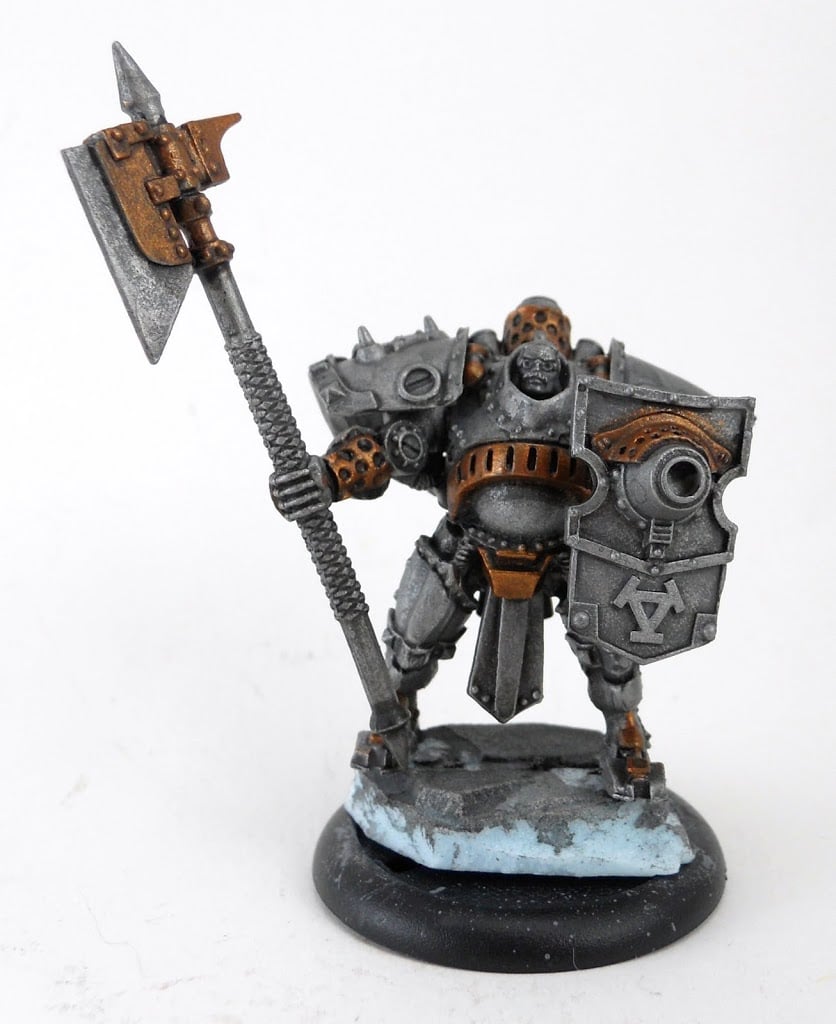
Then I do some manual highlighting of those areas with Dwarf Bronze again to make it pop a little more. I also start on the rest of the armor by laying down my first basecoat of gray, then washing it with Devlan Mud.
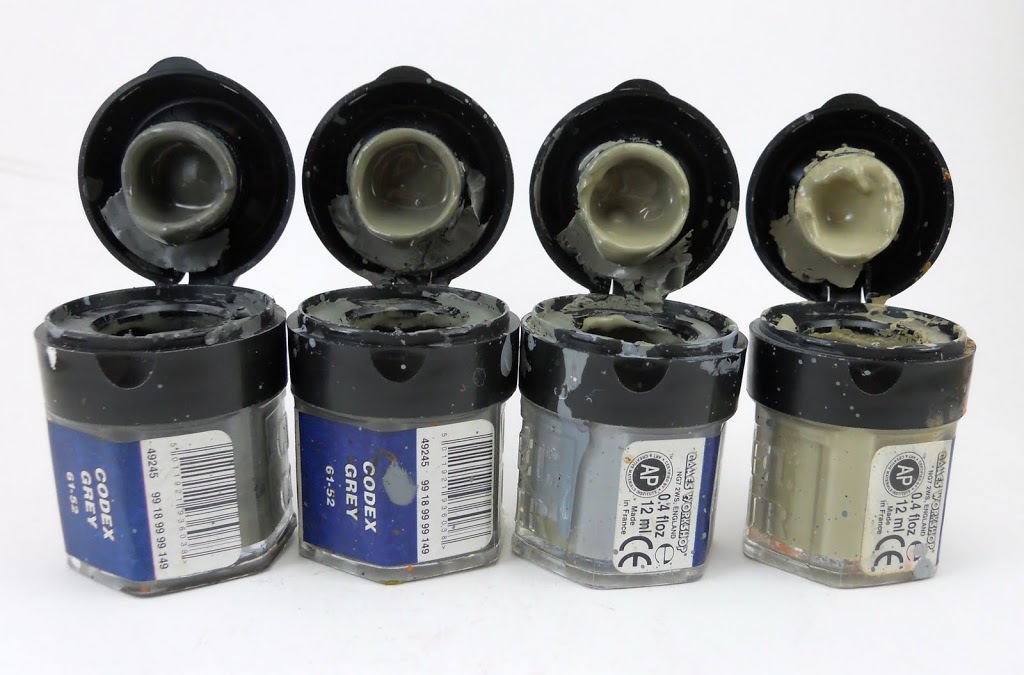 I wanted a nice warm soviet-ish style gray for most of the armor and I mixed up four pots of colors to get the look I was after. The first pot is Codex gray mixed with some Snakebite Leather and just a little bit of Chaos Black. Next up is a mix of Codex Gray and about 25% Snakebite Leather. For the next pot I added a bit of Kommando Khaki to begin lightening it up. The final pot is almost pure Kommando Khaki with just a little bit of the last color added.
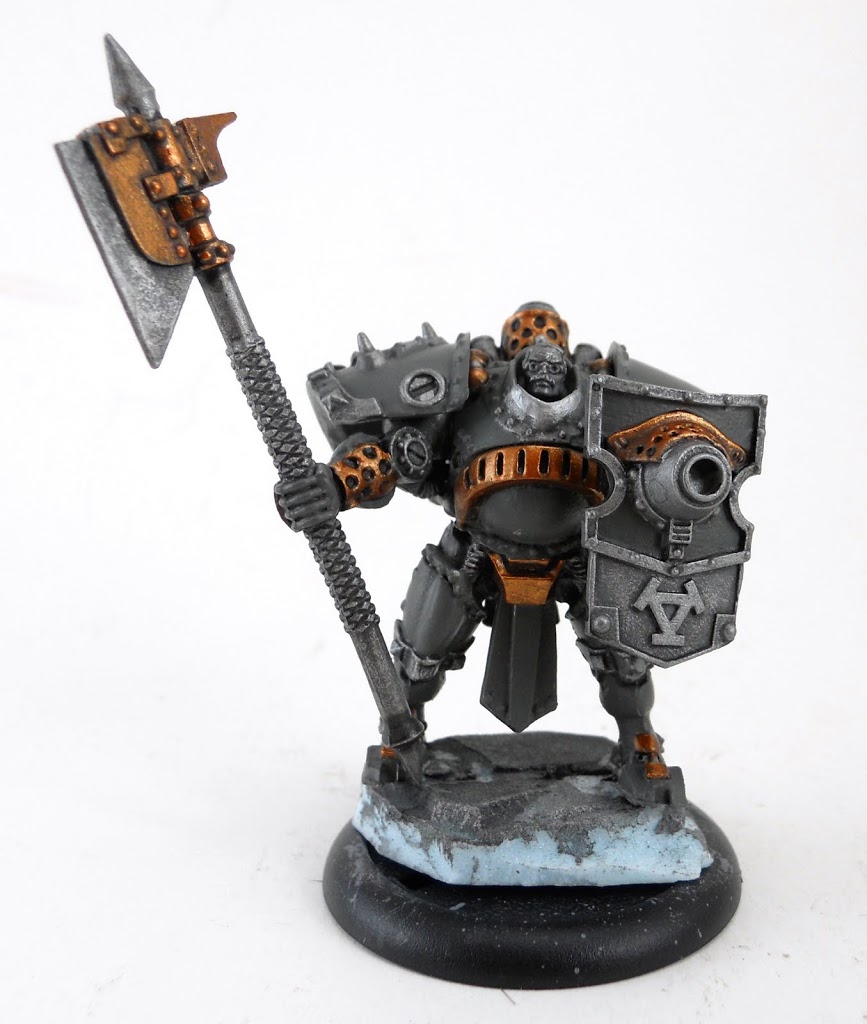
The next step is to go back over most of the Gray parts of the armor with the original basecoat, leaving the parts darkened by the Devlan Mud only in the deepest recesses. Then I just begin highlighting up, painting less and less of each area as the colors get lighter. I try to get nice smooth gradients on the large surfaces like the Shoulderpads and the gut plate.
The very last thing to do after all the grays have been painted is the incredibly tedious step of painting all the rivets. You want to hit all of them with a darker color first. You can use the basecoat for this, or very carefully wash each one with Devlan Mud. Either method is difficult and you have to be incredibly careful or you’ll end up with uneven looking rivets. After that, go back and hit each rivet again with the lightest highlight color. I’ll explain the battle damage step at the very end, which is really when it should be done. I just really wanted to see how it would look and got a bit ahead of myself.
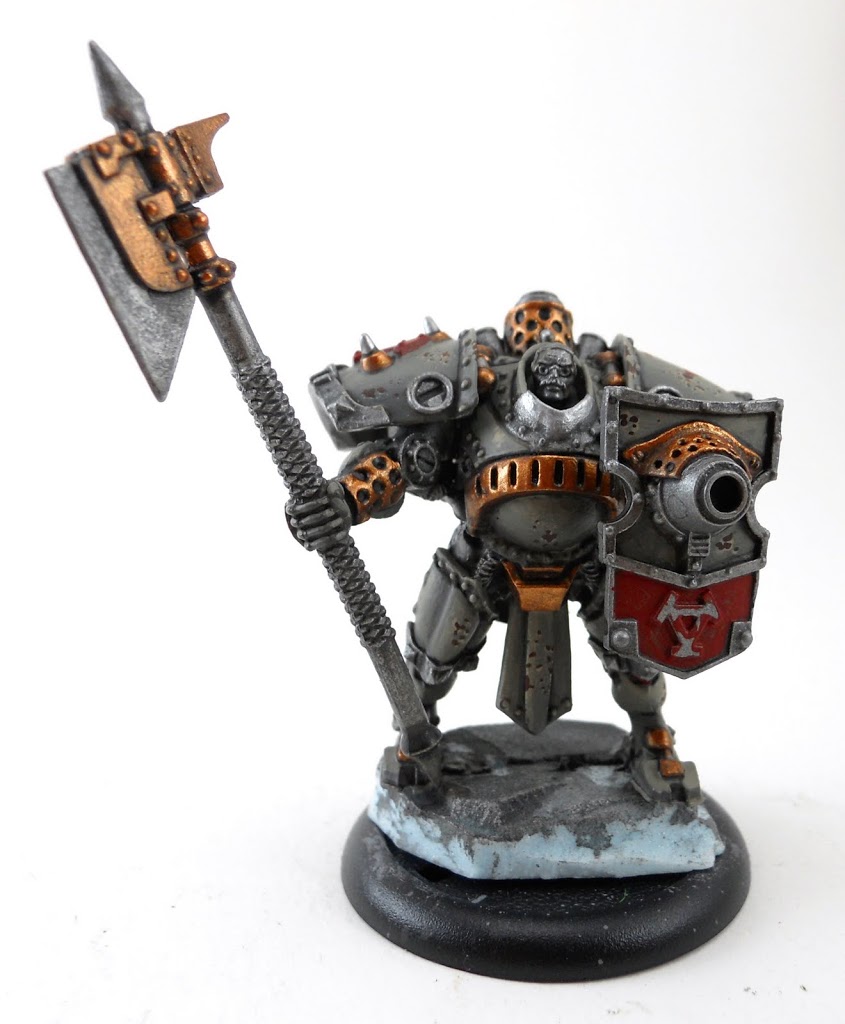
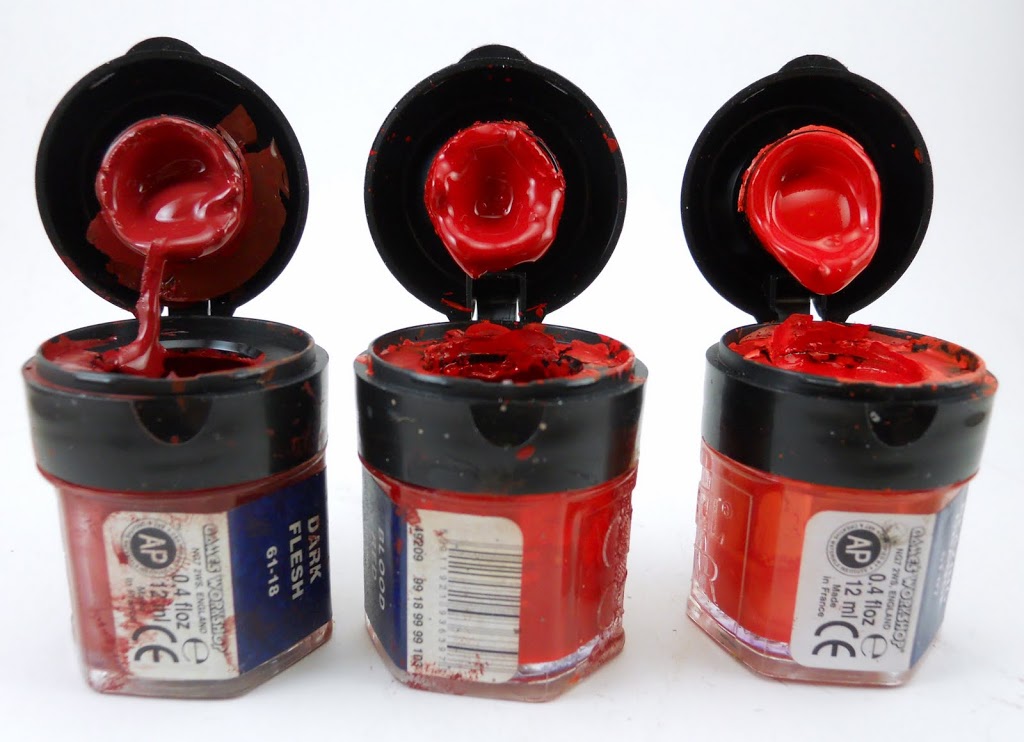
Even though I wanted a more military look for my Khador, I think it should go without saying that they’re still going to need some red. Normally I would recommend starting all the red areas off with Mechrite Red, possibly mixed with a little Red Gore to deepen the tone a bit. But I had run out of it, and my LGS too apparently, so I went with just plain Red Gore for the base coat here. That meant multiple coats unfortunately but you can use Mechrite and make your life a little easier. It was the same story for my final highlight, a P3 color which is somewhat misleadingly named “Khador Red Base“. I had to mix a color to match using Blood Red, Vallejo Hot Orange, and just a tiny little bit of Red Gore. The mid-tone is just a mix of the highlight and base color.
I used the red sparingly on these guys applying it only to the base of the shield, the Khadoran Anvil on the right shoulder, and a freehand star on the left shoulder. I have skipped the intermediate steps in the picture here. Hopefully you can make out the gradient on the shield base.
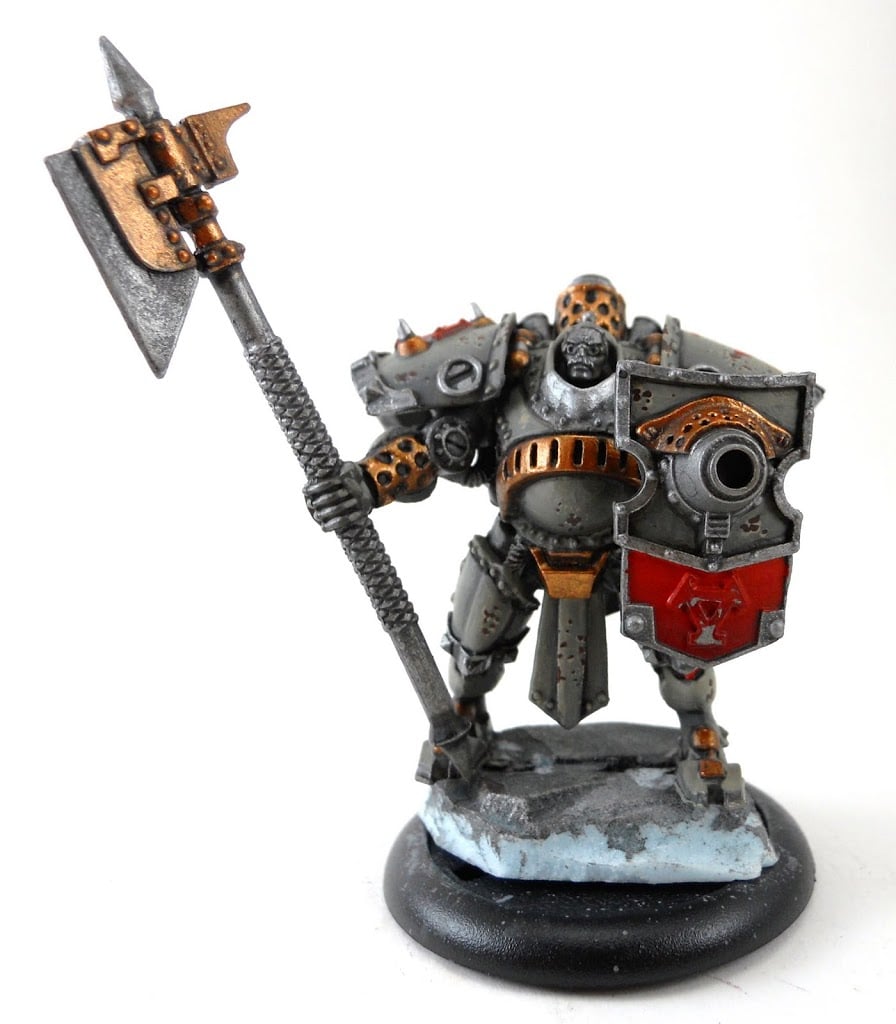
The last color I want to add for this scheme is a blue-black color. If you read my Ogrun Assault Corps painting article, you should recognize these.
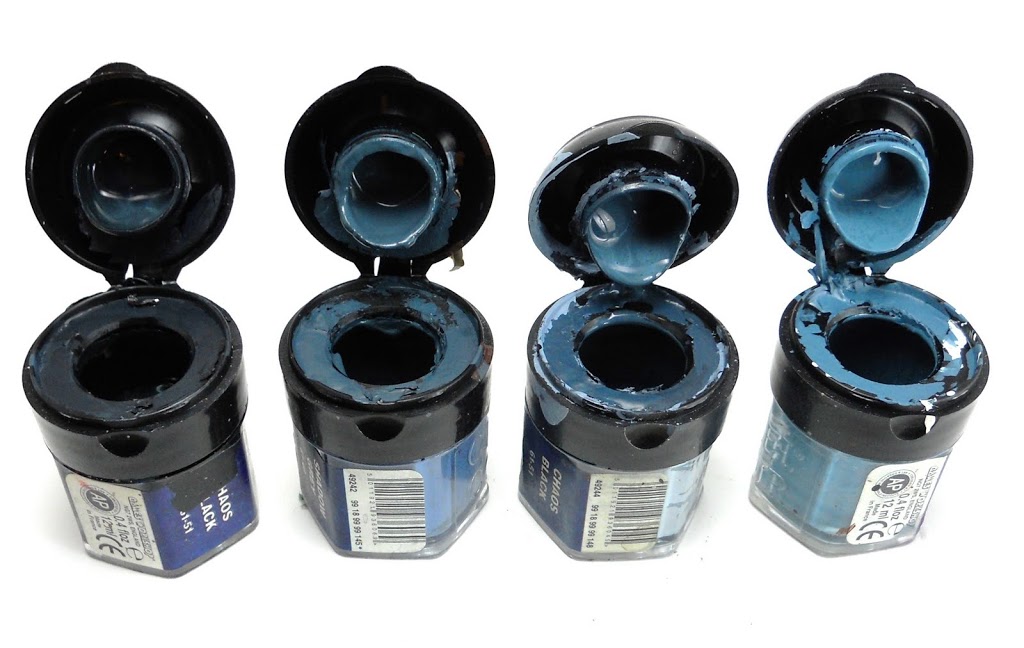 I only want a few black areas: just the edges of the shoulder pads, and the anvil on the base of the shield.
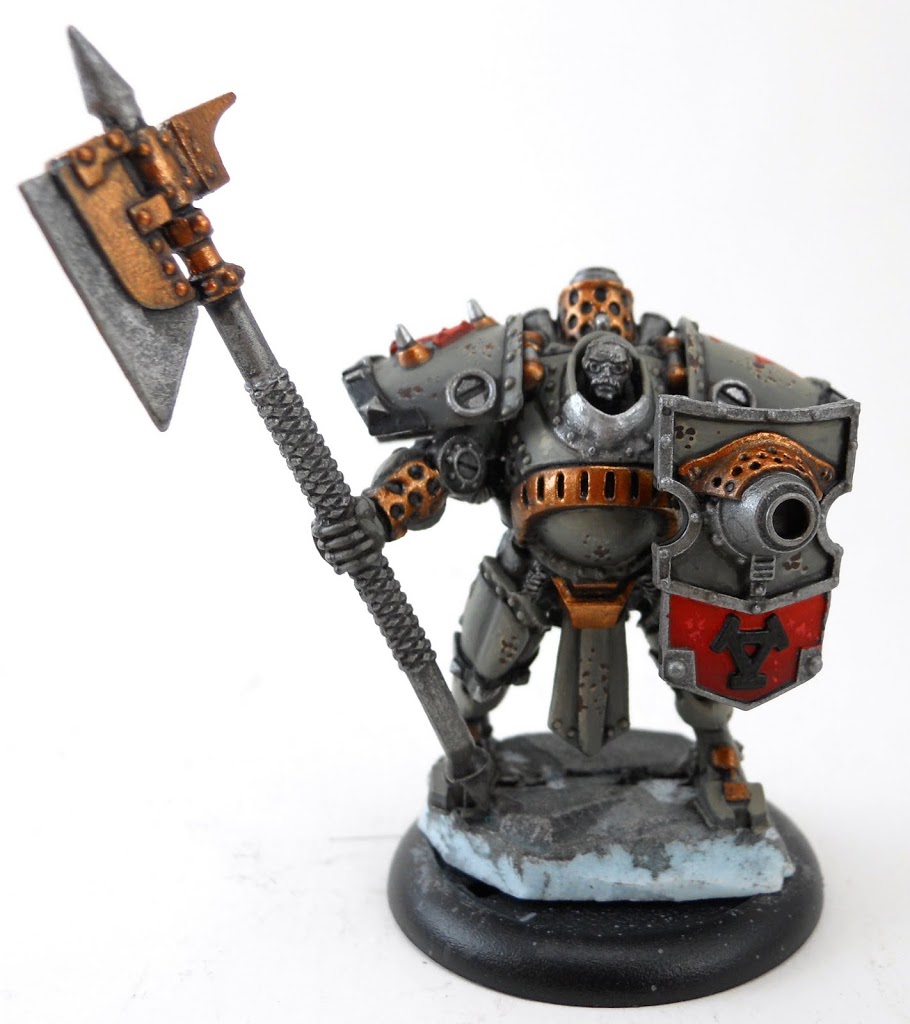
Then I highlight it up with the aforementioned colors. The linear highlight that defines the top edges is pure ice blue.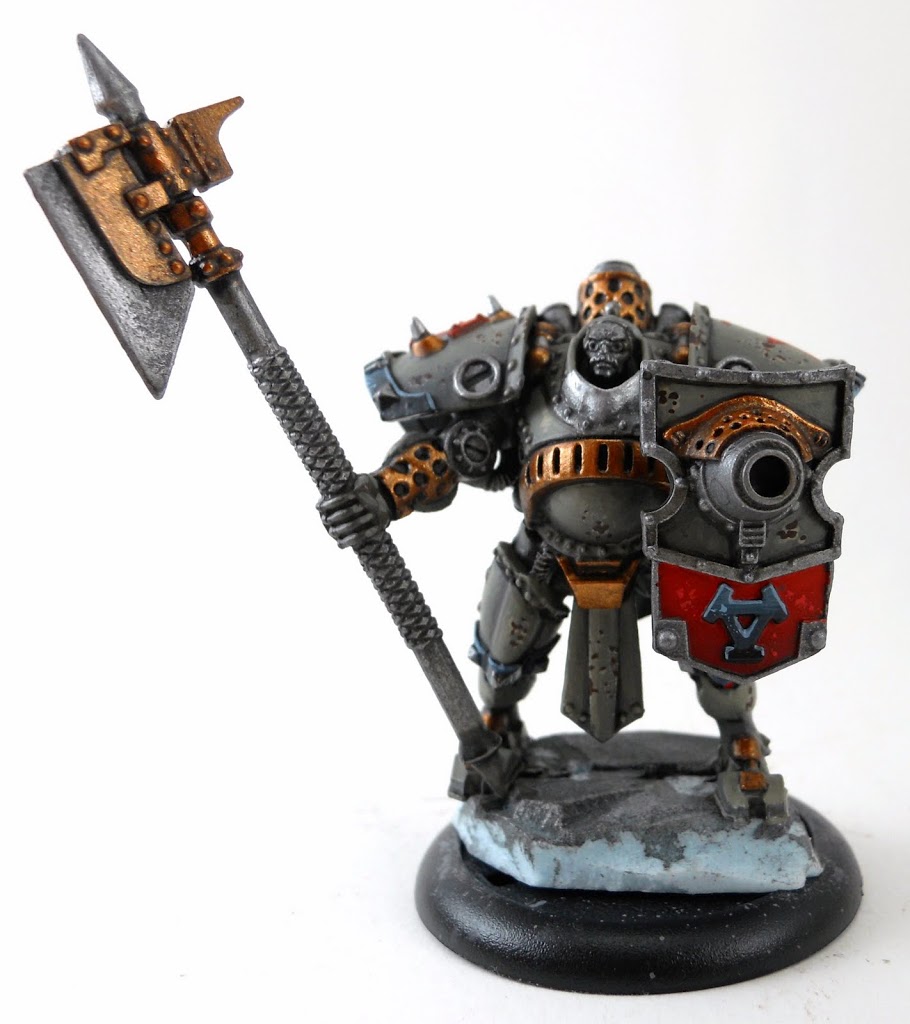 Then to tone it back down again, I hit it with a Devlan Mud wash. This makes it look more like a rich cool black and less like a dark blue.
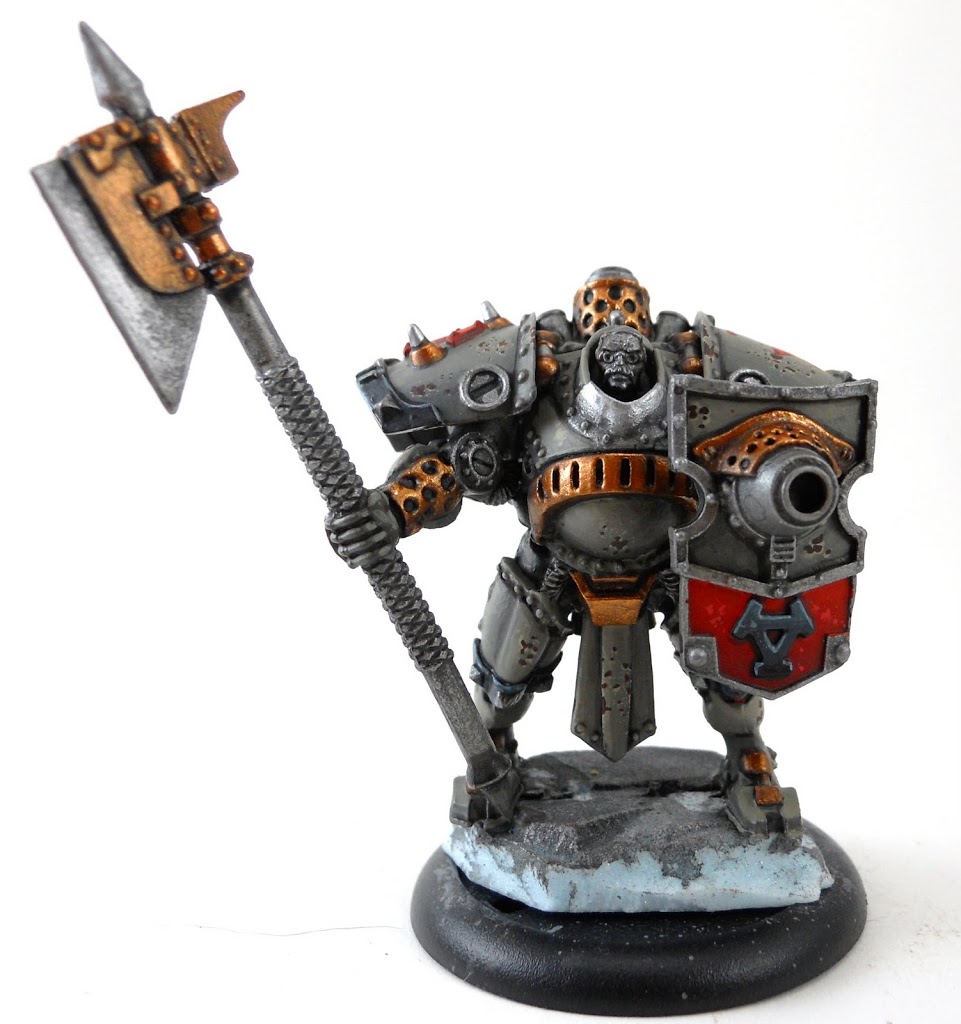 Then I go in and pick out some of the last little details. I’m not going to go into detail on the face, since that’s really an article unto itself. If you want more info on painting faces you can try here, here, and here. Or check the Ogrun painting article I already linked. I also paint his medal (hidden behind his shield) and the insignias on his shoulder gold.
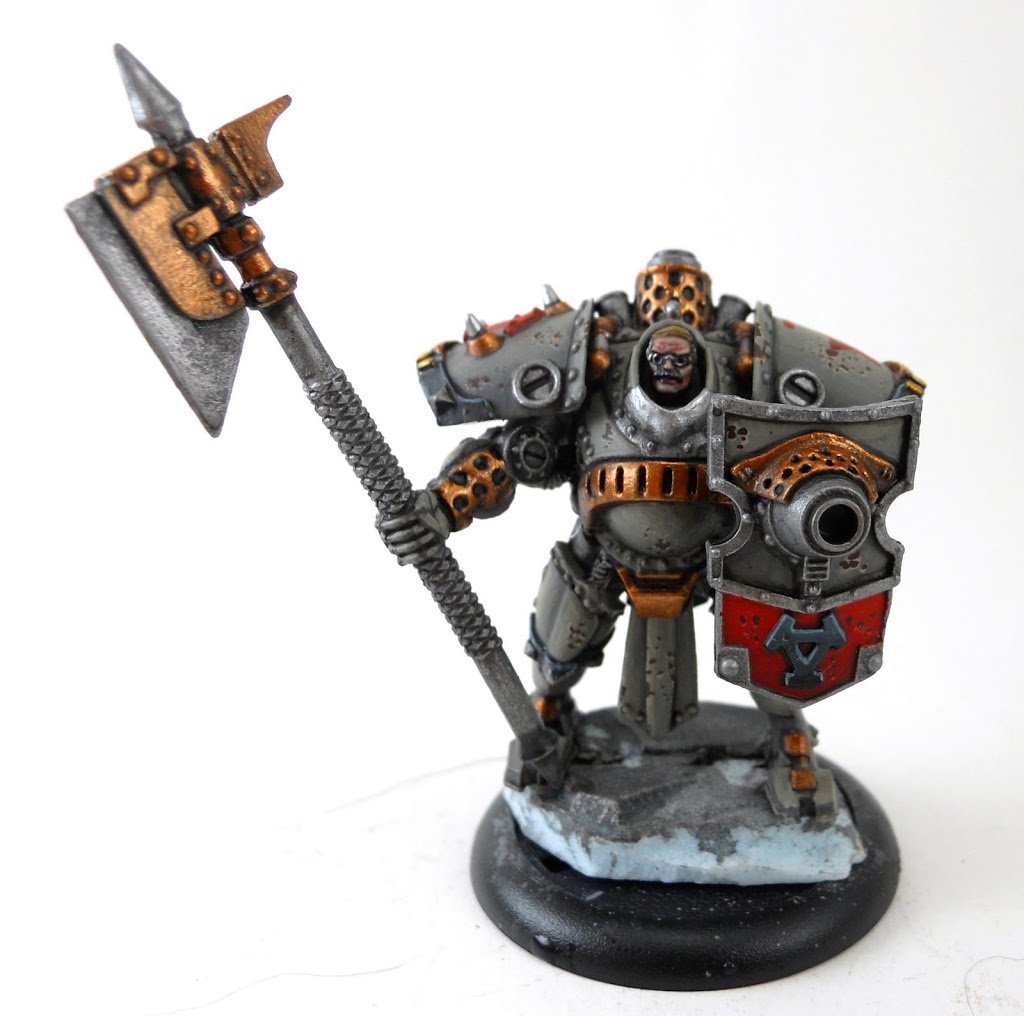
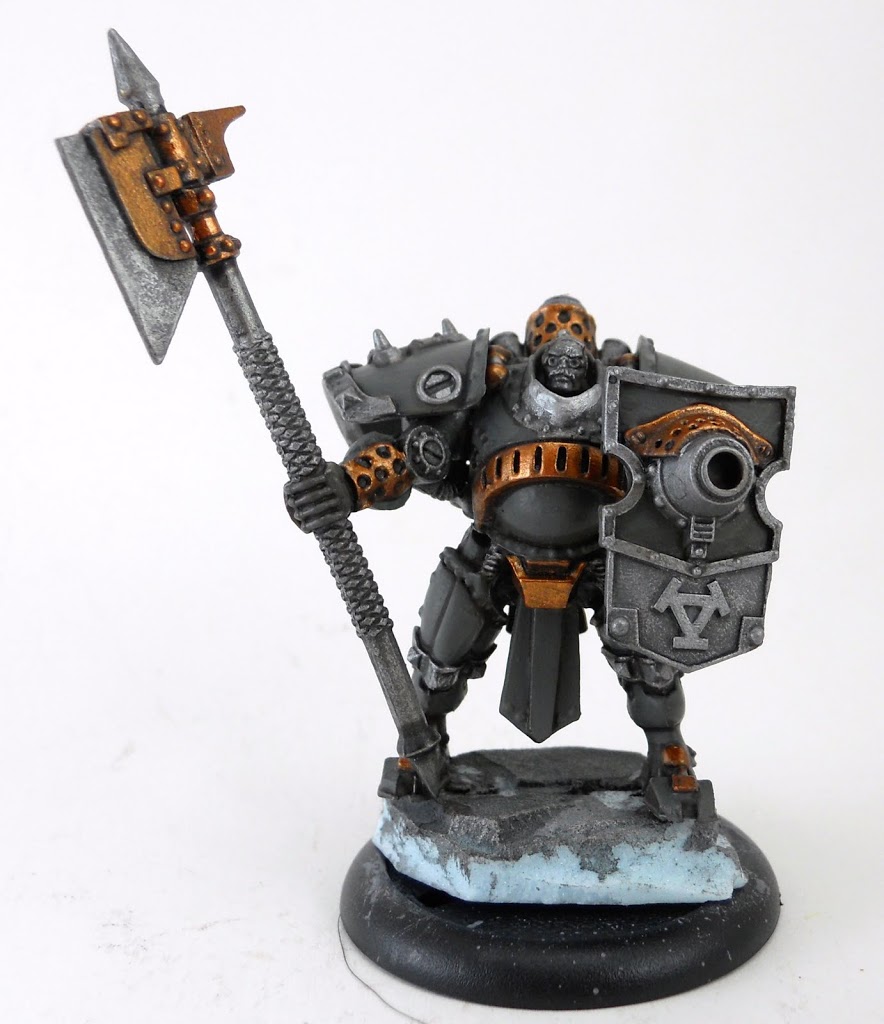
Now would also be a good time to paint the battle damage. To do this, I tear off a strip of that soft spongy stuff that goes in the blisters with all PP miniatures to protect them from jiggling around too much and damaging themselves. It needs to be a small enough chunk to work with, but big enough to hold. I dab it carefully in some Kommando Khaki for this portion, but the color you use will of course need to be a good highlight for whatever your base color is. Have something handy to dab it on to test to make sure you have the right amount of paint on it.
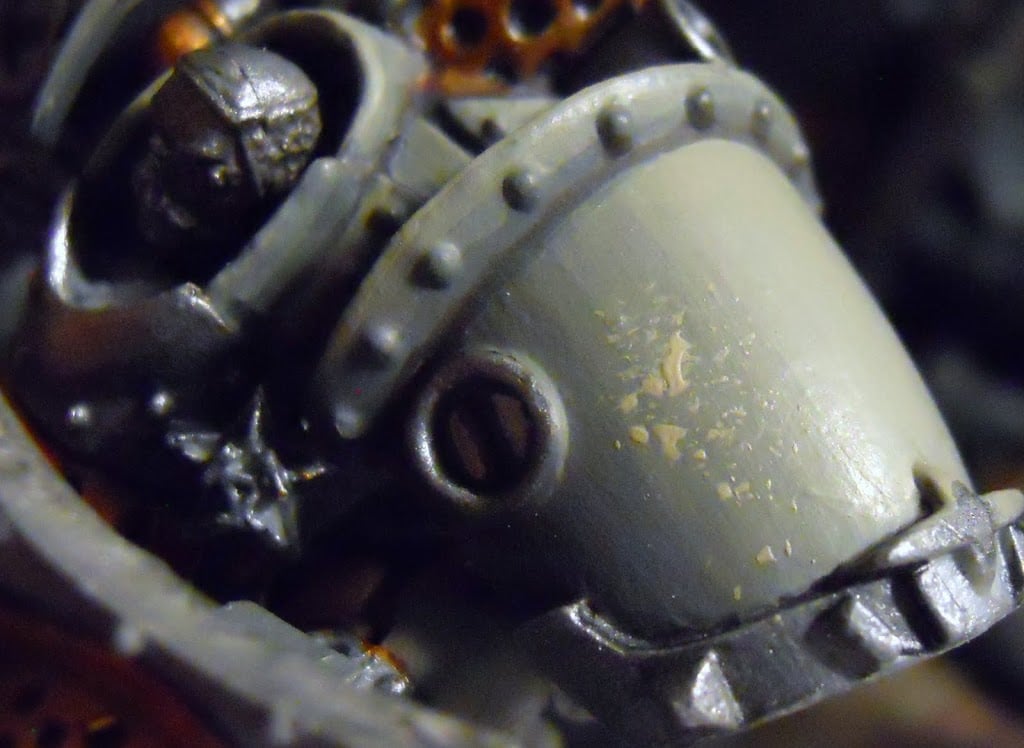 The next part is the real pain. You’re going to want to go back and manually place little spots of Scorched Brown over these lighter splotches in such a way that the lighter color appears to be light glinting off of chipped paint. The darker color should then appear as rusted metal beneath. It doesn’t have to be perfect. I feel like the level of distressing below is just fine.
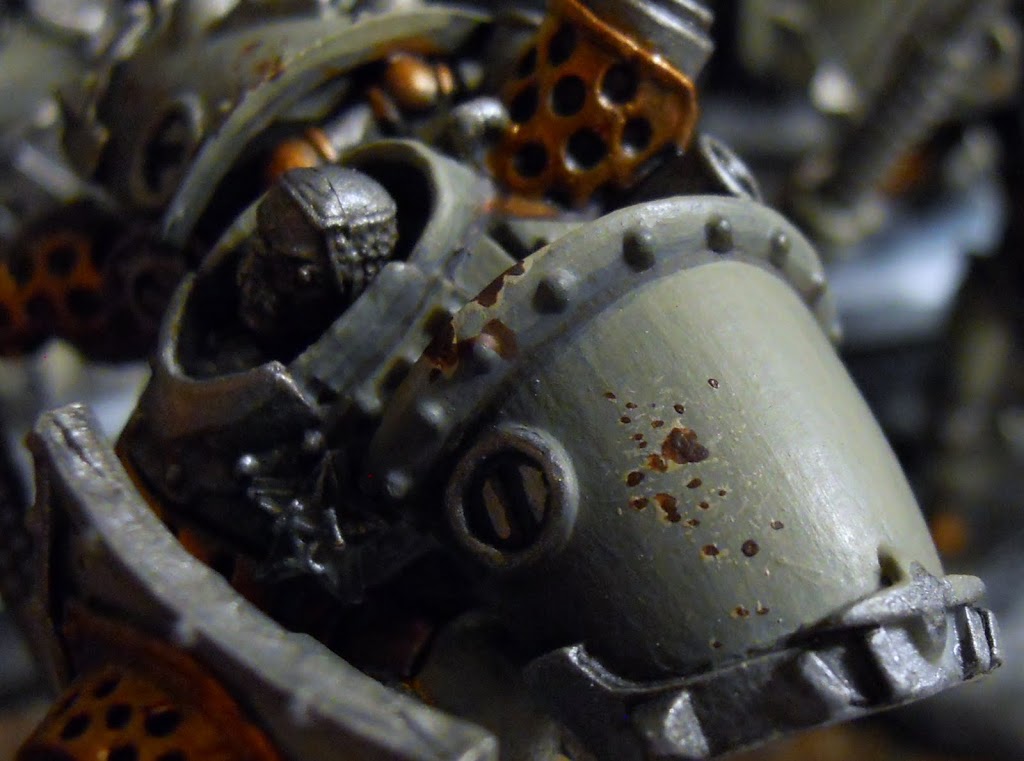 To finish off the weathering, I make a very thin wash of Bestial Brown, and kind of dab it over the distressed areas with a brush.

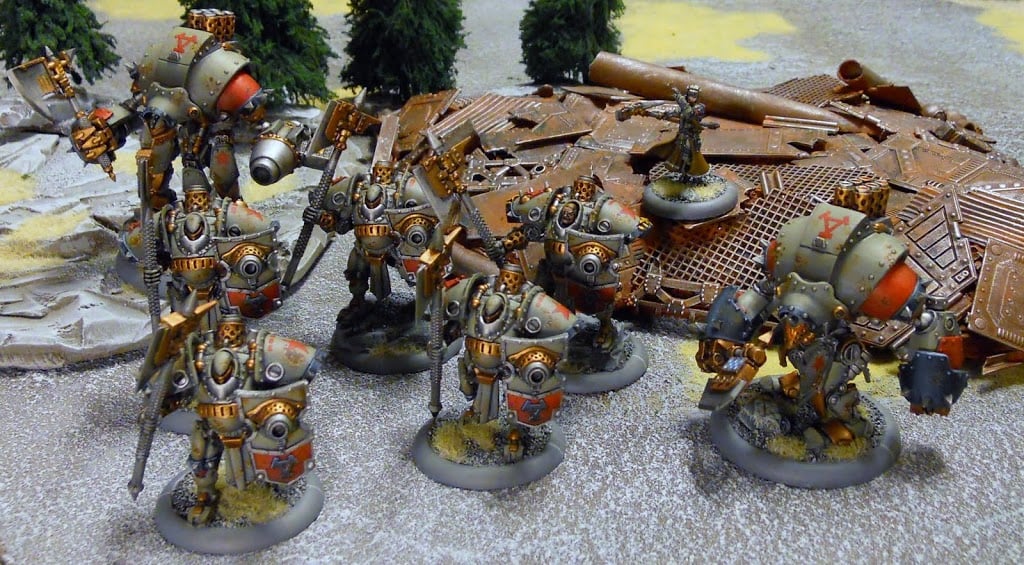
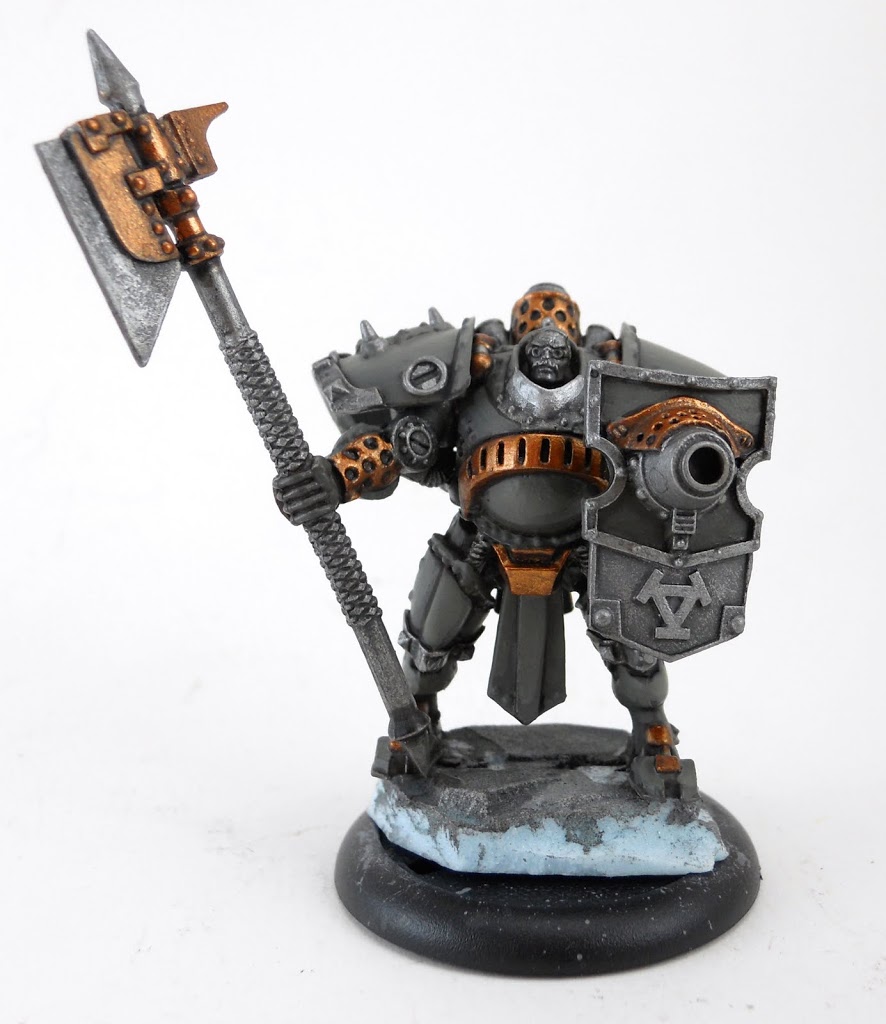
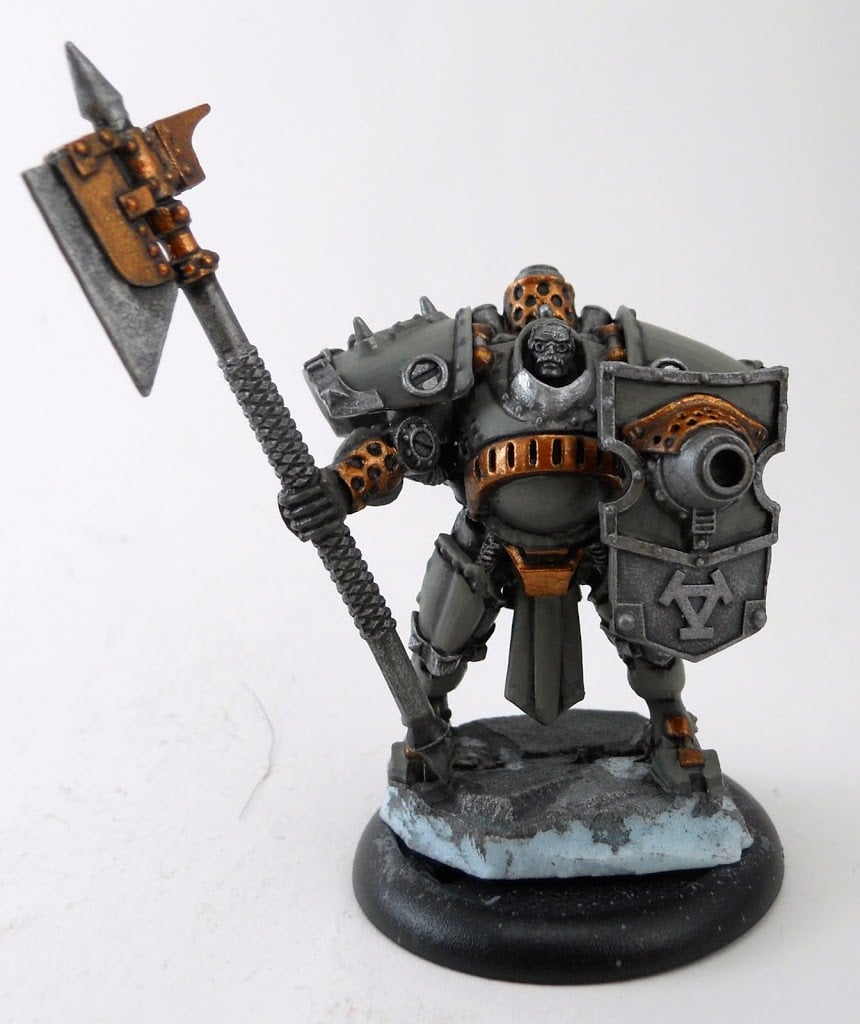
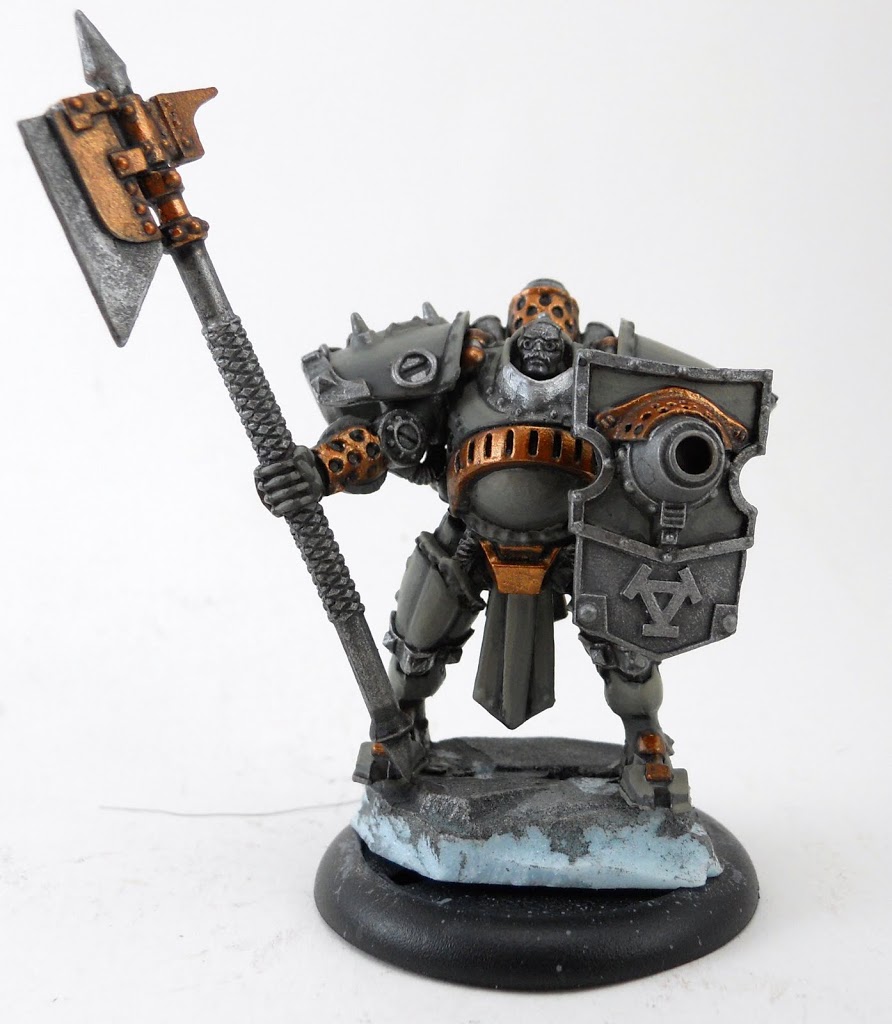
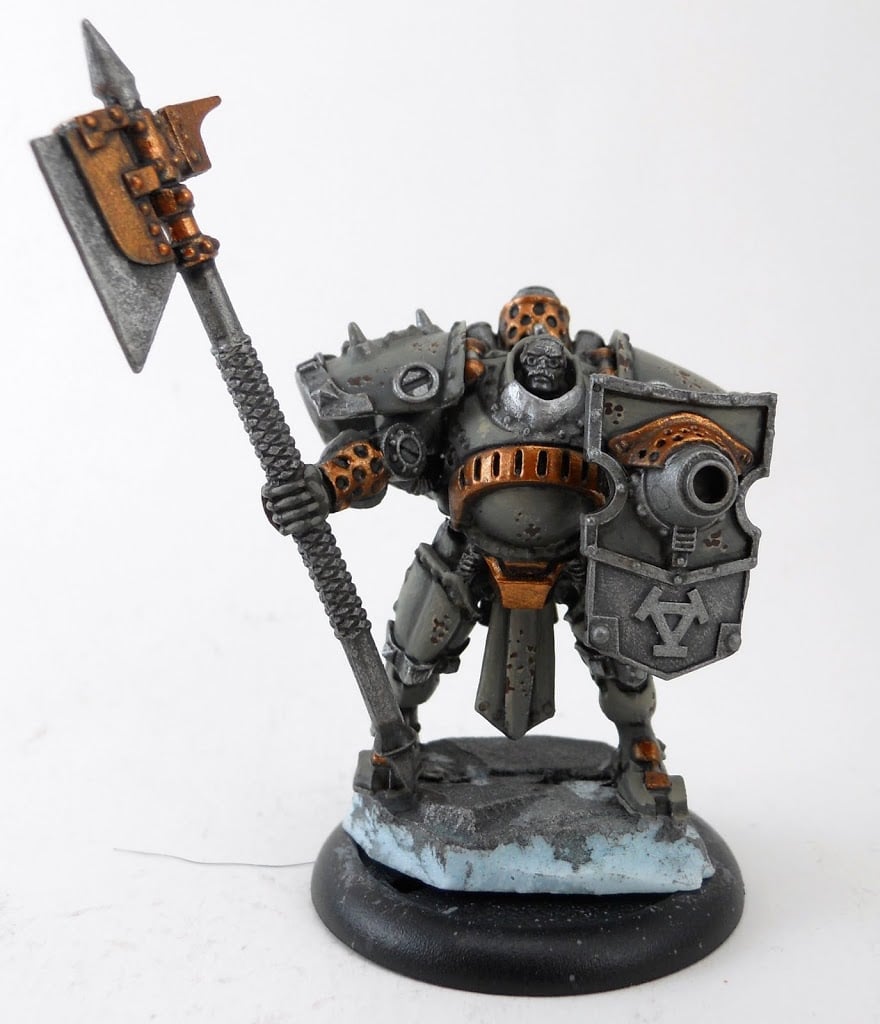
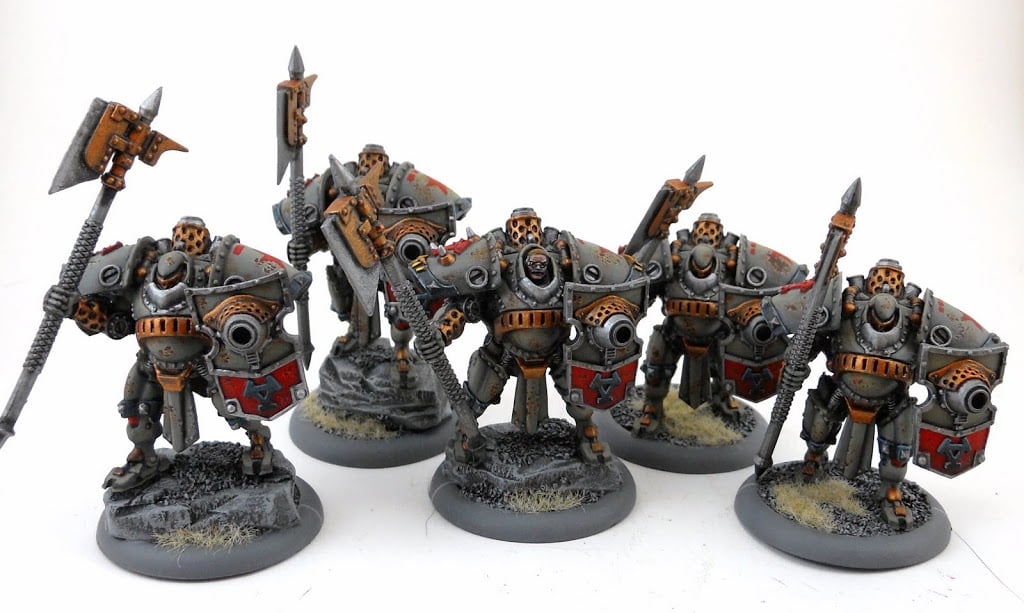
Alright and now for a group shot.
~ So I hope that inspires any of you North-landers out there to pick up a brush and put some paint on your soldiers. But of course these techniques don’t have to be restricted to the armies of Khador. I think an IG army would look great with an identical color scheme. Or maybe someone wants to make a Soviet themed space marine legion. And one last bit… if any of you Protectorate players feel like your half of the Battlebox isn’t getting any love, here’s a Protectorate warjack painting article I did over a year ago, and also: Colonel Festus’ Kreoss.
