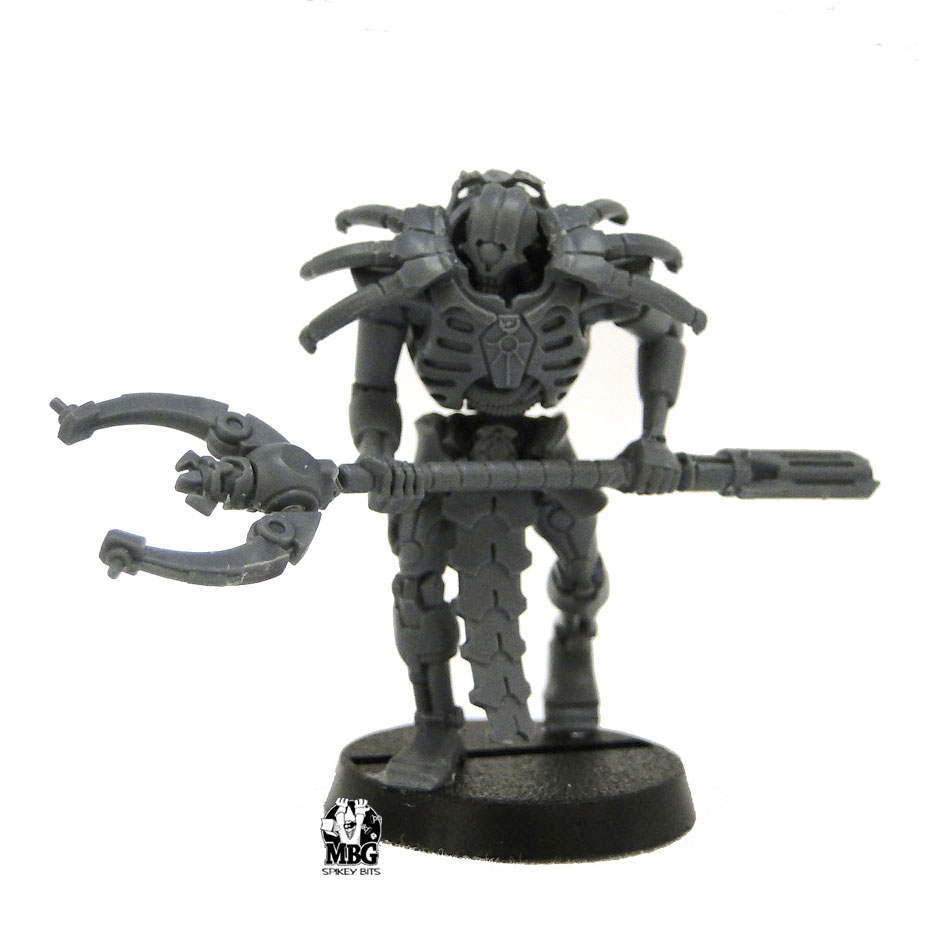
MBG here with how I spent last weekend; converting, lol. I messed around with all the new Necron bits, and made conversions for all the units not released yet – including this Cryptek with Temorstave conversion I came up with.
He seems to be the one people are fielding in most their lists so I started with this guy first, and had a lot of fun converting him up!
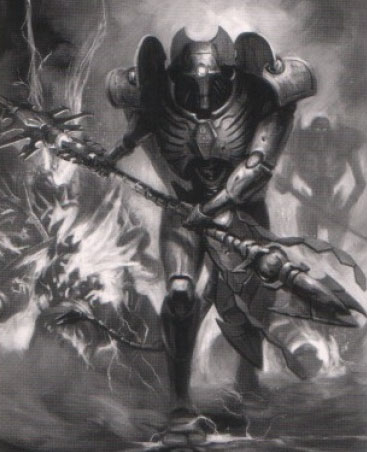
I was inspired by the codex Necrons Artwork, and the finecast model itself, but chose not to go with a cape on this guy because of the cost.
If you really want a cape you can always get one from the Overlord bits pack that comes off the command barge, but it’s semi-pricey.
I wanted to try to keep this conversion affordable because it seems most lists are spamming these guys.- they are like veteran sergeants after all!
Here’s the parts list, but honestly it’s better to just pick up a box of Lychguard / Triarchs and start from there, because it will give you the base for five Crypteks at a much lower price than the finecast model or bits packing just a single one.
Bits List
- Necrons Lychguards / Triarch Praetorian Legs x5 Bits
- Necrons Lychguards / Triarch Praetorian Groin Tabard & Tails
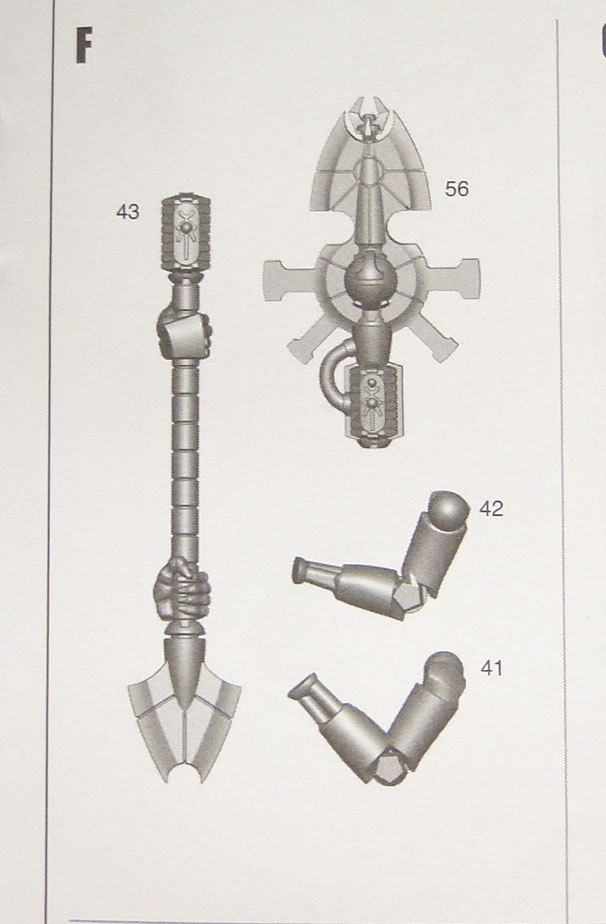
- Necrons Lychguards / Triarch Praetorian Weapon Shaft
- Necrons Triarch Praetorians Displacment Packs Torso Backs Bits
- Necrons Deathmarks Heads x5 Bits
Optional Bits
- Necrons Command Barge Pilot & Gunner Bits Pack
- Necrons Triarch Particle Caster Bits x5
- Necrons Deathmarks Synaptic Disntegrators x5 Snipers Bits
I put the command barge crew, particle casters, and Deathmark guns as “optional” because really I just used one part off each for the staff. You can find other cool bits here and there in the kits to use for the staff as well, I just liked the look these bits made.
But you may want them anyways, as some of the other conversions I made over the weekend (and will be posting up soon) use bits from these packs too. Plus if you just get a box of Lychguards, the extra bits really don’t add to the cost that much if you are making a bunch at once.
So here’s how I made the model
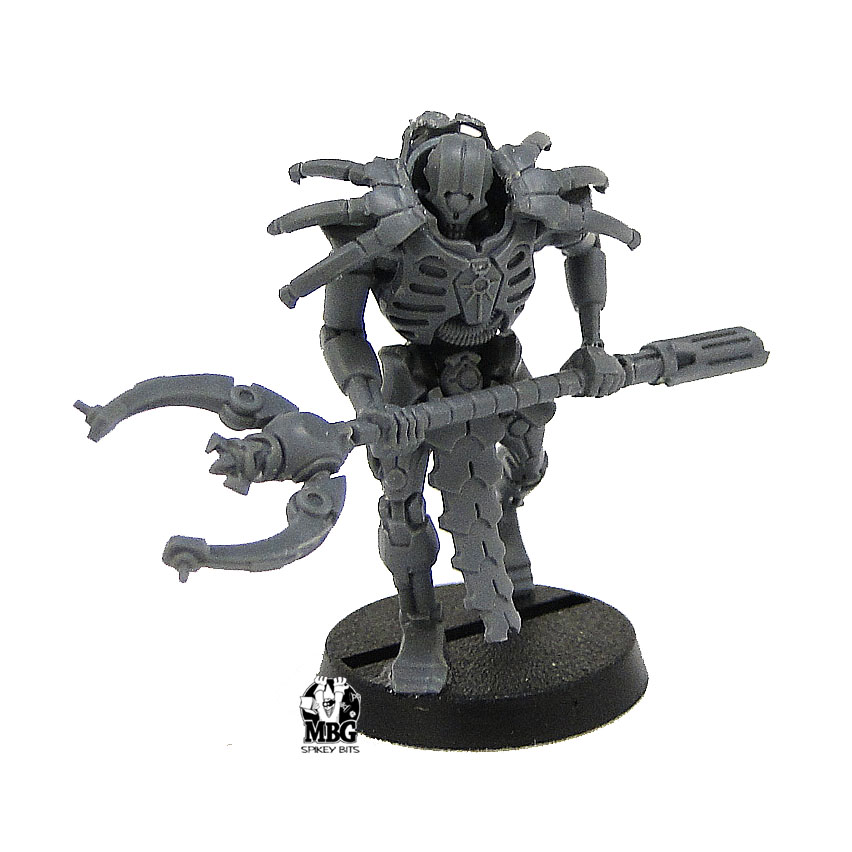
Since I was going to build the model around the stave itself, I needed to select a good set of arms to represent the motion of firing the weapon. This guy has to look bad ass after all, and not blend into a squad of static Warriors or Immortals.
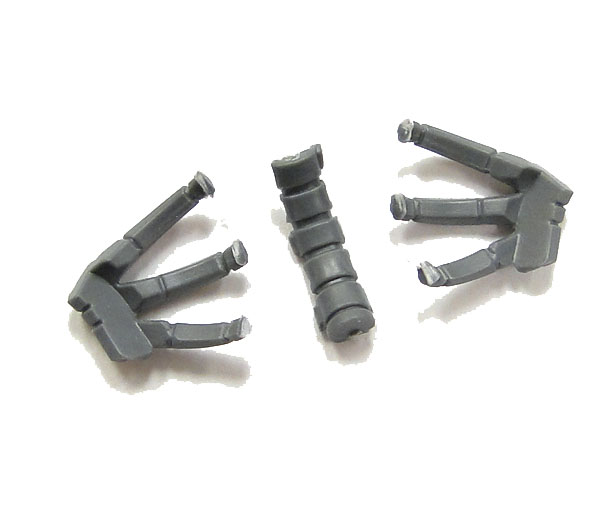
So I chose to use this set of arms first. Then grabbed the set of legs that went along with it, and put them and torsos together. Make sure you remember the neck bit as you assemble the two halves of the torso, it will not go in afterwards (ask me how i know… sigh).
Also another trip up for us know it alls, read the instructions- seriously. These new kits are designed to go together a certain way- anything else will meet with certain failure. These legs will only go with one set of staves…. (again ask me how i know… double sigh).
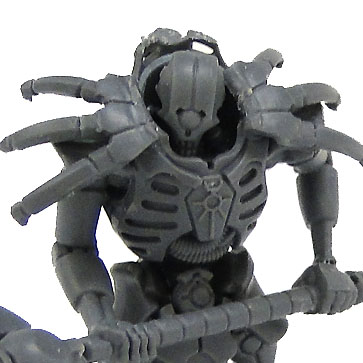
For the head I used the cylopean one from the Command Barge Pilots- I think its the same as the Deathmark heads. Originally I used the Triarch head (with the gem in the forehead), but I think the Deathmark head fits the art better.
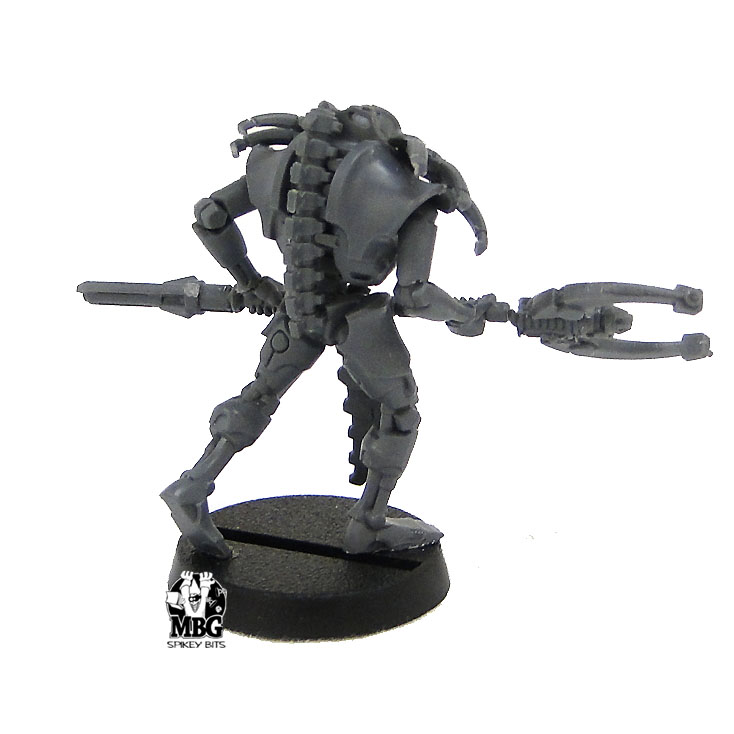
Next I cut up the jump pack bit as so, and attached it to the shoulders to give this guy a bulkier look.
Just flip them over and glue em down on the shoulders.
Deep down i think I was inspired by something else here but cant put my finger on it…
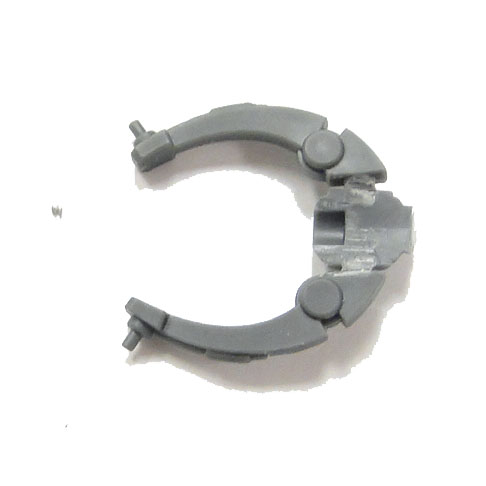
To make the stave, I just cut the pilot harness off at it’s lower shaft, and then had to shave out the insides a little so it would fit flush to the flat part of the Lychguard shaft.
I kept the remaining shaft from the harness to use later on the tremor stave as a focusing crystal. Then I attached the two flat parts together and and capped it with the focusing crystal bit
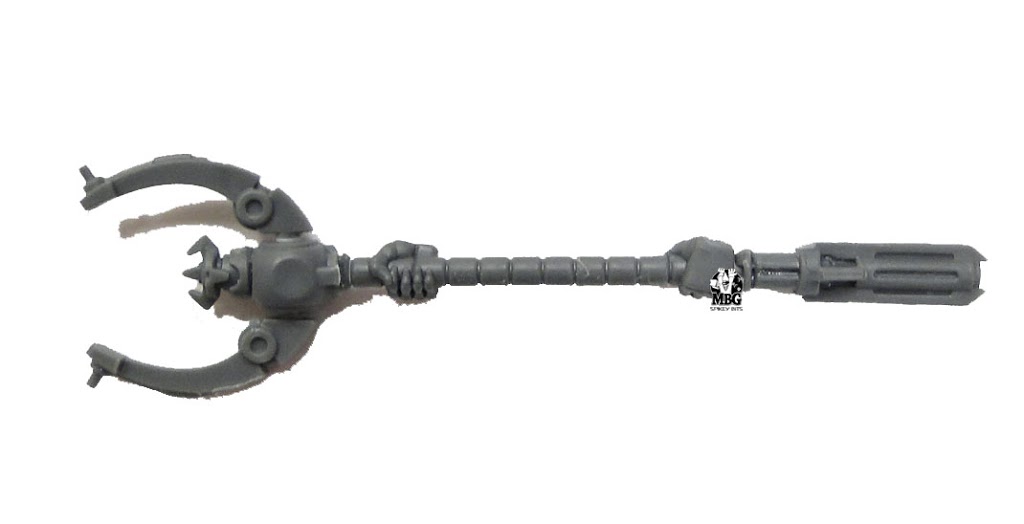
Next I added the barrel of the Deathmark gun to the end of the stave to make a power supply for the assembly..
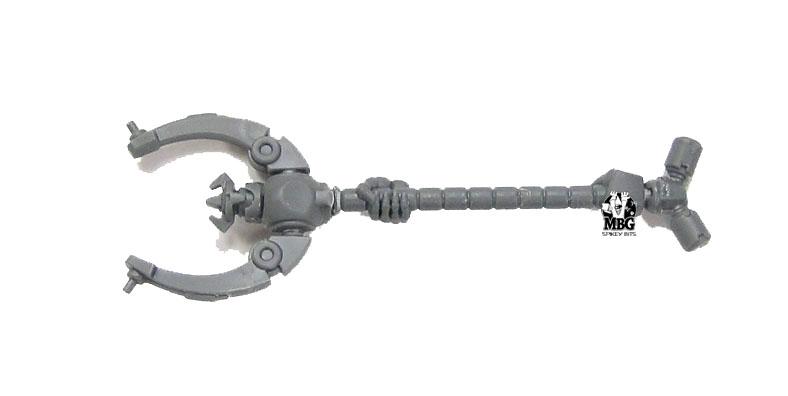
I also made an alternate one with particle caster bits as well. With the stave you can kinda do whatever. This is where the “optional” bits come in- which is good because there are 5 different staves you can equip to the Cryptek! Then just attach the arms, and you’re done!
I would recommend using plastic glue for this model as it would be way easier to get the parts to set than conventional super glue.
Check out the Three Sixty below, and let me know if you have any questions about the model! Oh and I’ve posted up more Necron conversions over on the Spikey Bits blog, here.
What do you think, did I pull off the look and feel of a Cryptek? -MBG