Brent: Painting Marines Sucks!

I’ll admit up front, coming up with the name for this article took longer than uploading the pictures – if anyone has a suggestion better than mine, please feel free to chime in.
This article is all about passing on the hard-won lessons most of us had to learn the hard way… and yet I see the latest batch of beginners repeating all of our worst mistakes.
Basically, here’s what I wish someone had told me.
(By the way, feel free to visit me at Strictly Average.)
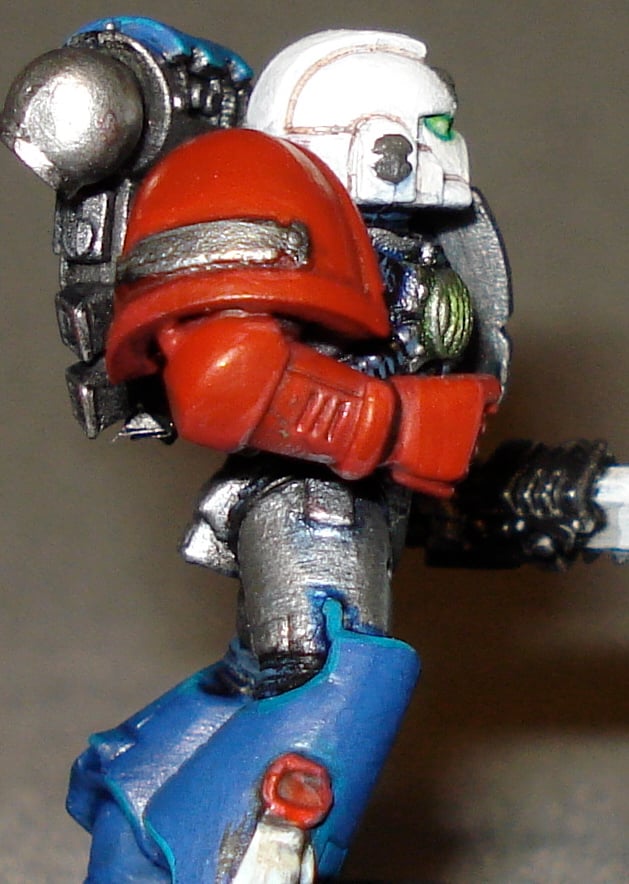
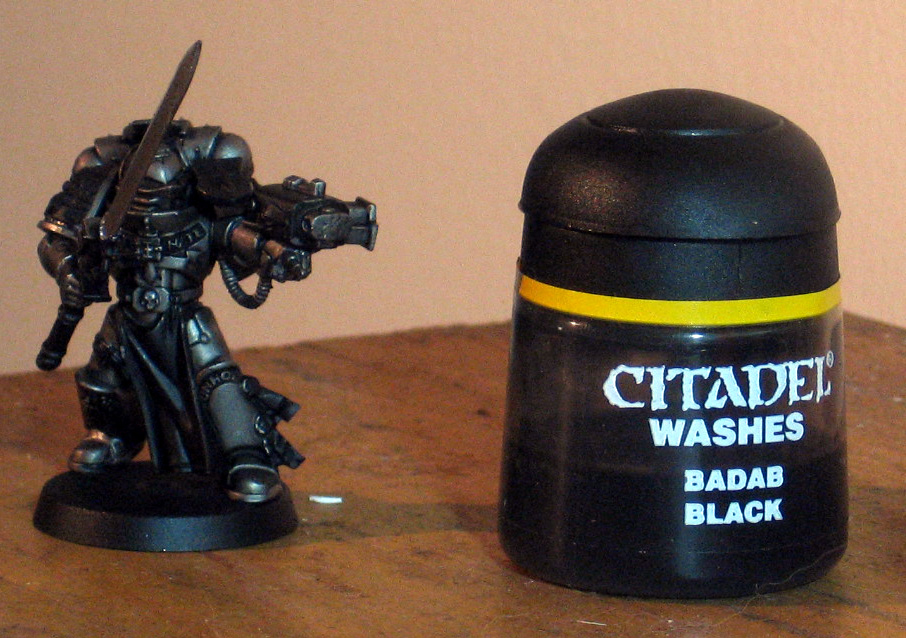
Here’s the premise: learning how to paint Marines is deceptively hard. The Marine pictured above is the simplest, easiest scheme I could come up with – you spray the model grey, paint in the black and silver, hit the whole thing with Badab Black, then break out the white and red for the details.
So why did it take twenty years of practice to get there? Why does it feel like I spent the majority of those years frustrated that my skill didn’t match my vision?
Because painting Marines sucks!
Power armor is basically flat, empty space… and just like anything simple it’s simple to screw up.
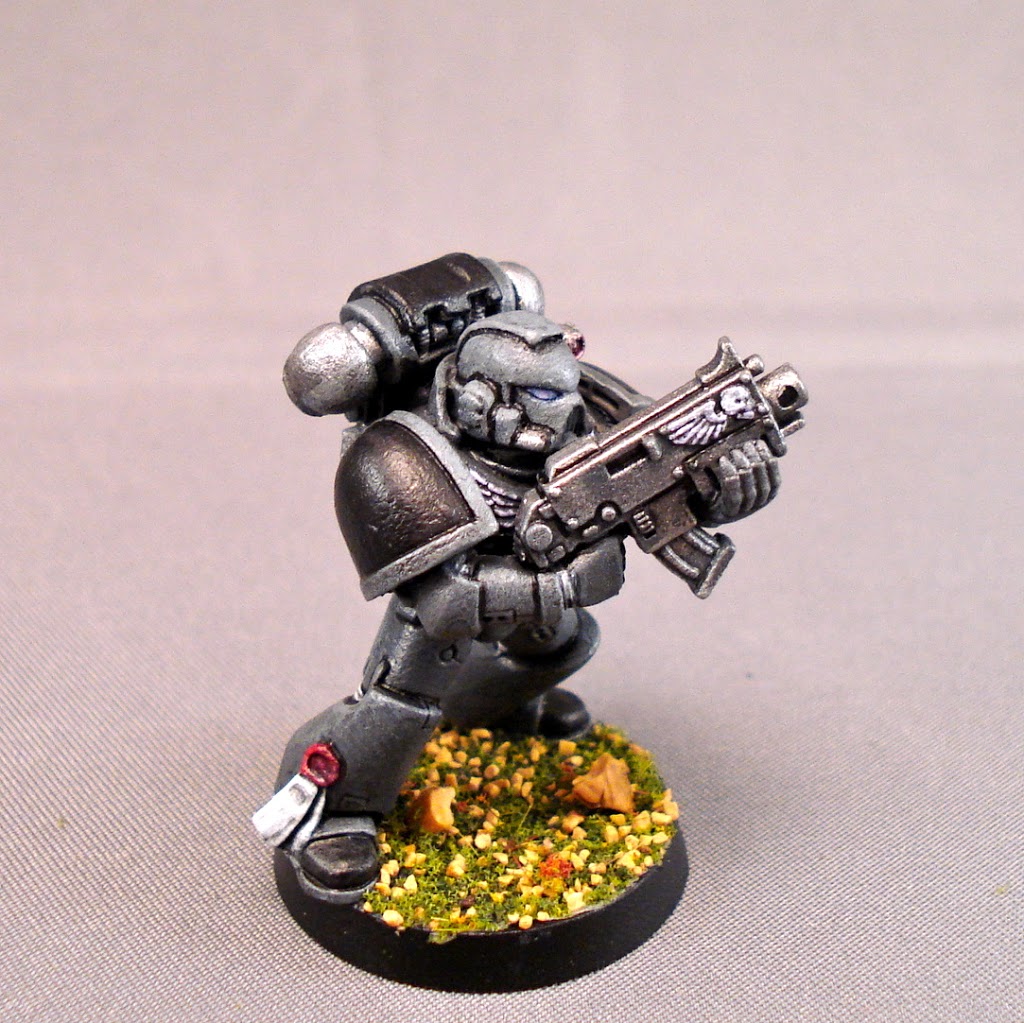
Don’t know about you, but the first ‘advanced’ painting technique I learned was drybrushing.
Dry-brushing. It’s almost like a bad word, isn’t it? It’s the technique everyone loves to hate – but let’s take it back! It has its uses.
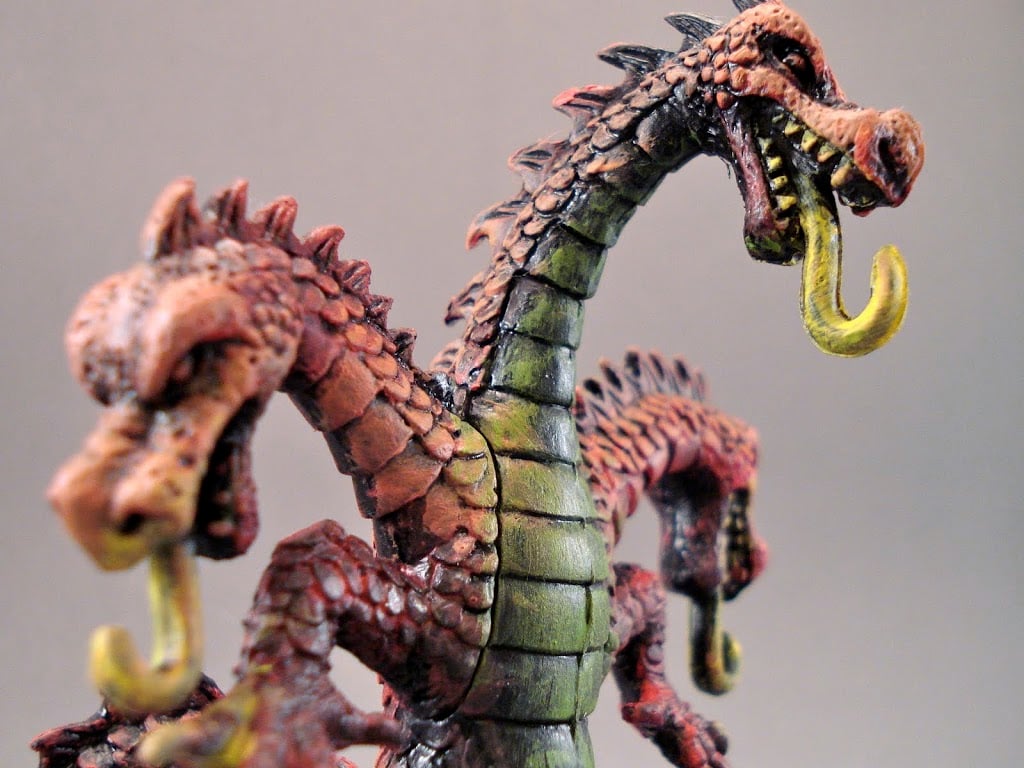
Like the three-headed dragon, above. For those of you who may not remember, it was painted by my nephew when he was 4-years old. The first technique I taught him was (you guessed it) drybrushing, which lends itself to anything with texture.
Which doesn’t really describe anything wearing power armor. But we’ve all seen it, those models someone worked really hard on but which are destined to take a bath in Purple Power once the owner learns layering and lining.
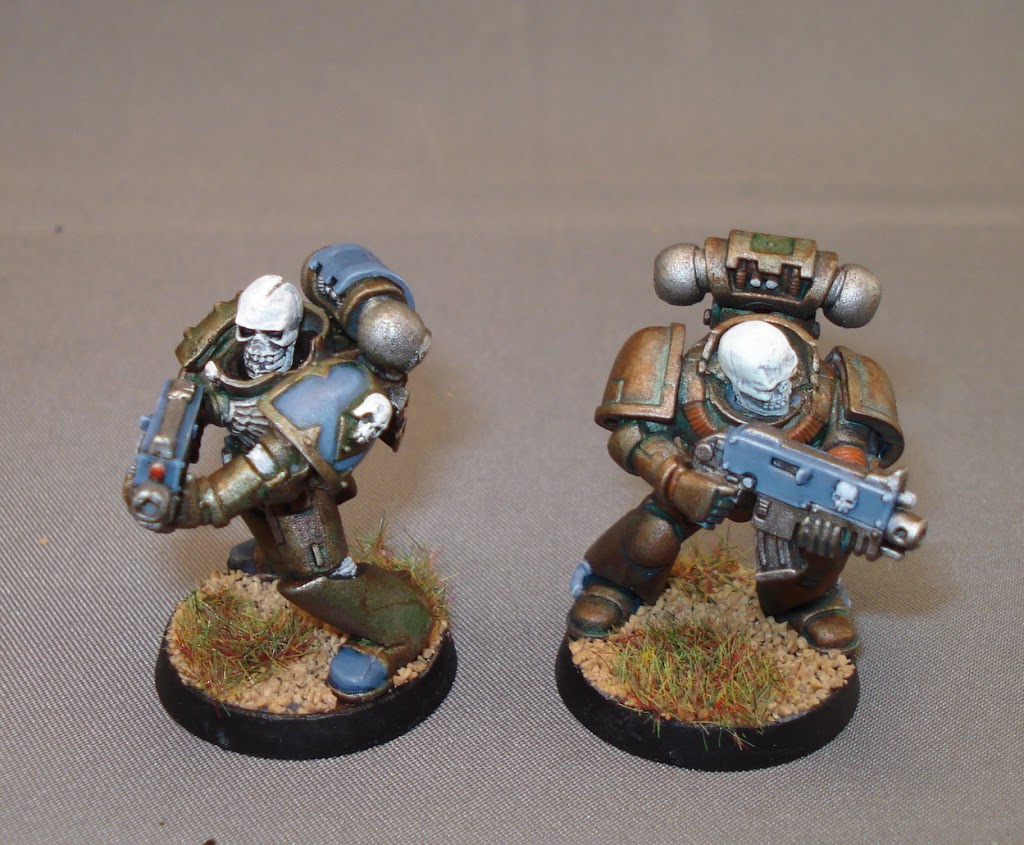
Drybrushing works for metals though, which is why I busted it out on the test models, above, while practicing a few different looks. The contrast colors in grey were just a simple layer and highlight, the technique whereby Power Armor looks like…
…well, Power Armor.
Not sure where I stole this picture, but if anyone knows pass it along and I’ll credit it. It’s perfect to illustrate the basics of painting Power Armor, which is step-by-step, and very cleanly, layering up the color from a deep undercoat to a brighter primary, then highlighting it a step or two.
But it’s easier said than done… and time-consuming… and red is a hard color to work in. All this will no doubt discourage beginning painters.
I think it’s why so many give up on the hobby, or never really attempt what should be everyone’s goal: finishing an army!
So, let’s break it down: Brent’s Beginner’s Primer! Or something like that.
Spray your model; don’t paint over an unprimed surface.
But while you’re on this step… why not go ahead and spray coat the basic color? Save yourself some time, already!
Airbrushes work great for this; prime your model black then let the airbrush apply a nice, even starting color. If you’re painting blue, spray it blue!
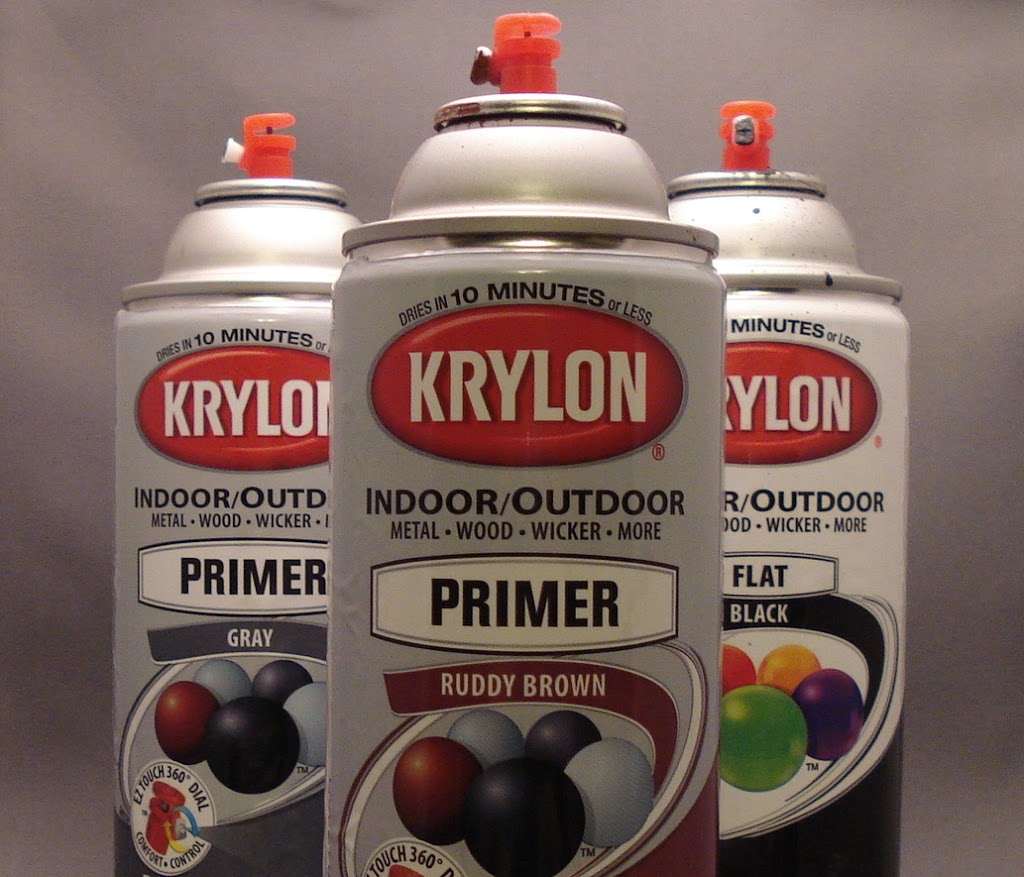
The Krylons above are my favorite inexpensive spray paint… but I have to say these days I don’t skimp. Buy Army Painter!
I’m a recent convert; I was that guy who said it wasn’t worth spending three times as much – but yea, it is. If you really want to paint an army of Marines, pick your basic color from the LIST HERE, and spray an even coat over your models.
Preferably all at once! I use a paint-stick, which is an industrial size paint stirrer… thing… you can get from any Wal-Mart or Home Depot. Apply some double-sided tape and you’re in business.
If you’ve got a firm hold, you can safely turn your models upside down to spray them from beneath. It’s a huge time saver.
Yea, I went there.
Maybe you’ve derisively heard it called ‘liquid skill,’ to which I say, “Who cares?!” When did we get so snooty? Wash your model after its basecoat – from there you’re almost home.
Just an aside, if you’ve used crappy spray paint – like anything that says gloss or satin – you’re still in business. You’ll find paint doesn’t always stick so well, but after hitting it with a Citadel Wash you’ll again have a surface you can work with.
Oh, yea. And the model will be shaded. The color will be richer. Use it already!
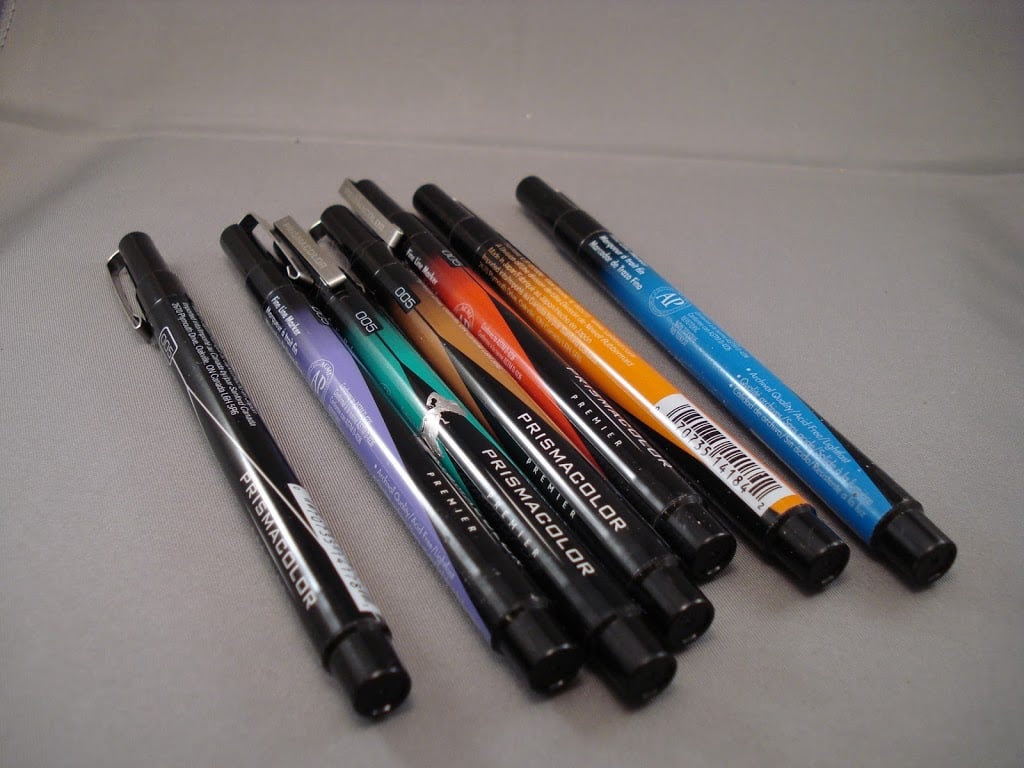
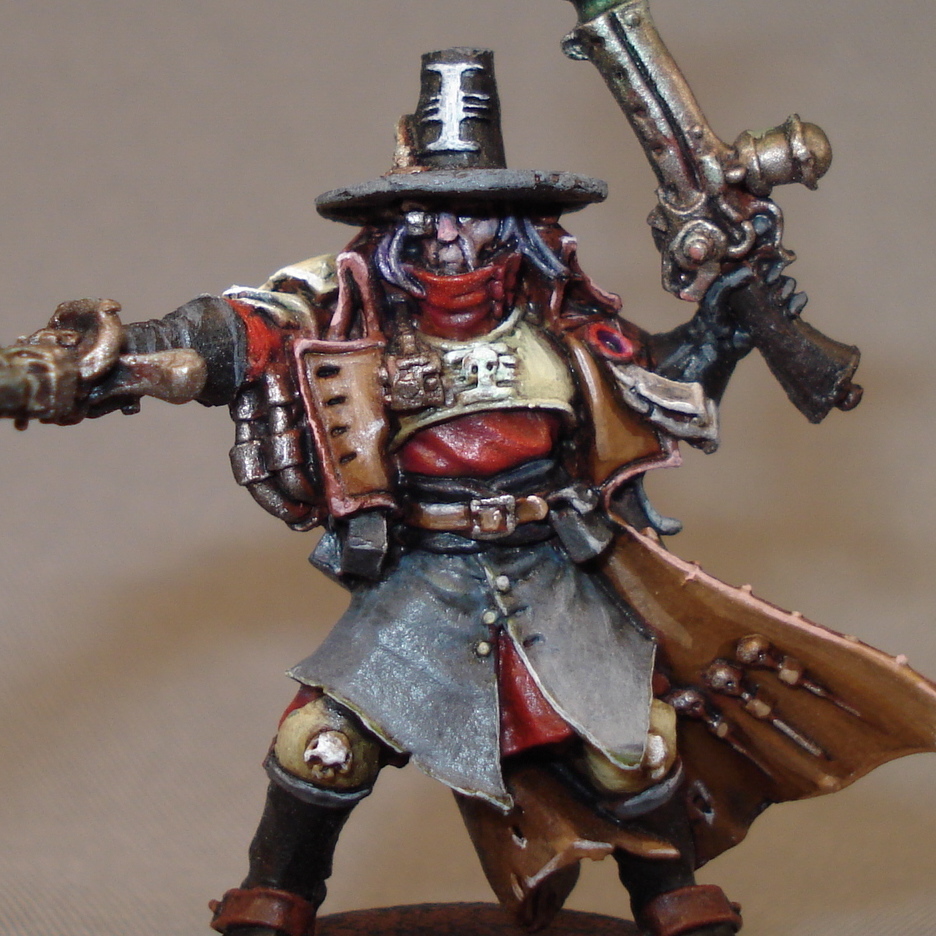
Here’s another trick. You can use a pen, right?
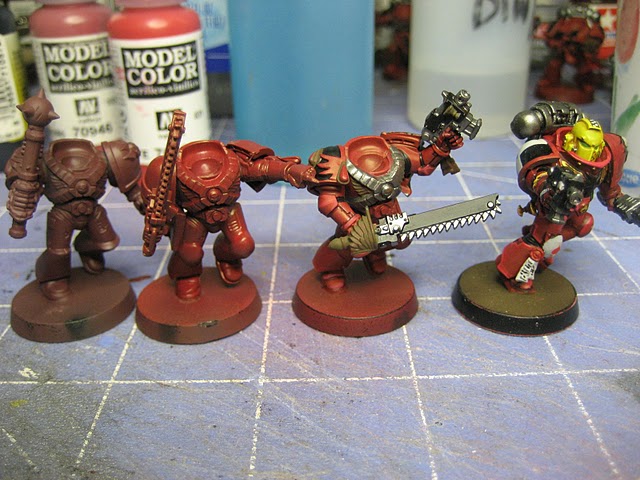
Here’s a good example of quickly applying all the steps I mentioned. The base of silver was washed, then a base of red, white, and blue was painted on in thin layers. The red and blue were washed; the white, not so much.
I don’t really have much luck with washing white paint on flat surfaces – never been happy with the results. Skipping that step, I moved right into drawing (with a .005 pen!) in the shades.
Now that you know what you’re looking at, you can see where I used the pens. Alternatively, you can use a black pen on all the separate sections of armor, separating out each section of armor with a fine line.
Once you’re past the basics, start practicing edge-highlighting the Power Armor, which you can see best in the blue section, above. Keep your paint thin, use good brushes, and don’t worry about hitting every section – the high points will do!
Prime, spray coat, wash, line, highlight; just follow the steps! But painting isn’t just about painting.
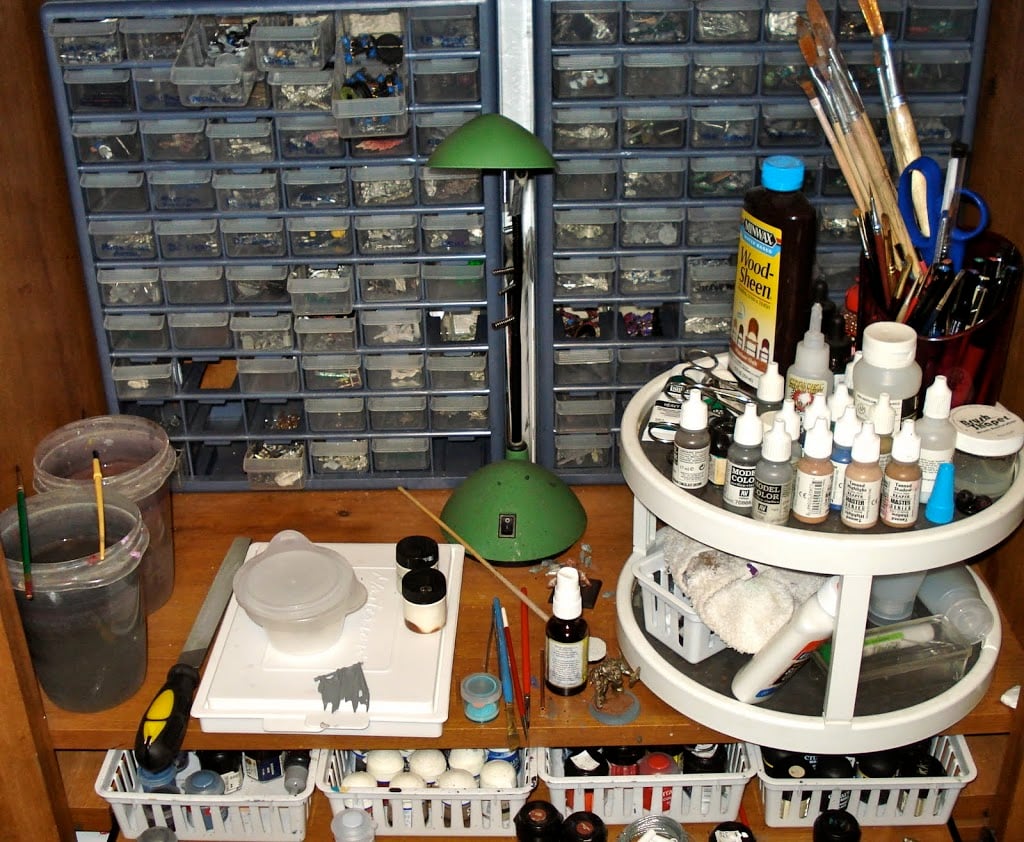
If you want to improve your output and increase your actual time painting, have a dedicated area. I use an old TV cabinet, so the doors can just be shut on the mess!
It’s also easy to sit down for 15 minutes or so. Grab what time you can, when you can. These spare minutes add up; you’ll start to notice the progress and should be inspired to reach for more.
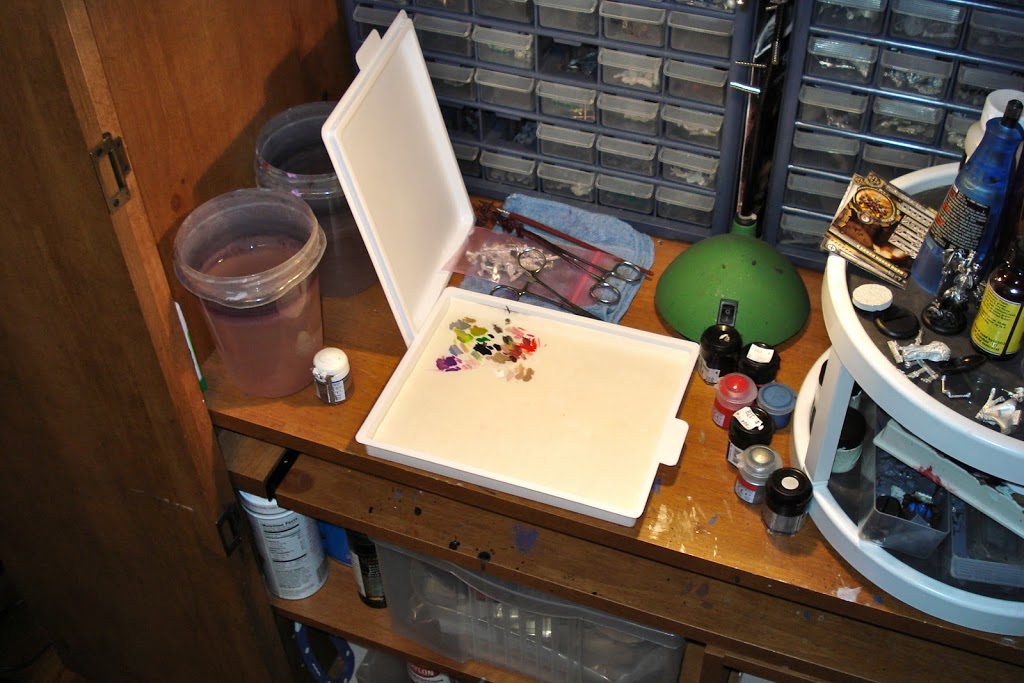
Here’s a tip that simply can’t be stressed enough: invest in a wet palette! Michael’s, Hobby Lobby – any crafts store of any size should sell them.
Plus, there’s always the internet! It’s just like anything else, the right tools make the job easier. A wet palette is cheap, easy, and it keeps your paint wet. Since you’ve no doubt bought a decent brush (right?), you’ll soon be wet blending with the best of them!
Seriously. Blending was one of those things I struggled with… until the wet palette. I simply wasn’t keeping my paints properly thinned with water.
All those years wasted!
…
Oh, yea. Another thing.

Painting Marines sucks! If you want a project to stretch your painting skills on, find a project that combines a variety of textures. For visual interest.
And because it’s more fun to paint!
I’m probably not the person who should be doing it, considering how many seriously talented Brush Jockeys there are out there; regardless, here it is! My attempt at a Space Marine Painting Guide for beginning painters. Have anything to add? What did I miss? What helped you? Any link for a painting guide or site you want to share?
Thoughts? Comments? Hugs and gropings?

