40k Editorial: Relax, Don’t Do It – When You See Daemons

So Daemons. Once again at the turn of an edition they are causing some waves amongst the community.
Let’s be clear – this post isn’t about how awesome or how not awesome the list is or how bad or awesome people are who win/lose in relation to this “unbeatable list.” Rather, it’s a post looking at the list and analysing it in a way so any army can extrapolate a basic plan against it. I will say the list is not unbeatable and I think certain changes would make the list stronger overall but the general purpose of this post is to look at how to combat such a force. Daemons are unusual in how they operate and this can catch people off guard. To answer Daemons you need to do one major thing right: deploy correctly. Unless you reserve, Daemons ALWAYS get to counter your deployment and mass reserving is fraught with its own complications particularly within the 6th edition paradigm – you can no longer reserve everything and the more units off the table, the easier it is for you to be wiped at any given point.
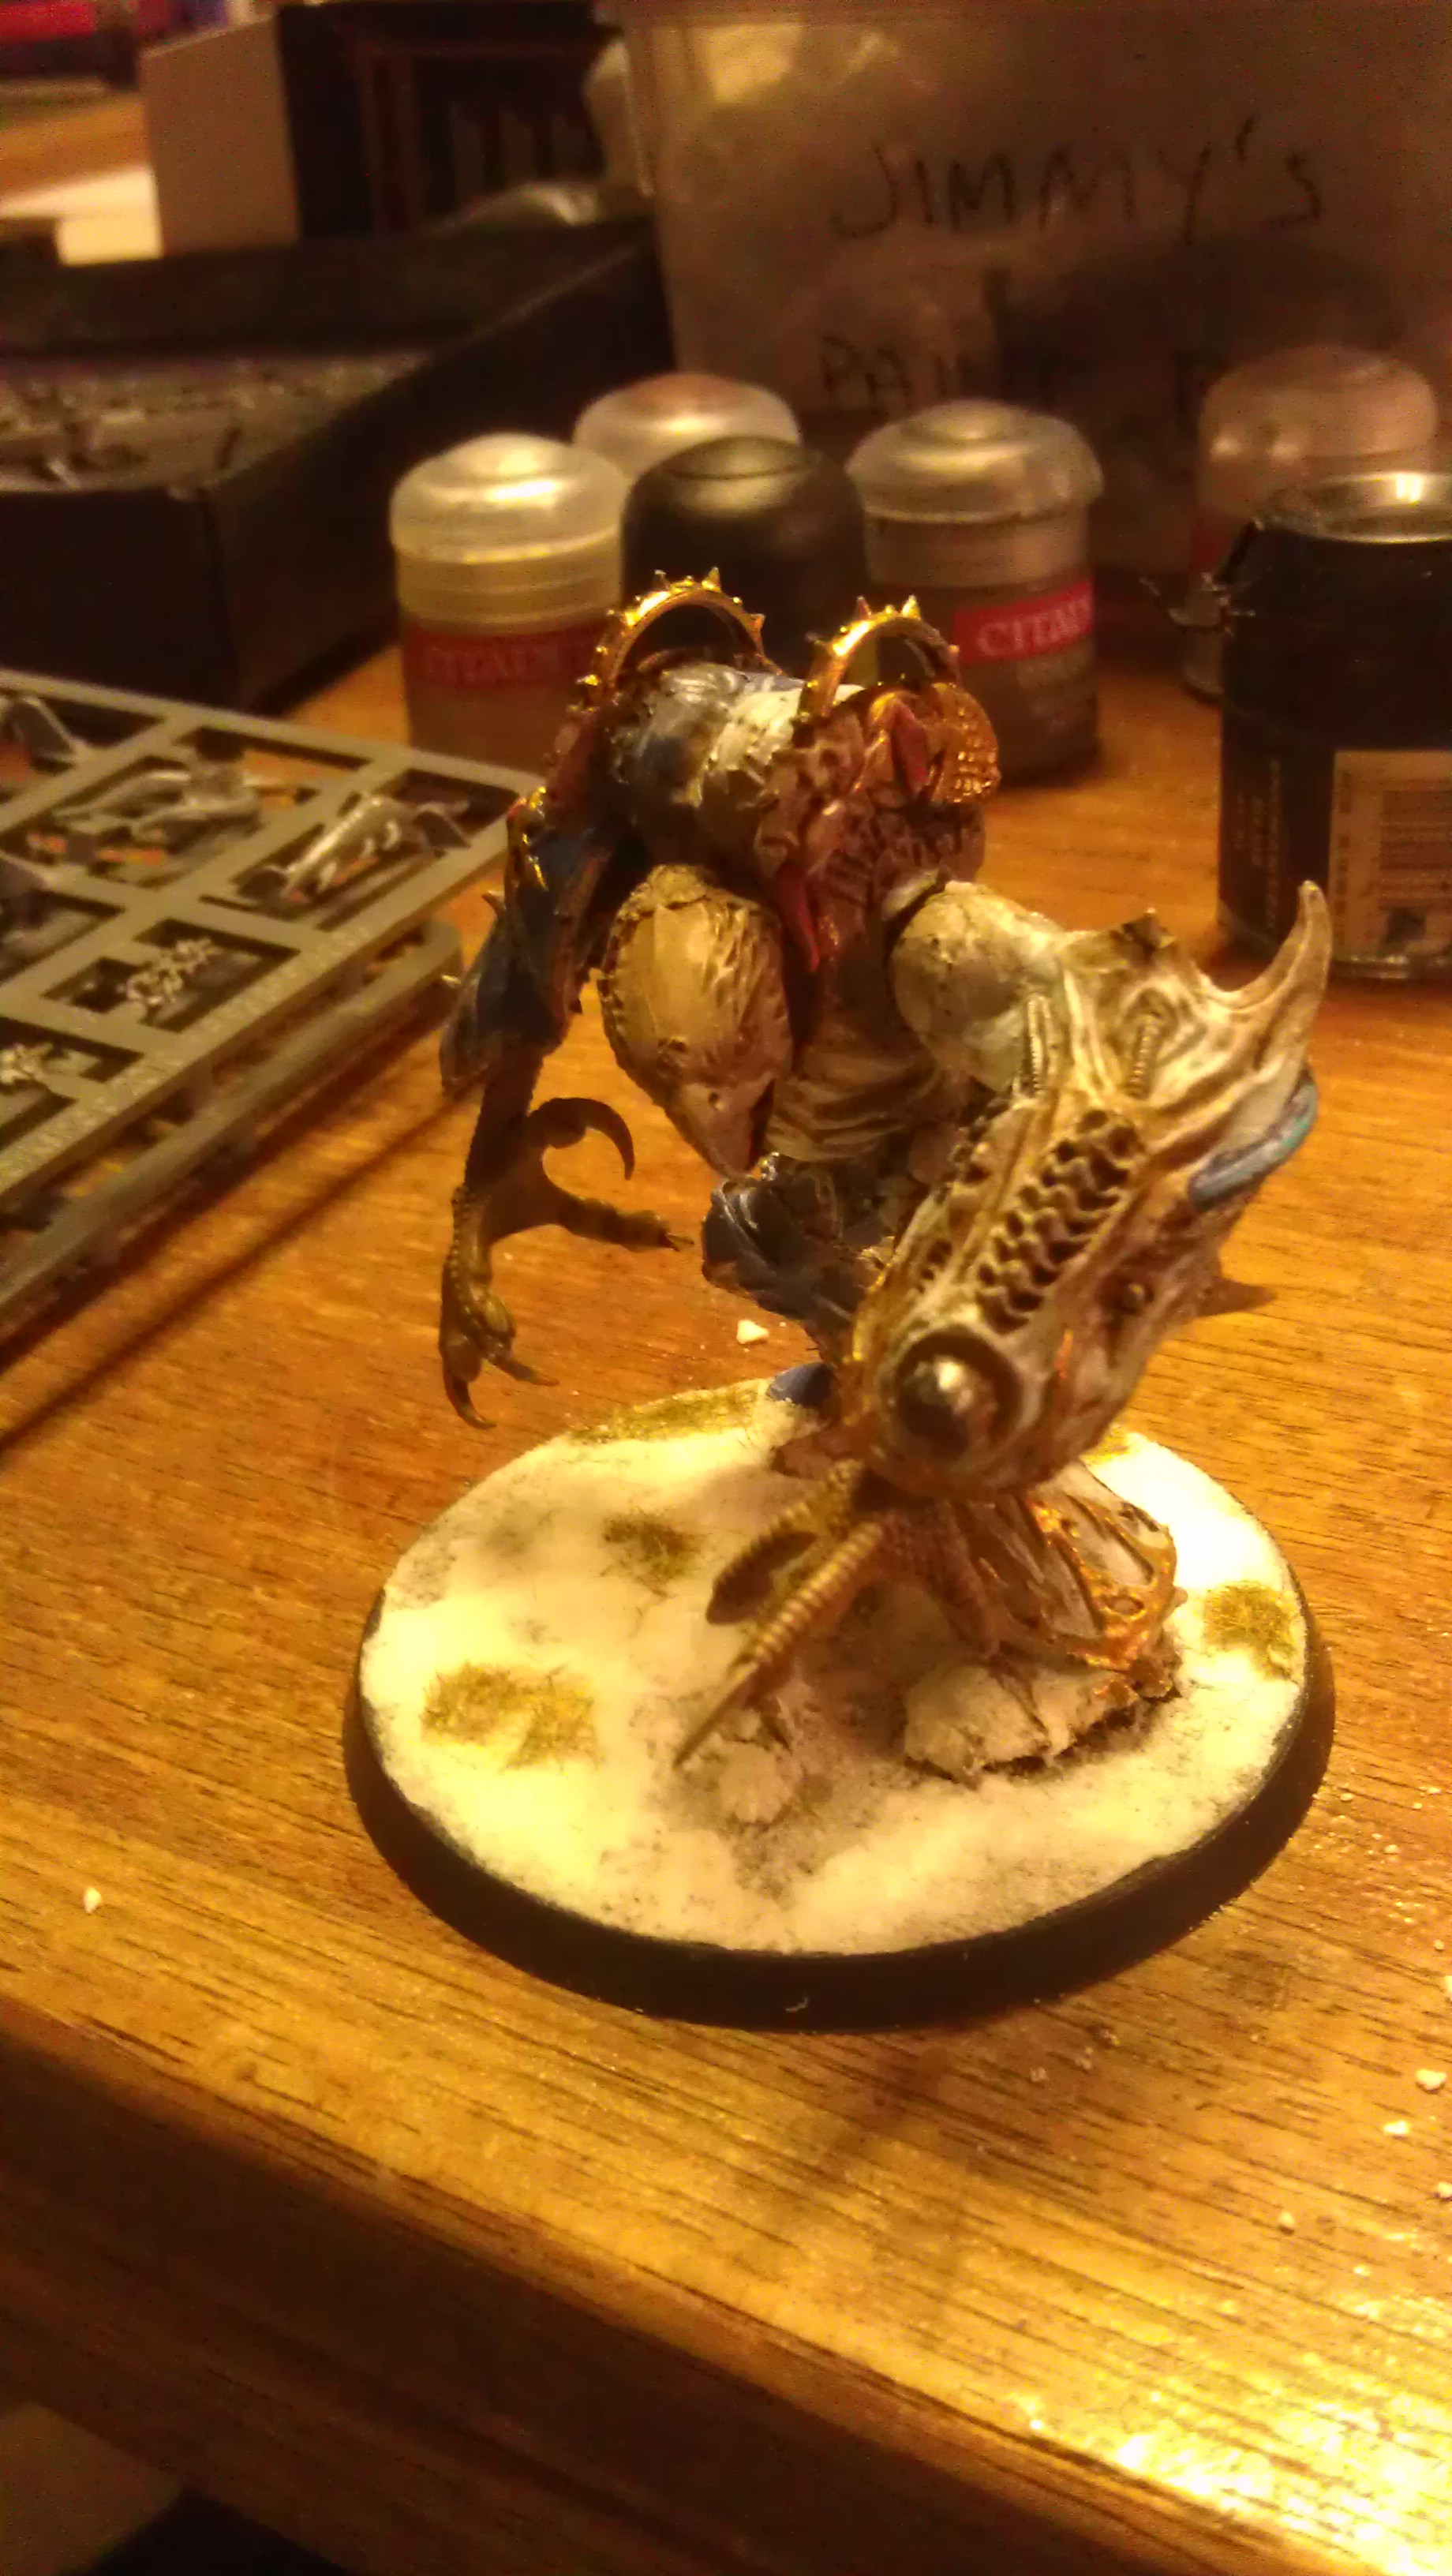
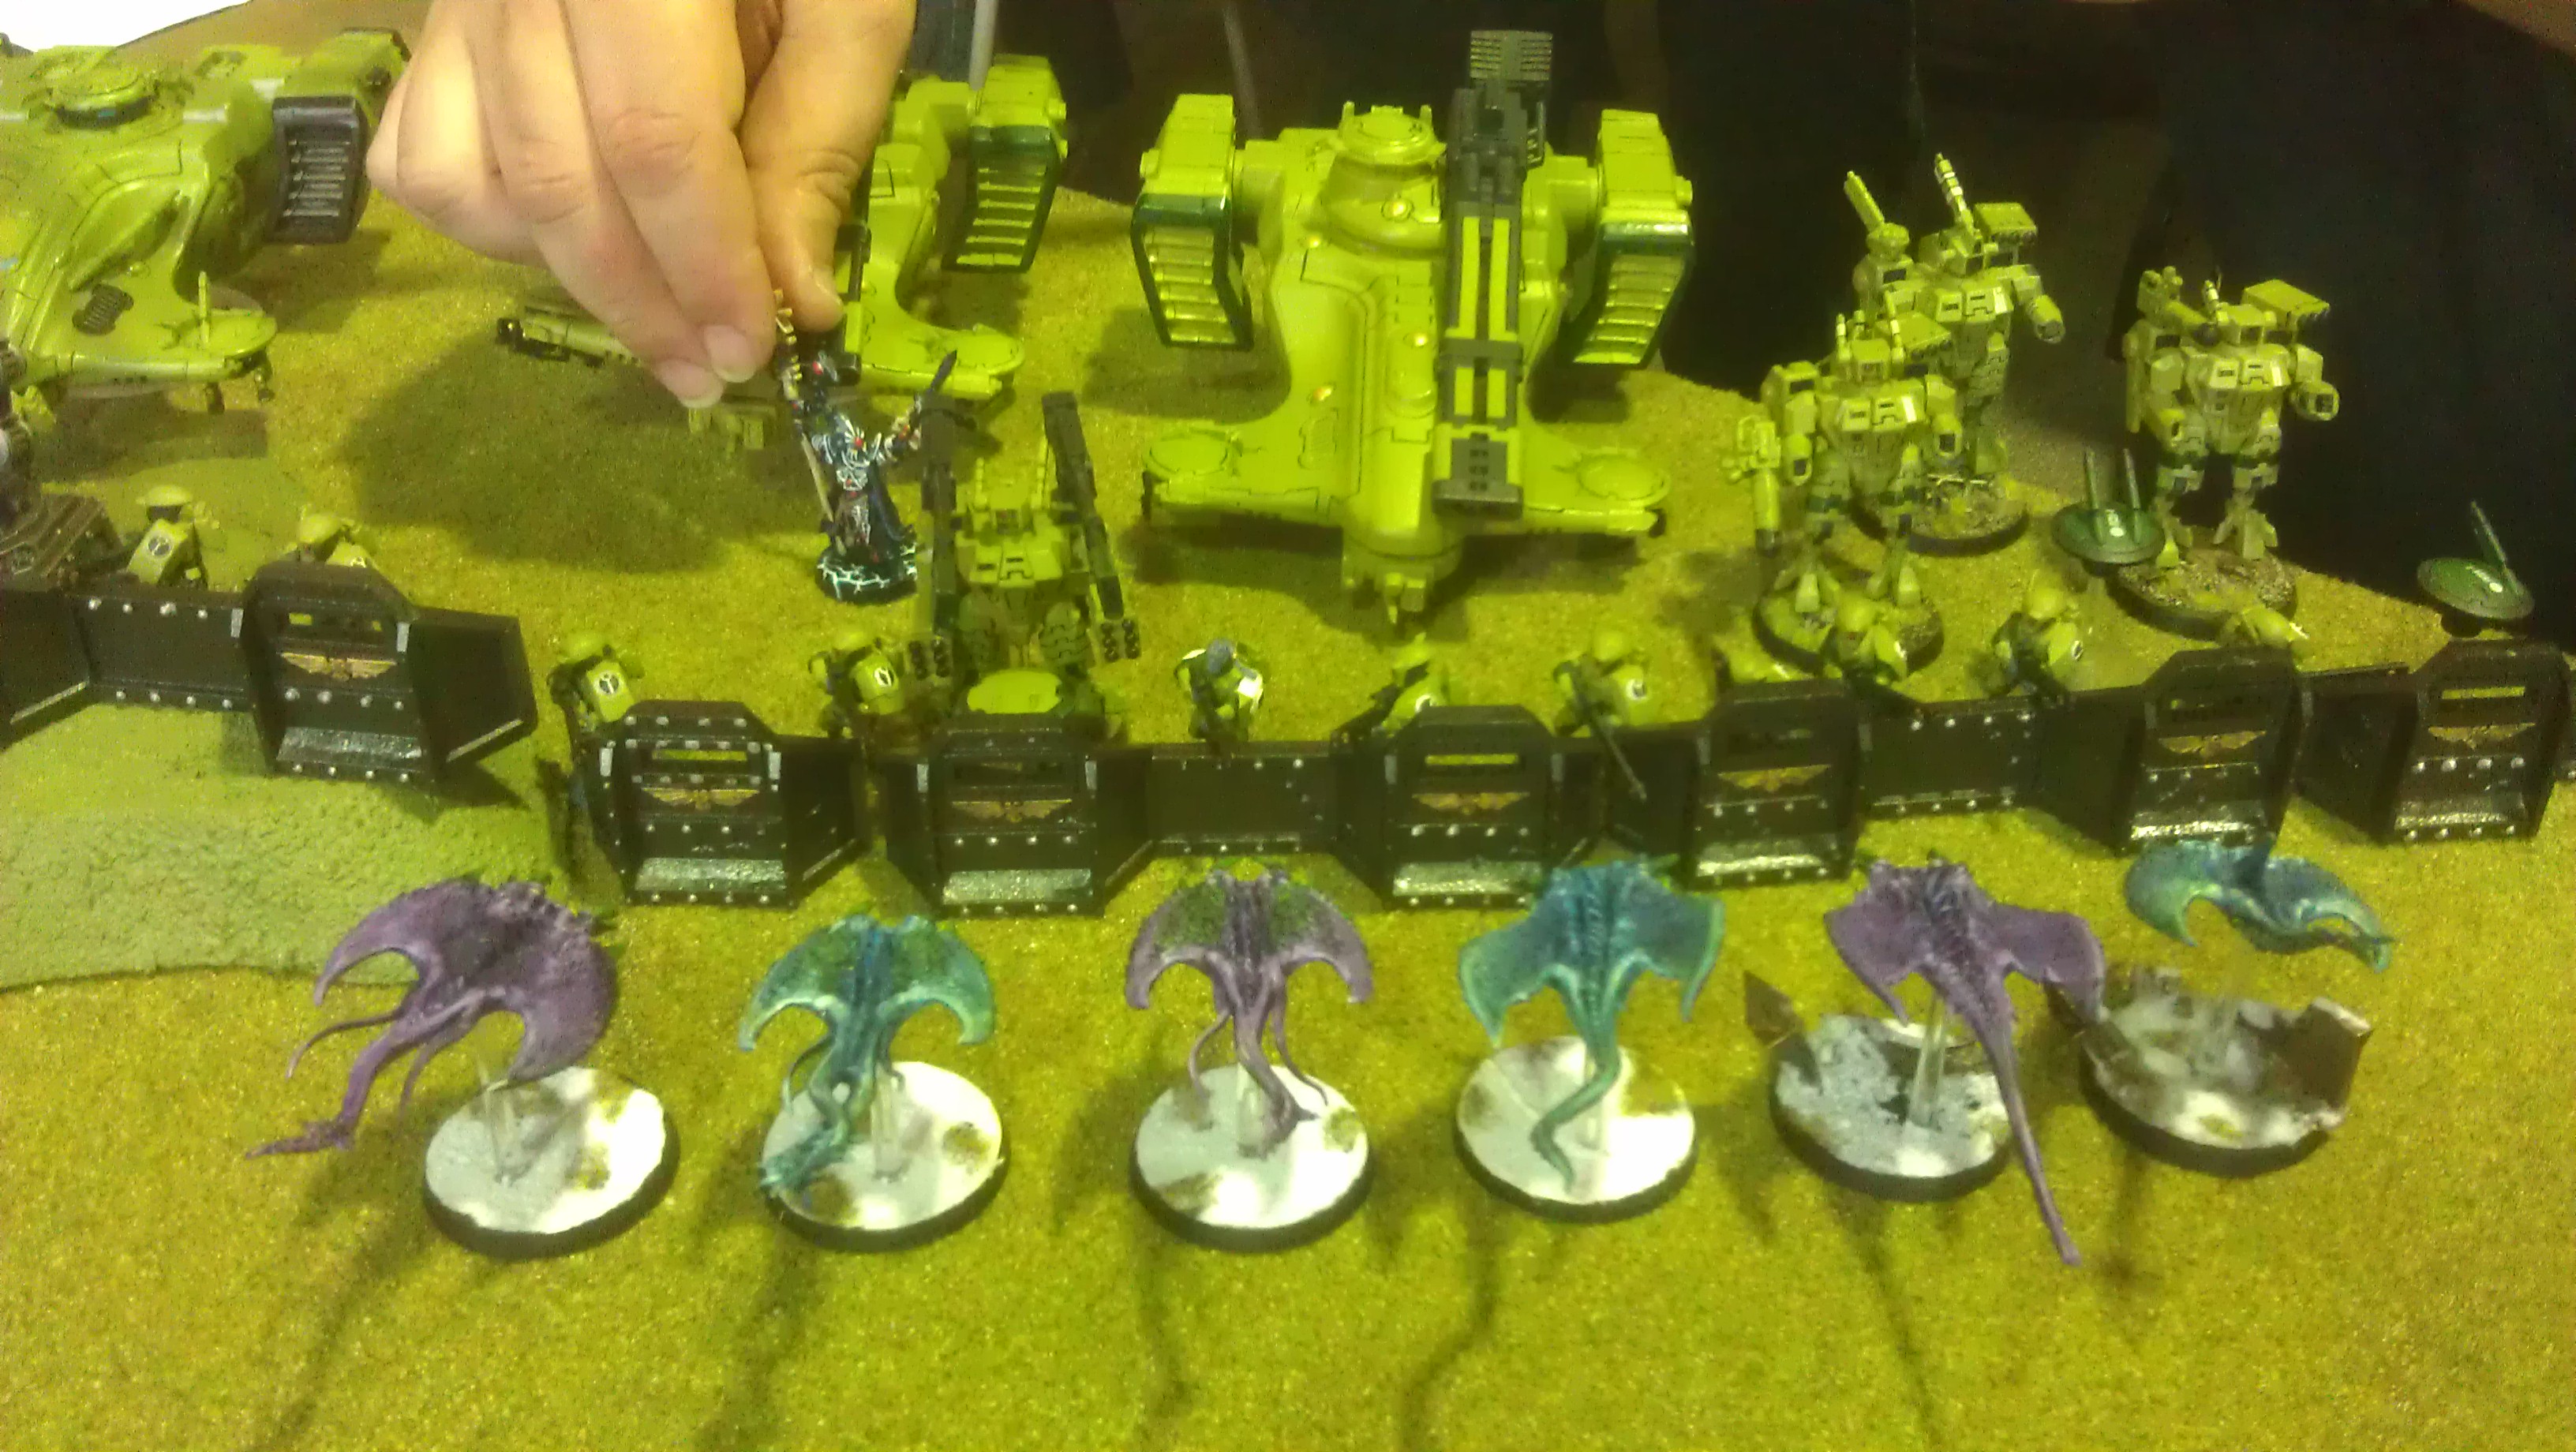
And before we go further – yes thank you Jimmy aka “The Wizard” for pictures of your Daemons.
So let’s go through some of the key things you need to understand about the daemon list and then apply them to your deployment and general game plan.
- Screamers are Jetbikes and can therefore turbo-boost, jump over crap and are very solid in combat but are on large bases and therefore have a big footprint.
- Fiends are like Screamers but with more reliable charges (Fleet), Rending instead of AP2/armorbane and are not Jetbikes.
- Flamers are scary until the entire unit is dead – they are the only shooting these lists often have and it is very short-ranged; they are also jump infantry.
- The entire army destroys you up close through templates & combat – their weakness is shooting and scoring.
- They are still Daemons and even though Screamers just laugh at the concept of a “bad deepstrike,” there is still randomness incorporated into their deployment and what comes in. Good players will not throw all their eggs into one basket and try to drop all six scary units in Wave 1 – but you will sometimes come across this. Eyeroll at your opponent when they get the wrong wave, play accordingly if they get the right wave
- Nearly everything Daemons have which is scary is T4/W2/5++ – not the most awesome statline but it will take nine BS4 S4 shots to drop a single model (that’s 486 shots across the 54 models – more than most armies have)
1) Protect Your Important Crap. Deploy Correctly. Place Correctly.
It’s a very simple concept and something we’ve talked about ad nauseum since 5th edition – protect your units. This often means some other unit needs to die to protect a more important unit. In 5th edition this could often be a tank because frankly, assaulting a tank to death was hard. Much less so in 6th edition however, the core concept of bubble-wrap and sacrificial units is unaltered. Although bubble-wrap in its core sense is far less effective than it was in 5th edition, your aim here is to push the deadly Daemon units away from your more important units and let them chew through chaff for as long as possible. Remember, this type of army has very little shooting at range and thus it’s harder for this army to take advantage of the reduced effectiveness of the bubble-wrap concept.
The effect of this is two-fold with a third part chucked in there. Firstly, your more important units are still kicking and still able to deal out damage to the opposing units and as we see above, it does take quite a bit of output to drop all those models across an army. The more shooting followed up by combat on your terms you get, the better. Second, and this goes hand in hand with the third, it’s giving you more board space to work with. Against slower Daemons like ye olde Fatecrusher, spreading out and then contracting added time before the Daemons engaged your army. Against an army of Beasts, Jetbikes and Jump Infantry this is much harder to do but the Daemons will try to bottle you up so you don’t have an entire board with which to utilise. By spreading out as much as possible, you’re forcing the Daemons further away from other parts of your army thus giving you more mobility options. Remember, movement wins games. It’s important here to understand how unit movement works.
Firstly, a unit of flamers at nine strong needs a minimum of roughly 6” across to land. 5.99” and they cannot. This is the smallest gap you should have amongst your units when deploying as it takes up space and means NOTHING can deep-strike there. This gives you a lot more space to move around in than first thought. Secondly, models cannot move through models as part of a unit due to the 2” coherency rule EXCEPT during combat. When protecting yourself against charges you need to have your models closer together than a base width (Fiends are on medium bases though remember). If you’re only defending against movement though, the 2” coherency manages this fine. Thirdly, Screamers & Flamers can move over you. Block where you want them to land so their movement advantages are nullified to an extent; Fiends can be blocked in the normal linear fashion of course (as can any of the supporting units like Bloodletters, etc.).
2) Deal with the units appropriately.
Screamers & Fiends are fast and good in combat. Flamers are fast and very scary when shooting. Seems pretty simple then right? Shoot the Screamers/Fiends, assault the Flamers. This is highlighted by the average number of BS4 S4 shots one needs to actually wipe the army out – unless you’re running something like a strombolter Acolyte army (144 S4 BS3 shots for 504 points; aka 24 wounds a turn), it’s unlikely you’ll be able to do the needed damage within the period of time required. This means more than just shooting needs to come into play however, due to Overwatch and combat capacity, neither of these units are push-overs in combat.
Screamers in high numbers have the strength and armor ignoring capacity to even give TH/SS a run for their money whilst Flamers have ignores armor templates to fire on Overwatch. I.e. each Flamer will on average, kill a charging model. So this seems pretty bleak… The unit with the shooting power has great charge defences. The unit with good combat ability still requires 81 S4 BS4 shots to be rolled over. And there’s three of them. Each. This is where you need to understand your army and the rule mechanics as much as possible.
First, terrain is your friend against Fiends/Screamers but not Flamers. Don’t bog yourself in terrain unless the Screams can fly over it – you’ll get no cover save benefit against the shooting. However, forcing the Screamers/Fiends to charge through terrain means they aren’t getting the first strike and with their capacity to deal damage at high initiatives, this is important. It means they can’t make a dead zone around them where models cannot consolidate into the fight but are still engaged AND they are getting hit by more attacks overall. Yes they are still likely to win against most targets – but it’ll cost them more to do so. Secondly, when charging, vehicles are your friends. Flamers with Overwatch are scary but they can only kill what they can see and they can only shoot if they can see. Setting up charges on Flamers where the only model(s) they can see are near the back, well it’s not going to impact your ability to actually engage the Flamers (i.e. the closest models aren’t going to be removed). Alternatively you could just use a crappy or near dead unit to engage the Flamers in combat – the Flamers can get free kills but if there’s a second unit backing them up, they will get engaged in combat. If the unit is only a couple of guys strong, you’re not that fussed if the unit dies but it eats the Overwatch.
The important bit is to engage the Flamers. Be careful of this in Kill Point games though – would the Flamers be able to get to that unit anyway? If so – at least make its death mean something. Otherwise you need to shoot, shoot and shoot some more. Screamers/Fiends become less effective as their squads get smaller. They’ll still dent Marine squads with only a handful of models but aren’t going to be whole sale wiping squads and getting off silly multi-charges and staying engaged in combat all the time. Flamers though, are always a threat until the squad is dead. If you can’t wipe the squad, don’t bother almost unless you’re tying them up in combat.
The Daemons have a finite number of scary units. Six really, particularly the way lists are being built currently. Each of these units can kill one opposing unit a turn when they are actively engaging the opponent (i.e. very unlikely Turn 1, impossible each turn they are in reserve). Over the course of the game this engagement ability will really skyrocket unlike against a deathstar unit but it’s still really important to deny multi-charges to the Screamers/Fiends and not allow Flamers to template units beyond their initial target.
Multi-charges are a lot harder to pull off these days but importantly, they are the best way to pull a punch by denying yourself extra attacks. For units as deadly as Screamers/Fiends in combat, particularly against the chaff units they are likely to be engaging early in the game, doing this is often beneficial for them as they WANT to stay in combat during the next shooting phase. Regardless of how many units they are killing each turn, you don’t want this. Otherwise if you are forcing them to engage one unit a turn, you’re losing the minimum possible and able to focus down their units so their capacity to engage you is greatly diminished.
Consider, if you are able to deal with all the Screamers/Fiends/Flamers, even if it kills half your army, there’s very little else the Daemon army has to throw at you. There are certainly units there which need to be dealt with but the offensive potential of the list is drastically reduced.
Conclusion
So here are the things to think about when you are deploying:
- Spread out as much as possible with your important units protected behind other units. Contract as the game goes on so jump units cannot fly over your lines or move between models of a unit during a charge.
- Important shooting units NEED TO BE ABLE TO SEE – cover is useless here except as charge defences. It’s more important for your fire support units to be able to focus fire so you can remove whole units rather than plinking away at a lot. If you cannot see opposing models, they have an effective 0++ – don’t give them that.
- Force the Daemon player to engage you on your terms. Force them through terrain. Use chaff/sacrificial units. Keep them away from you initially as much as possible. Counter-attack weakened Daemon units in combat. Etc. As with any game, whoever dictates most of the play wins. Dictate.
This is by no means an exhaustive list or the golden key to unlock the “I laugh at Daemons” button. Do not take it as such. Daemons got a boost most certainly and it really comes down to their improved mobility as much as their improved capacity to kill you. They were always good at killing – now they can get there to do it. They are a much better army than before but by no means unkillable or needing to face an unbalanced list to lose.
In the end this type of game is, as some have put it, PURE attrition. The Daemon force has little to no shooting and nearly everything they touch in combat or with their limited shooting will die. The game will always seem close unless dice go crazy because to win, you will be losing lots of your army – you just need to be making sure you are dictating which parts of your army die whilst killing theirs at the same time.
Sounds simple :P.


