HOBBY: Fancy Bases Made Easy
Hello Bell of Lost Souls Readers, Lazuli Miniatures Studio here with a special article on how we make our display level bases.
The first thing that must be considered is the model or faction’s theme. Are they fighting in a desert, a jungle, or in a post-apocalyptic urban ruin in the far-future? Wherever your miniatures are fighting—anywhere from the frozen tundra, volcanic mountain, or even ancient undersea ruins—cork may be used for base.
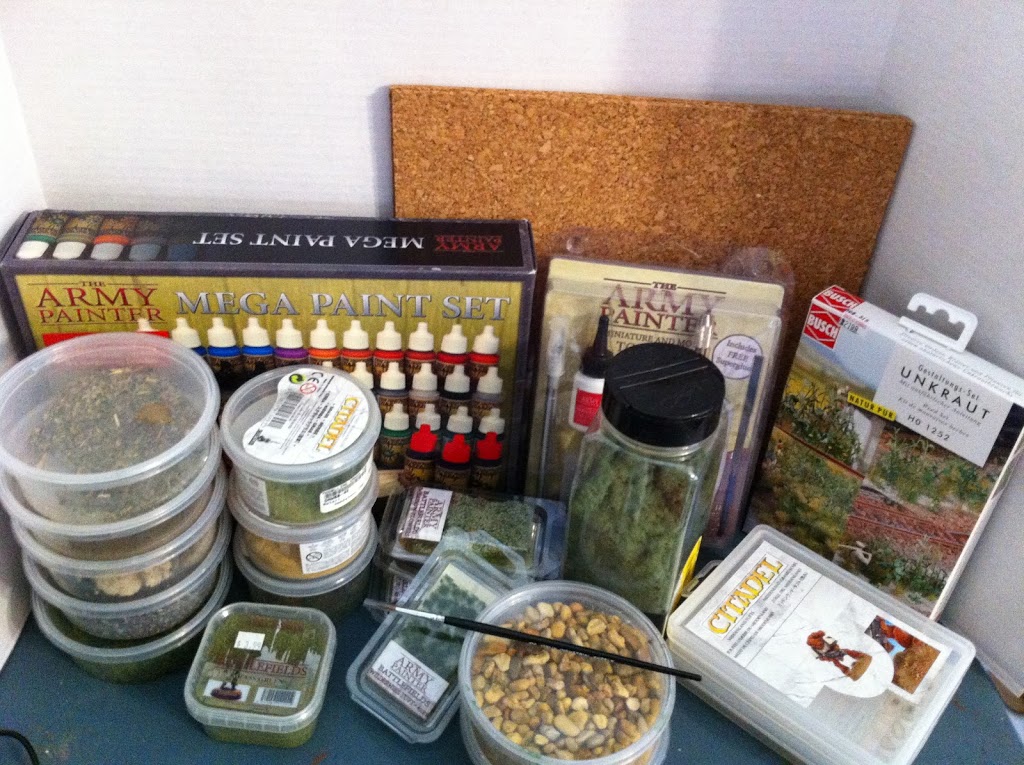
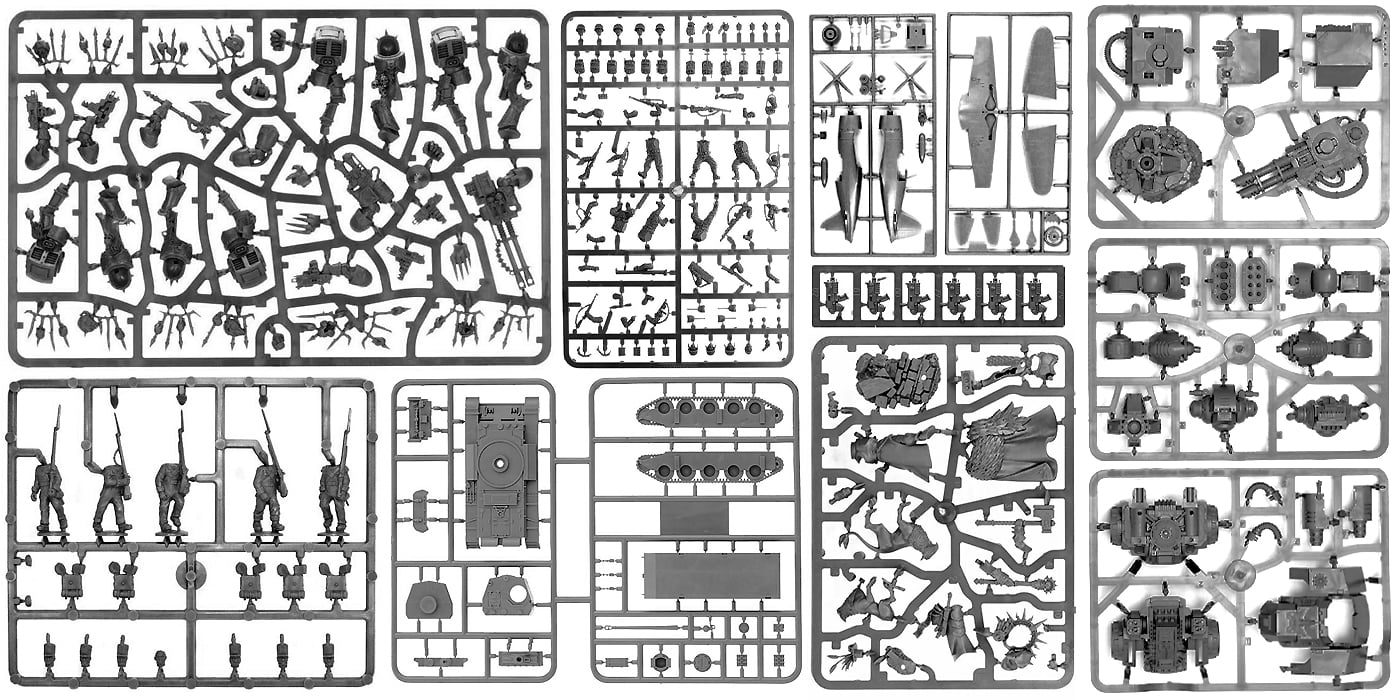
Before you begin basing, you need to gather a few supplies. Other than cork and glue, there is an infinite amount of other materials you can use. Here is a list of supplies that the Studio used:
Cork Tiles (you can purchase these at craft stores like Michael’s or Hobby Lobby in packs of 4 for about $5 each; $3 if you use a 40% coupon for either store available online).
-Super Glue
-Wood Glue
-Hobby Knife
-Side Cutters
-Paints
-Citadel Scorched Grass
-Citadel Dead Grass
-Citadel Middenland Turf
-Citadel Mordheim Turf
-Army Painter Highland Tuft
-Army Painter Jungle Tuft
-Army Painter Wilderness Tuft
-Army Painter Meadow Flowers
-Woodland Senics Clump Foliage
-Various grades of flock (beach sand, fine gravel, etc.)
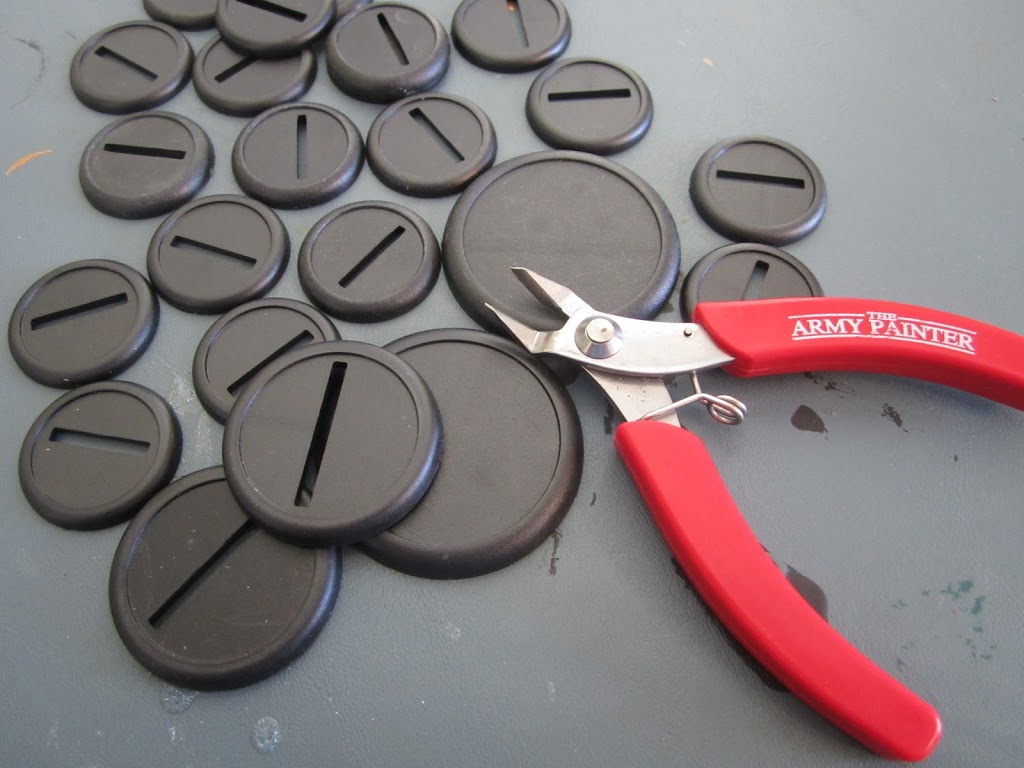
The first step is to prepare the bases by cutting them off the tabs and cleaning the edges.
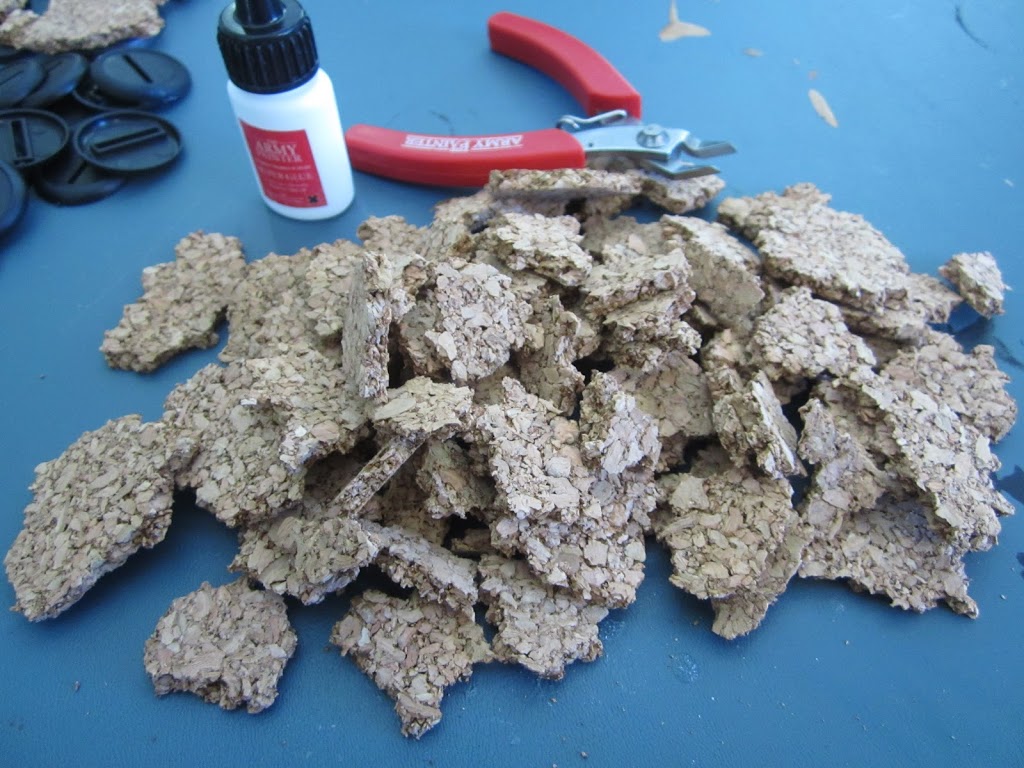

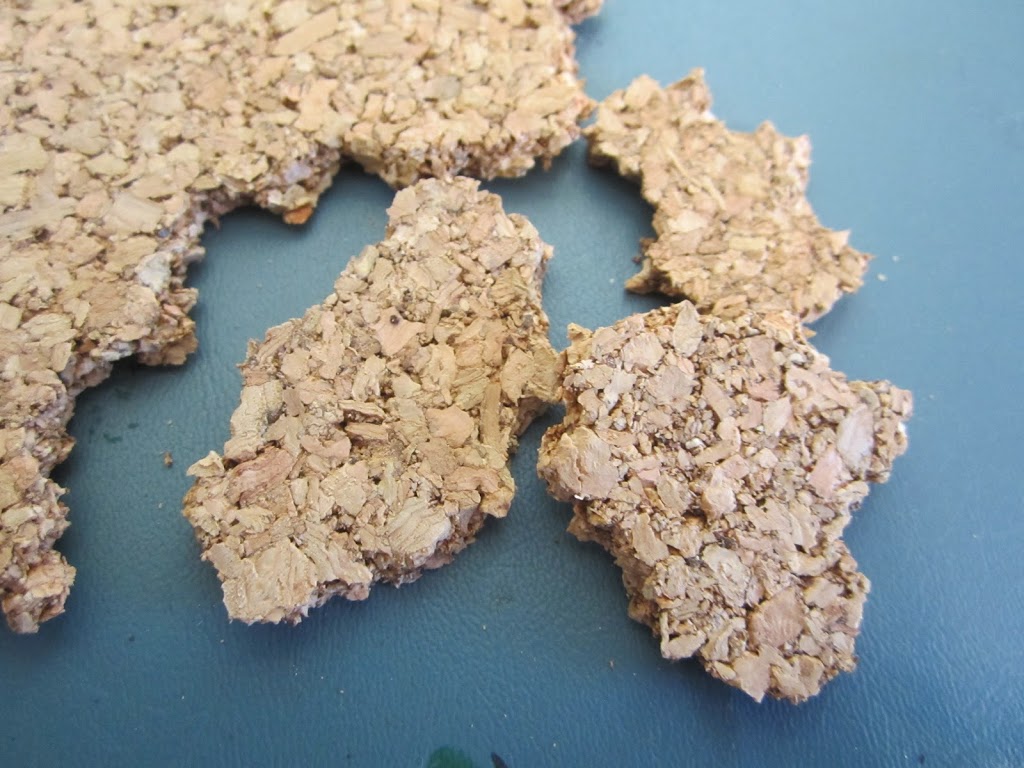
The next step is to prepare the cork. First remove the straight edges of the sheet by tearing them off. This will give the final rocks a much more natural appearance—after all, nature does not build in straight lines. Now you can rip off pieces of the cork in varying sizes. While size does not necessarily matter, it’s best to avoid excessively large chunks. Random sizes will allow you to build up the base in layers.
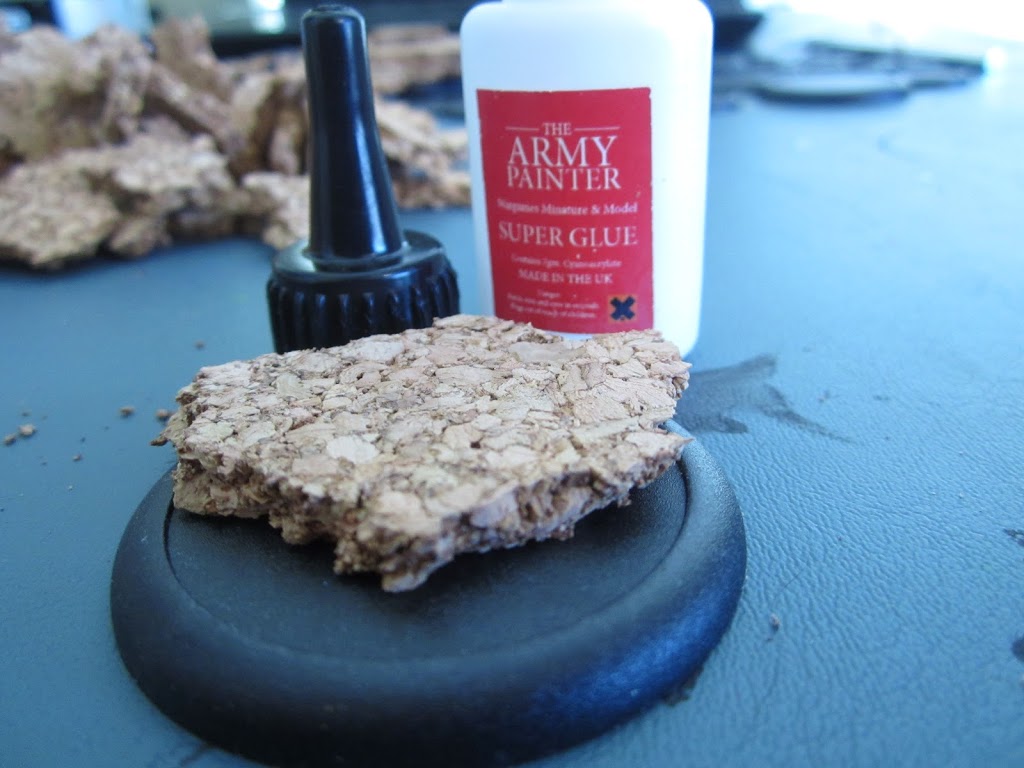
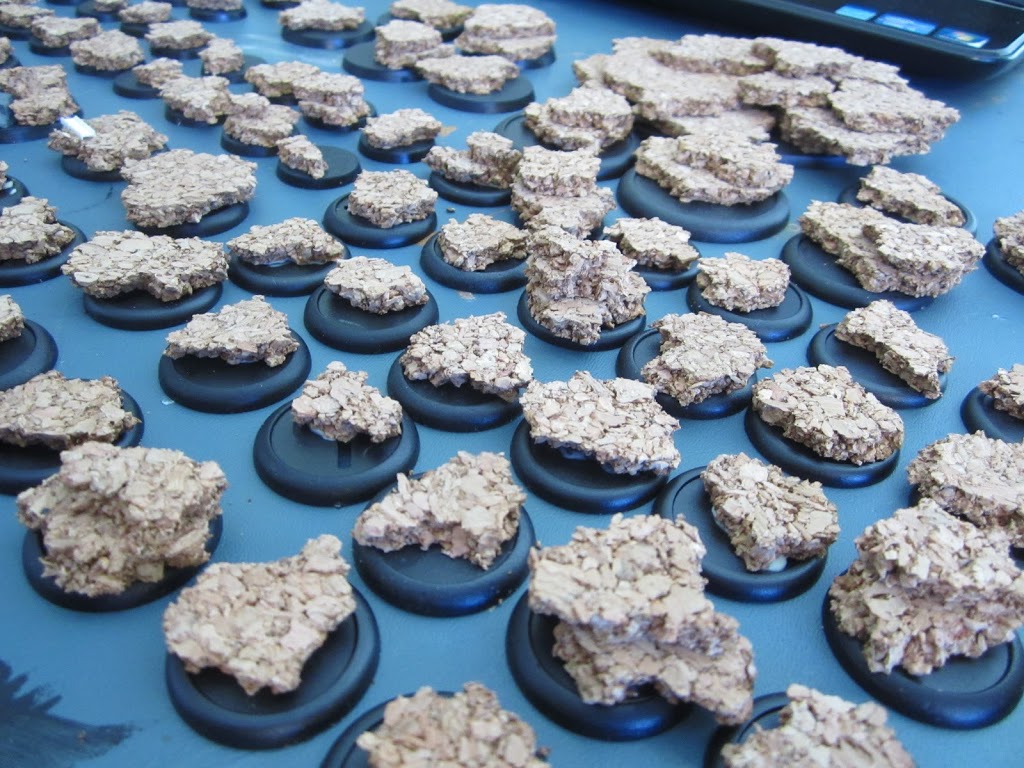
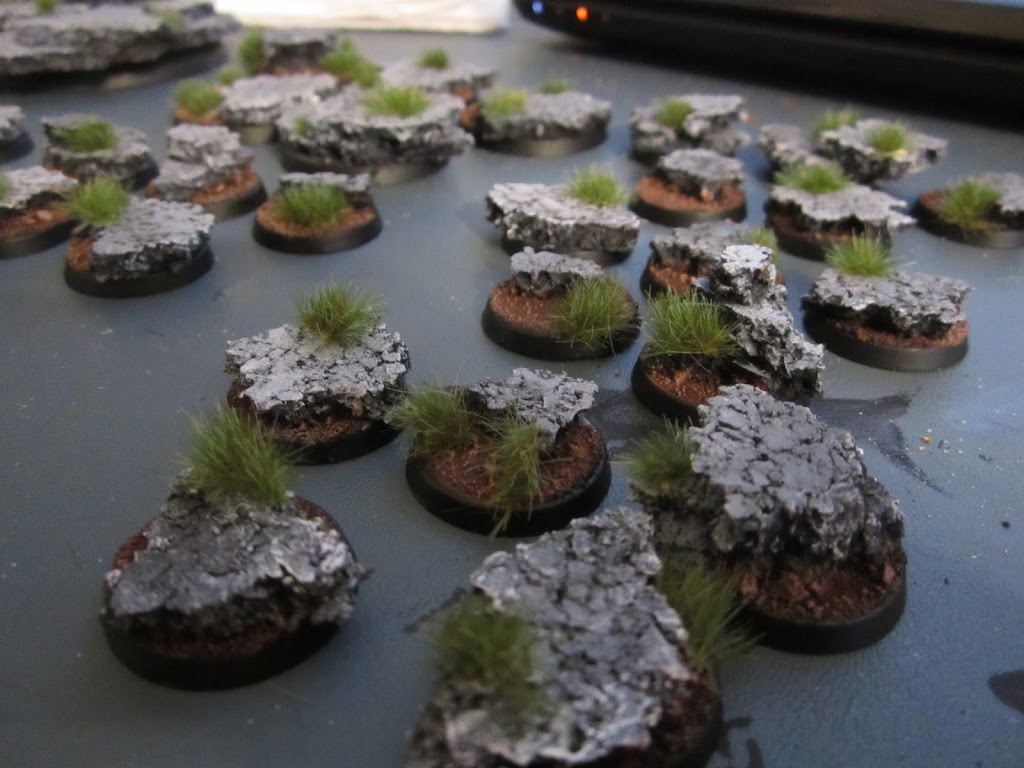
The third step is to glue the cork onto the base. You may choose to stack the cork in layers. When doing so remember to take pieces that go well with each other; a little bit of cork hanging over the sides gives a scenic feel. On typical infantry figures, I try not to stack more than 2 or 3 layers high. You want the miniatures to stand out, but not look silly standing next to your opponent’s figures.
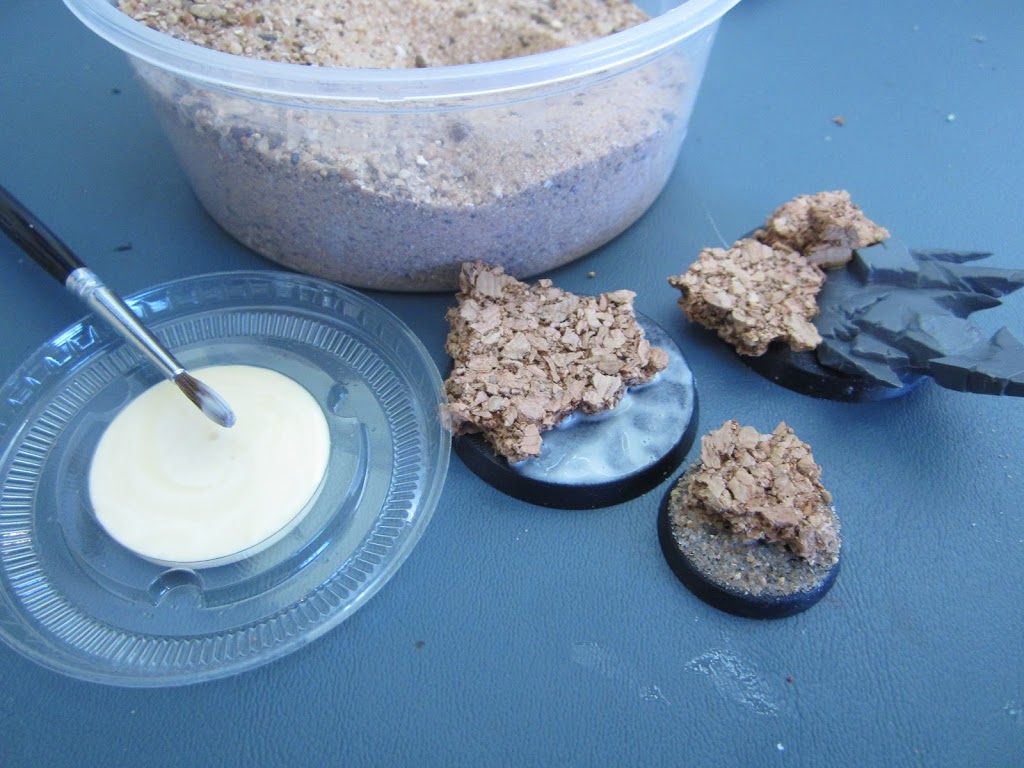
The next step is to take Wood Glue and apply sand onto the parts of the base not covered by cork. In some instances you may apply sand onto the cork to add more texture. We do this on some urban themed bases.
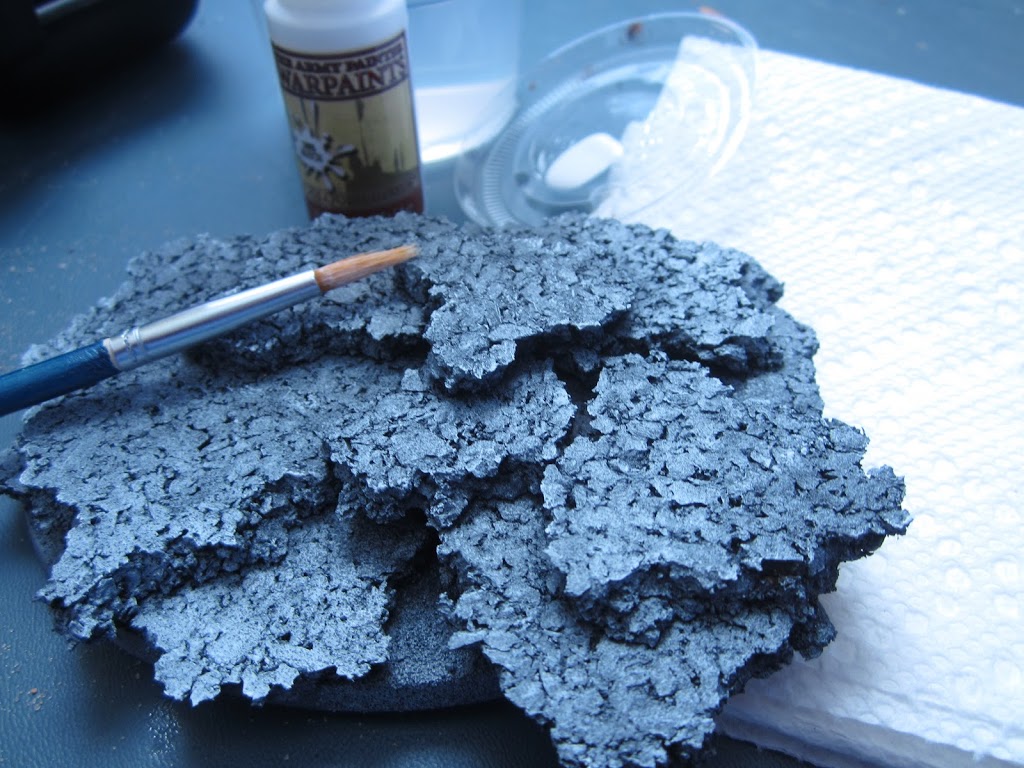
Now it is time to paint the cork. We airbrushed various shades of grey, black, and white onto the base. When we were happy with the color, we drybrushed the rocks with Army Painter Matte White.
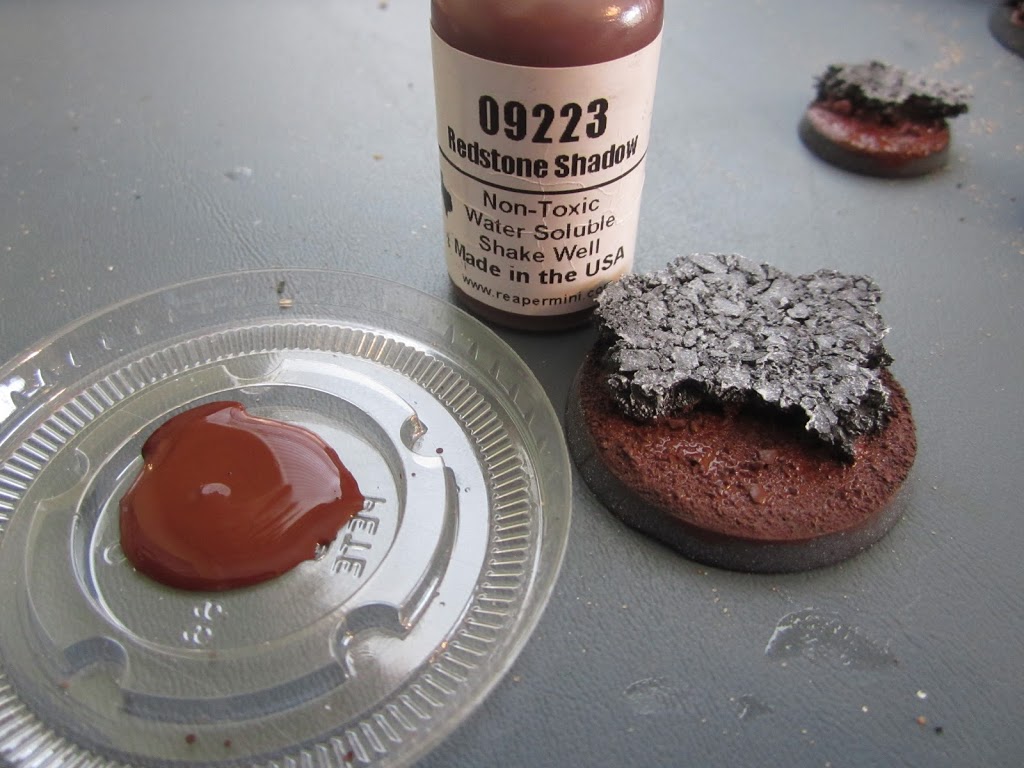

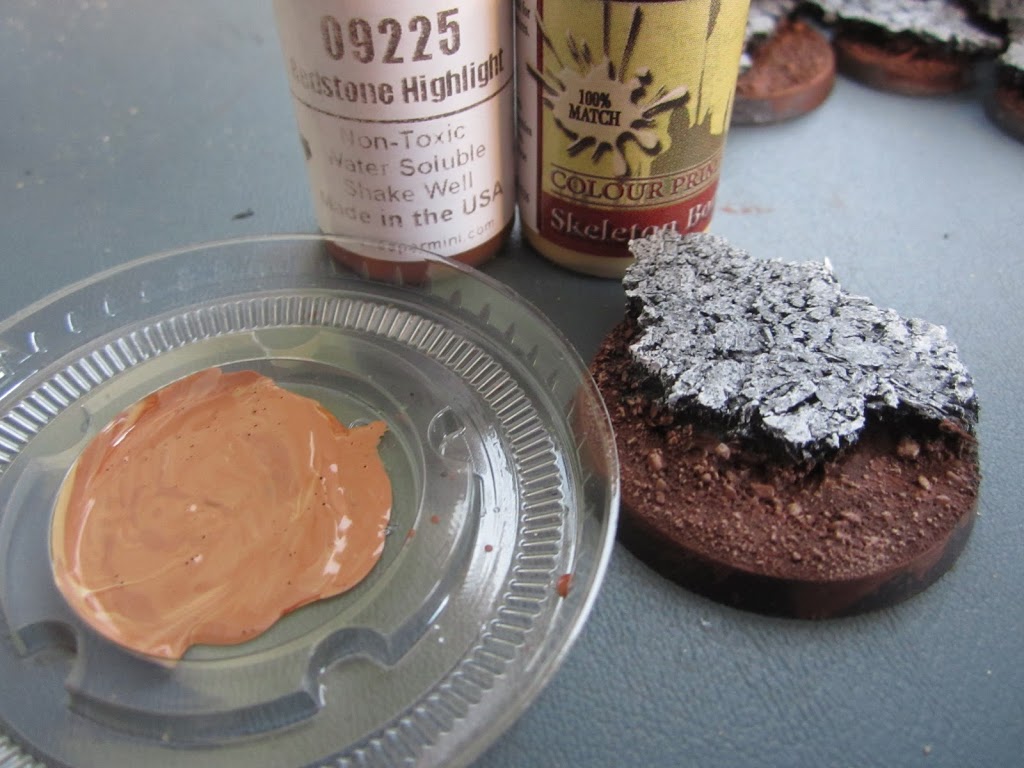

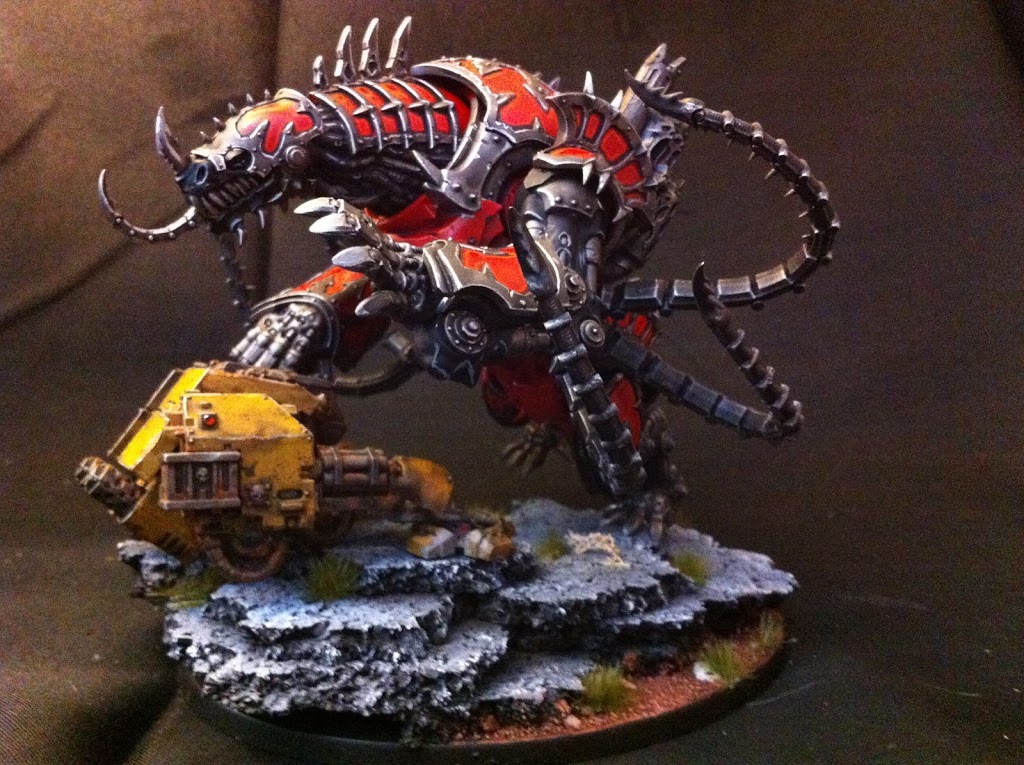
For the painting, you can use any color you wish. For the Chaos Space Marines we were painting, the client wanted the bases to match his red Martian-themed table. We started by laying down a coat of Reaper Master Series Redstone Shadow. When the base coat dried, we overbrushed Reaper Master Series Redstone leaving the Redstone Shadow in the deepest recesses. Next a lighter overbrush of Redstone Highlight was applied. For the final highlight, we used a very light drybrush of Reaper Master Series Redstone Highlight and Army Painter Skeleton Bone.
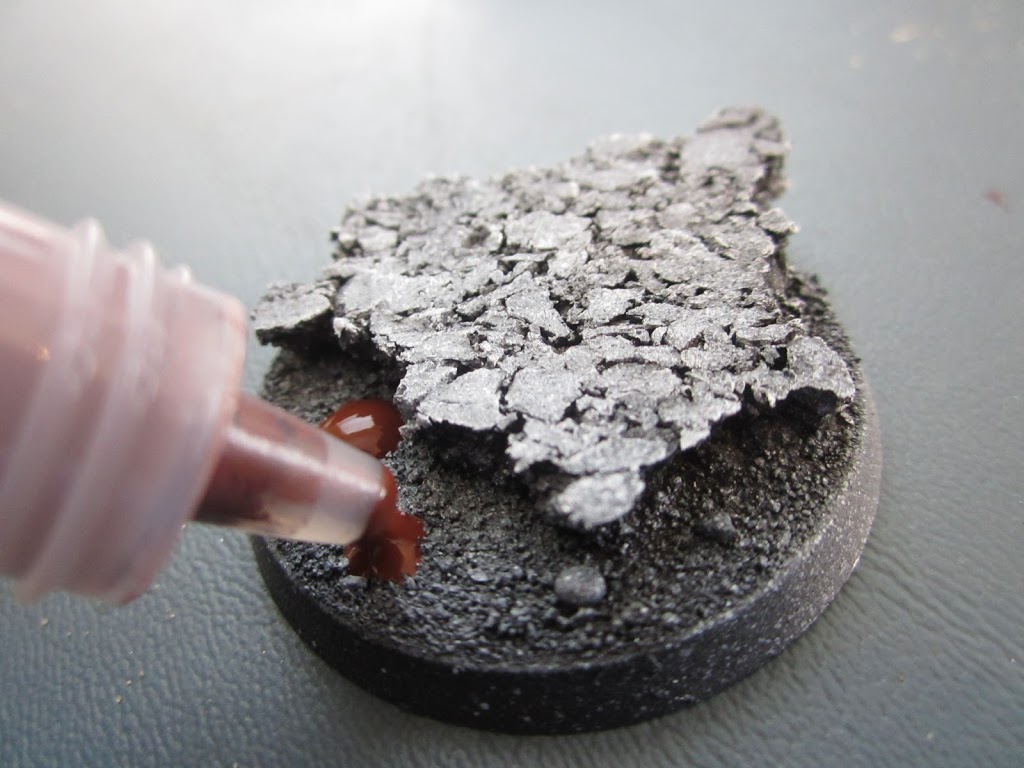
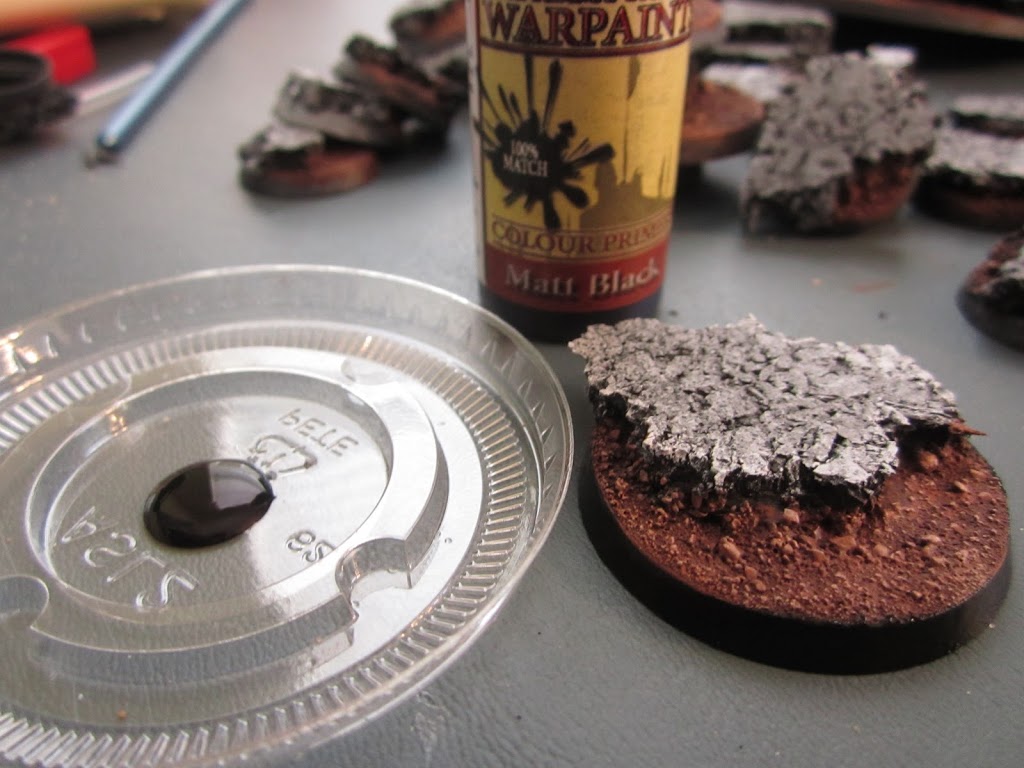
Finally we used Army Painter Matt Black on the rim of the base. Pro tip: When applying the basecoats on the base with dropper bottles, you can greatly increase your speed by applying small dots of paint onto the base and spreading them with a wet brush.
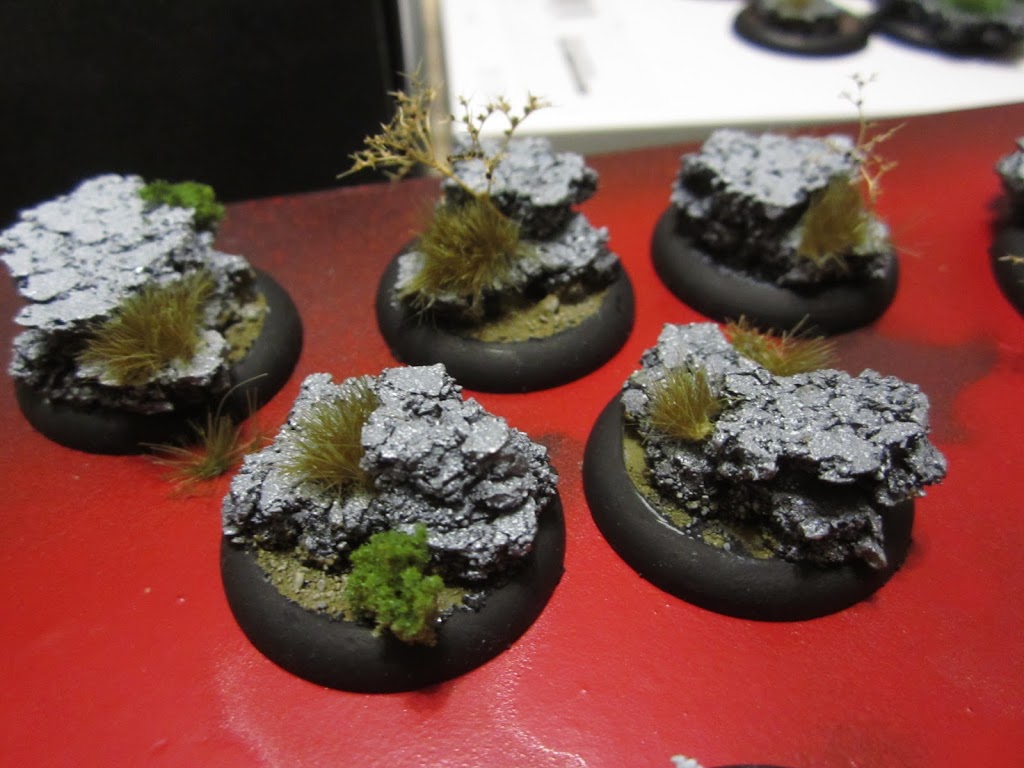
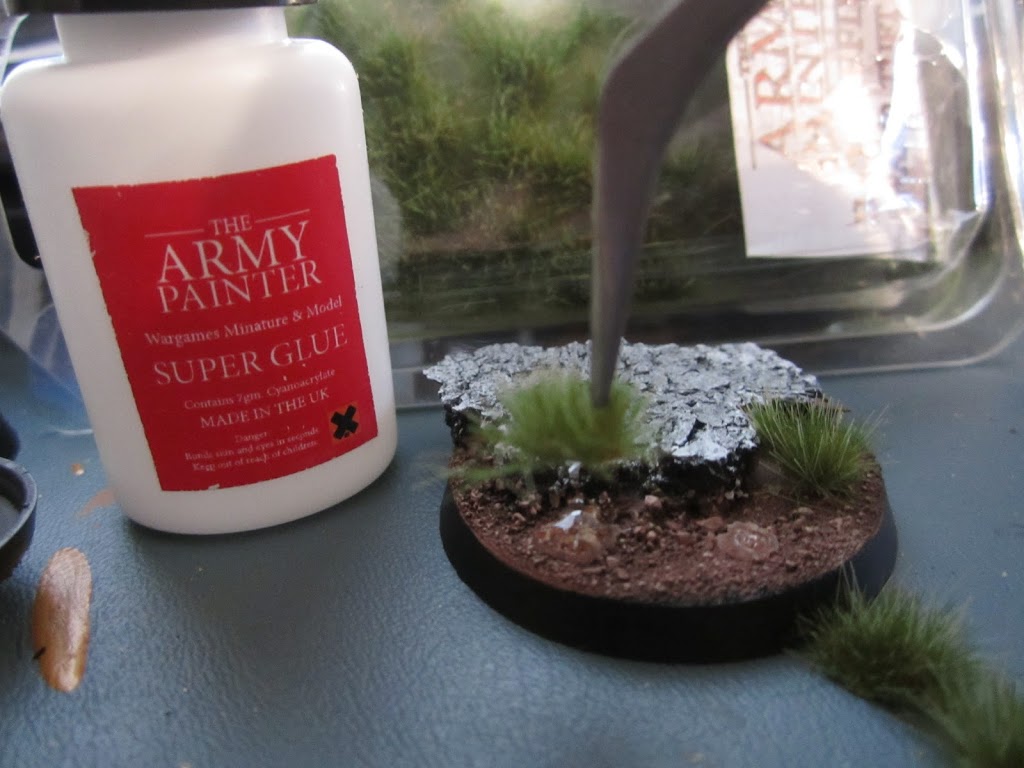
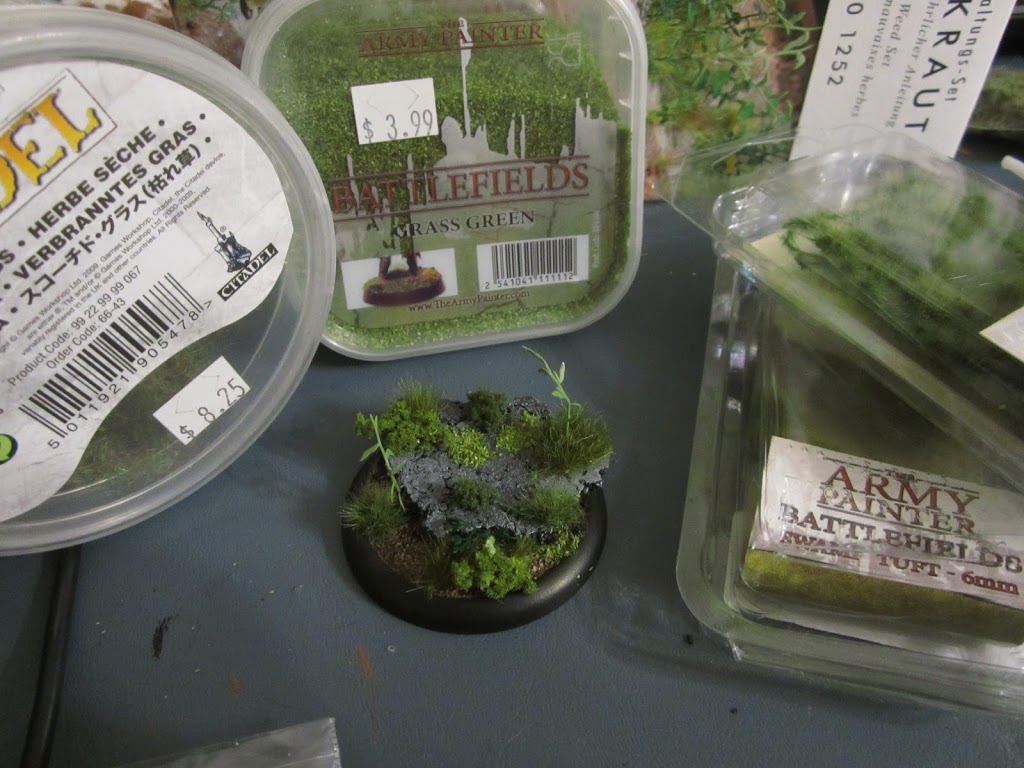
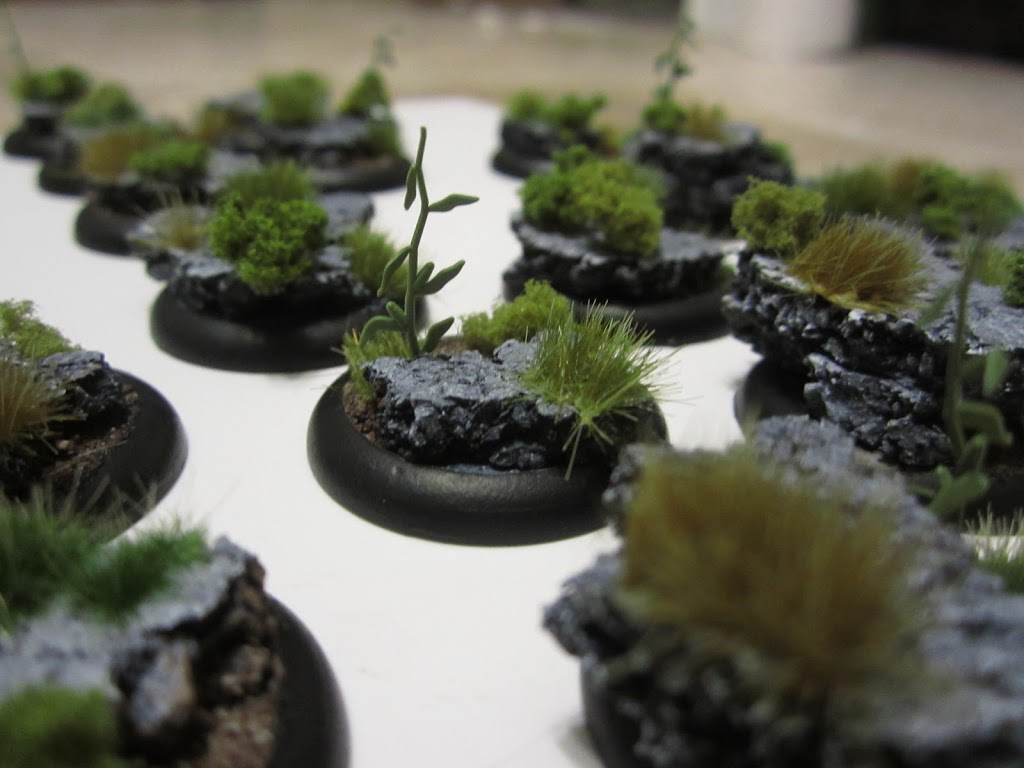
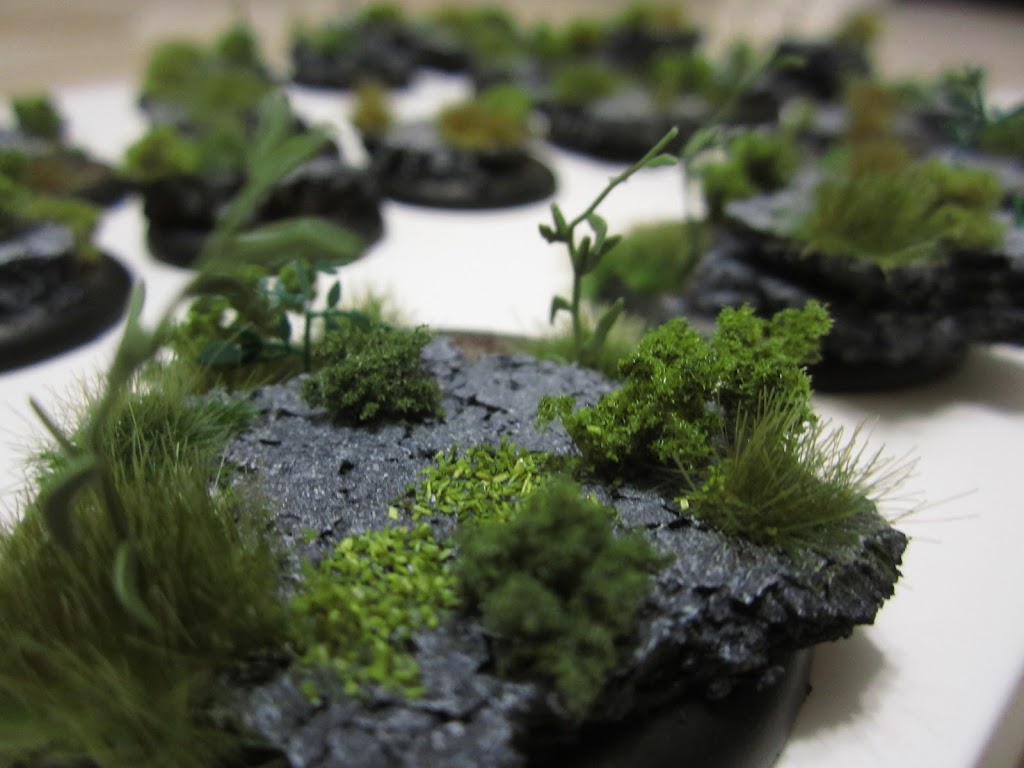
Now for the final step. We applied a variety of flock, including the Army Painter Tufts and static grass. The key for this step is creativity; don’t make each base look like the other, but as if they came from the same terrain. We used a wide range of materials varying from store bought items—like clump foliage, tufts, and moss—to dried plants we found in the woods.
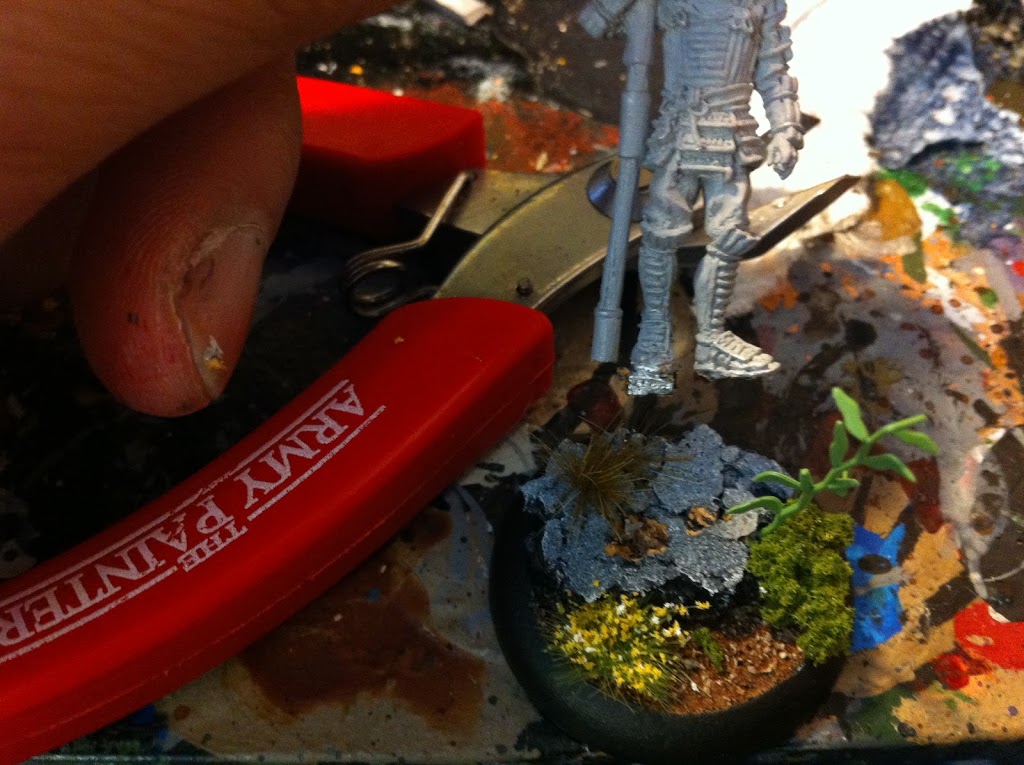
Now you have nice-looking bases, but you’re not done yet! Another advantage of cork is its flexibility. When affixing the miniature onto the base, cut the tab off the feet leaving only a small section on underneath one of the feet. Take your hobby knife and cut a hole into the cork where you want the tab section to be inserted. Use superglue to glue the model in place. Technically, you could simply just glue the miniature without qualms; however, leaving a section of the metal tab gives the miniature much more stability and gives the superglue a larger surface area between the metal and the cork.
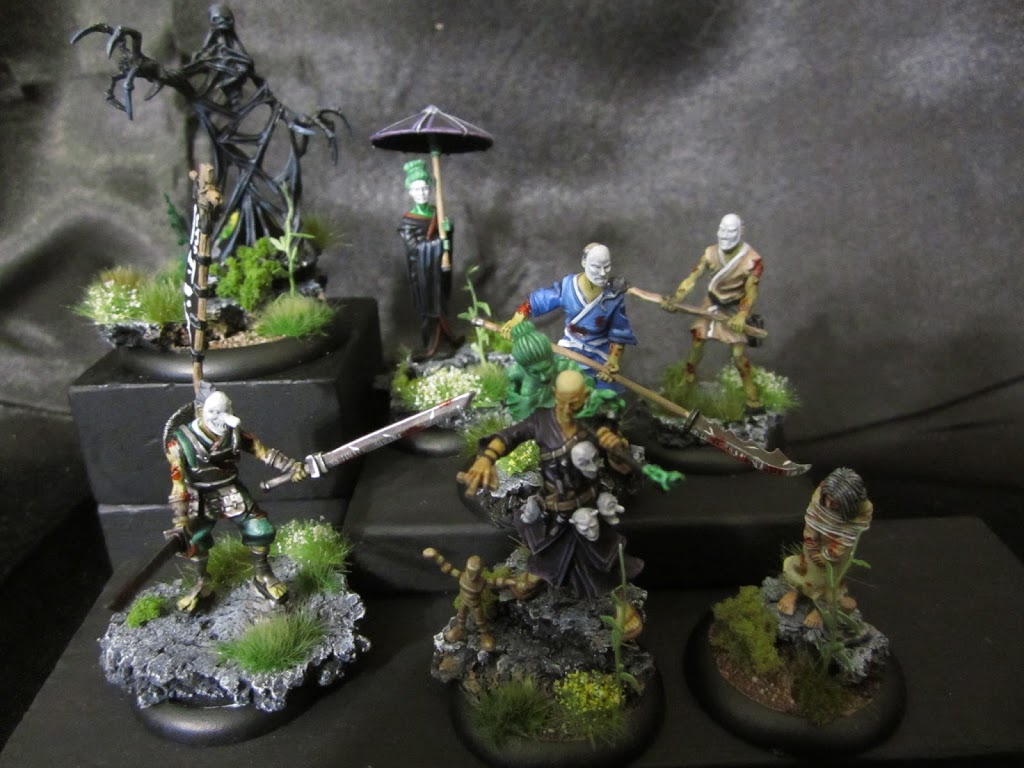
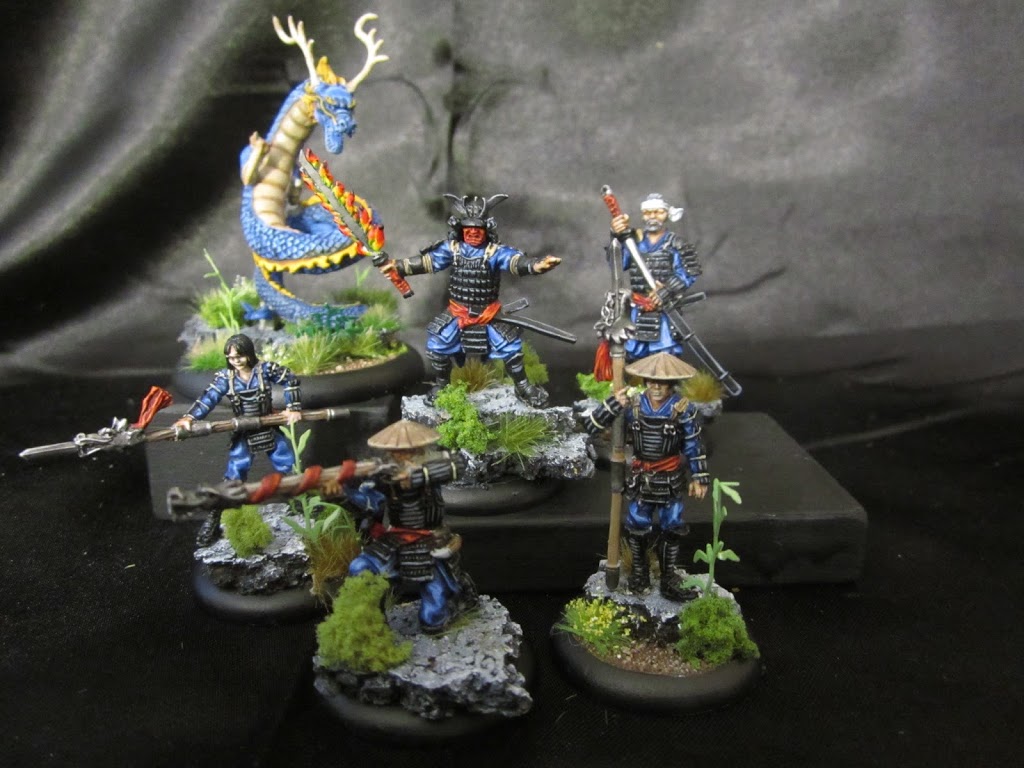
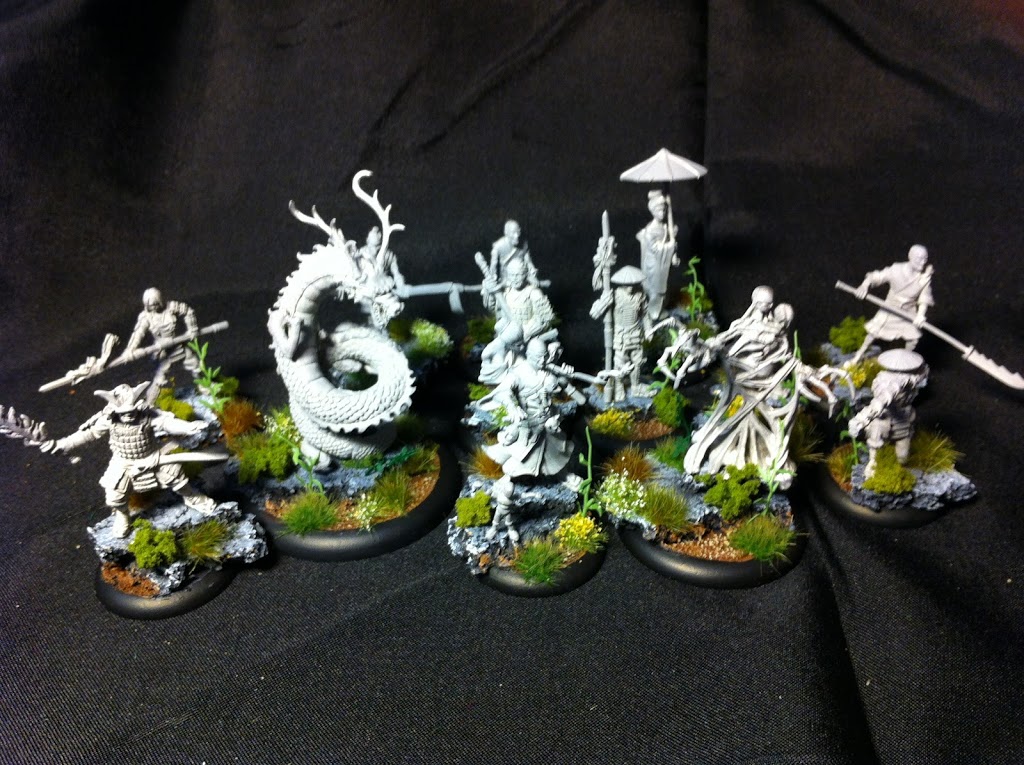
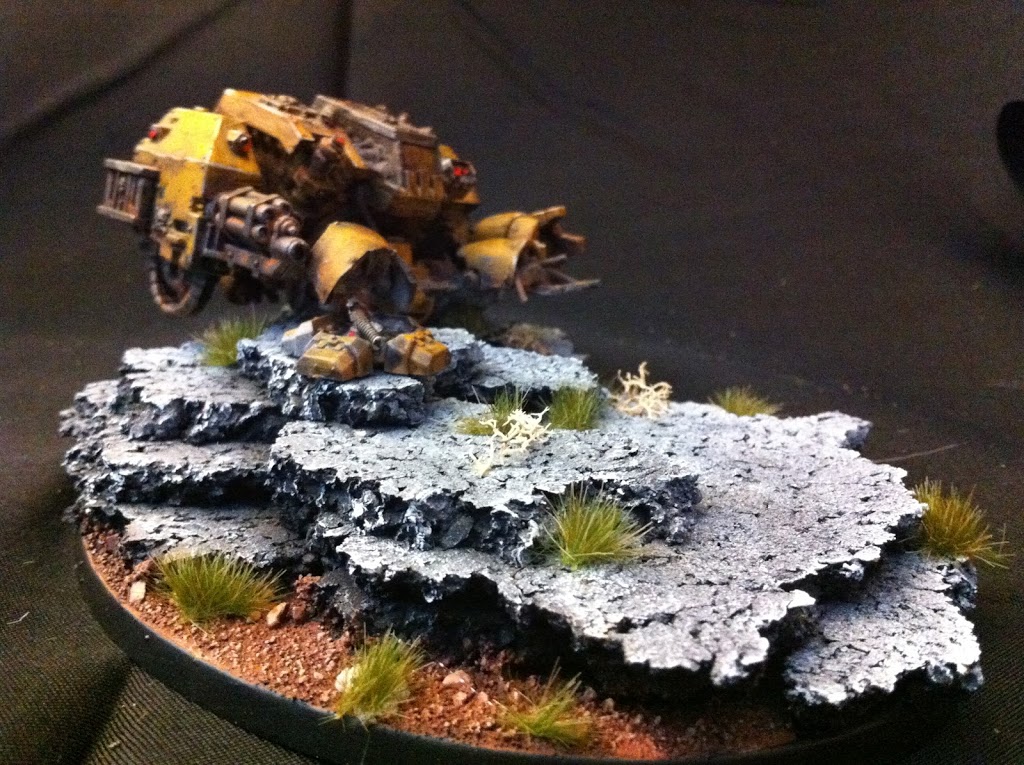
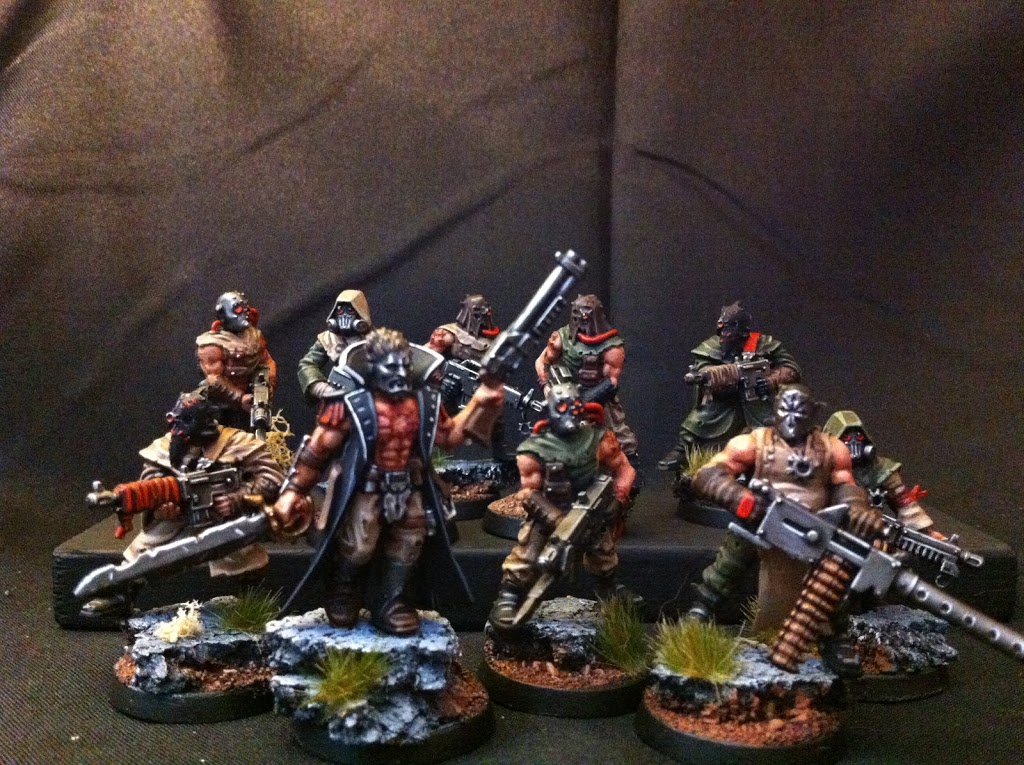
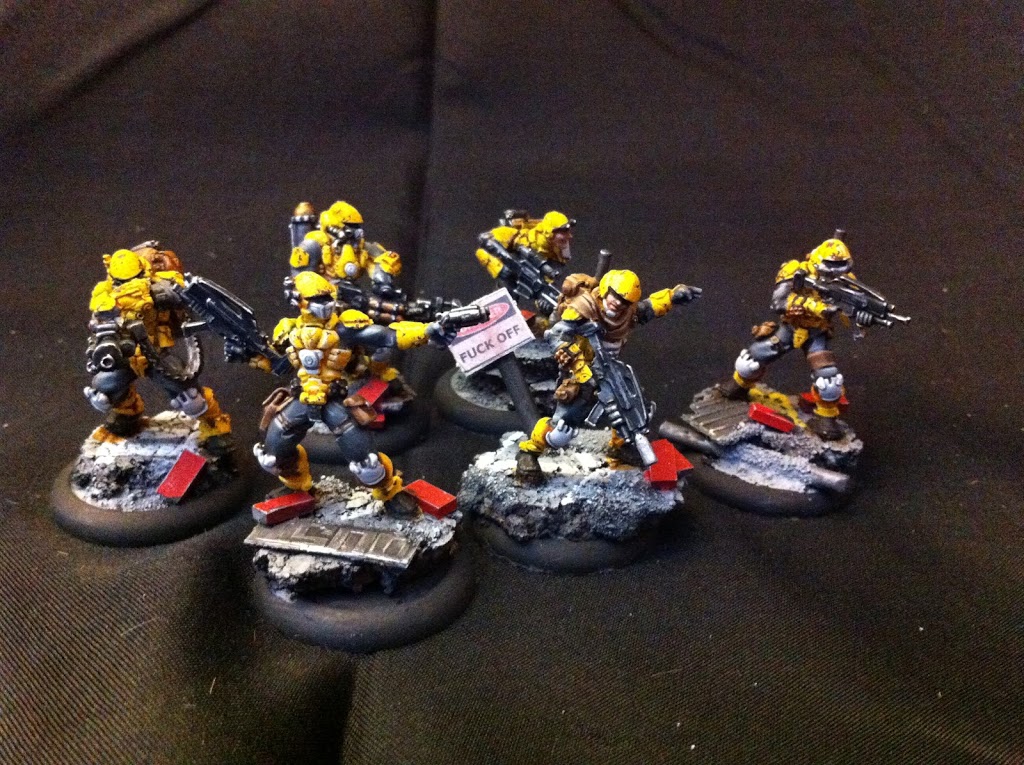
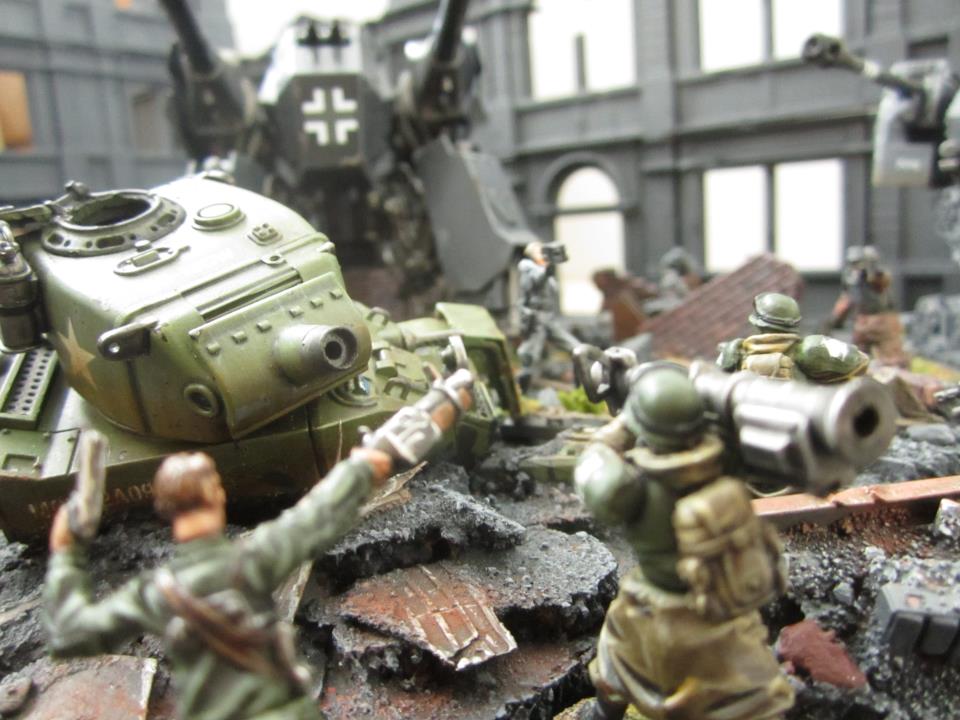
See, the key to fancy bases is the variety of materials used along with composition. Here are some examples of other works we did with cork:

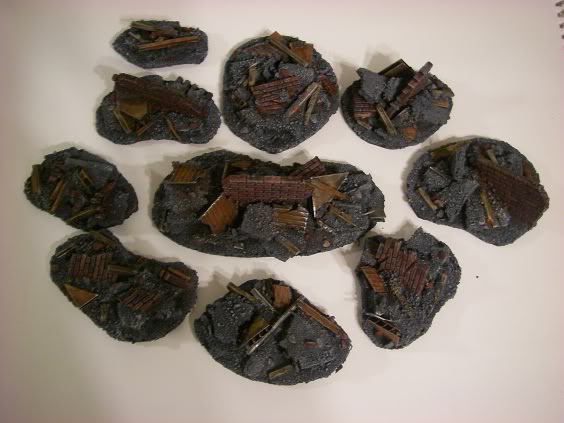
Of course, cork isn’t limited to miniature bases, here is some cool terrain also done with cork:
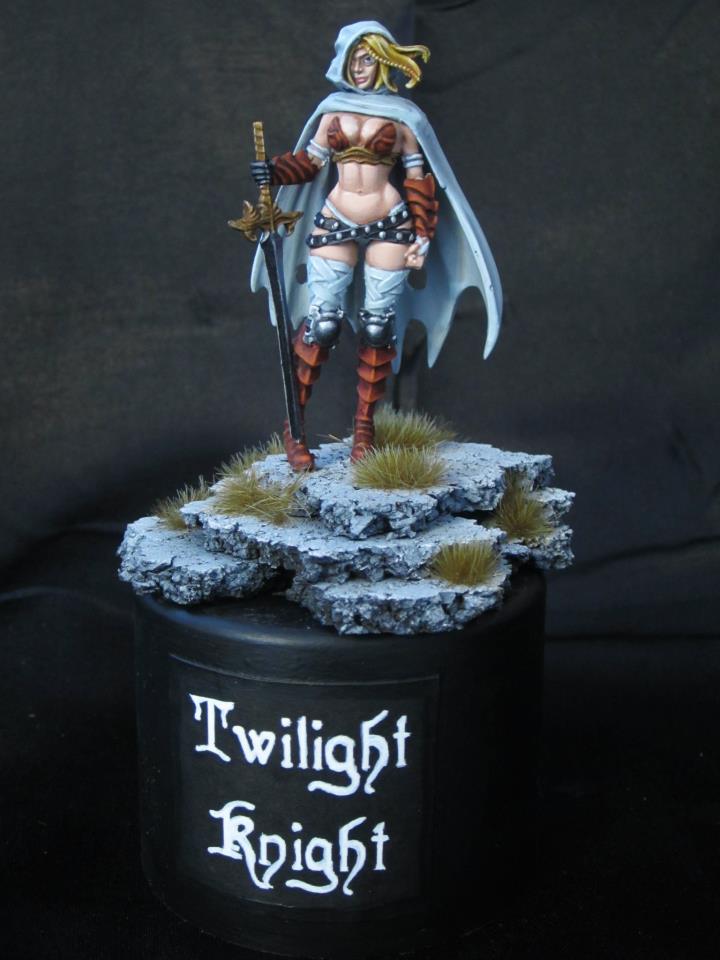
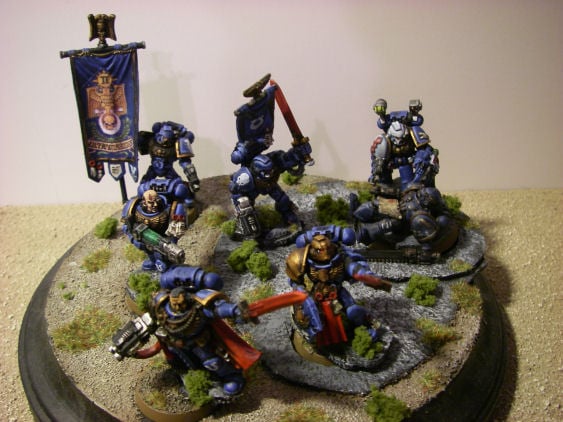
Lastly, one more cool thing to do with cork: display bases! These Space Marines were actually one of my very first painting competition wins, painted when I was 13.
So, that’s it. Like us on Facebook; occasionally we do raffles for painted figures. If you would like to have painting work done visit our website at www.lazuli-miniatures.com.
Cork is a versatile tool with many uses, what do you use it for?

