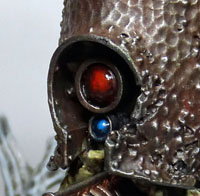
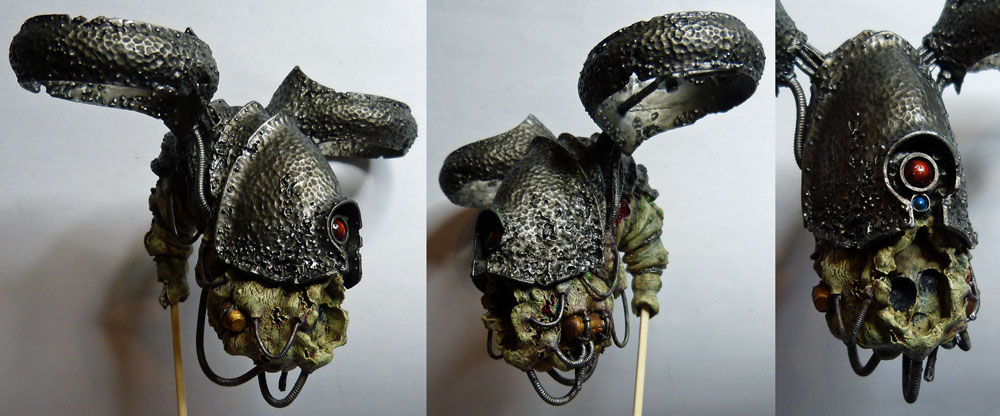
What’s got one eye, flies and smells terrible? Today let’s look at my latest new addition – the Nurgle Blight Drone.
A follow up to my previous article showing the modelling and painting done to the latest addition to my Nurgle Daemon army.
Before I got onto painting the Drone I did do some minor conversion work as well as construct a base.
Blight Drone Cables:
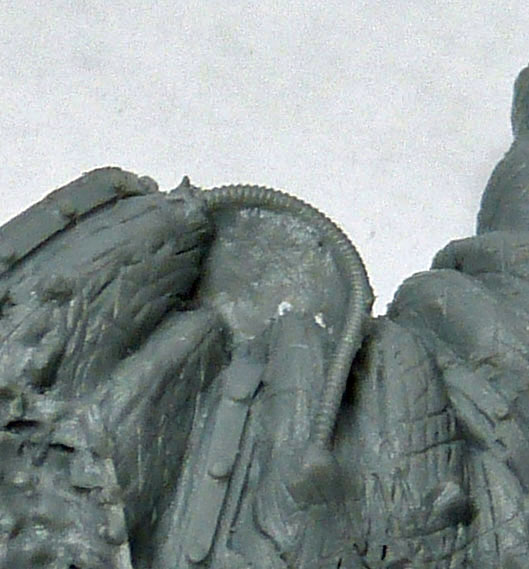
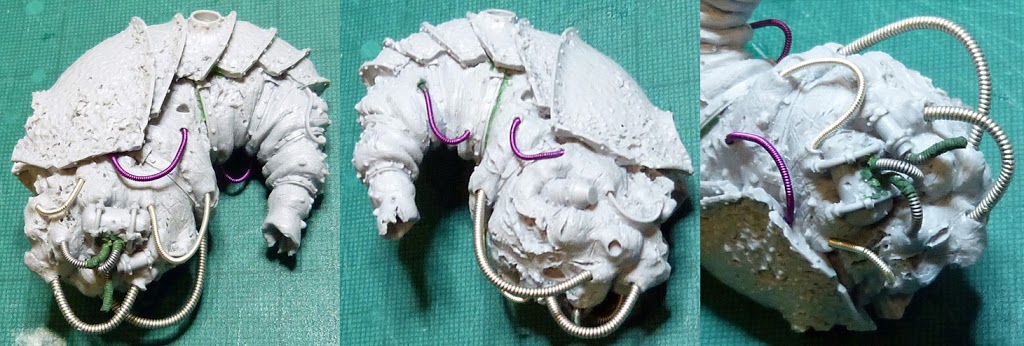
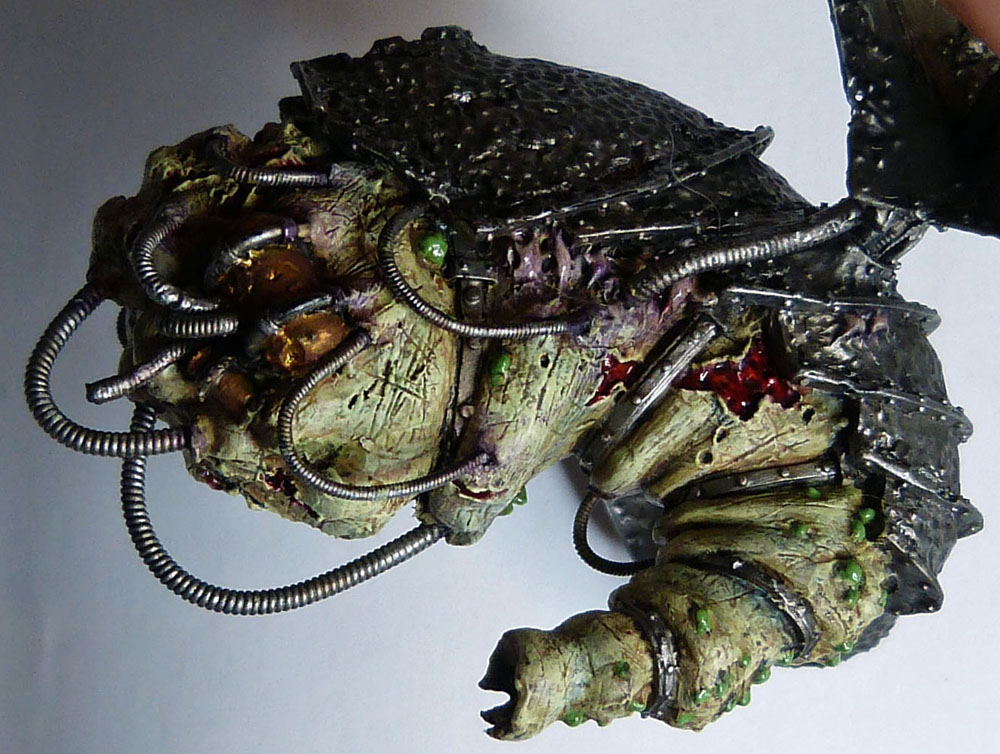
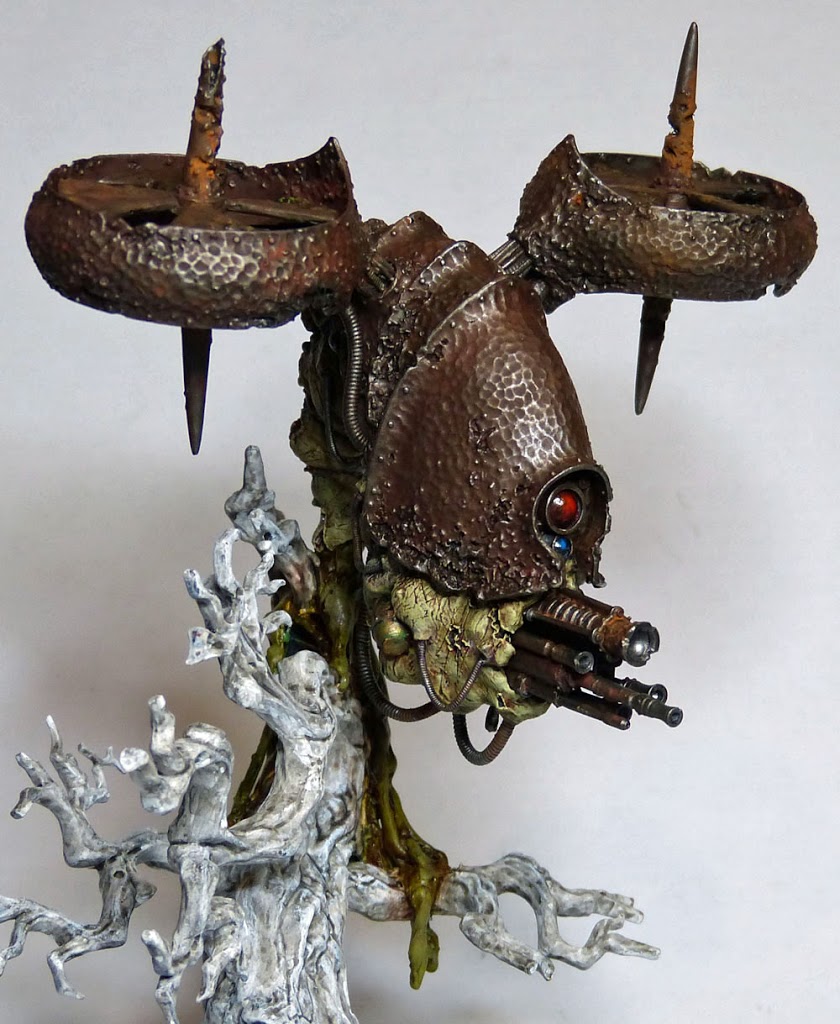
The Drone is a very nice model, but the one thing I feel lets it down are the cables hanging from the body. Due to casting them as part of the body you get flash which it isn’t easy to remove without damaging something.
My solution was simply to cut away all of the cables and flash and cleaning up the whole area. I then drilled into the body and added new cables (from Zinge Industries).
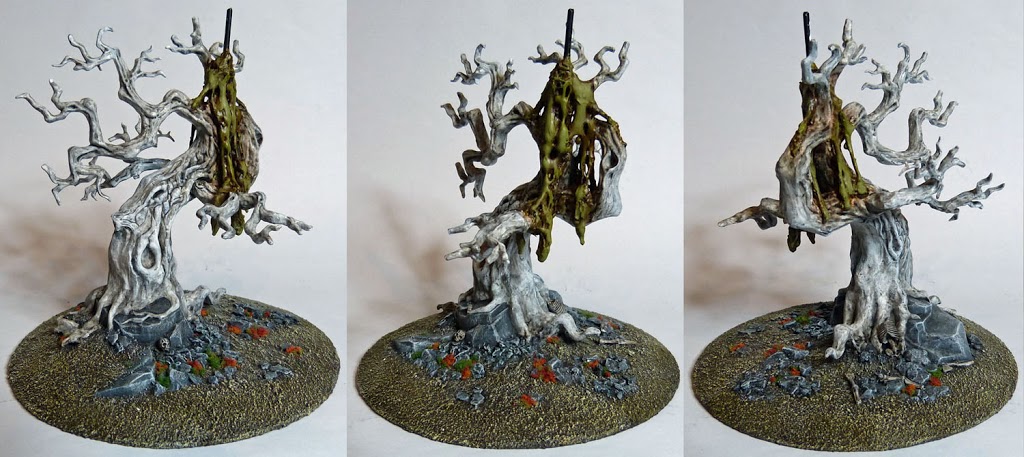
BuildingThe Base:
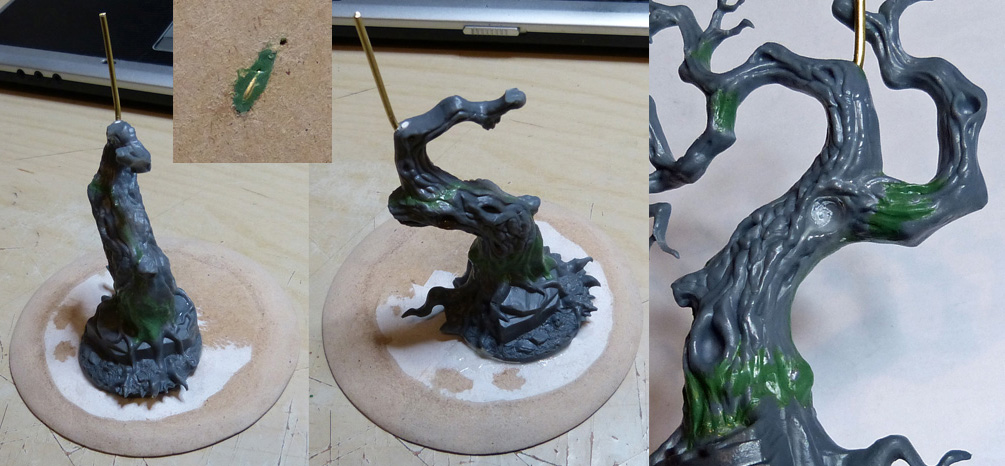
When looking at a flying stand for the Drone I wasn’t keen on having a visible rod. I wanted something vertical onto which the Drone could be mounted but that didn’t look like he was just sitting on something unnaturally.
Advertisement
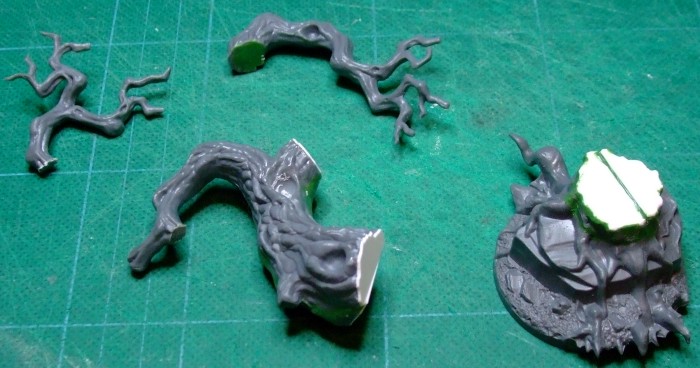
I found the solution in a GW tree I had cut up some time ago for use in a terrain piece.
After cutting a CD sized piece of MDF I set about assembling the tree. This involved internal strengthening with styrene off cuts and GS and filling in the missing parts of the tree with GS. Thankfully being a simple model even I could result the missing areas without a problem.
The trickiest part with the tree was running 2mm brass rod up through the MDF base and through the tree; the end was hooked into a depression I cut into the underside of the MDF. Due to the shape of the tree the rod had to be bent in several directions. The rod was reinforced and supported inside the tree with GS. While it was awkward to do the final result was very solid and easily able to support the Drone.
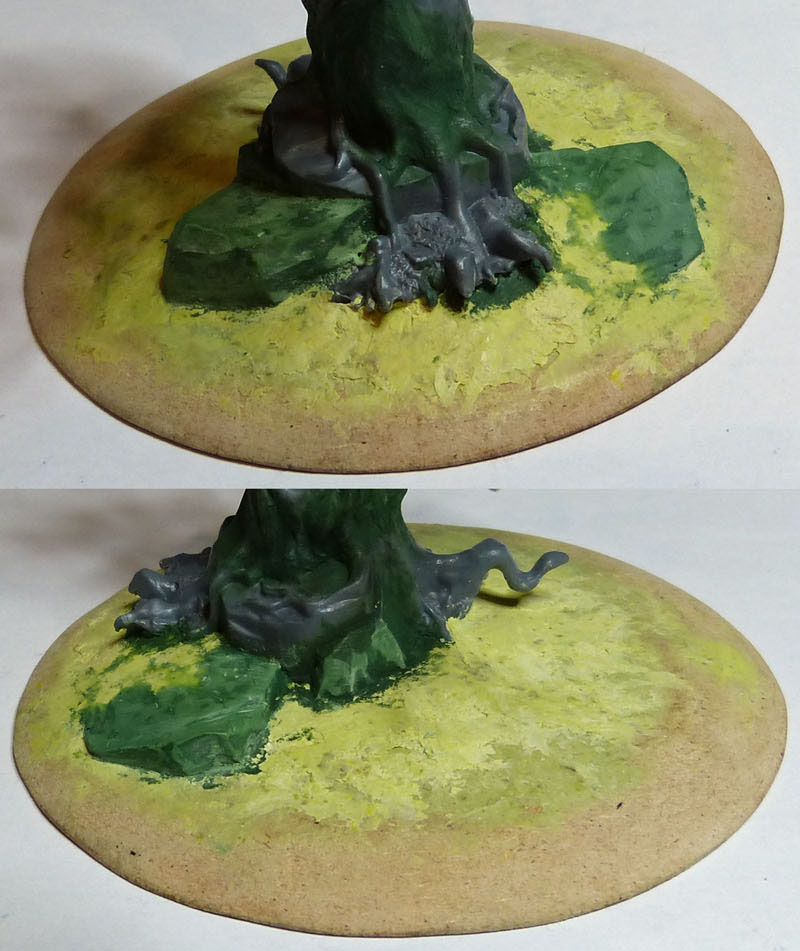
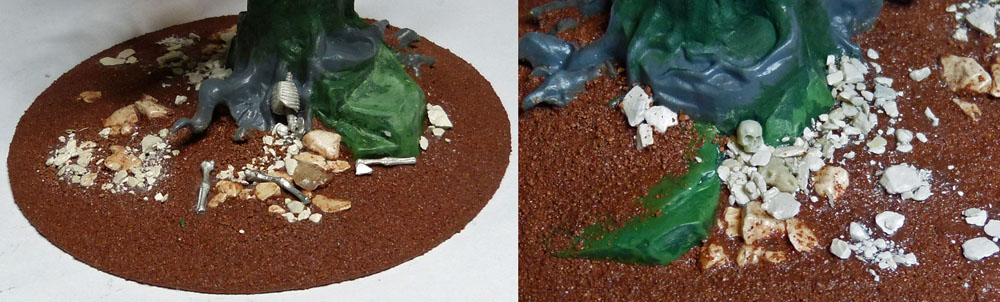
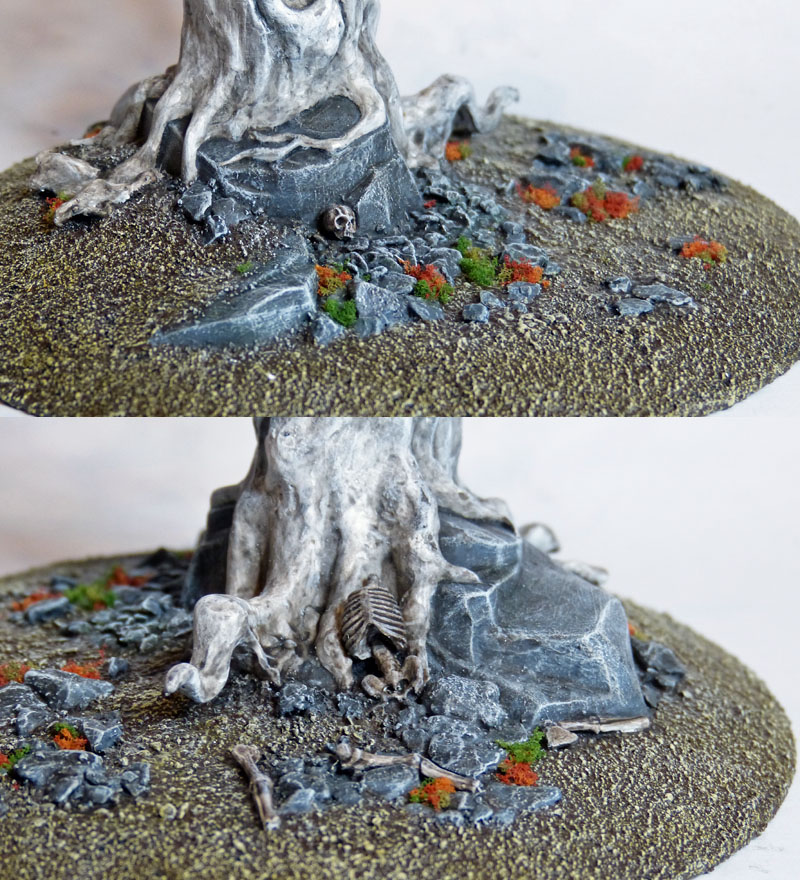
The tree base was blended into the MDF by expanding the rock modelled on the tree base with GS. Milliput was used to further join everything together before sand and smaller rocks were added. Skeleton parts from Secret Weapon Miniatures finished the base off.
Advertisement
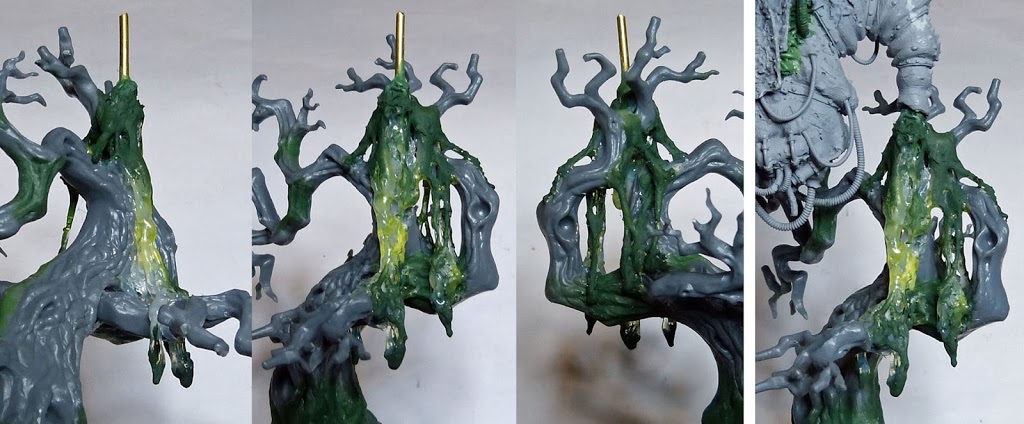
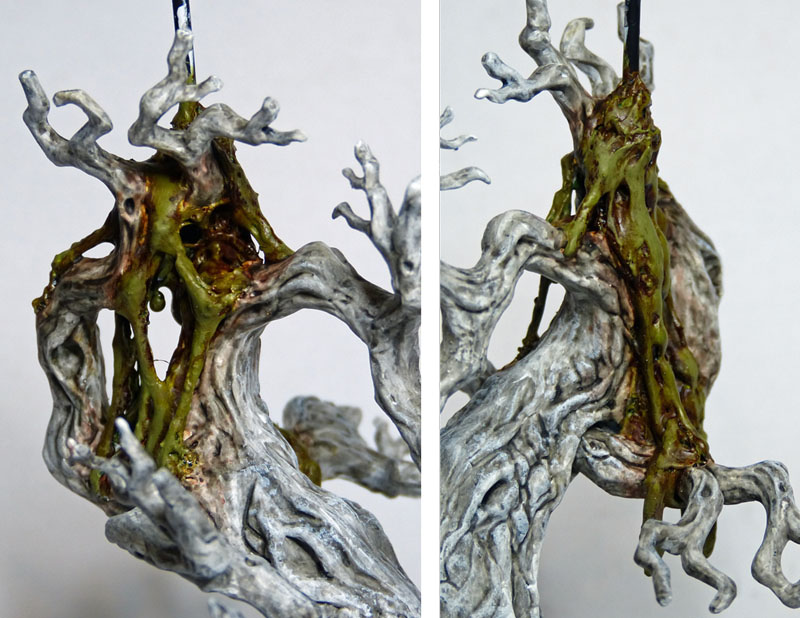
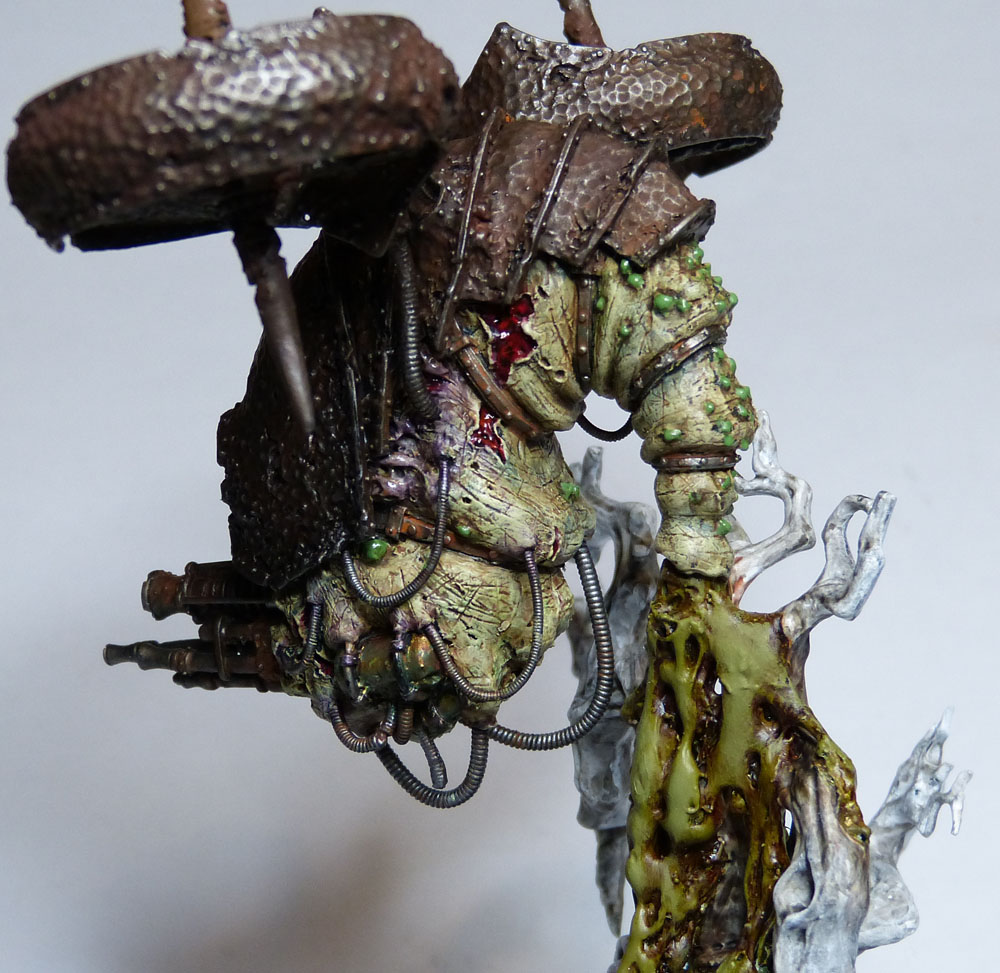
The last stage of the base was adding the ‘gunk’. After seeing what Mark Bedford from FW did for his Blight Drone I knew I wanted something coming out of the Drones rear. Using a hot glue gun I added the majority of the gunk covering up the brass rod (except for the part which slots into the Drone) and running down the tree. Two part epoxy and liquid green stuff was used to refine the shape and do finer areas.
Painting the Drone:
To paint the Drone flesh I did exactly the same as on my previous Daemons. Rather than going through this a second time please see the first article here.
In summary Rotting Flesh was added over a black undercoat. Through the use of various washes the skin was brought ‘alive’. The pustules were picked out in green and the open wounds painted in before more washes were added to both. Some gloss varnish was used to make the wounds and pustules stand out.
Subscribe to our newsletter!
Get Tabletop, RPG & Pop Culture news delivered directly to your inbox.
The carapace and other metal areas were painted Boltgun Metal and given various dark washes (black and Devlan Mud – yes I’m still using the old GW range at the moment).
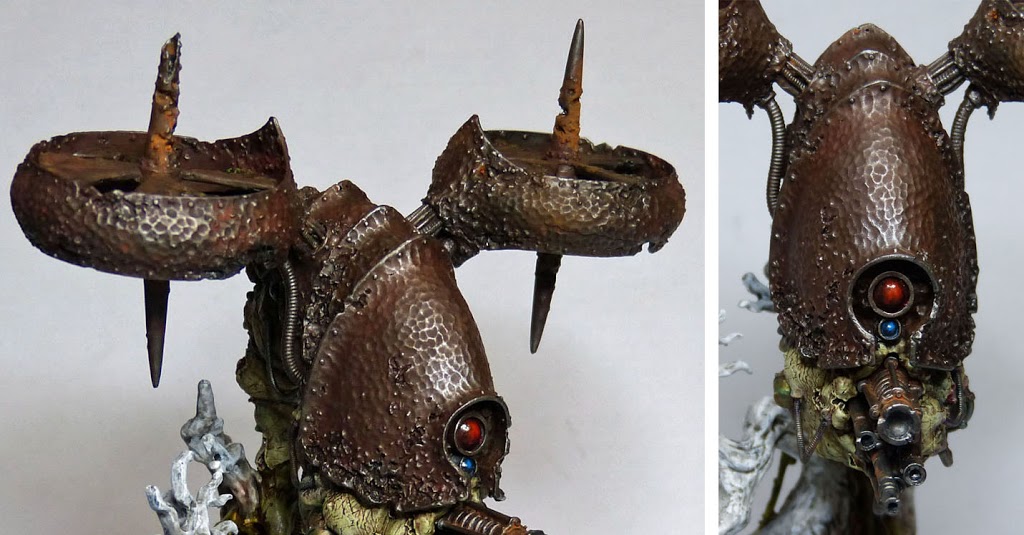
This however was just the base to work on as I wanted them almost completely rusted up. I mixed up a black oil paint wash and liberally applied it over the first carapace area before adding a mixture of different rust pigments. More wash was used to add depth in the pitted areas. I then did the next carapace area and so on until the whole carapace, fan blade housing and fan blades were done.
A light Boltgun Metal drybrush was used to pick out some edges on the carapace and blade housing.
Advertisement
Meanwhile a Burnt Umber oil and rust wash was used for the rivets on the metal banding round the body.
I also added a light Burnt Umber oil wash over the flesh.
Painting the Base:
The base was a simple matter to paint. The sand and rocks were painted to match my existing terrain using a pretty basic pallet. For the tree I went for something a bit different. Most of my gaming boards are quite dark so I had been toying with the idea of making my trees very light, with the thinking along the lines of a Silver Birch.
So in the end I went for a white tree. Very simply I painted the tree plain white then used a black wash to give depth and shading, before highlighting with white again. More washes were added in places (particularly around the roots).
The gunk was painted Goblin Green before a Model Mates ‘Rusty Red’ wash was added, Goblin Green was then used to brighten and highlight as I wanted the gunk to really stand out from the tree.
Washes were added on the tree around the gunk to (hopefully) give the impression that the gunk has already started to infect or decay the tree.
Advertisement
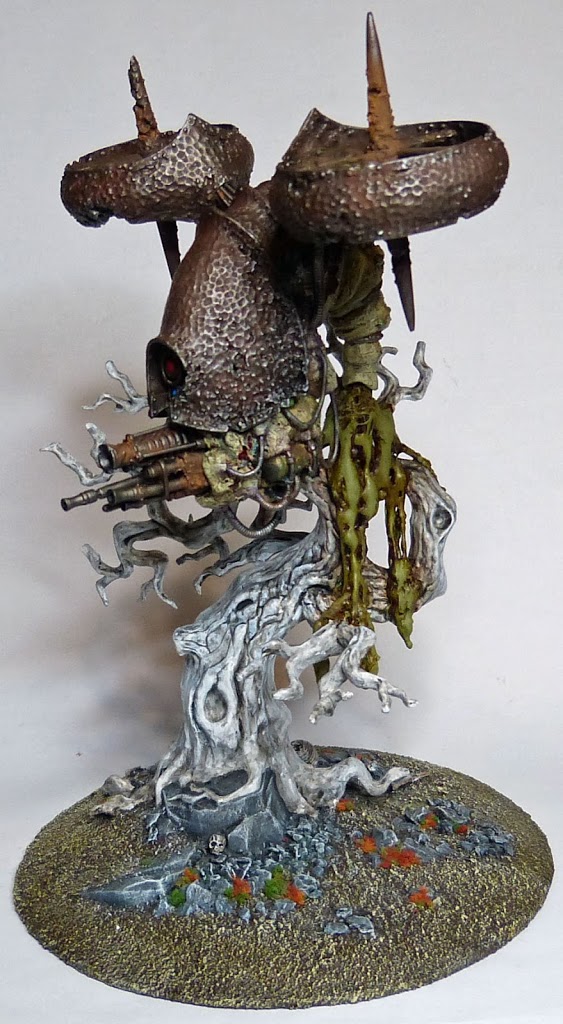
The Finished Piece:
So after all that we have the finished Blight Drone. It is far from being Golden Demon level painting, but then I was never aiming for that (and to be clear I couldn’t do it even if I wanted to). Like the rest of my Daemon force I wanted a quick and simple scheme that was still good enough not to be an embarrassment…
Advertisement
And that is the end of the article. My aim is to do a third installment in this series as I have something big waiting to be added to the force. Please check out my blog at Recalcitrant Daze to see more projects I have done as well as see my second Blight Drone take shape when I start work on it. Until then please post up any comments or questions you may have.
Rictus is a veteran tabletop & miniatures hobbyist with over 10 years of experience. His specialty is miniatures painting and conversions. He began writing for BoLS in 2011.