Hobby: Airbrushing Screamers of Tzeentch in Under 30 Minutes!

Welcome to my newest airbrushing tutorial, this time on how to paint Tzeentch Screamers!
The last series of tutorials went so well, that a lot of you all had asked for more! So thanks for being patience as I put this together for everyone.
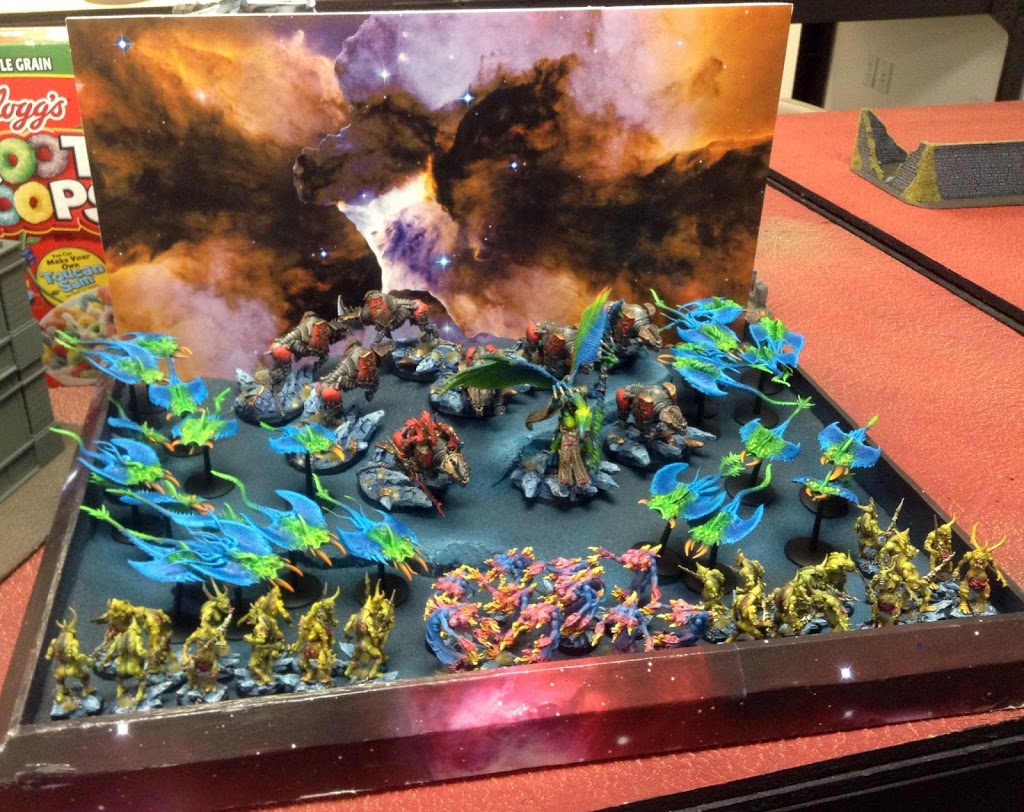
Around last summer, right after I finished airbrushing up all my Grey Knight Purifiers, I started in on my Daemons army in earnest.
What would take someone like Kenny from Next Level Painting a week to paint, takes someone like me (that treats it as hobby still) sometimes months or more.
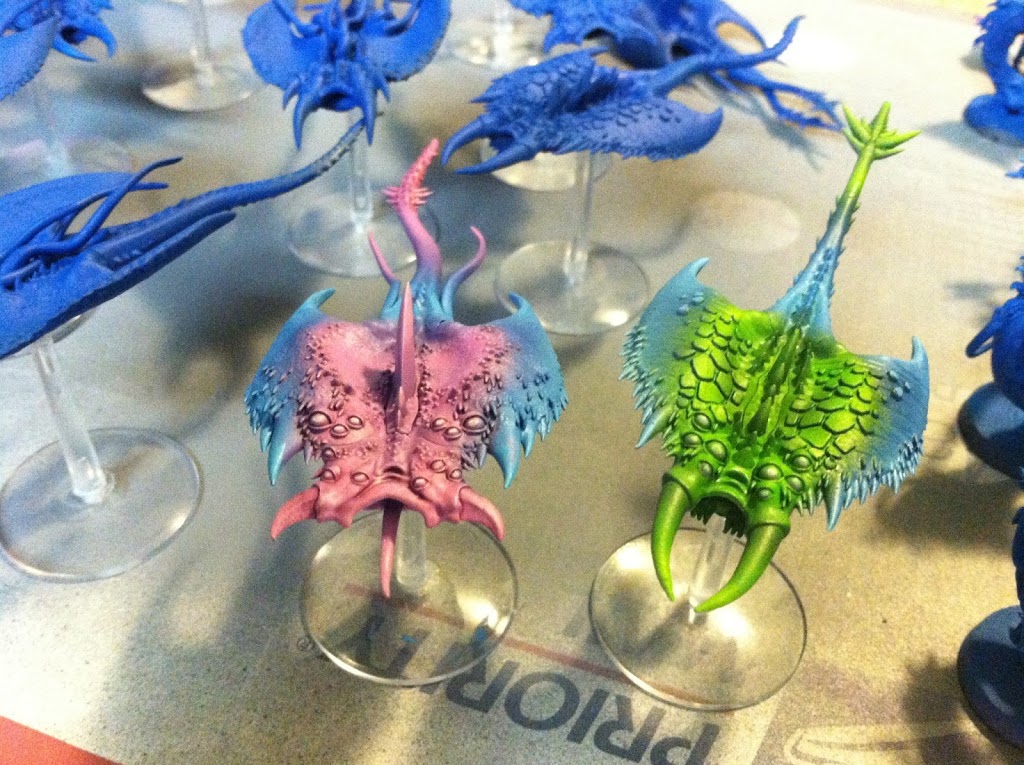
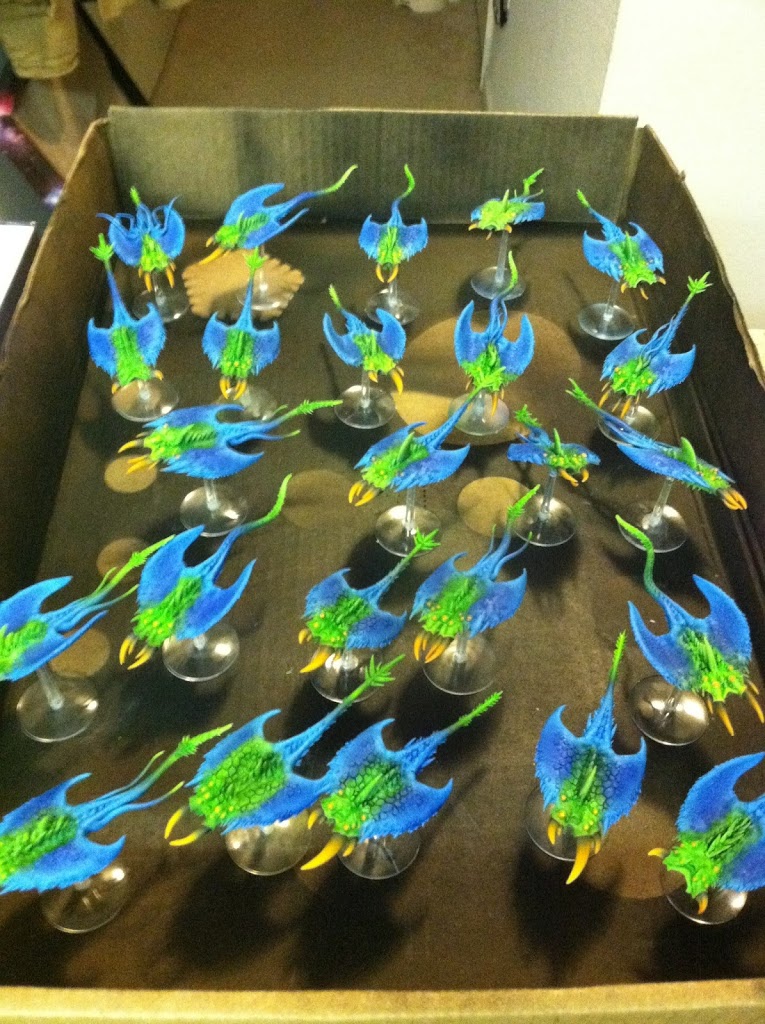
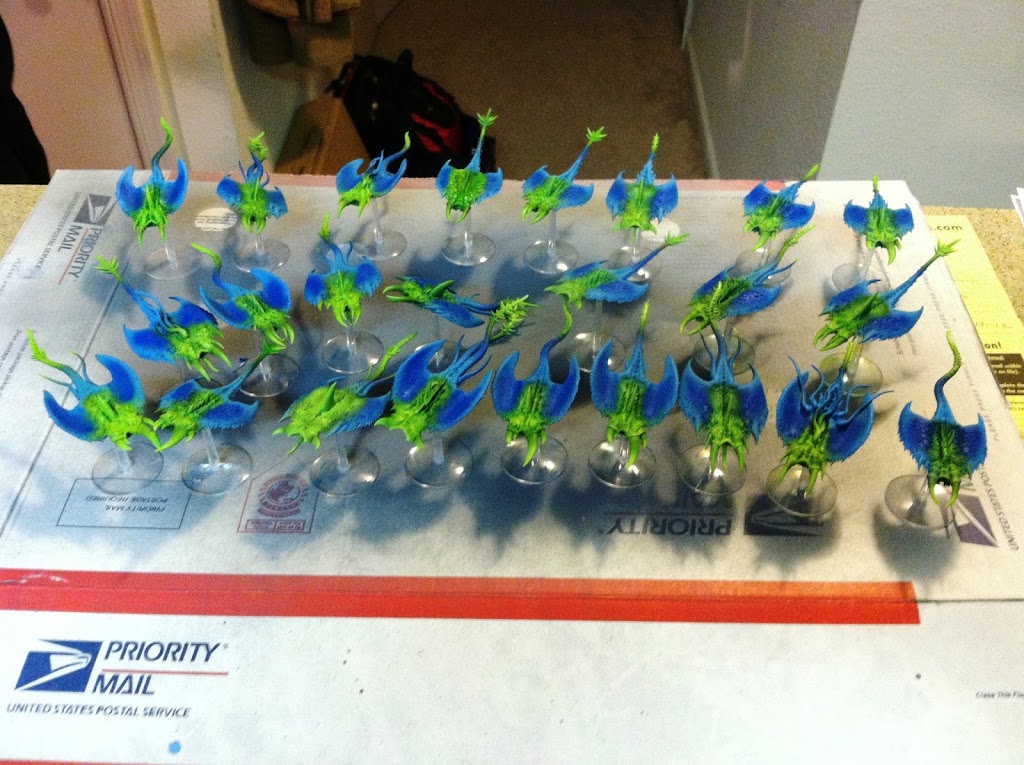
The first unit I tackled were my screamers. I did up a couple of test models, that really didn’t pop the way I wanted (right).
I really wanted the the models to look “cartoony”, because they are incorporeal beings from a different dimension and all. So I wanted them absolutely as bright as I could possibly make them without being off-putting.
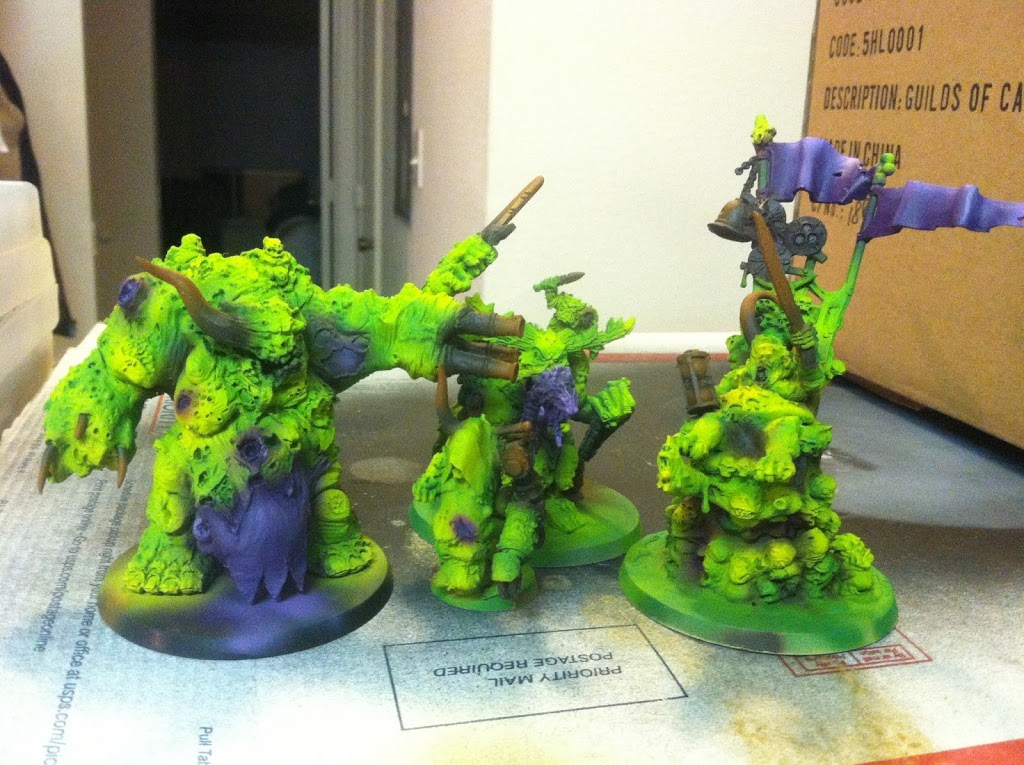
Unfortunately at the time, I didn’t quite have the knowledge of colors on the market quite down yet, and this was the brightest I could get them. Fast forward to now- check out my new WIP nurgle models below- SHINY!
I also didn’t know exactly how to mix paints very well for the airbrush either, so there was a big learning curve there. That is actually why I champion the “pour from the bottle” Minitaire Paints every chance I can get! They are pretty much the best thing to happen to this hobby since washes were invented IMHO.
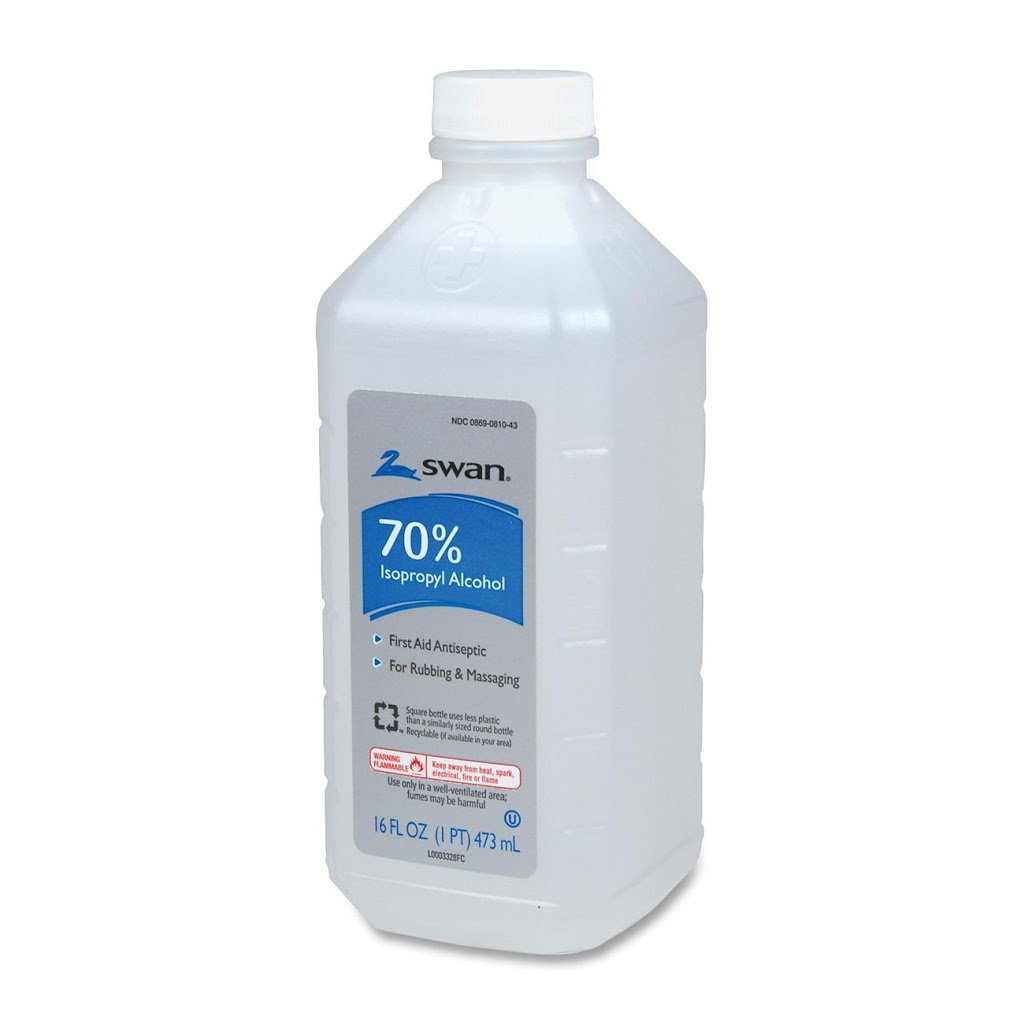
But sometimes I still want a certain color or look (see above pic) that isn’t available as an airbrush paint, and I’m stuck having to do mixes trying not to screw stuff up. I really hate mixing paints to airbrush with, but I’ve found a little trick that helps a ton: water and Isopropyl Alcohol.
Nothing really new there, this technique has been around for a couple of year I think. I’ve found that for me at least, if you mix up a bottle of 90% water and 10% Isopropyl Rubbing Alochol and add that to your paint until it has the consistency of milk, you should be able to push that paint though a .30mm airbrush needle.
Now I will say it doesn’t work on everything. I can’t figure out anyway to make normal Vallejo paint work in an airbrush and even using their airbrush metals has been a bust for me too, but this trick definitely works for Reaper, Citadel, and P3 paints!
So that was the secret to the early painting of my daemons (and the more recent Hulk looking Nurgle skin above).
The first trick to airbrushing that I learned is; don’t aerosol primer models you’ll be airbrushing very heavy at all. You just need a dusting of paint for the airbrush paint to stick to, nothing thick or thorough is needed. The real prime job can be done with either black, white or grey from the airbrush itself.
For this project I used the Uniform Grey Primer by Army Painter as a neutral undercoat help naturally build up the almost cartoony brightness of the Daemons.
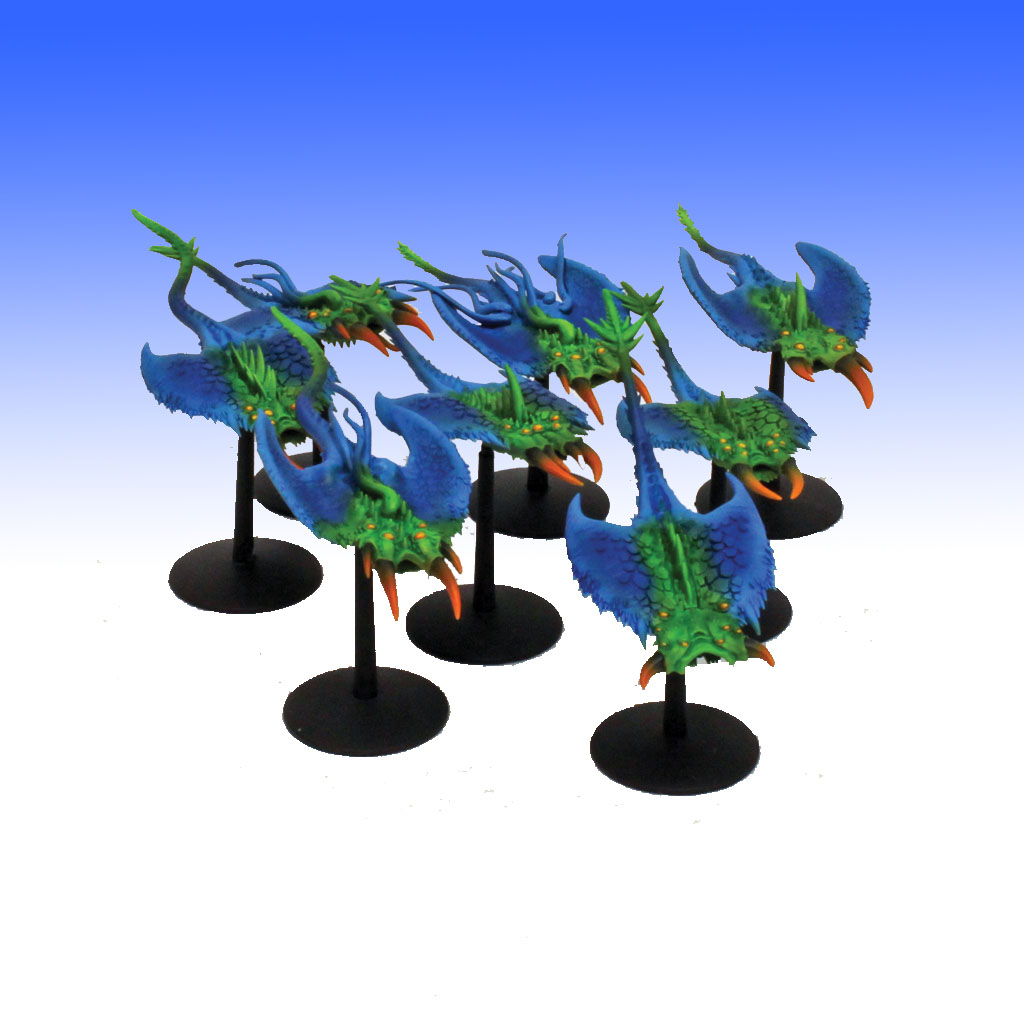
I wanted the Screamers to be the traditional blue/purple and green of Tzeentch, so selected some Citadel colors off the rack that I thought would produce a nice complementary color to each other, and the other models in the army as well.
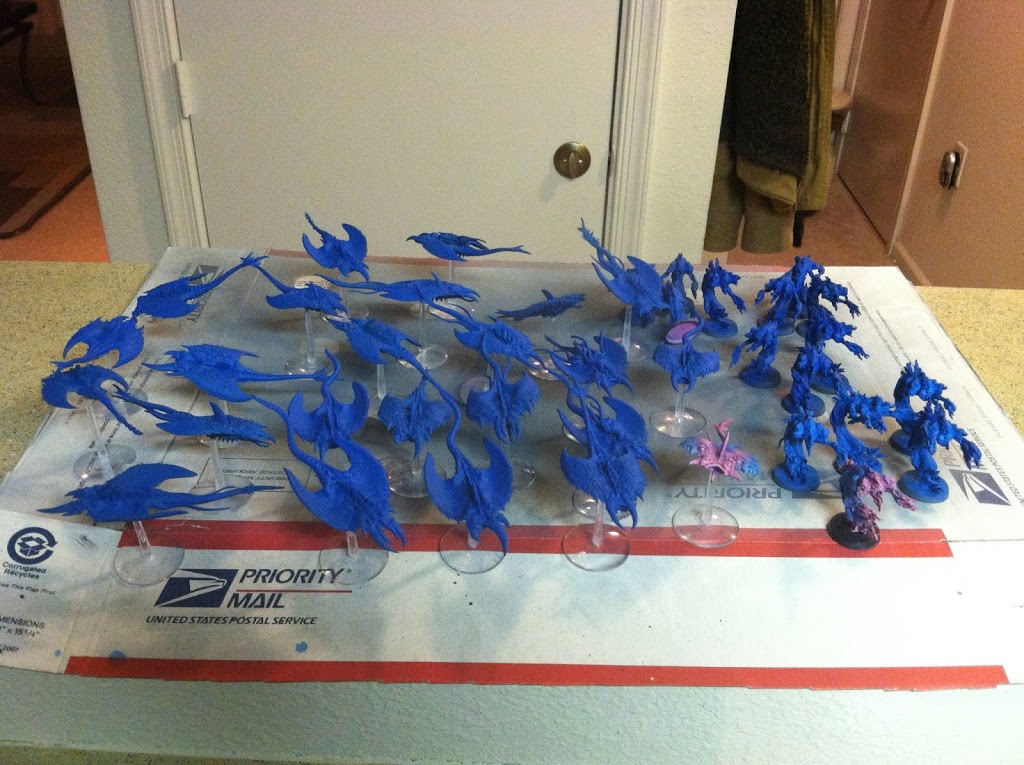
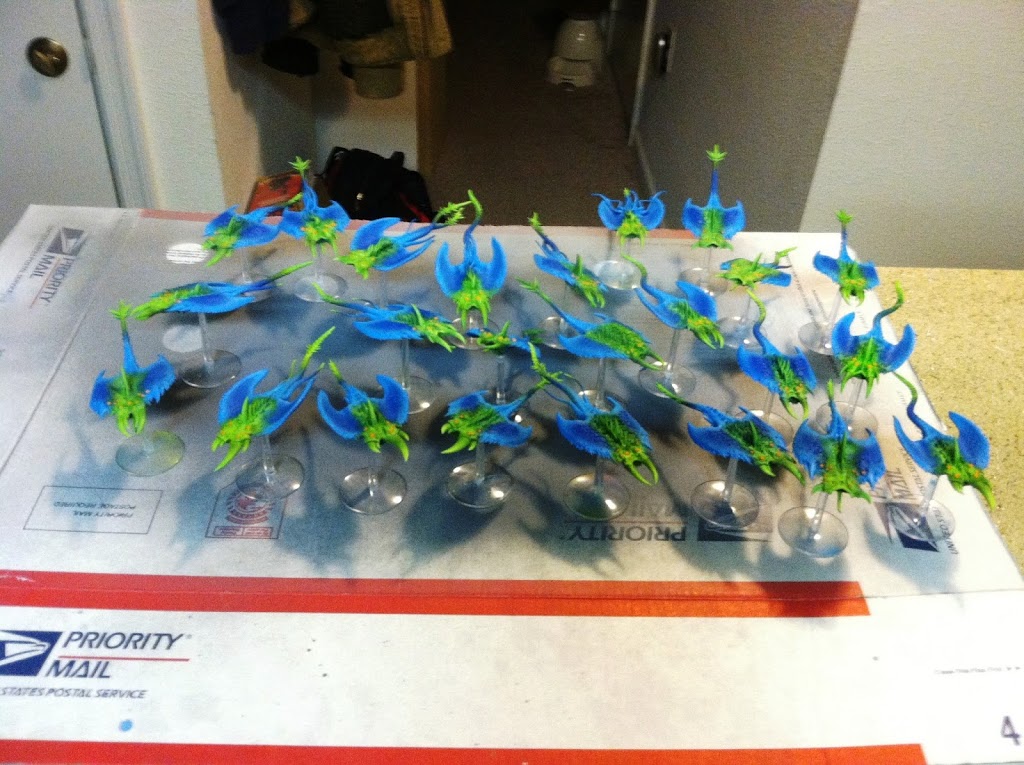
I ended up using Citadel’s Kantor Blue as a basecoat, and sprayed it over all the model evenly. Keep in mind when you are airbrushing these paints you have to water them down with the mix I talked about above. The layer paints (which I used on this project) were pretty watery already, but the foundation paints in the same line are dryer than the layer. So remember that, if you use this varying line of paints to airbrush with.
For the first step I just blasted paint at about 40psi to get nice quick basecoat down. You can pull the airbrush needle slightly back to get a wider spray pattern to help cover the larger surface areas of the bases.
When it comes to the actual blending of the blues for the next step, I turned down the pressure to around 20psi to get a better fade (and pushed the needle fully forward again to get back the smaller spray stream).
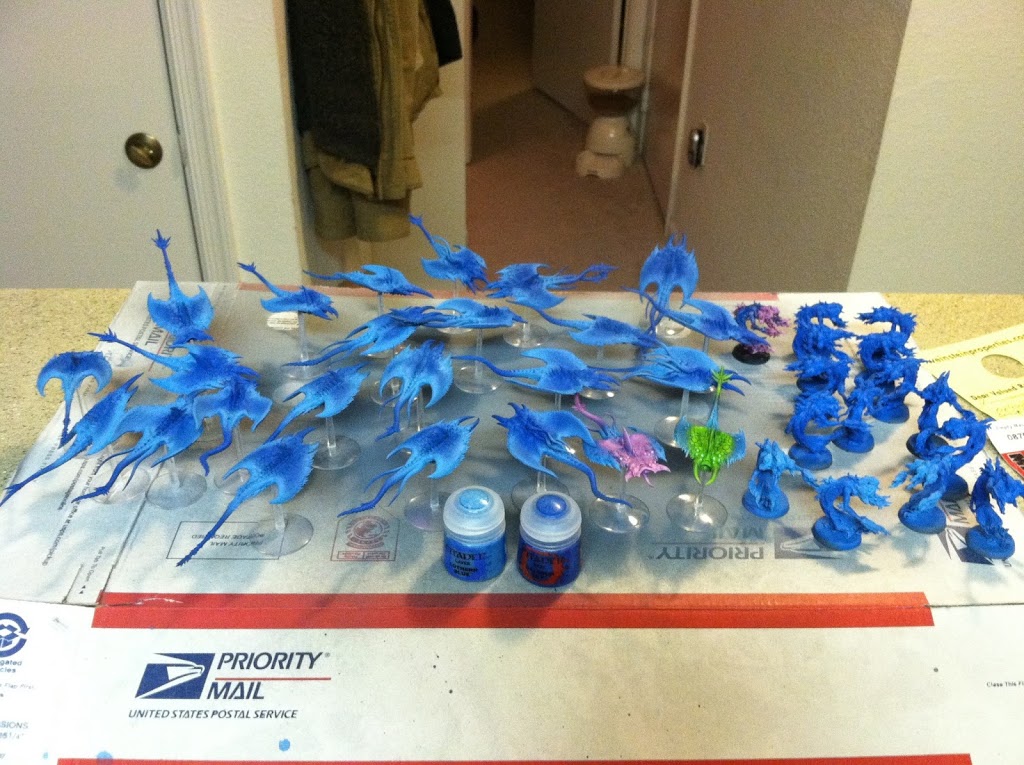
Next up is the first highlight, which was Teclis Blue, also from Citadel. I just hit the outermost edges of the model’s wings and the pelvis area, and was good to go. Just make sure if you’re following along with this tutorial to turn your compressor back down to 25psi if you were blasting at 40psi for the basecoat above!
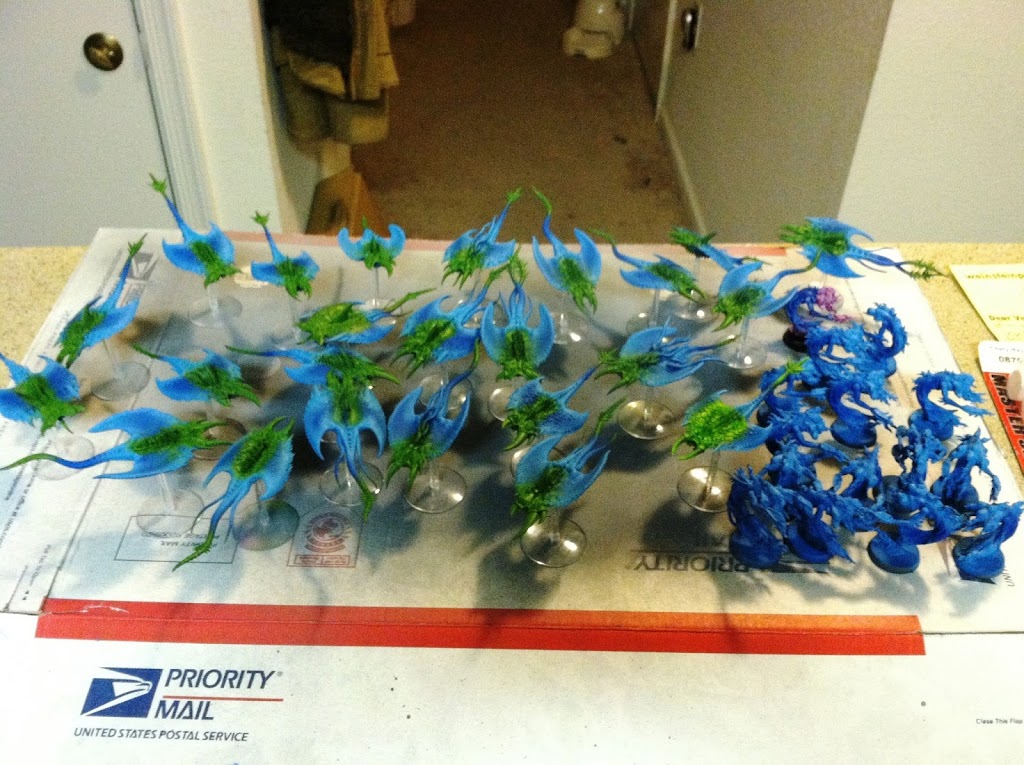
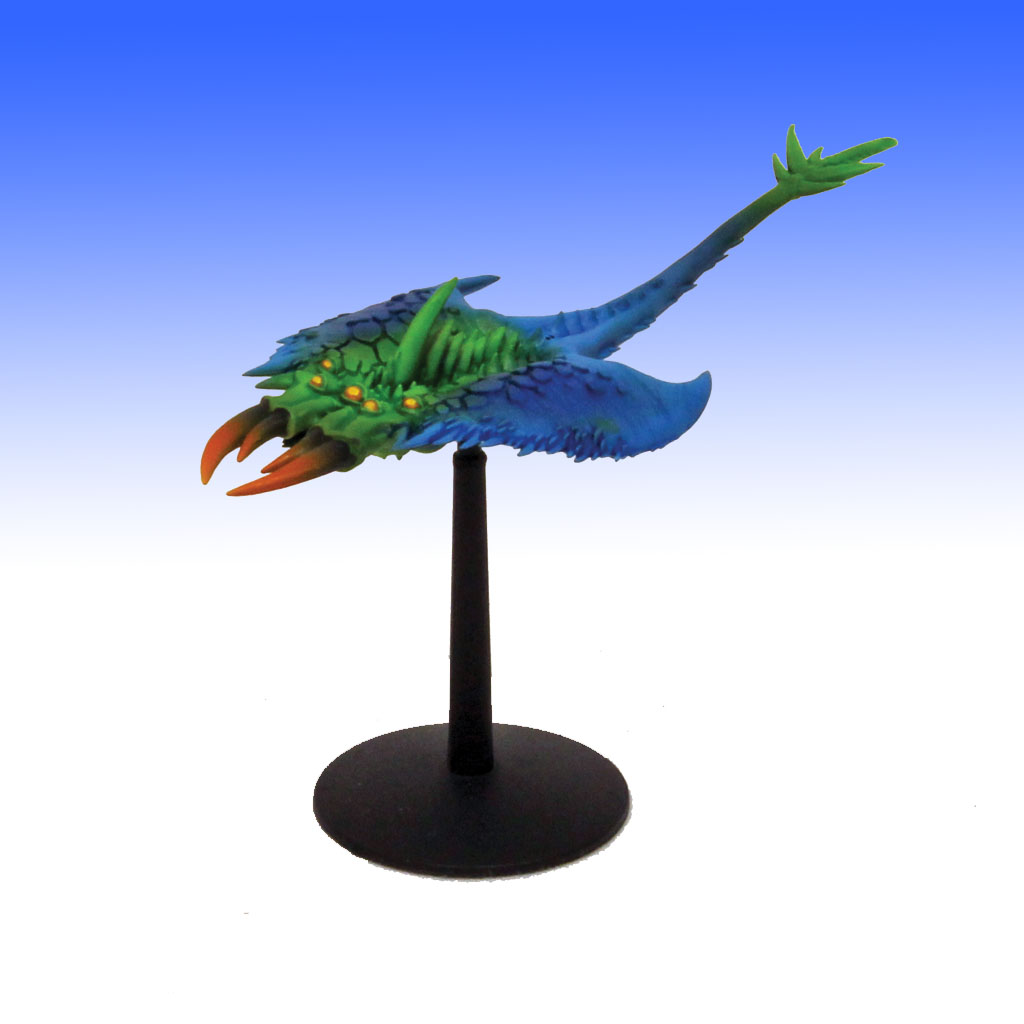
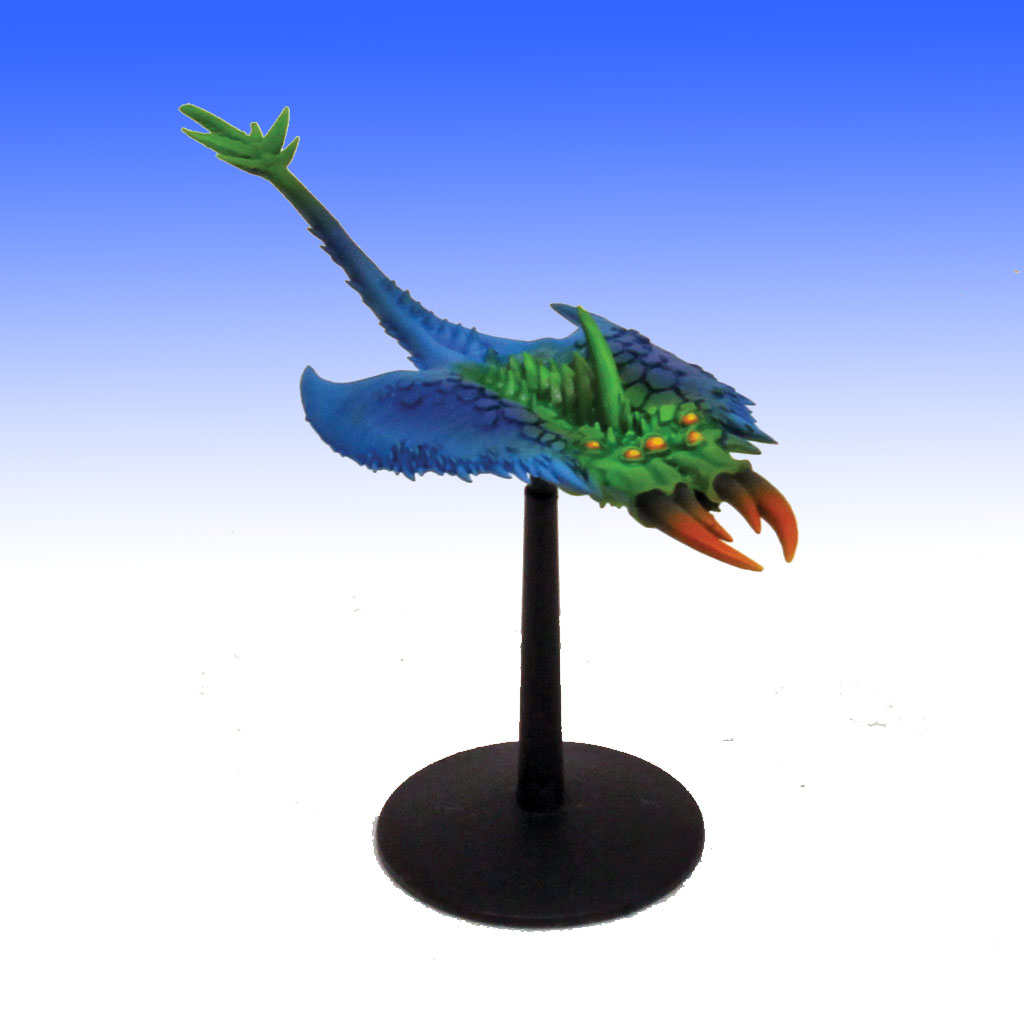
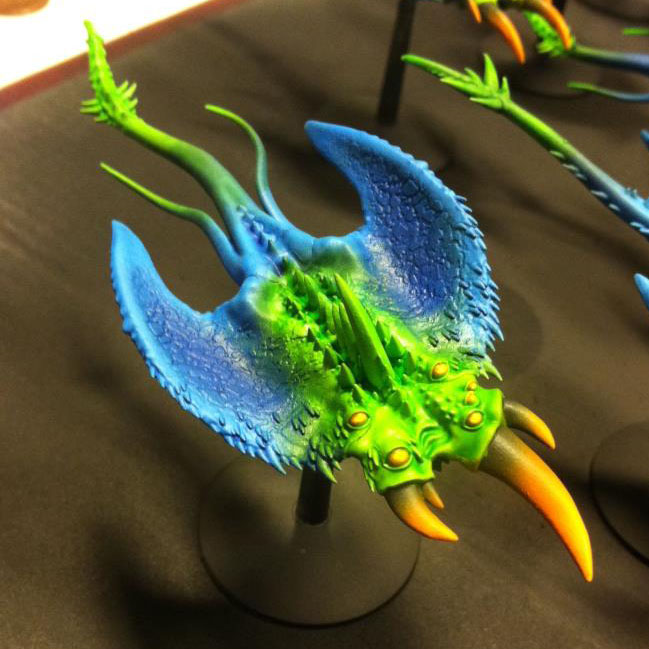
Now its time to switch gears, and go green! For the green color here I used Citadel’s Moot Green, and applied it to the extreme raised center raised edges of the torso and out the front though the head. Then I came back and hit the last section of the tail as well.
To wrap up the greens, I highlighted it with Flash Gitz Yellow, which made the green pop!
Then it was eyeball time, and I used a brush to paint a bright orange each Screamer’s many eyeballs.
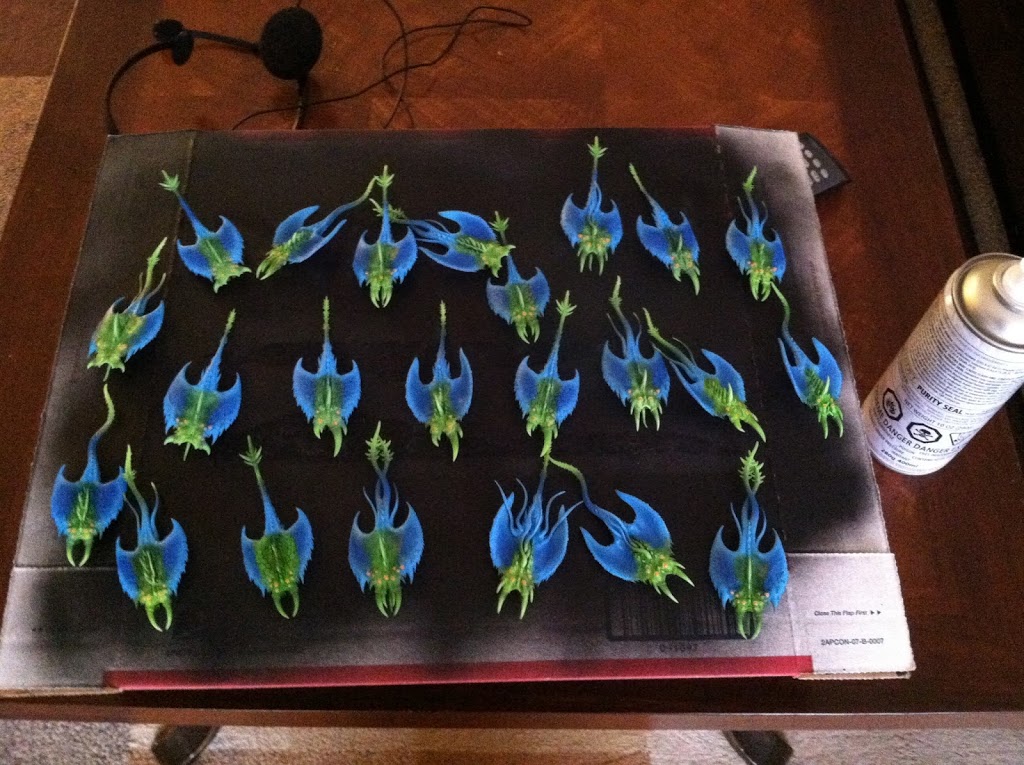
Next I varnished them with GW’s Purity Seal, and let them dry so I could wash them. The purity seal help washes flow on models, so try sealing up your work with this before you wash your models!
After that I washed the models with the new Citadel Glazes. For the green parts I used Waywatcher Green, and for the Blues I used Asurman blue. I watered each glaze down slightly with some gloss medium to make them flow better of these really broad flat surfaces too.
Then I wanted to paint the horns on the front, so after the washes dried I went back and used a brush to paint all the horns black, in preparation for more airbrushing (see above pic).
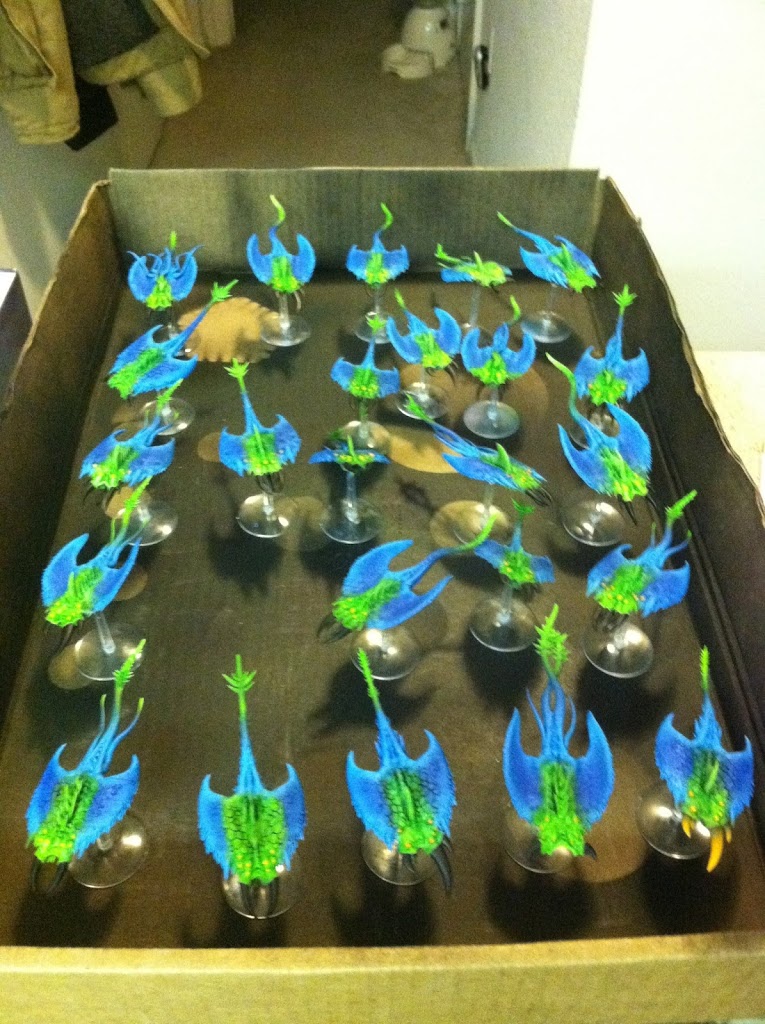
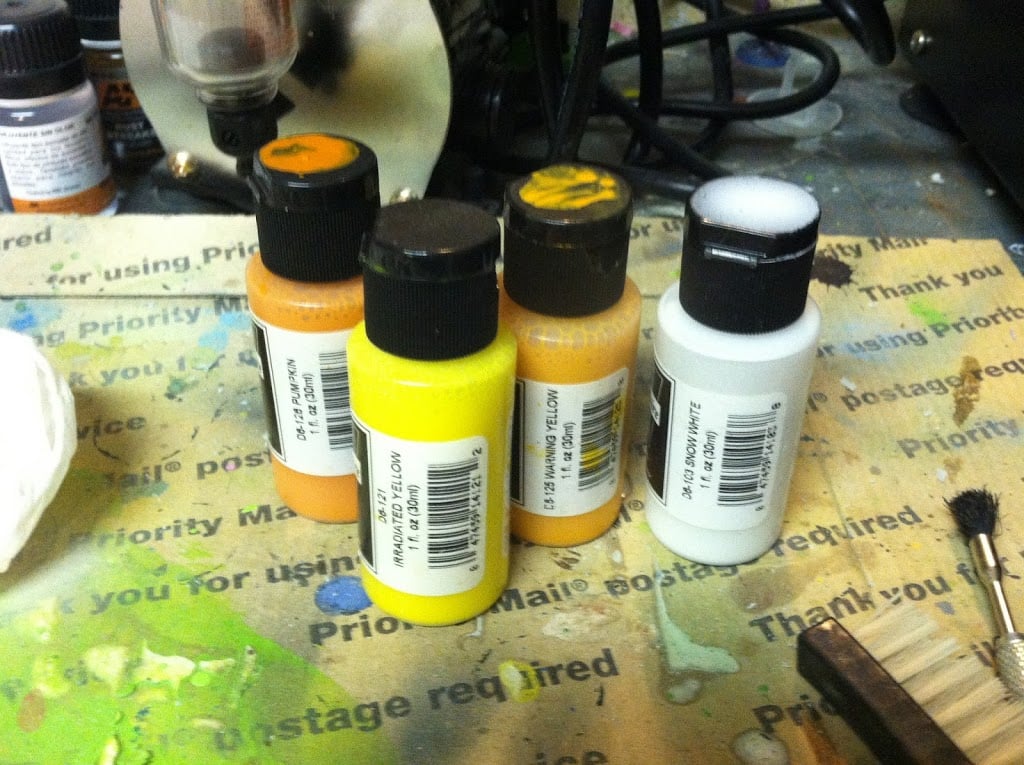
By this point it was already spring. Heh times flies right? So I had access to the new Miniatire airbrush paints! So it was way easier to paint the horns now, no mixing required!!!
So I grabbed the selection of paints you see here, and starting with white, airbrushed the horns.
The white set the brightness for the next colors over black, and I just followed that airbrush pattern with the dark orange.
Then I faded in the lighter orange, and finally yellow on the very tips to produce what I think is the amazing looking shading you see on these guys, all in about 15 minutes total for all the models!