Skorne: Building The Mammoth

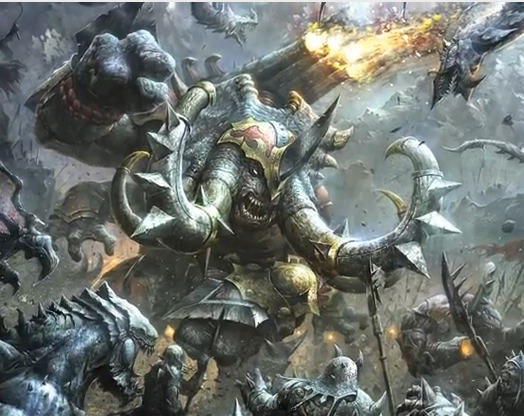
Skorne’s Gargantuan hit the tables this month! For part 3 of my ongoing series on the Mammoth, I want to talk about building and painting this massive model.
Hey BoLS fans, this is Muffinman again with more on my favorite new model, the Mammoth. From the feedback I got on my last article, it sounds like some people think I’m a little over-excited about the new Gargantuan. Is it over-rated? possibly. That’s a question for another article (coming soon). Today I’m going to talk about the model itself, which in my opinion, is one of the best in the Skorne range.
Quick disclaimer. This is my first time showing any of my models or painting skills on Bell of Lost Souls. I am not an award-winning painter like you’ve probably come to expect from the articles by GentleBen and Quinn. The only painting award I’ve ever won was best painted in a tournament where I had the ONLY fully painted army.
That said, I love painting my models, and I almost always field painted armies, at least at tournaments. While my models are definitely tabletop quality, they aren’t going to blow any minds. So with that in mind I won’t be focusing as much on paint mixes and recipes. rather, I will be showing the entire process of building the Mammoth from assembly through painting and giving tips to other less experienced painters like myself who want some tips on getting a nice centerpiece model finished.
Assembly
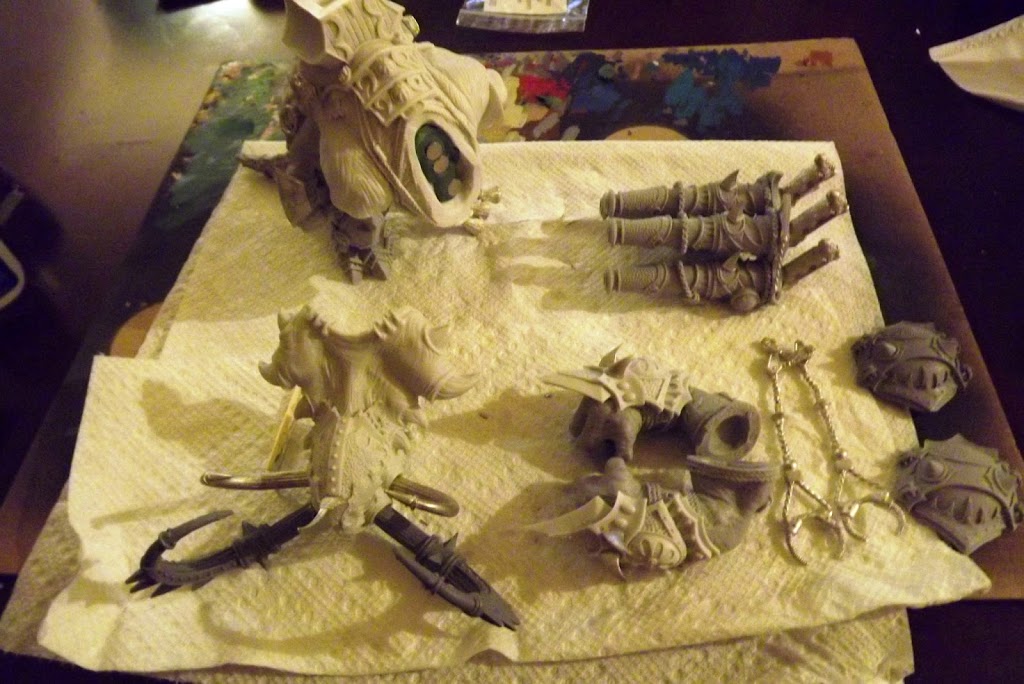
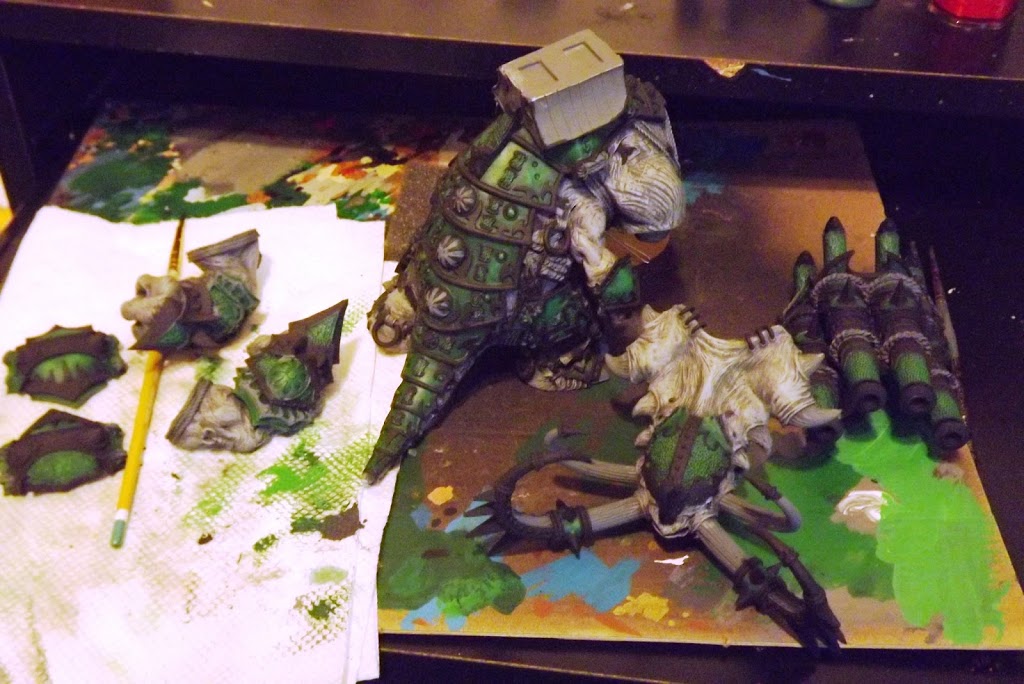
I started laying out the pieces into manageable chunks. with a model this large and with this much detail you definitely do not want to assemble the entire model before painting. some painters do every model before assembly, but even if you don’t normally you need to with the Mammoth.
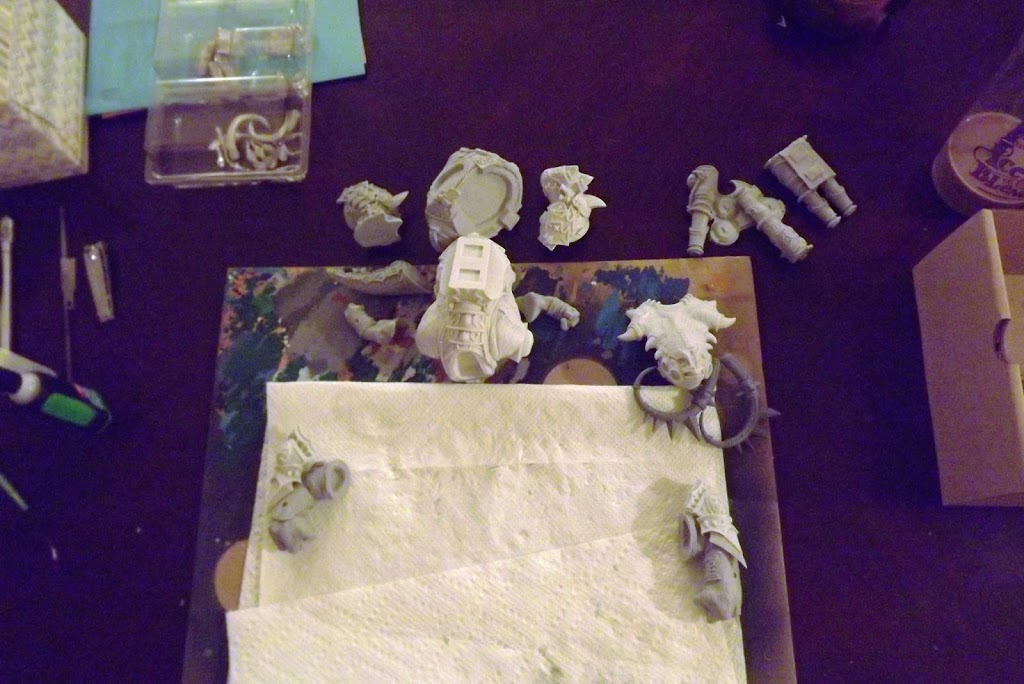 |
| all of the pieces laid out |
For more pictures of the pieces included in the Mammoth kit, see my previous article on un-boxing the Mammoth.
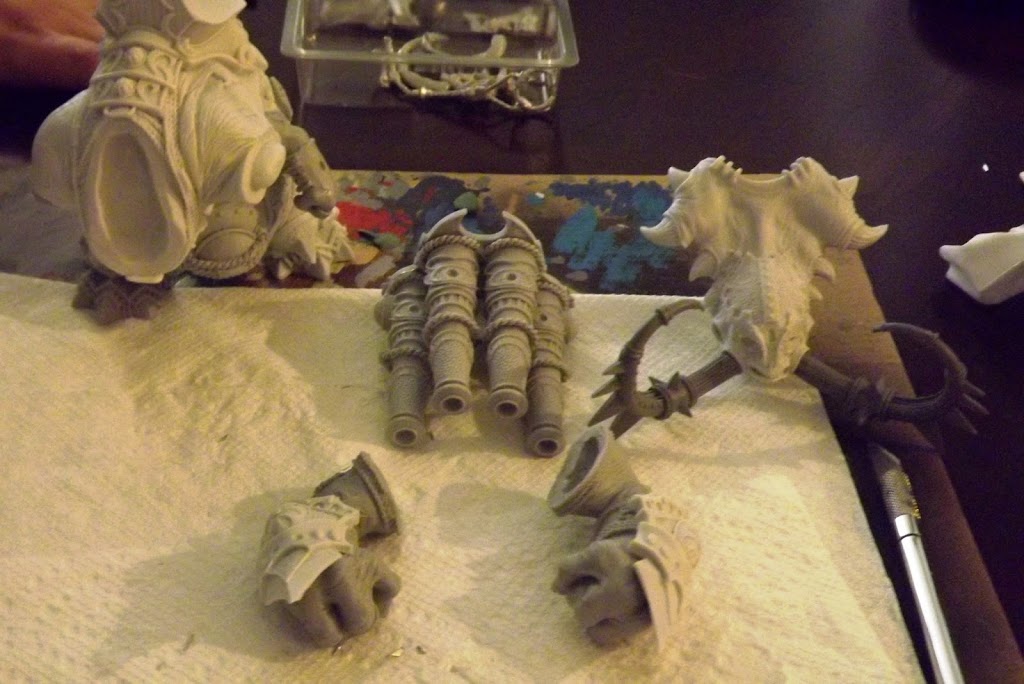 |
| Don’t forget to clean up your mold lines before this step! |
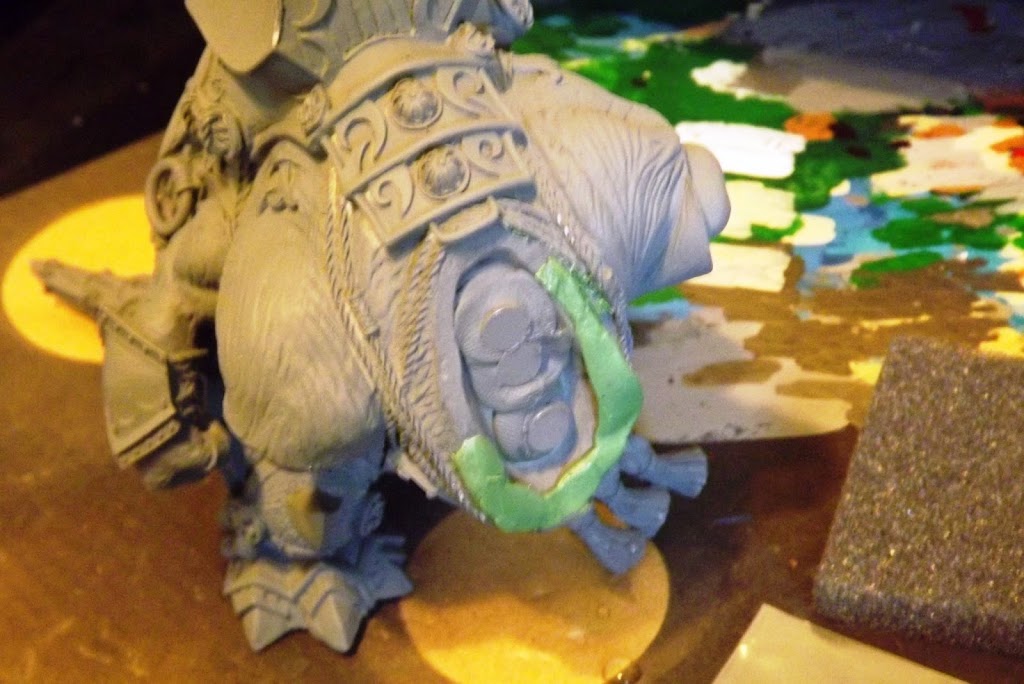
One of the big things everyone noticed about the Mammoth before the model was released was just how big those tusks are. depending on how you assemble them, the overhang could cover almost another Collosal base! I did a few things to mitigate this problem.
 |
| Magnets held in place on the head |
 |
| the pieces ready for priming after adding the metal pieces |
After priming the main pieces, I found that the head wasn’t fitting properly on the body. the green stuff had left a bit of a gap on one side and it was making the head wobble. to fix this I just added more greenstuff to the neck to secure the head a little better.
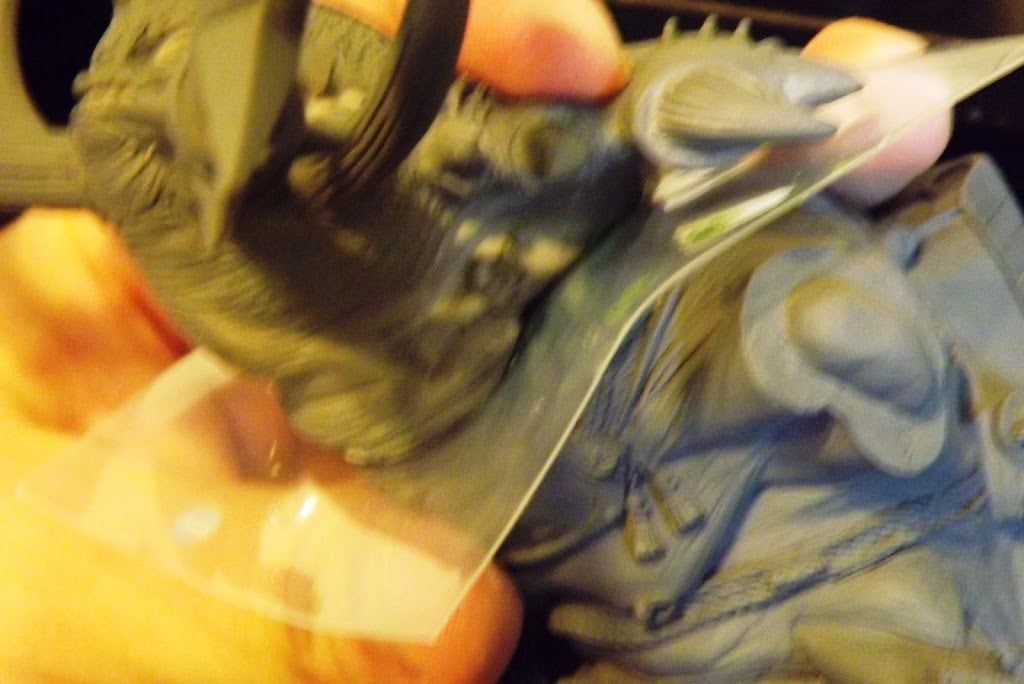 |
| probably not the most efficient way to fix my problem |
I ended up grabbing a spare plastic sleeve for one of my stat cards and dipping both sides in water. then I placed it in between the head and torso and pressed them together. the water kept the greenstuff from sticking and I got a good fit for the head.
 |
| the first layer of paint goes on |
Next I cover any sections that will be silver or bronze with black. painting on black first mutes the metalic paints a little bit and keeps them from looking too bright and cartoon-ish.
 |
| black added to all of the main pieces |
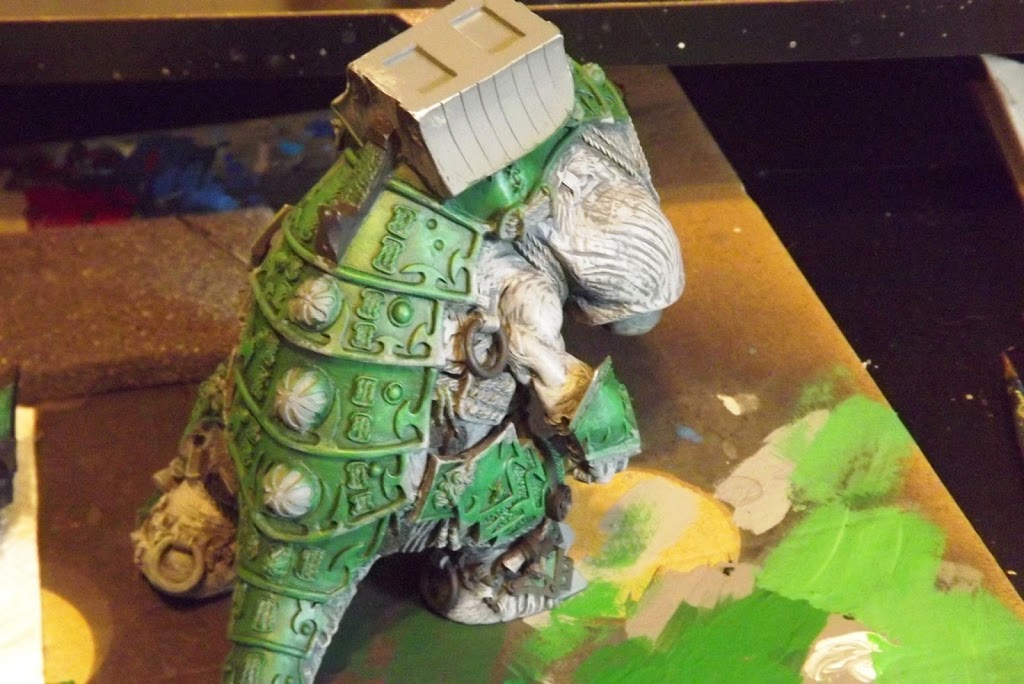
Next is the metalic paints. Most of my metal on my Skorne is Bronze, using a bronze metallic paint from Hobby Lobby (Fol Art I think is the brand). the weapons and some of the spikes on the model are done with boltgun metal from GW.
 |
| the bronze pops a bit and starts to bring the model together |
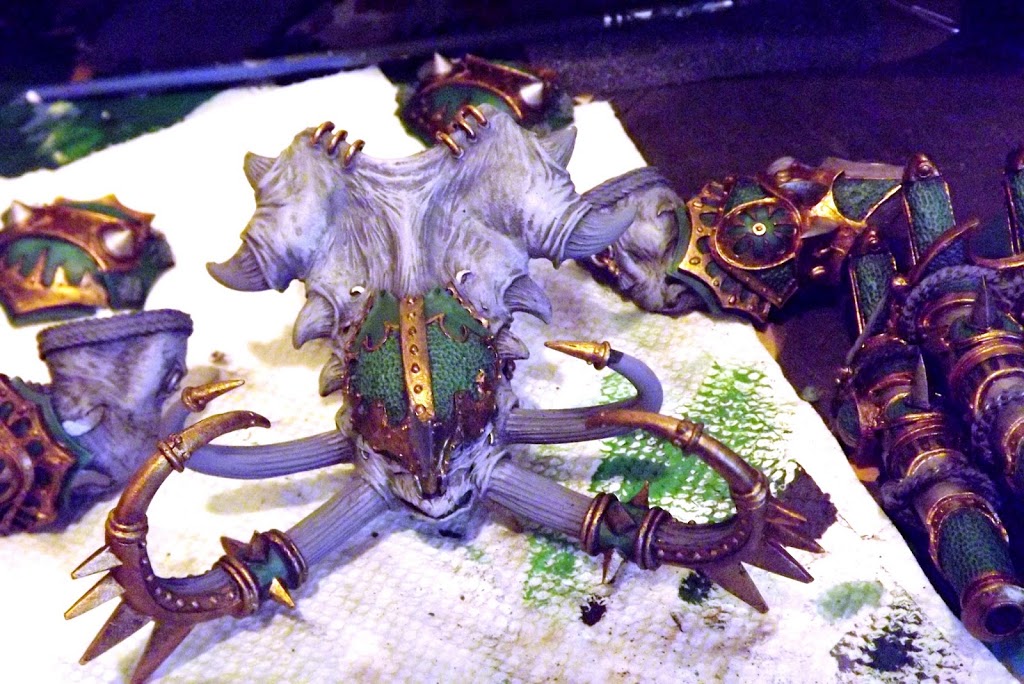
At this point I took a bit of a break and started on the base. Since I am going for magnetizing the head, I won’t be building up a huge cork rock for my Mammoth to stand on. a lot of people have gone that route, but I think it looks goofy.
 |
| The finished weapon assembly |
 |
| The main torso section with rope and metallics done |
The hard part was now finished. all that was left was some detail work on gems, some touchups on places where my paint got out of control, and the tusks. unfortunately the WIP shots I took of the tusks came back really blurry so I don’t have much to show there. they were done with a base of Skrag Brown, followed by Ushtabi Bone, washed with Dark Sepia (which actually looked surprisingly good on bone), and then highlighted with some Skull White.
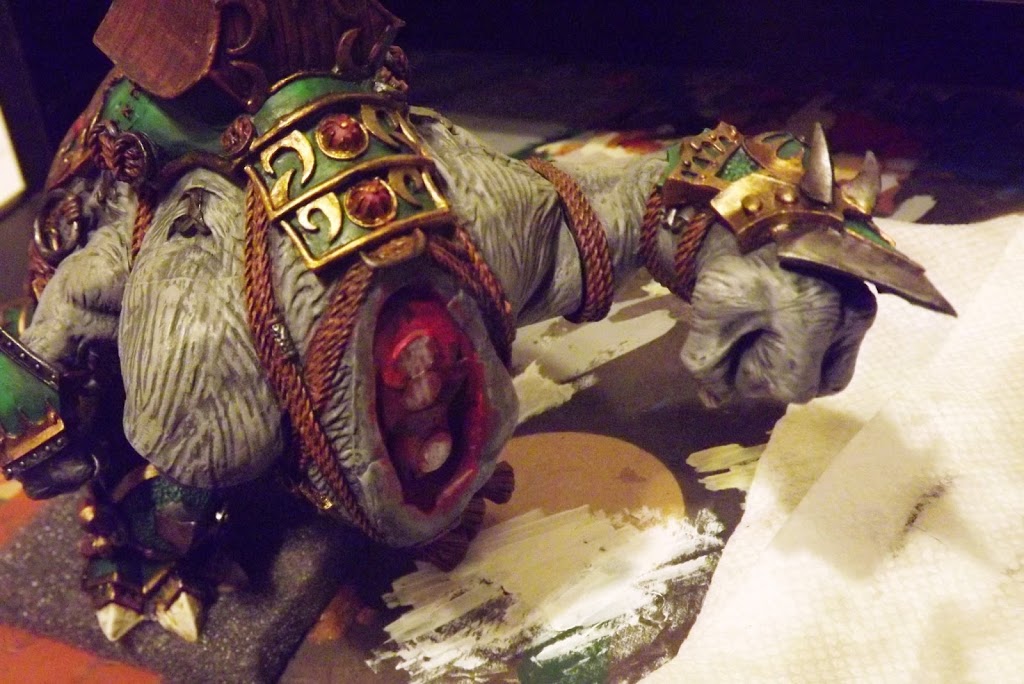 |
| I also decided to be a little goofy with the magnetized head, thanks to a suggestion from my gamer wife |
Final Assembly
With the individual sections painted it was time to bring everything together. in the shot above you can see I already attached the first arm during the touch-up phase of my painting.
I attached both arms first to get a feel for where I could put the model on its base without too much overhang. It would kind of defeat the purpose of magnetizing the head if the arms got in the way after all! after attaching both arms, I picked a spot on the base that would leave little to no overhang and drilled some holes
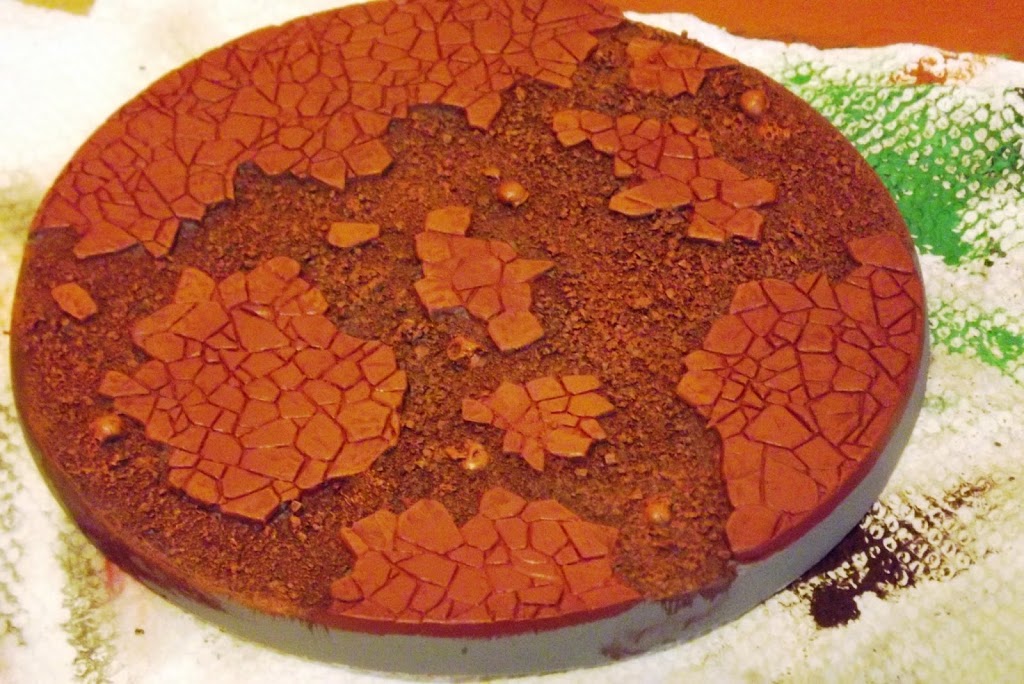
 |
| you can also see the finished base here. somehow I forgot to take more pictures as I painted it. |
I then attached the Mammoth to the base and added his cannon, using some green stuff to fill a rather large gap on the front end of the cannon assembly where it connects to the Mammoth’s back. I finally added the firing ropes and went over the entire model with some final touch-ups once I saw where everything fit.
 |
| headless mammoth to show how little overhang it now has |
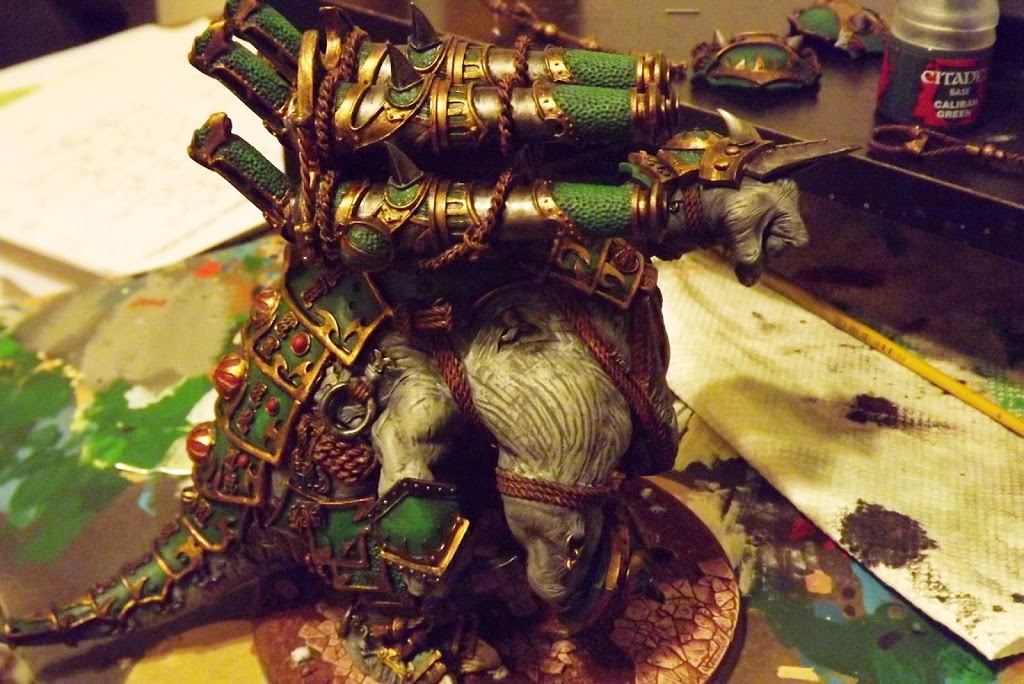
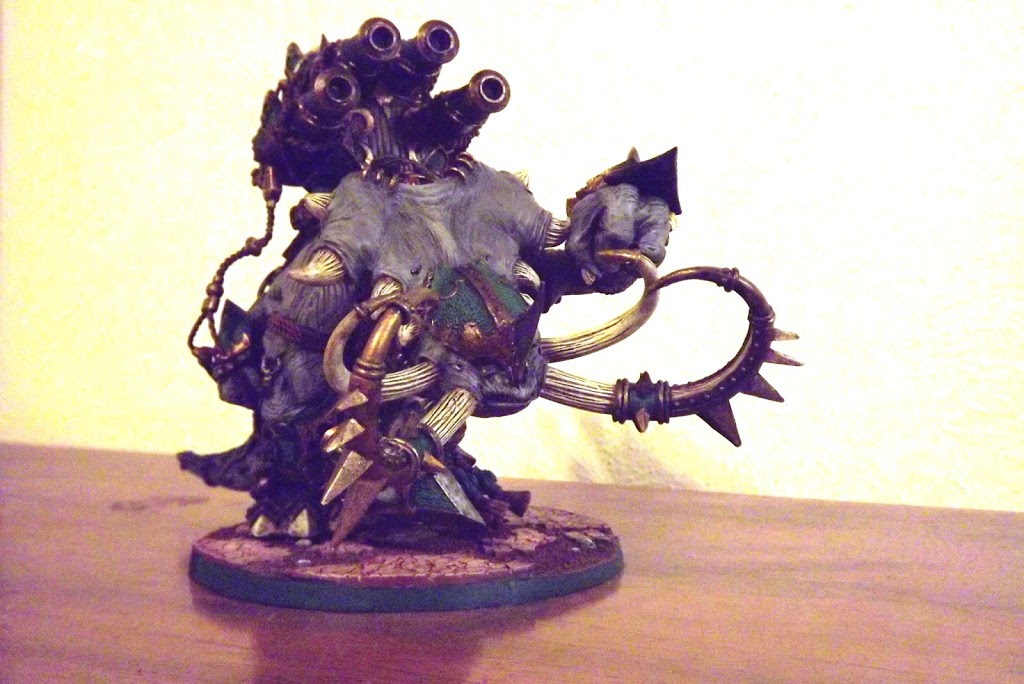
I’ll leave you with a few finished shots of the Mammoth!
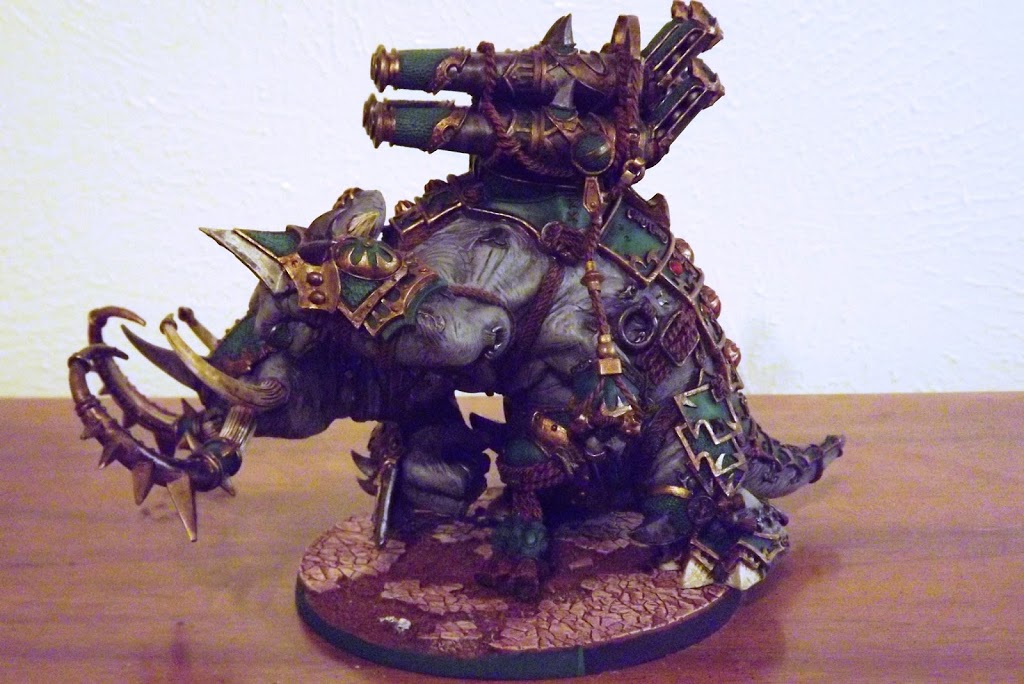
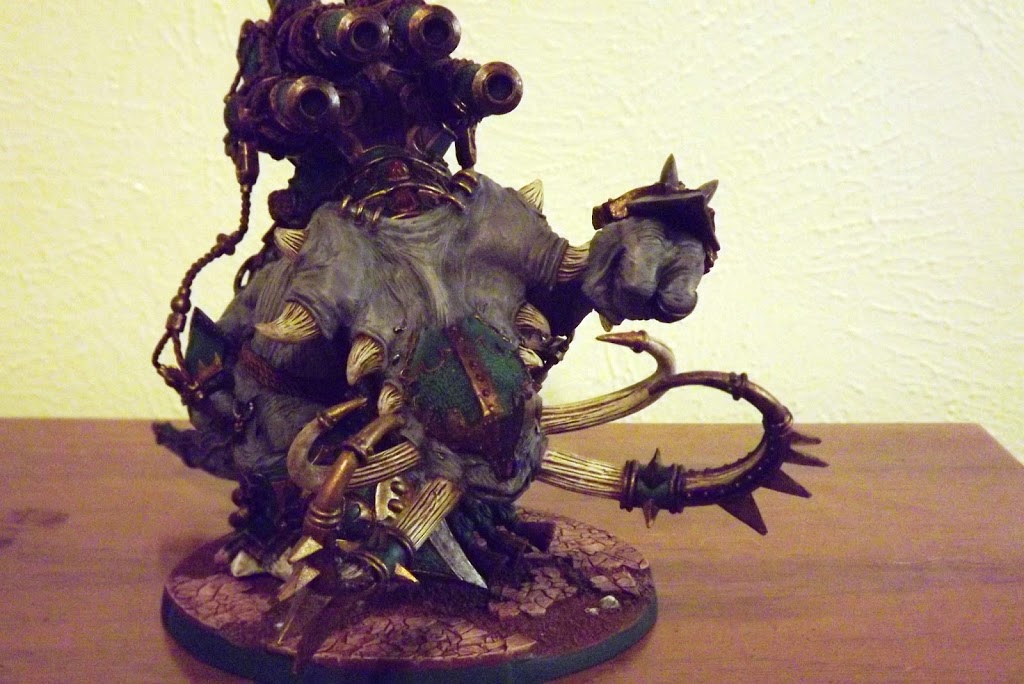
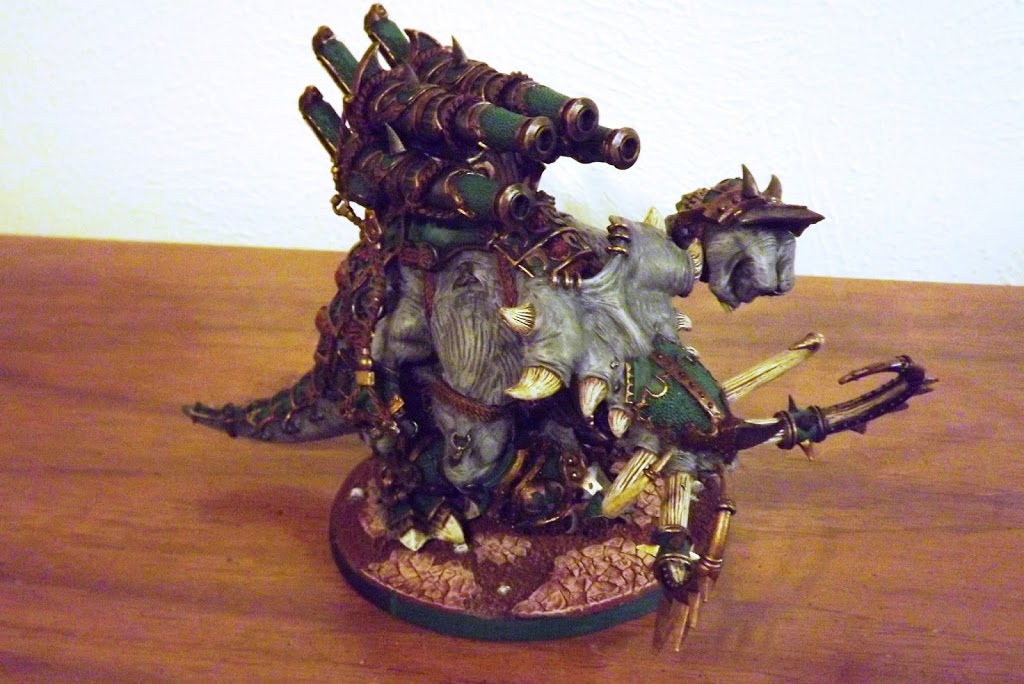
Thanks for reading! Hopefully this article gave some good tips and pointers for some of my fellow Skorne players out there. This big beauty will be coming with me to Seattle for Lock and Load. If you see it there come give me a shout, and stay tuned for some updates from that event. If I’m lucky I’ll have a chance to try this big guy out against the brand new Convergence!
As always, your comments are welcome. This is my first painting post on BoLS, so be nice! any tips you have for my painting are welcome though. or share pictures and advise from your own Mammoths!

