Warmachine: “Best Use” Model Practices


Today we will talk about to how to correctly evaluate the best use a model on the Warmachine/Hordes tabletop.
Something I have noticed that can be difficult when you’re learning to play Warmachine/Hordes (WM/H) is correctly evaluating how to best use a model on the tabletop. WM/H is a game system with a lot of moving parts, which can make keeping your eye on that prize tricky. Here are some tips that can help focus you in on the best models for the job, and the best jobs for each model.
Pre-Game:
WM/H is a game of synergy and combinations, so don’t let an individual model’s stats/rules distract you from the big picture. A list made up of the “best” models available from your faction won’t necessarily be any better than a list that focuses more on how those models interact with each other.
Start your list with an idea. Ex. “I want this list to out-shoot my opponent”. Then, as you add each model, ask yourself:
- Does it further my list concept? Not everything needs to be laser focused on your list concept, but most elements probably should reflect that initial design choice.
- How does it interact with models I’ve already chosen? Again, not everything needs to synergize perfectly with everything else, but too many disparate elements can make a list unwieldy or unfocused.
- What job do I want it to do in this list? Sometimes this is painfully obvious (melee gonna melee, shooters gonna shoot), but it is worth considering the role that each model is supposed to fill as you add it. This can help you identify redundancies/low value interactions early, and make the necessary adjustments.
During The Game:
This is the hardest time to try and figure out what a model is valuable for. There is almost always a lot going on starting from round 2 on in WM/H, and it is very to lose yourself in the swirl of dice and information. It can be very difficult to always correctly identify how best to use a model before starting your turn, with the delicious irony being that failing to do so can have profound consequences.
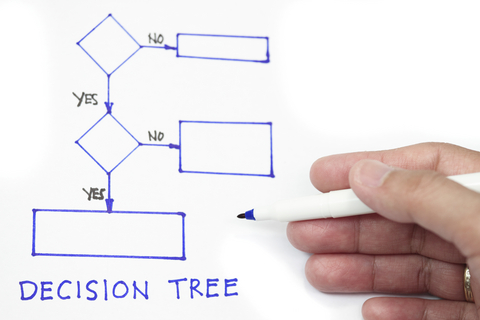
Here’s a quick checklist that can help you narrow down the best way to use your models each turn:
- Does this model require a buff/assist from something else?
- Yes: activate the buffing/assisting model first!
- No: get on with it!
- Can this model do its designated job this turn?
- Yes: do eeeeet!
- No: goto 3
- If this model can’t do its designated job, can it “sub in” somewhere useful? Examples: run to get in the way of enemies threatening another important model, charge in to gum up enemy lines, move to contest/score scenario.
- Yes: woo hoo, new job!
- No: stall and stay as close as necessary to the action without getting killed (I make it sound so easy)
You won’t always have time to run through a checklist like this for every single model activation, but doing this (or something similar) can build good habits that help to ensure that you’re thinking critically and getting the most out of each model’s activations during the game.

Post-Game:
The game is over. You won or lost, and did so with glory and honor (and hopefully minimal swearing). Now comes the most fun part of any WM/H game (at least for me): the post game breakdown! Winning or losing is all well and good, but the important part of the equation is: why? Breaking down how your choices did or didn’t affect the outcome of the game is a discussion for another time; our focus here is to look at your list and the models in it to figure out how everything worked.
An important caveat to this part: it is *very important* to divorce yourself as much as possible from dice and match up factors. Sometimes you roll fantastically or terribly, and sometimes you have to play into terrible situations (or bask in very favorable ones). What you’re trying to suss out is, independent of those factors, how did everything work for you?
This set of questions parallels what you should be asking pre-game. Example reflection questions:
- How did my list work overall?
- Is the core concept sound (i.e. not trying to out-shoot with poor guns, or out-punch with mediocre melee)?
- Did any model choices work especially well for this list’s role? Did any stand out as not fitting in?
- Are there ways I can change how I used the models in this list for better results?
- Do I need to change anything in the list itself?
- And so on…
The goal is not to burn the list down and rebuild it each game, but to refine it piece by piece. Don’t go crazy with changes, but also don’t be afraid to tinker a bit if you think there is room for improvement.
Hopefully these tips will help you get the best use out of your models before, during, and after each game!
——
How do you go about evaluating your model choices and use? Let me know what works for you in the comments!
Also be sure to check out Sticks and Dice for lots more WM/H content!

