Hobby Corner: Warlord Games Conversion Showcase

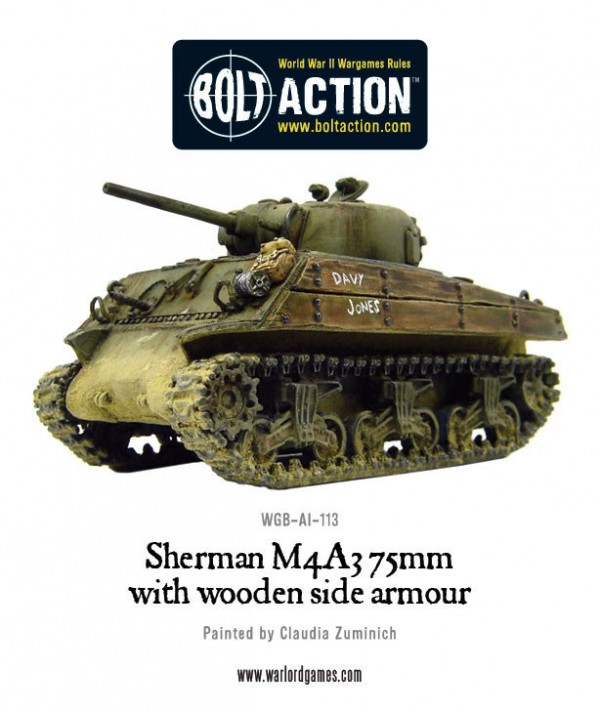
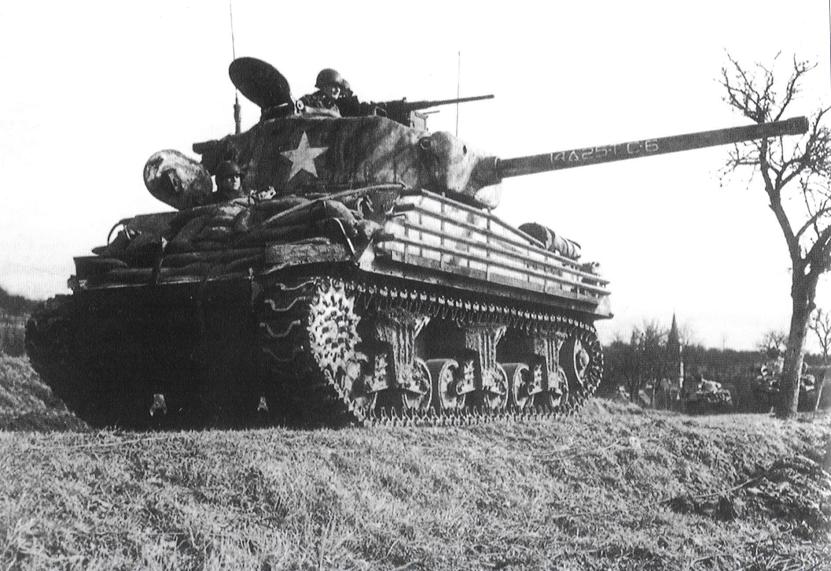
The Sherman M4A3 was an Allied workhorse for WWII – and Warlord Games has some great tips on how to ‘Hobby’ it up on the tabletop!
I’ve been a firm believer that necessity is the mother of invention. The Allied Tank Commanders during World War II sure had some creative ways to solve the problem of survival for themselves and their crews of the Sherman Tanks. Warlord Games has some great tips on how to recreate some of those creative inventions. This is great modeling advice no matter what system you’re playing in – tweaking transports to customize the look is always a good time!
via Warlord Games, Gamewire
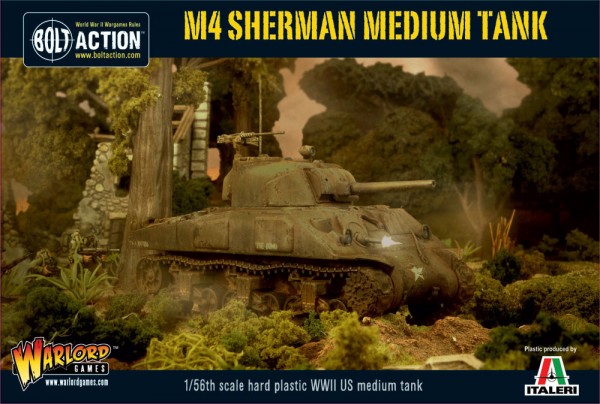
The Sherman was the workhorse of the Allied forces throughout the Second World War. If you’d like to know a little more about it, please take a look at this previous article – and perhaps this one.
When the Marines landed in the Pacific, they quickly realised that the Japanese armour which they came up-against was no match for their Stuarts and Shermans. However – the Japanese 47mm Anti-tank Gun was perfectly capable of knocking out Shermans, and could easily be concealed. The Japanese also had a number of less conventional anti-tank tactics which took the Americans by surprise.
Wooden Armour
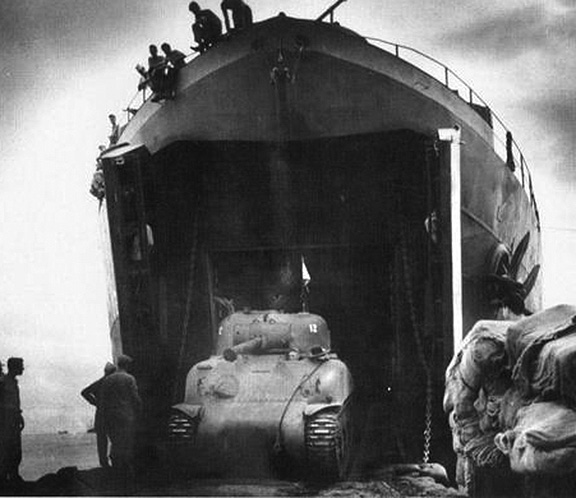
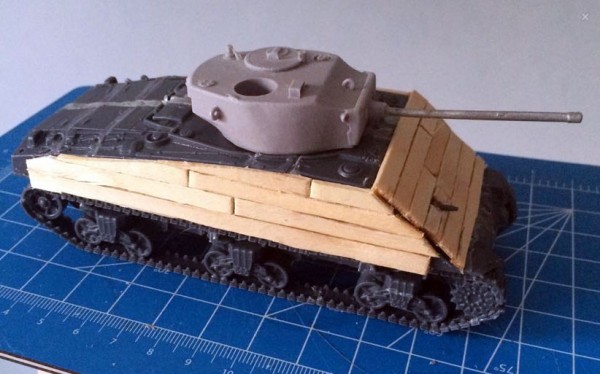
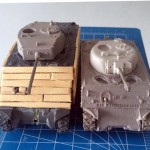
The Americans would do whatever they could to add improvised Appliqué armour to their vehicles – adding everything from planks of wood, tree branches, sandbags, metal plates, concrete, tank tracks, and whatever stowage they could – to artificially thicken the armour of their vehicles.
The Wooden Planks on the sides were designed to combat the use of shaped-charges….the planking would simply splinter or be blown off entirely, leaving the armoured plating beneath unaffected.
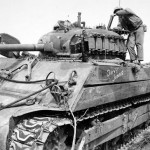
AdvertisementOn the example below, you can see that the tank has been outfitted with wooden planks on the sides (and fastened to welded-on steel frames covering the running gear – to counter the fanatical bravery of Japanese troops who would throw or place satchel charges and magnetic mines there to knock out the tracks,) track-links around the turret, and they have welded nails onto the hatches – which would deter the Japanese from clambering atop the vehicle, wrenching the hatches open, and dropping grenades inside.
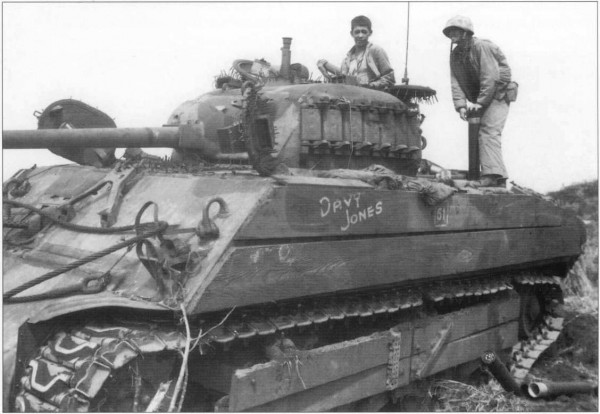
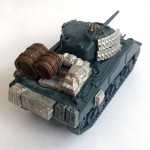
I replicated the wooden planking on an M4A3E2 Sherman ‘Jumbo’ that I created – covering the sides and front of the tank in chopped-up lolly sticks (this also proved to make the overall tank conversion easier, as it hid a lot of the ‘conversion scars’ created when cutting-and-shutting three plastic M4 Sherman kits together!)

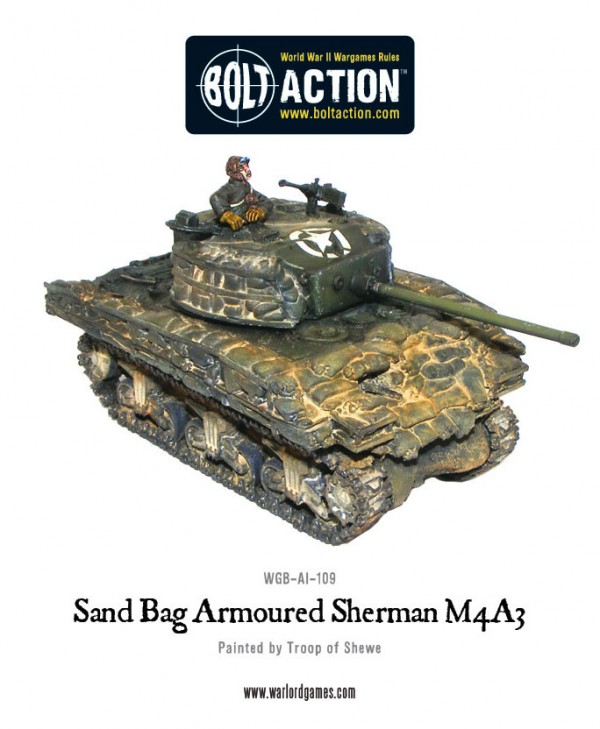
We also produce a couple of Wooden Armoured Shermans (the 75mm-armed and 75mm-armed M4A3) which you can buy direct through the Warlord webstore – and I can attest for their excellence!
Sandbag Armour
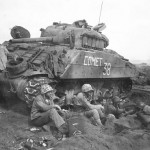
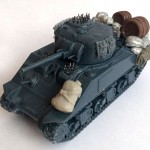
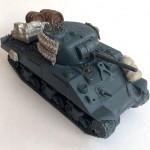
In similar fashion, the Americans would also quite commonly apply Sandbags to the hull of their tanks – often welding-on additional racks to house them and keep them in place – as below.
Sandbags would routinely be placed on the front and sides of the tank, around the turret, and (specifically in the Pacific) sandbags were also placed on the rear deck to protect against antitank mines or satchel charges being thrown at the vehicle.
It was found that 170 Sandbags was the preferred number to cover a Sherman – however they would often use 200+ – which would add a further 1.7 to 2 tonnes to the vehicle’s weight!
View in Store
Concrete Armour
Less commonly, tank crews would pour concrete armour onto their vehicles. They would do this by creating a wooden box frame against the tank’s armour and filling it with concrete – once the concrete was dry, they simply removed the wood to reveal a thick layer of concrete.
Concrete was used on the glacis not only in the Pacific, but also on the Western Front. However, it was only in the Pacific that the Marines would add a layer against the sides of the tank – having left a void of about 100mm against the vehicle – which was then packed with wood as a measure to improve the armour against Japanese anti-tank and to deter magnetic mines.
Of course – this would add a huge amount of weight to the vehicle – and would often lead to suspension failure and overheating – however, when the vehicles were operational, this proved an effective (if a little barmy!) method of up-armouring the vehicle.
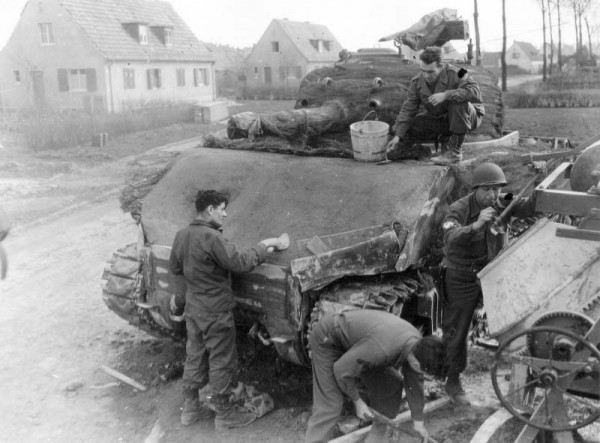
To achieve this look on your Warlord models – I’d recommend simply using Green Stuff – apply a thick layer direct to the vehicle – or, if you want to add a touch more detail – once it’s in place, press a lolly stick against it, leaving an imprint of wood-markings left during the concrete’s curing process.
AdvertisementSpiked Hatches
In order to prevent the Japanese troops from clambering onto their vehicles and prying the hatches open – and also to avoid magnetic mines from sticking direct to the hatches, the American tank crews would weld nails (pointed side upward) to the hatches – creating a hedgehog-like appearance – as shown in the following photos;
Aircraft matting and wire mesh was used similarly – both over hatches, and across the wider flat surfaces of the tank – the tankers would create curved structures which would deflect grenades and make them roll off of the vehicle before they could do any damage.
The two pictures above show Shermans which have had wire mesh added to the crew hatches
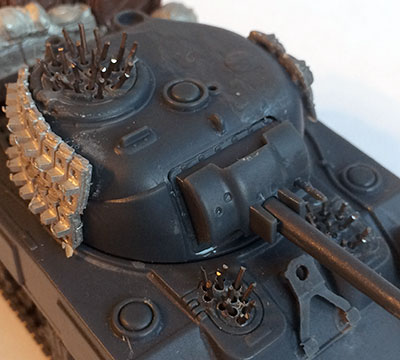
To achieve this effect on my models, I drilled a series of holes into each hatch, and inserted short lengths of cut-down Pikes – available through the Warlord webstore… I may have also gotten a little carried away with adding some extra stowage… and I plan on adding plenty more on that engine deck!
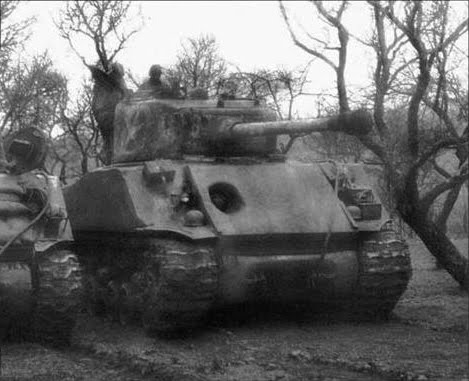
Track Sections
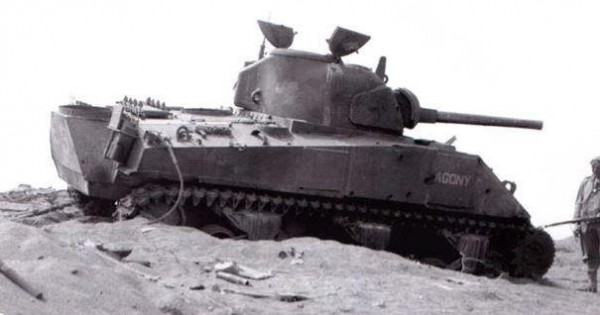
Spare track sections were a simple addition which would greatly increase the protection of your vehicle – and were widely used across all theatres of the war by crews of all nations.
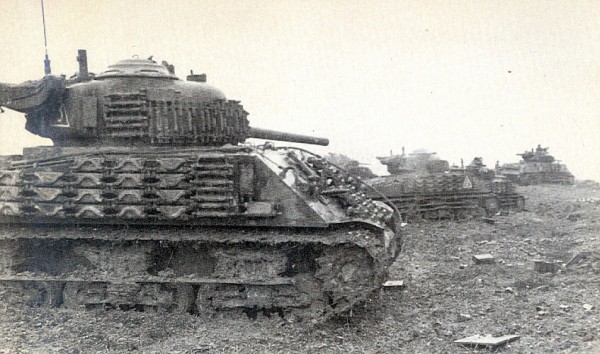
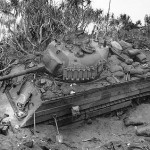
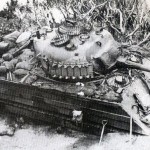
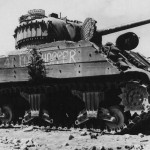
Specifically for the Pacific, the addition of track sections to the turret and sides of the vehicle was used to combat the deadly Japanese 47mm high velocity anti-tank gun – which became a real danger to US Armoured formations – for example, the 193rd Tank Battalion were held at bay by a single gun which knocked out 4 battalions in a single day!
‘Agony’ shows the effects of having been repeatedly hit by the deadly Japanese 47mm Anti-tank gun.
Zippo
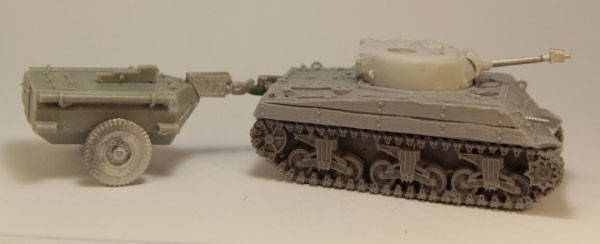
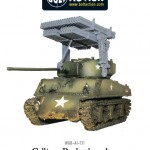
The Sherman ‘Zippo’ Flamethrower Tank was modified from the M4A3 – with the 75mm main gun repurposed by mounting a flamethrower inside.
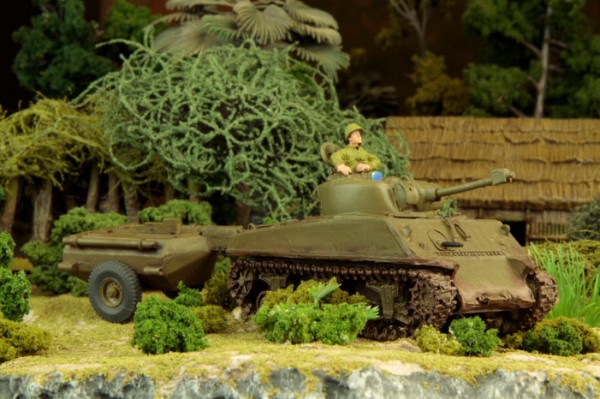
Externally, the Zippo looks almost identical to a standard M4A3… so – to make mine visually different on the battlefield, I’ve added a fuel trailer and the nozzle from the Churchill Crocodile kit… and – by using a magnet to attach the trailer, it can be disconnected or pivoted…
Sherman with 105mm Howitzer
Converting the plastic M4 Sherman kit into the 105 is easy – though I did it the hard way! I chopped-up the barrel from our Resin Stug 105 and fitted it to our old Resin M4A3 kit – which was (looking back) quite barbaric, and I made more work for myself that I should have. You could easily just use a plasticard pipe to replace the barrel.

As you can see, I also added a little stowage and sandbag armour – as well as a trio of tank riders and – well – basically anything else I could get my hands on!
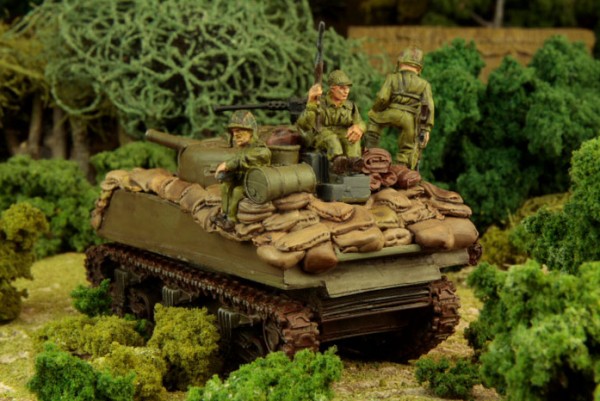
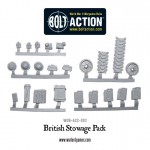
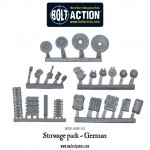
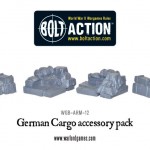
For me – there’s nothing better than seeing personalised models on the tabletop. With a few simple modifications (even just the addition of some of the items from our Stowage packs,) you can create a unique vehicle – and you can add heaps of character and narrative to your army!
It was routine for tanks across all theatres to be laden with kit – whether they were carrying injured troops out of the firefight, ferrying supplies forward, or maybe carrying a trophy… so why not head over to the Bolt Action armoury and take a look at just some of the extras you can include to add character, protection, and a little personalisation to your vehicles!
Very cool conversion work and a good bit of history as well. That’s one of the great things about Bolt Action and historical in general – all the amazing reference materials you can research. If you’re looking for a challenging hobby project pick up one of these Sherman kits and try to recreate some of those “add-ons” the Allied Tank Crews invented.
I would never have thought of adding concrete to the hull! Take that Axis forces!

