Tactica: Khorne Daemonkin – Part 15 – The Charnel Cohort


Bring forth the daemonic legions of Khorne! Today is all about the Charnel Cohort Formation. Get ready for another installment of Tactica Khorne Daemonkin.
Hey guys! In this installment of Tactica Khorne Daemonkin I will be discussing the one of the Formations available to the Khorne Daemonkin and ways in which I feel it can be used to its utmost potential! I will do a separate article for each Formation so I can go into detail on army composition and tactics execution.
Charnel Cohort
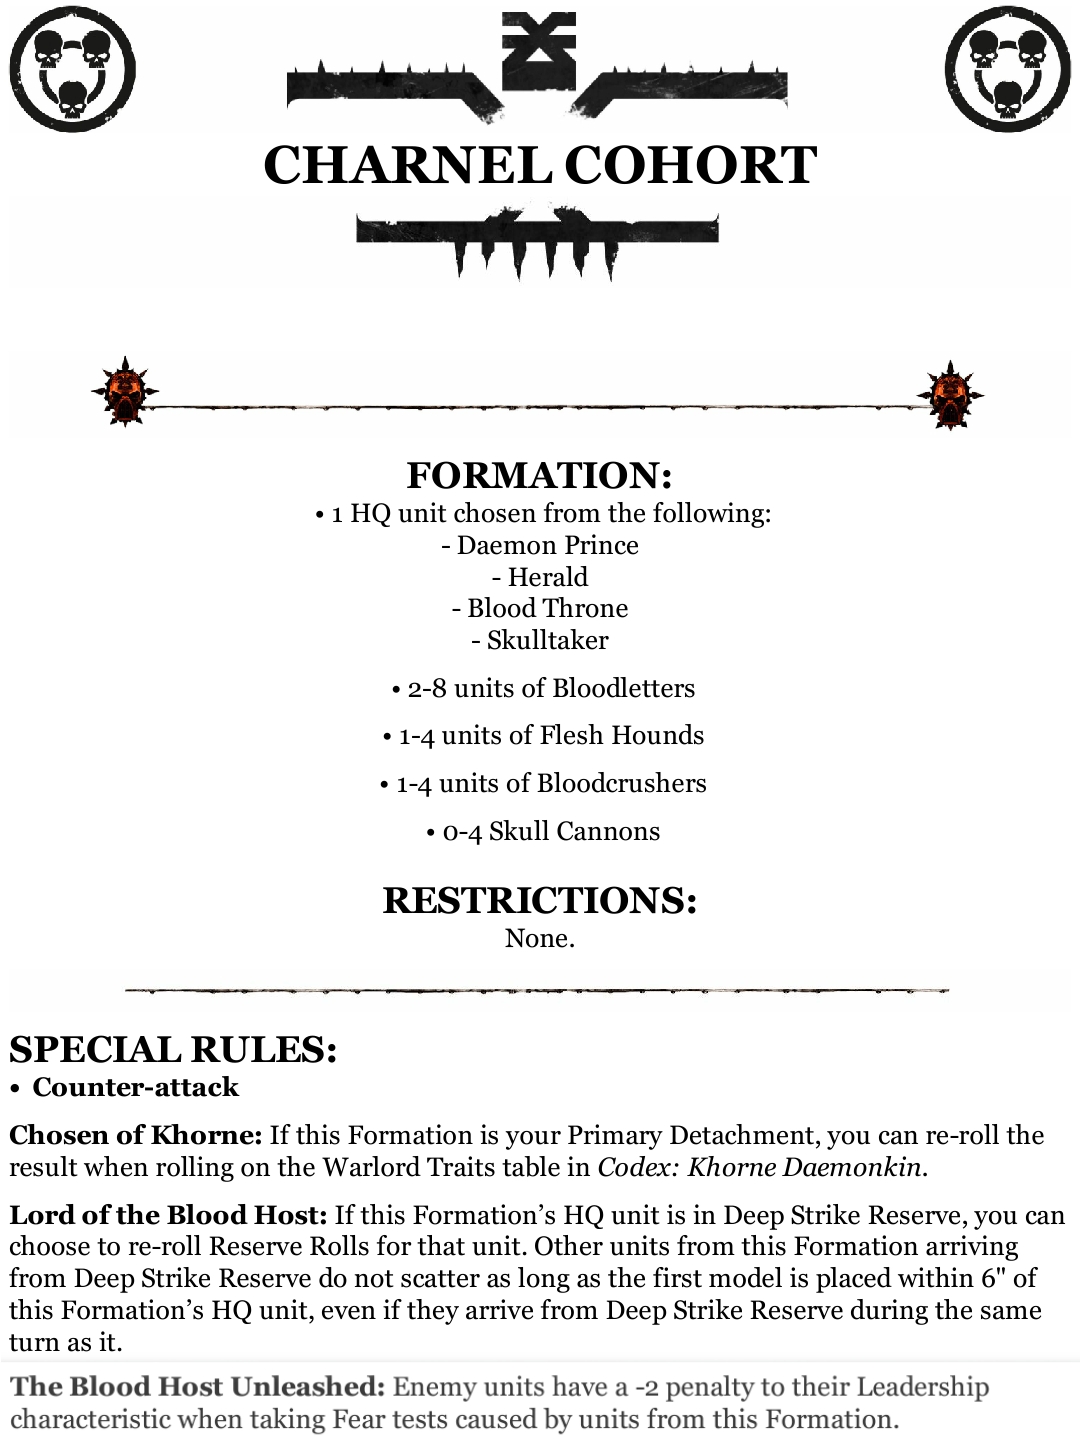
This formation is for those who want to play exclusively Chaos Daemons of Khorne! Gives you all the tools with a few neat tricks to add some flavor! To be honest the Charnel Cohort is one of my least favorite formations available to Khorne Daemonkin players, in my opinion it is outclassed by the superior Slaughtercult and also falls short when compared to a combined arms detachment, that being said it does have quite a few very strong builds and tactics which we will go through here, the main style of play for the Charnel Cohort is to deep strike a huge blob of Daemons right into your enemy and hope they are silly enough to attempt to charge you. This army specializes in using fear so if you face a lot of fearless or ATSKNF opponents a large portion of this armies theme will be wasted.
Special Rules
Army wide counter attack. This is fantastic but only really comes into play if your opponent gets the charge. Considering you will most likely be arriving via deep strike this is very handy as most enemies will Probably charge you before you get a chance to charge them.
Chosen of Khorne. Simply allows you a reroll on the warlord trait table, handy but nothing to write home about.
Lord of the Blood host. This nifty little rule allows you to reroll reserves for your HQ if he is held in deep strike reserves, it also turns your HQ into an icon that prevents friendlies from scattering so long as they are placed within 6″. This has obvious advantages but also creates some major vulnerabilities. Khorne Daemonkin specialise in board control and they are not necessarily the type of army you want to castle up. Deploying the majority of your force within 6″ of one another leaves you vulnerable to blasts and focus fire. In my opinion the best way for Daemonkin to succeed is to spread out and force your opponent to split his fire. The obvious counter argument to this is to take a Blood Throne so that all units within 6″ benefit from its Daemonic Loci, for that reason I would only ever use a Blood Throne in this formation.
The Blood Host Unleashed inflicts a -2 penalty on enemy Leadership when taking fear tests. This is fantastic unless you come up against fearless or ATSKNF (which is half if not more of the armies out there) if you combine a Charnel Cohort with other detachments make sure the cohort targets the non fearless enemy units while the rest of your force engages the fearless enemy soldiers, otherwise the benefits of this rule are lost.
1 unit from the following: Daemon Prince, Herald, Blood Throne or Skulltaker.
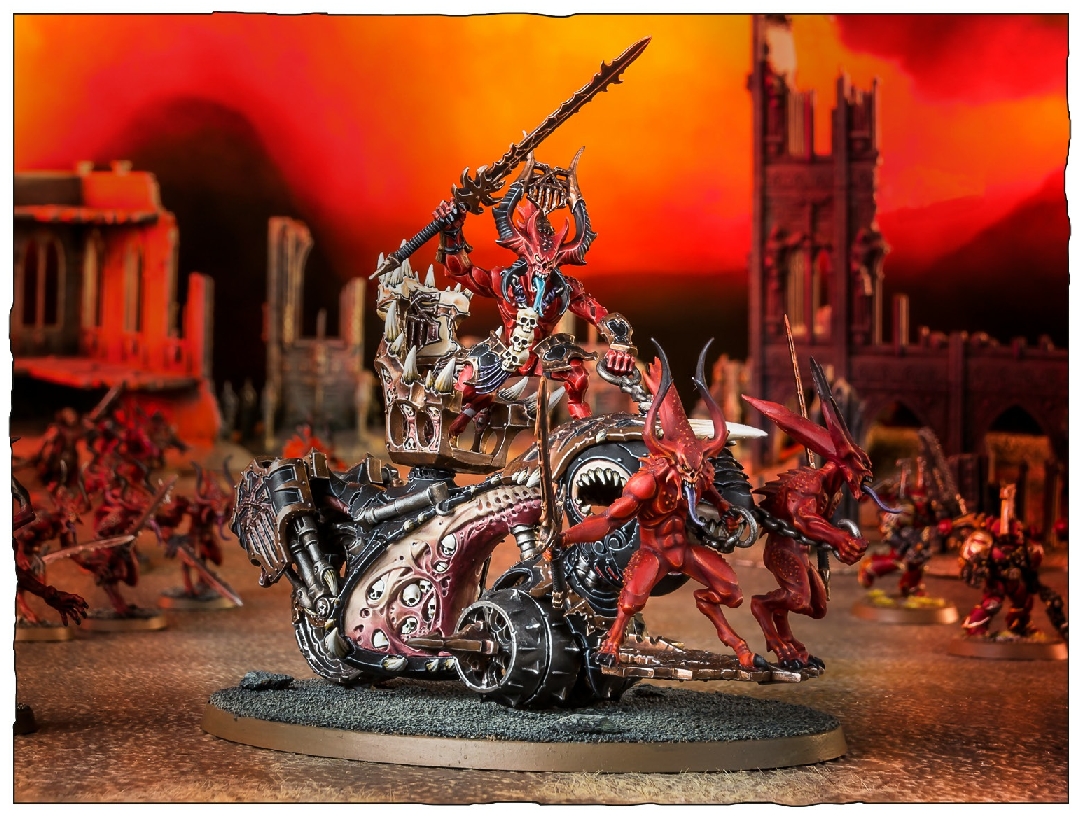
As I mentioned above the only unit that I feel fits the style of play this formation encourages is the Blood Throne, give it the Exalted Loci of Wrath and deep strike him in the enemy back line, you now have a 6″ bubble of no scatter deep strike with Hatred… not too shabby….
2 – 8 units of Bloodletters
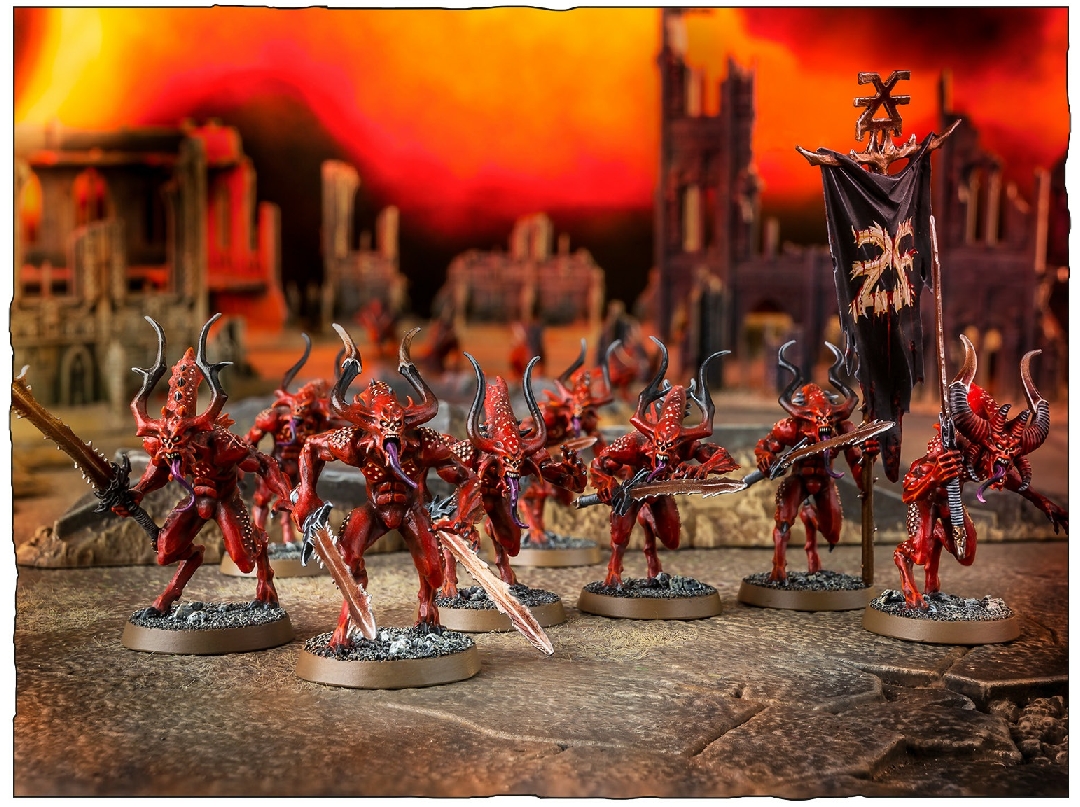
One of my favourite units in the codex, the Bloodletters from this formation gain Counter Attack so when charged they will have 2 attacks and this can be boosted to 3 with the blood tithe. Bloodletters are a very hard hitting unit for thier points but I feel this formation takes away from thier focus, Bloodletters are a brutal close combat unit if they get the charge, using them in a Slaughtercult allows a potential 4 attacks at Strength 5 on the charge per Bloodletter. Compared to the 2 attacks at S4 that they would get from this formation the Slaughtercult is the obvious winner. Combining Furious charge and Counter attack on the same unit in my opinion is a waste as one is best on unit that plan to charge and the other on units that plan to be charged. That would be like giving a model a Lascannon and a power sword.. chances are you will only use one. You cannot benefit from both Counter attack AND furious charge at the same time so one rule will always be wasted.
1 – 4 units of Flesh Hounds
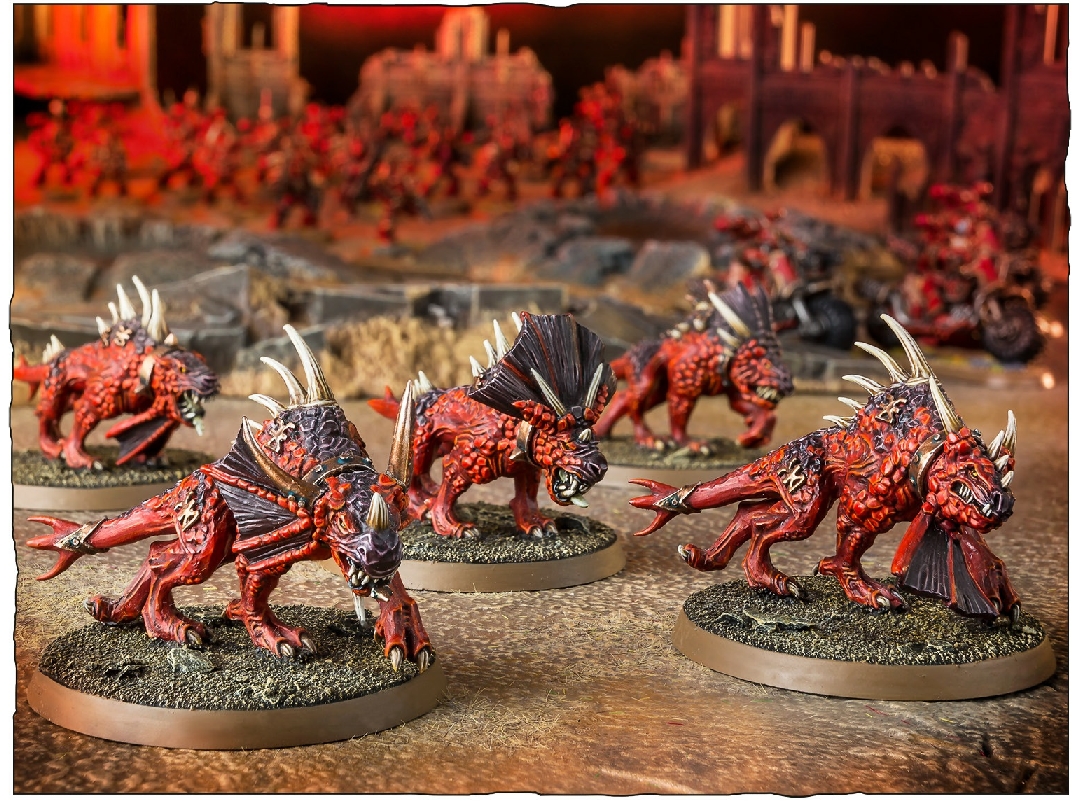
Again another fantastic unit. this one I went into depth about in Part 13 – the Gorepack. When used in this formation I would suggest starting this unit on the table and using its scout move. Save the deep strike blob for your slower units and the Skull Cannons.
1 – 4 units of Bloodcrushers
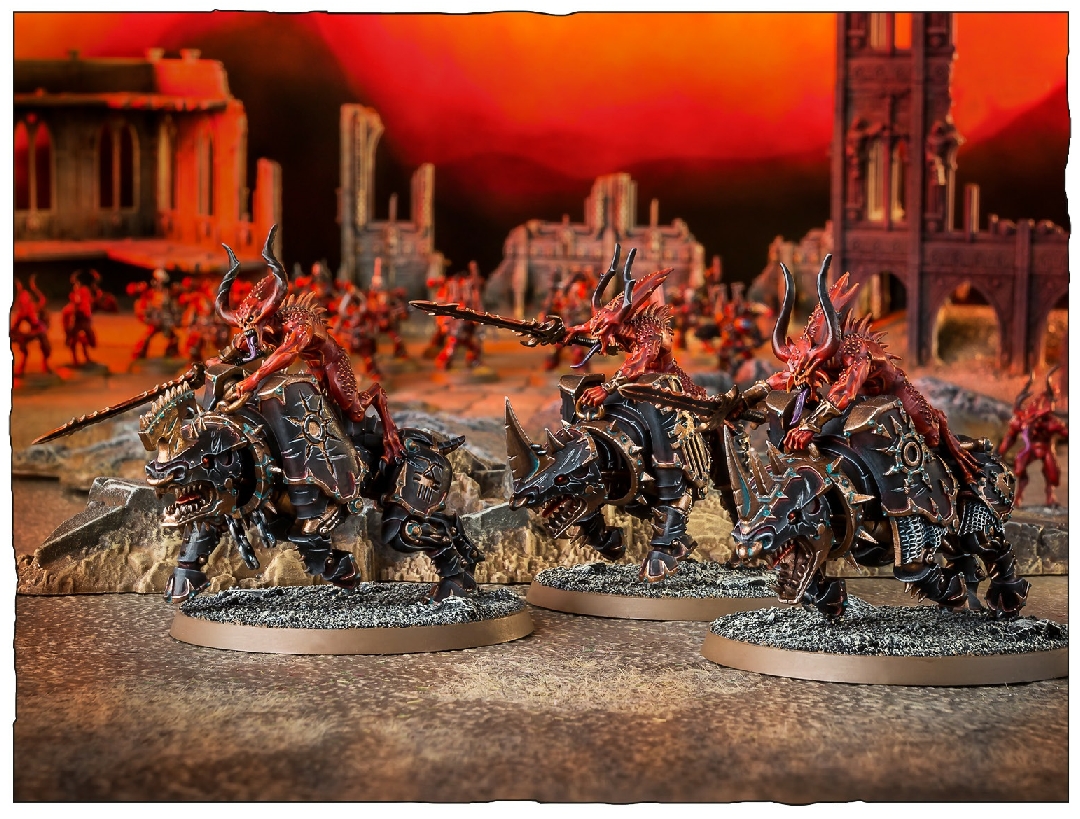
Here we have a serious tax unit with little benefit to the formation, they are fast so they do not need the deep strike assistance and will more than likely make the charge so also barely benefit from counter attack. The only benefit they get is -2 to enemy fear tests. If you want Bloodcrushers the best thing to do is spend 6 blood tithe to summon some, you get free upgrades on them and can spend those points on more practical unit. Failing that they can work ok in the Brazen Onslaught article from Part 12.
0 – 4 units of Skull Cannons
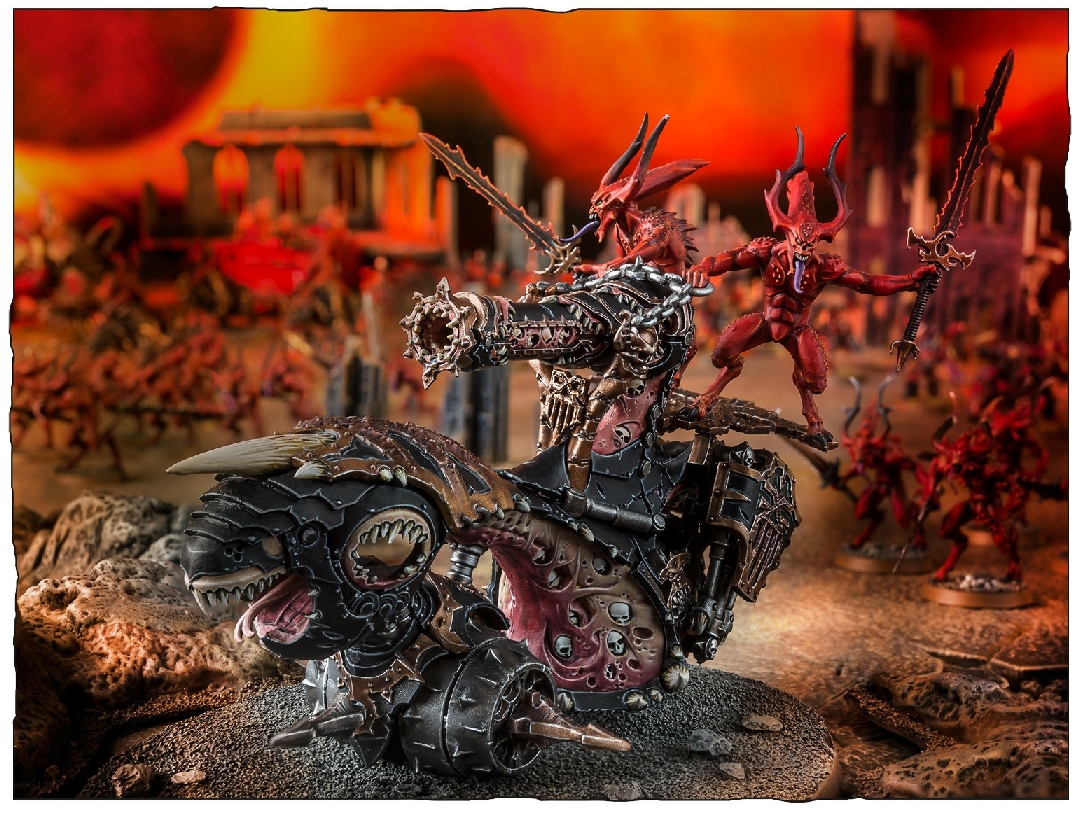
I love the Skull Cannon! I think it is seriously under appreciated. I always aim to summon 1 or 2 in every game. They have quite a few uses, thier Strength 8 large blast is great at thinning out enemy infantry from range and also instant kills most T4 characters, combine this with ignores cover and Ap5 and all of a sudden those guardsmen who thought they were smart going to ground behind thier Aegis Defense Line are toast! It also is fantastic at taking out Eldar and Dark Eldar vehicles that generally have light armor and rely on jink saves.
We cannot talk about the Skull Cannon without mentioning thier unique rule, dreadskulls, basically allowing any unit that declares an charge against a unit that was hit by the skull cannon the ability to ignore difficult terrain penalties to thier Initiative 🙂
I feel one of the Skull Cannon’s least used function is its combat. Sure it has a large blast that ignores cover but it also puts out serious hurt up front and personal! Being a chariot it can charge into combat getting D6 strength 7 Hammer of wrath hits (DARN I LOVE HoW) and then a further 2 attacks at Strength 5 on Initiative step 4 if you charge. Plus if any of your HoW hits inflict an unsaved wound you get a hull point back. For me the D6 Hammer of Wrath is a fantastic way to mop up a unit you blasted with your cannon.
Summary
If you want to take this formation and benefit from its special rules my advice would be to start your Blood Throne and Bloodletters in reserves and your Bloodcrushers, Flesh Hounds and Skull Cannons on the table, try to use your deployed units to grab objectives as they are fast and durable units, then deep strike your Blood Throne in the center of your enemy (or behind if there is room) and bring all your Bloodletters in within 6″ to benefit from the formation rules and his loci. Use the deepstrike units to keep the enemy busy while your deployed units focus on objectives and providing support. This is far from the strongest or most competitive formations but still a lot of fun to play 🙂
What are your thoughts on the Charnel Cohort? Can you think of any uses or tactics I might have missed? I would love to hear what you have to say 🙂
Thanks again for tuning in! Make sure you keep your eyes peeled for the next instalment of Tactica: Khorne Daemonkin! and while you are at it head over to Blog for the Blood God, give me a like, and join in on the other great content! Everything from Battle Reports to Hobby Tutorials, Rules discussions and tactics to Animated movies and 40k based comedy.
