HOBBY: Building an Empire of Dust Tomb

Hello hobbyists! With the Empire of Dust army covered, let’s move on to the backdrop.
My photo room is rather jam packed with photography terrain, but every once in a while I get a need for something new to go with a commission. This was definitely one of those cases. Castles and gothic churches wouldn’t do for a desert themed fantasy army, so off I went to work on a new tomb backdrop. This one is not very elaborate, and rather simple, but it was a good exercise and experiment in a few new things. Let’s get started!
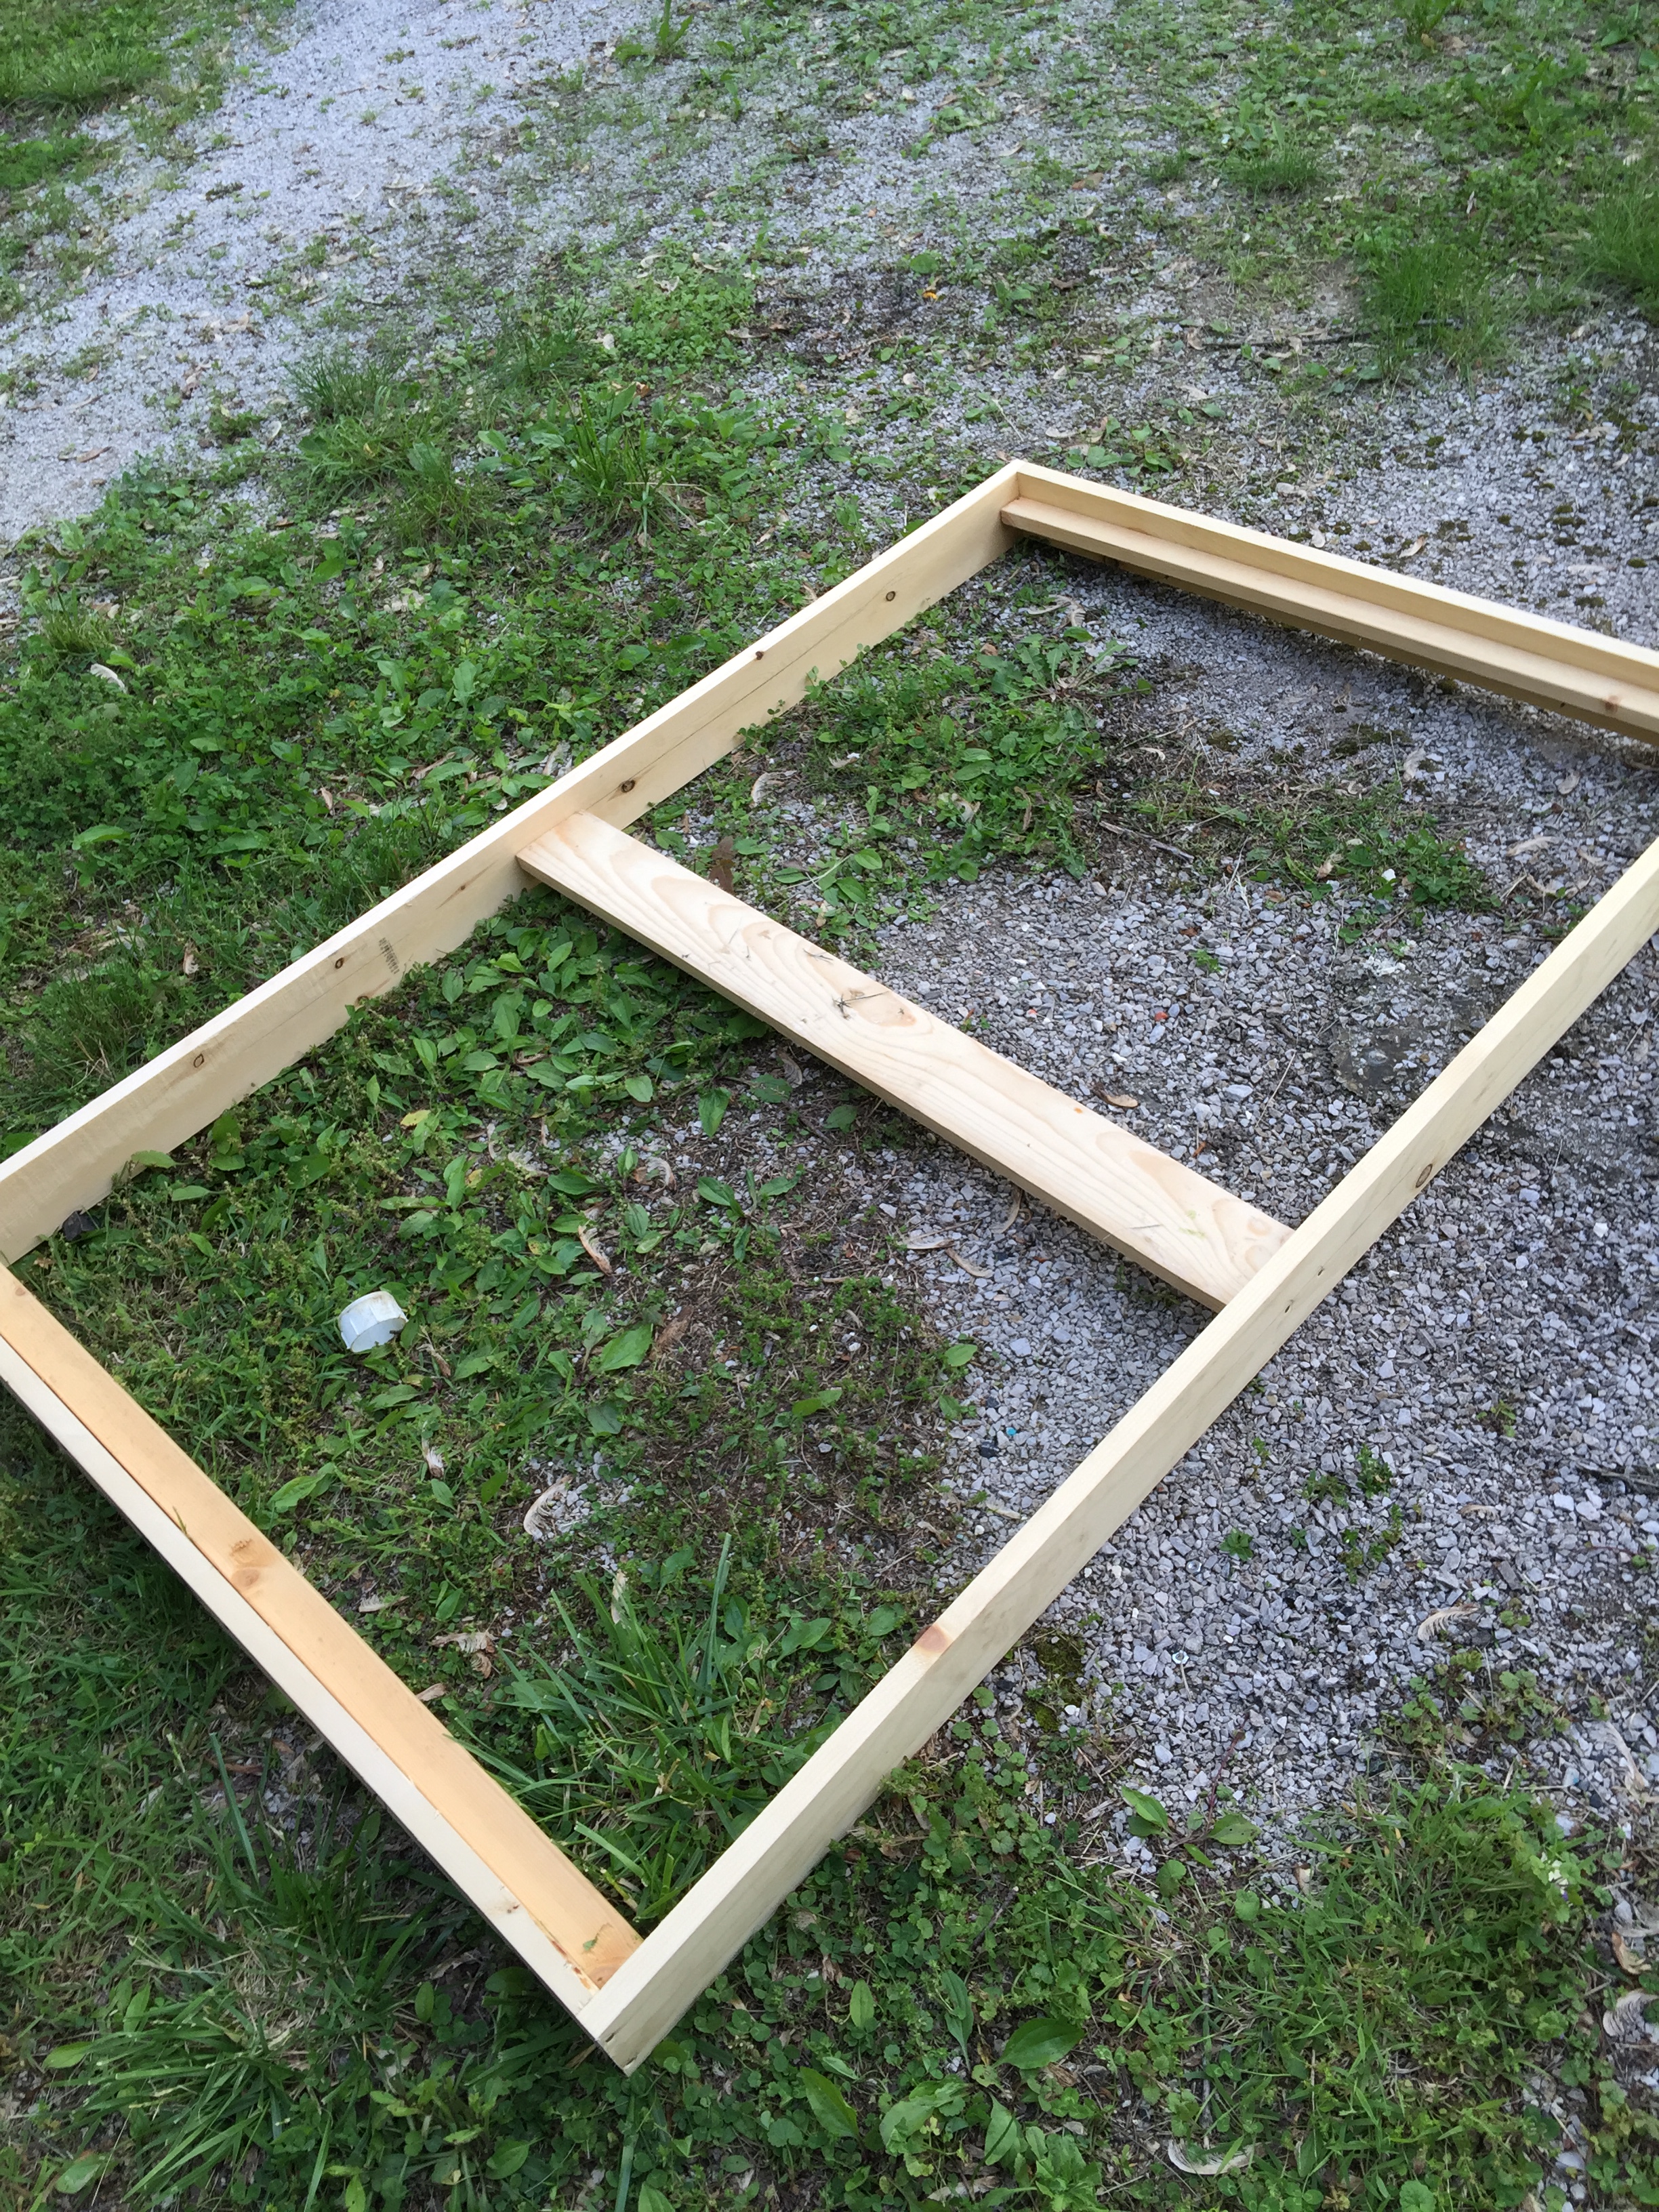
First thing to do was build a frame. I started doing this recently mainly out of necessity. I have so many that they now need to hang from the wall. A nice sturdy frame allows for that. Also a wooden frame makes it much more durable. In tight spaces moving these around can bump easily and simple foam base does not hold up.
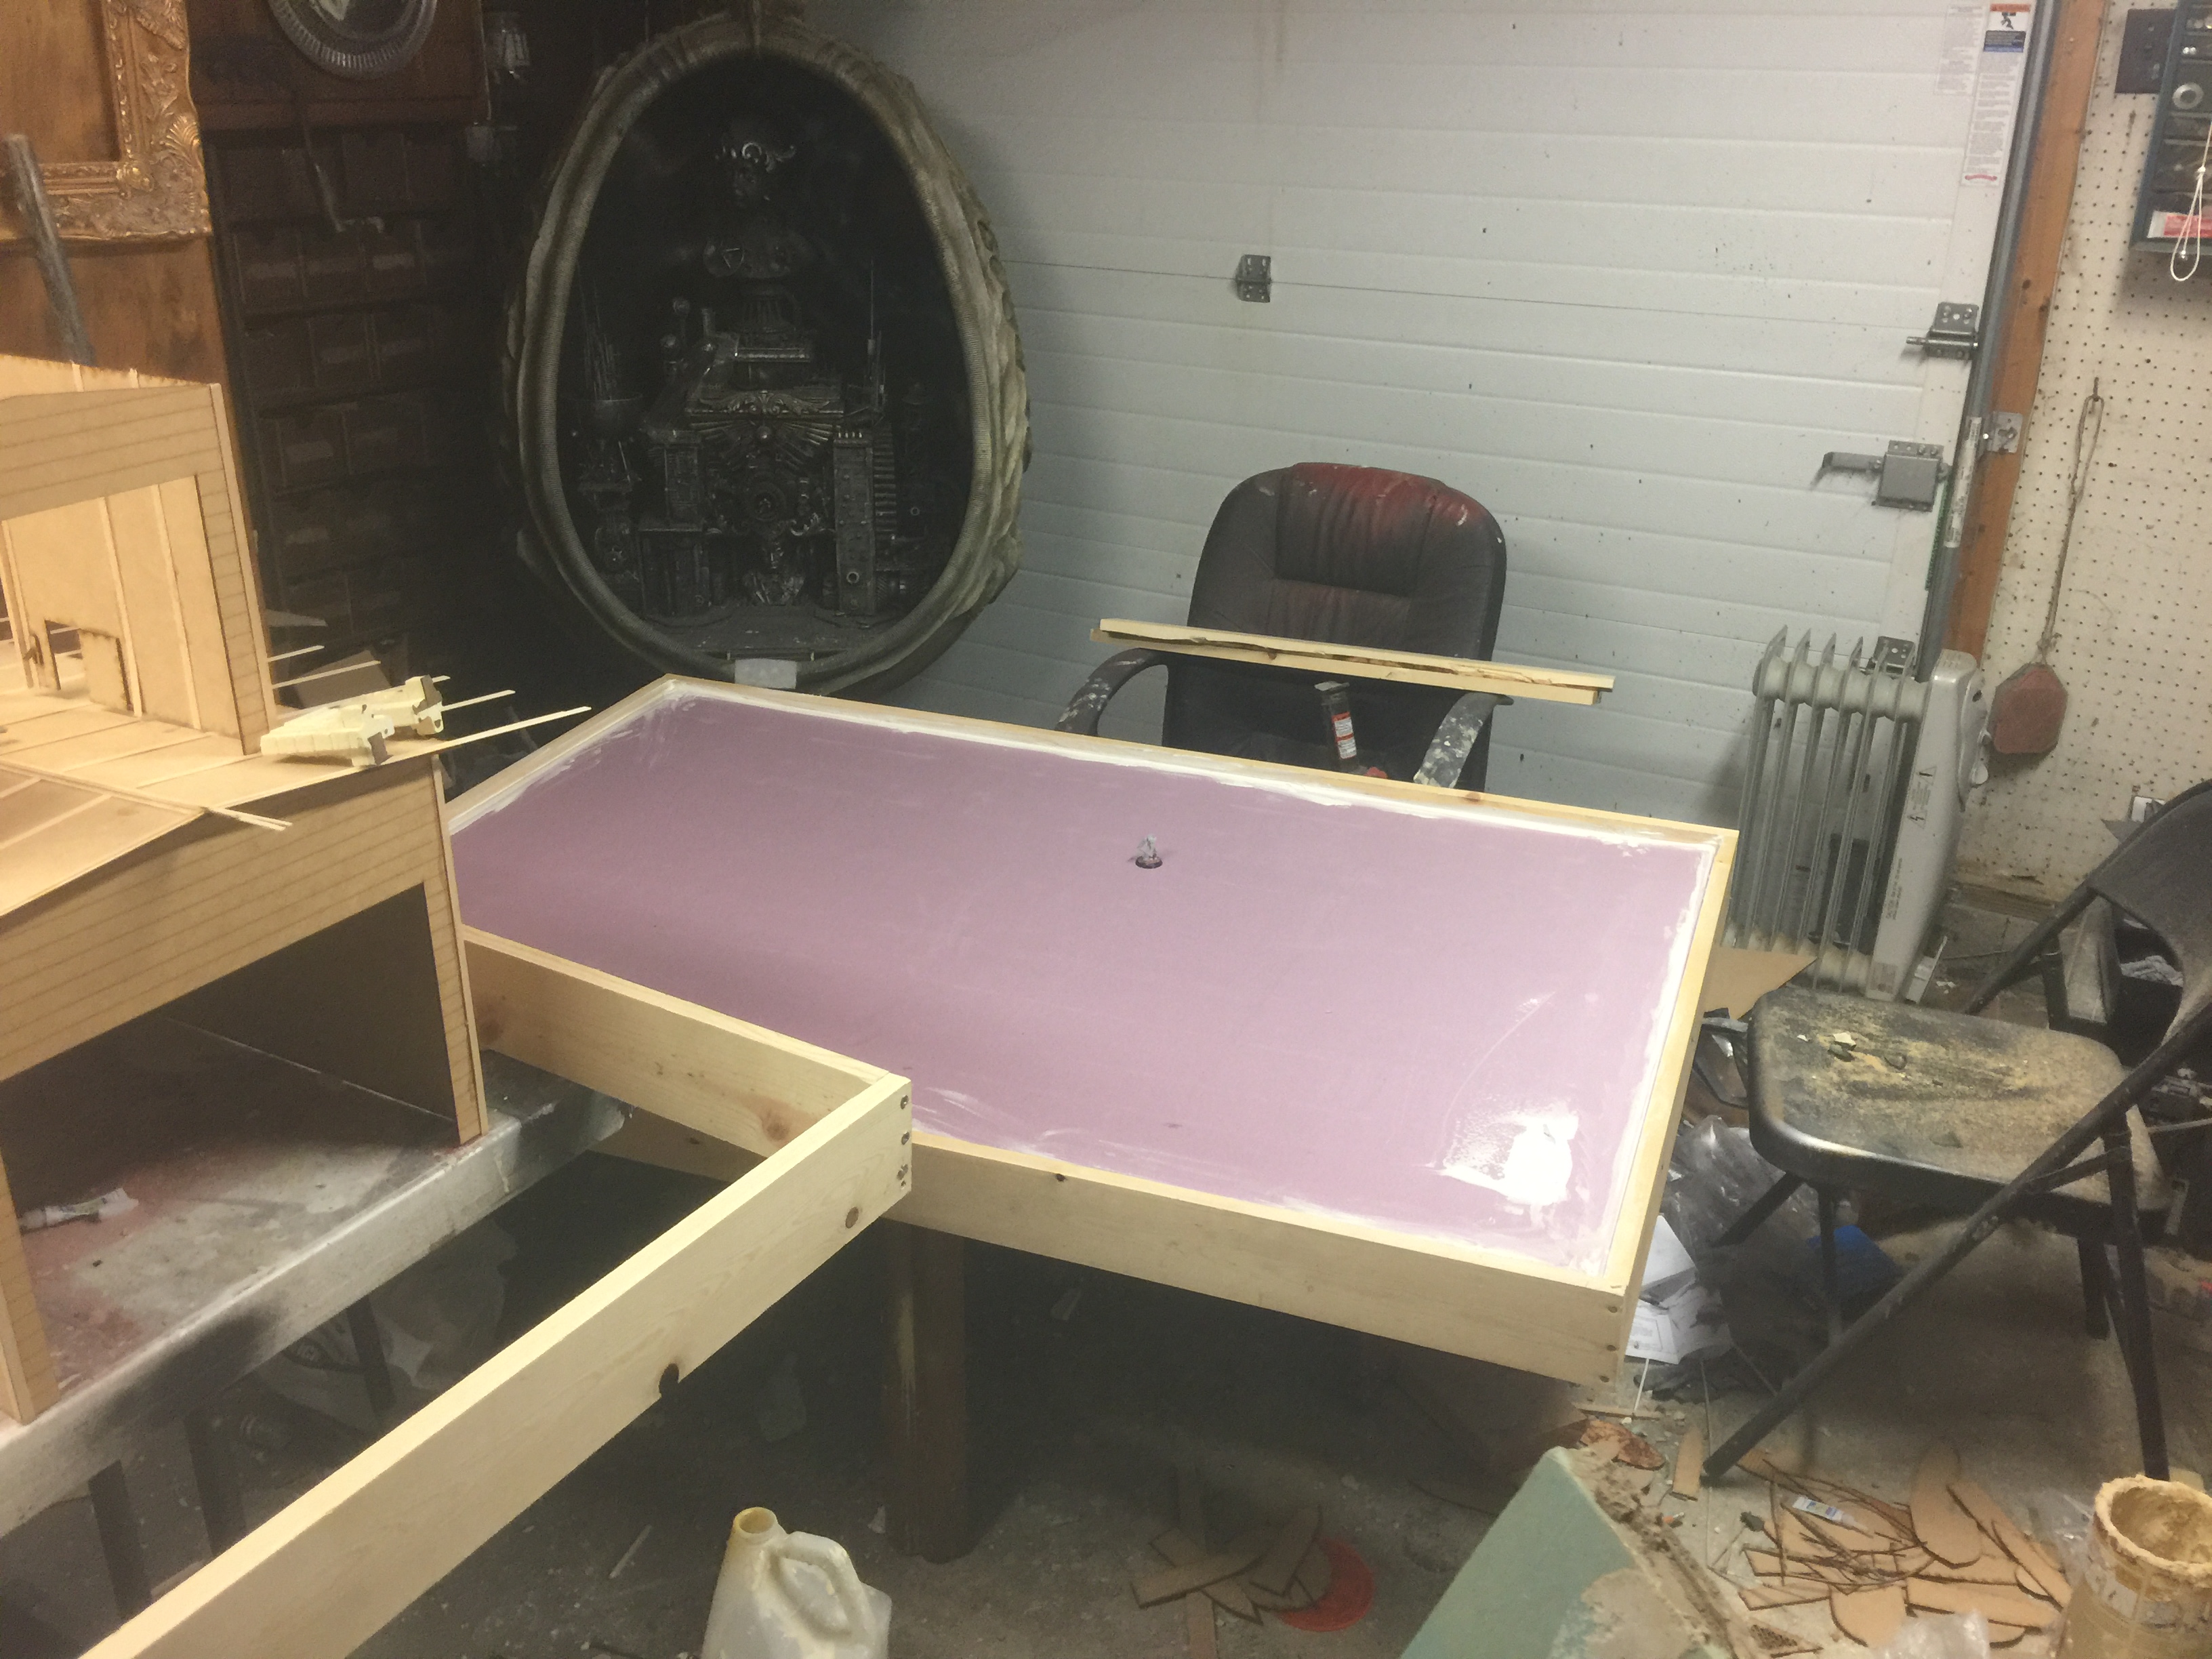
Much bigger than it looked before! A little over five feet wide and four feet deep. The layer of foam is lightweight, but is the 1.5″ thickness so it is rather durable and doesn’t bend when in the wooden frame. Also creates a nice smooth surface to work on, but at the same time putty sticks to it well.
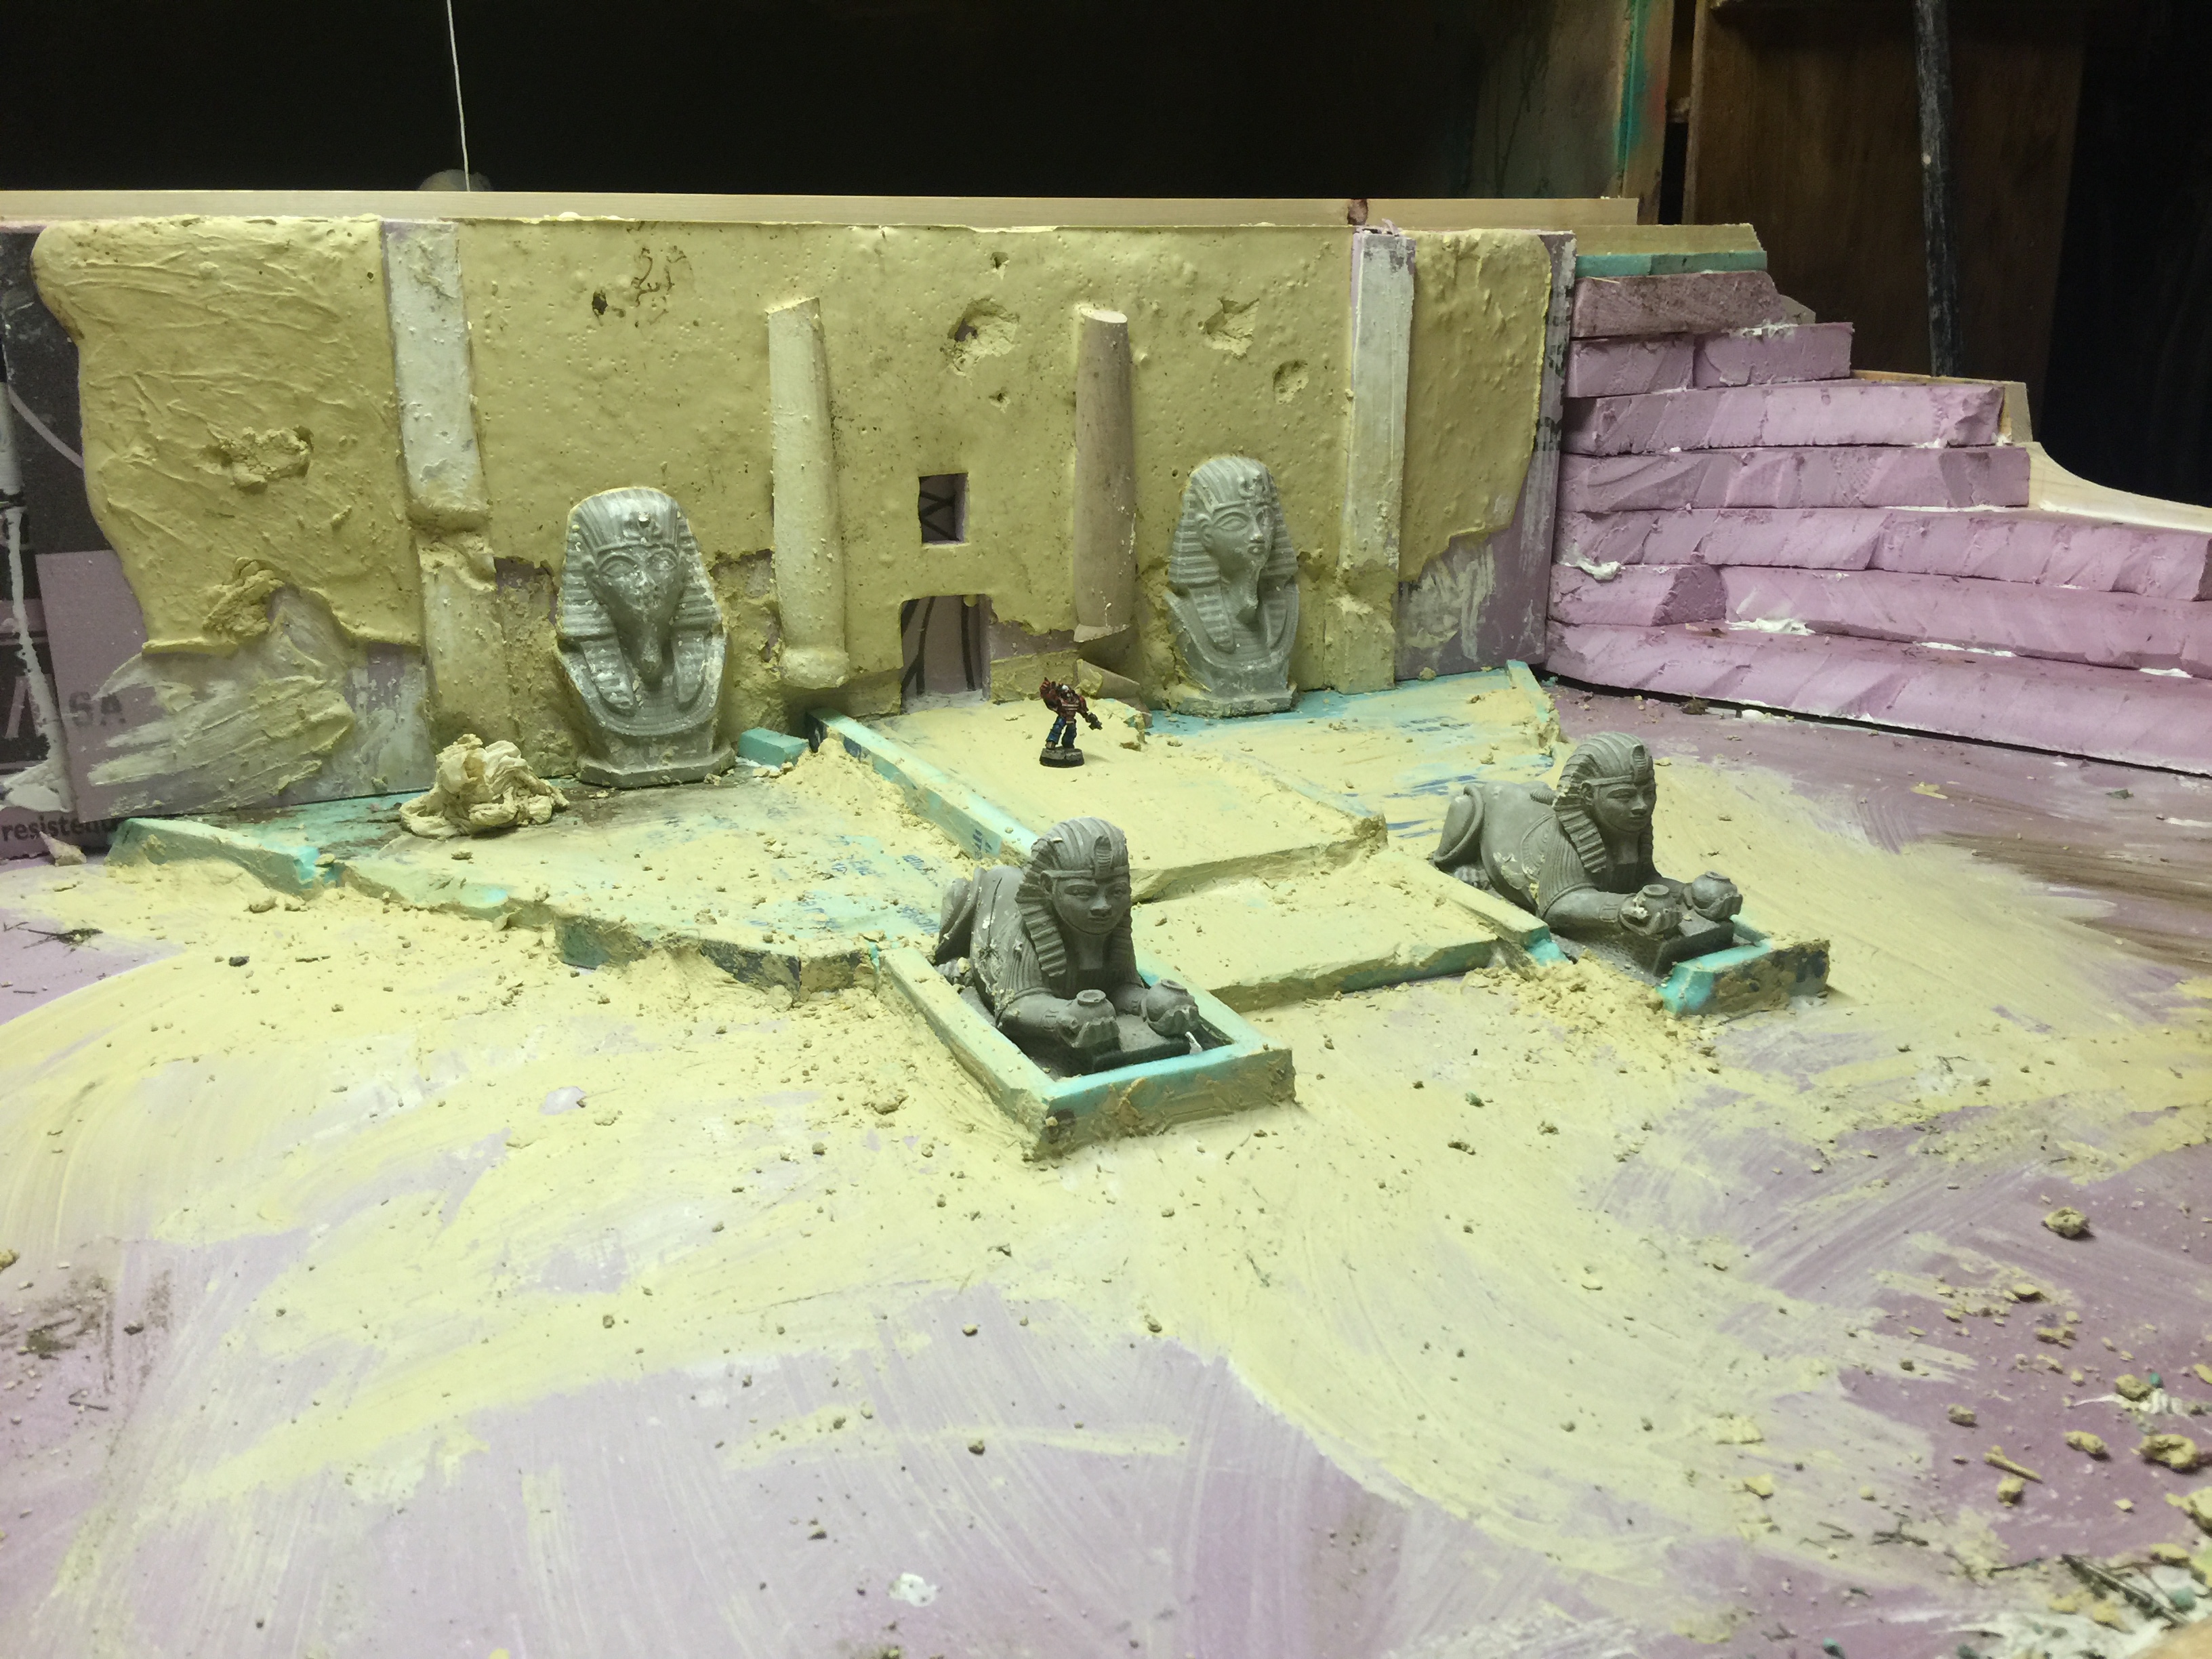
The basic forms going in. The premade parts I had lying around. A back wall of wood was built, otherwise a foam back wall would fall apart instantly. Also the sturdier the wall, the less putty I need to use to avoid cracking due to stress in moving.
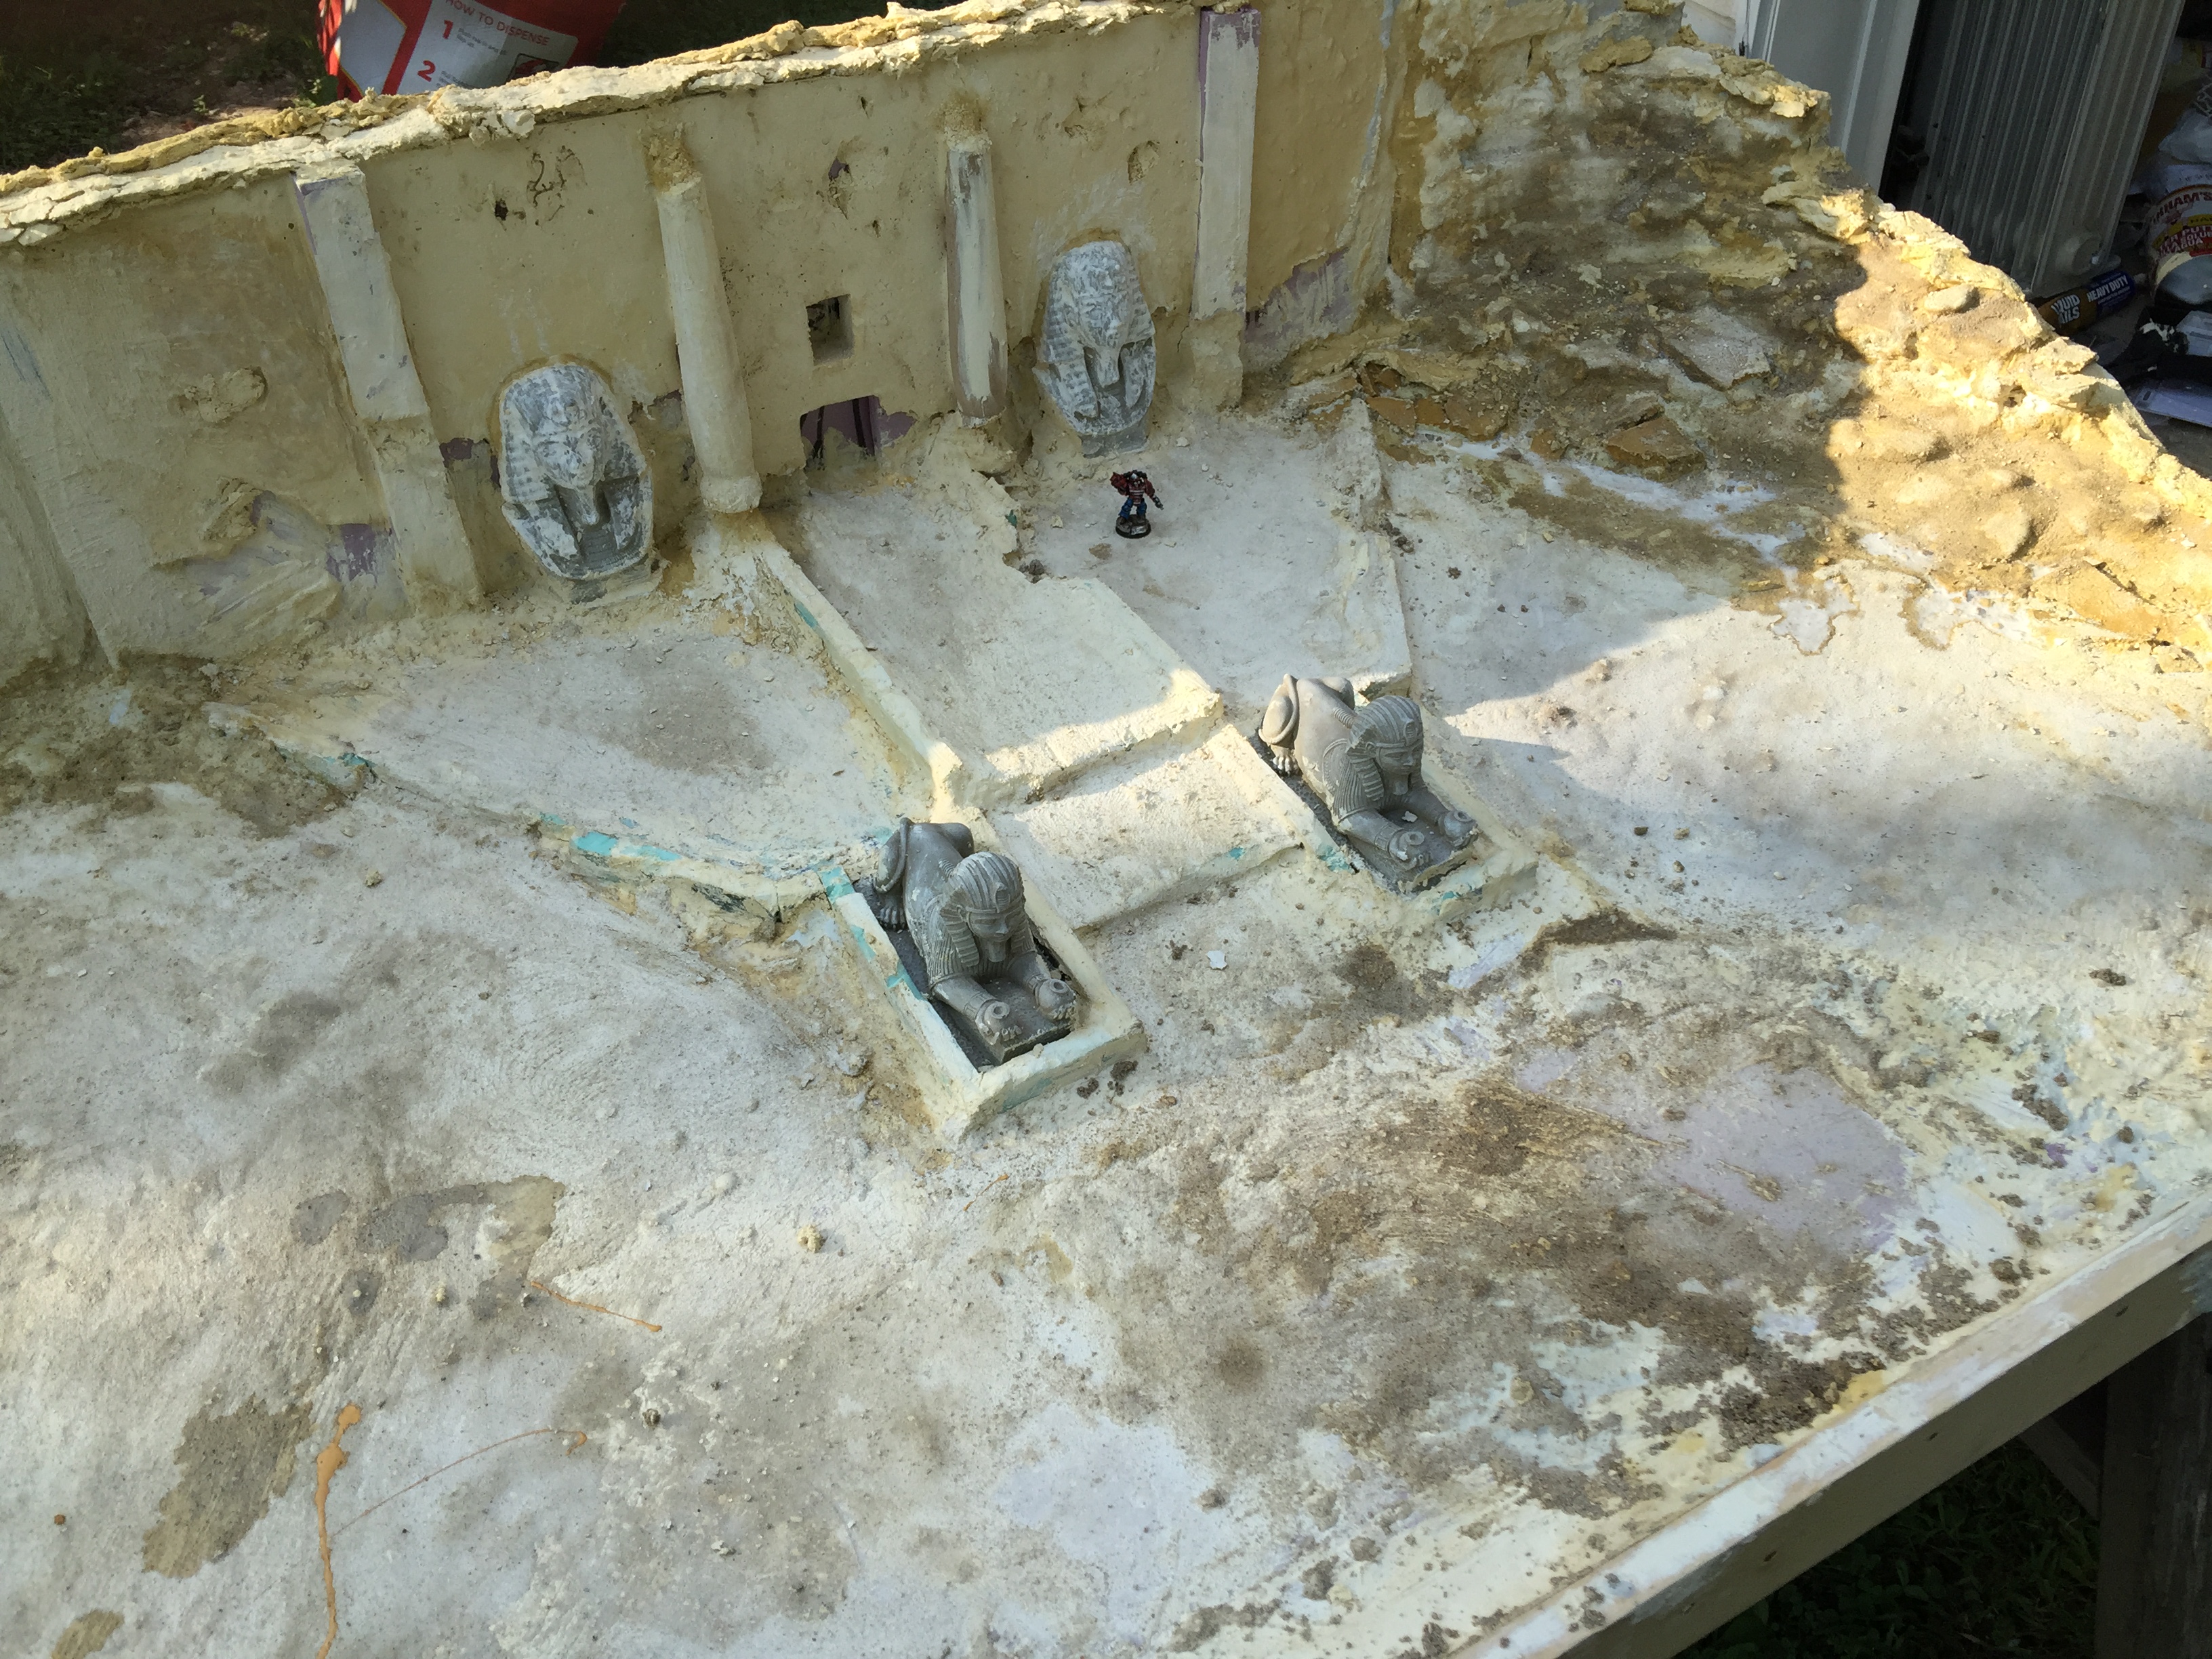

Lots of progress down! Again nothing too over the top compared to others, so once the overall vision fully formed it was a simple job of adding putty and sand. Although a lot of it!
Once cured, it was brought in to the photo room to paint. I prefer to paint in the room I will be taking pictures in, so there are no surprise shifts in color due to change from sunlight to lamps. Paint used began with a basecoat of a deep ochre color. I always basecoat using cheap interior paint from the hardware stores as it seals much better in a couple thick coats than spraypaint. It also comes in any color you can make a swatch for.
After a base, a bit of airbrushing up and down, then a round of weathering pigments for that “dry your eyes out” look.
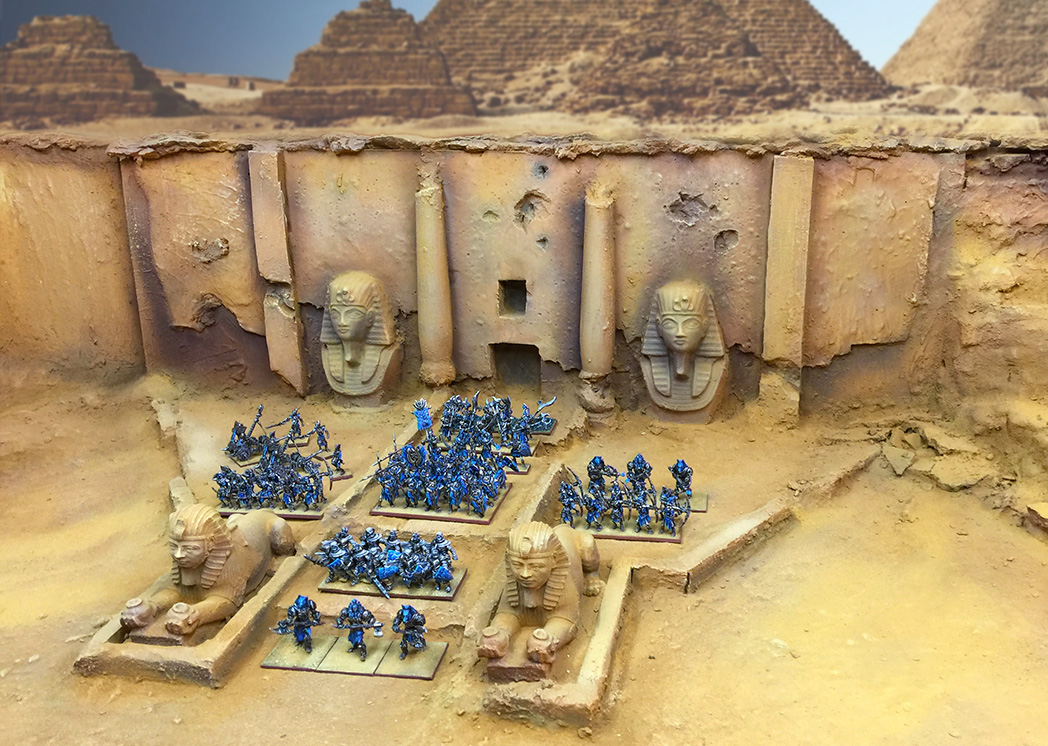
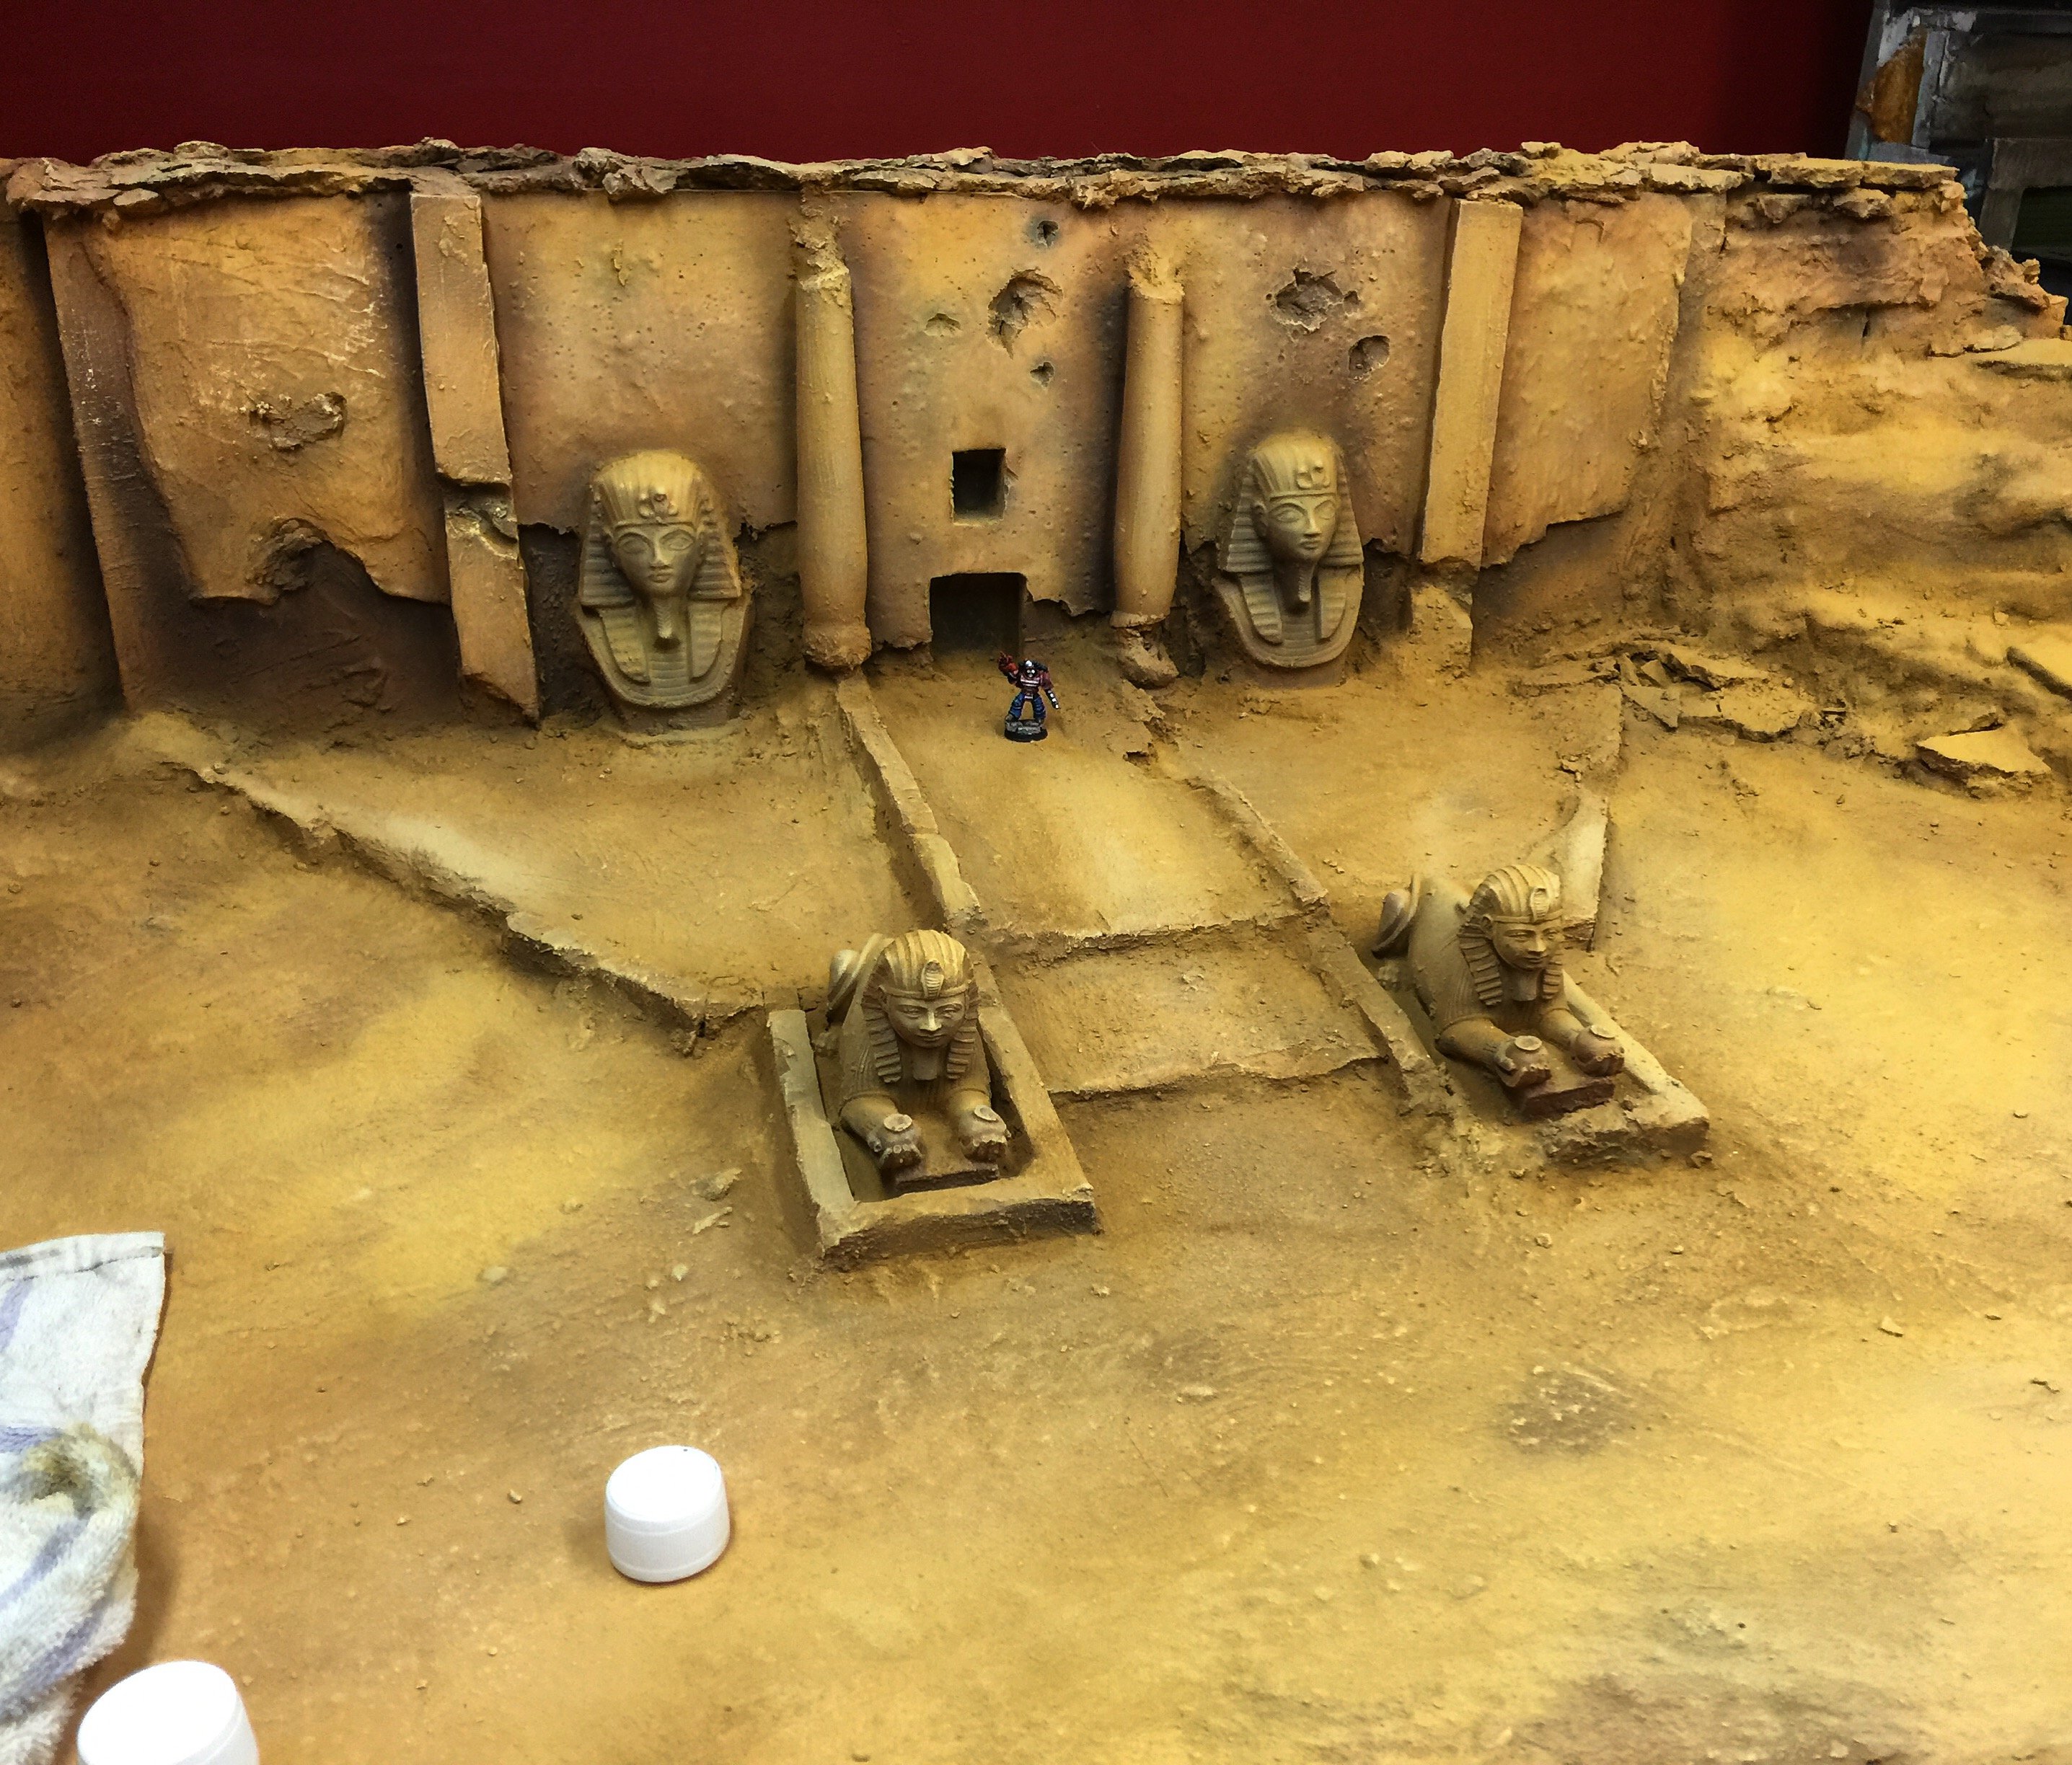
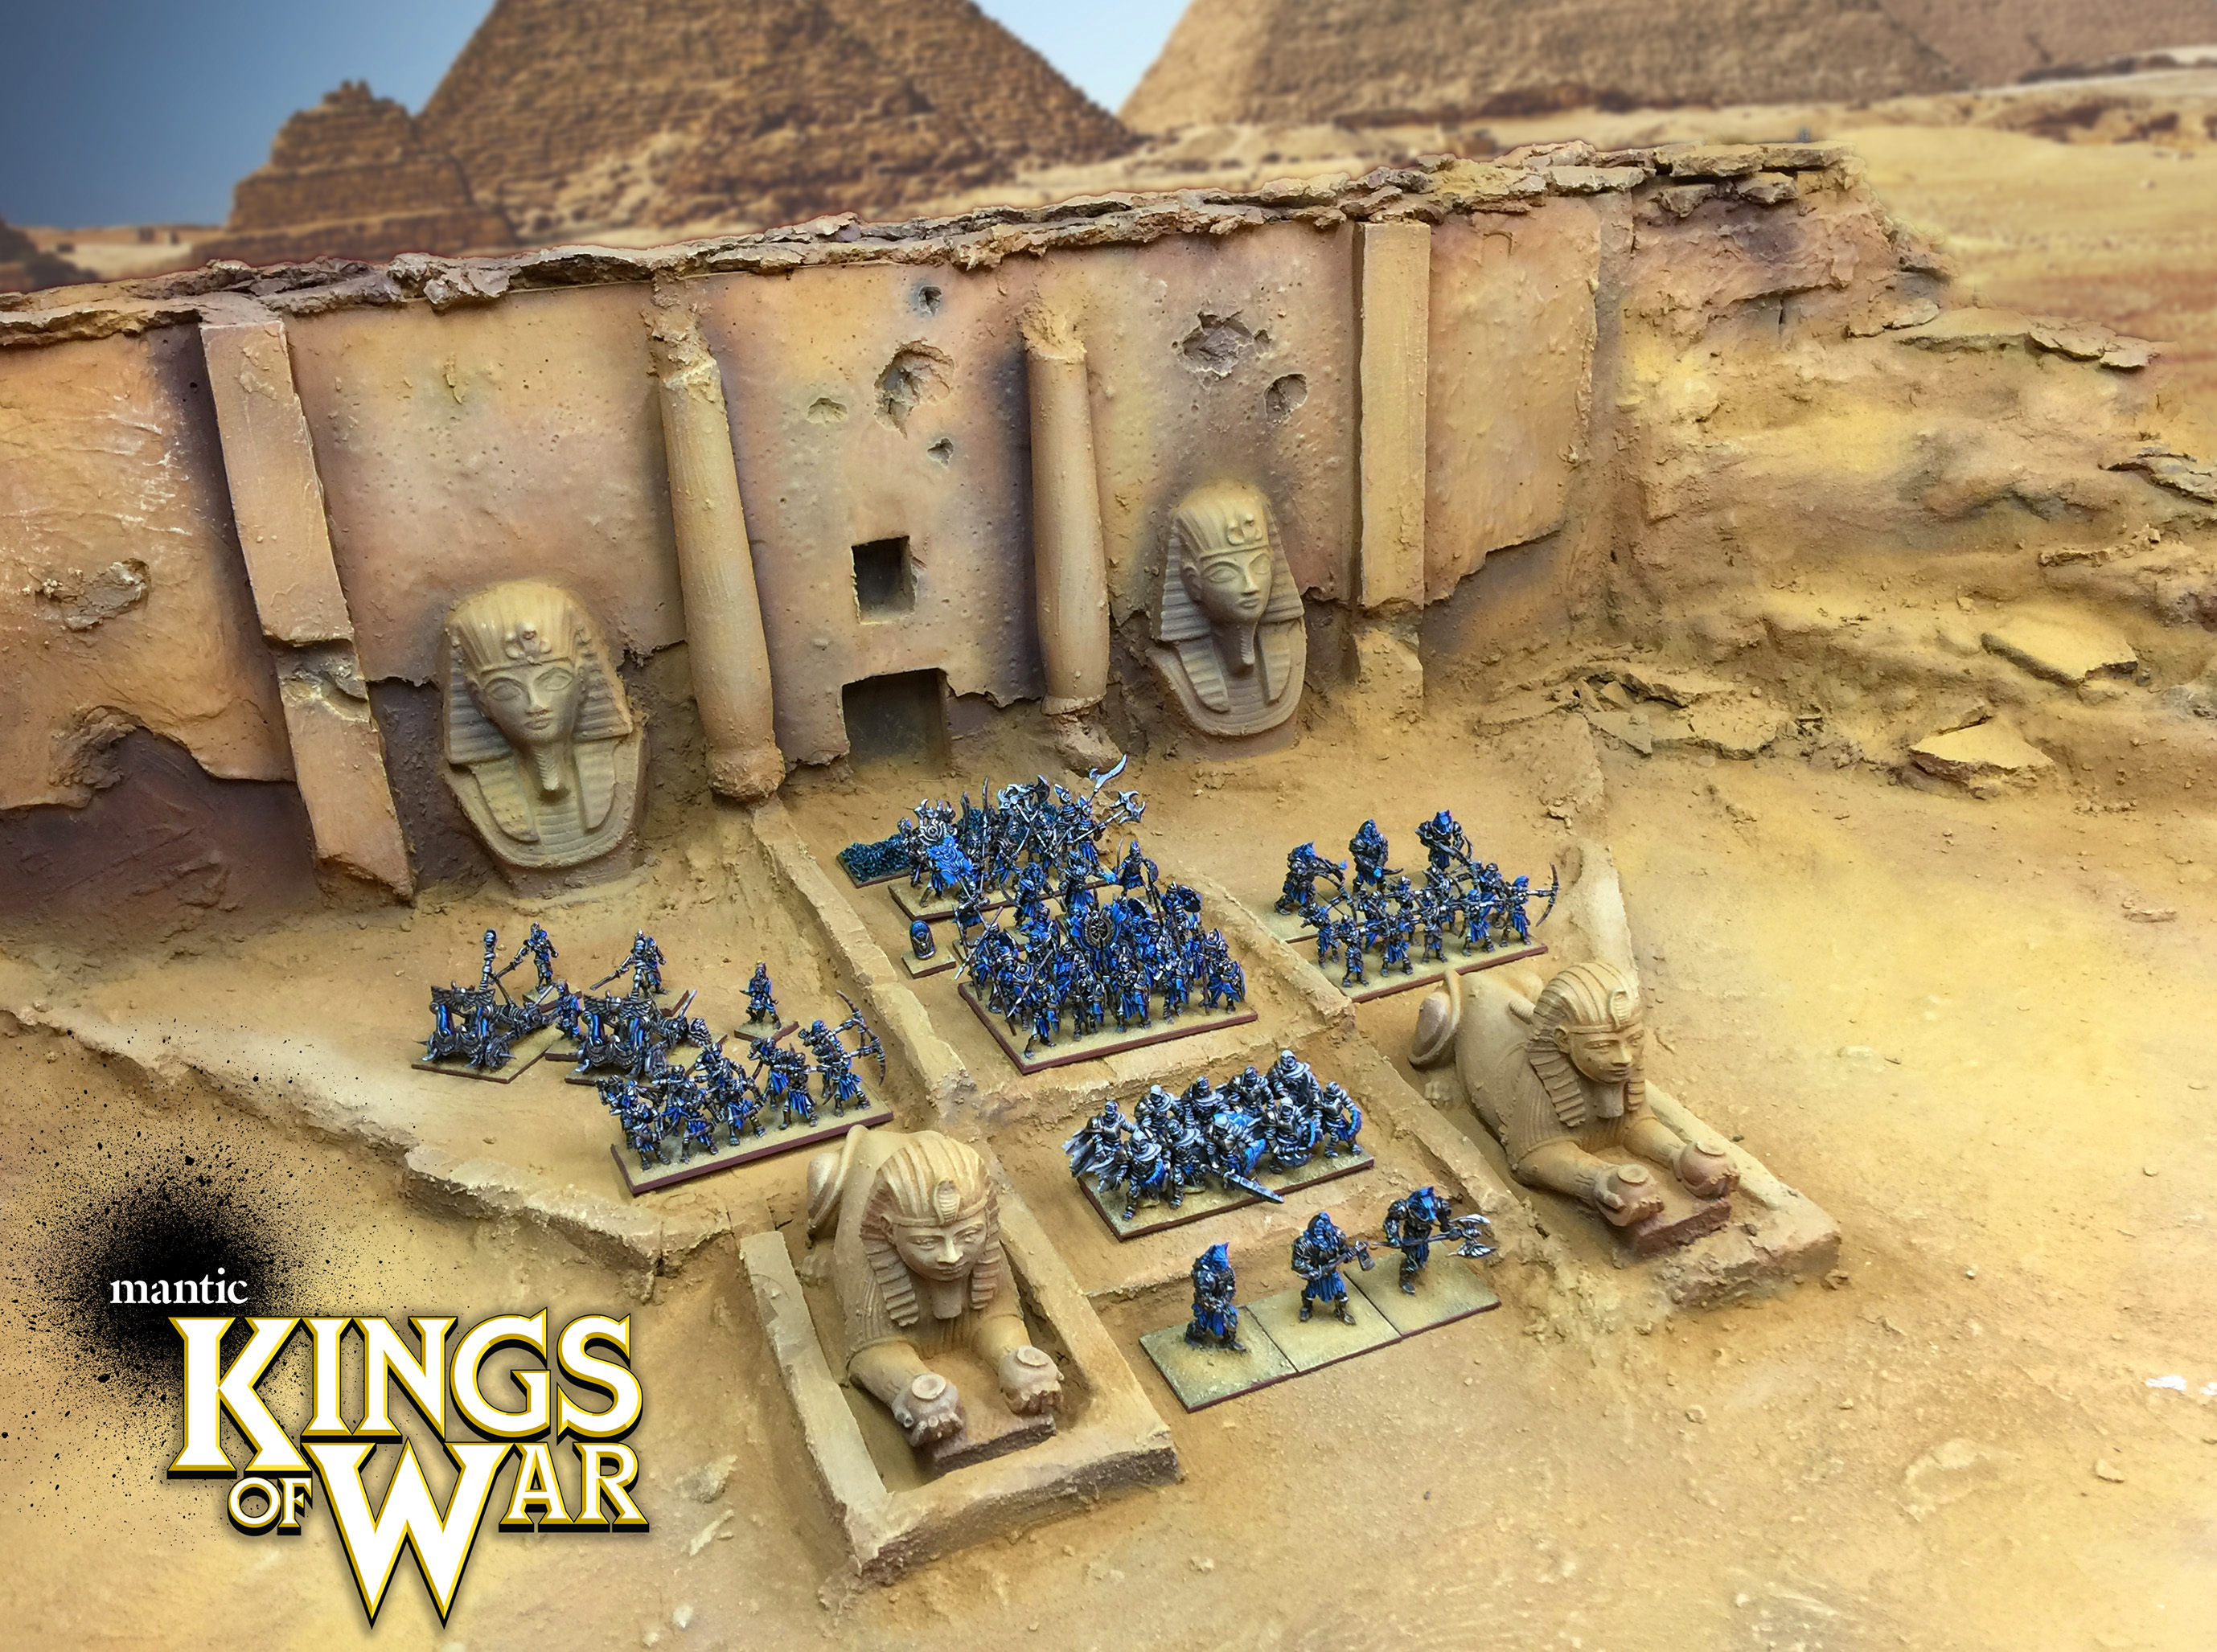
And the final result! Bases were painted using a color match in miniature paints then finished the same way. Interior paint is not cooperative enough for mini bases.
Hope you enjoyed! If you have any questions, get ahold of me and I would be glad to answer. See you next time!
For more images and information on my services:
Website
Thanks, and until next time!

