GMM: Completing a Warlord & Reaver


Hello BoLS readers. Time to wrap up the construction of the Warlord and Reaver titans. What Monsters!
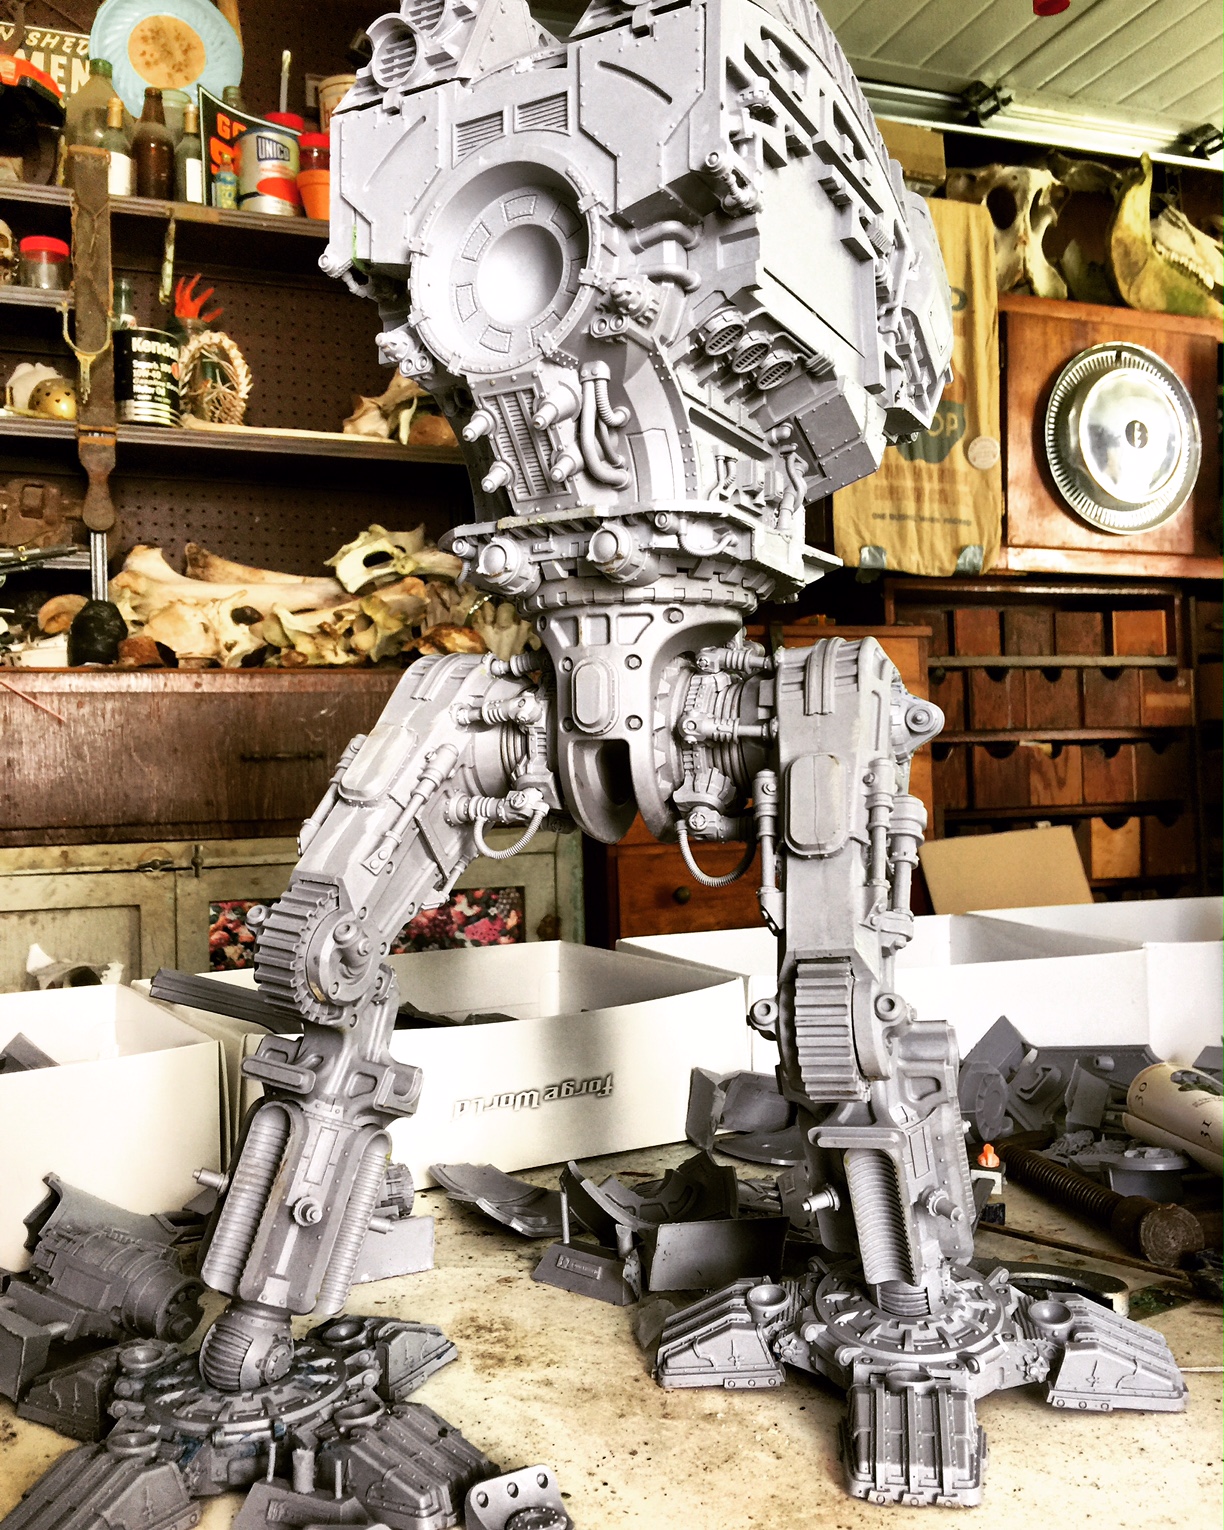
Time for part two in building the Warlord and Reaver. Now that the torso and legs are finished, and magnets are going in, time to get an idea of what she looks like. Pretty big!
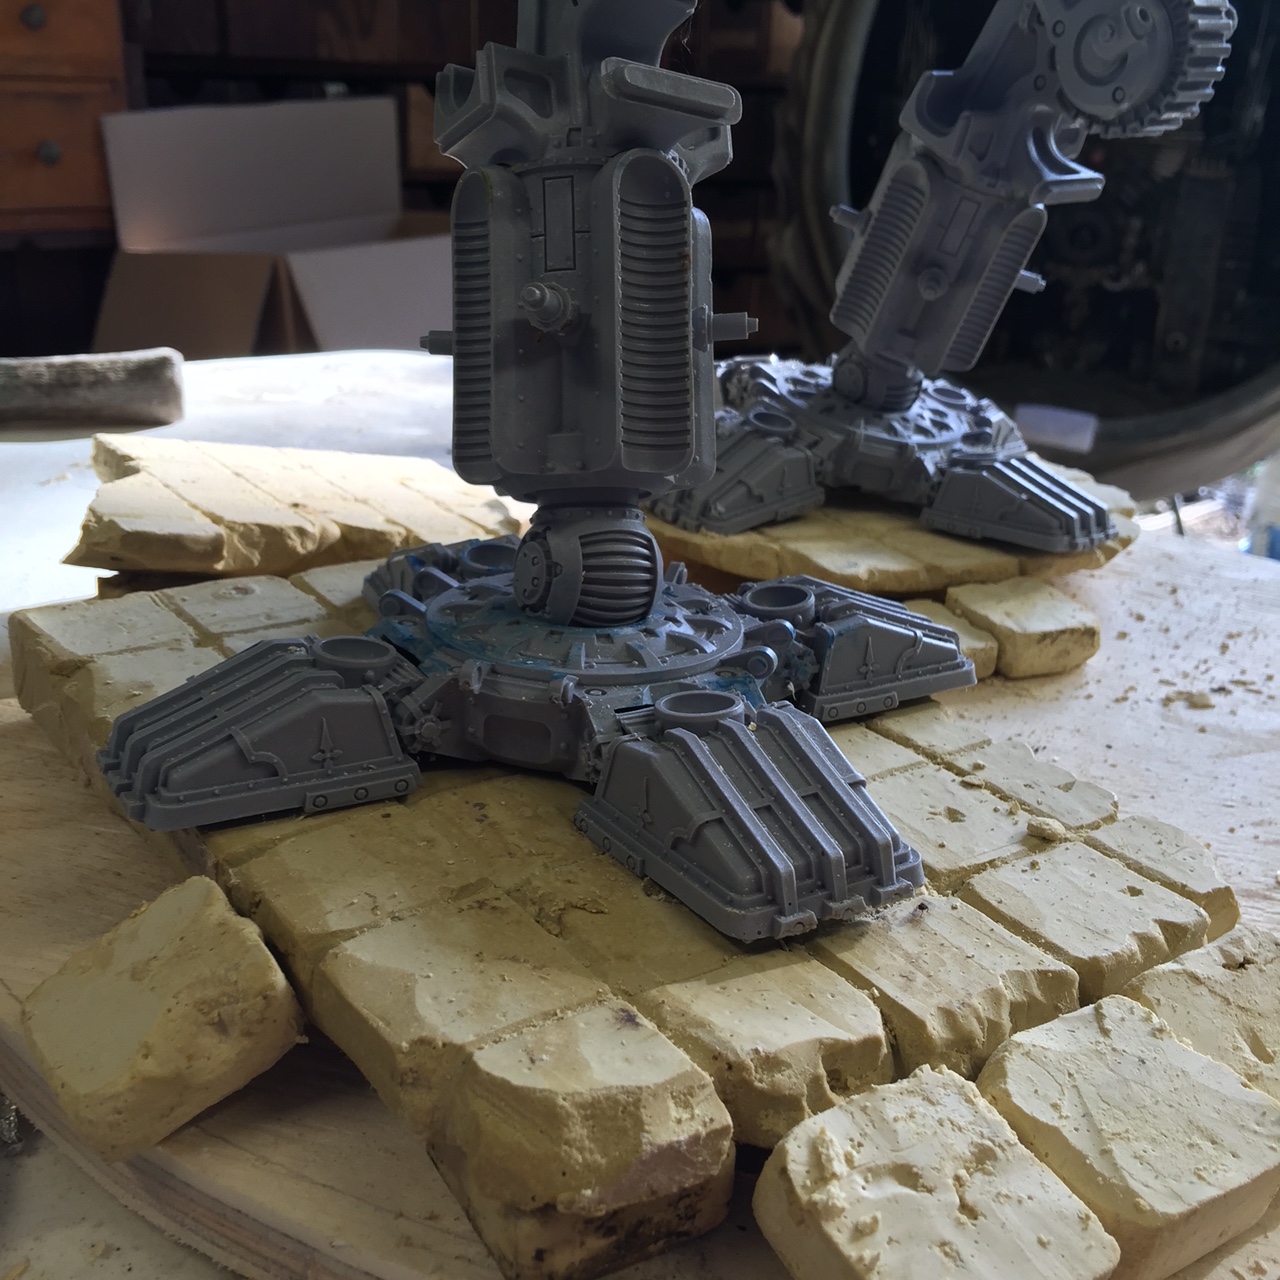
With the legs finished, can also start the bases. These are cut from 3/4″ plywood and sculpted over with clay. Lots of slabs of tiles. These shown were made very thick to add elevation, and will be covered and surrounded later to give illision of levels throughout the base.
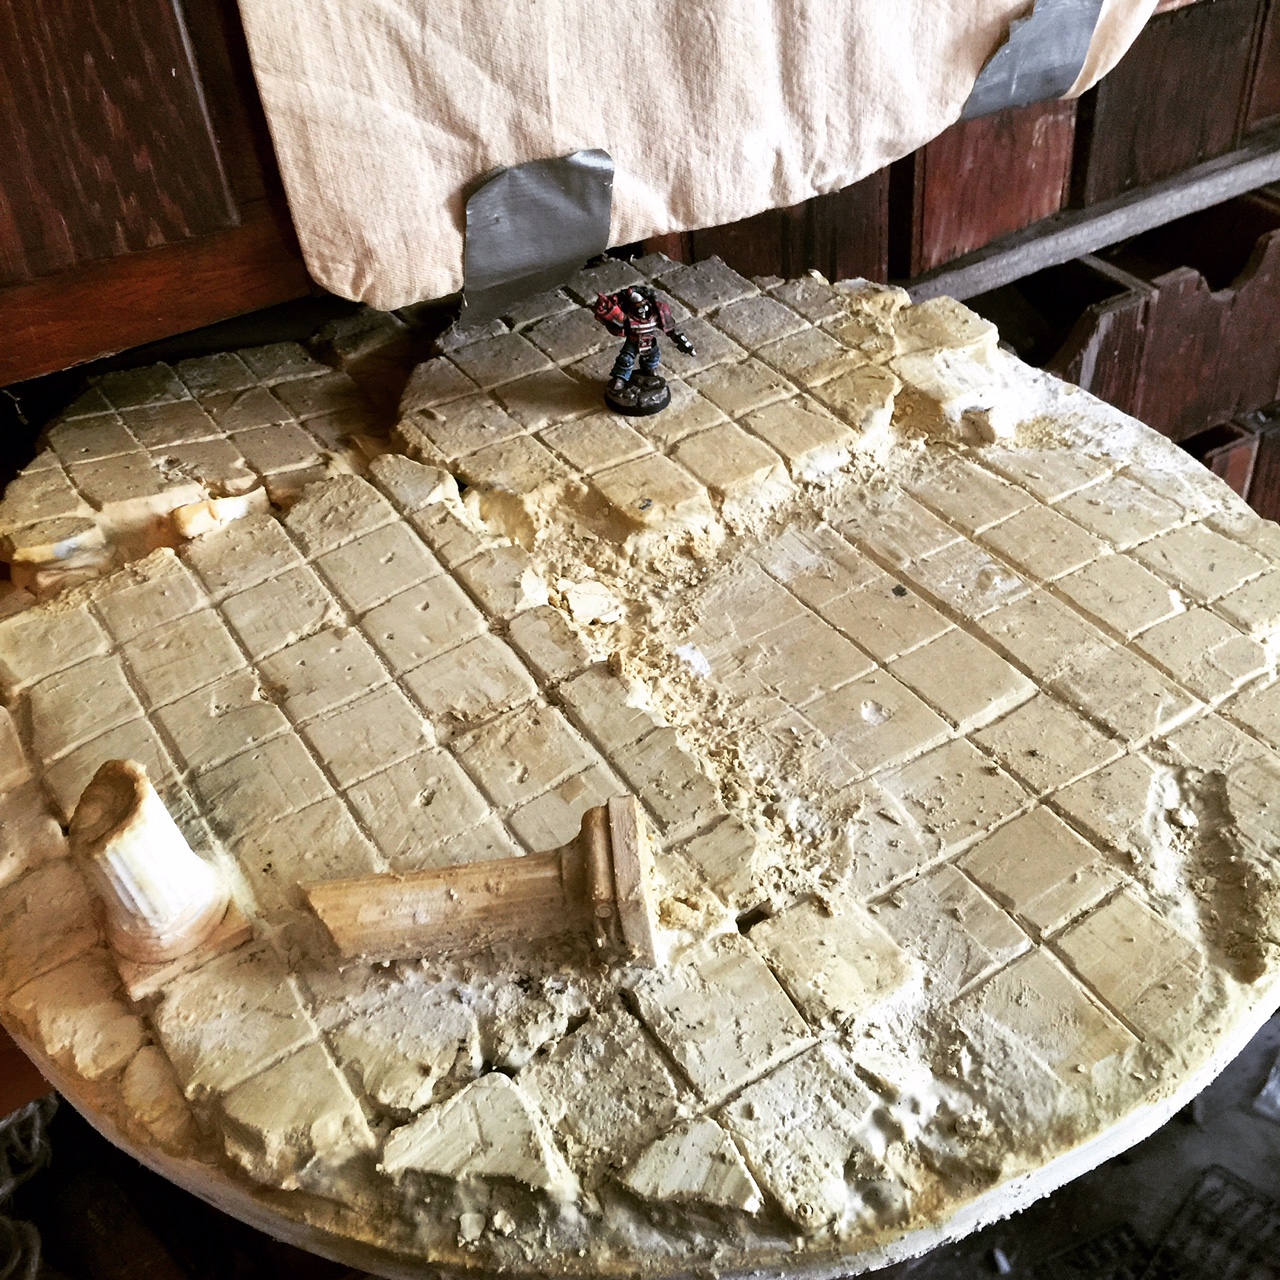
The Warlord base fully finished. This puppy is about 18″ across and between the wood and clay weighs about 10-15 pounds.
Reaver is coming together on the side. I put her in front so not to feel too intimated by the Warlord..
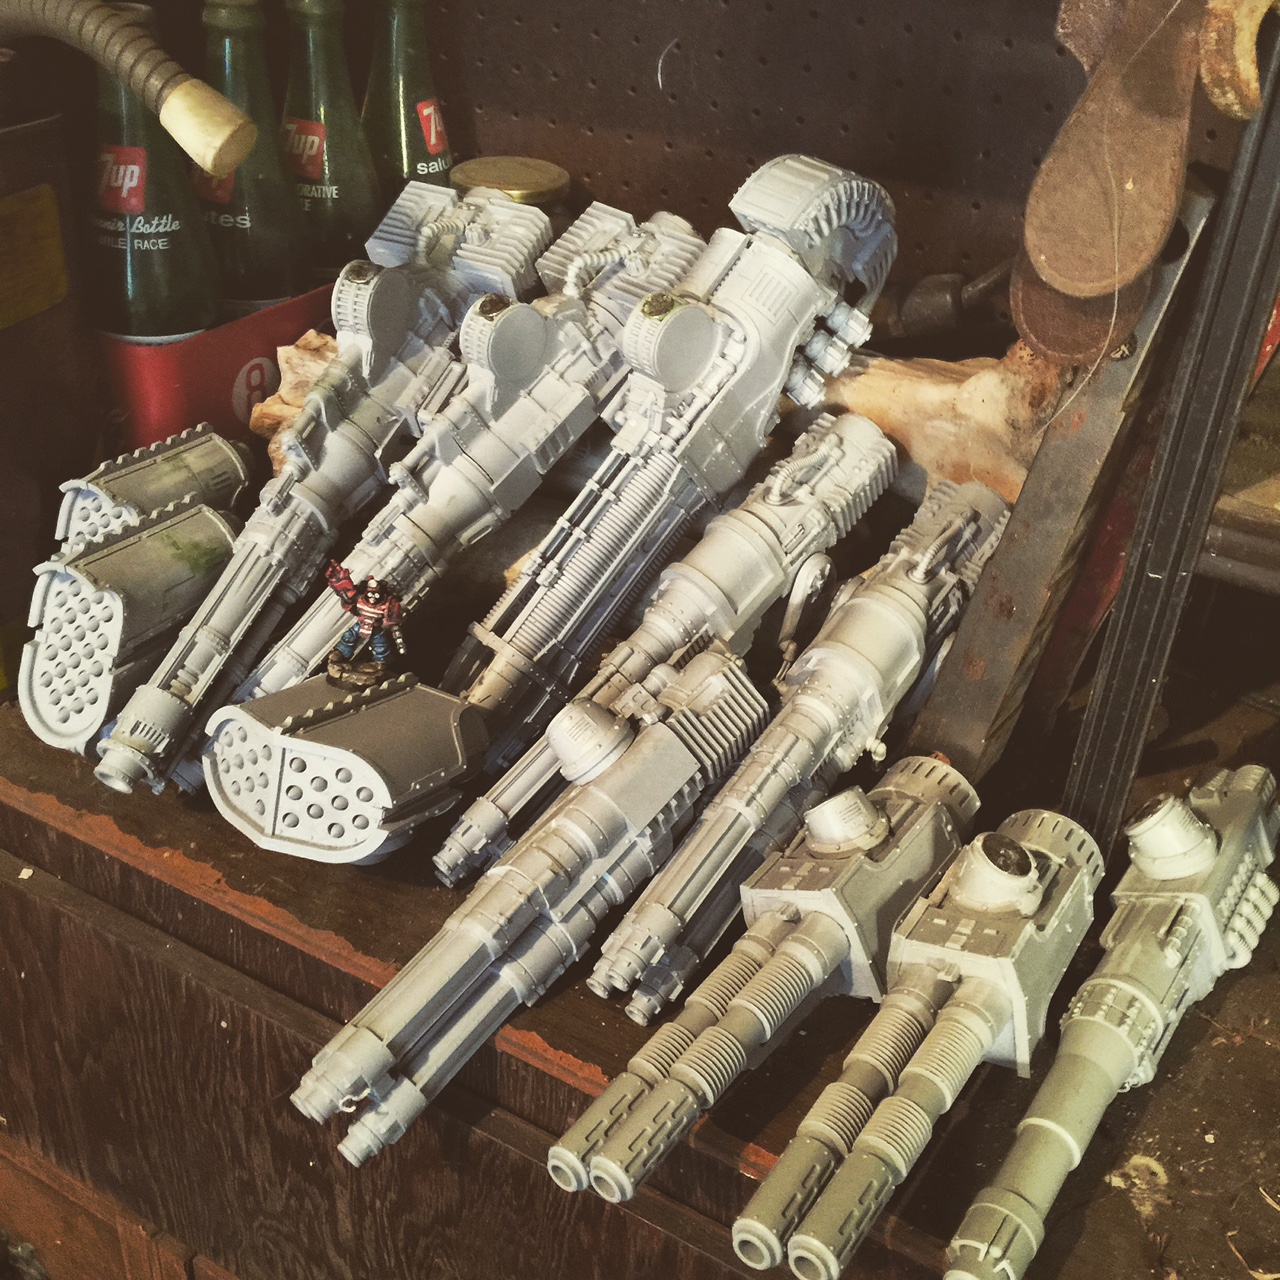
All the weapons ready to go. Each connection in both the weapon and connection point uses a huge 9/16″x1/2″ rare earth magnet.
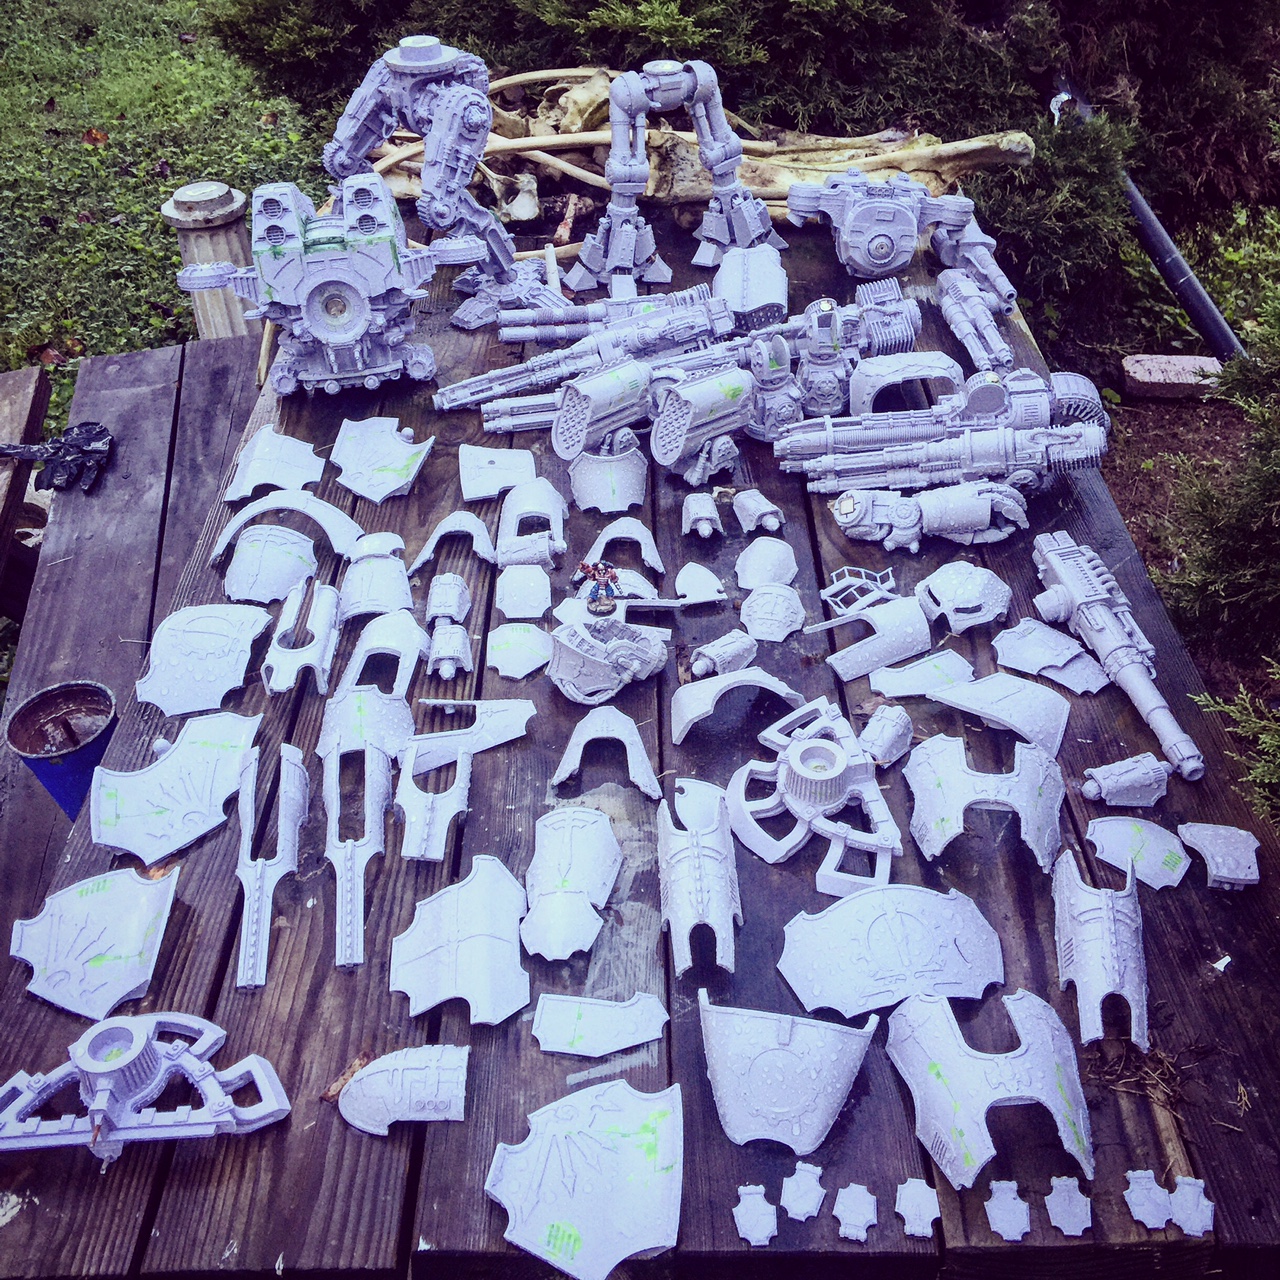
Even once assembled, work was not done. Every large panel had to have every cross detail in the trim (any trim detail that goes into the face of a panel) shaved off, sanded, filled and resanded. Afterwards all parts got a second wash and dry before primer. As well as a good sort, to make sure nothing was missing!

“Don’t move! Our guns aren’t real!” Fooling around in celebration of being finished with assembly.
Thanks for following along, hope it was entertaining and helpful. Be sure to check out the next article which will cover the finished paint – these are covered entirely with freehand and marble!
Thanks and see you next time.

