SHOWCASE: Painting Bushido’s Ro-Kan Starter – Master Ekusa

My first Bushido force is complete! Lets do a step by step with master Ekusa.
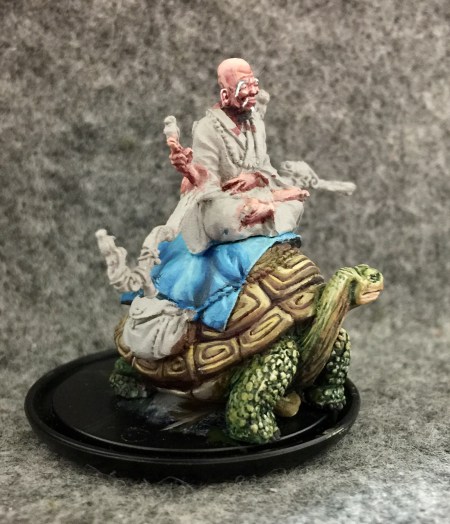
Here he is all primed. As always I used Tamiya gray fine surface primer.
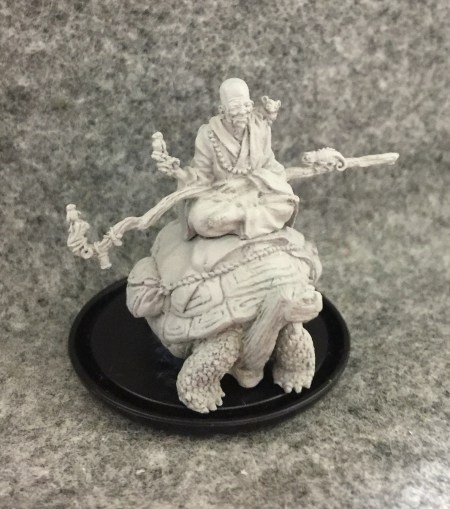
This poor guy had been sitting around like this since 2014. I’ve only just finally painted him now that I’ve been playing Bushido regularly and found out how much fun it is.
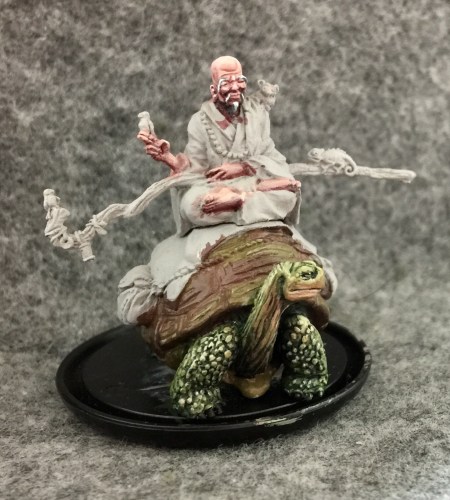
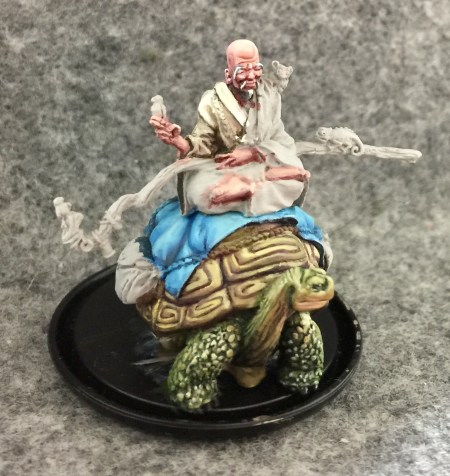
Skin is always good place to start. It’s typically one of the lowest surfaces on a model so you can paint he areas above it easily. Painting the face early also helps ground everything else you paint since it will be the first place people’s eyes go.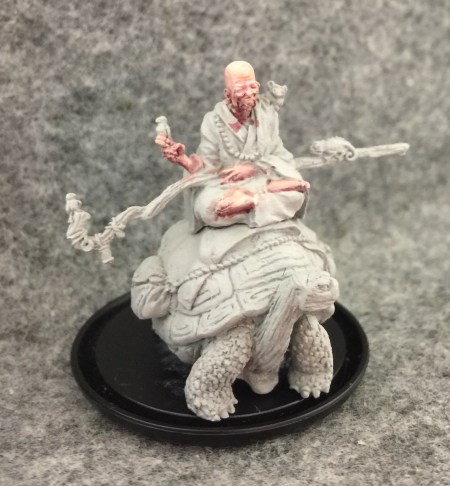
There were three main colors I used. Bloodstone, Beaten Purple, and Menoth White Highlight. These are all Formula P3 colors which tend to be my preferred brand. Bloodstone is kind of a dark orange in appearance but with the added Menoth White Highlight it makes a good warm flesh tone that doesn’t come across as distinctly Caucasian. The Beaten Purple is mostly for the shaded areas.
I add some more definition by cleaning up the highlights, and pick out his eyebrows and beard with white.
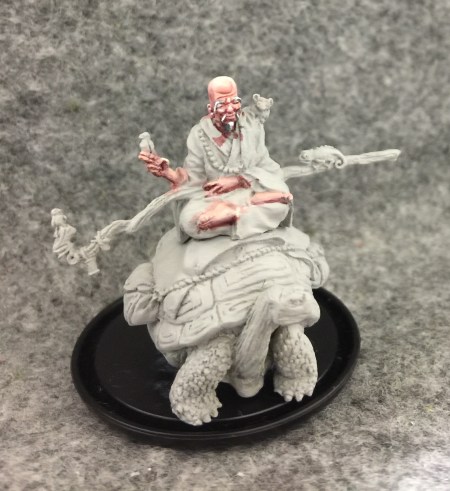
I shade the hair with some Greatcoat Gray. It has a blue tone so it’s coolness creates a nice contrast with the warm skin. I also highlights on the flesh a bit more, particularly lightening up his round head.
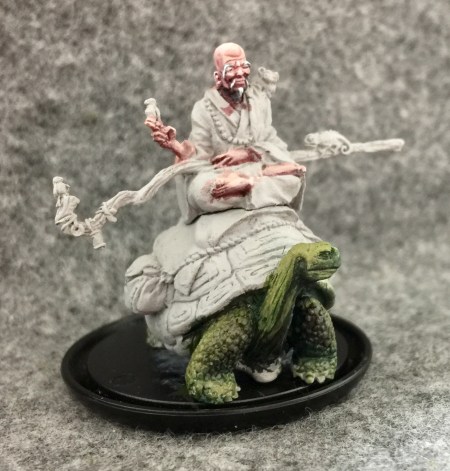
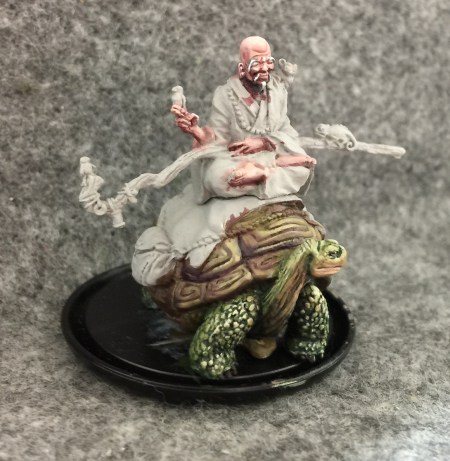
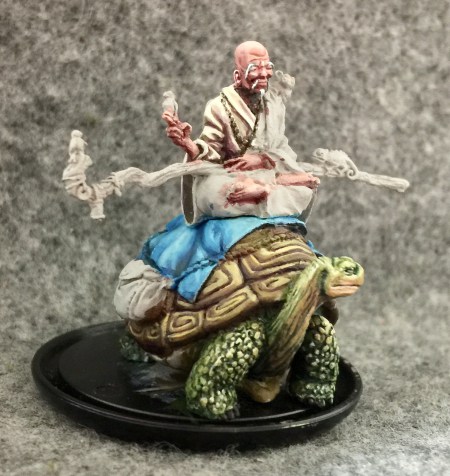
The base green for the turtles skin is Ordic Olive. while it’s still wet I blend in Coal Black for the shadows and Rucksack Tan for the highlights.
To bring out the scales and other details, I gave all the turtle bits a wash of Agrax Earth(this is a GW wash) with some Coal Black mixed in. Then I drybrushed the scales with an Ordic Olive/Rucksack Tan mix, before going in for another bit of dry brushing at the apex of the knees with pure Rucksack Tan. Next I brought out the highlights even more on the face and scales with a three part mix of Ordic/Rucksack/Menoth White.
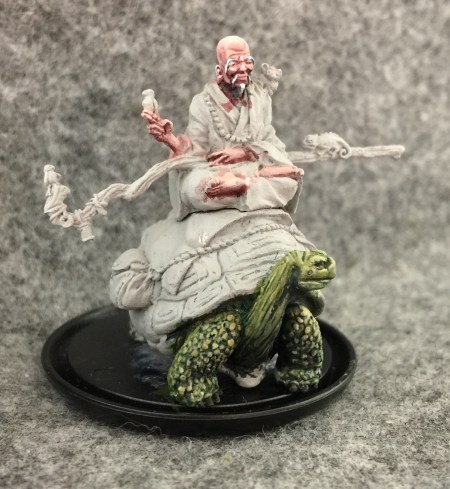
Now I’ve added some thin lines of Highlight to the individual scales to try to almost give them a reflective feel.
Something still didn’t seem right about the tortoise, so after googling some images of Galapagos tortoises I decided to try adding some warmer skin beneath the neck and chin. The mix of Rucksack Tan and Khardic Flesh seems to have done the job.
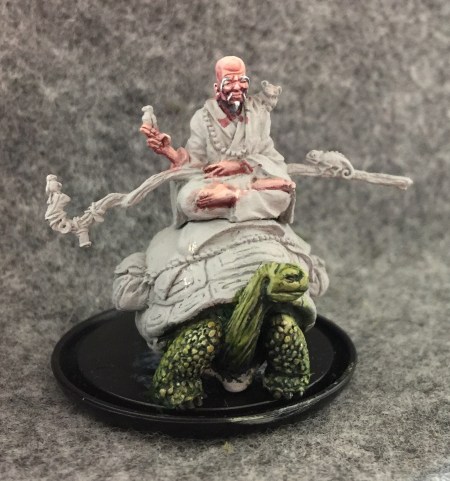
Then I went on to the shell. It started with a basecoat of Traitor Green which was shaded with a mix of Umbral Umber and Beaten Purple.
I highlight this by blending some Sulfuric Yellow and Menoth White Highlight into the Traitor Green basecoat.
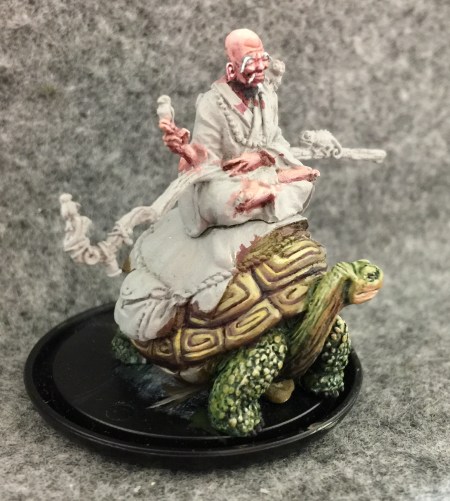
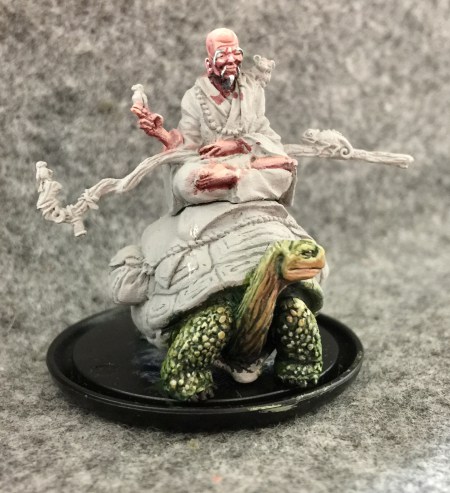
In the last step for the shell I brightened up the highlights by adding in increasing amounts of Menoth White Highlight.
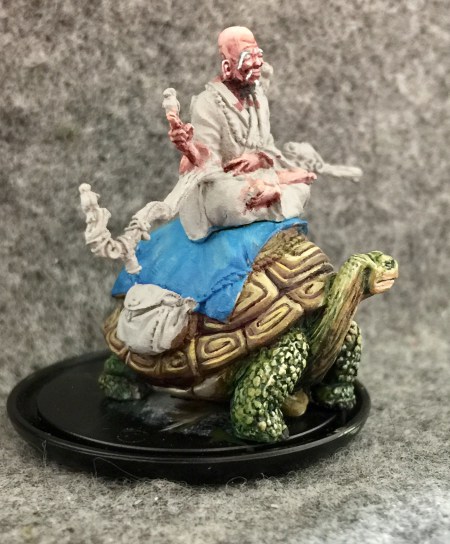
The next step is Ekusa’s mat. I started it off with a mix of Cygnar Blue Highlight and Frostbite.
It is shaded with pure Cygnar Blue Highlight. I blend some of my warm toned black into areas that I want even darker. I use a black toned with Bloodstone and Red Ink to shade cool regions. the theory is the warm color should make the cool blue pop even more. I also add some more highlights by mixing some Menoth White Highlight into the base mix.
Next I start on his inner robes. For the first step I’m just getting some value down with Menoth White Highlight shaded with Umbral Umber.
Then I get some Beaten Purple into the mix for some color as I try to add more definition to all the cloth.
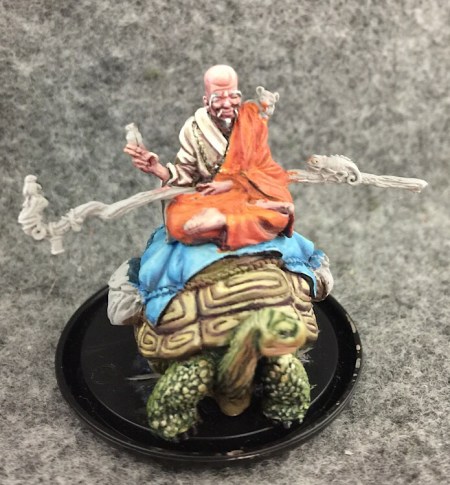
After smoothing out the blending the white robes some more I start on the outer robes. For a basecoat I go with Khador Red Highlight mixed with some Beaten Purple .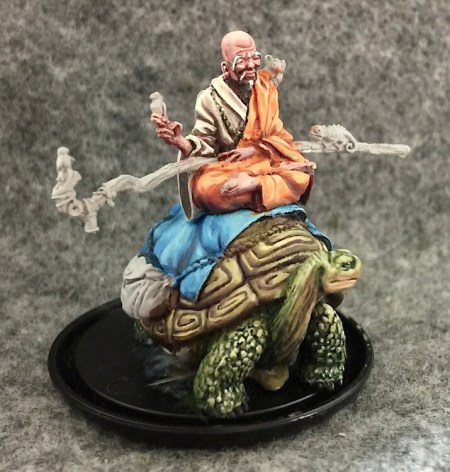
I start defining the cloth by adding highlights of Khador Red Highlight with increasing amounts of Menoth White Highlight added as it gets lighter. Pure Beaten Purple is also added in a few places to define the shadows.
I kept tweaking the highlights and shadows until I worked them into something I liked. I used Umbral Umber in some areas to get the shadows really dark. I base coated the beads with warm toned black to help me get a better feel for the shape of everything.

I handle the bags next. I start with a basecoat of Bloodtracker Brown which I highlight with more, you guessed it, Menoth White Highlight.
I add more shading to the bags with a dark navy blue color mixed from Exile Blue and Umbral Umber.
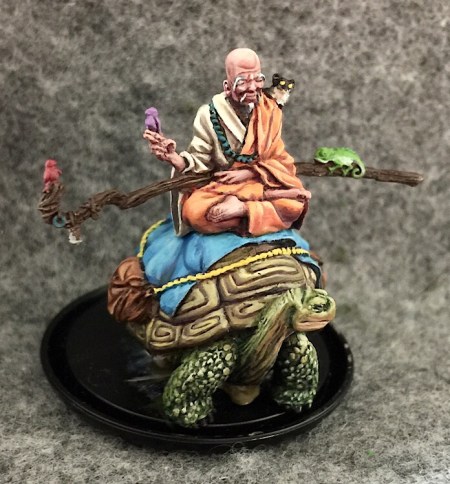
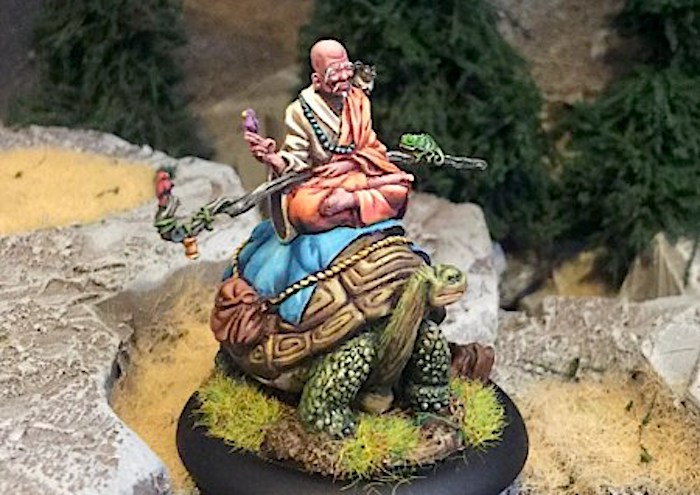
I’m almost finished now and I just need to take care of all the little details like the rope, beads, and various critters. The rope is Sulfuric Yellow. The beads each get a spot of Trollblood Highlight. As for critters, we have a red bird done with Sanguine Base, a purple bird done with Beaten Purple, a black and white lemur, and a chameleon with Wurm Green skin and a Menoth White Highlight belly.
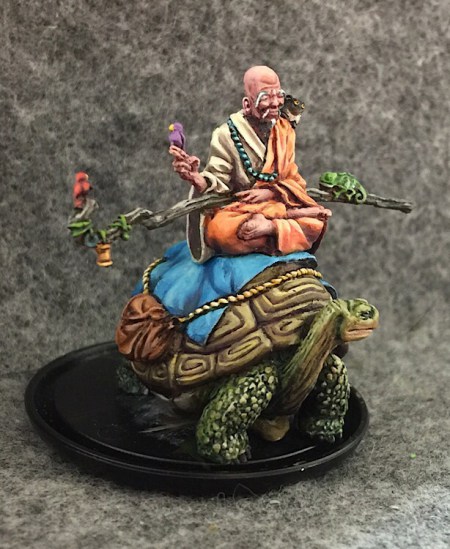
The rope is washed with Agrax Earth before each strand is picked out again with Sulfuric Menoth White Highlight. The red bird gets some highlights of Khador Red Base, and both get Yellow beaks. The chameleon gets some stripes with Gnarls Green. I even managed to get some black dots into the Lemur’s Yellow eyes.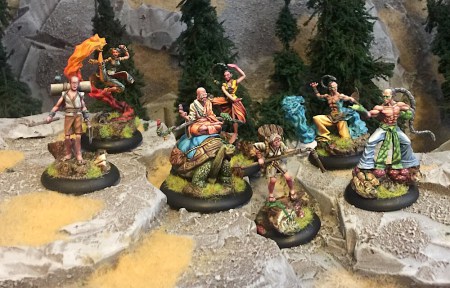
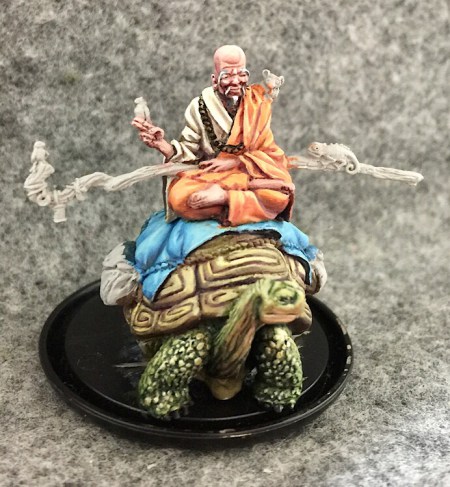
It feels good finally seeing them all finished. Although seeing them on this rocky hillside only reinforces the fact that I need to make some dedicated Bushido terrain.
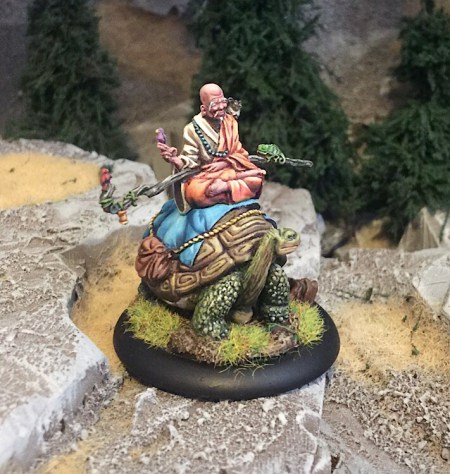
You’ve already seen Ekusa.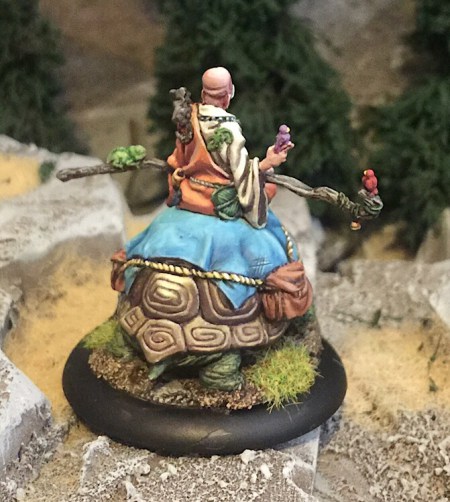
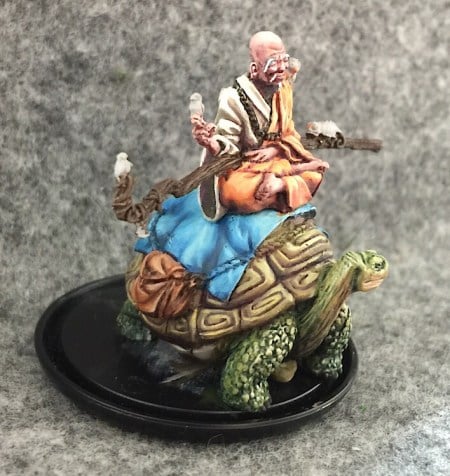
Here’s a look at his other side.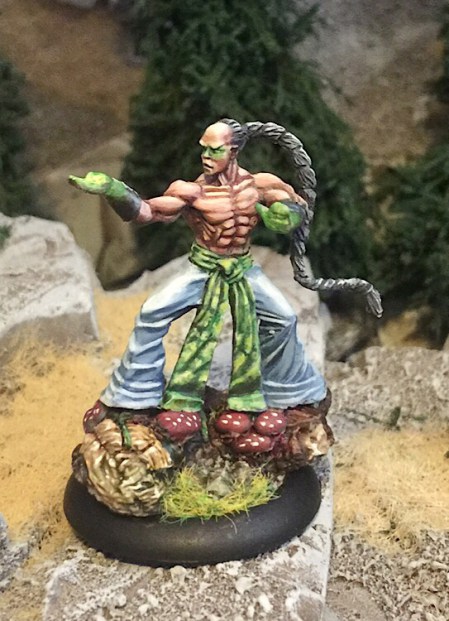
Kenko was actually the first one I painted. It’s part of the reason why some of his shading on his skin is so dark. I was still trying to get a good feel for the flesh tone. It’s also why he’s the only one I gave any freehand to. It took a bit longer than I wanted to complete, so the rest of the force was a little more simple.
Since he has kind of earth based powers, I tried to give him a nature-y feel. This is the reason for the plant pattern on his obi (or whatever they’re called on the Jwar Isles. I did try to give all the monks a glow on their hands and eyes to bring home the feel of supernatural powers.
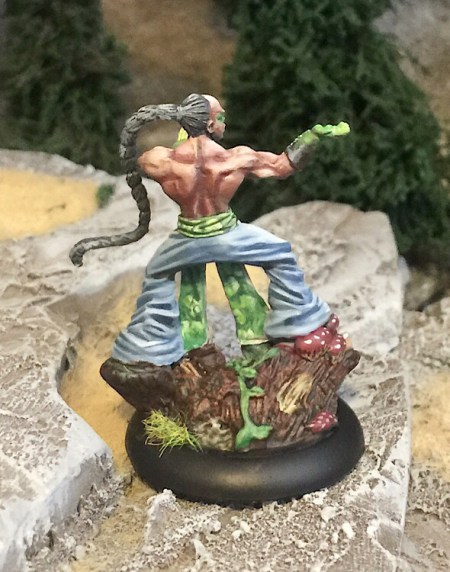
Strangely I feel like the freehand on the back looks better, even though I spent much less time on this side. That’s how it works a lot of the time.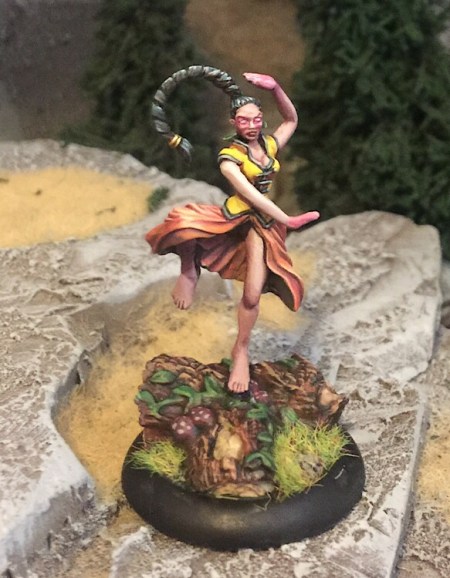
I decided to go with a completely different color scheme for Yumi. Her elemental powers are a bit nebulous with air and water based abilities.
Blue was too obvious a color choice for her uniform so I went with kind of a sunset palette with yellow and orange fabric and pinkish purple glows.
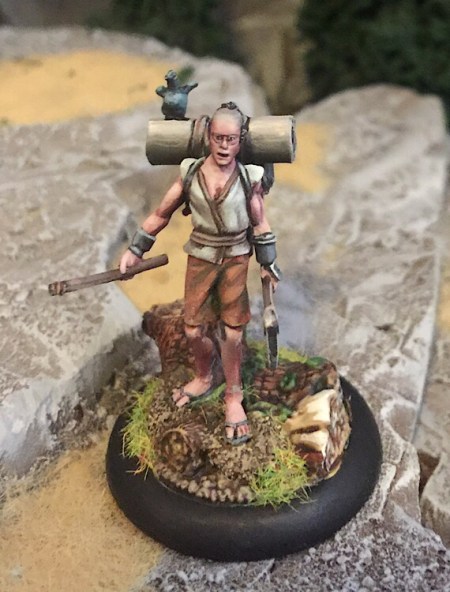
I went for more natural tones for the peasants.
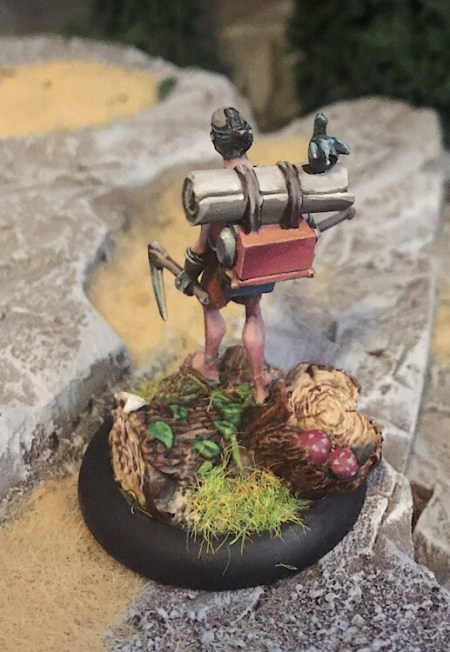
I assume he keeps his medical supplies in that box?
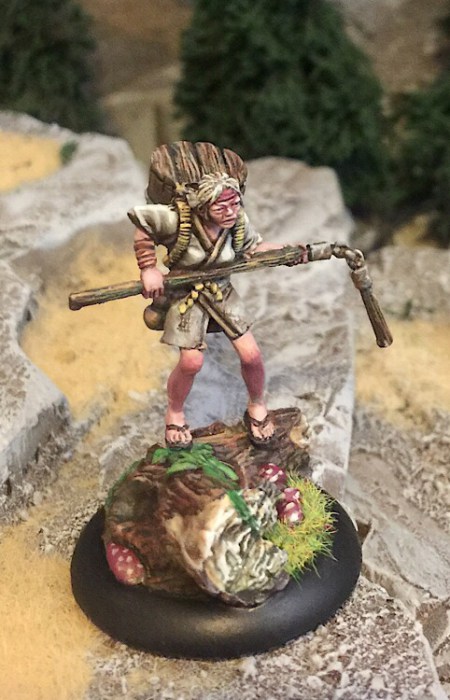
She’s supposed to be sporting a woven hat, but I loved her facial expression too much to cover it up. So grizzled… If she could talk I’m sure she’d tell you about how much tougher the oni were back in her day.
The reverse isn’t as exciting.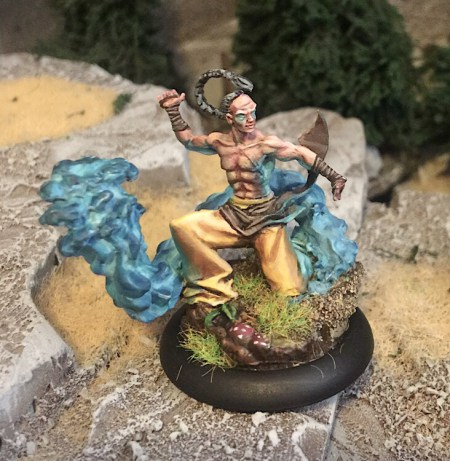
Riku is the first of the reinforcements I painted to bring the starter force up to 50 points. I didn’t handle the glow quite as well as I would have liked.
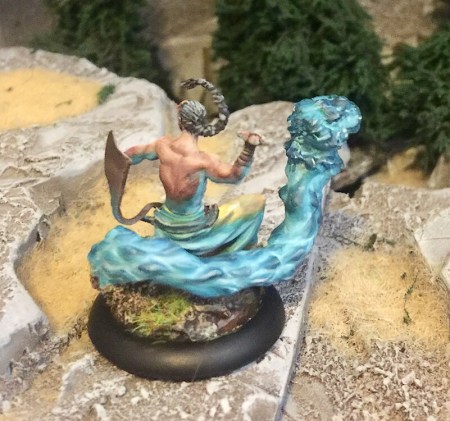
I do like how the column of water looks from the back though.
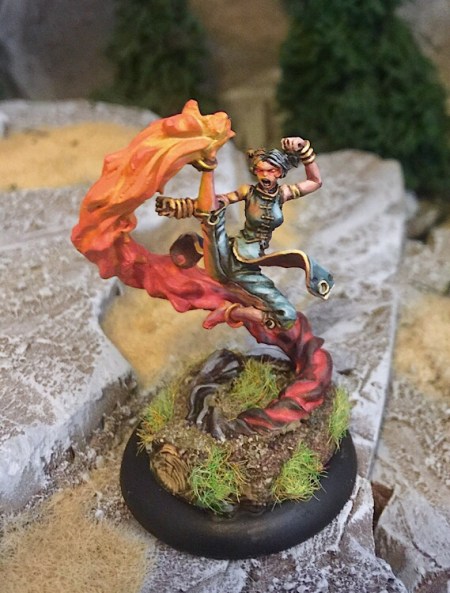
Hotaru is my favorite sculpt of the batch after Ekusa himself. I gave her a dark blue uniform to create a nice contrast with the red/orange of the flames. I think this lead to her glows being a bit more successful than Riku’s, but they still could be a little better.
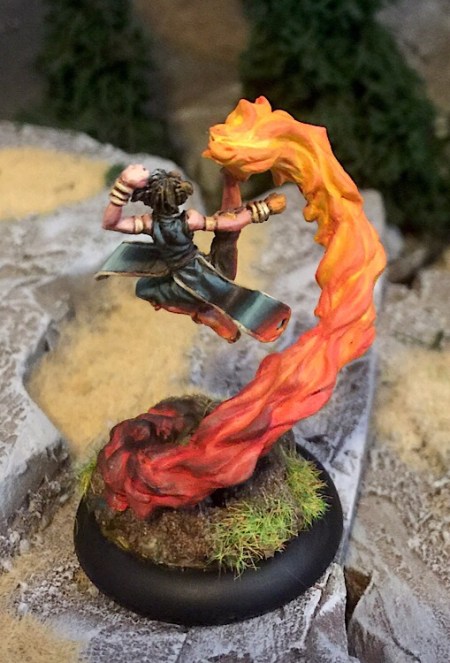
The effect is more successful on the reverse.
If you enjoyed this article, please check out my own blog Too Mini. This is the first place you can come to check out all my painting articles before they go up on BoLS.
~Hope you enjoyed the article! Which Bushido Faction is your favorite?

