SW Armada: Rad Raddus

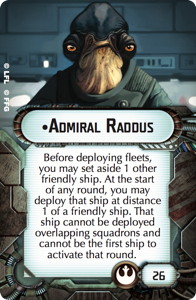
Admiral Raddus always has an extra ship on hand to save the day.
I’ve made no secret of how excited I am for the next wave of Star Wars Armada to come out. Though I’ve been very excited by everything we’ve seen about Thrawn and the new ISDs, I am also pretty pumped for the new Rebel stuff. Unfortunately we just haven’t seen a lot of what the Rebels are getting. Beyond their new Admiral, Raddus. Since we do know what Raddus will do, I’ve been playing around about with lists using him. Here is what I’ve come up with.
Two Ways of Thinking
Now there are two ways of using Raddus by himself. You can either use him to hold a smaller, often close range ship in reserve for a killing blow or to drop your main ship behind the enemy. For small ships you want something like an MC30 or a Hammerhead. A ship that wants to appear close and unload a bunch of black dice. The issue with this tactic is that the ship Raddus brings in can’t activate first. Thus giving the enemy a chance to move way. While the Profundity title can get around this limitation we don’t know enough about the MC75 for me to build a fleet around it.
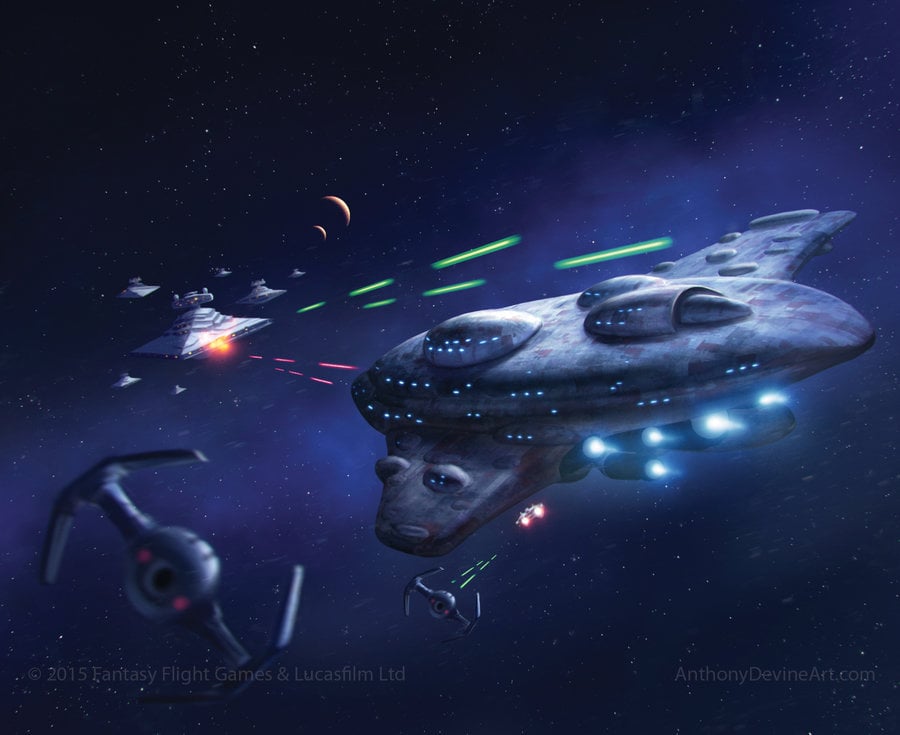
The other way to use Raddus is to bring in a big, maybe slower, ship behind the enemy in an unexpected place. This ship, maybe with it’s longer range, doesn’t have to worry about the enemy moving away from it. It’s this second approach I’ve used in the list I’ve come up with.
The List
The Big Hit
Commander: Admiral Raddus
Assault Objective: Most Wanted
Defense Objective: Fleet Ambush
Navigation Objective: Solar Corona
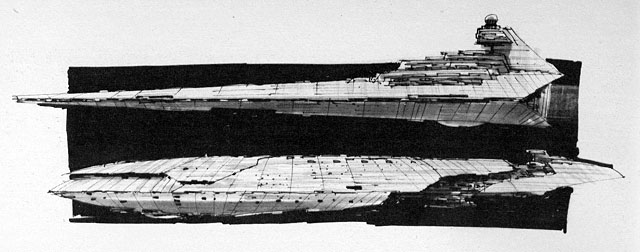
MC80 Battle Cruiser (103 points)
– Mon Karren ( 8 points)
– Major Derlin ( 7 points)
– Gunnery Team ( 7 points)
– Engine Techs ( 8 points)
– Spinal Armament ( 9 points)
– X17 Turbolasers ( 6 points)
– Leading Shots ( 4 points)
152 total ship cost
CR90 Corvette A (44 points)
– Turbolaser Reroute Circuits ( 7 points)
51 total ship cost
flagship CR90 Corvette A (44 points)
– Admiral Raddus ( 26 points)
– Turbolaser Reroute Circuits ( 7 points)
77 total ship cost
CR90 Corvette A (44 points)
– Turbolaser Reroute Circuits ( 7 points)
51 total ship cost
1 Tycho Celchu ( 16 points)
1 Shara Bey ( 17 points)
1 Rogue Squadron ( 14 points)
2 A-Wing Squadrons ( 22 points)
Points: 400/400
Using The Fleet
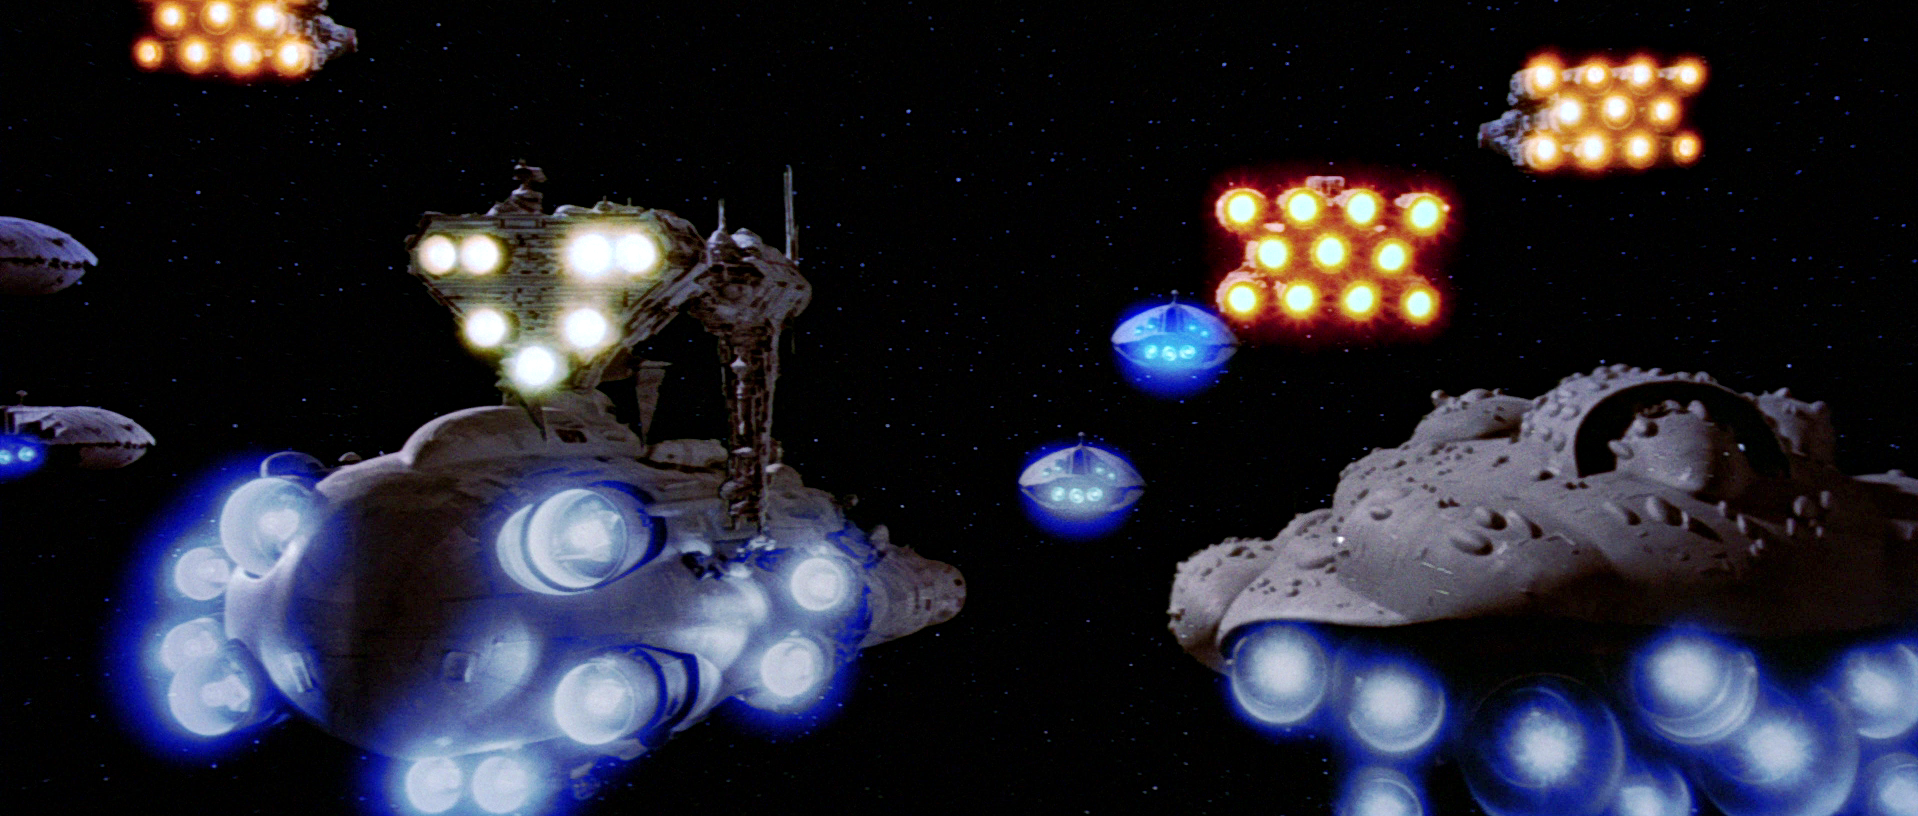
This fleet is all based around keeping the enemy off balance as long as possible. At the start of the game you’ll leave the MC80 off table with Raddus’ ability to bring it in at a good time. This will leave you with just 3 CR90s and a fighter screen to play out the first couple of turns. The CR90s are nimble enough that you should be able to get behind the enemy. Once behind the enemy you can drop in the MC80 to wreck them. Three spread out CR90s should give you lots of options for where to bring in the MC80 and TRC will allow you to plink away at the enemy as you position.

The fleet isn’t super fighter heavy but the A-Wings and aces should provide a decent screen to tie up and hurt enemy squadrons. Even if the bad guy’s squadrons break through your screen you have options. The CR90s are fast enough to make it hard for enemy squadrons to swarm them and and the MC80 can be brought it away from any deadly clusters. I really like Rogue Squadron, which is why it is here. I always enjoy a bit of rogue action but it could be swapped out for something else easily.
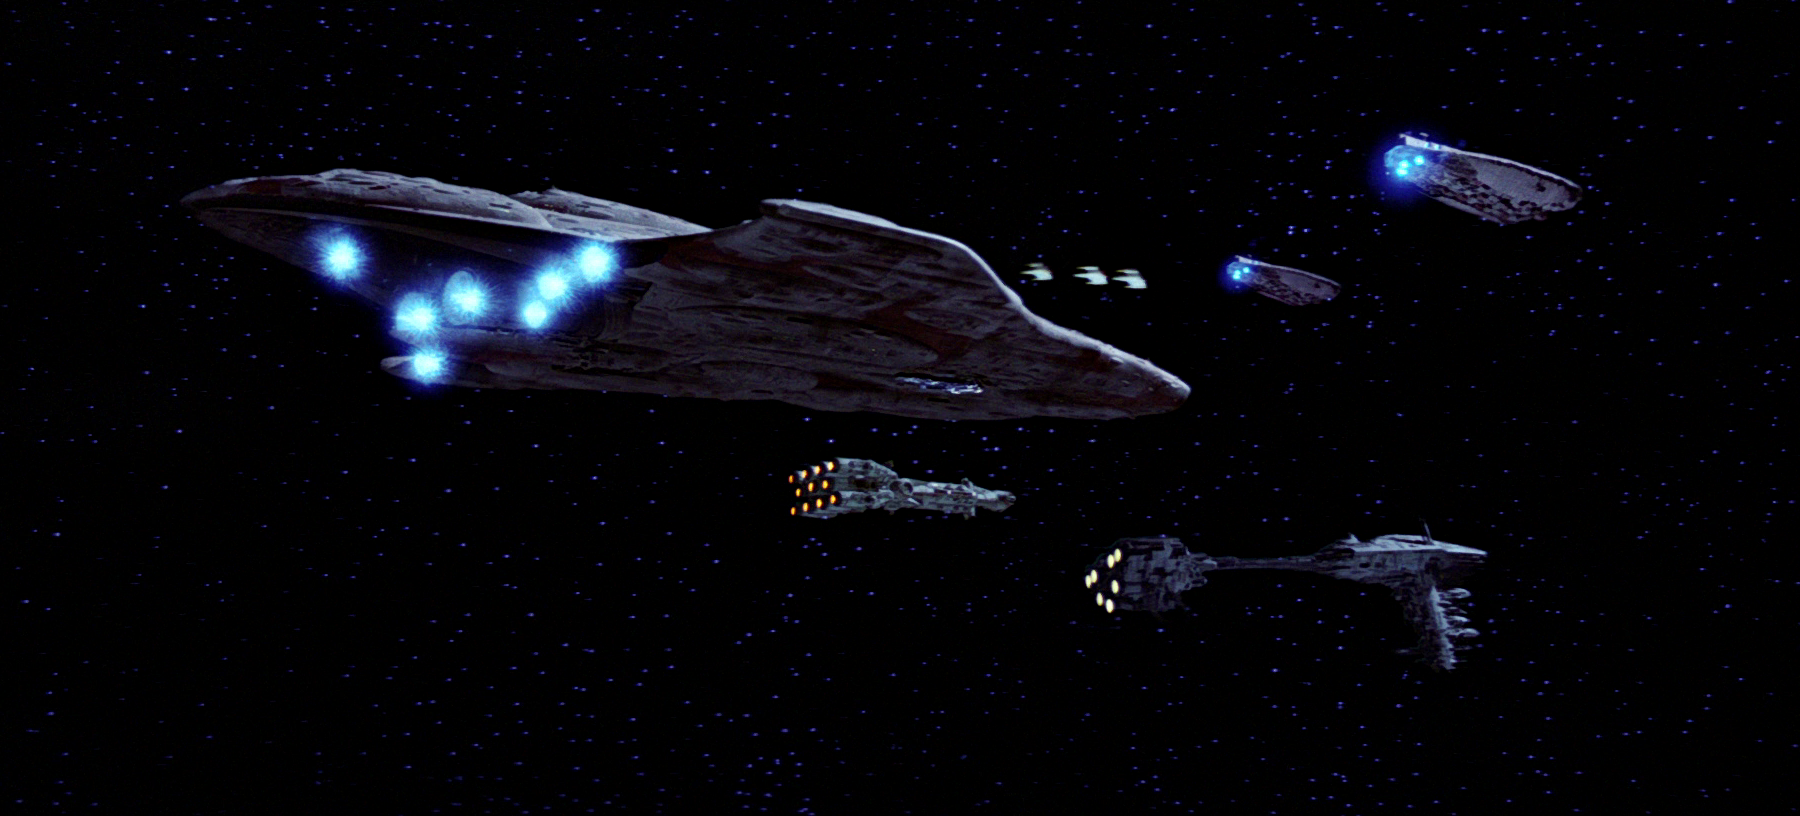
The MC80 is built to be a heavy hitter in this list. Popping out of Hyperspace at pointblank range to an enemy rear it should be able to devastate any target. If the enemy is running light ships its has the firepower to kill two in a single turn. If they have heavier ships it can stay behind them and pound them apart without taking much return fire. With engine techs it can keep up and stay in range of pretty much anything. As a longer range build it should still have targets even if the enemy starts to run from it. Derlin could most likely be swapped out for Antilles or something else. Ideally the ship won’t take much fire, so you have a few options.
No Need For First Move
With this list I’ve opted to make no bid for initiative. Due to this particular build I actually don’t really need, or want to move first. Since the MC80 can’t be the first ship to activate the round it arrives, but can still be the first ship I activate, it’s fine if the enemy moves first. I actually want my CR90s moving last so they can position themselves properly to drop in the MC80. I’ve tried to pick objectives that help me out. In particular I like Fleet Ambush since it is the double whammy of their deployment being wonky and me dropping in a large ship. It can really mess with players.
A Gamble
Overall, lists like this are a bit of a gamble. However they can also pay off in spades. Played properly something like this will catch many players unawares and devastate fleets. I can’t wait to see what other Rebel tricks we will get this wave.
Let us know how you plan to us Raddus, down in the comments!
