AoS: Nighthaunt Hobby Guide – Assembly Tips & Painting

So you’ve got your copy of Age of Sigmar: Soul Wars and you’re ready to hit the hobby hard? Great! But before you dive in here are a few things I learned in the process of building and painting my Nighthaunts from the box.
Soul Wars is out this weekend in the wilds of retail and lots of people are getting their copies. It’s going to be a hobby-packed weekend for a lot of folks and that’s exciting! At the same time there are a couple of tricky things that I learned while working on the Nighthaunts and I’m hoping to share those with you before you fall into those traps. Learn from my mistakes!
Assembly Tips
#1 – Watch those Spindly Bits…ALL of them.

It shouldn’t come as a surprise but the Nighthaunts are what hobbyists like to call “spindly” – but not in the way you might think. First off, it’s not the connection to the bases you should be concerned about because they are surprisingly stable. No, the part you’re more likely to snap are the arms and weapons:
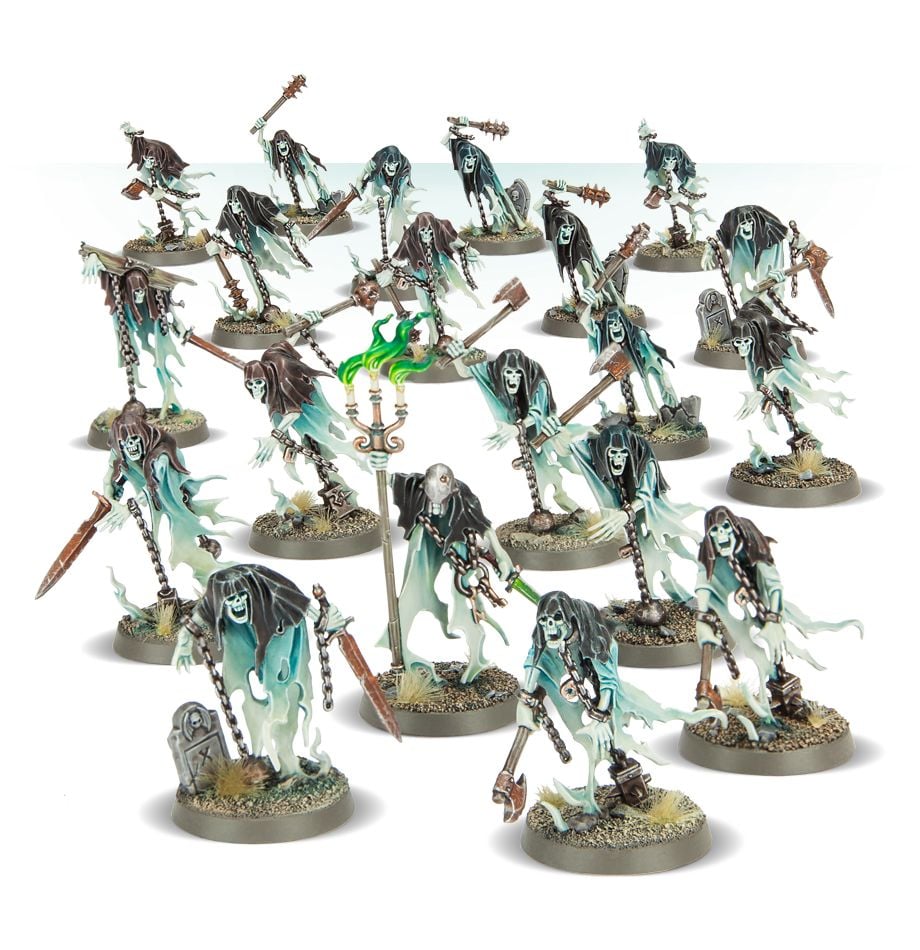
There are more than a few Chainrasps that I had to re-attach arms to post snipping. So just be mindful of that while you’re working on these models.
#2 – Use Good Hobby Snips
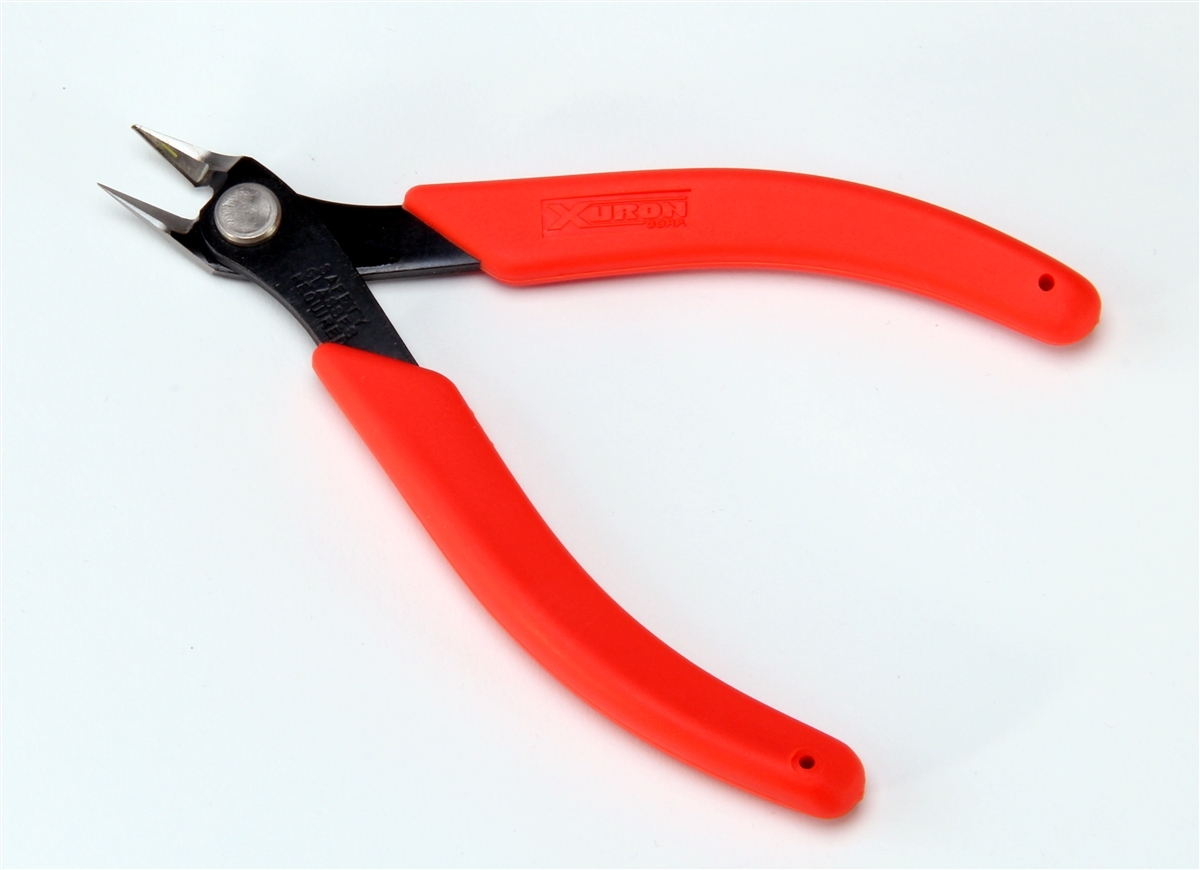
If you haven’t invested in a good pair of hobby clippers, you really should. I know they seem like an extra expense but a GOOD pair will be worth it. I bought a pair that I’ve had for years and it has been a constant tool. Do it.
#3 – Use a Sharp Hobby Knife
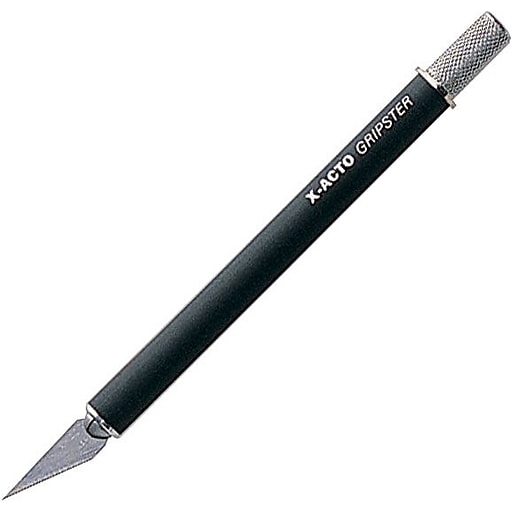
Look, I’m pretty brand agnostic when it come to hobby gear – but you need a good hobby knife. I prefer one with a rubber grip vs the all metal models. Just pick one that works for you. And more importantly, get some extra blades! Having a sharp blade is going to be very important later.
#4 Assemble With Plastic Glue aka Liquid Cement For Plastic Models
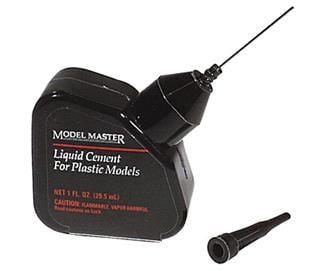
Everything in Soul Wars is plastic. You really should use this stuff if you’re planning on painting your models. While everything is snap-fit (or easy assemble) I still use glue. This stuff is perfect because it melts the plastic just enough so that the contact points actually fuse and for a much stronger bond. It also helps with the seam-lines.
#5 Clean Your Mould Lines!
With the quick painting techinque I’m going to get into you really, REALLY want to clean-up your mould lines. You can use a Mouldline remover or the sharp edge of the hobby knife – whatever technique you use just don’t skip this step.
#6 Take Your Time With Assembly
Unless you’re in a speed competition take your time. You just paid good money for these models – slowdown, dry fit the bits before you add glue and take your time. Follow the instructions for assembly and you’ll be done before you know it.
#7 Only Build 1 Candlestick Guy
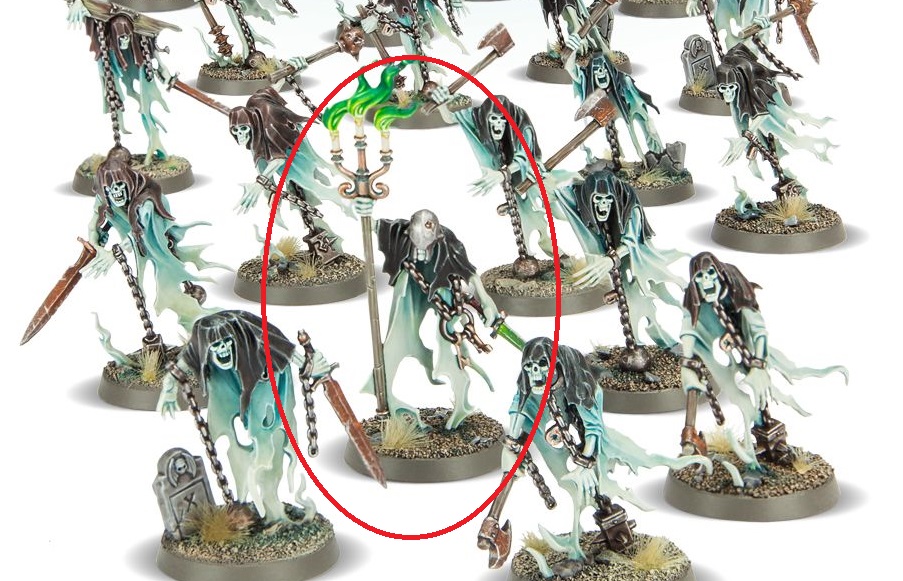
You know that part about reading instructions and taking your time. Well I might have cheated that step a little. Don’t make the same mistake I did. Unless you plan on adding another batch of Chainrasps…that’s what I keep telling myself anyhow.
Painting The Nighthaunts
Let me just start by saying I’m not GentleBen. I’m not a Golden Daemon Winner and I honestly have no desire to be. I just want to get my models painted to a standard that I’m happy with when I put them on the table. Will I win any painting awards with this technique? No – but my army is done, I painted it (not anyone else), and I’m happy with the results. And for all you competitive players out there this SHOULD qualify you for most the paint points if you can earn them.
That said, I also want to preface this with one other caveat: This is just the beginning. While the army is technically done you can take it a few more steps from here and go from “done” to “pretty freakin’ sweet looking” – it all depends on if you have time. That said, here’s where we’re going so you’ll have an idea:
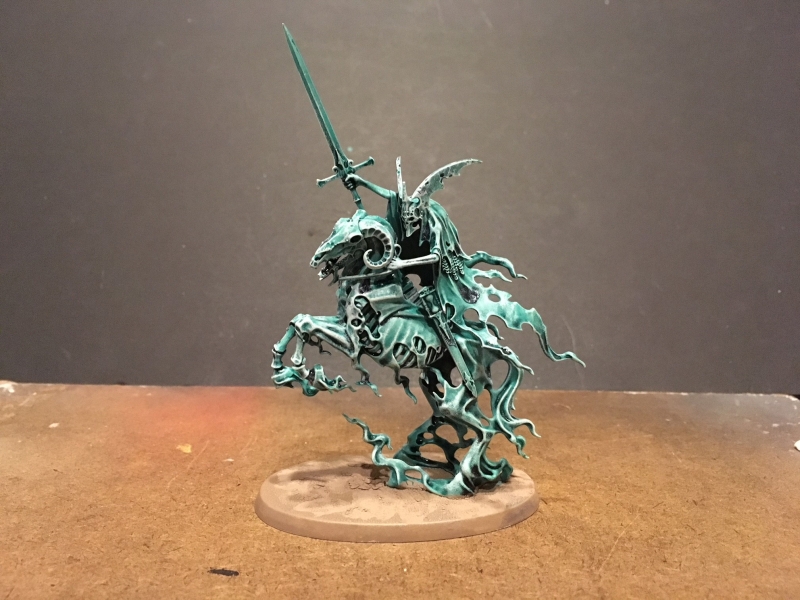 Knight of Shrouds – Ready for the tabletop
I’m pretty happy with it and the best part is that ANYONE can do this. So let’s talk about how. First up – watch a pro do it:
Look – Duncan is awesome. He’s the Bob Ross of Miniatures Painting. I’ve met him and told him that and you know what he said?! “Happy Little Thin Coats!” I’m not making that up. He’s got some fantastic tips in this video and honestly, you should just follow his steps. But you know what – I’m lazy. Plus I wanted to knock all these models out pretty quick. So I cheated.
Paints You’ll Need
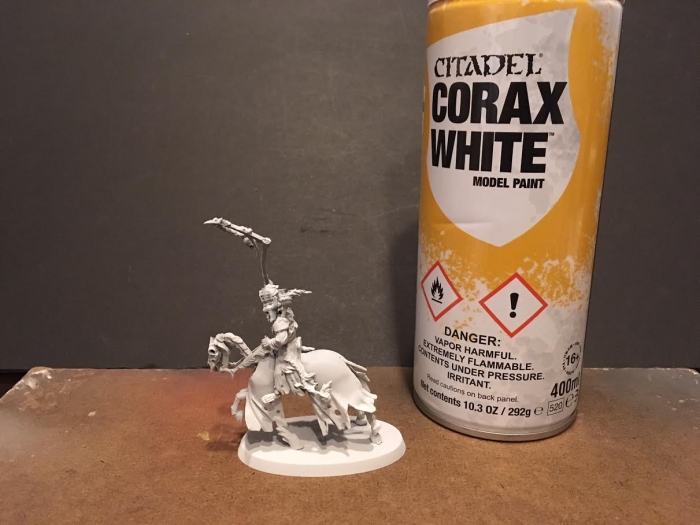
- Corax White – Primer
- Nihilakh Oxide
- Coelia Greenshade
- Hellion Green
- Ulthuan Grey
I’m using these paints because I had them available. If you want to use other brands, go for it – there are probably conversion charts out there. And yes, I use the GW Primer. I know it’s expensive but it works. I live in Texas and the weather can be hell to use primer in. I’ve never had a problem with GW Primer so I spring for it even though I can get the cheap stuff at a hardware store. I got burned by bad primer before and I’m never going back. /rant
Also, I don’t own an airbrush. I used a nice fat Shade Brush and a Dry Brush. Some people really like airbrushes – I think they are great for certain things but I don’t know how to use one and don’t plan on learning anytime soon. So this is all brushing, all the time. /otherrant
Step 1 – Prime Time
 I’m using Hexwraiths to showcase the process as I didn’t take pictures when I was working on the actual models in Soul Wars.
But Nighthaunts is Nighthaunts.
I feel like this is pretty self explanatory. Try to get good, even coverage. Even the underside. The trick here is to avoid going too heavy as that can obscure detail. I prefer the short, targeted burst method. Others use the long spray method. Depending on the distance you are, the environment you’re priming in, and your technique you can get very different results. Just use your best judgement here folks.
Step 2 – Go Full Statue of Liberty Mode (apply Nihilakh Oxide)
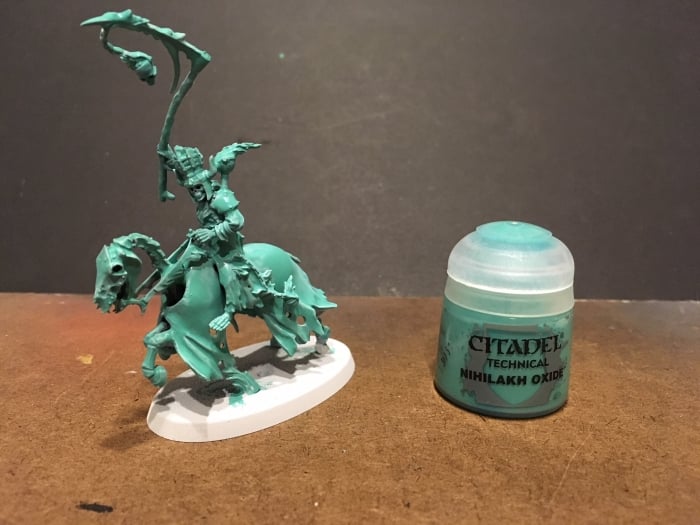
Cover the model’s primed figure in Nihilakh Oxide. This stuff is pretty thin and runny – treat it kind of like a wash or shade. I didn’t add water (don’t tell Duncan). I went right from the pot to the model and apply it pretty sloppily. Hey – I said I was lazy didn’t I?! Also, Wait for the model to completely dry.
Step 3 – Greenshade, GO! (apply Coelia Greenshade)
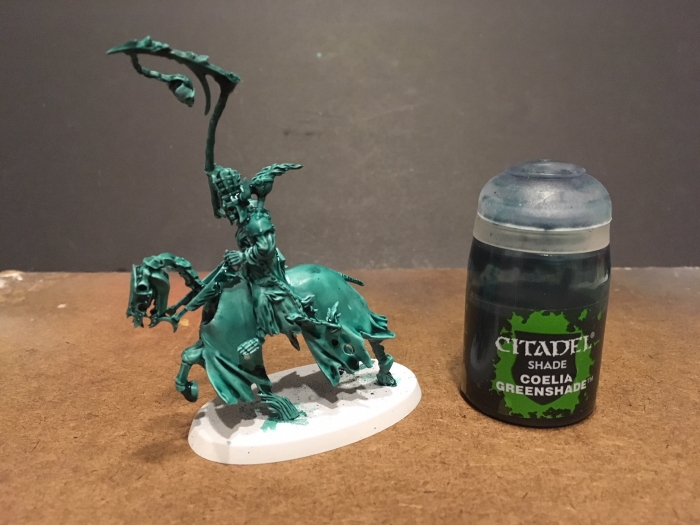
Wait for the model to completely dry. I’m repeating that on purpose because it’s super important. Once the model is dry apply the shade all over. Kinda like the previous step. After that, wait for the model to completely dry…
Step 4 – Profit! (apply Hellion Green)
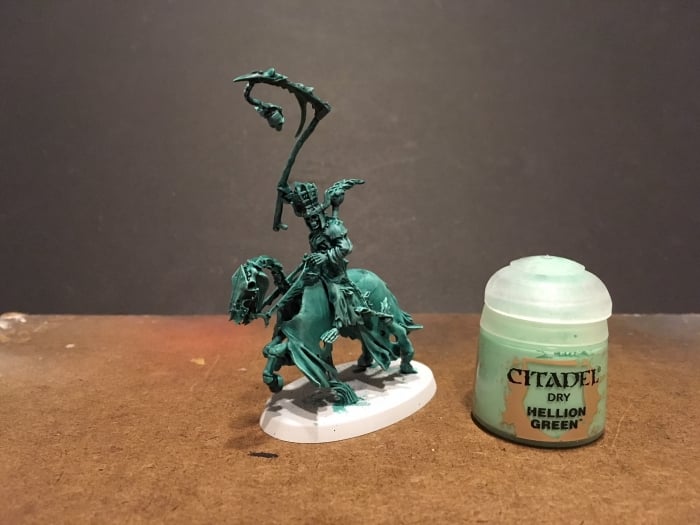
This is where I diverged from Duncan’s tips. Why? Because I wanted to do my own thing and this stuff is like magic. It’s a “Dry” paint so it looks very funky. That’s because it’s intended to be used with dry brushing. You’re going to want to hit the entire model with this step. This is also the step you’re going to really be able to tell if you clean the models well or not. Dry brushing will showcase all your mould lines and if you did a crappy job, you’re about to find out…
If you’re not familiar with dry brushing, stop reading this and watch this video:
Step 5 – Apply Ulthuan Grey
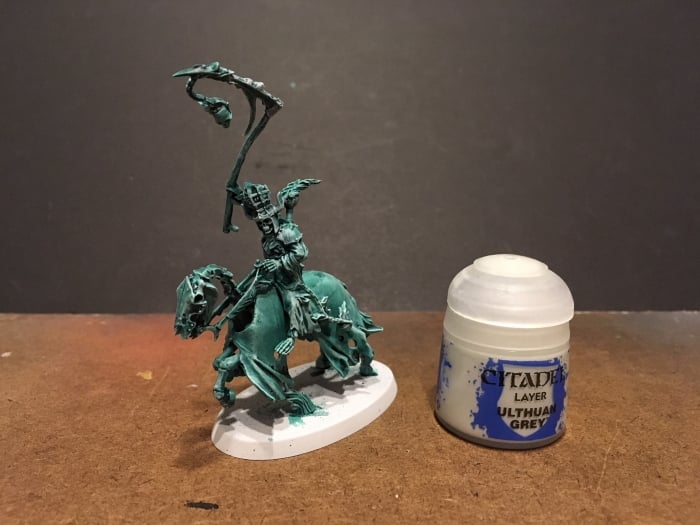
Now, some folks would skip straight to a pure white color. I liked the tint that Ulthuan Grey had – it’s not pure white and has more…grey to it. I applied this paint with a dry brush, but not to the entire model. You want to hit the highest points or places you think the eyes are drawn to naturally. If you have no idea where those places are stick to the faces and pick a couple (2-3) spots on the model you think would get the most light.
Step 6 – Base Your Model
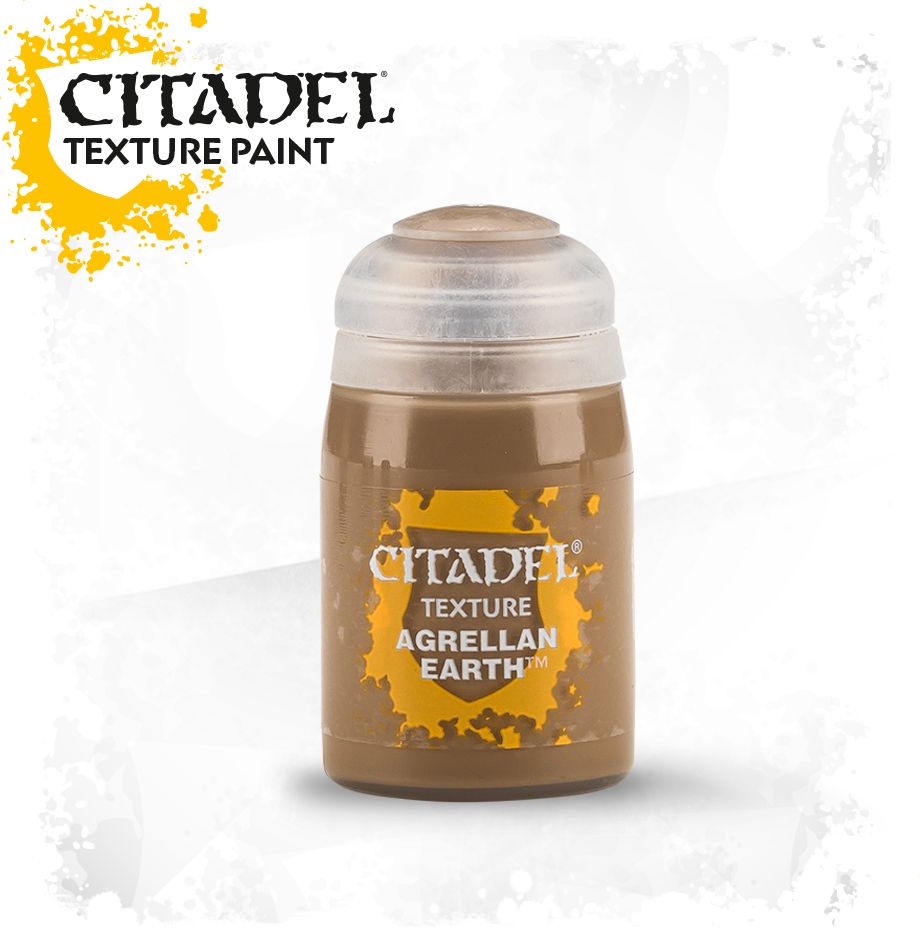
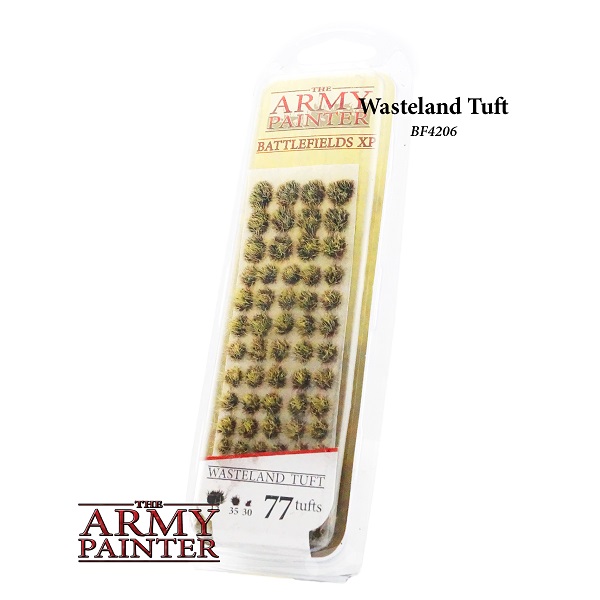
I didn’t include Agrellan Earth in the mix, because it’s what I chose to do my basing with. You do you and pick your own base color. I think the earthy brown contrasts nicely with the ethereal green look. I also want to use some wasteland tufts to spruce-up my bases eventually.
I’d also recommend going back and painting the grave stone markers and the metal grates. But again, this was just to get the army ready to play as fast as possible. After painting the base (which should be painting over any excess shade that leaked down) you should be done.
Next Steps
One of the issues I’ve noticed with this technique is that once you’re at the “done” step, your army in aggregate looks kinda like a big greenish blob. Nothing really stands out even though individually they look pretty cool. That’s why I’m not stopping here. If you really want take your army to the next level there are a few things you do.
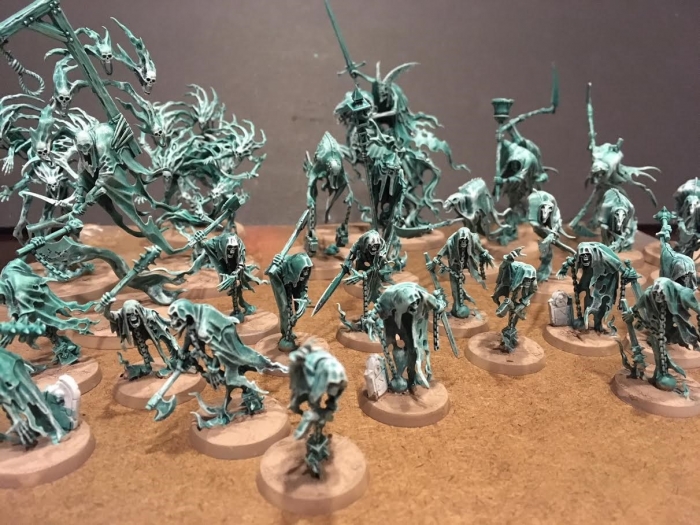 It can also be hard to pick out the different units which is not what I’m going for here
Pick a tertiary color – I recommend a cold or cool color like a blue/purple/black. Use that color on the top-most cloaks, hit it with a highlight in a color that is a step up in brightness and it will make your models pop.
Paint the Metals – By doing this you’re giving the eye something else to look at. I recommend rusty weapons. Start with a brown, splotch paint a metal color on them, and hit it with a wash (nuln oil or a brown).
Paint the Bones – there are lots of models in this army that have bones, the skeletal horses above are a perfect example. Going back and painting the bones helps to break-up their “greenish-blobbiness.”
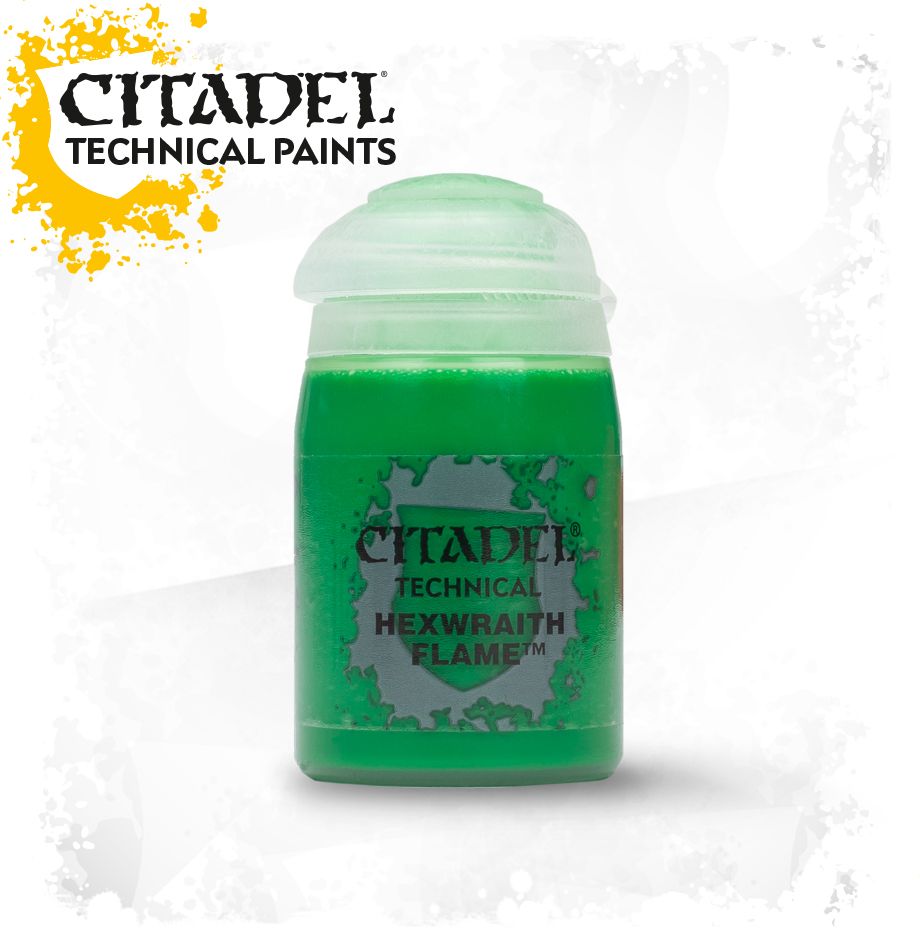
Paint the Hexfires – Many of the models have extra “flame” bits. Clean those up with some white paint and then re-shade them with the new Hexwraith Flame.
Well folks, that’s all I’ve got for the Nighthaunt Hobby Tips and Painting. I hope you find this useful with your own Nighthaunts!
How are you going to paint your own Nighthaunts? What color scheme are you going for?
