Warmachine: Managing Corpse Tokens with Tharn Corpse Holders


Playing Devourer’s Host is a ton of fun, managing corpse tokens is not. Here’s how you can make some token holders for your models and keep your army clutter free and easy to manage.
As a Devourer’s Host player the recent theme changes meant I went from having 5-7 corpse tokens at the start of the game…to around 20. The changes to the theme are great, but after one game I knew I needed a better way to keep track everything. Here’s how I went about adding corpse token holders to my Tharn army.
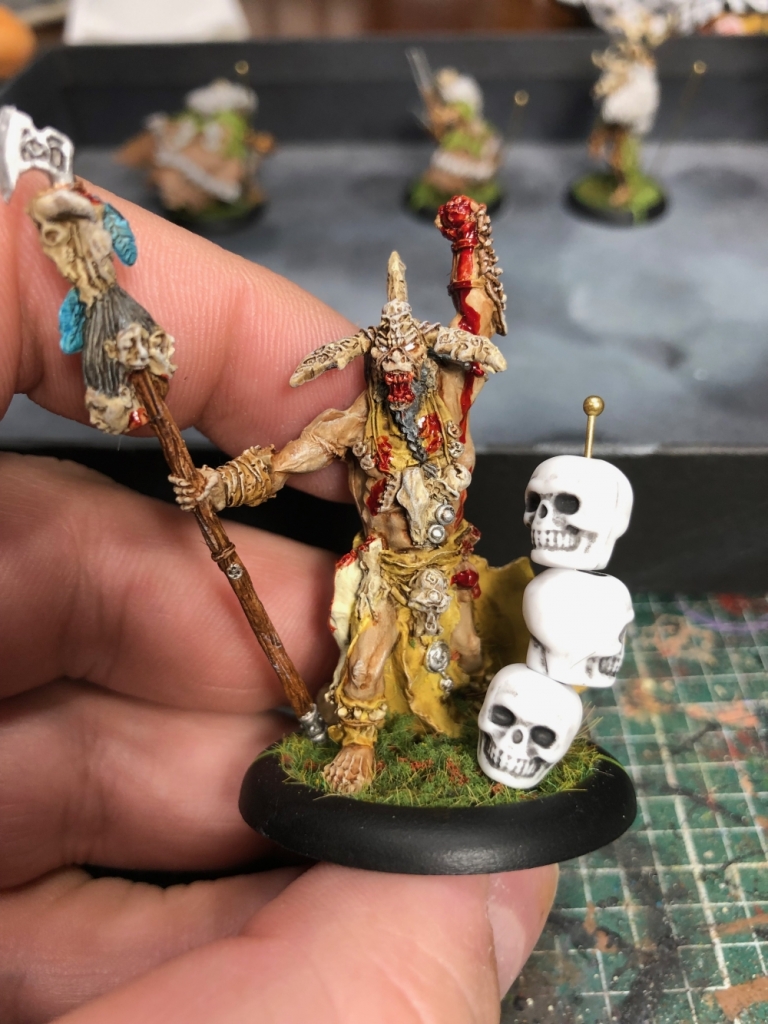
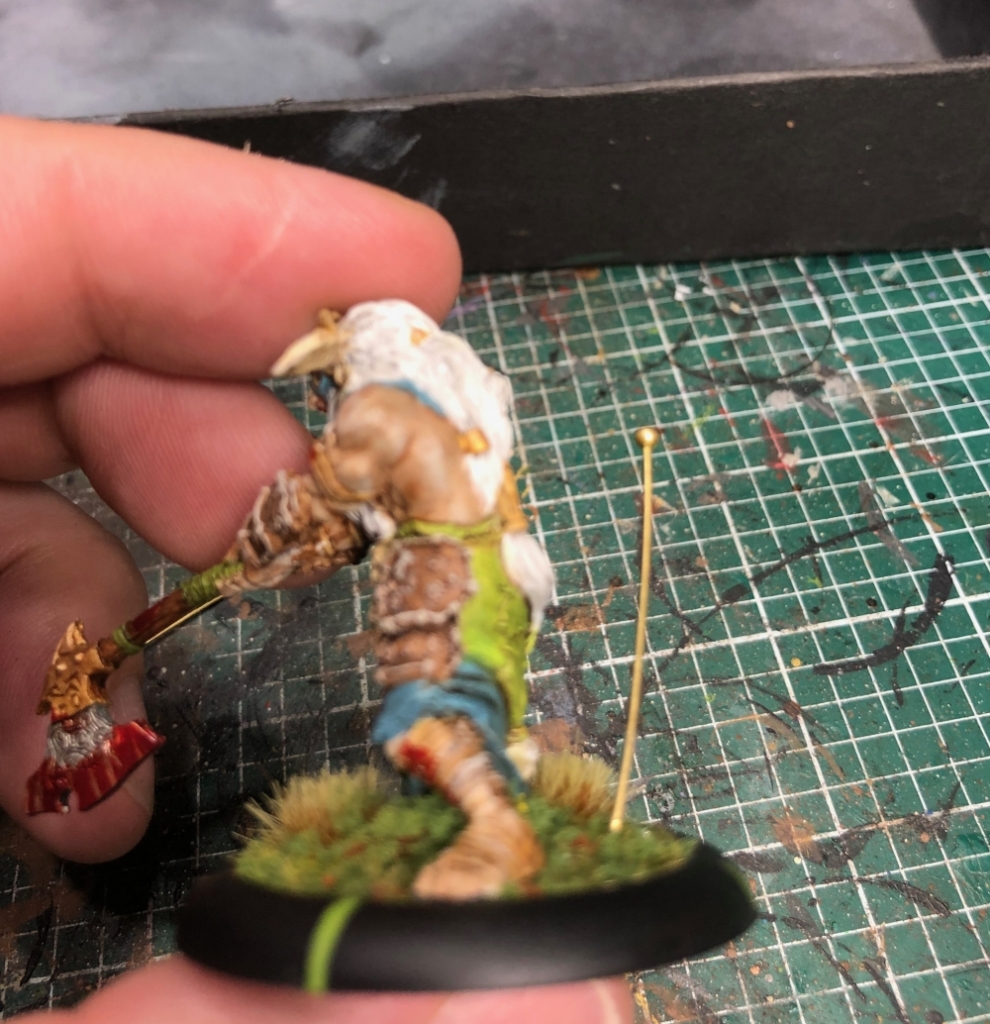
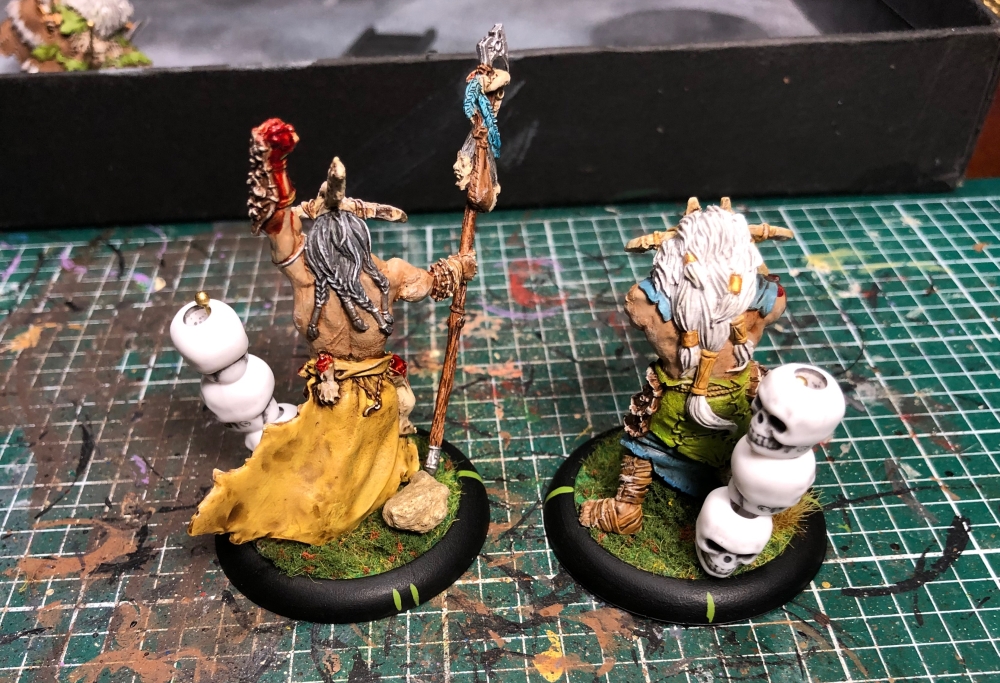 Here’s a look at the final result on the Tharn Shaman and White Mane
What You Need
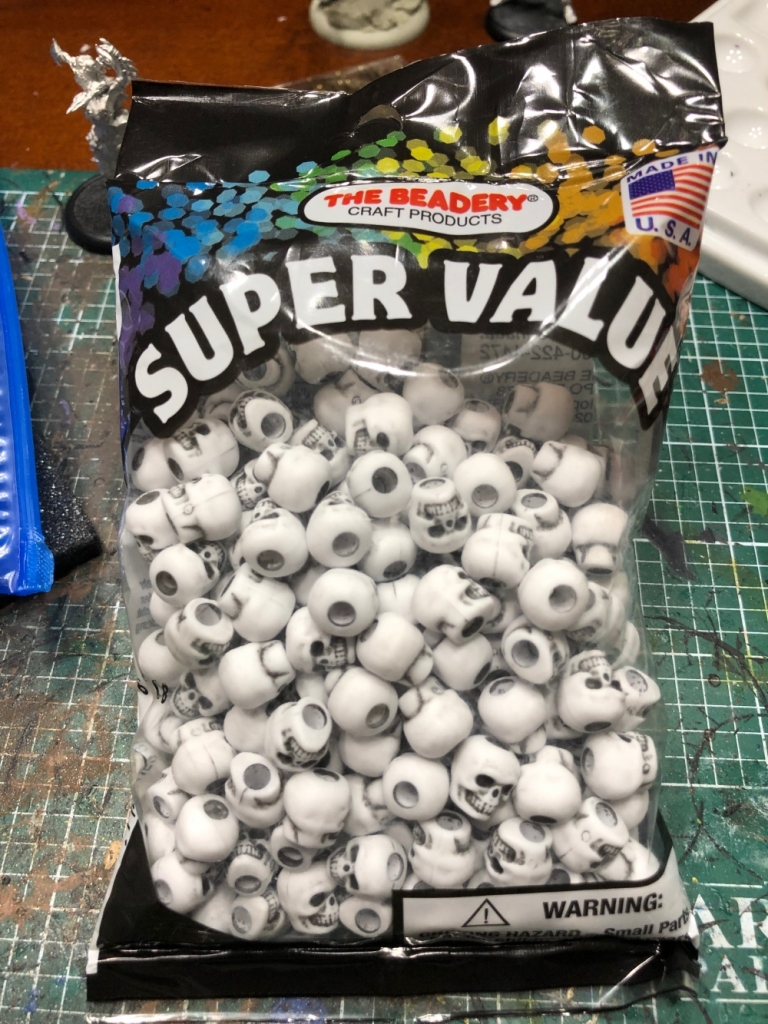
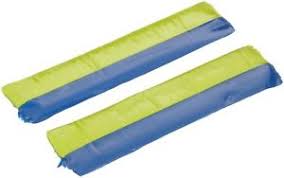
Tokens – Specifically beads or something with a hole to go over the pin. I found a pack of skull beads on Amazon for about $10 that worked nicely for corpse tokens. There are a ton of bead options out there, so go crazy.
Headpins – We want headpins(not nails) for this. I have no idea what headpins are usually used for, but you can find them in the jewelry section of your local craft store. They are thin, durable, but can also be bent, which is handy when you want the pin next to a cape or cloak. Headpins don’t have a point at the bottom and more importantly, they have a rounded/finished top. You don’t want to accidentally stab yourself during a game if you put your hand down on a model. For a few bucks you can get more headpins than you’ll ever need.
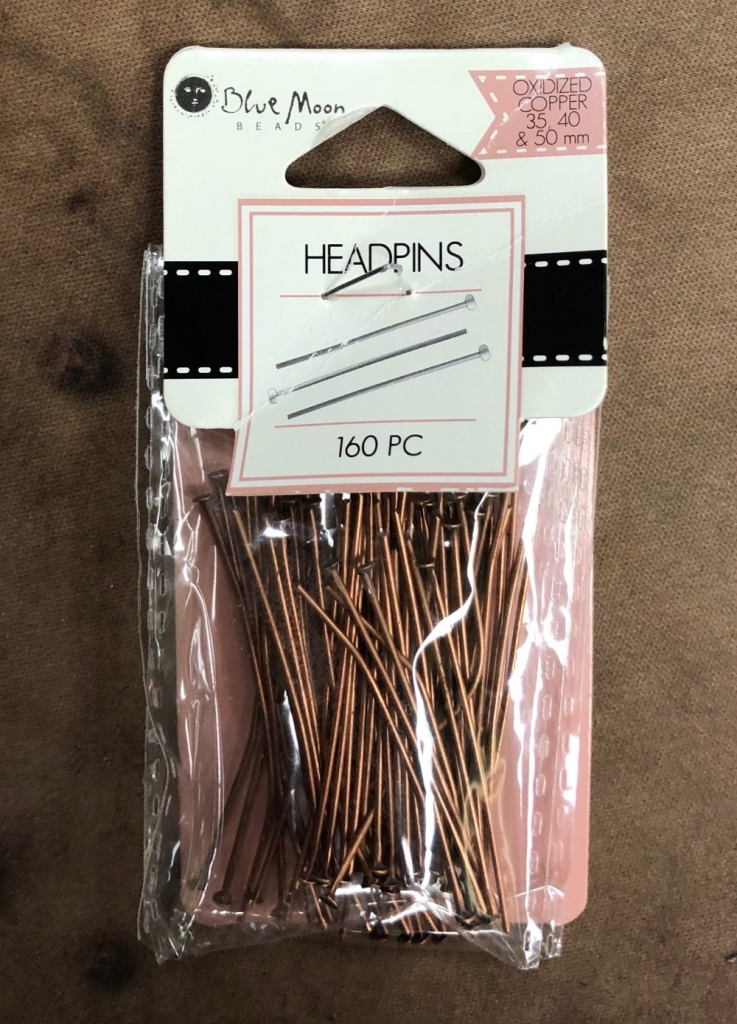 Tarnished Brass Headpins
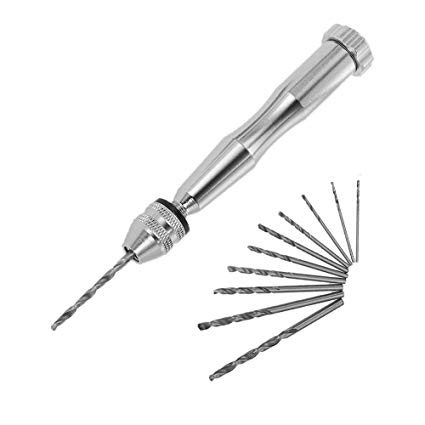
Pin Vise – A dremel also works, but a simple hand operated pin vise is all you really need.
Green Stuff – A common hobby epoxy putty that dries solid in a few hours.
Clippers & Super Glue – You probably have these sitting in your hobby area already.
Step 1 – Drill Hole in Base
Figure out where you want the pin to be on the model. I usually prefer towards the back of the model as that is the side facing me during games. In some cases, like the Tharn Shaman, the front seemed like the better spot. Use the pin vise to make a hole for the headpin. Make sure you are using an appropriately sized bit, ideally it would be the same size or only slightly bigger than the headpin.
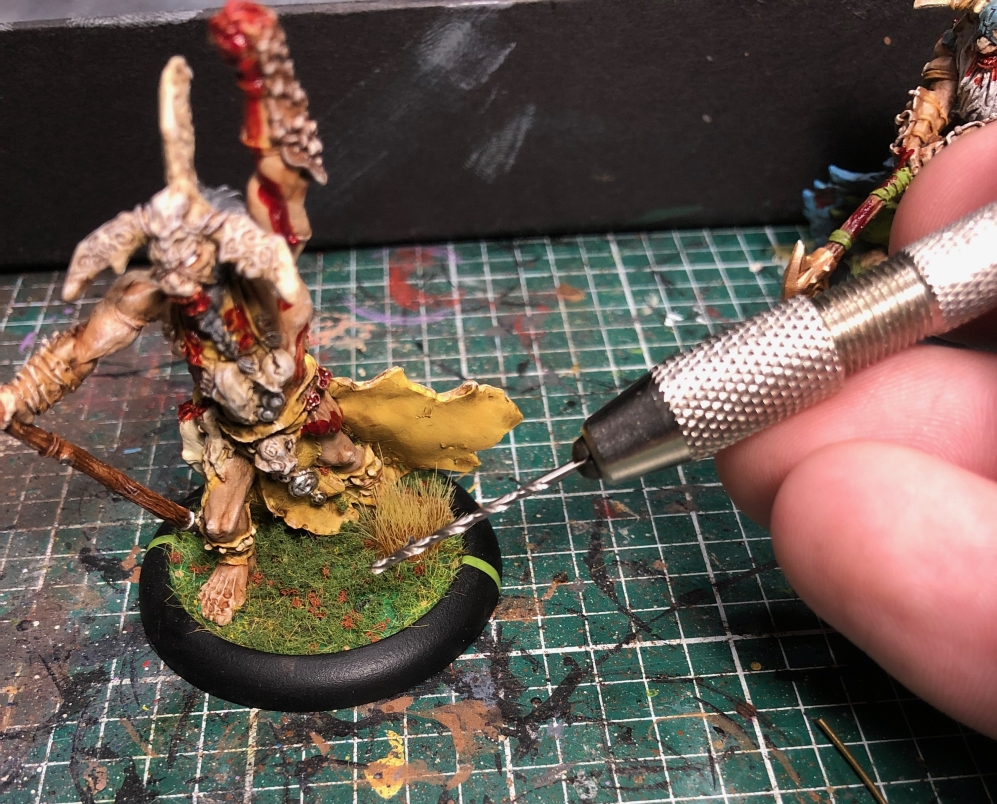
Step 2 – Add Green Stuff
Add a dot of Green Stuff to the bottom. Not only does this dry and keep the pin secure, it helps hold the pin in place while we clip and glue it.
Step 3 – Place Pin and Determine Height
Place the pin through the hole and into the Green Stuff. Then take some corpse tokens and determine what height the pin should be. In this case Tharn models can only ever have 3 tokens, but others(like the Spirit Cauldron) can have up to 5. For models that can take 5 or more, you might want to consider adding a second pin.
 This pin can be pushed down a bit more
Step 4 – Cut Pin and Glue
Using the clippers cut the bottom of the pin so that it’s flush with the Green Stuff.
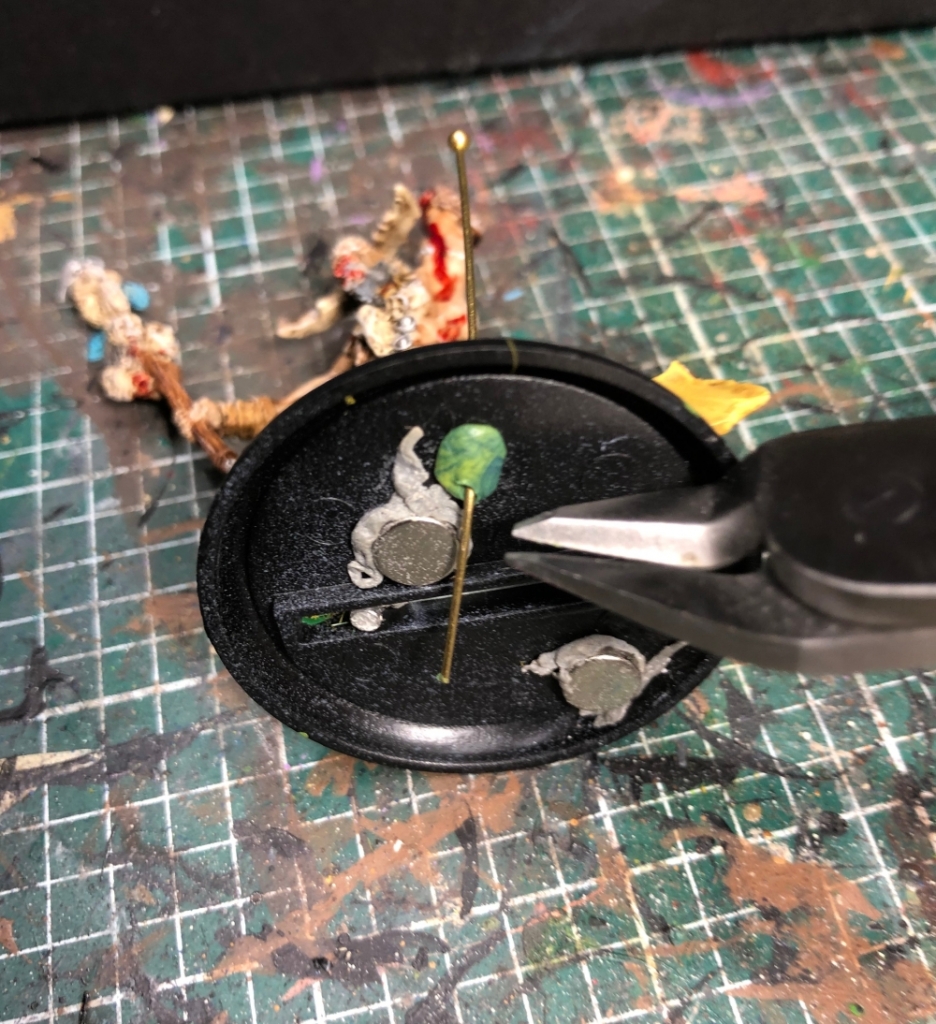
Then flip the model back over and use superglue to secure the pin to the base.
Repeat as Needed
That’s it! Once you start the process each model only takes about a minute to get done.
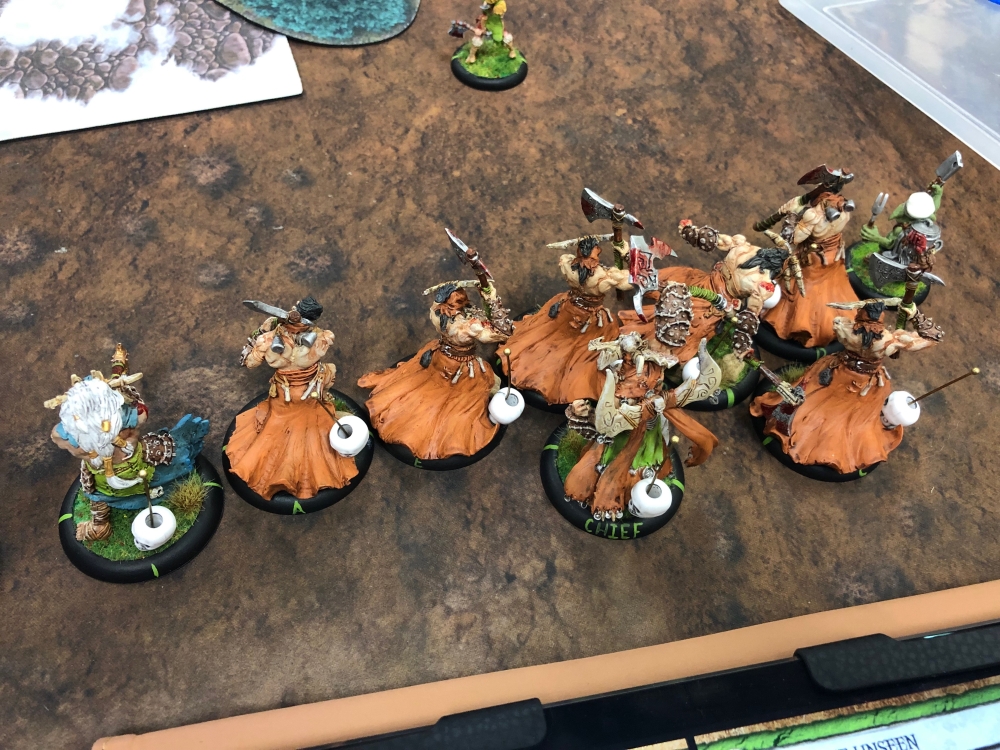
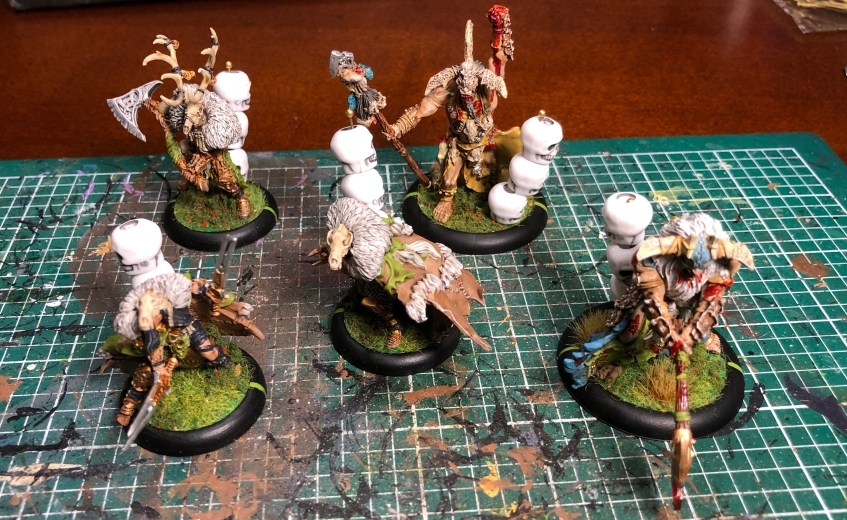 Death Wolves, Shaman and White Mane fully loaded
Our deployment zones have drastically improved! On tournament days you can even pre-load corpse tokens before each game to save time.
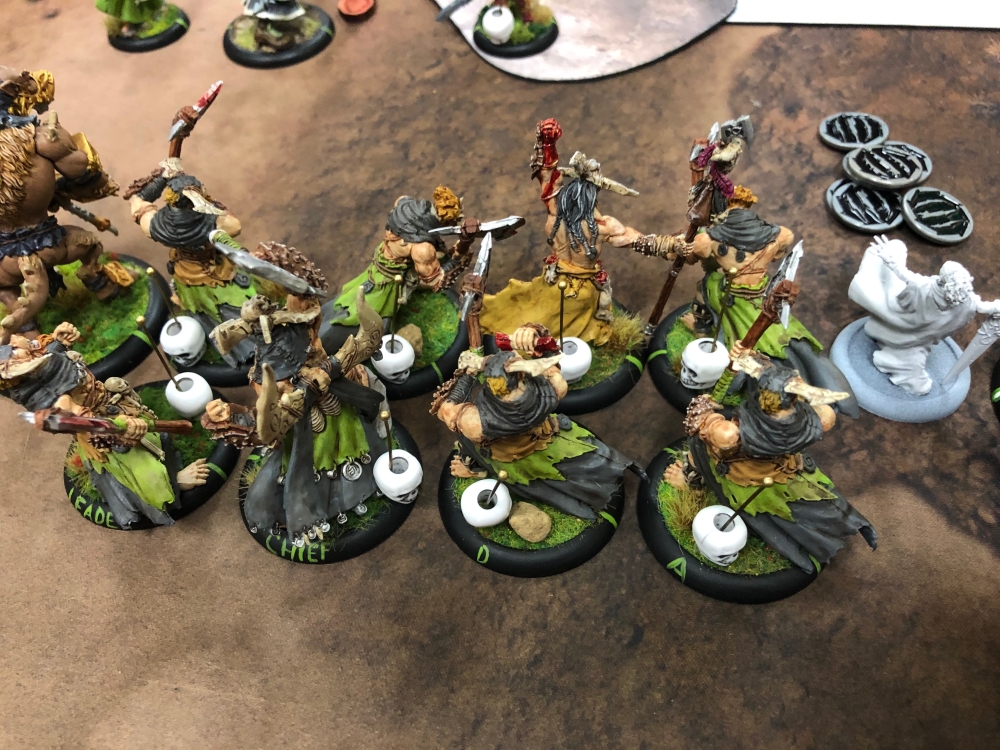
My goal was to get something easy to use, prevent token mix-ups or confusion, all while fitting the thematic idea of collecting corpse tokens. After a few games things have been noticeably cleaner and faster to play. Plus there hasn’t been any confusion on either side of the table about where corpse tokens are at any given time.
This process has got my thinking about other armies and token management. I could see this being useful in the Skorne Exalted theme to manage souls. Models like the Spirit Cauldron, Alexia1 or even Orin Midwinter and the Squire all have tokens that can sometimes be easy to lose track of during an intense game.
Do you play an army with lots of tokens? How do you manage them?
