Age of Sigmar: Varanguard The 8 Circles of Awesome
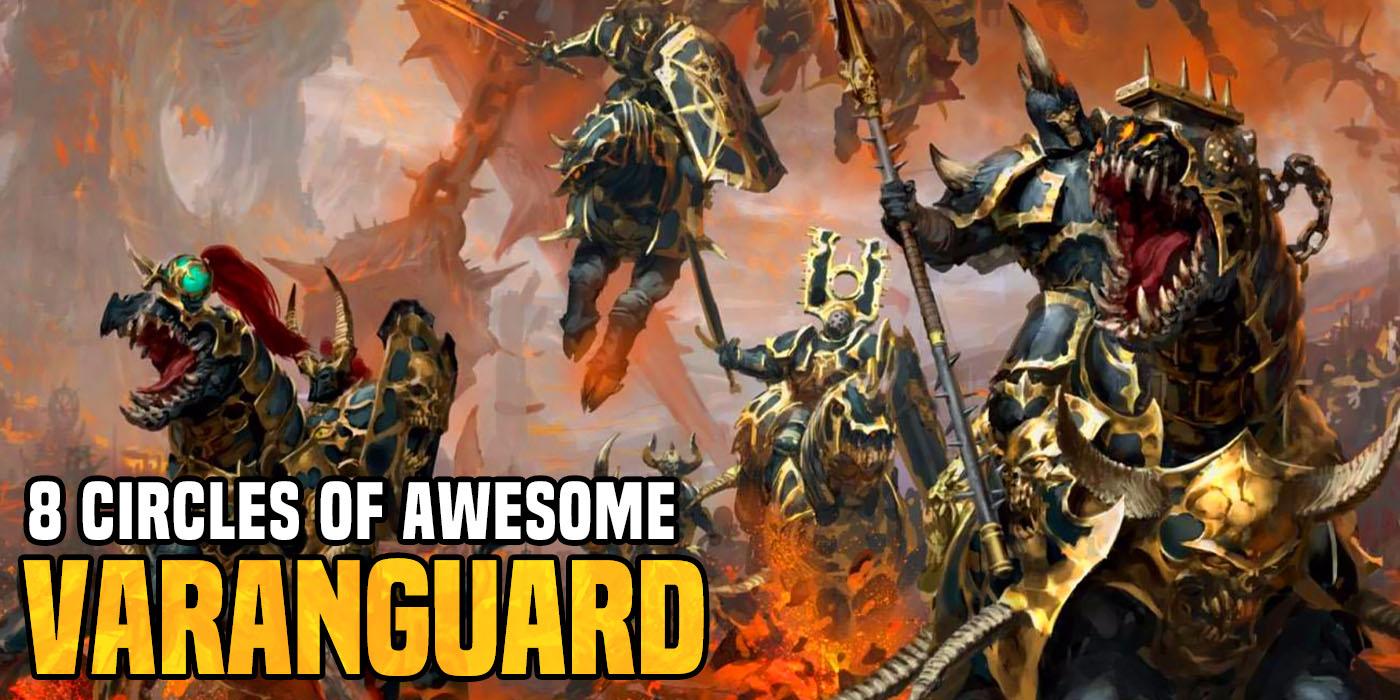

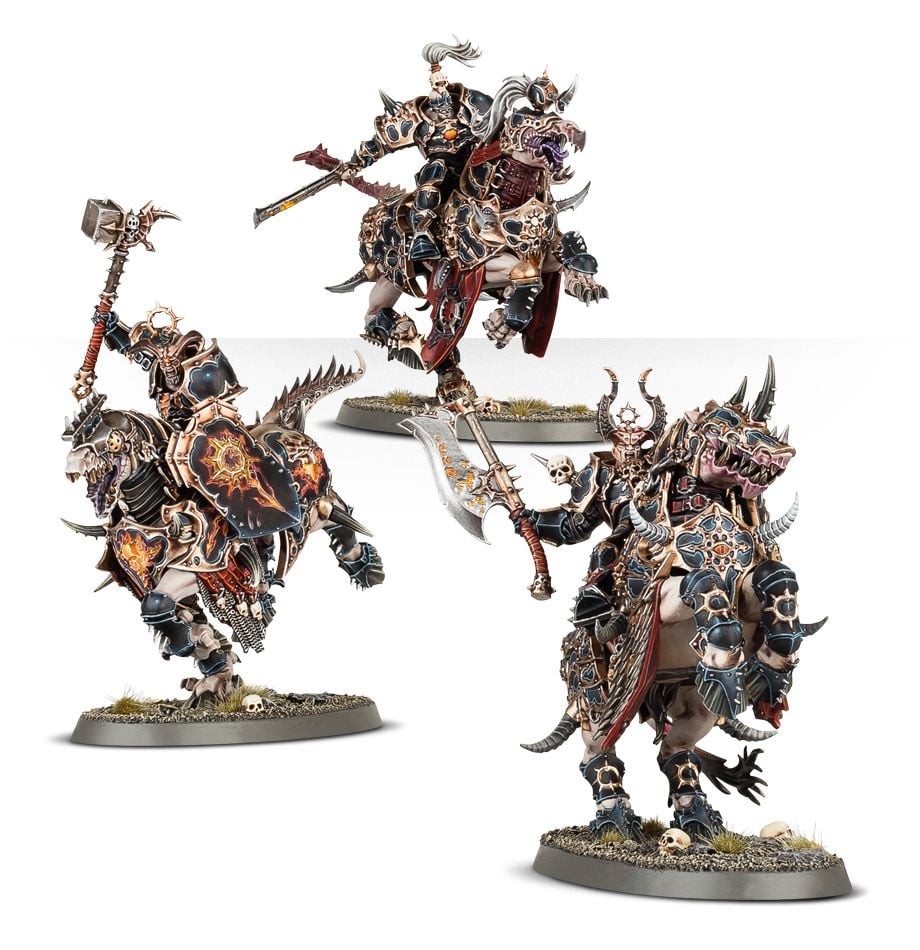
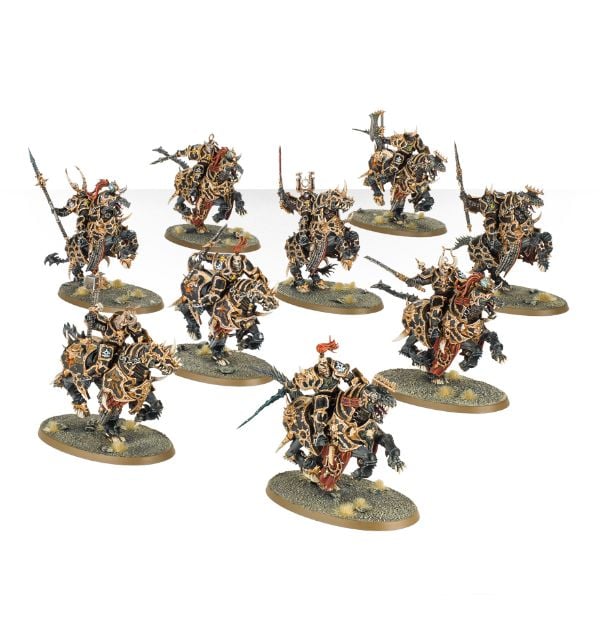
Varanguard can now devote themselves to one of the Eight Circles. Here a rundown on each circle, and how to benefit your nasty knights on the battlefield.
The Varanguard have been terrorizing the Mortal Realms for a while now under the watchful three eyes of their big boss Archaon. However, with the new Slaves to Darkness tome, they have gotten even more horrifying by being able to devote themselves to one of the Eight Circles. Here are some brief thoughts on each of the circles, and how they might benefit your nasty knights on the battlefield.
The Swords of Chaos
Turn 1, First Circle Varanguard can redeploy after determining who has the first turn. This is great if your opponent tried to hide some vital units away from your charges, or if you notice you have a weak flank. Use this circle against armies with long range shooting like Ossiarchs or Stormcast, or important heroes like Death or Skaven.
The Souls of Torment
These gents are spooky, so they sap 1 Bravery away from enemies within 6” and make d3 extra models flee from Battleshock within 6”. Considering how small your army is going to be, this is a good way to even the odds quickly. Use this circle against low bravery high model armies like Skaven or Gloomspite to get the most out of your combat phases.
The Scions of Darkness
Missile weapons suffer a -1 to hit models from this circle. This is pretty awesome, since without allies this army has no dedicated shooting, and with small model count you could easily get shot to death charging across the battlefield. Take this circle if you plan to face a lot of shooting, like against Stormcast or Skryre, to make sure your knights make it to the death box.
The Reavers of Chaos
In your hero phase, one terrain feature within 3” of a friendly unit is set ablaze, causing each enemy also within 3” of the piece to suffer d3 mortal wounds. This is a great way to dig out stubborn shooting emplacements or slower armies that like to stand still. Use this against defensive armies like Stormcast or Duardin, or machine heavy armies like Ironweld.
The Scourges of Fate
Models from this circle get to reroll hit and wound rolls when targeting heroes and monsters. This is the circle for taking down Beastclaw Raiders or Fyreslayers, who will have both in spades. Also consider bringing these guys against Moulder or Flesheater Courts, as they will probably have a large supply of monsters to slay.
The Blades of Desolation
This circle adds one to the damage characteristic of weapons if the unit charged in the same turn. This is just an all-around powerful ability, so long as you can guarantee the charge. Take this circle against slower armies, like Ossiarchs or Fyreslayers, and try to get the second turn so you can pick and choose your charges.
The Bane Sons
At the end of the combat phase, any units from this circle that wiped out an enemy unit can heal d3 wounds. This might not be the circle to take against hordes, but mid-size units like Stormcast or Fyreslayers will be perfect fodder, since it shouldn’t take more than a turn or two to knock out your opposition. Still, pick your charges well and don’t run into a fight you don’t think you can heal the damage from.
The Nameless Circle
These Varanguard can fly, and that is pretty much all that needs to be said about that. Nothing can stop the deadly charge of these guys, and you can pile into the heroes cowering behind their charge screens. Use this circle against anything you want to delete with prejudice.
What’s your favorite Varanguard circle?

