Warzone: Resurrection Tactics – Fighting Withdrawal

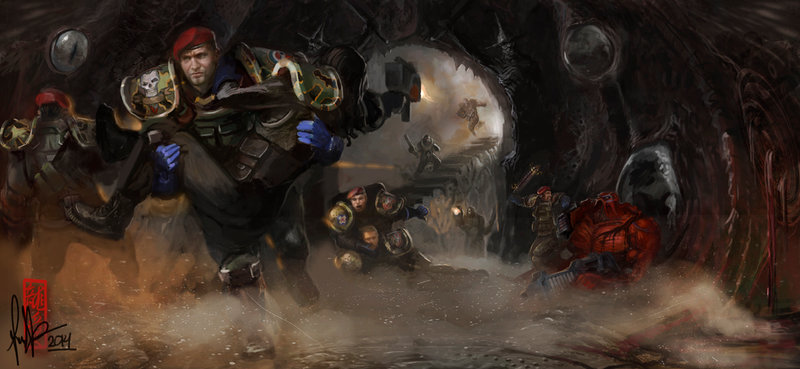
In today’s Tactics Workshop, we examine the Fighting withdrawal in Warzone Resurrection.
The openness of a tabletop wargame allows players to experiment with a range of different strategies and tactics. In Tactics Workshop, we examine how to apply these tactics in a new or better way, and in this article we examine the Fighting withdrawal.
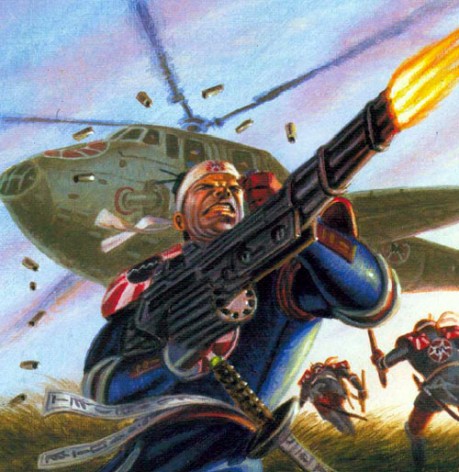
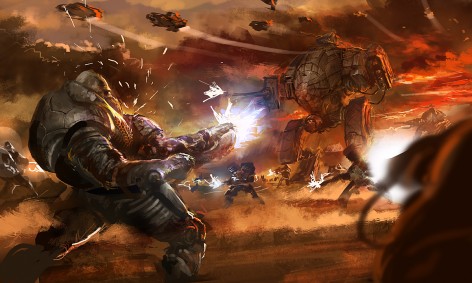
From the military juggernaut of Capitol to the precision manoeuvres of Bauhaus, and from the dogged defences of Imperial to the data-driven assessments of the Cybers, we all use a fighting withdrawal when we need to. Even Mishima, not normally known for their ability to cease attacking and cede ground, will use it to ensure favourable conditions for a fight. Just remember the following points:
- A fighting withdrawal is an excellent bait tactic. If you’re looking to shape the enemy’s attack and make them overextend themselves, this is a great way to do it. Offer them a single squad of your elite troops, seemingly isolated but just at the edge of your opponent’s reach. Every time they try to wipe them out, your squad hits them and dashes back just far enough to still seem within reach but not close enough to pin down. By this stage, the enemy is madder because they’re frustrated and they’re taking casualties, and you can lead them into a trap, or away from their primary objective.
- A fighting withdrawal is a way to safely extract a squad. If you find yourself poorly deployed or the enemy has the drop on your combat team, you can extract outlying squads using this technique to get them to safety without over-exposing them. This can also be used to drop or infiltrate a team onto a supply crate (or crates) and extract them under fire.
- A fighting withdrawal maintains pressure on an advancing enemy while you prepare to counter them. Using the tactic this way will distract your enemy while you manoeuvre your other forces into position to strike or fulfil your mission.
Your team should be deployed somewhere that will be out of range of the enemy but with good fields of fire- in a low-rise building, a large tree or an outlying piece of cover are all good choices. Identify where you’ll have them eventually fall back to (if they were to withdraw all the way to friendly lines) and where the best line of withdrawal will be (you want to move from cover to cover, but you also want the ability to shoot at the enemy the whole way).
If possible, let the enemy activate their troops first and get within range. You want to have your team deployed in cover and/or with bonuses to armour and heal so that your casualties will be minimal if they fire at that maximum range.
When you’ve got enough targets within range and LOS to deal with (usually 3-4 models on small bases), activate your withdrawing team. Use their first action to shoot, the second action to move rearwards- if the enemy hasn’t run and they’re not vehicles, you should be just outside their range and still in cover when they next activate. Many commanders prefer to move before shooting on the slight chance that you roll a 20 for any of those shots, but this is a risk you have to take.
Watch out for:
- Staying too close: if the enemy is moving faster to catch you, or they are naturally faster troops, you need to spend some resources if you want to save your team. Fire and run is one option, using skills or cards to slow the enemy down is another.
- Trying to kill everything: You’re getting overwhelmed and can’t seem to stop the enemy’s troops, because you focussed on killing them instead of moving out of the way. It’s an easy trap to fall into, but remember that the objective is to get the enemy to concentrate on trying to kill your troops while failing to do so. Remember, don’t bother aiming, and keep your troopers just outside their small arms range.
- Coming up against vehicles: mechanised forces are quick and powerful. They can flank your withdrawing infantry and cut you off. There are two way to treat this- either let them try to cut you off with the vehicles so that your waiting anti-armour troops can kill them off, or use the threat of anti-armour in your withdrawing troops by placing rocket launchers on sentry or carrying anti-tank grenades.
- Getting caught in the open: you’ve chosen the wrong position to withdraw from, or the wrong route. You now have to cross open ground and the enemy is likely to cut you down. Consider what other tools you might have… is there smoke available? Can you engage the enemy with suppressing fire? Can you re-direct them with another ‘bait’ unit? Also consider ways to cross that open ground quickly, as with staying too close above.
So which units make good fighting withdrawal teams? Each of the corporations have their own strengths and weaknesses. However, there are a few common skills and stats that you want to be on the lookout for.
- Deployment. You want a squad that can infiltrate. Rapid Deploying may work in a pinch, but Infiltrate is perfect for choosing a good position. Infantry running into position from the start of the combat may work, but you can’t rely on it.
- Mobility. Your team will need to be mobile to get away from a pursuing enemy. You’ll want a high natural M stat, as well as special skills like Pathfinder or (even better) Ranger. High CON, free jump or bonus movement skills are also good– you may need to leap out of or climb onto high places, and CON will help prevent the enemy from stunning you.
- Survivability. The team should be able to avoid or take hits so that you’re not the one taking the most casualties. You want to see good A stats (CON and WP as well, depending on the opponent), Heal or Medic skills, and camouflage (as you’ll usually be in cover). Consider skills that prevent or limit enemy shooting, or that boost your own armour, heal and camouflage.
- Threat. You need to be able to hit the enemy at maximum range. A good natural RS stat is your firend here, as well as high St, RoF and AVV on your basic guns. Look for the weapons with 24” range as your go-to, but back up your (P) weapons with extras like Grenade Launchers (for that blast effect). Also try to ensure that you’ve got some form of AVV threat in your team– rocket launchers, AT grenades, etc. Skills, doctrines, enhancements and the like should boost the range, RS, St and/or AVV, but ignore the ones that boost your aim actions.
Now that you’ve had a look at the concept, go and give the tactic a try. It may confuse some of your opponents, as many of our tactics are about closing with the enemy but here you’re moving the other way. It may work for you, it may not, but remember the situations that call for a fighting withdrawal (twin concepts of maintaining pressure on the enemy and avoiding decisive commitment), and only use the tactic where it’s necessary.
Good Luck!
This article is a shorter version of an article that appeared in issue #1 of Cartel Tactical Centre Magazine, a free fan-made Warzone e-zine. Check it out on their Facebook page.
Have you tried making a fighting withdrawal in a game of Warzone? How did it go? What did you use?

