Modeling Workshop: Rivets


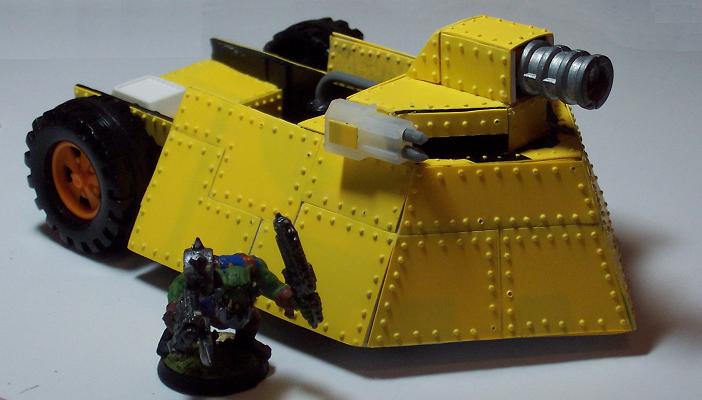
 One of the nice little details you can add to scratch built vehicles is rivets. Over the years I have seen many different way to make them, some simple, some quite bizarre. I’ll be discussing three of the more common ways to add rivets to your models.
The Chop and Glue Method
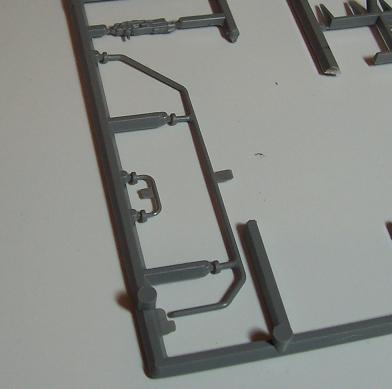
This method involves making individual rivets by chopping long sections of tubing into small pieces. One of the more common sources of tubing is the old rhino guardrails. The ones that go along the top of the old rhinos and breaks all the time.
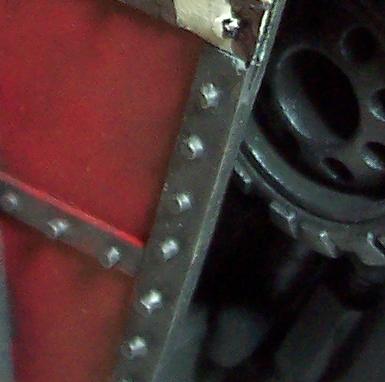
Take the tube and cut it into 1mm sections. You can then glue these on your model as rivets. The problem you face with this method is that the rivets are not always the same length and it is difficult to glue them on. I have used tweezers I the past to make sure they get in the right place.

For larger rivets, you can take a hole punch and some thick plasticard. Collect the ‘rivets’ as you punch them out of the plasticcard and glue them on. It is much faster than the previous method and all the rivets are the same size. The down side is that the rivets are larger. I use a heavy duty punch. It stands up much better to the thick plasticard and you can get a smaller punch size.
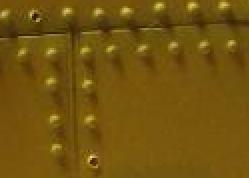
I recently discovered this and have had wonderful results with it. To put rivets on a piece of plasticard, take the card and turn it over, then push down on the backside with your icepick. Do not put so much pressure as to push all the way though and make a hole. The goal is to make a small dimple on the other side. I also place my plasticard on a rubber mat, it has a better give than the hard surface I usually work on.
Just to give you an idea of how much faster this is, I can do one rivet in about a minute using the cut and glue method. With the Ice Pick method, it takes less than 5 seconds.
As an aside, apparently wal-mart doesn’t sell ice picks anymore. The guy selling the butcher knives said that ice picks were a safety risk. Go figure.
